Posted on Leave a comment

Torn Blouse to Tunic Refashion

Tunic Shirt Refashion

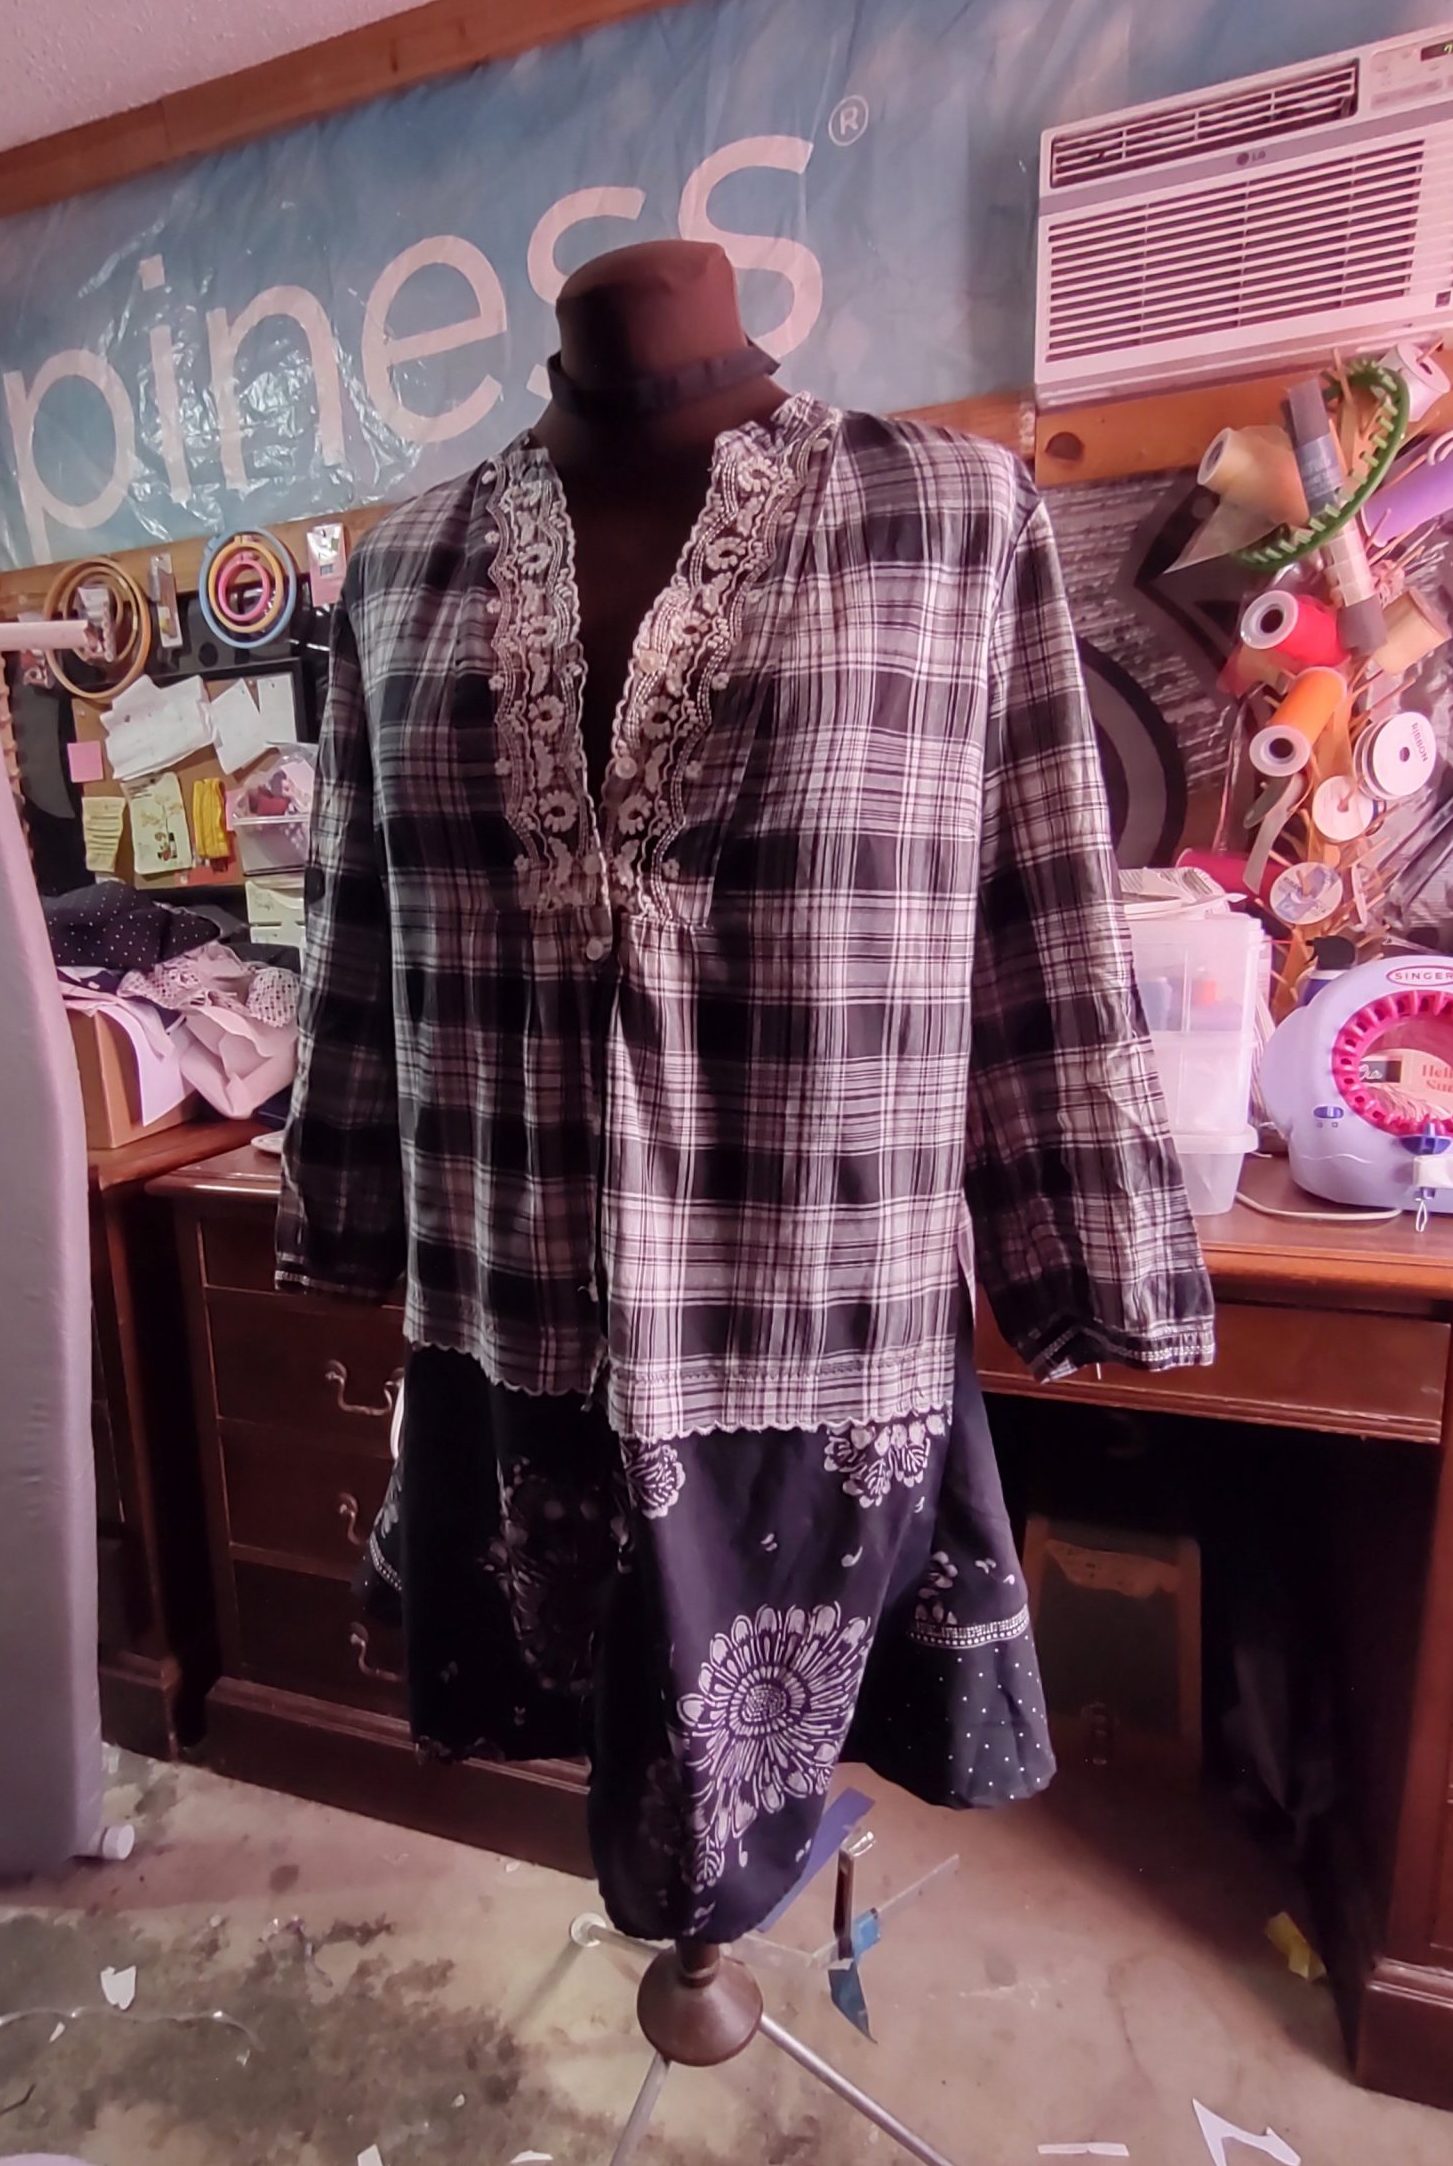
My mom gave me this blouse to play with because her puppy had ripped the bottom of it. I had already cut off the torn part and sewed the raw edge with a scalloped stitch to match the embroidery on the top. That made the shirt too cropped for my preference, so it stayed in my refashion pile. 

In an attempt to eliminate said pile (who am I kidding, piles), I pulled it out, along with another black and white top with stretched out elastic and a black and white fabric remnant for good measure.

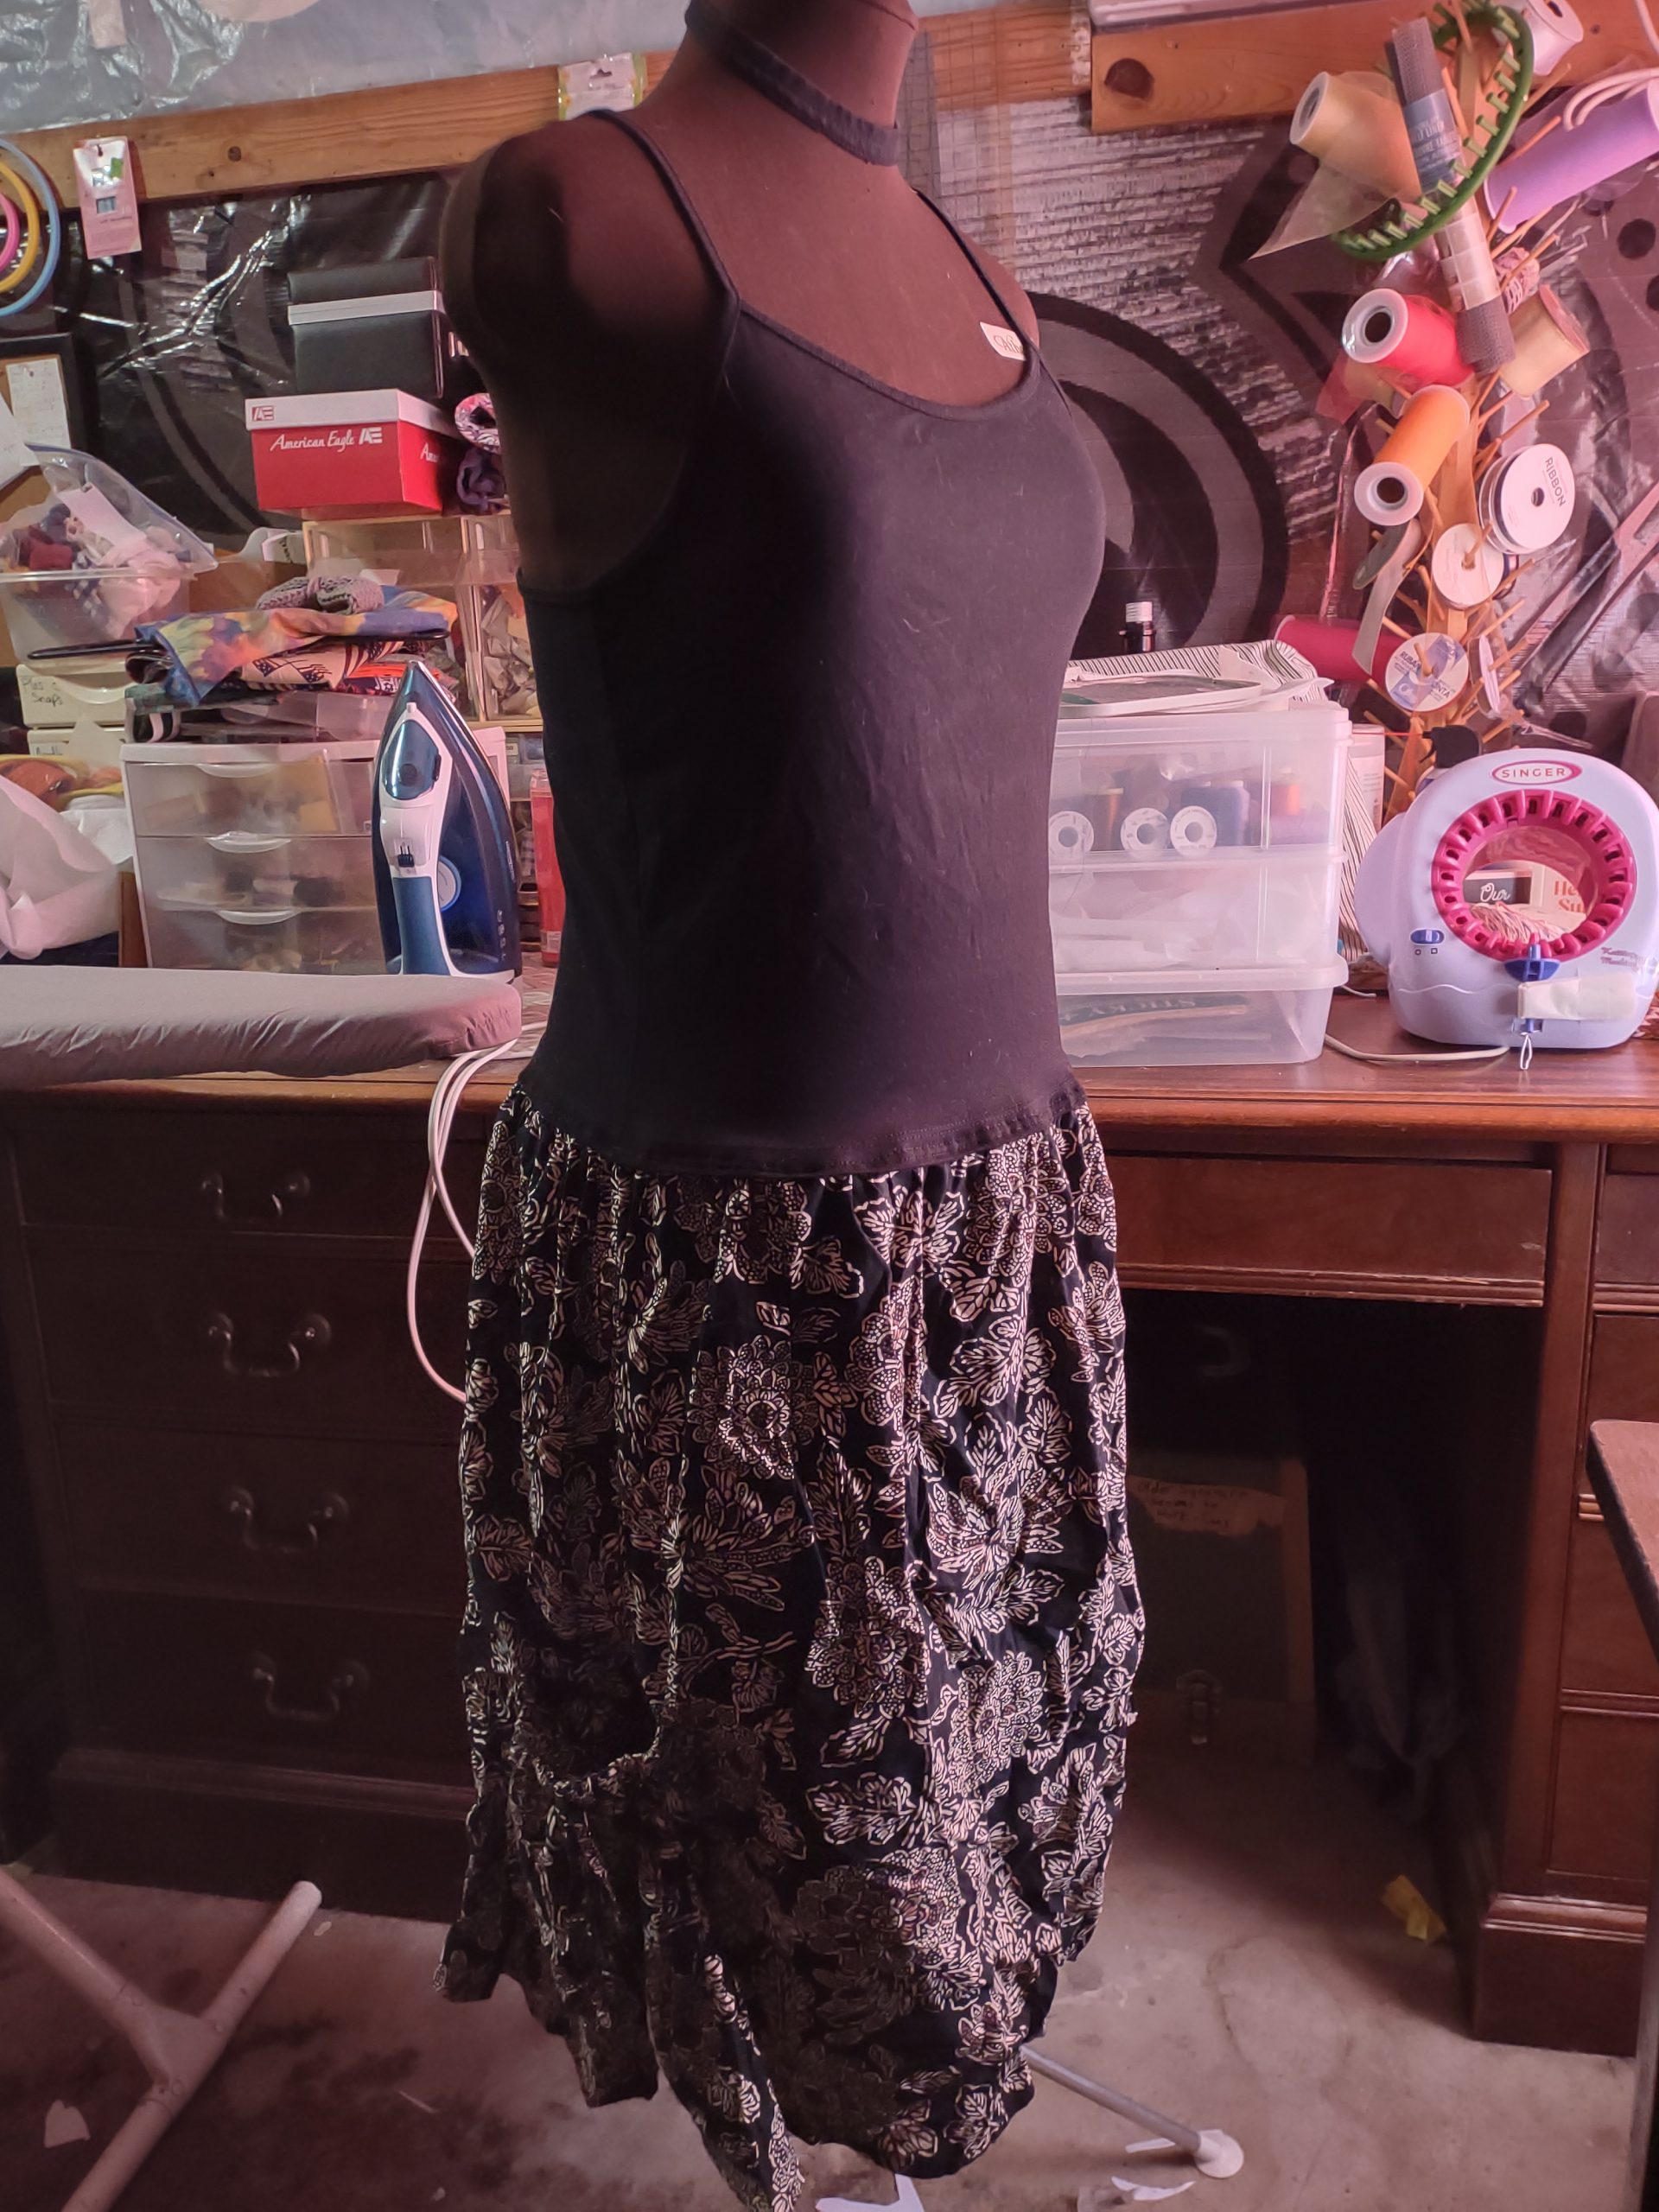
I decided to both lengthen it and add more room at the sides by inserting triangles of fabric. I hate wearing woven tops that are fitted, so I thought that might make it more wearable to me. Here is the end result:

I’m not sure that I’m happy with it. Looking at it now, I think I need to add something from the bottom fabric to the top to tie it all together. I may make two patch pockets and attach them at the bottom of the original shirt and overlap onto the new fabric. Maybe an applique on the back as well? Thoughts?

Like this post? To make sure you never miss a future post, please sign up for my newsletter.

Posted on Leave a comment

Quick Denim Jeans Upcycle and a Refashioned Dress

I’ve been working my way through my clothing stash and thought I’d share a couple of refashion projects. For the first, I took the leg of an old pair of denim jeans and upcycled it into an apron. Here’s a quick video of that project. 

Upcycled jeans to apron

For the second, I refashioned a sundress. I didn’t take a before photo of the sundress, unfortunately. A strap on it had broken and the top was shaped for boobs, which I don’t have, lol. I really liked the dress, though, because it’s a lightweight, breathable cotton and it has big pockets. So, I took a Wild Fable cami that I didn’t like because the hem would ride up and attached the bottom of the sundress to it.

Upcycled dress refashion
Upcycled dress refashion front view

Now I have another super-comfy dress to wear in this insane heat. I am so ready for fall.

Like this post? To make sure you never miss a future post, please sign up for my newsletter.

Posted on Leave a comment

Help! What is this Vintage Fabric?

Beige fabric

I’ve listed two “new” vintage fabrics in the shop, but wondering if anyone can help with giving more information about them. I love second hand materials, but not having all the details is a bit frustrating. They are: 

Vintage Beige Fabric Yardage 

Beige fabric

Vintage Violet Purple Fabric Yardage

purple fabric

I’ve burn tested them, and they tend to burn quickly. The burned edge seems more melted than ashy, which leads me to believe they are a synthetic or a synthetic blend. Here’s a video of the beige burn test:

@subearthancottage

Burn testing some vintage fabric. I think this one is a synthetic or synthetic blend. I’m listing some of my fabric stash at https://subearthancottage.com #sewing #vintagefabric #fabricdestash

♬ Dream Away – Ramol

The violet fabric burns in the same way.

I’m also not sure if there is a name for that type of tiny stripe pattern. Up close you can see the lines, but from a distance it almost looks solid.

Any help would be appreciated!

Posted on Leave a comment

Summer Sewing anyone?

buttons

I’ve been spending a lot of time reorganizing my craft room lately, and I’ve come to the conclusion I have way too much stuff. So, I’m destashing some of my supplies. Today I listed four different fabrics that all would be cute for summer, picnic or, if you’re in the USA, July 4th decor.

Let me know if you have any questions, are looking for a particular vintage quilting cotton, or need buttons. I have a lot of quilting cotton, but it’s nothing compared to my button stash. I’ll get them all listed eventually, but if you don’t see what you need, please ask. I just may have it. Especially if it’s buttons. Seriously. I have ALL. THE. BUTTONS.

buttons

That’s just the vintage, multicolor loose buttons, so maybe 1/4 of my button collection. 😀

Posted on Leave a comment

6 Simple Self Care Practices You Can Start Now

Between work, home, and family responsibilities, do you often feel that all your time is spent taking care of others? Neglecting self care is easy, especially for moms, but the consequences can be serious. Adding self-care practices to your daily routine can greatly strengthen your health and well-being. It’s like they tell you when flying. You need to secure your own oxygen mask before helping others. Otherwise, you won’t be able to help anyone else.

Here are 6 basic self care practices to get started:


  • Block out time for self-care in your schedule. It’s not enough to occasionally stop your busy lifestyle and take a walk or indulge in a hot bath. Self-care is an ongoing process. Just as you reserve time in your schedule for other appointments, set aside time to take care of yourself, too.  It’s important to adopt self-care habits that you can enjoy on a regular basis. They’ll help you avoid burnout, increase your productivity, and allow you to enjoy life.
  • Enjoy your favorite hobby. Whether you love to experiment with new recipes in the kitchen sew, or paint pictures of sunsets, your favorite hobbies can be part of self-care. Hobbies and activities that you already enjoy are easy to select and put into practice. You just have to find room in your schedule to do them. This is an important step and shows your commitment to self-care.
photo of person holding cup
Photo by Alina Vilchenko on Pexels.com
  • Make note of the compliments you receive. You can enjoy this self-care practice even as you work or run errands! Start taking notes of the compliments you receive. You can keep them in a journal, diary, or online folder. Your compliment folder can also include emails, notes, thank you cards, and other things that make you smile. This self-care practice can help you fight negative thoughts. Compliments can serve as reminders that you matter, your existence is important, and someone appreciates you. On that same note, find reasons to give genuine compliments to others. It just might make their day, too!
  • Remove clutter. Whether you decide to declutter your closet or clean out the fridge, removing clutter will uplift you. Clutter can drain you physically and mentally. It can also make you unhappy as you try to move through your day.  Eliminate the things that no longer serve you. For example, if you’re keeping clothes in your closet that you hate each time you open the door, replace them with clothes that you love. Since you’re here, you probably sew. 🙂 Old, ill-fitting or clothing that just isn’t your style can be altered or used for the fabric and notions. That way you can eliminate clutter frugally and engage in your hobby.
Self care
  • Do one selfish act. Living selfishly all day isn’t recommended, but doing one thing just for yourself that makes you happy can do wonders. You can enjoy just that one thing without feeling guilty about it! If you struggle with self-care, it’s often because you spend all of your energy and time taking care of others. There’s nothing left in your well for yourself. By taking the time to do one selfish act, such as reading your favorite book or ignoring a boring phone call, you’ll be restoring your own importance.
  • Check off important health related self-care tasks. This is the most important one of all. Self care on social media is all about the relaxing baths, the books, hobbies, etc. Those things are an important element, but far more important is taking time to have that checkup, go to the dentist, or find a therapist. Take a moment to schedule that appointment that you’ve been putting off. I’m in the US, so I know that access to healthcare isn’t always easy, but there are some resources and low-cost options to explore.

Self-care often takes a backseat to work, family, and other obligations. However, without stopping to take care of your mind and body, you’re at risk of burning out and suffering from serious health issues. Start making time for your self-care practices today! 

To make sure you never miss a post, please sign up for my newsletter.

Posted on 1 Comment

How to Prewash Your Fabric for Beautiful Sewing

pile of cloth

In order to have high quality finished products, it’s best to prewash your fabric. Without this step, your finished product can shrink and look uneven or lumpy when it is eventually washed. It’s not a good idea to just toss your fabric into the wash, though, as it comes out a stringy, tangled mess. Luckily, there’s a few different ways to make prewashing your fabric painless.

Overlock the cut edges

If you have a serger or overlock machine, serge the cut edges before washing. You shouldn’t have to worry about the selvedges as they won’t unravel. This is my favorite method. I usually just leave the thread tails long and they don’t unravel enough to be annoying.

close up photo of sewing machine
Photo by cottonbro studio on Pexels.com

Use your Sewing Machine

With a sewing machine, you can sew a quick zig-zag or similar stitch along the cut edges to prevent fraying. Even a straight stitch would probably work, although I haven’t tried it. You will probably need to back-tack or knot the ends to keep it secure through the wash.

Pink the edges for a painless prewash

If you have pinking shears, cut the fabric with the pinking shears along the cut edges. The edges will still get fuzzy, but shouldn’t unravel.

pile of cloth for prewash
Photo by Digital Buggu on Pexels.com

One bonus of using one of these methods is it’s easy to know at a glance which fabric from my stash was prewashed.

I know probably 90% of the people reading this are thinking “Duh!” because it’s such an obvious fix. The other 10% are wondering why they didn’t think of that, much like myself when I first learned the trick.

To make sure you never miss a post, please sign up for my newsletter.

Posted on Leave a comment

Today is a Day for Mending Worn Out Denim Jeans

I realized a few days ago that my favorite pair of denim jeans were wearing through at the inner thigh, so I set them aside to reinforce before they were beyond the point of easy repair.

This morning, I planned to mend them and then tackle adding patches to an older denim skirt refashion. I got all those repairs done and was planning my next project when I ripped the knee out of the jeans I’m wearing.

Worn out knee in my denim jeans

These are honestly worn pretty thin and they’re not my preferred cut, so I’m not sure if I will mend these or add them to the repurpose pile. 

If you’d like to learn my method for reinforcing worn spots in denim, check out this blog post. It’s actually really simple and works well, if you don’t procrastinate. If you procrastinate, then all your jeans wear out at once and you think, “Maybe I should just go get a pair of the ones I like from Old Navy,” but then you discover that they have discontinued that particular style and now you think you’ll never find comfortable jeans again, which is sad because you really like wearing jeans. Or something.

Have a great weekend!