Creating your own aromatherapy bath salts is a terrific way to enjoy aromatherapy at home. Surprisingly, bath salts are very affordable to make and require no harsh ingredients. In fact, the main ingredients in bath salts include baking soda, table salt and epsom salt. Each of these are commonly found in a local grocery or retail store and are safe to use. The advantage to creating your own bath salts is that you can tailor the recipe to your needs and preferences. This way, you also know that the ingredients are going into your product safe for you to use.
Basic Aromatherapy Bath Salt Recipe
First, you’ll need a large mixing bowl and spoon reserved for this type of project. Essential oils are not easily washed out, especially if you use plastic, so keep this bowl separate from your food prep bowls. The next step is to add 3 cups of epsom salt, 2 cups of baking soda and 1 cup of table salt into the mixing bowl. You can also add pink Himalayan salt or sea salt instead of table salt. Once each of the ingredients are added, begin mixing them with your hand or the spoon.
Coloring your Aromatherapy bath salts
If you’d like to color your bath salts, food coloring is a great option. If I’m coloring my bath salts, I try to match the color to the intended purpose of the bath salts. For example, if I’m making lavender bath salts for relaxation, I would choose a calming color like blue or purple.
Once mixing is complete, slowly add the food coloring to the mixture. Adding more drops will darken the color and adding fewer will make it softer. If you’re blending colors, such as blue and red to make purple, mix them before adding to the bath salts. Otherwise, you will end up with splotches of red and blue, not an even purple.

Adding the essential oils
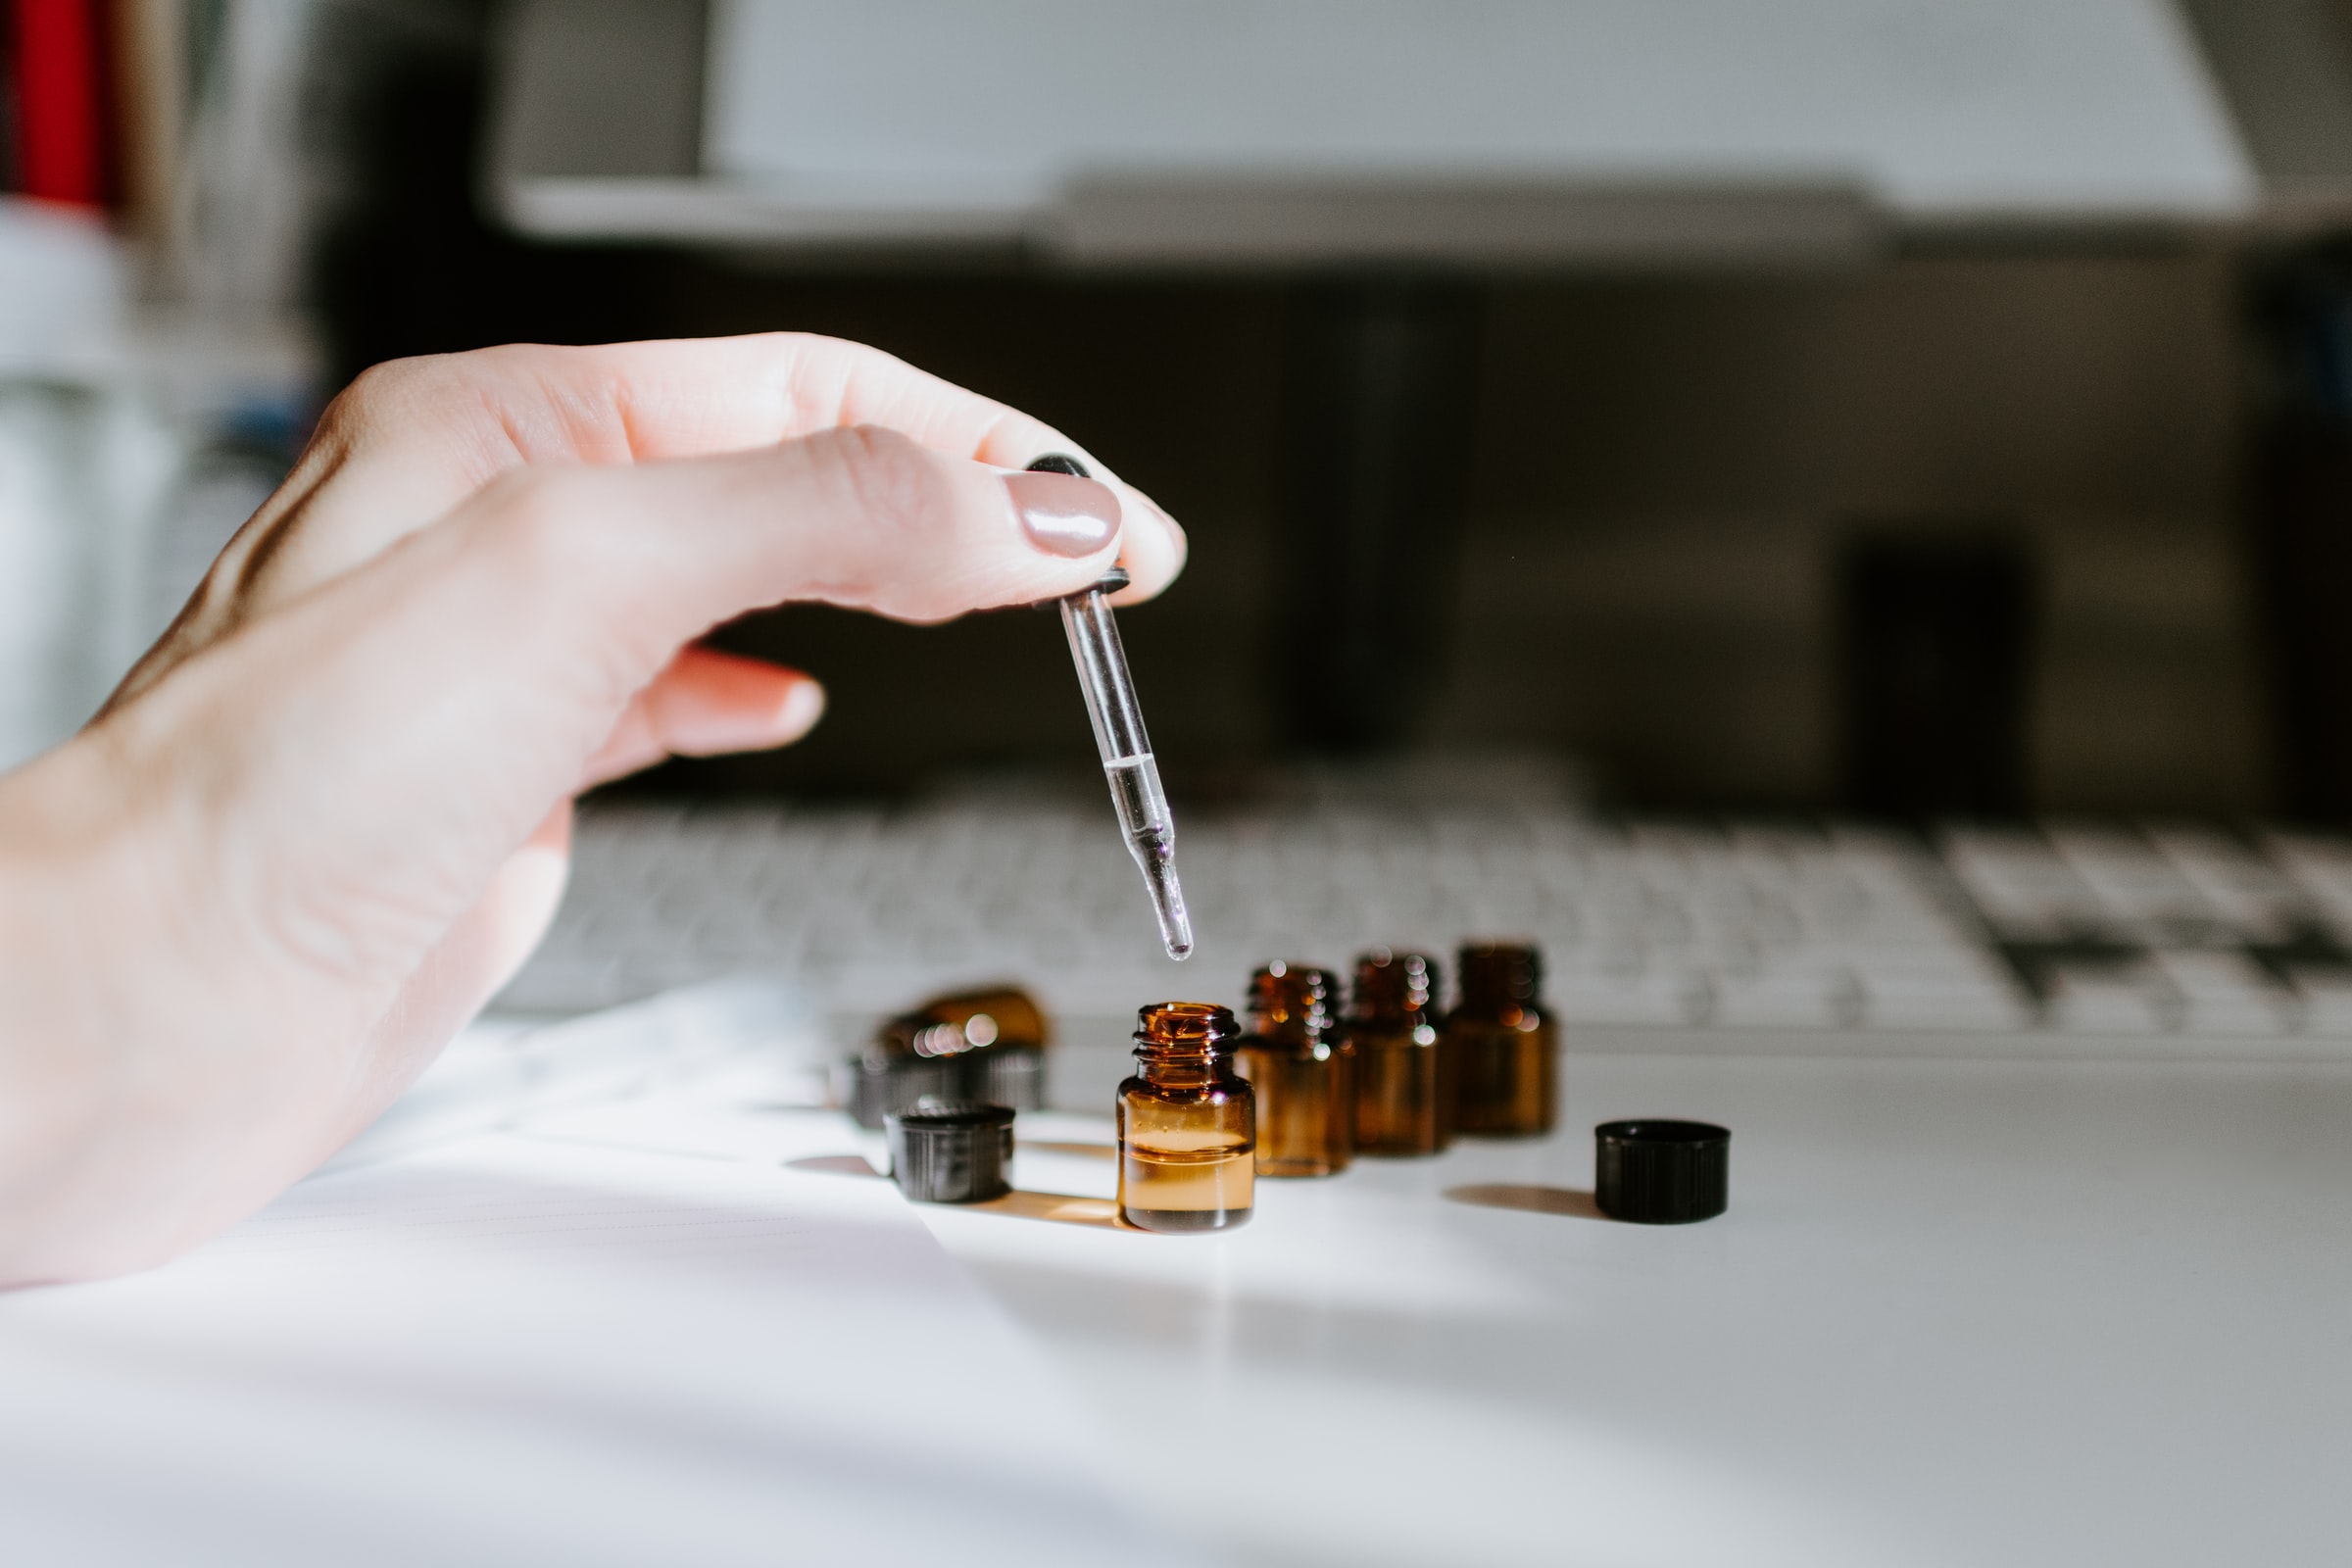
The final step is to add essential oils until the desired scent is achieved. While I have made lavender bath salts by adding the lavender essential oil directly to the salt mixture, it is best to dilute the essential oils in a carrier oil. This is especially important with things like peppermint essential oil that could be very uncomfortable in a bath if not diluted properly (essential oils do not dilute in water!)
I like to use 1-2 tablespoons of carrier oil and add the essential oils until I get the scent level I’m needing. Ten drops of essential oil per cup of bath salts is a good guideline to start. I then add the diluted essential oils to the salt mixture and blend well.
Essential oil alternatives
If you’d prefer not to use essential oils, you can use skin safe fragrance oils or a bit of your favorite perfume. Just be absolutely sure anything you add is made to use on skin. I would use the same method for adding the fragrance as for essential oils.
Storing your Aromatherapy bath Salts
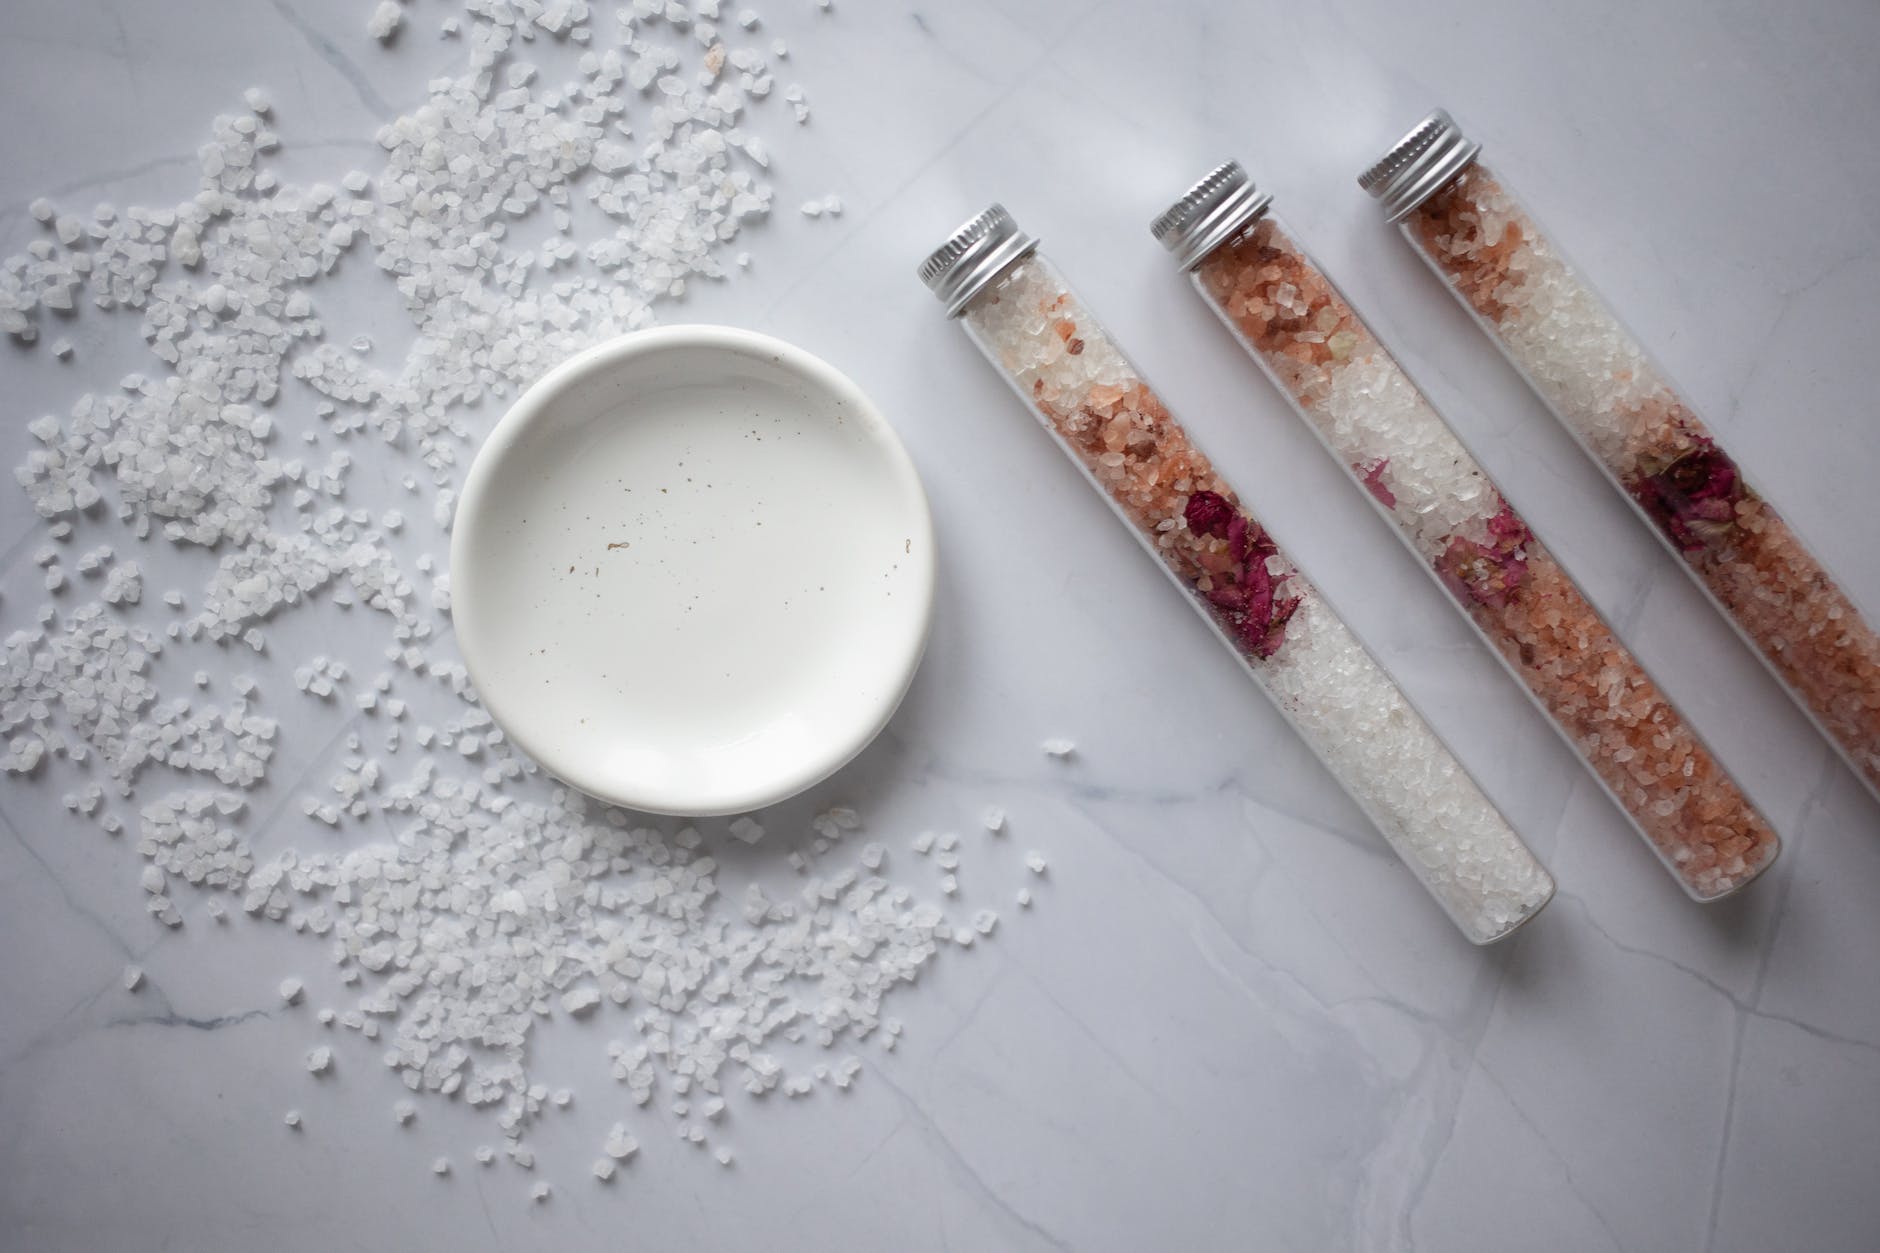
For the best results, store your bath salts in an airtight container. I like using glass canning jars because they are reusable, the essential oils don’t get embedded into the glass, and they are pretty. If you choose to use glass too, just be careful not to drop them in the tub.

I do offer aromatherapy bath salts in my shop, so check them out if you’d prefer not to make them yourself. 🙂
Like this post? To make sure you never miss a future post, please sign up for my newsletter.