I just wanted to take a minute to let you know about my PDF printable or digital journals and planners. There’s currently ones for Fitness, Yoga, Reading and Meal planning. I should have a few more added by the end of the week. I also have a TON of sewing to do, so we’ll see how it goes.
Each planner is only $5 and can be used over and over again.
Today’s words of wisdom, brought to you by Sylvester the Cat and my favorite Yogi tea. (not sponsored) “Love is the highest of all virtues.”
Right on, Sylvester.
I’m prepping for my first market since my oldest was an only child. 😬 If you’re local, come check it out. All the details are in the second photo. I’ll have all my handmade goodies from my shop out there.
A few minutes after my 5 am alarm went off, strong storms knocked out electricity in our neighborhood. So far our home seems to be without damage, just some branches and things knocked over that are easily dealt with.
Hopefully the electricity comes back soon, though. I just did about $300 worth of grocery shopping this weekend. It would really suck to have to replace it
If you know me, you know I love coffee, and I prefer my morning coffee hot. I’m not ready to dig out a camping stove yet, so I tried a hack I saw floating around. You put four tea lights in the cups of a muffin tin and put a pan of water or whatever you’re trying to heat above them. I fully expected it not to work, but it did! The water even started boiling. It did take a while, but I got my hot coffee.
I did try using my tea kettle first, but the saucepan worked better.
Since the electricity is out, I am writing this on my phone, so please excuse any typos. 😄
In today’s economy, saving money at home isn’t just a smart move—it’s essential. Whether you’re looking to build an emergency fund, reduce debt, or simply need more funds for food or rent, mastering the art of frugality can make a significant difference. Here, we’ll explore ten easy ways to cut costs and boost your savings without sacrificing comfort or quality of life.
1. Embrace Meal Planning
Meal planning is a simple yet effective way to streamline your grocery shopping and reduce food waste and unnecessary purchases. By planning your meals for the week, you can avoid impulse purchases and ensure you’re using ingredients efficiently.
How to get started:
Set aside time each week to plan meals.
Create a shopping list based on your plan and stick to it.
Incorporate leftovers into your meal plan to maximize usage.
If you need a little help, I have a Meal Planner in my shop. It’s in PDF format, so you’ll get it instantly, and you can either print the pages you need or use them digitally. It’s on sale for a limited time for only $0.99, so get it now.
2. DIY Home Maintenance
Handling minor home repairs and maintenance yourself can save you a ton of money. You can find tutorials for just about anything online for free. I usually watch or read a few before starting to really know what I’m getting into, and different people have different tips and tricks.
How to get started:
Start with simple tasks like fixing leaky faucets or painting walls.
Use online tutorials and guides to learn new skills.
Invest in a basic toolkit for home repairs. For bigger tools, see if there’s a place to rent them or if a friend has one you can borrow until you know it’s worth purchasing.
With streaming services for everything, cutting the cord on traditional cable can lead to big savings on your monthly entertainment bill. It’s easy to subscribe to so many that you end up not using them often enough to justify the cost.
How to get started:
Evaluate your current cable and/or streaming usage and identify unnecessary channels.
See what streaming services you’ll realistically use this month. You can always pause or cancel and resubscribe in a month or two to lesser used ones. I try to only have one or two active subscriptions at a time.
Don’t forget about free streaming channels, YouTube and antenna TV as well.
Look for bundles that offer internet and streaming services together.
4. Optimize Energy Efficiency
Improving your home’s energy efficiency can greatly reduce utility bills and contribute to environmental sustainability.
How to get started:
Replace incandescent bulbs with energy-efficient LEDs.
Seal drafts around windows and doors.
Use a programmable thermostat to optimize heating and cooling.
Unplug or turn off things when not in use.
Take advantage of sunlight and nice outside temperatures by opening windows and turning off the AC.
Dress efficiently for the temps. Add or subtract layers before reaching for the thermostat.
5. Practice Mindful Consumption
Being mindful about what you buy and consume leads to smarter financial decisions and reduces clutter in your home. (Bonus: Less clutter means less to clean!)
How to get started:
Ask yourself if a purchase is a need or a want before buying. It’s okay to splurge on a “want”, but it’s important to know the difference with mindful spending.
Declutter regularly to understand what items are truly worth it. If you didn’t use something similar the first time, you probably don’t need it.
Practice gratitude for what you have, reducing the urge to buy more.
Be creative! Do you already own something that could work instead? Can you easily make it?
6. Grow Your Own Food
Starting a small garden can provide fresh fruits, herbs and vegetables while reducing grocery expenses.
How to get started:
Start with easy-to-grow vegetables like tomatoes, lettuce, and herbs.
Use vertical space or try container gardening if space is limited. (Container gardens are a good way to reuse plastic containers, too!)
Learn about composting to enrich your garden’s soil.
Green bell peppers
7. Make Use of Public Libraries
I love the library! Public libraries offer a wealth of free resources, from books, ebooks and movies to workshops and events. One of my local libraries now offers kits for things like baking, exercise, self-care and gardening that you can check out. I’ve even heard of libraries offering seed-sharing catalogs.
How to get started:
Sign up for a library card and explore the available resources. If you’re in a metro area, there’s a good chance you have access to more than one library.
Make friends with your librarians. They’ll let you know about new books and resources that are of interest to you.
Check out digital offerings, such as e-books and audiobooks.
Attend free workshops and community events.
8. Embrace Second-Hand Shopping
Everyone knows I love thrifting. There’s not much in my home that I bought new. Buying second-hand items can save money and keep things out of the landfill.
How to get started:
Explore thrift stores, consignment shops, and online marketplaces.
Look for quality items that are gently used or easy to mend or repurpose.
Attend garage sales for unique finds. Garage sales are usually cheaper than thrift stores but can take more hunting to find what you need.
Don’t forget about free second-hand shopping. Look for local buy nothing groups, “come and get it” postings, and good, usable stuff people are throwing away. One (wo)man’s trash is another (wo)man’s treasure, just make sure it was actually intended as trash, and familiarize yourself with local dumpster diving laws if you’re going that route.
9. Cancel Unused Subscriptions
Unused subscriptions can quietly drain your finances. Cancelling them can free up extra cash.
How to get started:
Check your bank statements for recurring charges.
Evaluate each subscription. Are you actually using it? Is there a free option that can fill it’s place?
Cancel those that are not used or necessary, or pause them if you know you’ll need them in a few months.
10. Implement a No-Spend Challenge
It’s easy to get into spending habits. A no-spend challenge involves refraining from non-essential purchases for a set period of time. This helps make it easier to identify non-essential and impulse purchases, saving you money during and after the no-spend challenge.
How to get started:
Choose a timeframe (week, month) and define what counts as non-essential.
Focus on using what you have and finding free activities.
Reflect on the challenge to identify spending triggers.
Brainstorm other ways to handle triggers and make do with what you have.
Conclusion
Adopting creative strategies to save money at home is not just about not spending—it’s about making mindful, intentional choices that lead to better financial health and sustainability. Not all of these tips will work for everyone, but implementing even a few can help with your financial burden. What other tips can you share? Please, comment down below.
Meal Planner PDF Printable or Digital Use
Stay organized and take the stress out of meal planning with our versatile PDF Meal Planner! Whether you prefer to jot down your ideas by hand or manage everything digitally, this meal planner is the perfect tool to keep your meals on track.
Features:
Printable Design: Print the planner to create a tangible guide for y…
$5.00Original price was: $5.00.$0.99Current price is: $0.99.
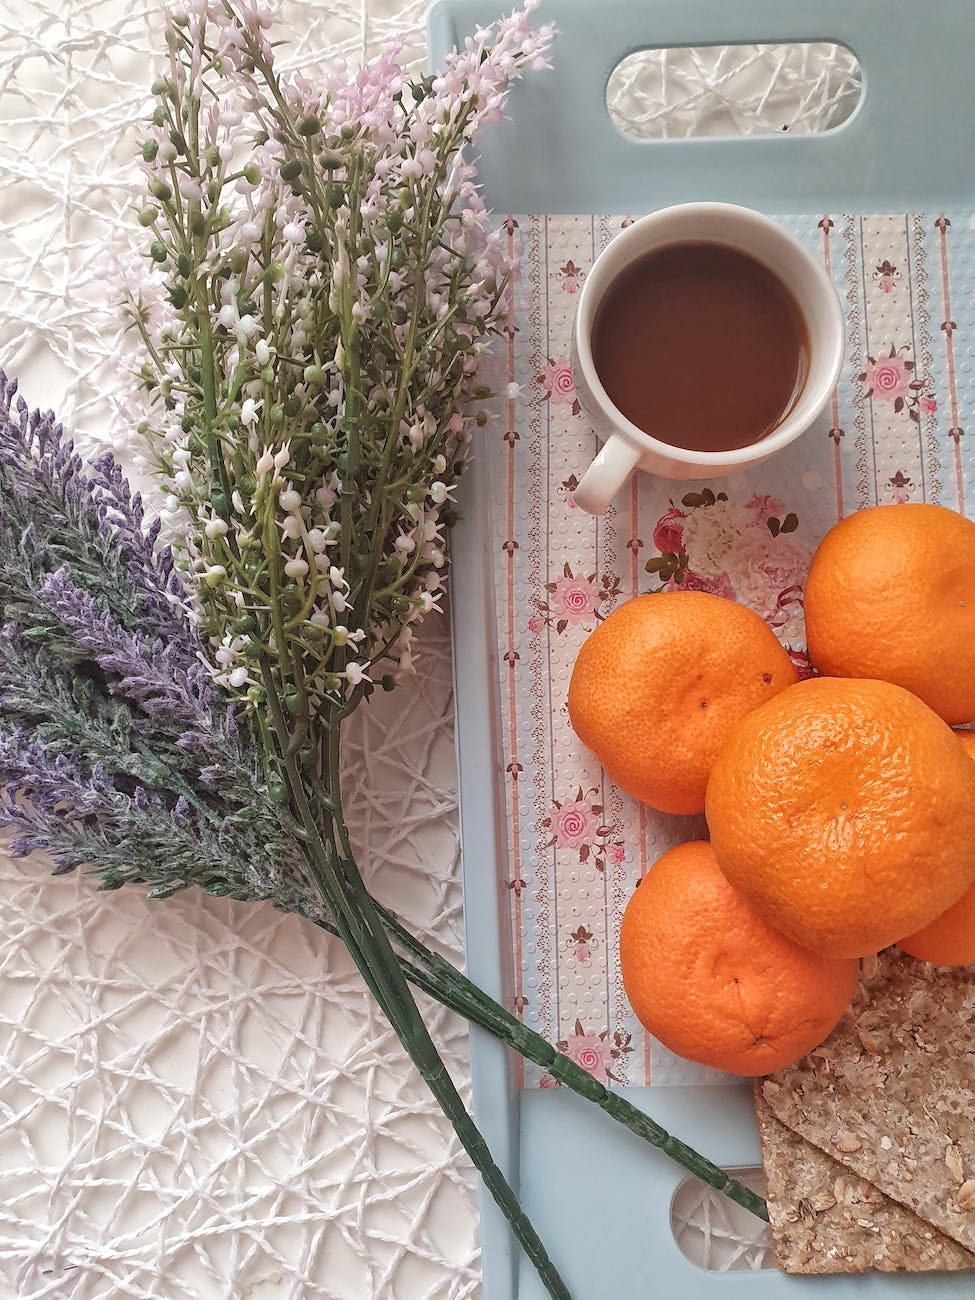
We’re supposed to have a long stretch of rain. I love the grey skies, the cooler weather, the scent of rain in the air before it hits. Unfortunately, I’ll be spending most of my day at my desk with the window open rather than out on my porch. I did take a few photos of the mostly wild flowers in my yard to bring in a little of the outside.
Pink Evening Primrose Flowers
These are pink evening primrose. I haven’t really explored any medicinal or nutritional value they might have. I know evening primrose is a big one for aiding in hormonal issues. I’m not sure if this variety carries the same benefits, however.
Sunflowers
These are sunflowers, with a few of the pink evening primrose peaking out from under them. These produce smallish flowers but get really tall, like 6+ feet. I’ve heard that you can cook the flower buds and they taste like artichoke. I may have to try that this year.
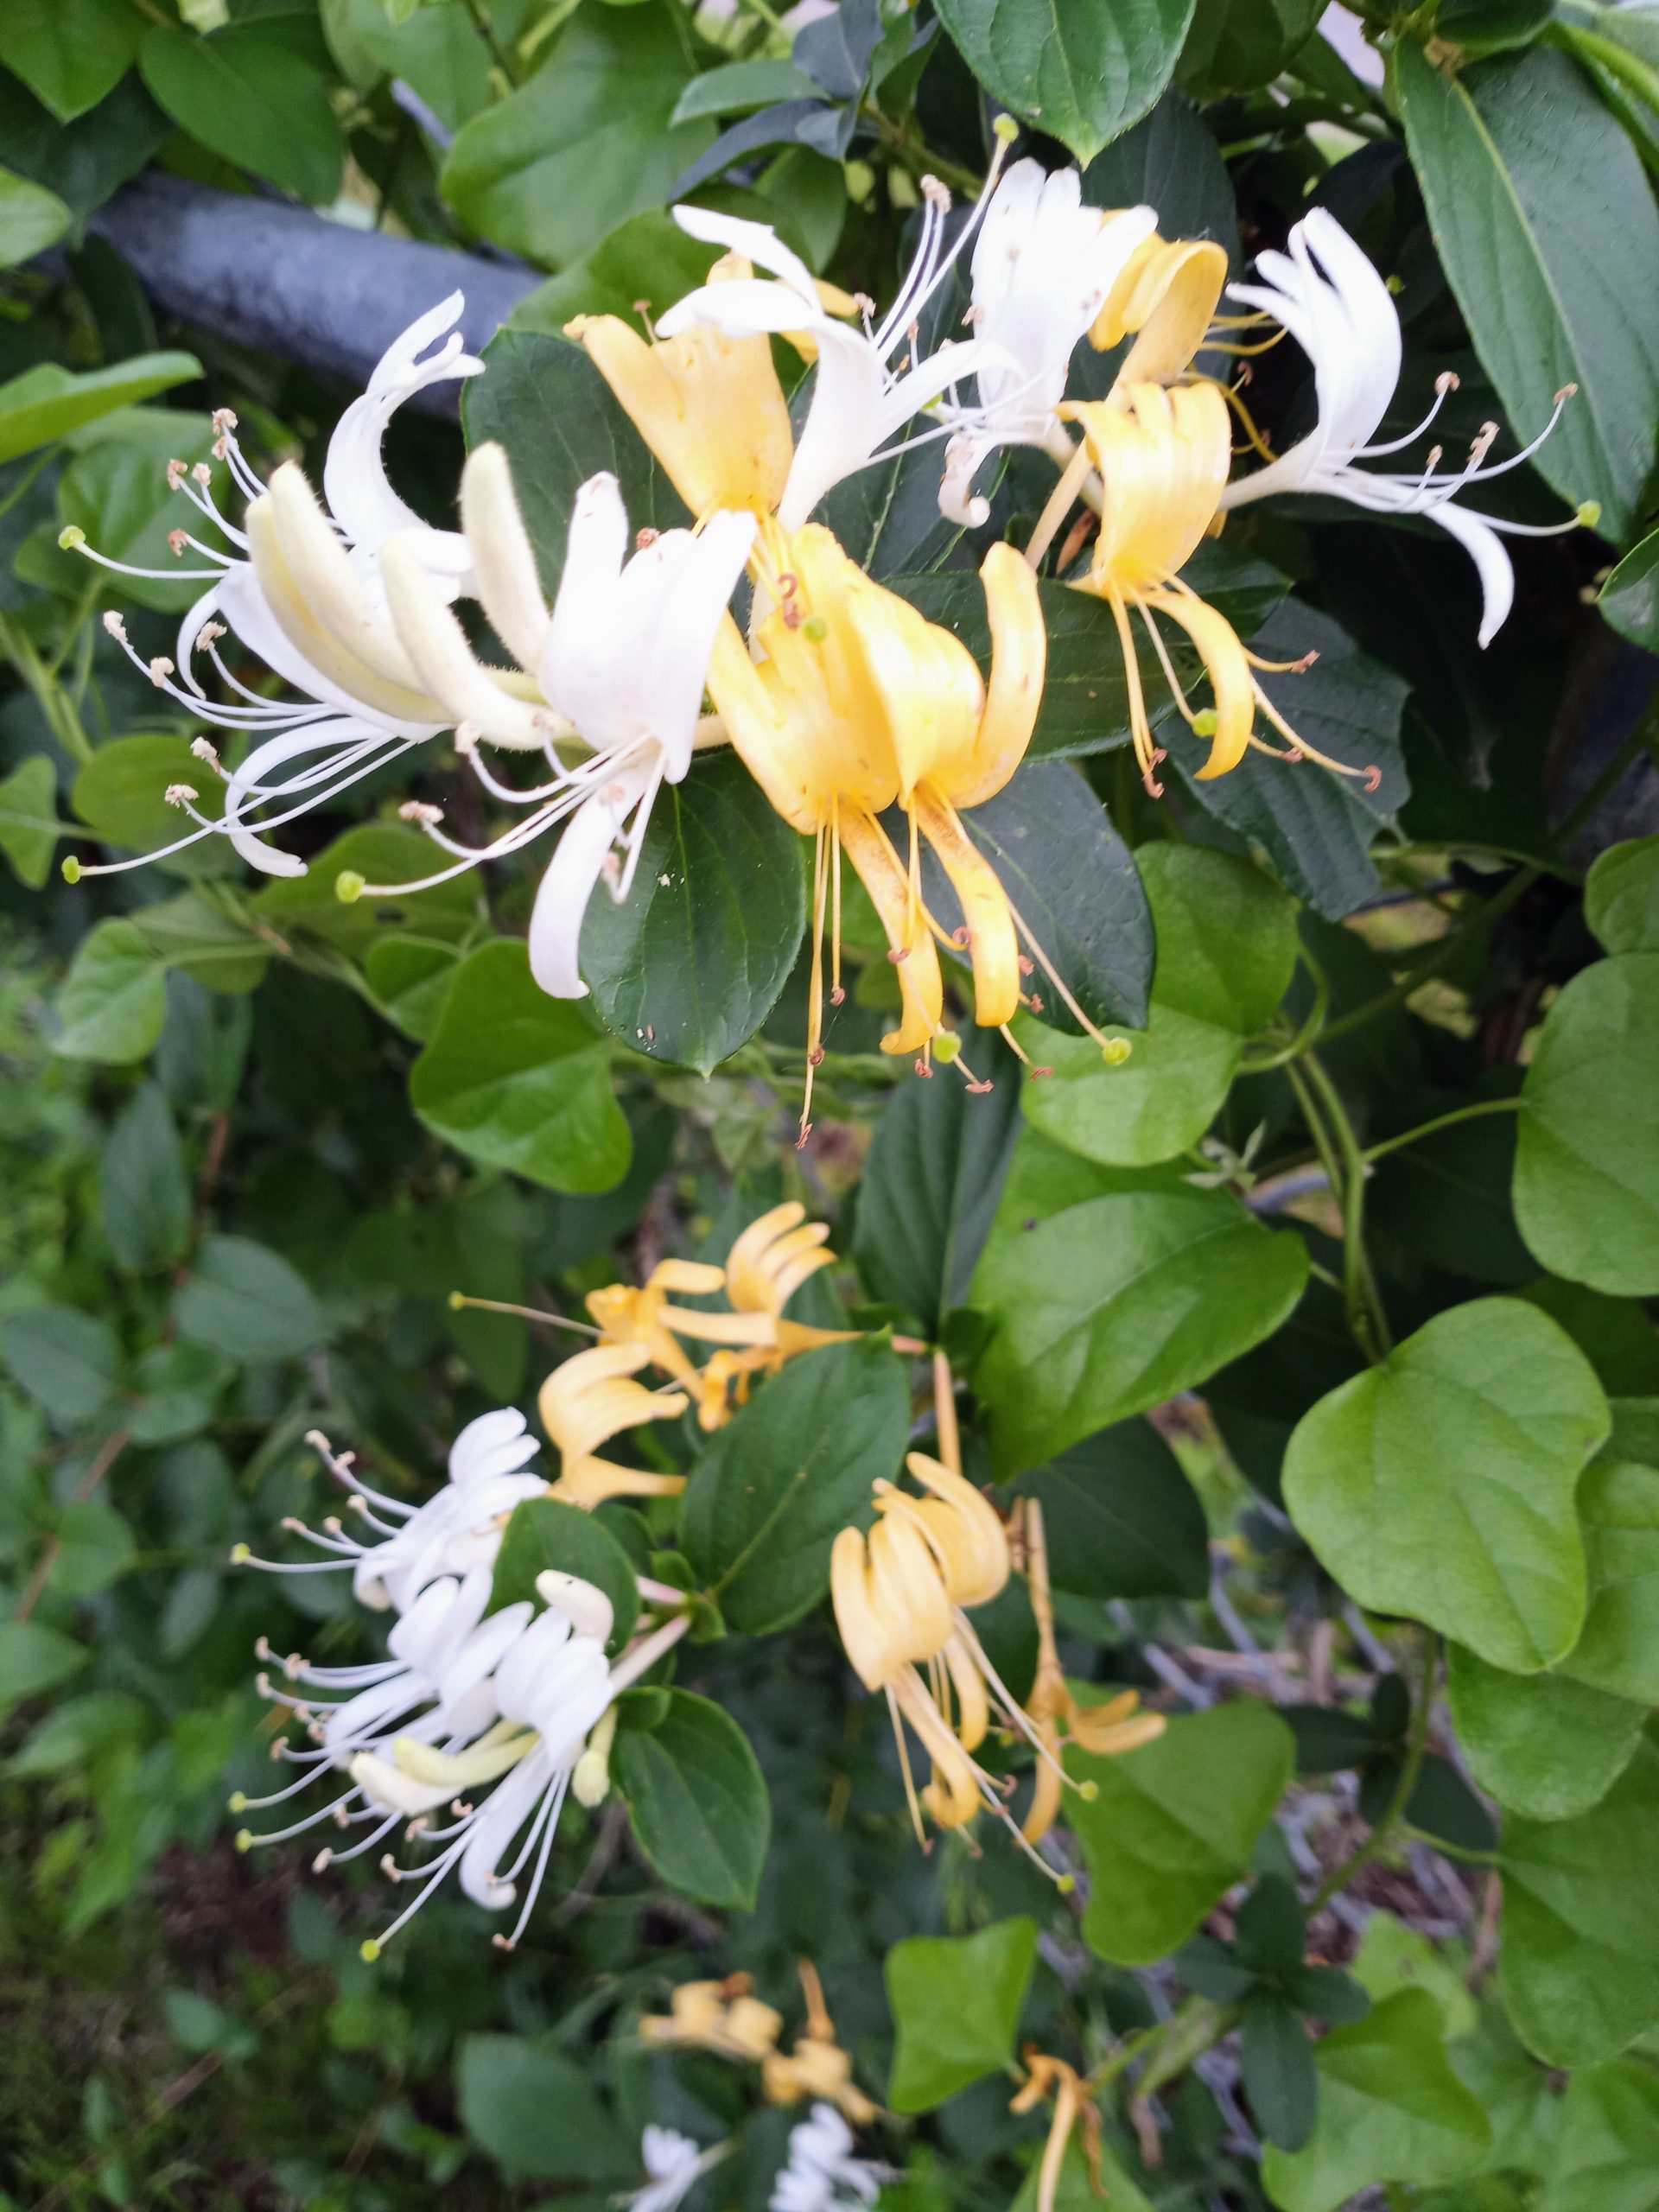
Honeysuckle Flowers
Japanese honeysuckle. I know this is an invasive plant and I should hate it. It smells so pretty, though, and the flowers are beautiful. I also learned last night that it has salicylic acid in the leaves and flowers and can be used as a mild pain reliever. (Salicylic acid is aspirin, so don’t try it if you are allergic and always consult your doctor before trying any sort of new medication, natural or not.)
Common Hedge Parsley?
I think I’ve finally identified this final flower. For years, I’ve searched online and used my Picture This app and haven’t seen anything that looked quite like what is growing in my yard. Today it identified it as common hedge parsley. From what I’m seeing online, that seems to fit. While hedge parsley is edible, the look-alike poison hemlock is clearly not. For that reason, I think I will leave it to the bugs and bees to sample.
To make sure you never miss a post, please sign up for my newsletter.
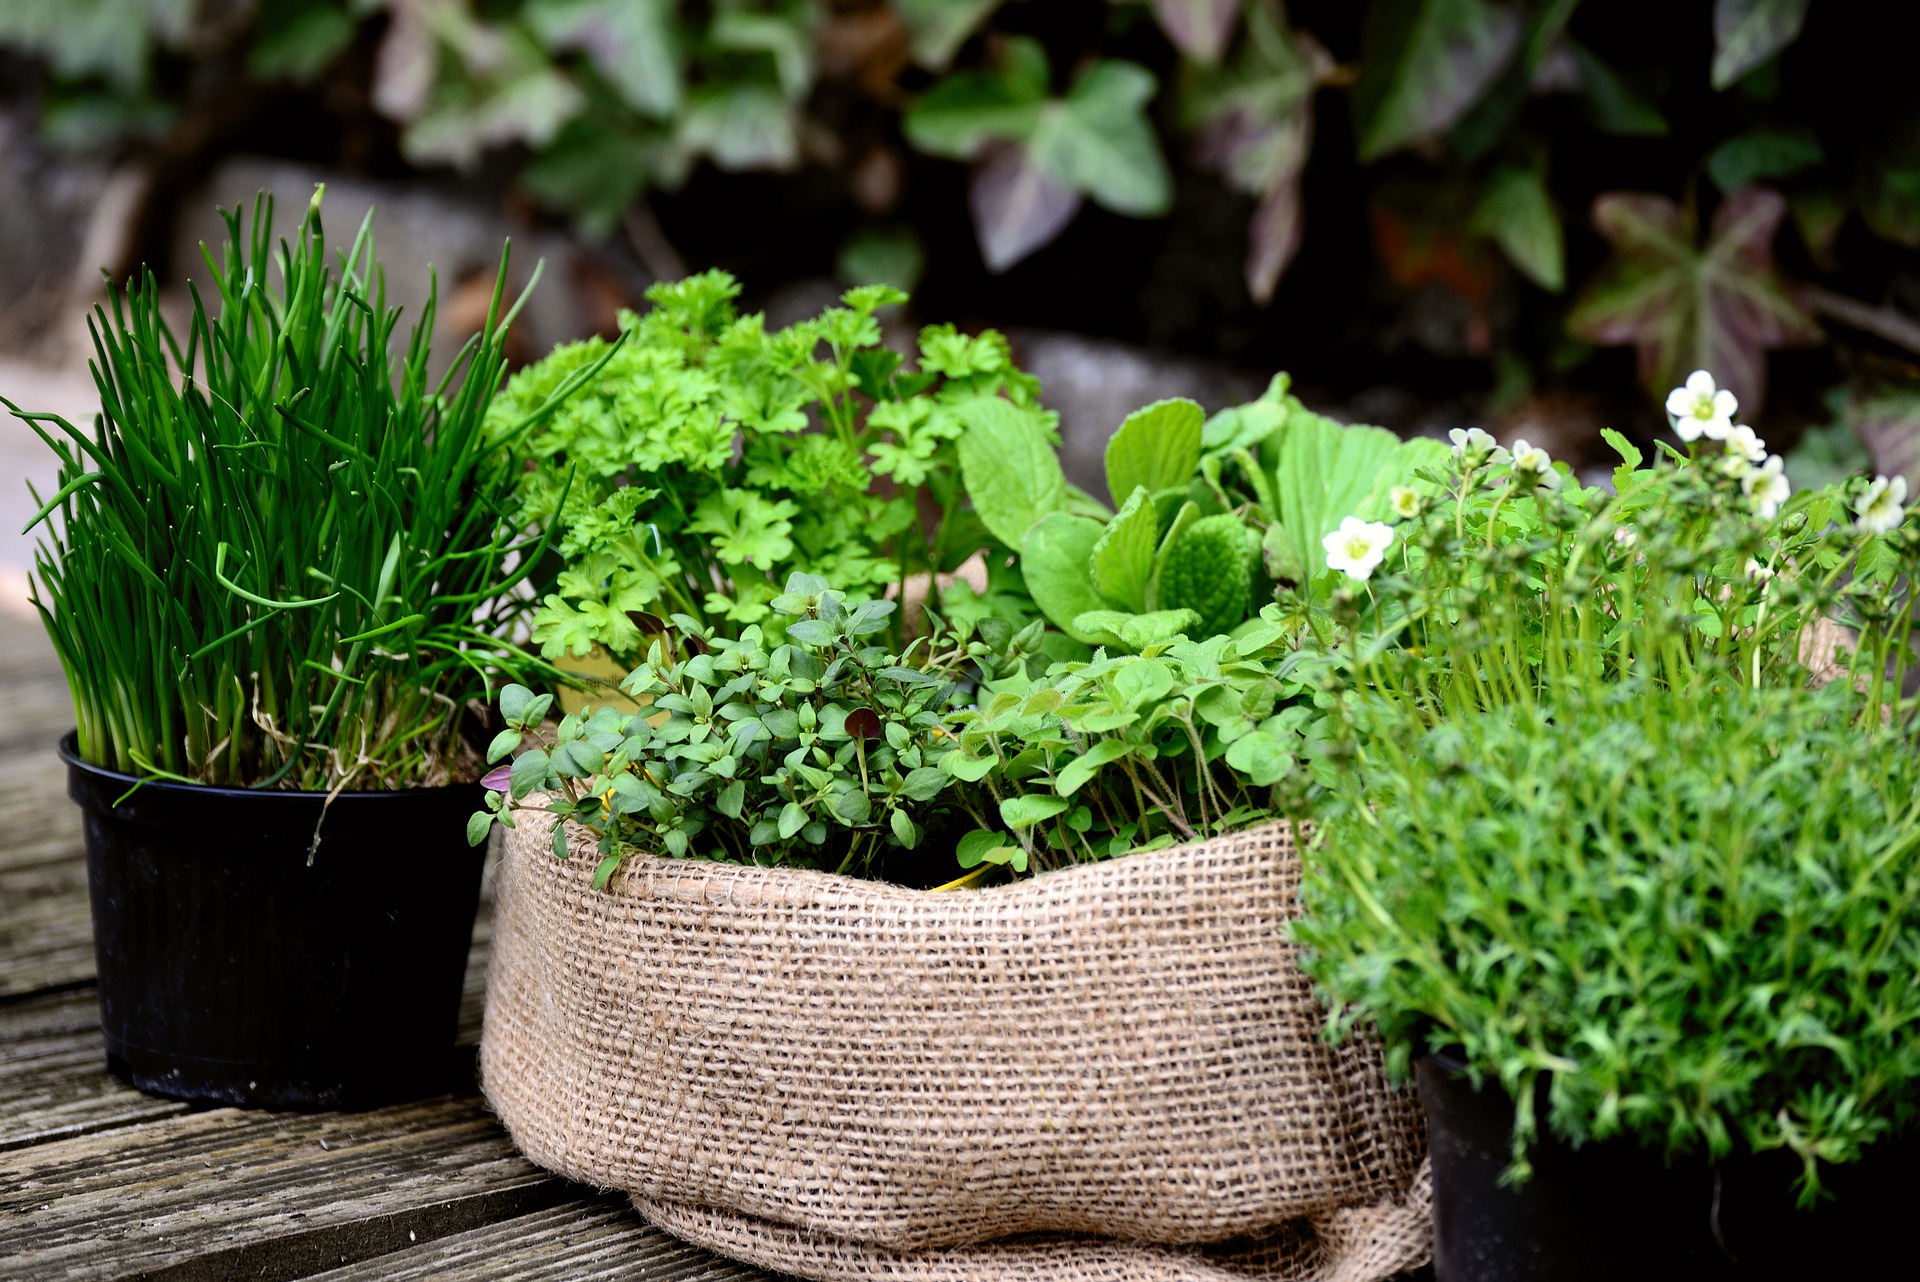
With the cost of everything going up, many people are turning to gardening as a way to save money on food. Depending on your location or gardening experience or abilities, a fruit or vegetable garden may seem daunting or just not possible. One way to get started that doesn’t require a huge amount of space is planting an herb garden. Dried herbs from the store are pricey, so growing your own still can help your budget while giving your food loads of fresh flavor.
Starting Your Herb Garden
Choosing Your Herbs
First you’ll want to choose the herbs that you’ll plant. You might have a hard time doing this because of the huge scope of herbs available. The most practical way to choose is to do what I did; look at what you have in your kitchen. By planting your own collection of the herbs you already use, you know you’ll get the most use from your garden. Some of the herbs you might start with include rosemary, sage, basil, dill, mint, chives, and parsley.
Don’t feel that you have to only start with these, though. If there’s an herb you’re curious about, give it a try. If plant medicine is something that interests you, research and plant a few basics like lavender, catnip or lemon balm.
Location
When choosing an area to put your herb garden, you should remember that the soil should have extremely good drainage. If the dirt gets watered and stays completely saturated, you have no chance of ever growing a healthy plant.
One way to fix the drainage problem is to dig a foot deep in the soil, and put a layer of crushed rocks down before replacing all the soil. This will allow all that water to escape, thus saving your plants.
Another way is to build a raised bed. This allows you to fill the bed with a suitable soil mix without having to dig down deep into your existing soil. Raised beds can be made from timbers, bricks or any suitable material you have available.
If you are incredibly limited on space or don’t have a yard at all, herbs are perfect for container gardens.
Getting your plants
When you are ready to begin planting herbs, you might be tempted to buy the more expensive plants from the store. However, with herbs it is much easier to grow them from seed than it is with other plants. Therefore you can save a bundle of money by sticking with seed packets. If you’re a little impatient (like me), a selectively chosen plant or two is nice for some greenery to tend while you wait for the seeds to sprout.
I personally haven’t had much luck with starting lavender or rosemary from seed, so I would choose those to get as a small plant. Plants in the mint family and basils do really well from seed, so save your money on those.
Once mints start growing, they can get out of control. The best way to prevent this problem is to plant the more aggressive plants in pots (with holes in the bottom to allow drainage, of course).
Harvesting from Your Herb Garden
When it comes time to harvest the herbs you have labored so hard over, it can be fatal to your plant to take off too much. If your plant isn’t well established, it isn’t healthy to take any leaves at all, even if it looks like it isn’t using them. You should wait until your plant has been well established for at least a few months before taking off any leaves. This wait will definitely be worth it, because by growing unabated your plant will produce healthily for years to come.
It’s a good idea to harvest from the ends of the plants as needed throughout the growing season to keep the shape and encourage new growth. The end of the season is when you’ll want to harvest and dry more of the plant for storage. Do check recommendations for the specific herbs in your garden as not all are the same.
Storing Your Herbs
Once you’ve harvested your delicious home grown herbs, you’ll want to use them year round. The easiest way to store them is drying. If you have a safe place to hang them to air dry that isn’t overly humid, that is the simplest. I also think this way preserves the most color and flavor.
You could also use a food dehydrator on the recommended settings. If not, don’t worry. You can dry them in the oven. This is easily achieved by placing them on a cookie sheet and baking them on the lowest setting, usually around 150 degrees Fahrenheit for 2 to 4 hours. After they’re sufficiently dried, store them in an airtight container such as a Ziploc bag or glass jar. I think they look beautiful in glass jars, so save any you get to upcycle as herb storage.
During the first few days of storage, you should regularly check the container and see if any moisture has accumulated. If it has, you must remove all the herbs and re-dry them. If moisture is left from the first drying process, it will encourage mildew.
Herbs are a fun, easy and useful way to get into gardening no matter what your space. I encourage you to give it a try.
Like this post? To make sure you don’t miss out on future posts, sign up for my newsletter.
I, Charity Sloan, am a participant in the Amazon Services LLC Associates Program, an affiliate advertising program designed to provide a means for sites to earn advertising fees by advertising and linking to Amazon.com. Any purchases through those links will result in my receiving a small percentage in commission.
This only refers to Amazon links found in/on my blog pages. All products in my shop are 100% mine and not linked to Amazon.
Prices are the same whether you click an affiliate link or a non-affiliate link, so you will not be charged more. Thank you for your support!