I know it’s still about a million degrees outside. I don’t care. I’m ready for cool breezes, for crunchy leaves, flannel shirts and all things pumpkin. As someone who runs off copious amounts of caffeine, my favorite way to enjoy pumpkin is a hot Pumpkin Spice Latte. Here’s my favorite recipe to make a pumpkin spice latte myself when a store-bought latte is too much of a splurge, or I just don’t want to leave the house. You can make it with tea, coffee or turn it into a smoothie for a healthy, frugal way to enjoy pumpkin spice at home.

Pumpkin Spice Latte Recipe:
- 1 and ¼ cup brewed coffee (or tea)
- 1 tablespoon of pumpkin puree
- 2-3 tablespoons of milk (original recipe called for coconut. I usually use almond milk. You can use whole milk, too.)
- 1/3-1/2 teaspoon cinnamon
- 1/8 teaspoon cloves
- ¼ teaspoon ginger
- 1/8 teaspoon allspice
- 1/8 teaspoon nutmeg
- Optional: a dash to 1/8 teaspoon of turmeric
- Maple syrup, sugar or honey to taste. I like maple syrup.
To make:
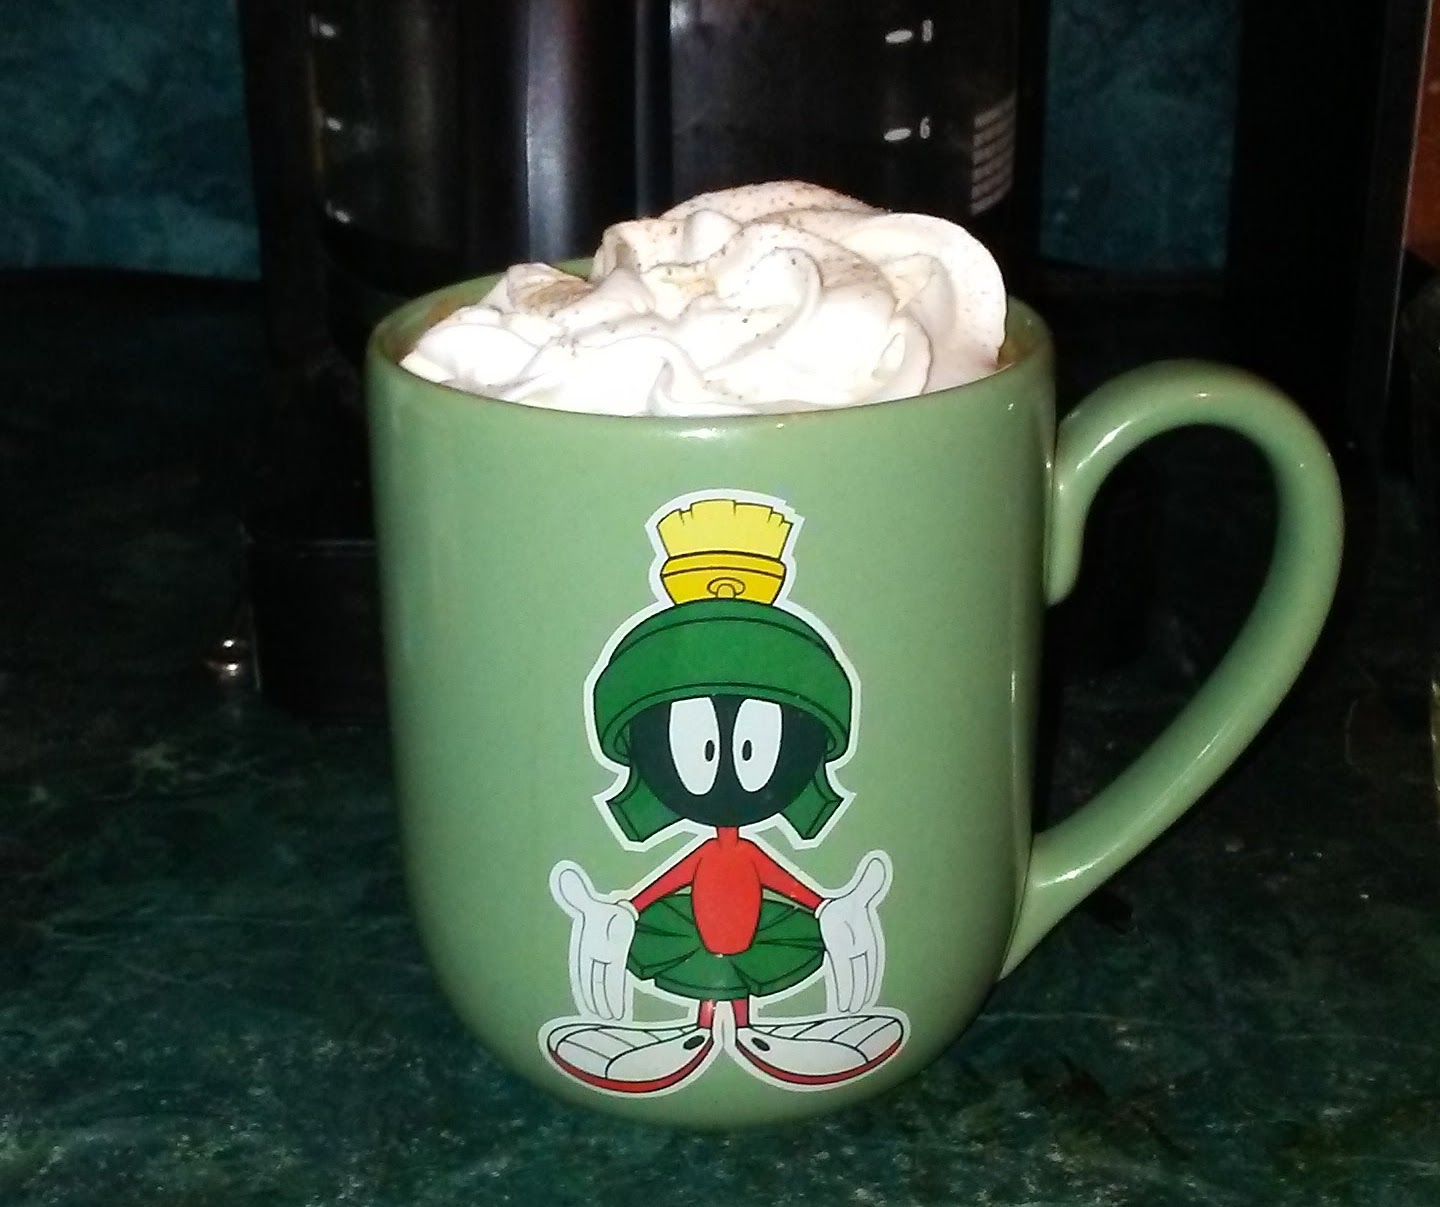
Blend all ingredients together. Top with whipped cream and a dash of nutmeg. Enjoy. Repeat. 🙂
I’ve also used this basic recipe to make a pumpkin spice smoothie. All you do is swap out the coffee for the milk of your choice and add a frozen banana or a fresh banana and some ice. While it’s healthy as is, I also like to add an extra spoonful of pumpkin to up the vitamin content, as well as some chia or flax seeds. You could easily leave those out, though.
Printable Pumpkin Spice Latte Recipe

Pumpkin Spice Latte Recipe
Ingredients
- 1 and 1/4 Cups brewed tea or coffee
- 1 Tablespoon pumpkin puree/canned pumpkin
- 2-3 Tablespoons Milk of choice. I usually use almond milk.
- 1/3-1/5 Teaspoon ground cinnamon
- 1/4 Teaspoon ground ginger
- 1/8 Teaspoon ground cloves
- 1/8 Teaspoon ground allspice
- 1/8 Teaspoon ground nutmeg
- 1/8 Teaspoon ground tumeric (optional)
- Maple syrup, sugar or honey to taste.
- Whipped Cream (optional)
Instructions
- Blend all ingredients together.
- Top with whipped cream and a dash of nutmeg. I like the non-dairy Reddi-Wip
- Enjoy.
Notes
What’s your favorite way to enjoy pumpkin spice? If pumpkin spice isn’t your thing, what’s your preferred fall drink or scent? Please share it in the comments.

Like this post? To make sure you never miss a future post, please sign up for my newsletter.