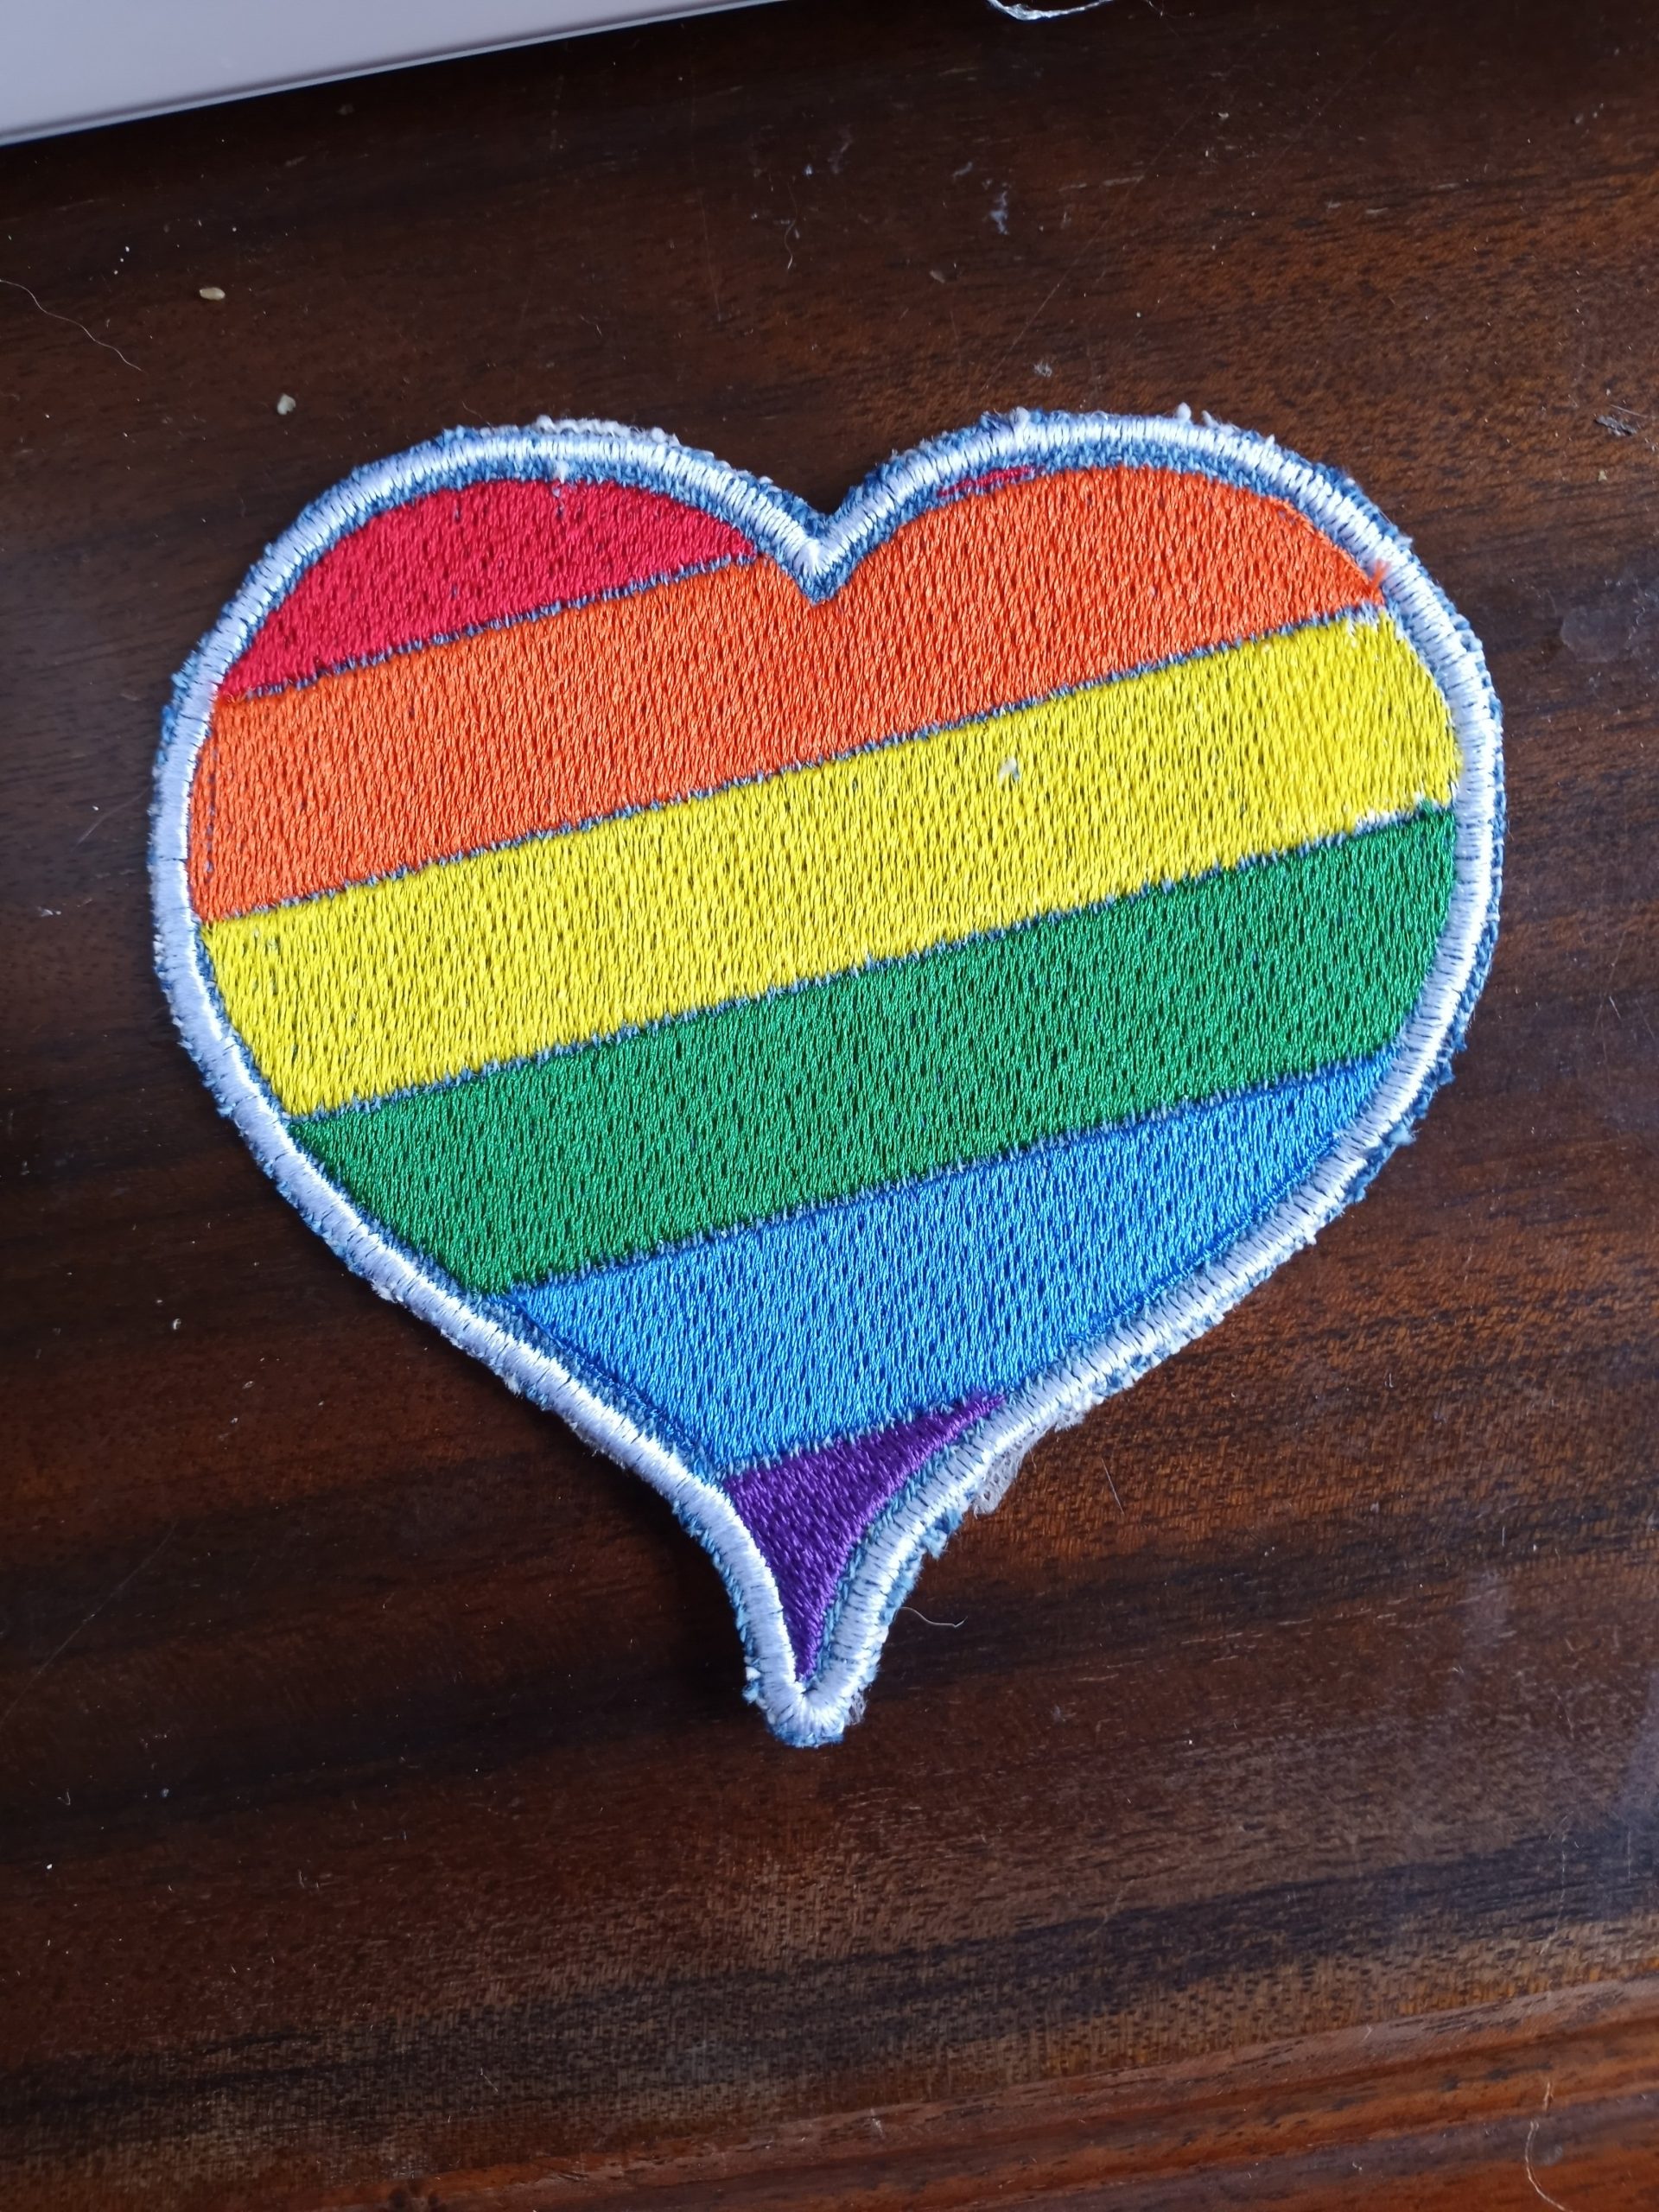
For the whole month of June, my Rainbow Heart machine embroidery design and bonus patch file are FREE! It fits 4 x 4 hoops and includes files compatible with most embroidery machines. If you don’t see your machines file type listed, let me know.
I think this Rainbow Heart would look amazing on denim. You can also play with the colors to get your preferred color combination. My embroidery designs fit the 4×4 hoops common on many beginner home embroidery machines.
If you’re like me and still doing your holiday shopping, you’ll want to keep the shipping guidelines in mind. I currently only ship USPS. You can find the full USPS shipping deadline info here. https://www.usps.com/holiday/holiday-shipping-dates.htm
Here are the USPS shipping deadlines to arrive by December 25 for the lower 48 states:
USPS Ground Advantage® Service Dec. 17
First-Class Mail® Service Dec. 17
Priority Mail® Service Dec. 18
Priority Mail Express® Service2 Dec. 20
Alaska and Hawaii are mostly the same, but USPS Ground Advantage needs to ship a day earlier on December 16th.
Anything overseas requires Priority Mail Express International® Service and needs shipped by December 16th.
While I will pretty much ship until the last minute and do my best to get orders out by the next day, I can’t guarantee delivery by a certain date, so please order ASAP.
Stock up on my Handmade Soap
My five bars for $30 deal is back! To get that price, use this listing and tell me the five you would like in the notes at checkout. If you don’t let me know, or a variety is sold out, I’ll try to contact you first. If I don’t hear back within a day, I’ll send you an assortment of my favorites or substitute the sold out one with a different fabulous bar.
Now through December 19, if you use the coupon code CHRISTMAS25 at checkout, you’ll get 25% off your order, including clearance, sale and the bulk soap listing.
Come See Me!
Sunday, December 21 I will be at V’z Vintage Holiday Market from 10am-6pm. It’s located at the American Legion Post 655, 2817 Carson St., Haltom City, TX 76117. If you’re local, you should totally come check it out. SubEarthan Cottage will be inside this time because it’s December in Texas and you never know what you’ll get weather-wise.
This is my third month at this market. There’s always a ton of unique handmade booths, food vendors and some vintage finds. If you’re looking for some last minute gifts, come support some local small businesses!
Hello lovelies! If you follow me on all the socials, you know I owe you a quick how-to on this:
But, I haven’t written it yet. I apologize.
I did want to let you know, though, that I added some new planners/journals to my shop. There’s a Meal Planner, a Reading Journal, and a Fitness Journal now, as well as a set of Literary Terms posters for my teacher friends. I may get some more added tomorrow, if the kiddos don’t keep me too busy to work on them tonight. They are all in PDF format, so you can either print the pages you want or use them with a digitally with something like Goodnotes.
Now for the SALE part: ALL digital products that are normally $5 are on sale for $0.99. That’s all the planners, journals, and all of my machine embroidery designs. I have also made a few more of my older embroidery designs FREEBIES!
Please, check them out. If they’re not for you, but you know someone who would like them, please share.
This sale only lasts through August 22, so don’t miss out!
In today’s economy, saving money at home isn’t just a smart move—it’s essential. Whether you’re looking to build an emergency fund, reduce debt, or simply need more funds for food or rent, mastering the art of frugality can make a significant difference. Here, we’ll explore ten easy ways to cut costs and boost your savings without sacrificing comfort or quality of life.
1. Embrace Meal Planning
Meal planning is a simple yet effective way to streamline your grocery shopping and reduce food waste and unnecessary purchases. By planning your meals for the week, you can avoid impulse purchases and ensure you’re using ingredients efficiently.
How to get started:
Set aside time each week to plan meals.
Create a shopping list based on your plan and stick to it.
Incorporate leftovers into your meal plan to maximize usage.
If you need a little help, I have a Meal Planner in my shop. It’s in PDF format, so you’ll get it instantly, and you can either print the pages you need or use them digitally. It’s on sale for a limited time for only $0.99, so get it now.
2. DIY Home Maintenance
Handling minor home repairs and maintenance yourself can save you a ton of money. You can find tutorials for just about anything online for free. I usually watch or read a few before starting to really know what I’m getting into, and different people have different tips and tricks.
How to get started:
Start with simple tasks like fixing leaky faucets or painting walls.
Use online tutorials and guides to learn new skills.
Invest in a basic toolkit for home repairs. For bigger tools, see if there’s a place to rent them or if a friend has one you can borrow until you know it’s worth purchasing.
With streaming services for everything, cutting the cord on traditional cable can lead to big savings on your monthly entertainment bill. It’s easy to subscribe to so many that you end up not using them often enough to justify the cost.
How to get started:
Evaluate your current cable and/or streaming usage and identify unnecessary channels.
See what streaming services you’ll realistically use this month. You can always pause or cancel and resubscribe in a month or two to lesser used ones. I try to only have one or two active subscriptions at a time.
Don’t forget about free streaming channels, YouTube and antenna TV as well.
Look for bundles that offer internet and streaming services together.
4. Optimize Energy Efficiency
Improving your home’s energy efficiency can greatly reduce utility bills and contribute to environmental sustainability.
How to get started:
Replace incandescent bulbs with energy-efficient LEDs.
Seal drafts around windows and doors.
Use a programmable thermostat to optimize heating and cooling.
Unplug or turn off things when not in use.
Take advantage of sunlight and nice outside temperatures by opening windows and turning off the AC.
Dress efficiently for the temps. Add or subtract layers before reaching for the thermostat.
5. Practice Mindful Consumption
Being mindful about what you buy and consume leads to smarter financial decisions and reduces clutter in your home. (Bonus: Less clutter means less to clean!)
How to get started:
Ask yourself if a purchase is a need or a want before buying. It’s okay to splurge on a “want”, but it’s important to know the difference with mindful spending.
Declutter regularly to understand what items are truly worth it. If you didn’t use something similar the first time, you probably don’t need it.
Practice gratitude for what you have, reducing the urge to buy more.
Be creative! Do you already own something that could work instead? Can you easily make it?
6. Grow Your Own Food
Starting a small garden can provide fresh fruits, herbs and vegetables while reducing grocery expenses.
How to get started:
Start with easy-to-grow vegetables like tomatoes, lettuce, and herbs.
Use vertical space or try container gardening if space is limited. (Container gardens are a good way to reuse plastic containers, too!)
Learn about composting to enrich your garden’s soil.
Green bell peppers
7. Make Use of Public Libraries
I love the library! Public libraries offer a wealth of free resources, from books, ebooks and movies to workshops and events. One of my local libraries now offers kits for things like baking, exercise, self-care and gardening that you can check out. I’ve even heard of libraries offering seed-sharing catalogs.
How to get started:
Sign up for a library card and explore the available resources. If you’re in a metro area, there’s a good chance you have access to more than one library.
Make friends with your librarians. They’ll let you know about new books and resources that are of interest to you.
Check out digital offerings, such as e-books and audiobooks.
Attend free workshops and community events.
8. Embrace Second-Hand Shopping
Everyone knows I love thrifting. There’s not much in my home that I bought new. Buying second-hand items can save money and keep things out of the landfill.
How to get started:
Explore thrift stores, consignment shops, and online marketplaces.
Look for quality items that are gently used or easy to mend or repurpose.
Attend garage sales for unique finds. Garage sales are usually cheaper than thrift stores but can take more hunting to find what you need.
Don’t forget about free second-hand shopping. Look for local buy nothing groups, “come and get it” postings, and good, usable stuff people are throwing away. One (wo)man’s trash is another (wo)man’s treasure, just make sure it was actually intended as trash, and familiarize yourself with local dumpster diving laws if you’re going that route.
9. Cancel Unused Subscriptions
Unused subscriptions can quietly drain your finances. Cancelling them can free up extra cash.
How to get started:
Check your bank statements for recurring charges.
Evaluate each subscription. Are you actually using it? Is there a free option that can fill it’s place?
Cancel those that are not used or necessary, or pause them if you know you’ll need them in a few months.
10. Implement a No-Spend Challenge
It’s easy to get into spending habits. A no-spend challenge involves refraining from non-essential purchases for a set period of time. This helps make it easier to identify non-essential and impulse purchases, saving you money during and after the no-spend challenge.
How to get started:
Choose a timeframe (week, month) and define what counts as non-essential.
Focus on using what you have and finding free activities.
Reflect on the challenge to identify spending triggers.
Brainstorm other ways to handle triggers and make do with what you have.
Conclusion
Adopting creative strategies to save money at home is not just about not spending—it’s about making mindful, intentional choices that lead to better financial health and sustainability. Not all of these tips will work for everyone, but implementing even a few can help with your financial burden. What other tips can you share? Please, comment down below.
Meal Planner PDF Printable or Digital Use
Stay organized and take the stress out of meal planning with our versatile PDF Meal Planner! Whether you prefer to jot down your ideas by hand or manage everything digitally, this meal planner is the perfect tool to keep your meals on track.
Features:
Printable Design: Print the planner to create a tangible guide for y…
$5.00Original price was: $5.00.$0.99Current price is: $0.99.
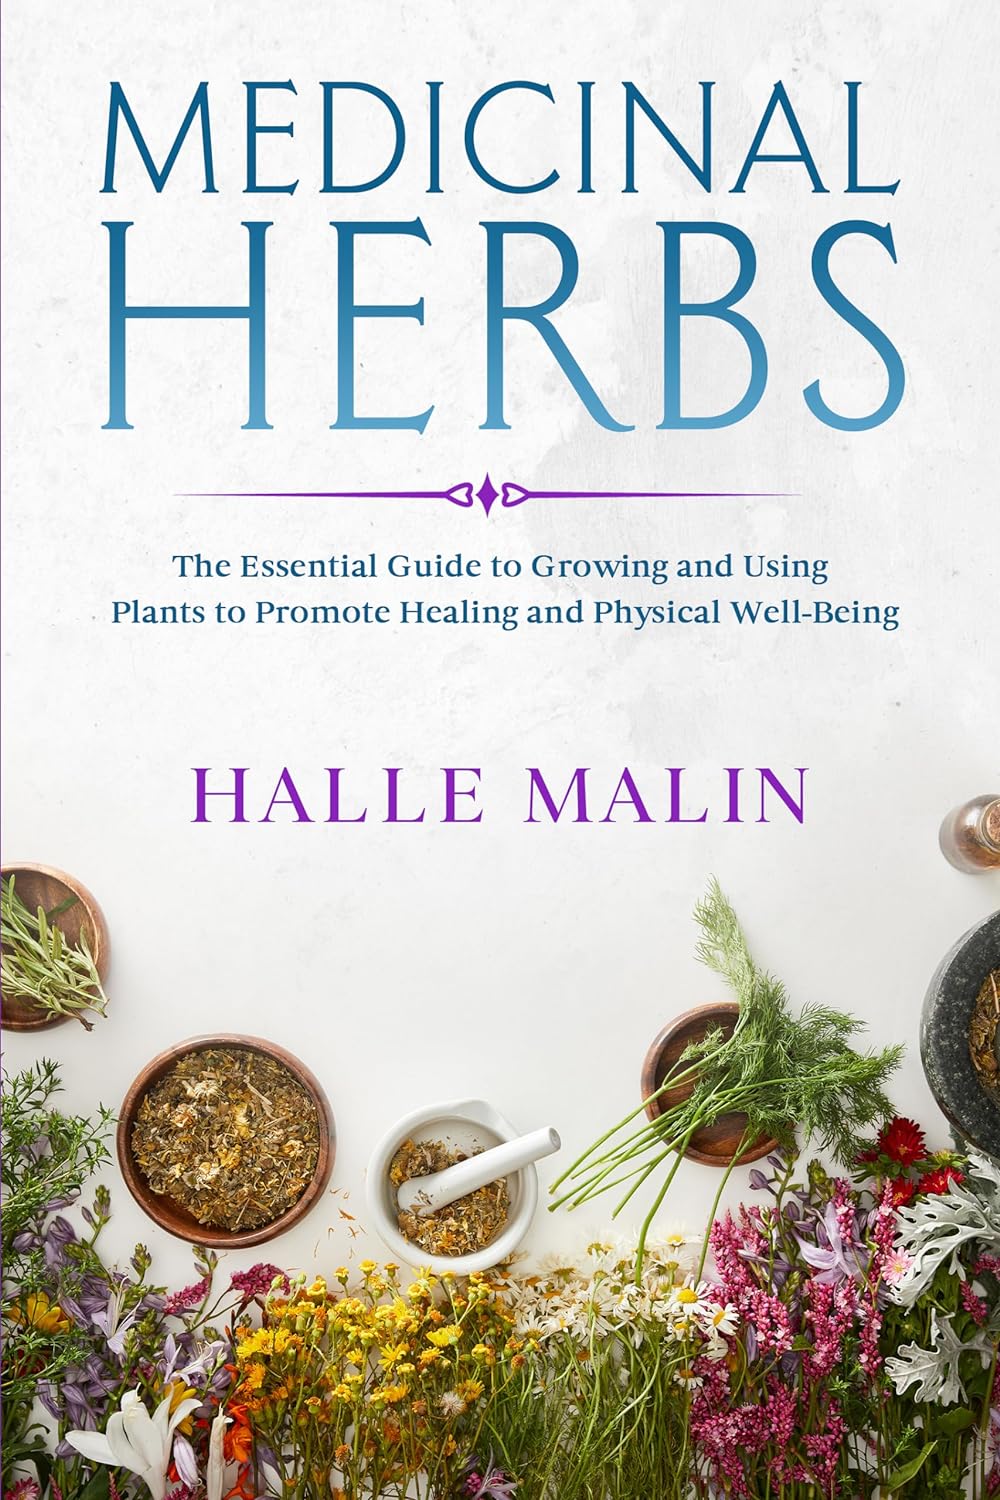
Hi! There’s a free ebook today in my Freebooksy email that I thought might interest my readers. I haven’t read it yet, but I wanted to share before it’s no longer free. The title is Medicinal Herbs: The Essential Guide to Growing and Using Plants to Promote Healing and Physical Well-Being by Halle Malin. You can get it here: https://amzn.to/3RX2qBj (Note: If you use that link and then make a purchase, I will get a small commission. This is at no extra cost to you and helps me to maintain this blog. Thanks!)
Be sure to grab it ASAP. I’m not sure how long it will be free. If you read it, let me know what you think in the comments.
Growing up, I was Belle from the Disney version of Beauty and the Beast. I always had at least one book with me at all times. Most of the time, I was actively reading one of them, regardless of what else I was doing. Surprisingly, I am no more clumsy with my nose in a book than I am fully paying attention to what I’m doing, which is to say, I’m always very clumsy.
Anyway, one of the things I love about technology is that I can bring a library’s worth of books with me everywhere in my pocket. Or purse, really, since women’s clothing doesn’t have real pockets. Don’t get me wrong. I still love my hold-in-your-hand print books with their special book smell and feel. Knowing that I will always have a book or hundred at hand to read anywhere, though, is the best for a nerd like me.
The other cool thing about ebooks is that it is easy to get a whole library for free or cheap. Here are a few of my favorite resources.
Libraries
Did you know that most libraries now have a collection of ebooks and magazines to check out. My local library uses OverDrive to check out ebooks. All you need is a library card. I usually choose Kindle format, since I have an ancient Paperwhite and I use the Kindle app on my phone.
If you’re looking for a specific book or new releases, this is your best bet. You may have to wait a bit because there’s a limited number of digital copies to check out, just like books in a library.
Yes, you can get free ebooks on Amazon. You’ll need a basic (free) Amazon account and the Kindle app, or you can read on a pc. The link above will take you to the Kindle ebook store where I’ve searched for free ebooks. That gives you about a bajillion results to weed through. You can narrow down your search to, something like, “free kindle classic books literature” or “free kindle Sherlock Holmes books” or “free kindle sewing books” and have fewer results to sort through.
If you happen to have a Prime account, there’s some ebook perks with Prime Reading and First Reads, so make sure you check those out, too.
Quick note: I am an Amazon Associate, so if you click on an Amazon link on my blog and then make a purchase on Amazon, I will receive a tiny commission. The price for you is the same either way, so if you are going to be shopping on Amazon anyway, I would appreciate it.
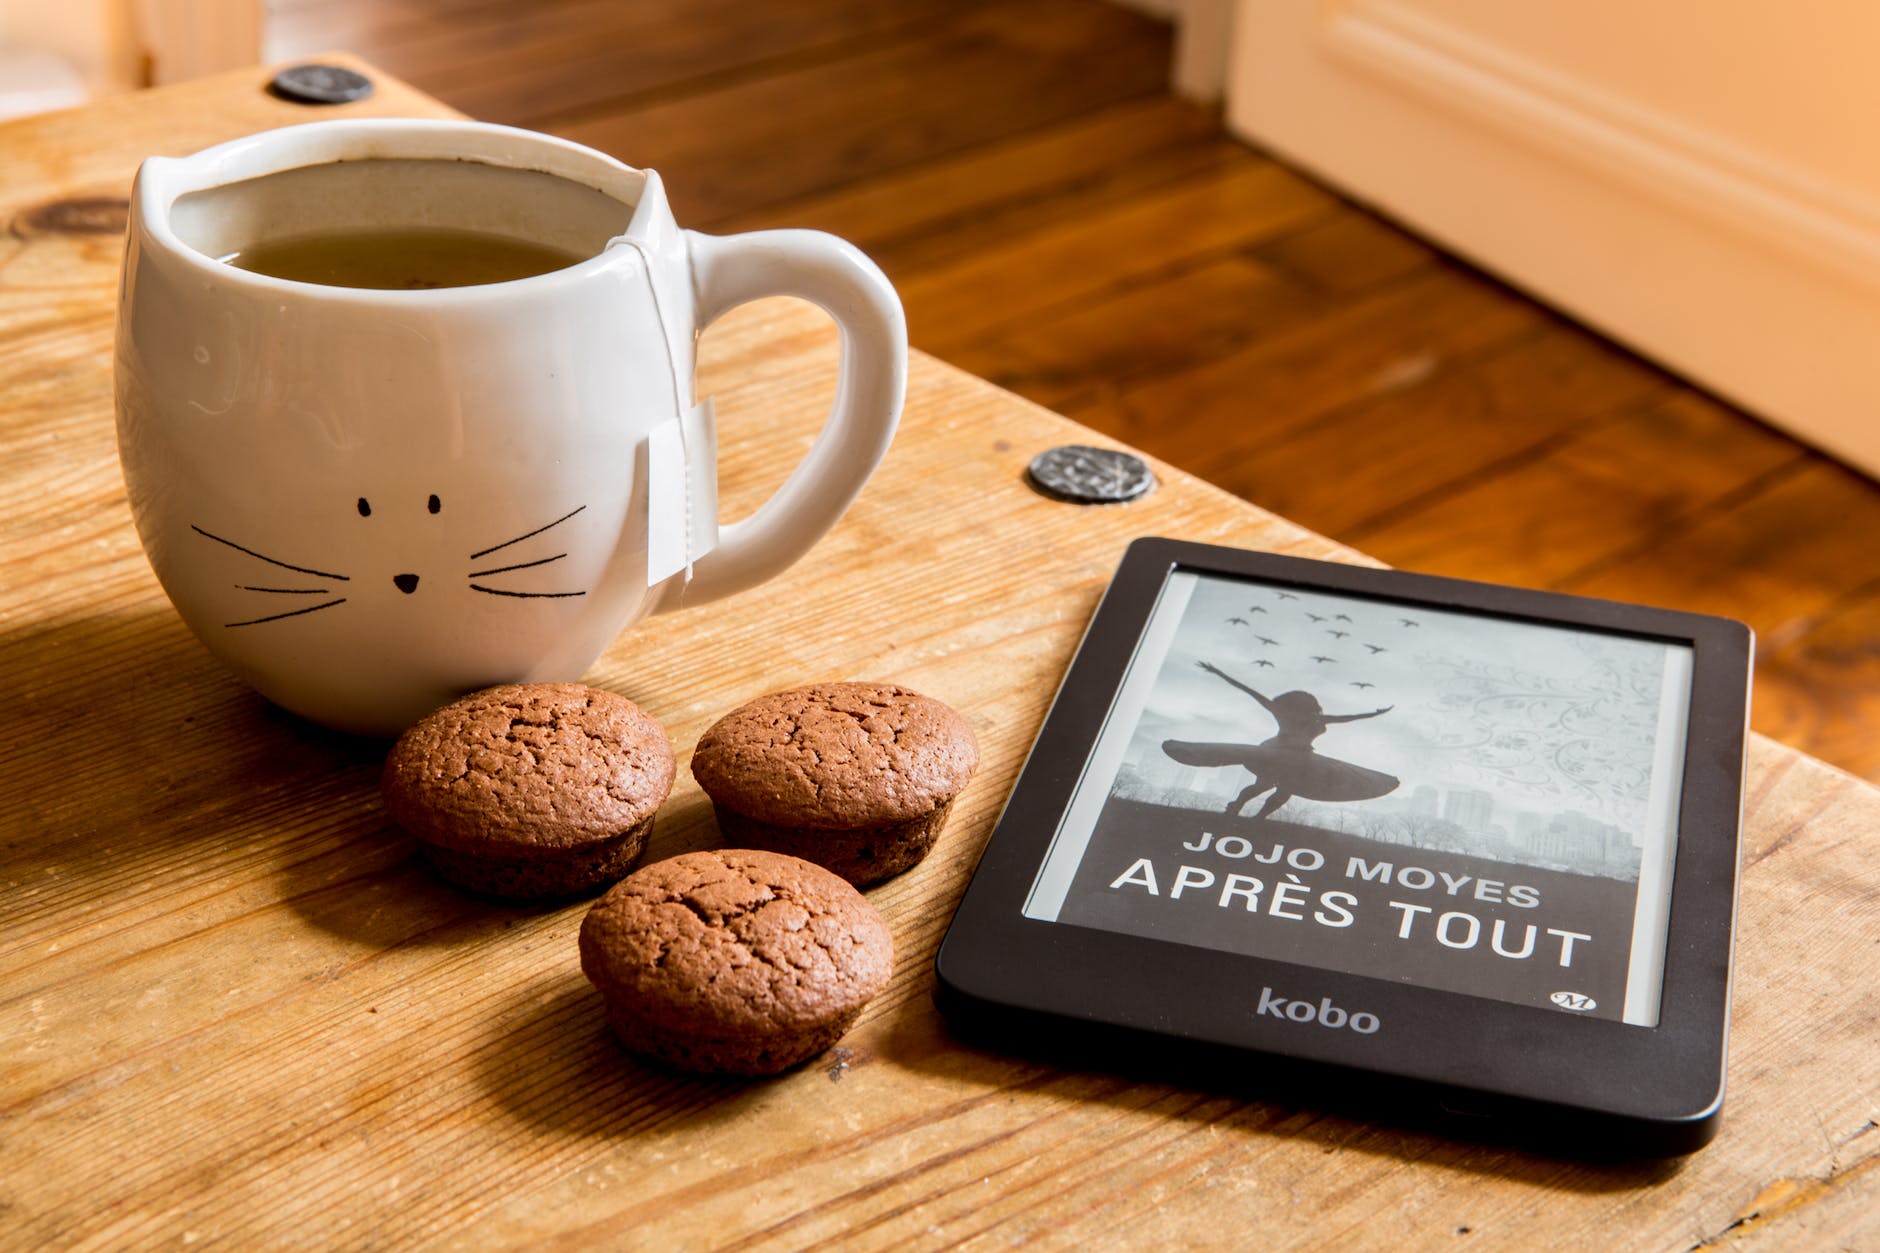
My Paperwhite ebook reader is this old. Photo by Caio on Pexels.com
Free Booksy
Free Booksy basically lets you know about free books in your chosen genres in a daily email. They’re books that are free for a limited time, so not the same things you would find in a free Amazon search. Most days there’s at least one book I want in the email. Right now, I tend to read more nonfiction, however if you like reading fiction series, Free Booksy often has the first in a new series for free, so it’s a great way to discover new authors. Sign up here. I’m not an affiliate, I just love the free books.
eBook Bundles
Occasionally you’ll find free or cheap ebook bundles online based on a theme, such as crafting or health and wellness. Ultimate Bundles is one site that offers them regularly. I’ve purchased bundles from them in the past that were very useful. Usually it’s something like $27 for hundreds of dollars worth of ebooks, courses, printables, etc. When I purchase one, I always make sure that there are at least three ebooks/resources included that I would purchase on their own, no question, AND they would cost me more than the total price of the bundle if purchased separately.
It doesn’t currently look like they’re promoting a bundle right now, but you can check out the website and see if what types of bundles they offer are of interest to you.
These are all resources I’ve personally used for free ebooks. I’m sure there’s plenty more out there. If you know of any, please share them in the comments. 🙂
To make sure you don’t miss any posts, sign up for my newsletter.
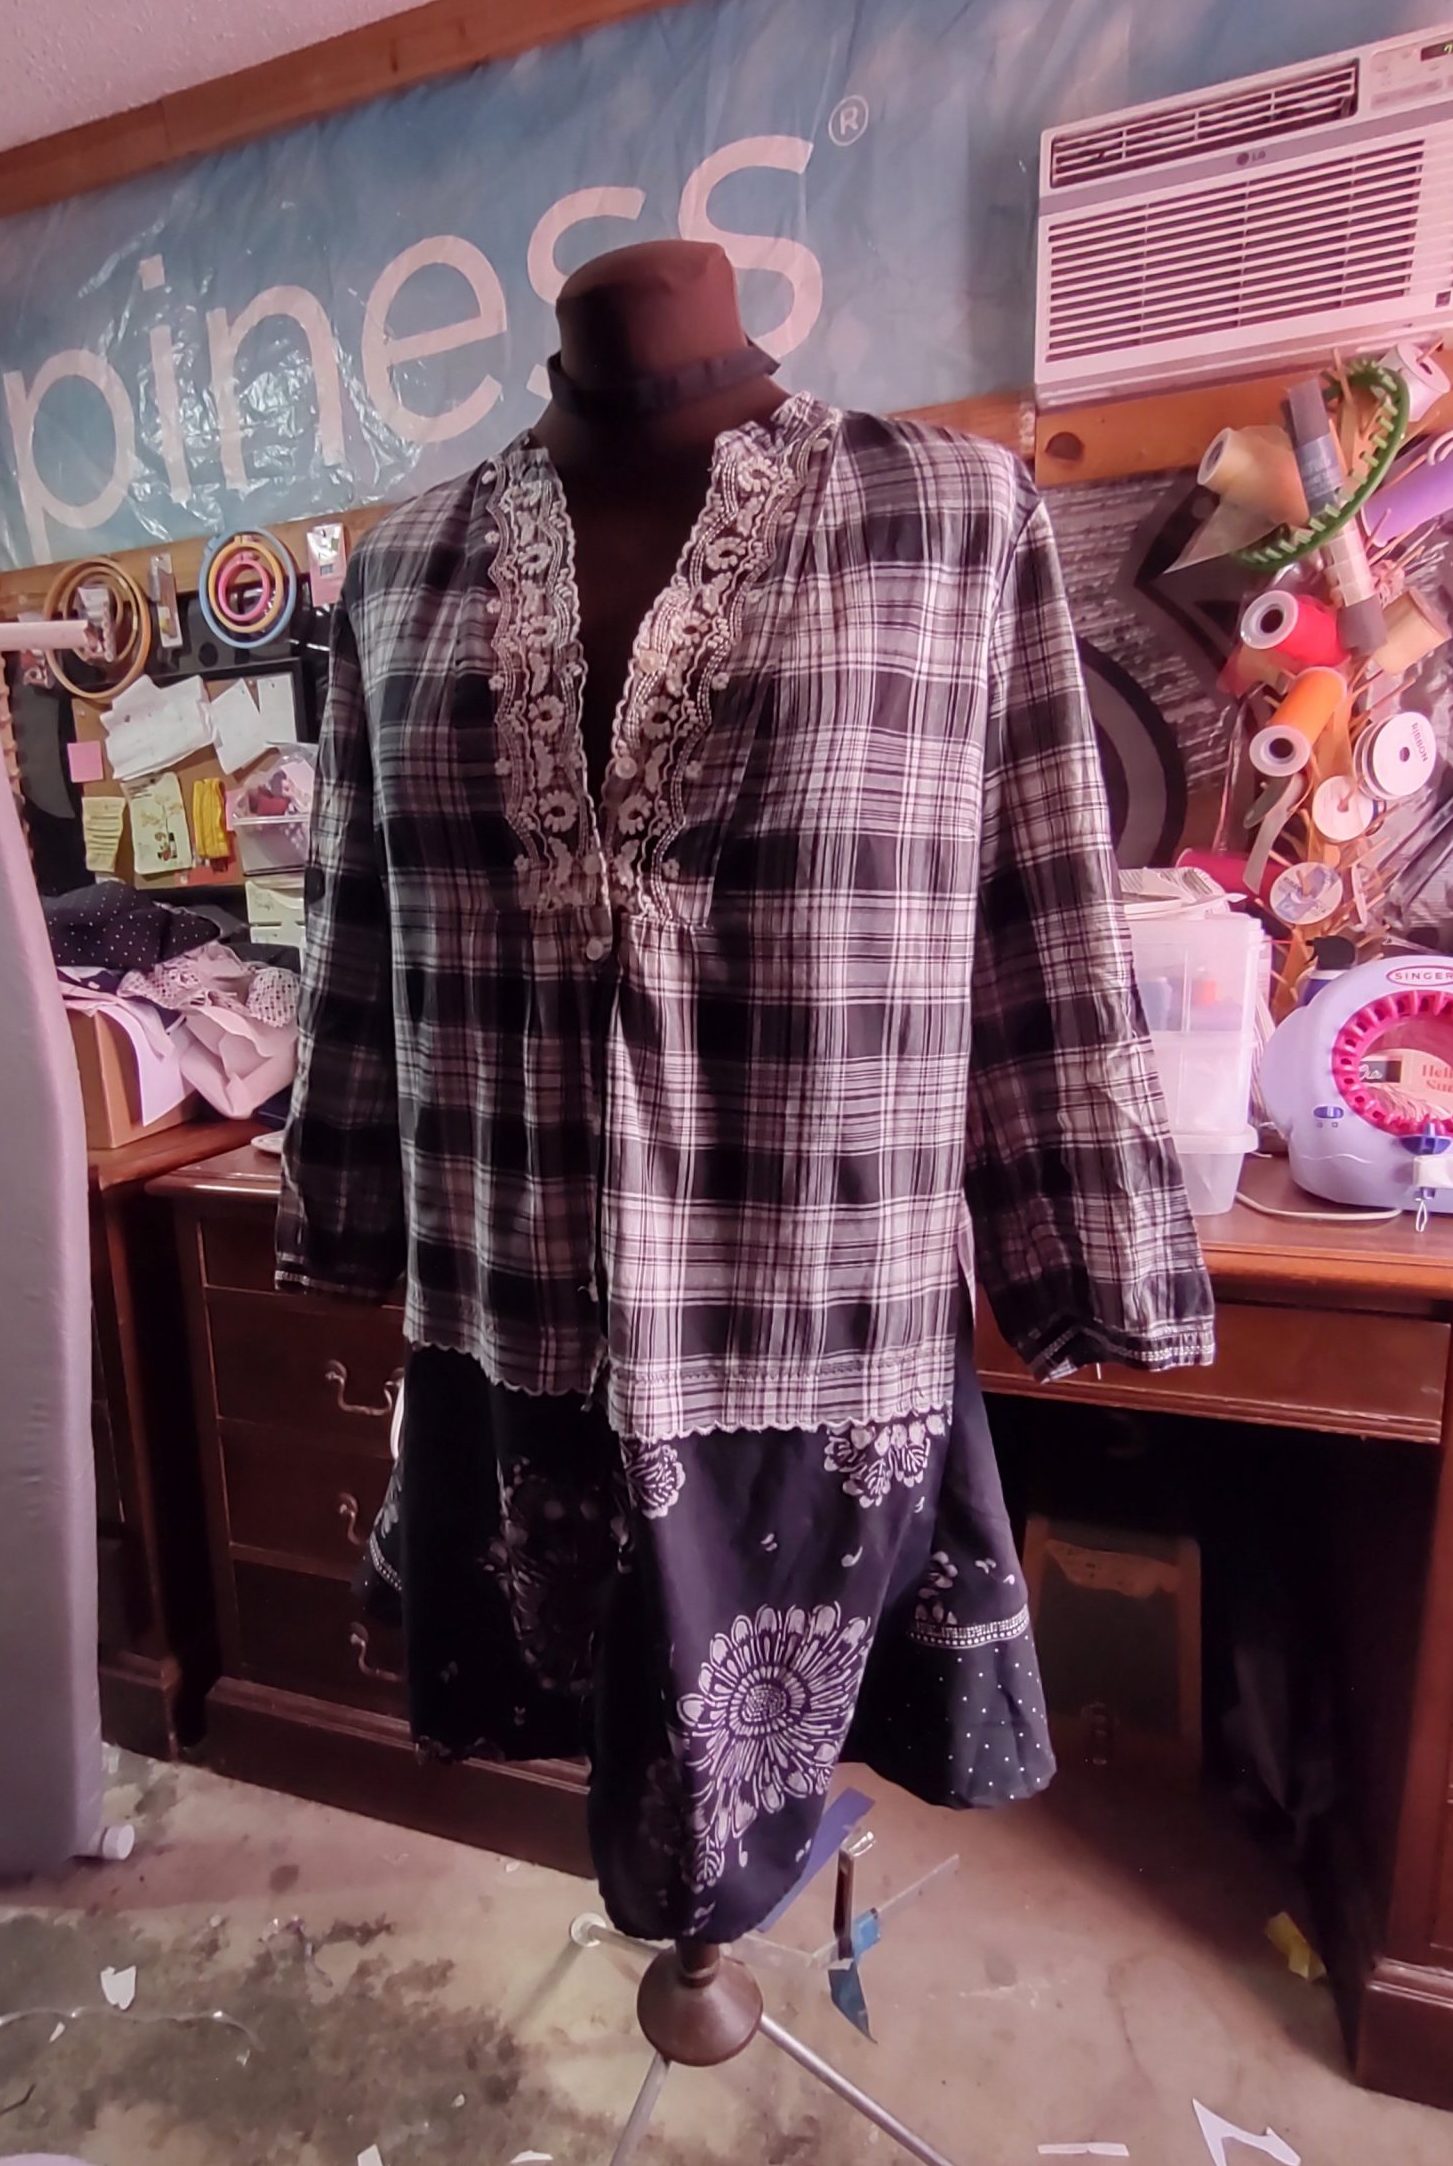
My mom gave me this blouse to play with because her puppy had ripped the bottom of it. I had already cut off the torn part and sewed the raw edge with a scalloped stitch to match the embroidery on the top. That made the shirt too cropped for my preference, so it stayed in my refashion pile.
In an attempt to eliminate said pile (who am I kidding, piles), I pulled it out, along with another black and white top with stretched out elastic and a black and white fabric remnant for good measure.
Shirt with stretched out elastic.Remnant
I decided to both lengthen it and add more room at the sides by inserting triangles of fabric. I hate wearing woven tops that are fitted, so I thought that might make it more wearable to me. Here is the end result:
FrontSideBack
I’m not sure that I’m happy with it. Looking at it now, I think I need to add something from the bottom fabric to the top to tie it all together. I may make two patch pockets and attach them at the bottom of the original shirt and overlap onto the new fabric. Maybe an applique on the back as well? Thoughts?
Like this post? To make sure you never miss a future post, please sign up for my newsletter.
I, Charity Sloan, am a participant in the Amazon Services LLC Associates Program, an affiliate advertising program designed to provide a means for sites to earn advertising fees by advertising and linking to Amazon.com. Any purchases through those links will result in my receiving a small percentage in commission.
This only refers to Amazon links found in/on my blog pages. All products in my shop are 100% mine and not linked to Amazon.
Prices are the same whether you click an affiliate link or a non-affiliate link, so you will not be charged more. Thank you for your support!