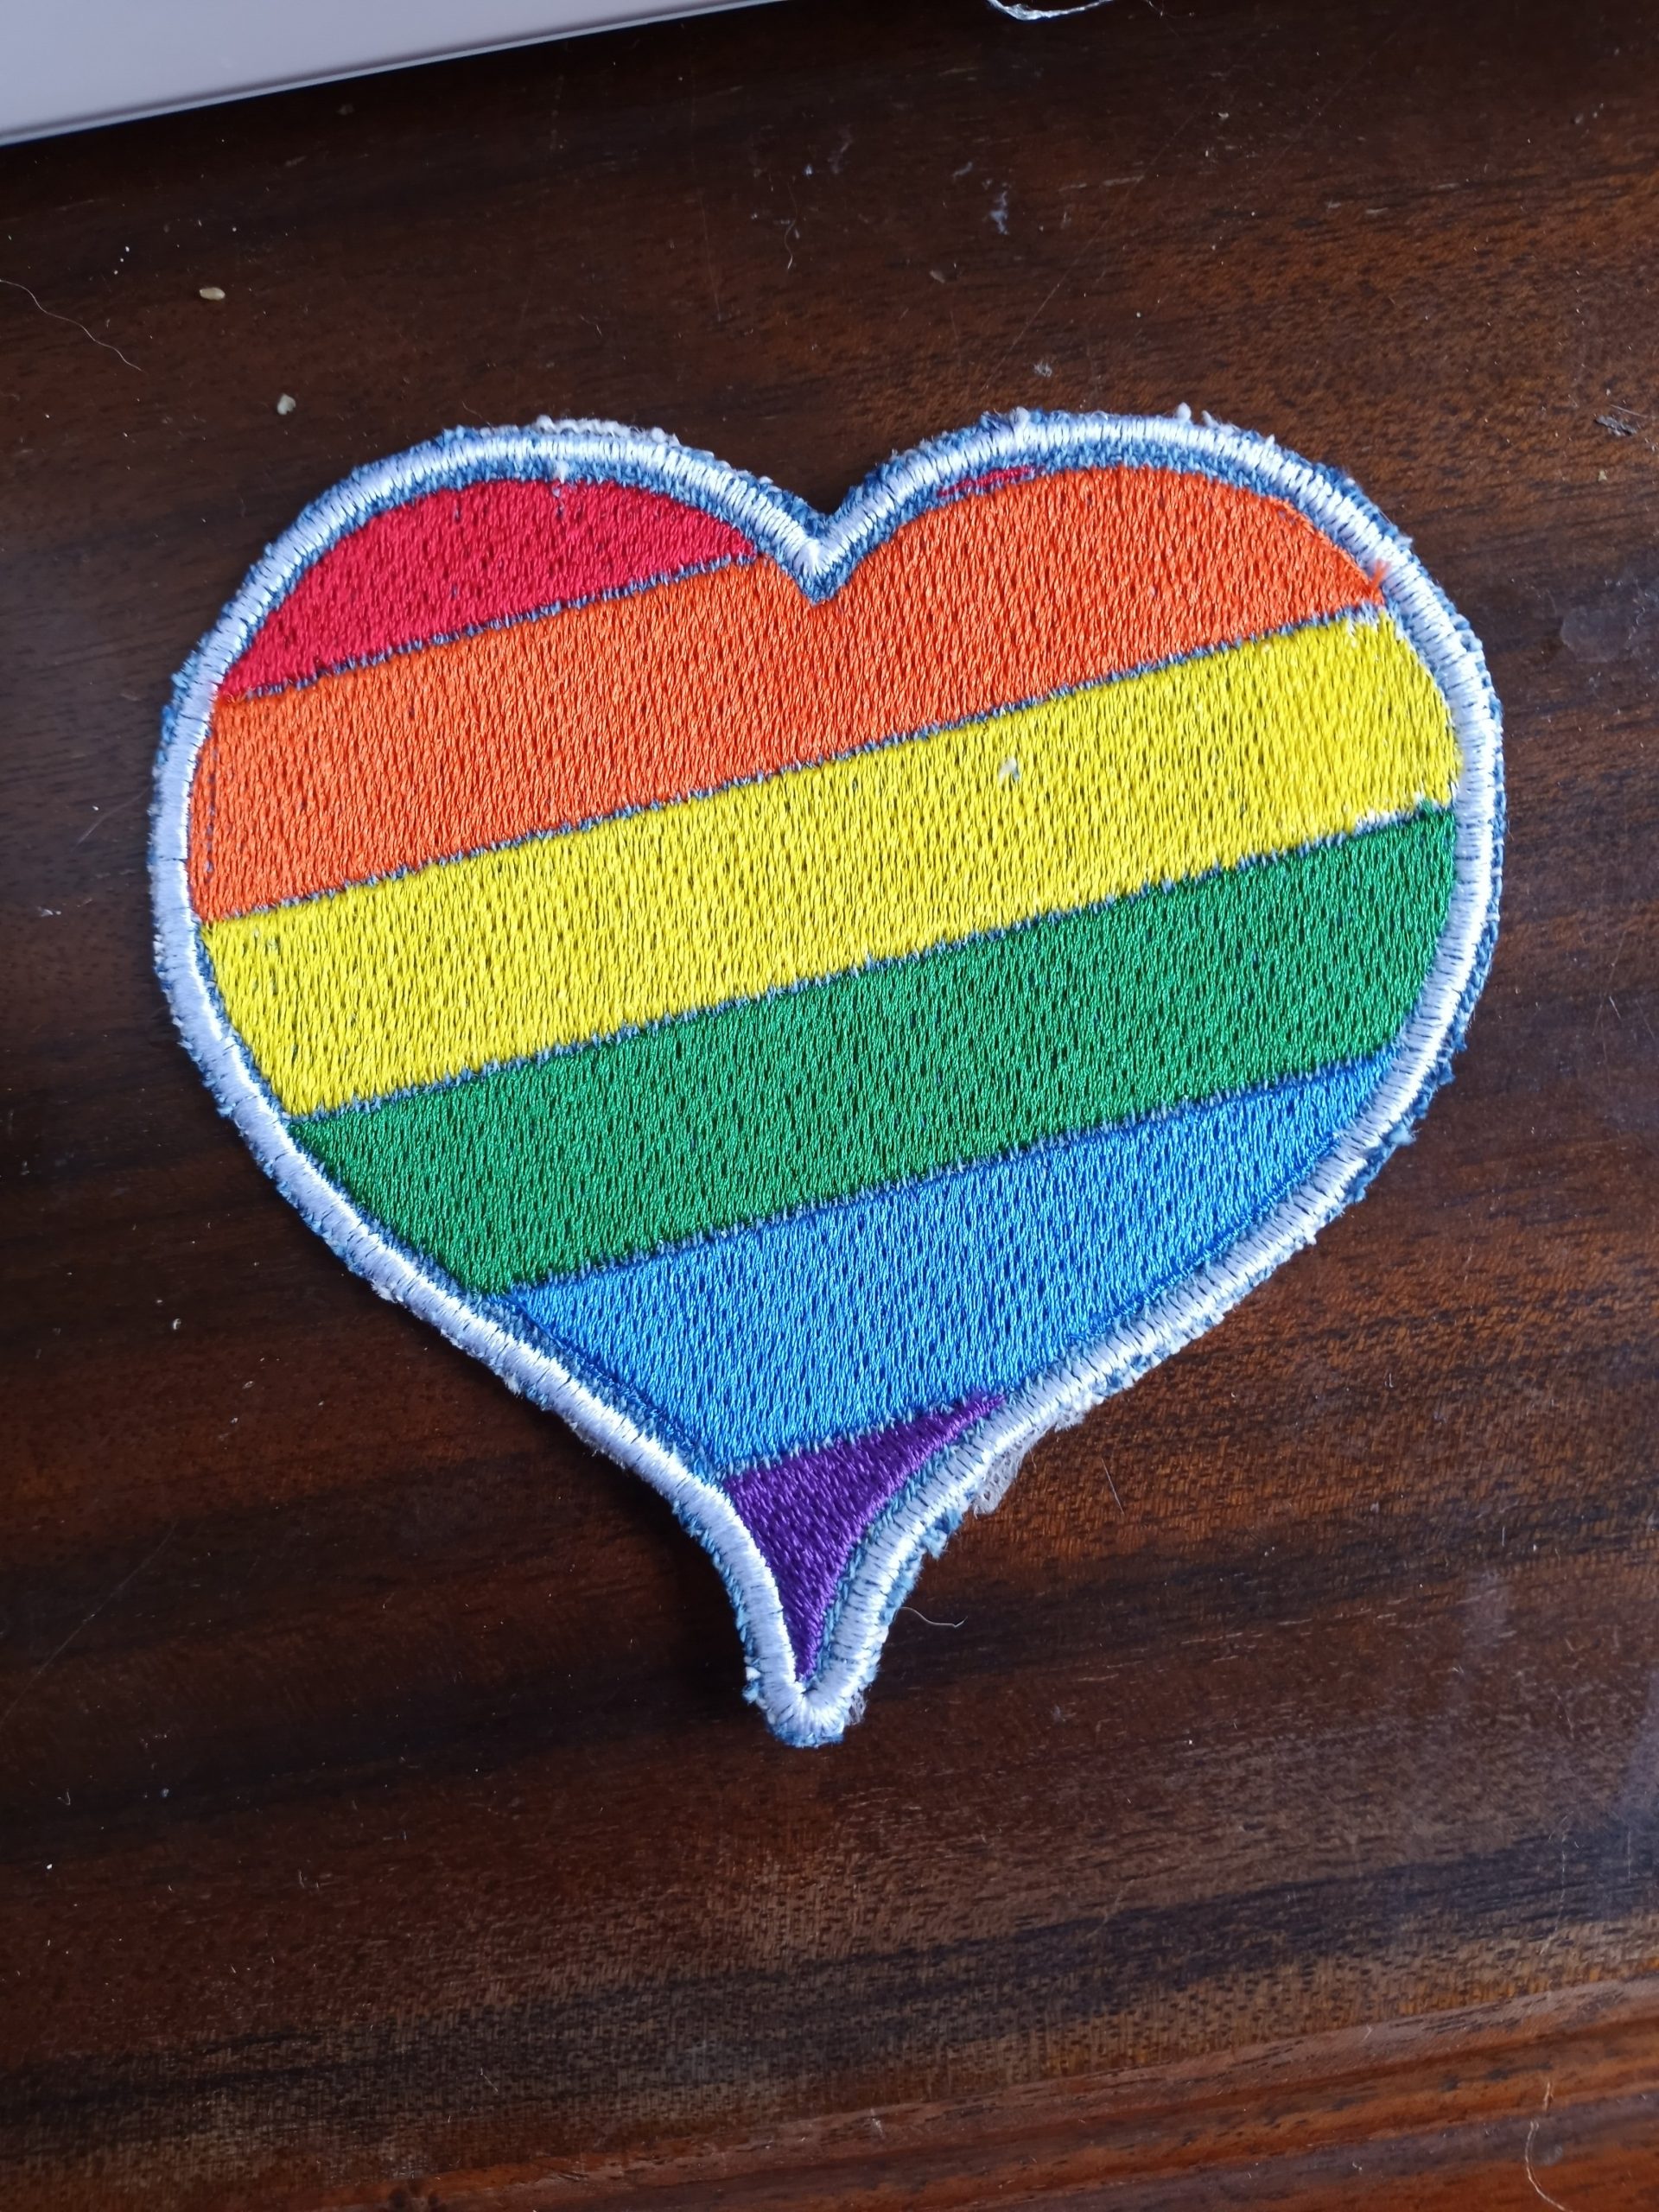
For the whole month of June, my Rainbow Heart machine embroidery design and bonus patch file are FREE! It fits 4 x 4 hoops and includes files compatible with most embroidery machines. If you don’t see your machines file type listed, let me know.
I think this Rainbow Heart would look amazing on denim. You can also play with the colors to get your preferred color combination. My embroidery designs fit the 4×4 hoops common on many beginner home embroidery machines.
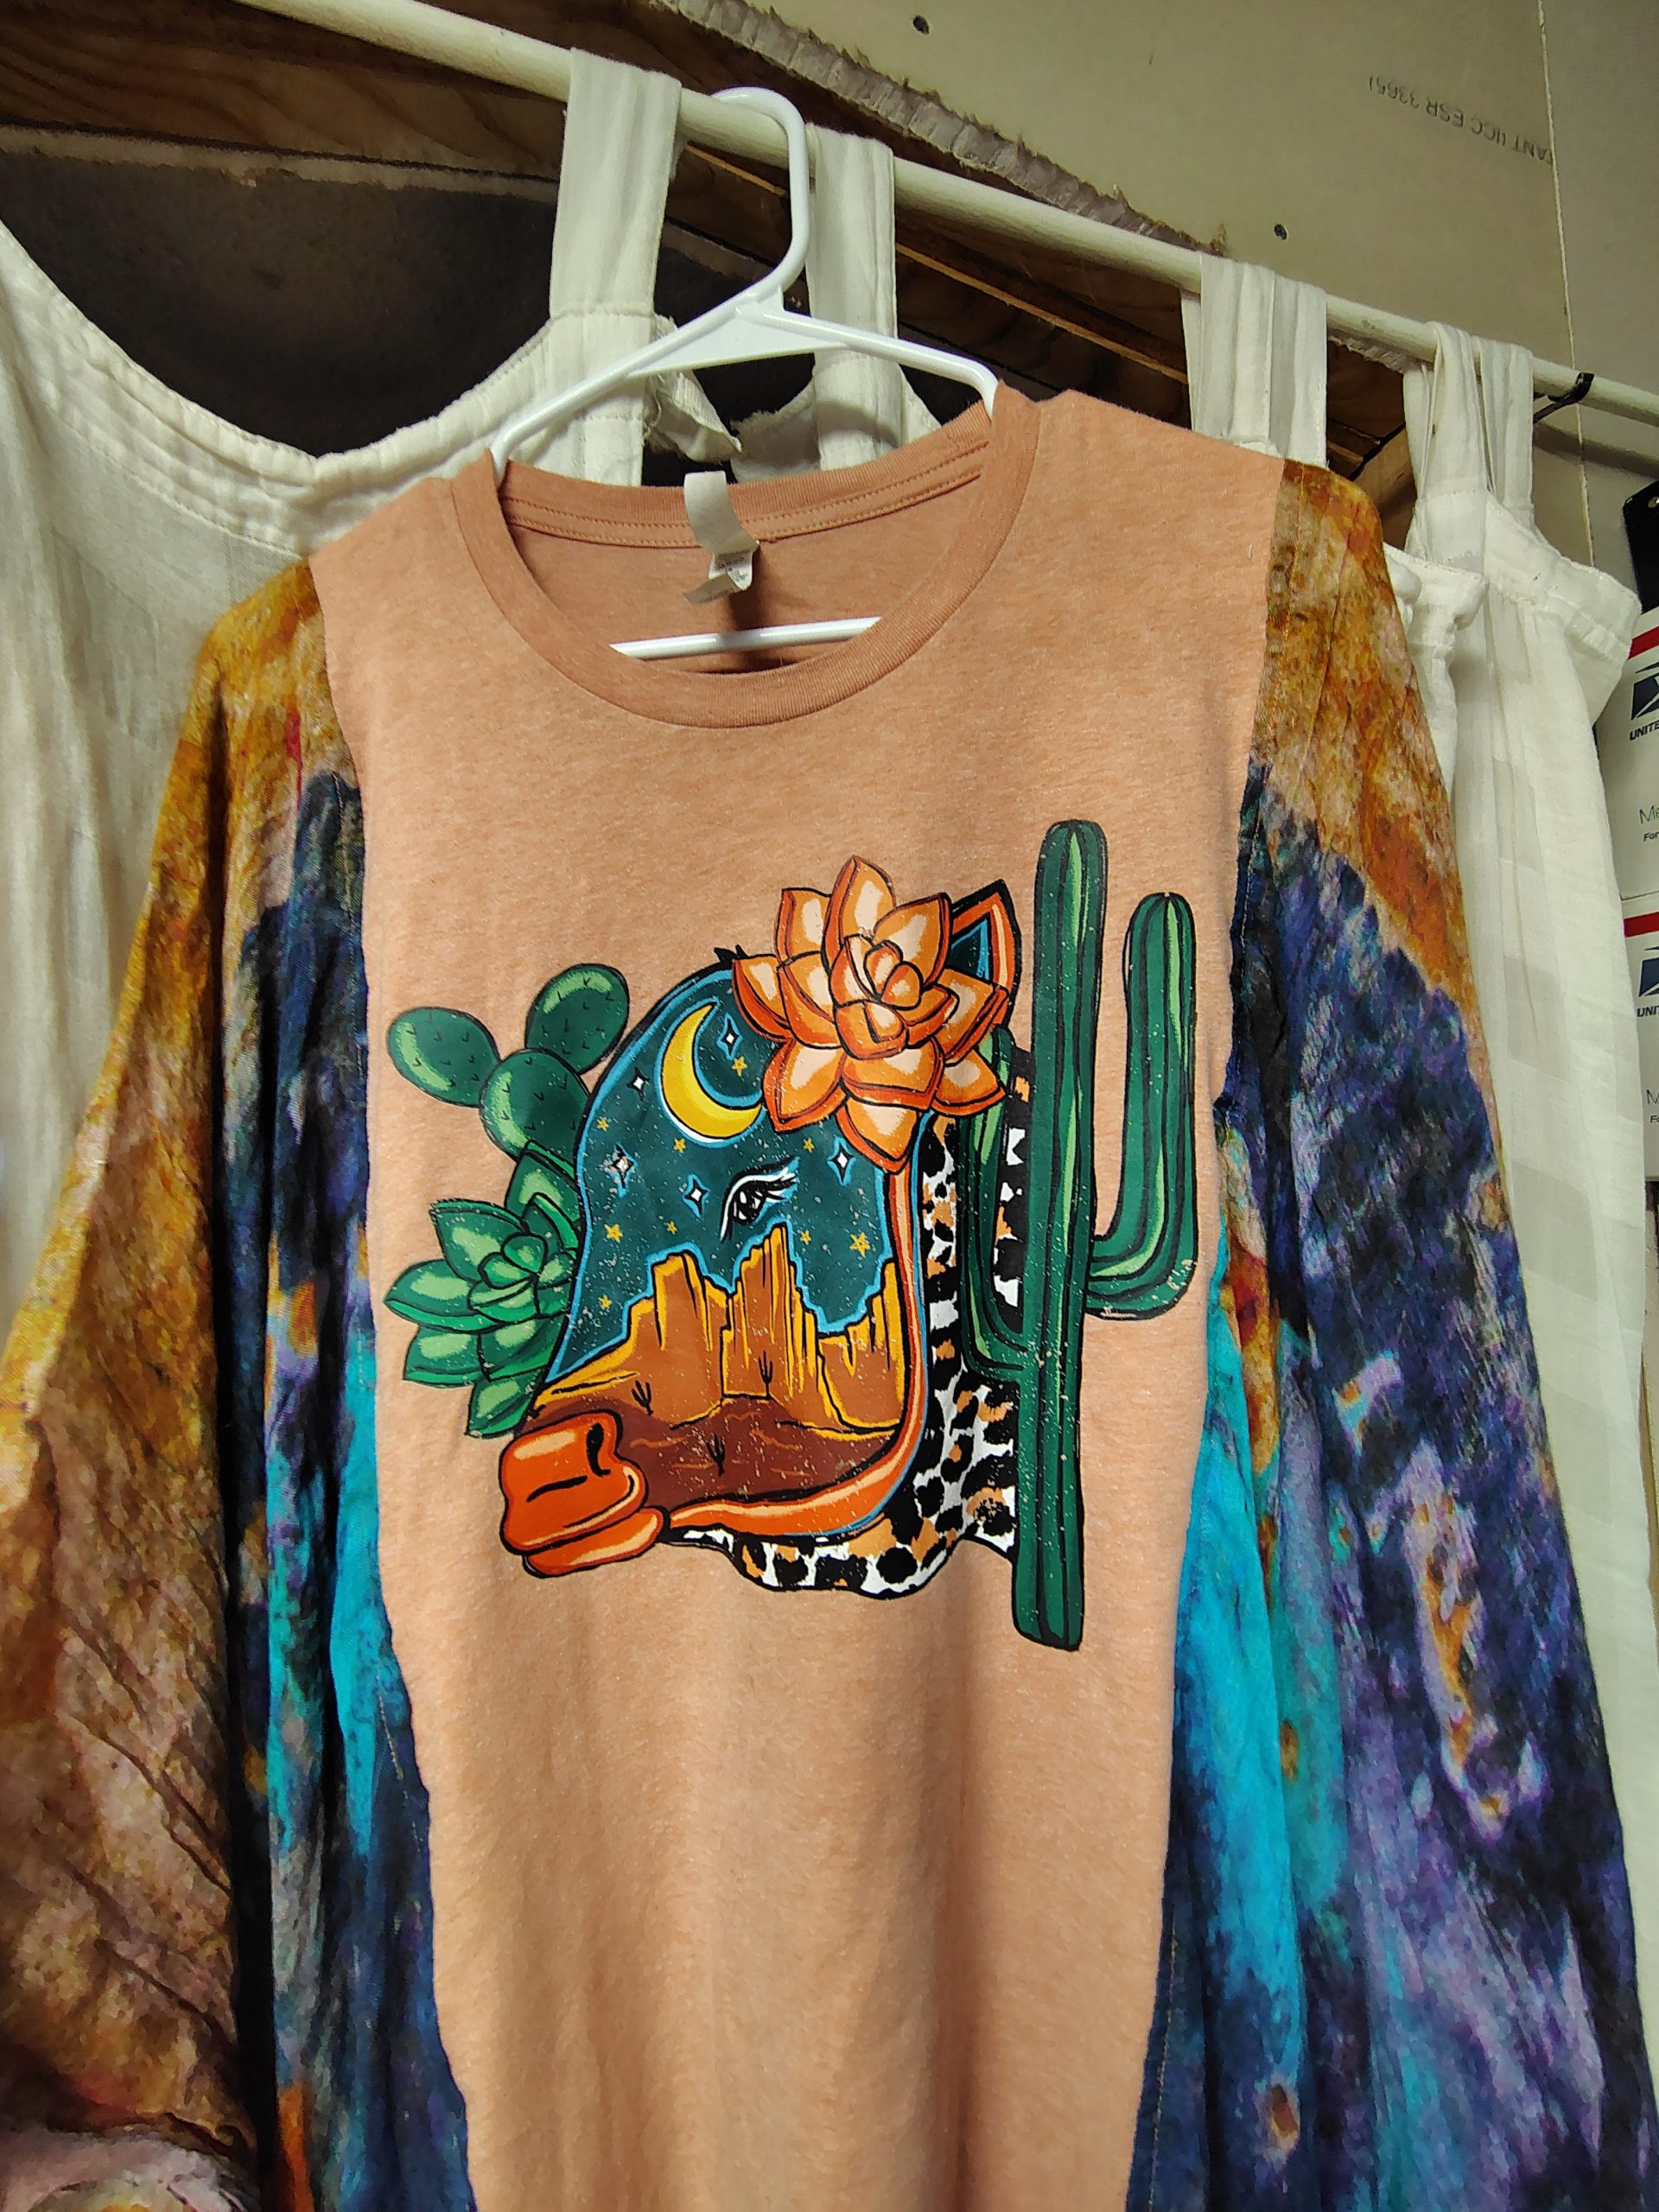
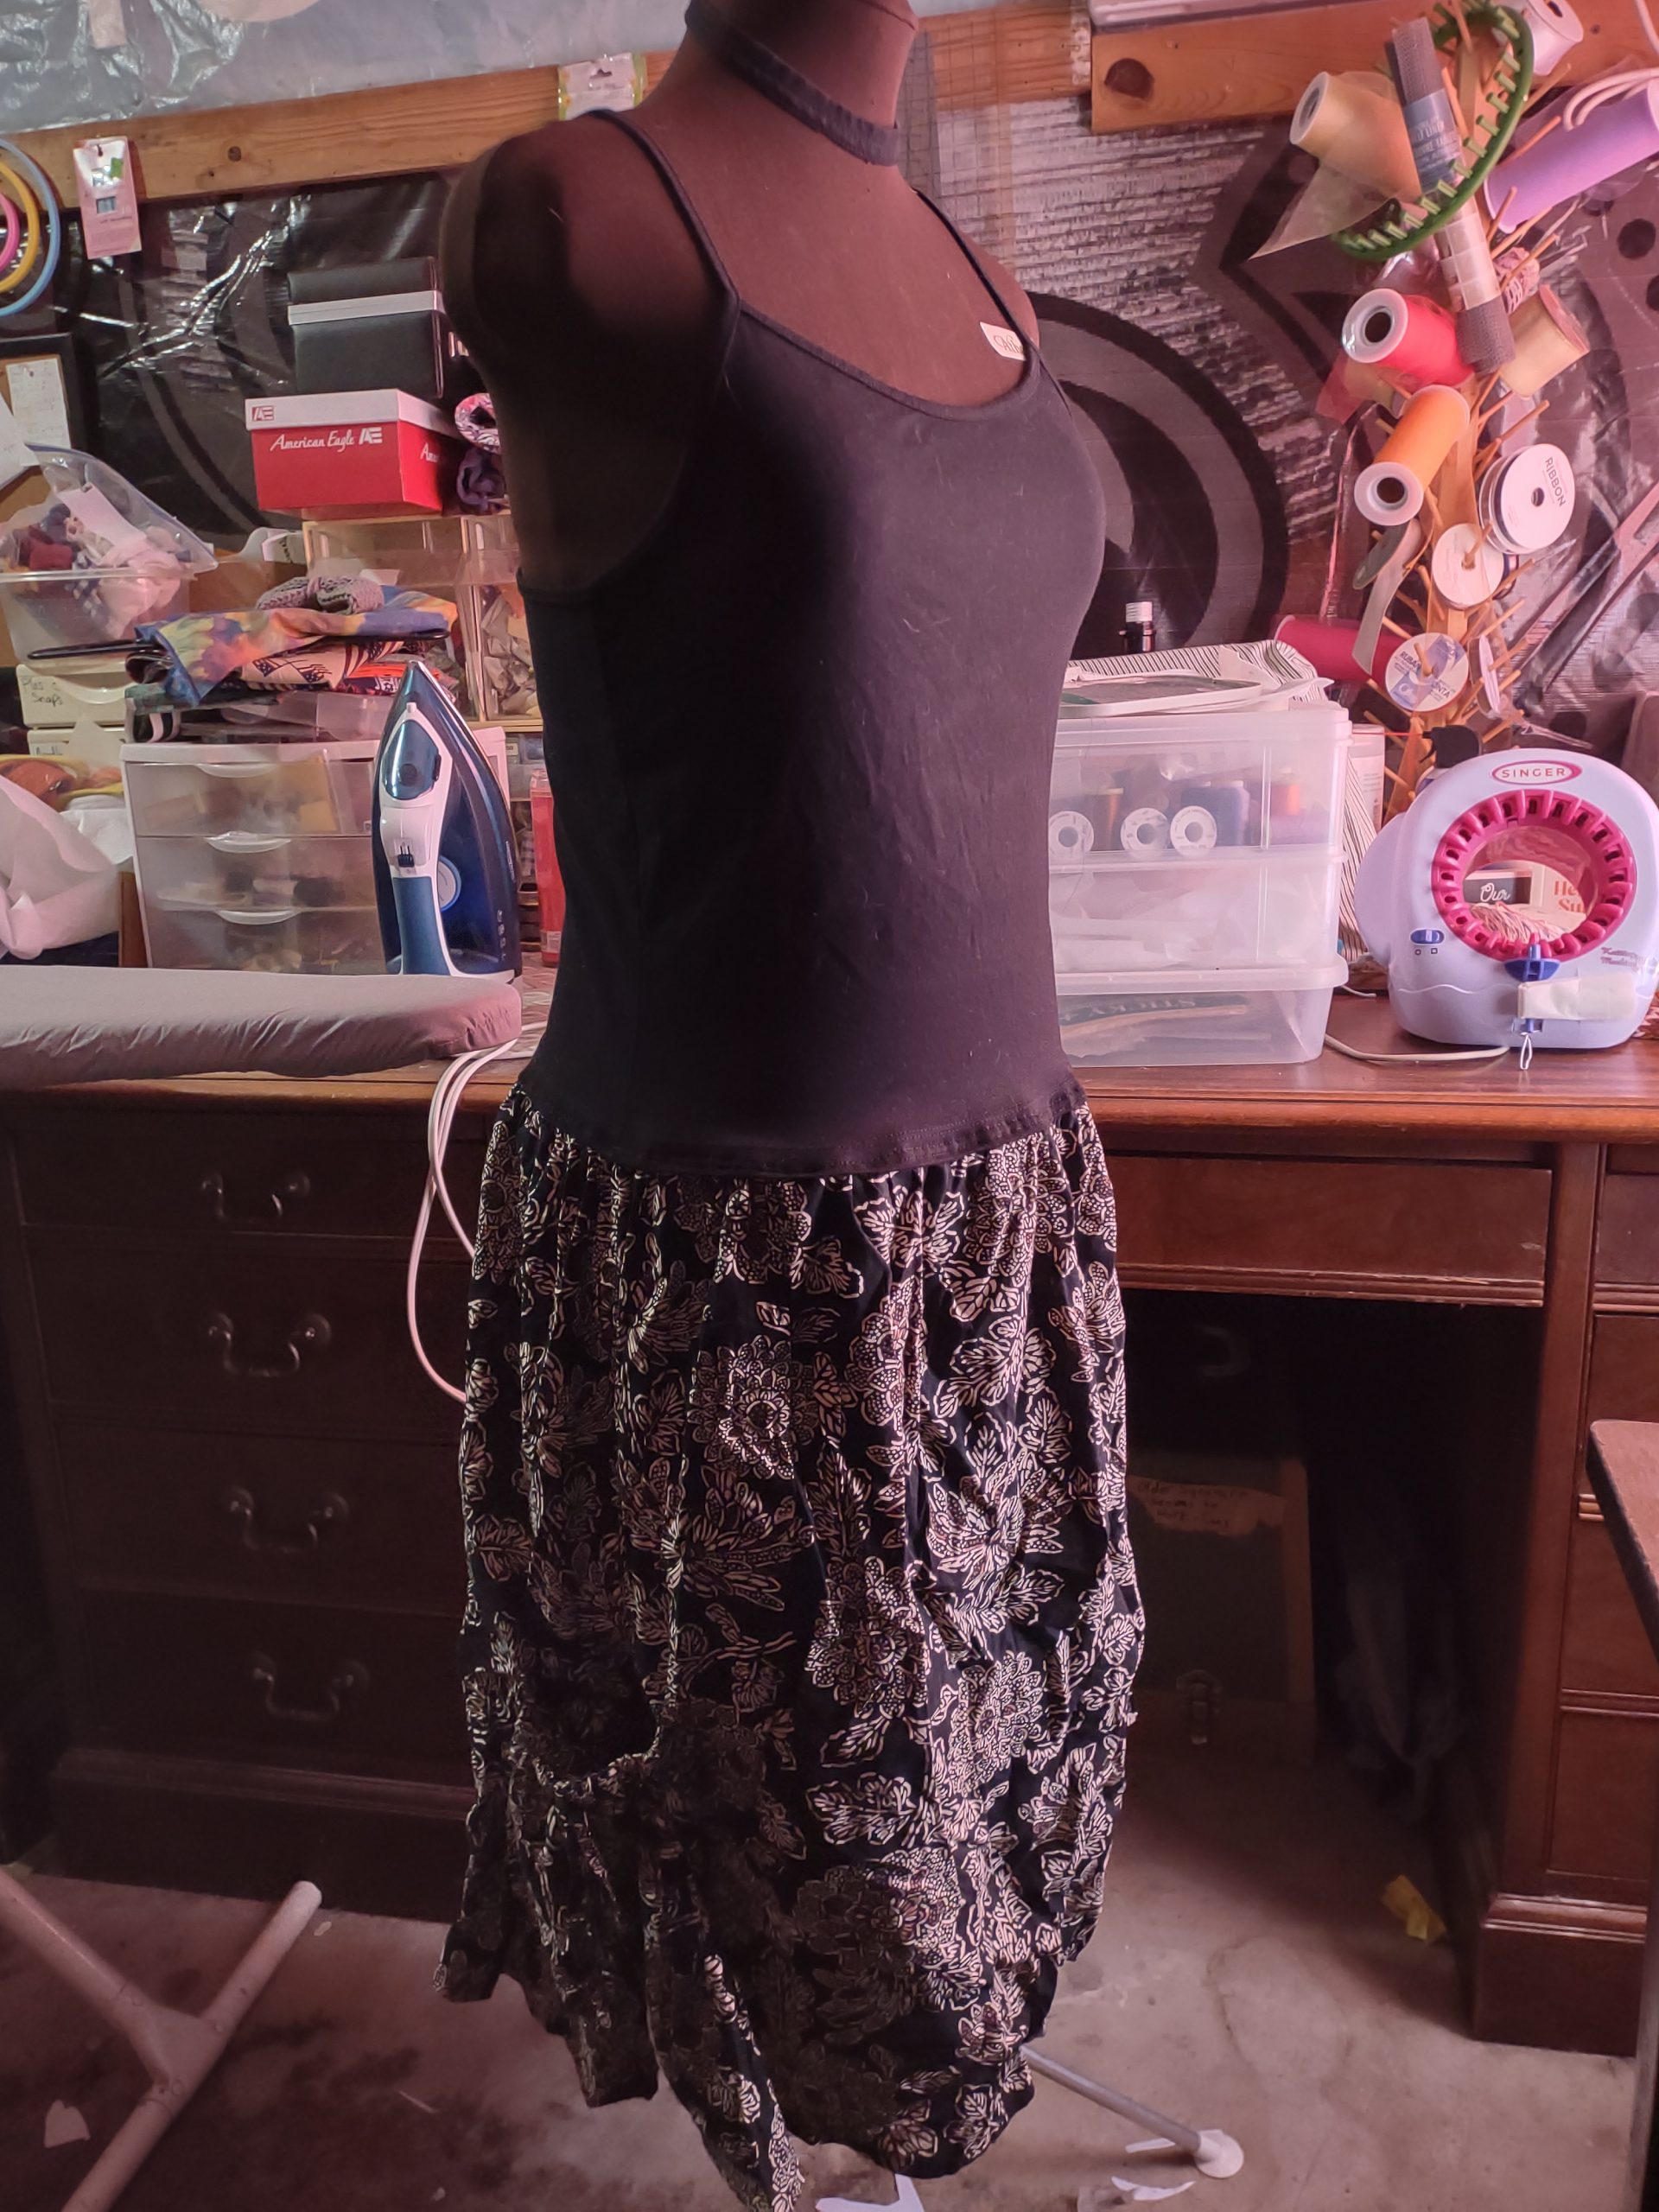
Better photos are coming soon, but I really wanted to show this one off and answer a few questions about my poncho shirts.
Sizing. My goal with these shirts is to make them so drapey and roomy that they will fit the most body types through just about everything. If you gain 15 pounds because hormones or pizza, this shirt has your back. If you get pregnant and gain 50+ pounds like I did every single time, it’s still going to be loose and drapey, although probably a little shorter. If you have that baby and choose to nurse them, it’s got you covered. Literally. If you like a little coverage while feeding your baby, this shirt will provide.
I list the measurements of these shirts flat on my website. This one is 42 inches from side seam to side seam flat. That means it has an 84 inch circumference.
The length is determined by the length of the original T-shirt and scarves. While they look adorable layered over a cami or with a little belly showing, I know not everyone likes that. I can totally add a coordinating piece of T-shirt to lengthen the middle front and back of one if you’d like.
Or, let me know your preferred length and colors and I will scour the thrift stores for a suitable shirt and scarf combo for you.
Or, and this option does make me a bit nervous, I can make a poncho shirt out of a t-shirt you send me. It only makes me nervous because WHAT IF MY WELL BEHAVED SEWING MACHINE DECIDES TO EAT SOMEONE’S SHIRT!!! I’m probably being a little paranoid. Also, I can do customs just because, not only for sizing issues.
Those custom options will only cost more if the material costs are significantly higher. That’s really only going to happen if I have to buy a brand new T-shirt or a fancy-pants brand T-shirt.
Finally, as I’ve previously mentioned, I do source my materials from local thrift stores. That makes every shirt unique and keeps clothing out of landfills. If that’s not your thing, you do you. 😘
Find all my upcycled clothing here: https://subearthancottage.com/product-category/upcycled-clothing/
If you’re interested in something like this shirt that I haven’t listed yet, please contact me about it.
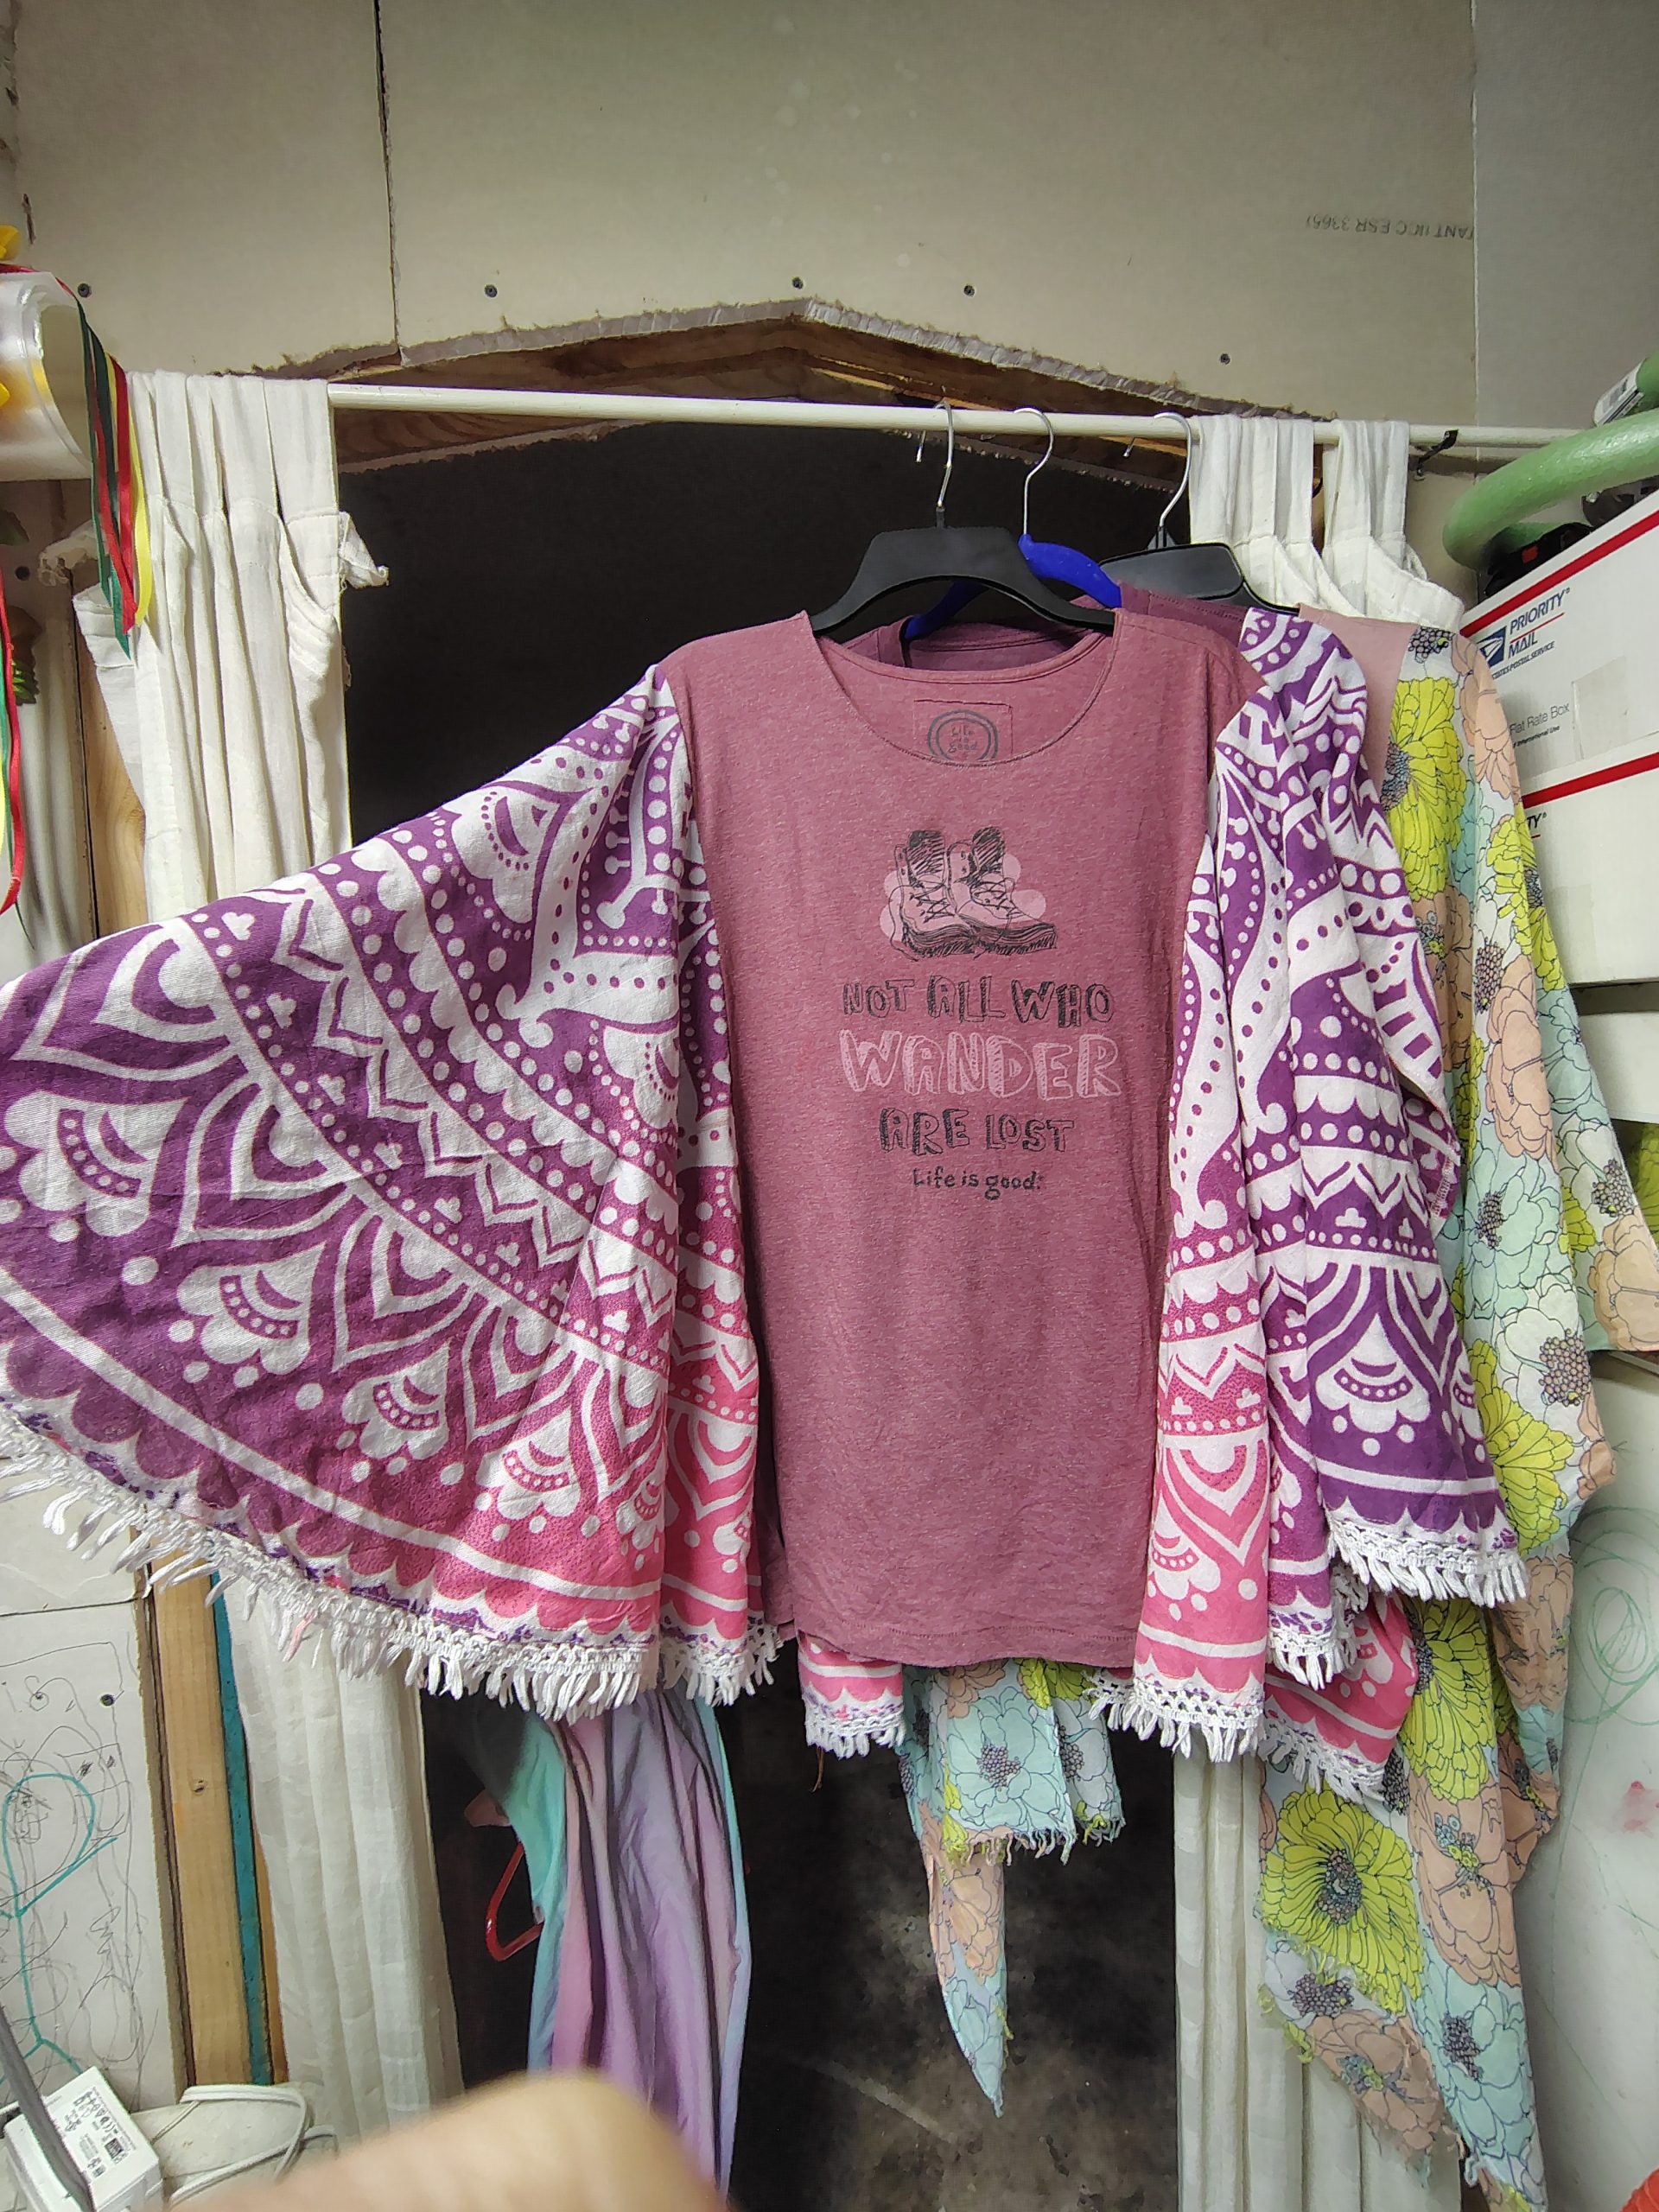
Here’s a quick peek at some boho upcycled shirts I’ve made. They’re flowy and oversized to be one size fits most.
I’ll have them in the shop soon with all the dimensions and details listed. In the meantime, if you see one you like, feel free to contact me about it now. They’re $60+ $45+ shipping. If you’re local to Fort Worth, we can arrange pickup as well. Oh, and I’ve already claimed the first one for myself.
Hello lovelies! If you follow me on all the socials, you know I owe you a quick how-to on this:
But, I haven’t written it yet. I apologize.
I did want to let you know, though, that I added some new planners/journals to my shop. There’s a Meal Planner, a Reading Journal, and a Fitness Journal now, as well as a set of Literary Terms posters for my teacher friends. I may get some more added tomorrow, if the kiddos don’t keep me too busy to work on them tonight. They are all in PDF format, so you can either print the pages you want or use them with a digitally with something like Goodnotes.
Now for the SALE part: ALL digital products that are normally $5 are on sale for $0.99. That’s all the planners, journals, and all of my machine embroidery designs. I have also made a few more of my older embroidery designs FREEBIES!
Please, check them out. If they’re not for you, but you know someone who would like them, please share.
This sale only lasts through August 22, so don’t miss out!
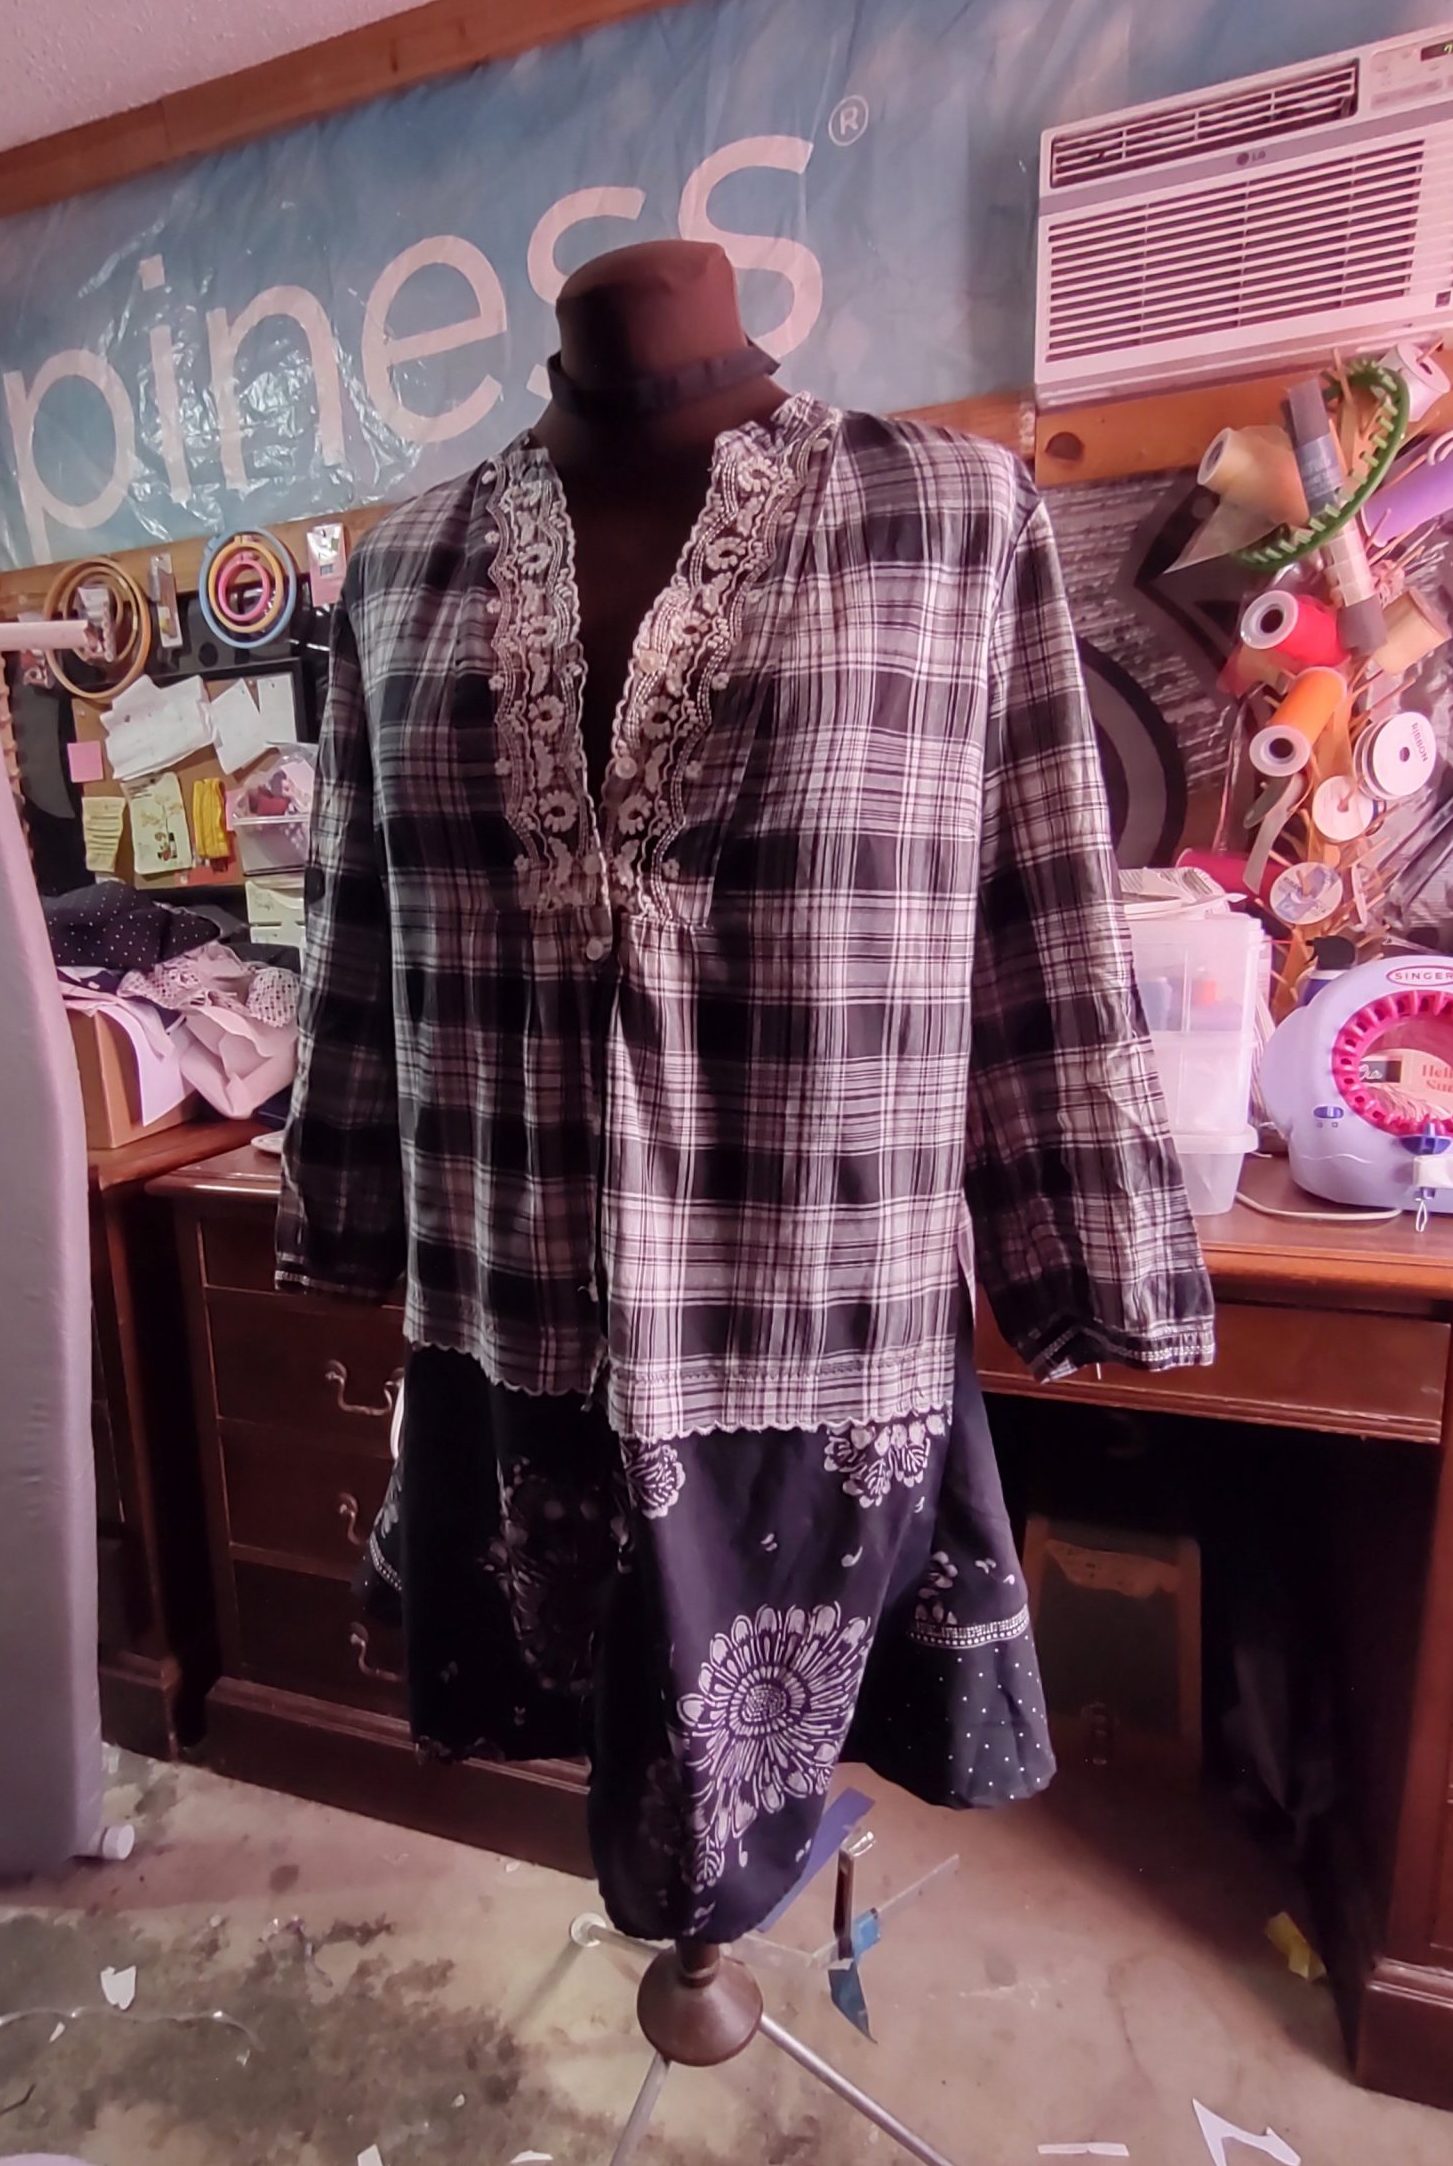
My mom gave me this blouse to play with because her puppy had ripped the bottom of it. I had already cut off the torn part and sewed the raw edge with a scalloped stitch to match the embroidery on the top. That made the shirt too cropped for my preference, so it stayed in my refashion pile.
In an attempt to eliminate said pile (who am I kidding, piles), I pulled it out, along with another black and white top with stretched out elastic and a black and white fabric remnant for good measure.
Shirt with stretched out elastic.Remnant
I decided to both lengthen it and add more room at the sides by inserting triangles of fabric. I hate wearing woven tops that are fitted, so I thought that might make it more wearable to me. Here is the end result:
FrontSideBack
I’m not sure that I’m happy with it. Looking at it now, I think I need to add something from the bottom fabric to the top to tie it all together. I may make two patch pockets and attach them at the bottom of the original shirt and overlap onto the new fabric. Maybe an applique on the back as well? Thoughts?
Like this post? To make sure you never miss a future post, please sign up for my newsletter.
I’ve been working my way through my clothing stash and thought I’d share a couple of refashion projects. For the first, I took the leg of an old pair of denim jeans and upcycled it into an apron. Here’s a quick video of that project.
For the second, I refashioned a sundress. I didn’t take a before photo of the sundress, unfortunately. A strap on it had broken and the top was shaped for boobs, which I don’t have, lol. I really liked the dress, though, because it’s a lightweight, breathable cotton and it has big pockets. So, I took a Wild Fable cami that I didn’t like because the hem would ride up and attached the bottom of the sundress to it.
Now I have another super-comfy dress to wear in this insane heat. I am so ready for fall.
Like this post? To make sure you never miss a future post, please sign up for my newsletter.
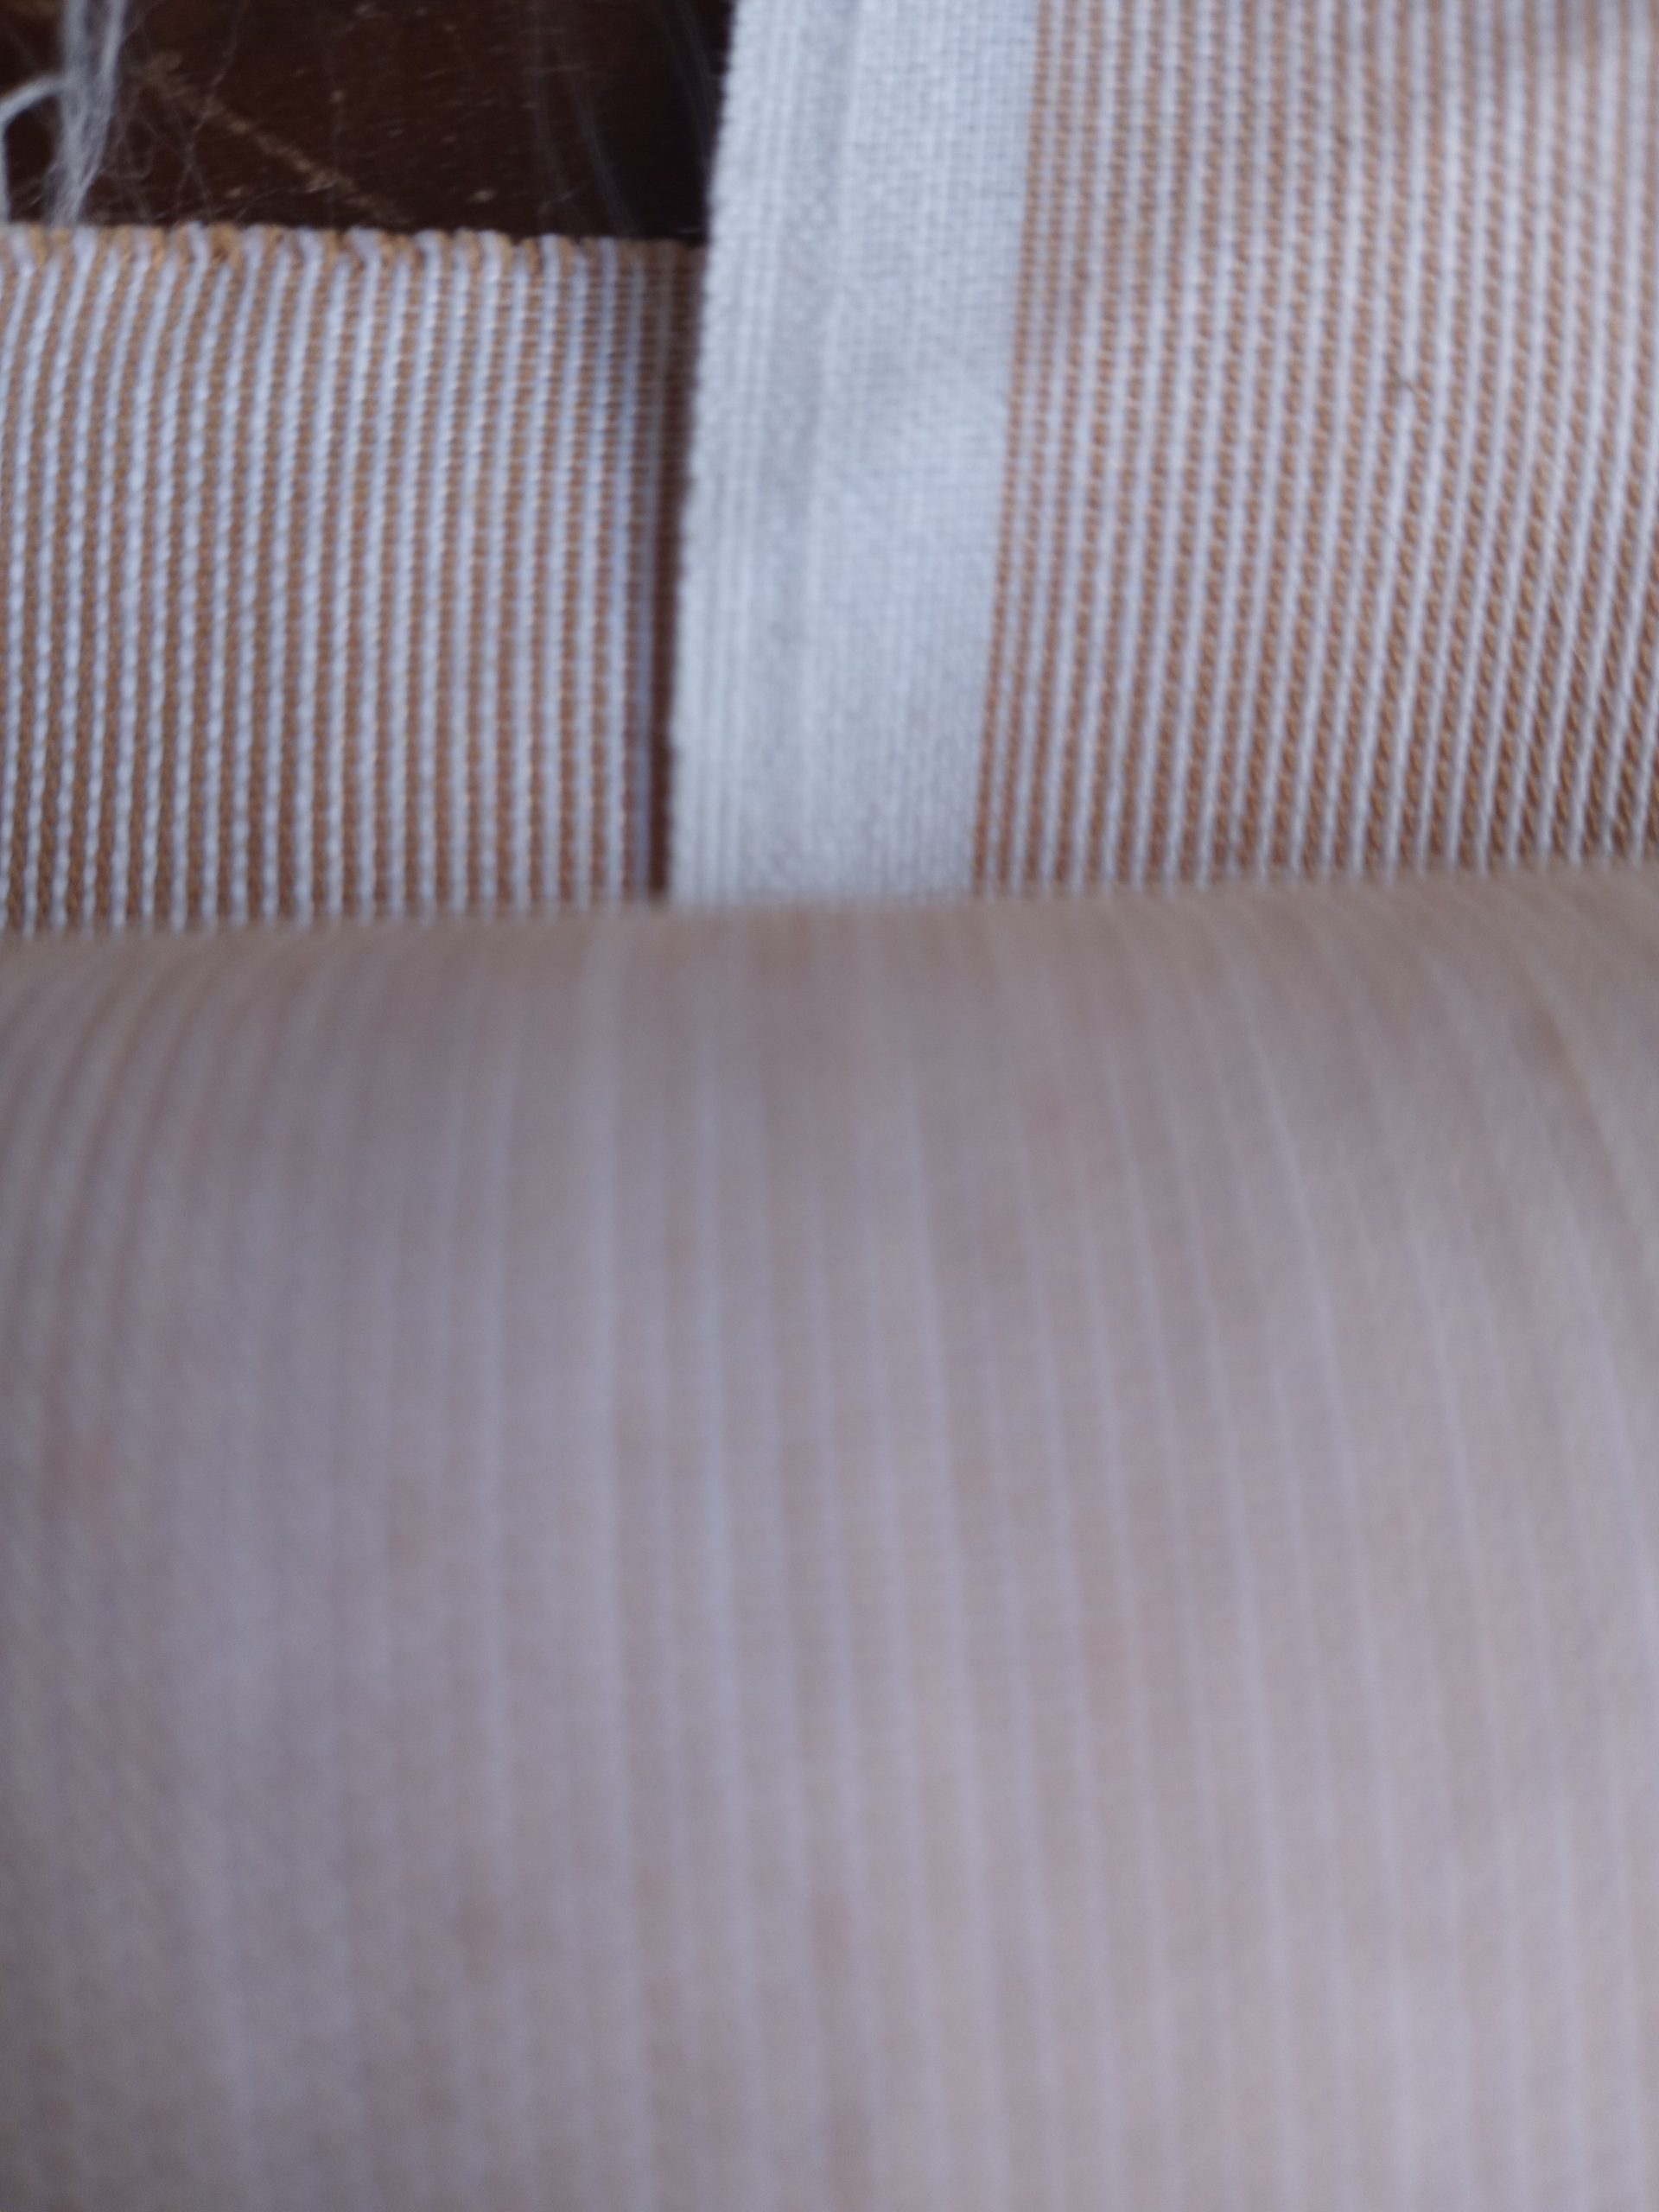
I’ve listed two “new” vintage fabrics in the shop, but wondering if anyone can help with giving more information about them. I love second hand materials, but not having all the details is a bit frustrating. They are:
I’ve burn tested them, and they tend to burn quickly. The burned edge seems more melted than ashy, which leads me to believe they are a synthetic or a synthetic blend. Here’s a video of the beige burn test:
Burn testing some vintage fabric. I think this one is a synthetic or synthetic blend. I’m listing some of my fabric stash at https://subearthancottage.com #sewing#vintagefabric#fabricdestash
I, Charity Sloan, am a participant in the Amazon Services LLC Associates Program, an affiliate advertising program designed to provide a means for sites to earn advertising fees by advertising and linking to Amazon.com. Any purchases through those links will result in my receiving a small percentage in commission.
This only refers to Amazon links found in/on my blog pages. All products in my shop are 100% mine and not linked to Amazon.
Prices are the same whether you click an affiliate link or a non-affiliate link, so you will not be charged more. Thank you for your support!