This post contains affiliate links. If you click through any of the Amazon links and make a purchase, I will receive a small commission. There is no added cost to you.
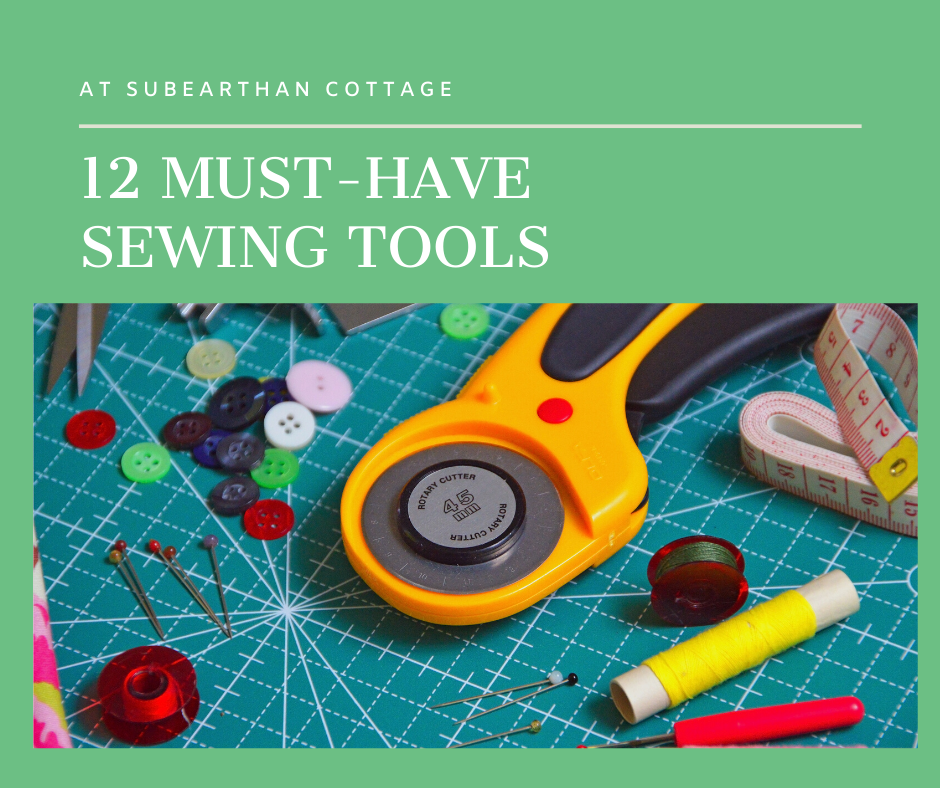
If you’re just starting to sew, it can be daunting to figure out which sewing tools are nice to have, which are absolutely necessary and which are just a fancy waste of money. Everyone’s preferences are different, but there’s a few tools that I use almost every time I break out my sewing machine.
This list assumes you have the absolute basics of needles, thread and sewing machine. I plan to do an article next week on my sewing machine preferences, so if you’re still in the market for a sewing machine, stay tuned. Many of these items are handy for hand sewing, too, if that is your preference.
My Must-Have Sewing Tools
Cutting
- Fabric Scissors. While you can get by with a good pair of craft scissors, fabric scissors cut much cleaner. I have two pairs. One is an all metal pair similar to these, although I’m not sure if mine are Gingher brand. My other pair are like these Singer brand scissors. Both of these have a bent handle that make it easier to cut fabric lying flat on a surface and have a minimum blade length of 8 inches. Remember, to keep them sharp, fabric scissors should only be used on fabric.
- Embroidery Scissors. Clipping threads with bigger fabric scissors is tricky. It’s hard to trim threads as close as needed and it’s easier to accidentally snip the fabric. Embroidery scissors or similar scissors are a lifesaver when it comes to keeping threads neat and tidy. For these, the biggest things to look for is that they are small, sharp and have a sharp point. I currently have these Fiskars brand, which come with a handy place to store bobbins and pins. I would love to get a pair of stork embroidery scissors like these, but mainly because I think they are adorable.
- Pinking Shears. Pinking shears cut in a zig-zag pattern that prevents fabric from fraying. It’s an easy way to finish raw seam allowances without a serger (overlock machine), zig-zag stitching or using a more time consuming method of finishing seams. My pinking shears are unmarked, so I’m not sure of the brand, but they are similar to these.
- Rotary Cutter and Mat. These are more of a want than a need, but for cutting smooth, long, straight lines, a rotary cutter is extremely handy. To properly use a rotary cutter, you’ll also need a self healing cutting mat. These come in various sizes. Unless you’re only working on small projects, bigger is usually better. I use a Fiskars 45mm rotary cutter. This is an example of a cutting mat. Mine biggest one currently is 24 inches square, and I really wish it was bigger.
- Seam Rippers. I find seam rippers much easier to use than scissors when ripping out stitches. They also work well for making button holes. I recommend having a couple on hand. I got a multi-pack like this because I’m always misplacing mine.
Measuring and marking
- Measuring tape. A soft, flexible measuring tape like this one is a necessity for taking measurements for clothing. I recommend having more than one, because they seem to disappear, at least at my house.
- Straight edge ruler or yardstick. These are especially useful for using as a guide for rotary cutters. Really, though, for measuring flat lengths, a rigid yardstick/meter stick is easier to use than a measuring tape. A smaller ruler is handy for measuring hems, seam allowances and quilt pieces. Neither has to be fancy. My yardstick came from a hardware store and my rulers are leftover school supplies. Grid-type rulers do come in handy sometimes, but I recommend starting simple to get an idea of the sizes you would use the most.
- Tailor’s chalk. For marking, I’ve tried water and air soluble marking pens, but I always come back to simple tailor’s chalk. It’s inexpensive, it works well, and it lasts longer than markers.
Securing
- Straight pins. I personally prefer long, thin quilting pins, but any straight pins will get the job done. You want to make sure the pins are sharp and smooth so they glide well through the fabric.
- Clips. Sometimes you need to secure fabric that is either too thick or too delicate to pin. For those items, you’ll want some sort of clip. You could use something like these, use binder clips, or even clothespins, depending on the fabric.
- Safety pins. Safety pins are great for securing a big quilt for basting, or securing a project that needs to be stored for a bit before you can finish it. They are also perfect to help threading drawstrings.
- Pin storage. Pincushions are cute, available to purchase and easy to make. While I do have a couple I use regularly, I really prefer small containers that I can just drop the pins into. Altoid mint tins are my go-to, but any small container that is easy to reach in and grab a pin will work.
What are your must-haves?
Everyone has their own style, so something I use all the time might not get used at all by someone else. What sewing tools do you use all the time? Leave a comment letting me know what you like, what I missed or what I included that you never use.
Like this post? To make sure you never miss a future post, please sign up for my newsletter.

-
 Rainbow Heart Embroidery Machine Design File with Bonus Patch$5.00
 -
 Star Wars Upcycled Ugly Christmas Flannel Shirt$40.00
 -
 Rust Orange with Blue Ford Bronco Upcycled Flannel Shirt$40.00
 -
 I Do a Thing Called Whatever I Want Cowboy Skull Upcycled Flannel Shirt$40.00
 -
 Blue Dreamer Moon in a Jar One Size Boho Handmade Poncho Style Upcycled T-Shirt$40.00
 -
 Cropped Billy Joel Pink and Purple One Size Boho Handmade Poncho Style Upcycled T-Shirt$40.00
 -
 Grand Adventure Guide Green One Size Boho Handmade Poncho Style Upcycled T-Shirt$40.00
 -
 Be a Good Human One Size Boho Handmade Poncho Style Upcycled T-Shirt$40.00
 -
 Owls with Heart Embroidery Machine Design File$5.00
 -
 Valentine Two Color Cupcake Embroidery Design File$5.00
 -
 Savings Tracker PDF Printable or Digital Tracker$0.99
 -
Product on sale
 Yoga Journal PDF Printable or DigitalOriginal price was: $5.00.$0.99Current price is: $0.99.