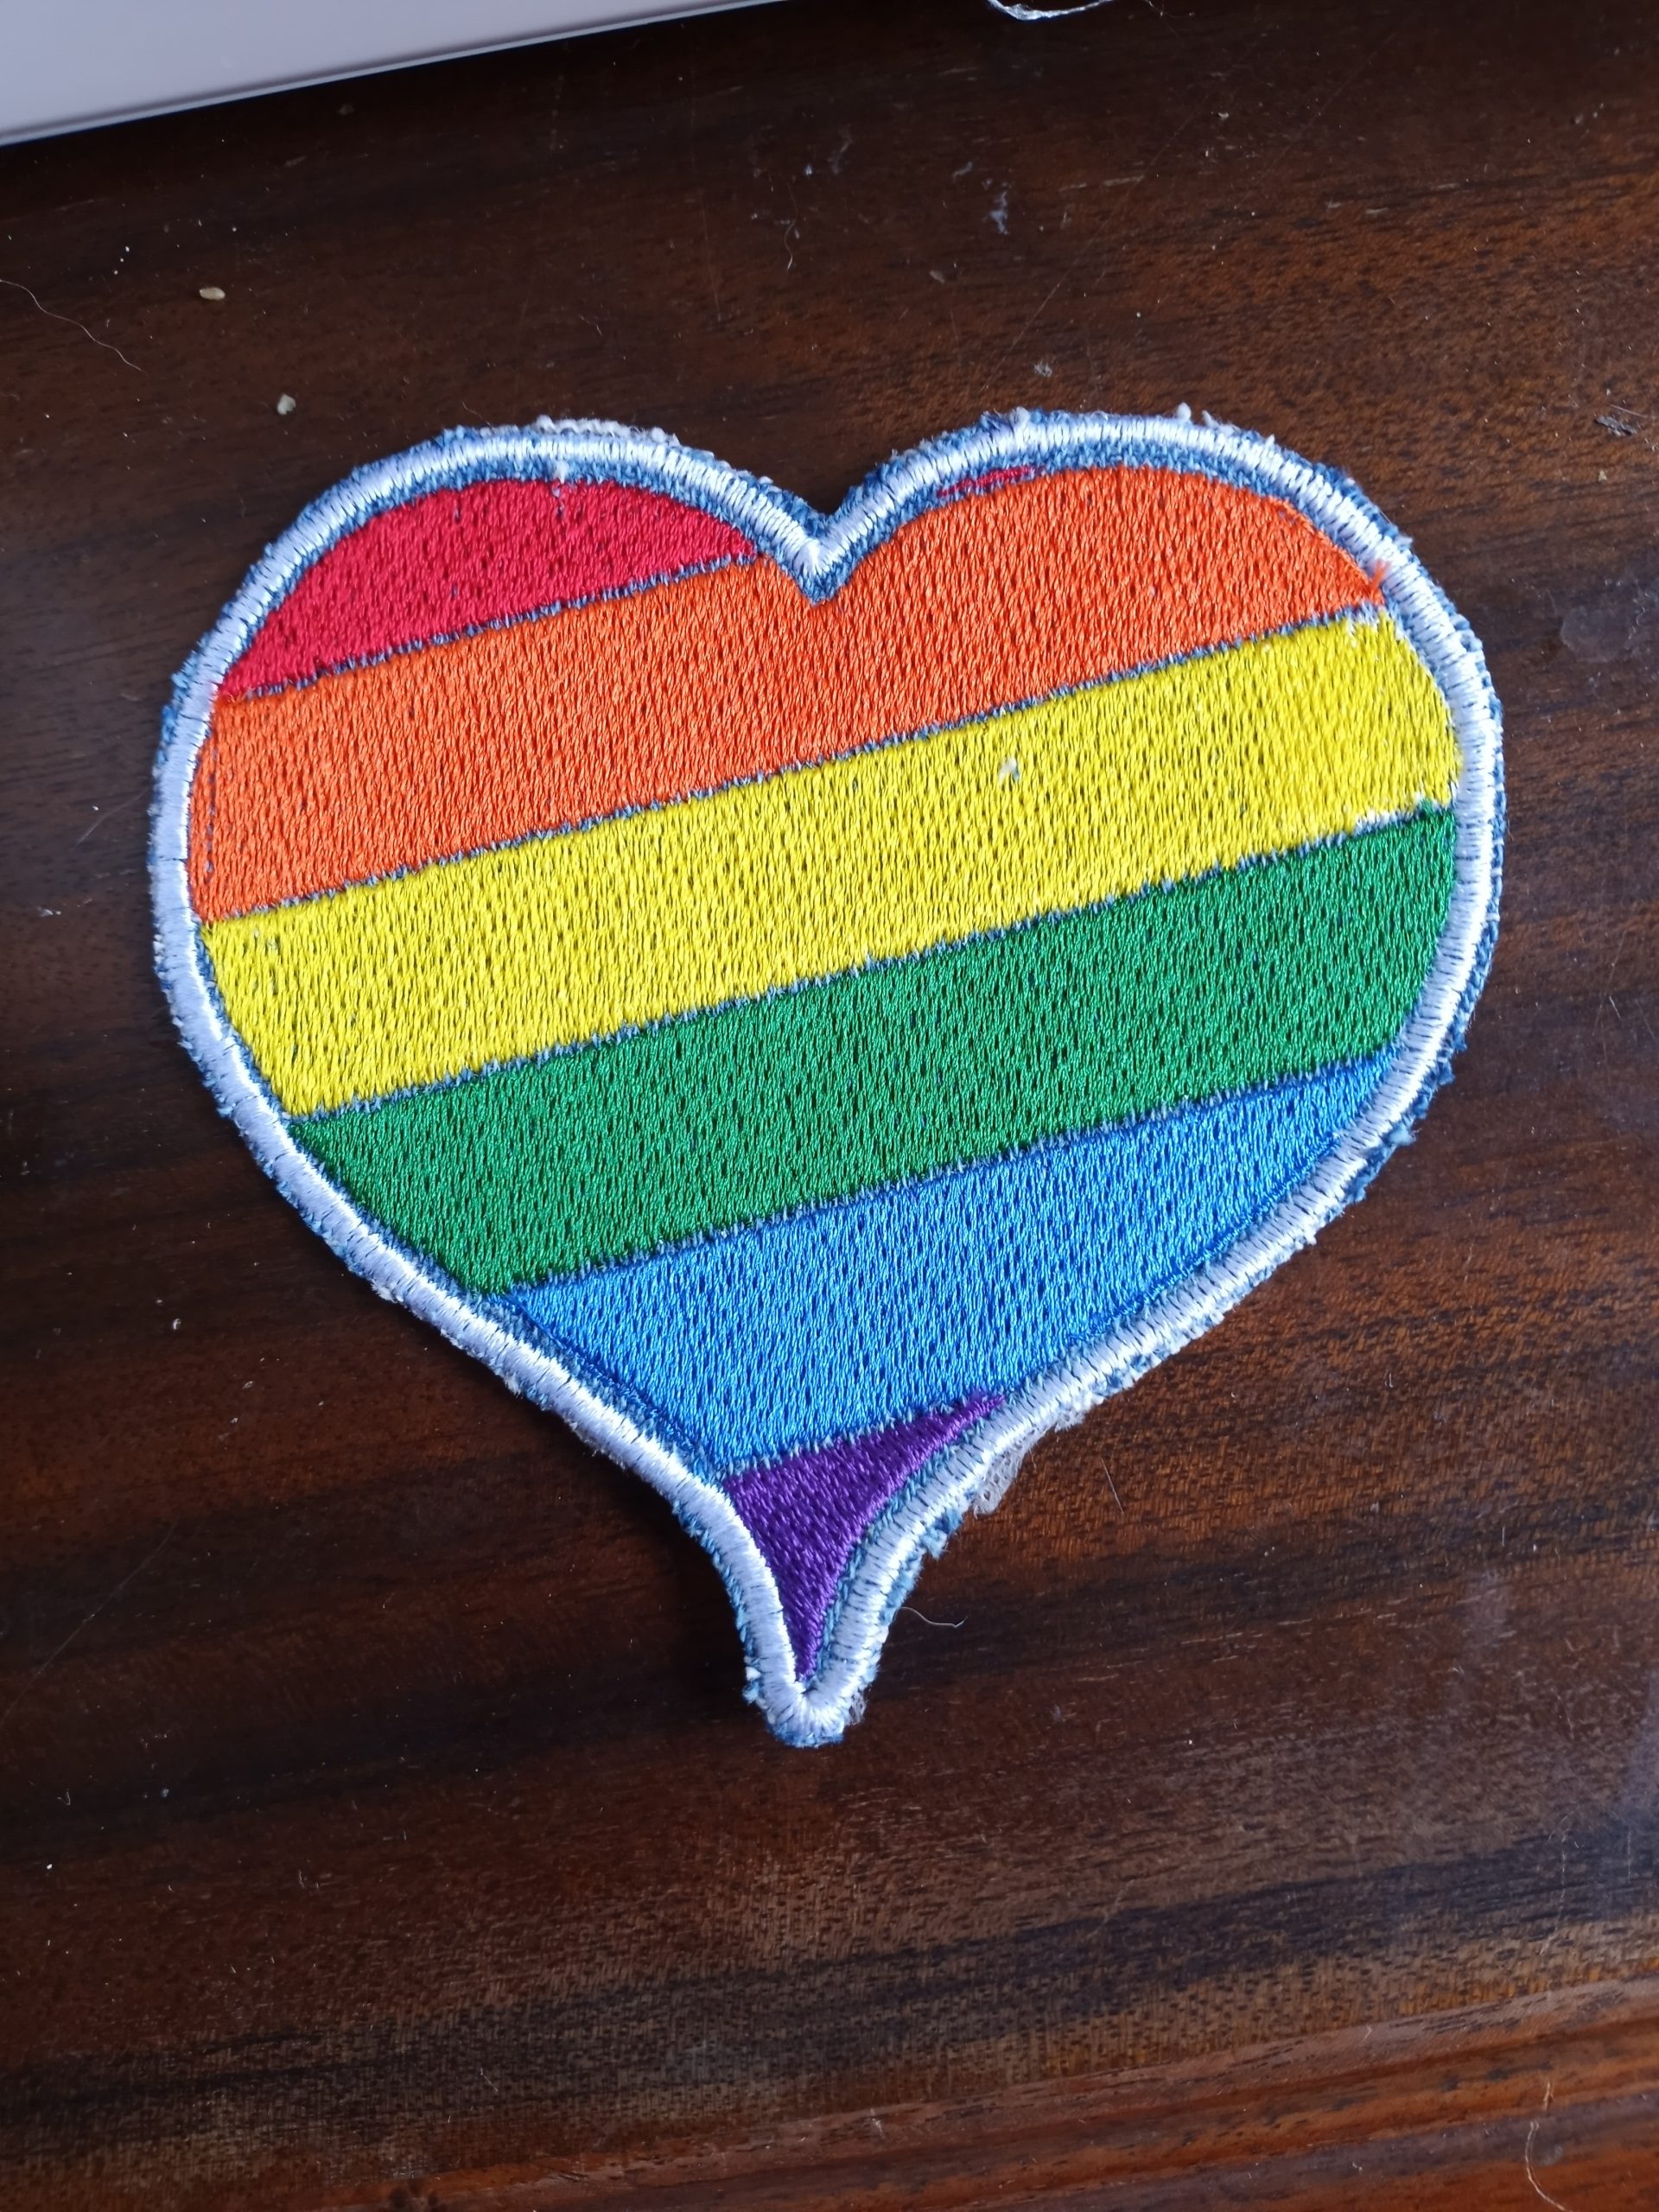
I love upcycling in my crafting. I love that it saves money and keeps things out of the landfill. One of my latest ways to upcycle is using denim as a base for machine embroidery patches. Just about everyone has a pair of worn out jeans. Denim is the perfect weight for patches, so I take usable fabric from old jeans and stitch my patch designs on that. Give it a shot!
I love in the hoop embroidery projects. They, more than anything, are what make me wish my embroidery machine had a bigger stitch area than just 4 inches by 4 inches. Even with such a small hoop size, there’s still plenty of in the hoop projects available.
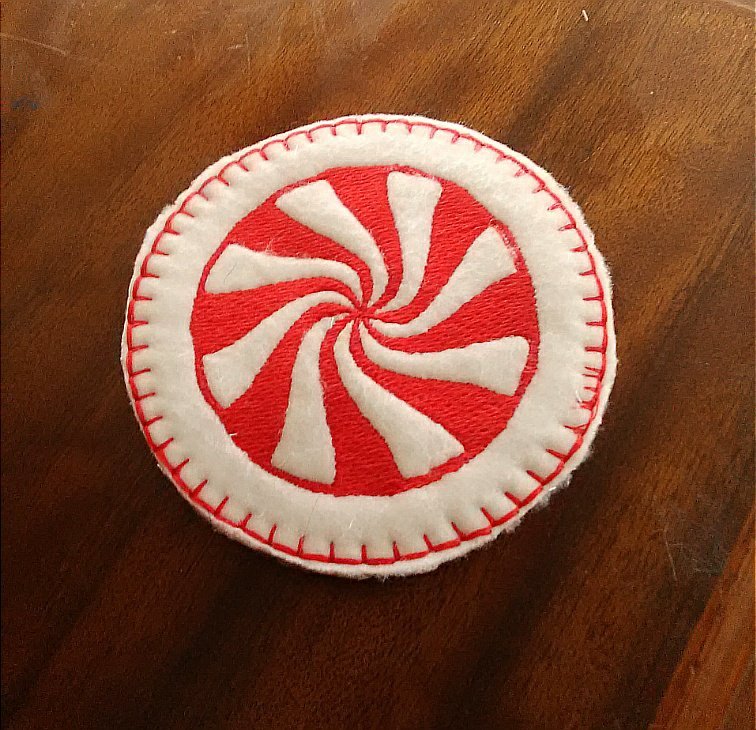
One of the easiest ITH (in the hoop) items to make are coasters. To make these peppermint coasters, all you need is fleece, one or two thread colors, stabilizer, the design file and, of course an embroidery machine. Once you see how they are made, you can easily swap out the design and colors to suit your needs. They are so simple to make, they are perfect for last minute gifts or as decor to match a party’s theme. You could also make a themed set for each month, season or holiday to decorate your home.
In the hoop peppermint coasters
Supplies to make one coaster
Two pieces of fleece cut to your machine’s hoop size
Place one piece of fleece on top of the stabilizer in the hoop. For small projects I sometimes just carefully hold it smooth while my machine stitches. You can also use a glue stick outside the stitching area to glue the fabric to the stabilizer, or pin the fabric to the stabilizer at the top and bottom, outside of the stitching area. I made the mistake of having a pin at the side, and even though it was clear of the design, it caught on my machine’s presser foot. Luckily I caught it quickly, but I will probably use a glue stick whenever possible to prevent that from happening again.
Decision Time: If you want the peppermint to show on both sides, place the other piece of the fabric under your hoop while placing it onto your machine. The bottom fabric usually stays in place on its own, but you could use a glue stick as I mentioned in the previous step. To only have the peppermint show on one side, skip to “Preparing your machine”.
Preparing your machine
If you want the peppermint on both sides, make sure the top and bobbin thread match. For a single-sided design, red or white in the bobbin is fine.
Place your hoop in your machine.
Upload the design file according to your machine’s instructions. The following steps are based on the Brother SE 400, so they may differ depending on your machine.
Resize your design, as desired. I wanted the peppermint as big as possible, so I followed the instructions for my machine to maximize the size. Mine maxed out at 7, which resulted in an overall size of about 6.5 cm. If your machine has a bigger capacity, you’ll need to decide how big you want the design .
Because I used white fleece, I chose to skip the white stitching and only stitch it in red. Again, I followed the instructions to skip to color 2, labeled red. Whatever color you choose, if you’re only sewing one color, skip to color two, because it has the outline. If you want to stitch both colors, skip this step.
Optional: Since fleece has a high loft, placing water soluble stabilizer is recommended. I’ve tried this project both ways, and I don’t see a big difference. For this tutorial, you’ll see the water soluble stabilizer in most photos.
Stitching your in the hoop coaster
Begin stitching according to your machine’s instructions.
If you are stitching both colors and want the peppermint on both sides, be sure to change the bobbin thread to match the top thread after color 1, white, is complete.
Continue stitching until the peppermint design is complete.
Stitching the border.
I like the border to match on top and bottom, so for this step I put red in the bobbin and for the top thread.
If you’re making a single-sided coaster like I did for this tutorial, now is when you add the second piece of fleece. Place it under your hoop as in the last step of “Preparing your hoop”.
On your machine, navigate to frames and select a circle frame.
Select the stitch type. I chose an over edge, blanket-type stitch.
Adjust the frame size. The frame size will determine the final size of your coaster. Make sure it is bigger than your design. Mine maxed out at 9 cm.
Stitch the border. I like a thicker look to the border, so once the border is done, I stitch it again. As long as you haven’t moved the fabric in the hoop, it will stitch directly on top of the first frame.
Finishing the coaster
Remove the project from the hoop.
Carefully remove any pins.
Trim thread tails.
Tear away the tear away stabilizer.
If you used water soluble stabilizer, cut away excess.
Cut fleece as close to the outside edge of the frame stitching as possible without cutting the stitching.
To remove remaining water soluble stabilizer, gently dab with a damp cloth or, swish it in a bowl of lukewarm water until stabilizer is gone and allow coaster to air dry flat.
Done!
I know that looks like a lot, but it’s really simple. I tried to be as detailed as possible, but if anything is confusing, please don’t hesitate to ask for clarification in the comments or through email.
If you notice, in the photo of the finished coaster, there’s a flaw in the border stitching on the left. That is where a pin caught the presser foot. Luckily that was the only damage. In the future, if I use pins, I will only pin at the very top and the very bottom. I really do prefer using washable glue sticks and keeping the glue well outside any stitching. That way my needle and machine don’t get gunked up, and I don’t risk hitting pins.
Finished Peppermint Coaster
Embroidery Files and Freebies
Embroidery design files and freebies from SubEarthan Cottage. All designs are scaled to fit 4×4 hoops common on home embroidery machines.
Affiliate disclosure: This post contains affiliate links. If you make a purchase through any of the links on this page, I will receive a small commission at no additional cost to you. All the statements contained in this post are my honest opinions of the product, the Creative Home Projects Bundle 2020.
Between sewing machine troubles and children keeping me busy, I haven’t had much time for crafting lately. Even when I do have a few spare moments, my brain is so focused on everything else that I don’t know where to begin, which is unfortunate. Crafting is a great way to destress, and we all need ways to unplug and destress, now more than ever!
But that’s not all….Crafting and DIY projects give you the chance to learn new skills, do something with your hands, and beautify your home. With Christmas right around the corner, now is a great time to get started on unique handmade gifts as well.
Do you want to spend more time creating?
My friends at Ultimate Bundles have curated a brand new bundle to help.
It’s called the Creative Home Projects Bundle. It has resources inside to help you master beautiful hand lettering, create vinyl crafts with your favorite cutting machine, repaint your cabinets, furniture and walls, make one-of-a-kind jewelry, improve your sewing, refashioning ideas, upcycling and so much more!
When you buy the Creative Home Projects Bundle, you’ll get access to:
11 eCourses
30 eBooks
9 workbooks & printable packs
14 tutorials & templates
The creators behind all 64 resources are makers who are passionate about creativity, helping you make your life more beautiful, and teaching you new artistic pursuits!
And best of all, you can get the entire package for just $19.97.
What I’m Loving in the Bundle
I’m especially excited about the Easy Refashions for Every Season ebook by Elizabeth Farr and the printable Upcycled T-Shirt Romper and Dress Sewing Pattern by Heather Paulsen. There’s also the Fun & Easy Halloween Crafts by Stephanie Gilbert ebook. With COVID-19 concerns, Halloween will probably look different this year. Hopefully Gilbert’s book will give me ideas for activities to make it more fun for the kiddos.
P.S. If you buy by midnight tomorrow, you can also get a free subscription box from KiwiCo (value $19.95). They offer a box for every age and interest, so you can choose the box that fits your family best! Check out the bundle and the bonus here: http://ultimatebundles.com/sale/chpb2020-main#a_aid=5ef0b9e06ff22&a_bid=41f3cb48
Do you love Ultimate Bundles as much as I do? Click here to find out how to become an affiliate.
Like this article? To make sure you don’t miss out on future posts, sign up for my newsletter.
While I love my Brother SE400, it didn’t take long for me to get bored with the built in embroidery designs. I found many cute designs online to buy. That helped, but even that was somewhat limiting as my machine only has a 4×4 hoop capability. Besides, I’m a diy, hands-on person. Of course, that all led to learning how to digitize designs myself.
The digitizing process is fun but time consuming. When I spend that much time on something, I want to share it with others. So, I am offering my embroidery designs in my shop under Embroidery Files and Freebies. Each design is scaled to fit in a 4×4 hoop and come with the .CSD, .DST, .EXP, .HUS .JEF, .PCS, .PES .SHV, .VIP, or .XXX file types to work on most embroidery machines. New designs are listed for free for a limited time.
Peppermint Candy
Floral Sugar Skull Embroidery Design File
Single Color Sugar Skull
Candy Cane
Christmas Tree 1 Embroidery Design File
Christmas Tree 1
Wreath with Red Bow Embroidery File
Gingerbread Boy Embroidery Design
You can find all of the above designs in my shop under Embroidery Files and Freebies. I would love to see what you create with the embroidery designs. If you’d like, share them here in the comments or on our social media channels. I also appreciate any feedback, especially if you have a different machine.
Tomorrow I should have a tutorial posted for using my Peppermint Candy design to create cute, in the hoop coasters. They’re an easy beginner project and make great gifts. You could also use a similar technique to create Christmas ornaments, or swap out the design in the middle to make them less seasonal.
Sneak Peak of a Peppermint Candy Coaster in progress
If you’re not familiar with the term “in the hoop” it refers to an item that is completely or almost completely made by the embroidery machine in the hoop. I like in the hoop designs for things I’m making in sets because it’s easy to get nearly identical results.
Embroidery Files and Freebies
Embroidery design files and freebies from SubEarthan Cottage. All designs are scaled to fit 4×4 hoops common on home embroidery machines.
Thaddeus turns three next week! When asked what he wants for his birthday, he exclaims, “Paw Patrol stuuuuuufff!” He is also constantly asking me to sew basically the entire cast of Paw Patrol for him. I may be crafty, but that is a bit beyond my skill set. So, since I have a lovely embroidery machine that doesn’t get used nearly enough, I thought I’d purchase a Paw Patrol design set for my machine.
The set came from Etsy seller OhMyArtDesigns. It comes with all the main pups, Rider, Robo Dog, and the Paw Patrol Logo. They also come in a few different sizes and file types to accommodate different brands and machines. So far, I love the designs. The stitch density is great, and they have a lot of detail. The only problems I’ve had fall completely in the “user error” category.
Embroidery Color Charts Matter
My first mistake was using the thread colors displayed on the machine and my manual chart to choose my threads.
The thread colors and names used by different machine brands varies, so if a design is drafted using different colors than yours, the color suggestions can seem a bit off. I was in a hurry and didn’t pay attention to the color chart provided by the designer, so some of my color choices weren’t quite right.
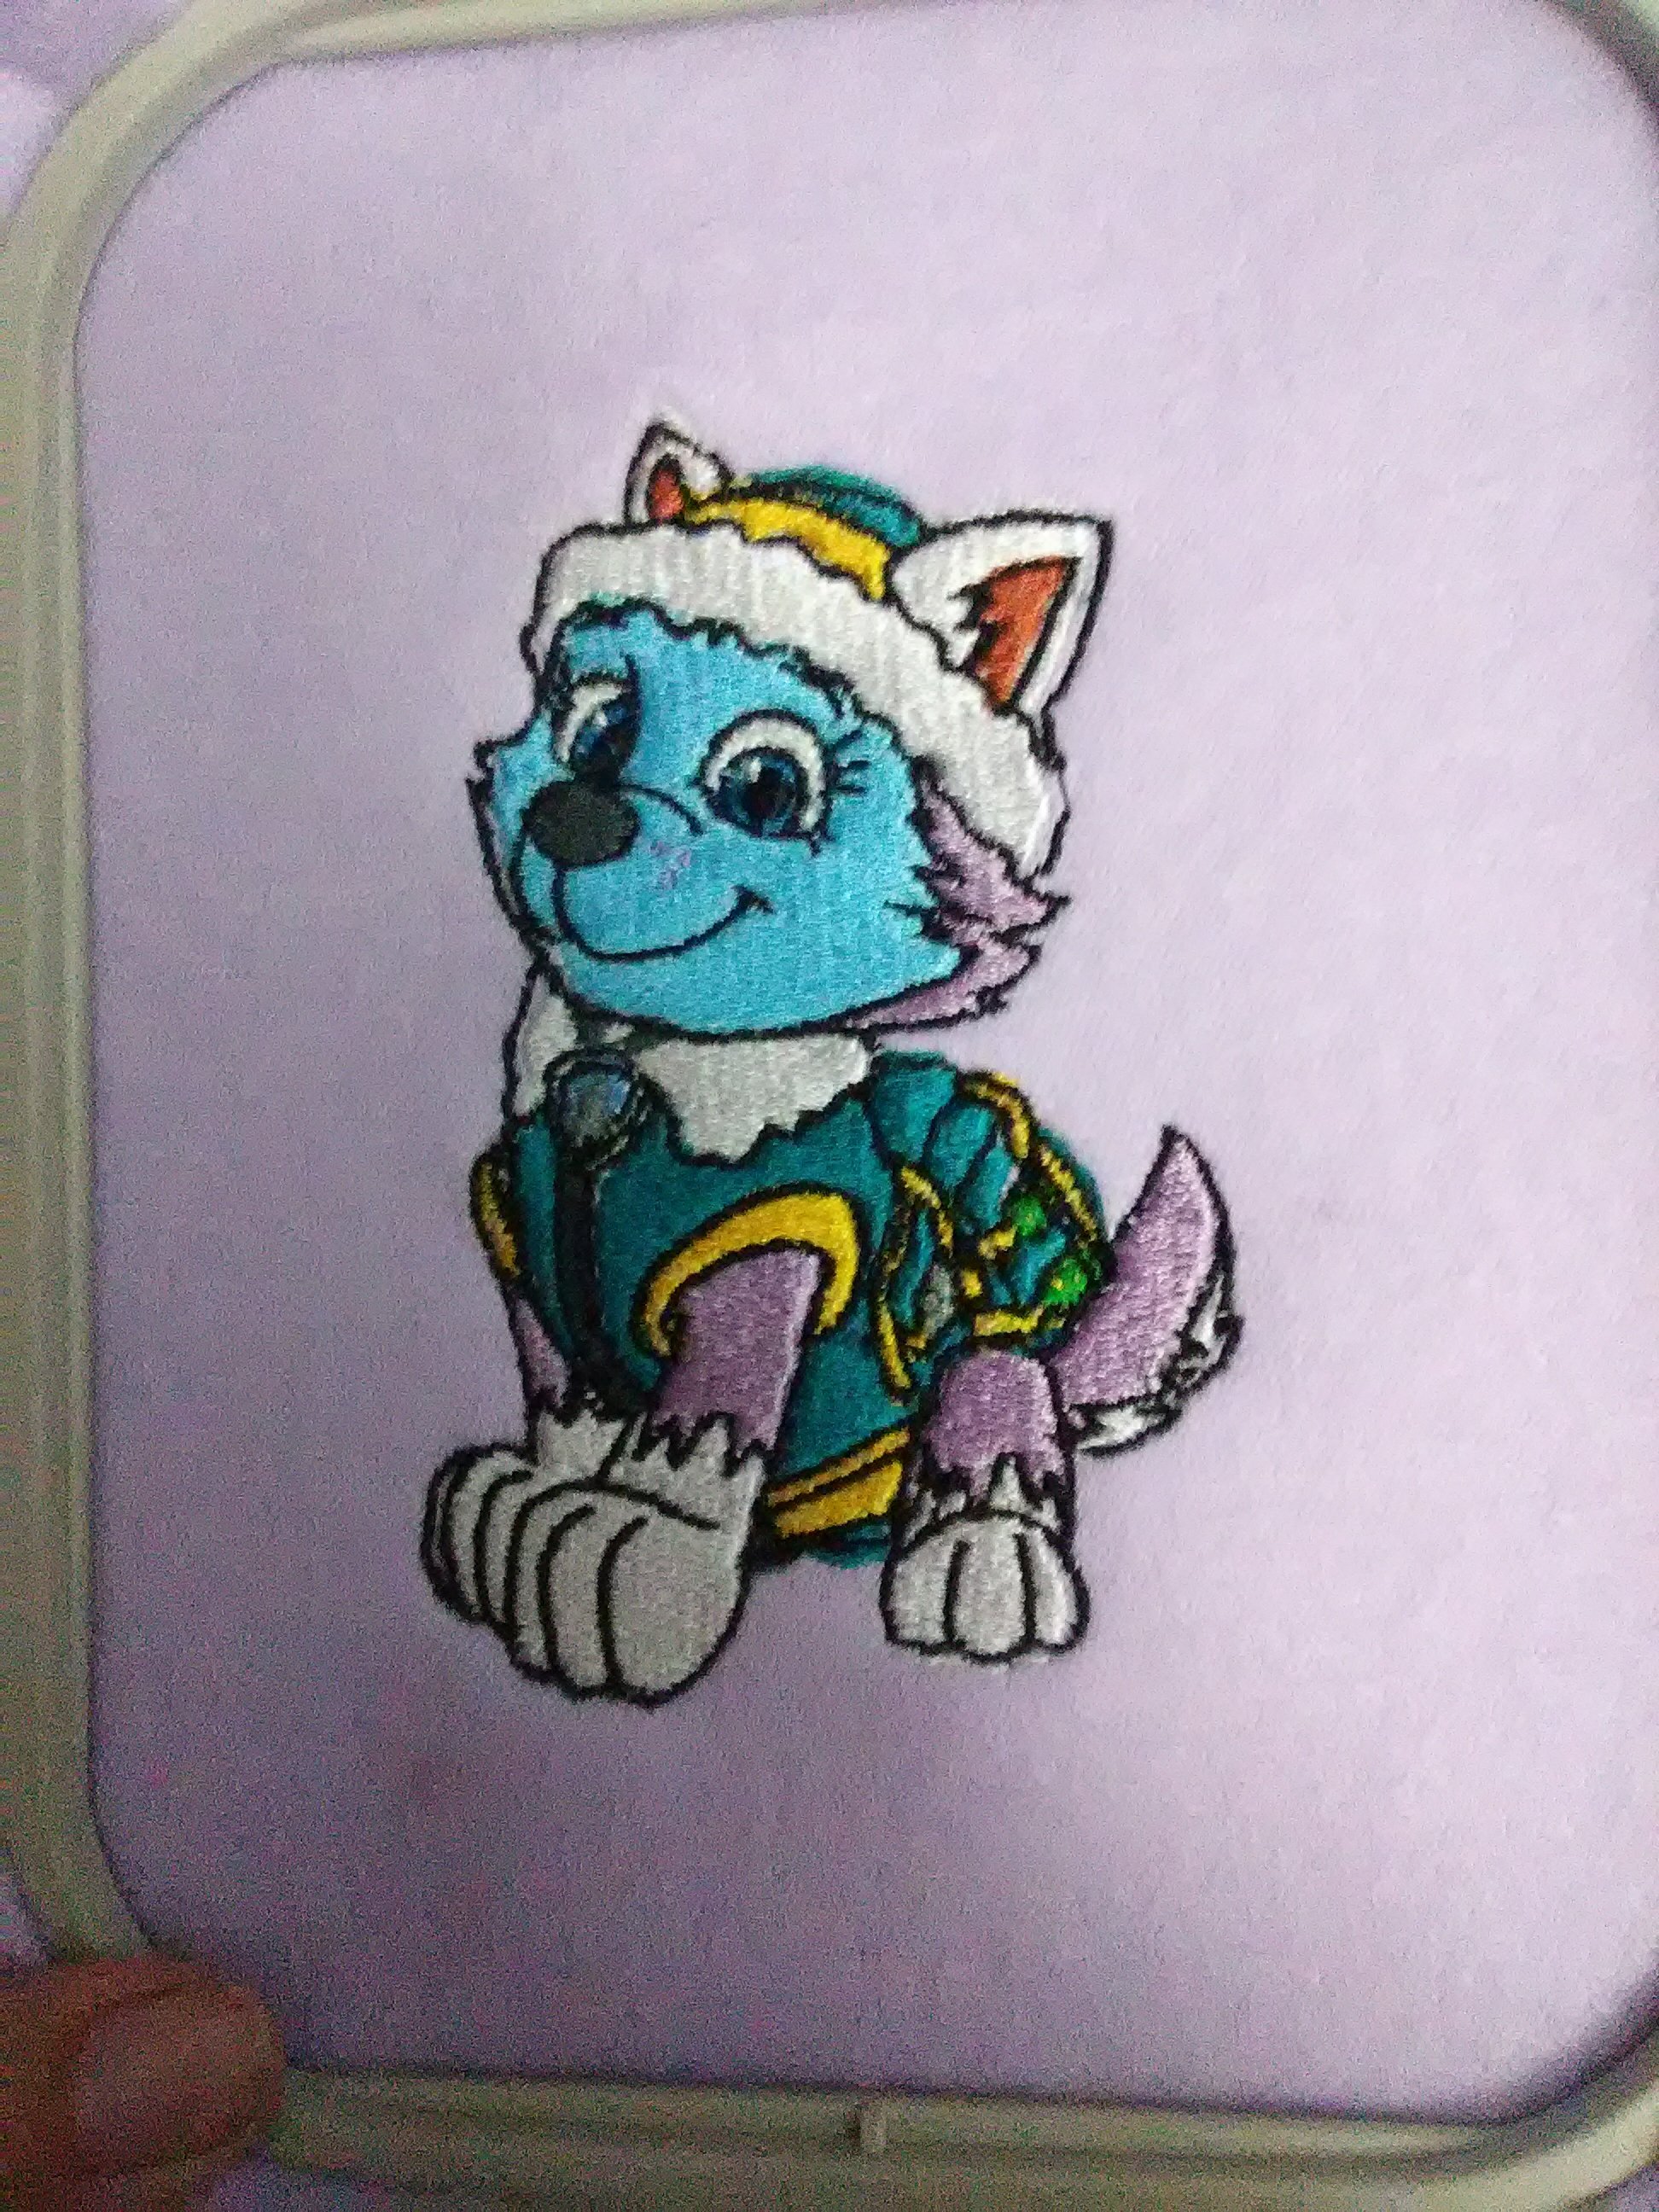
Everest would be less blue if I had used the appropriate chart. Lesson learned. This also highlights the need to test run any new patterns before stitching them on your final product. Embroidery machine stitching is so dense that it’s almost impossible to remove without ruining the fabric.
Hoop Tightly
The other problem I encountered is also easily fixed. I just need to learn how to hoop my fabric properly. If you look closely, you can see the black outline on both Everest and Rider strays from the edge of the design on one side. I still have trouble getting the fabric and stabilizer drum-taut, so by the time the outline is stitched, the design stitches puckered the fabric in places. I have a magnetic hoop set on my wish list to see if that would help, but honestly it’s probably a case of needing more practice. Considering how many pups I have left to stitch, I may be an expert at hooping by the end of the week!
It is so fun to watch the designs being sewn. It’s like putting together a puzzle.
I, Charity Sloan, am a participant in the Amazon Services LLC Associates Program, an affiliate advertising program designed to provide a means for sites to earn advertising fees by advertising and linking to Amazon.com. Any purchases through those links will result in my receiving a small percentage in commission.
Prices are the same whether you click an affiliate link or a non-affiliate link, so you will not be charged more. Thank you for your support!