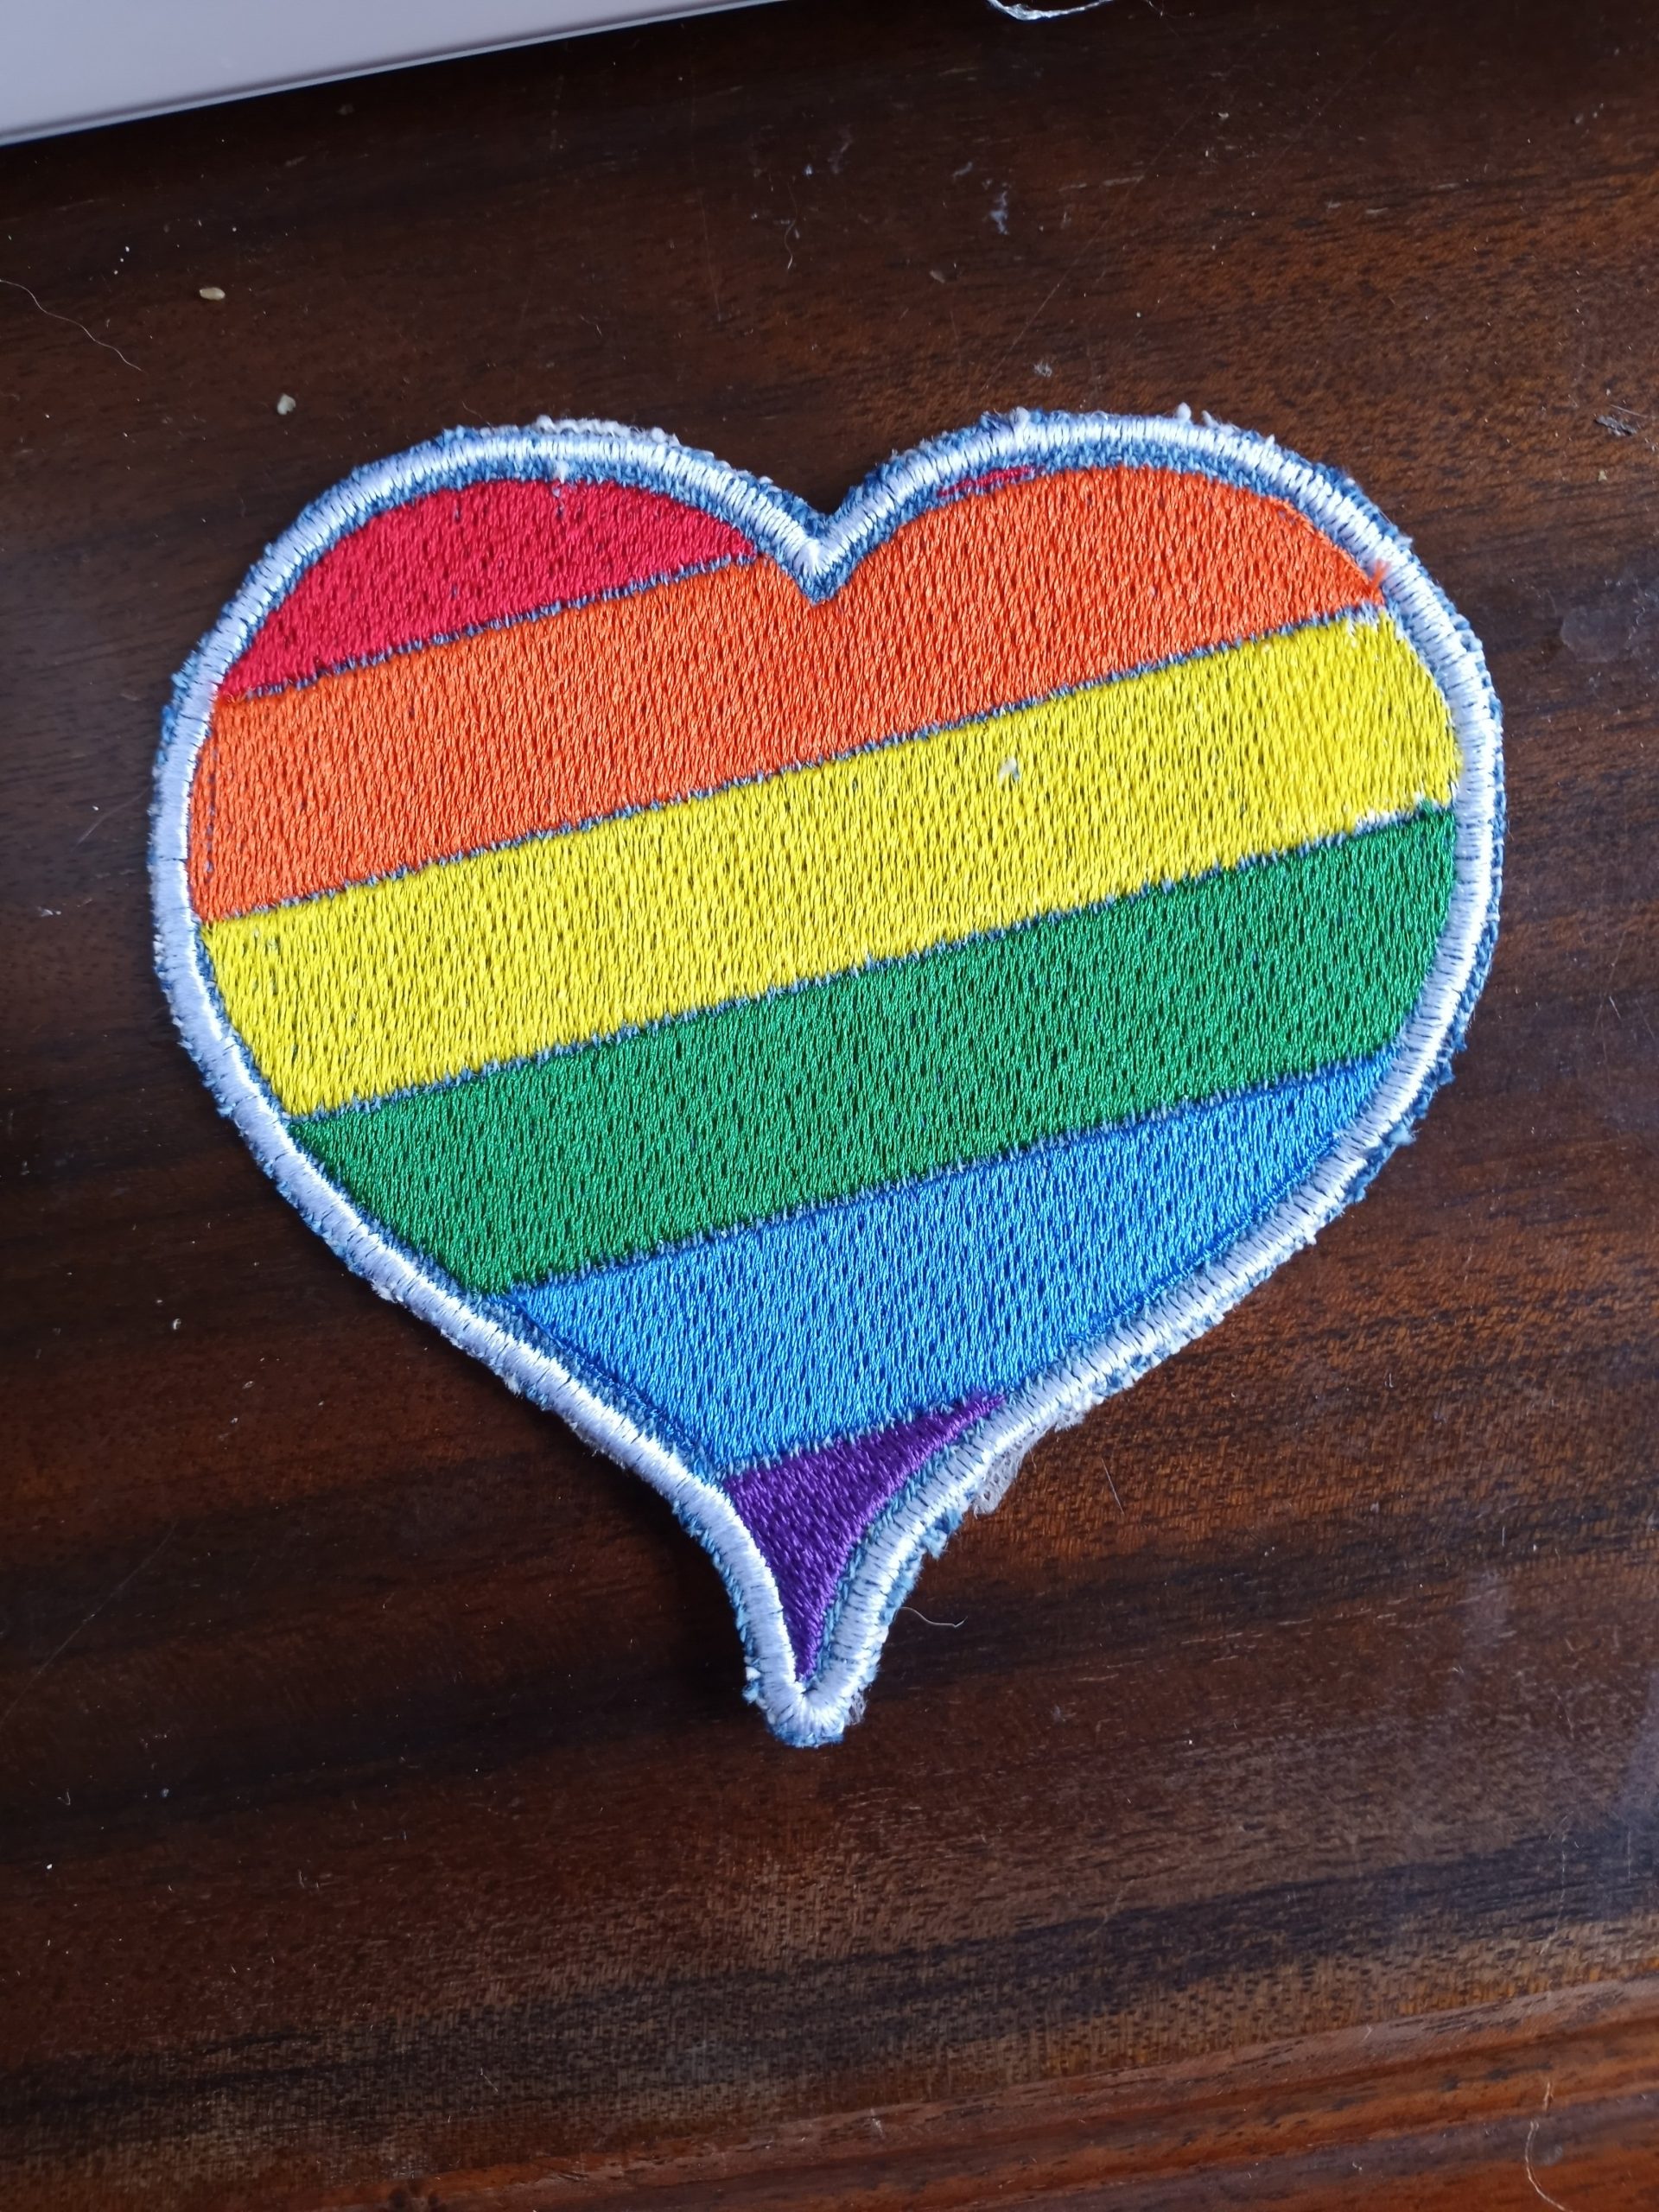
For the whole month of June, my Rainbow Heart machine embroidery design and bonus patch file are FREE! It fits 4 x 4 hoops and includes files compatible with most embroidery machines. If you don’t see your machines file type listed, let me know.
I think this Rainbow Heart would look amazing on denim. You can also play with the colors to get your preferred color combination. My embroidery designs fit the 4×4 hoops common on many beginner home embroidery machines.
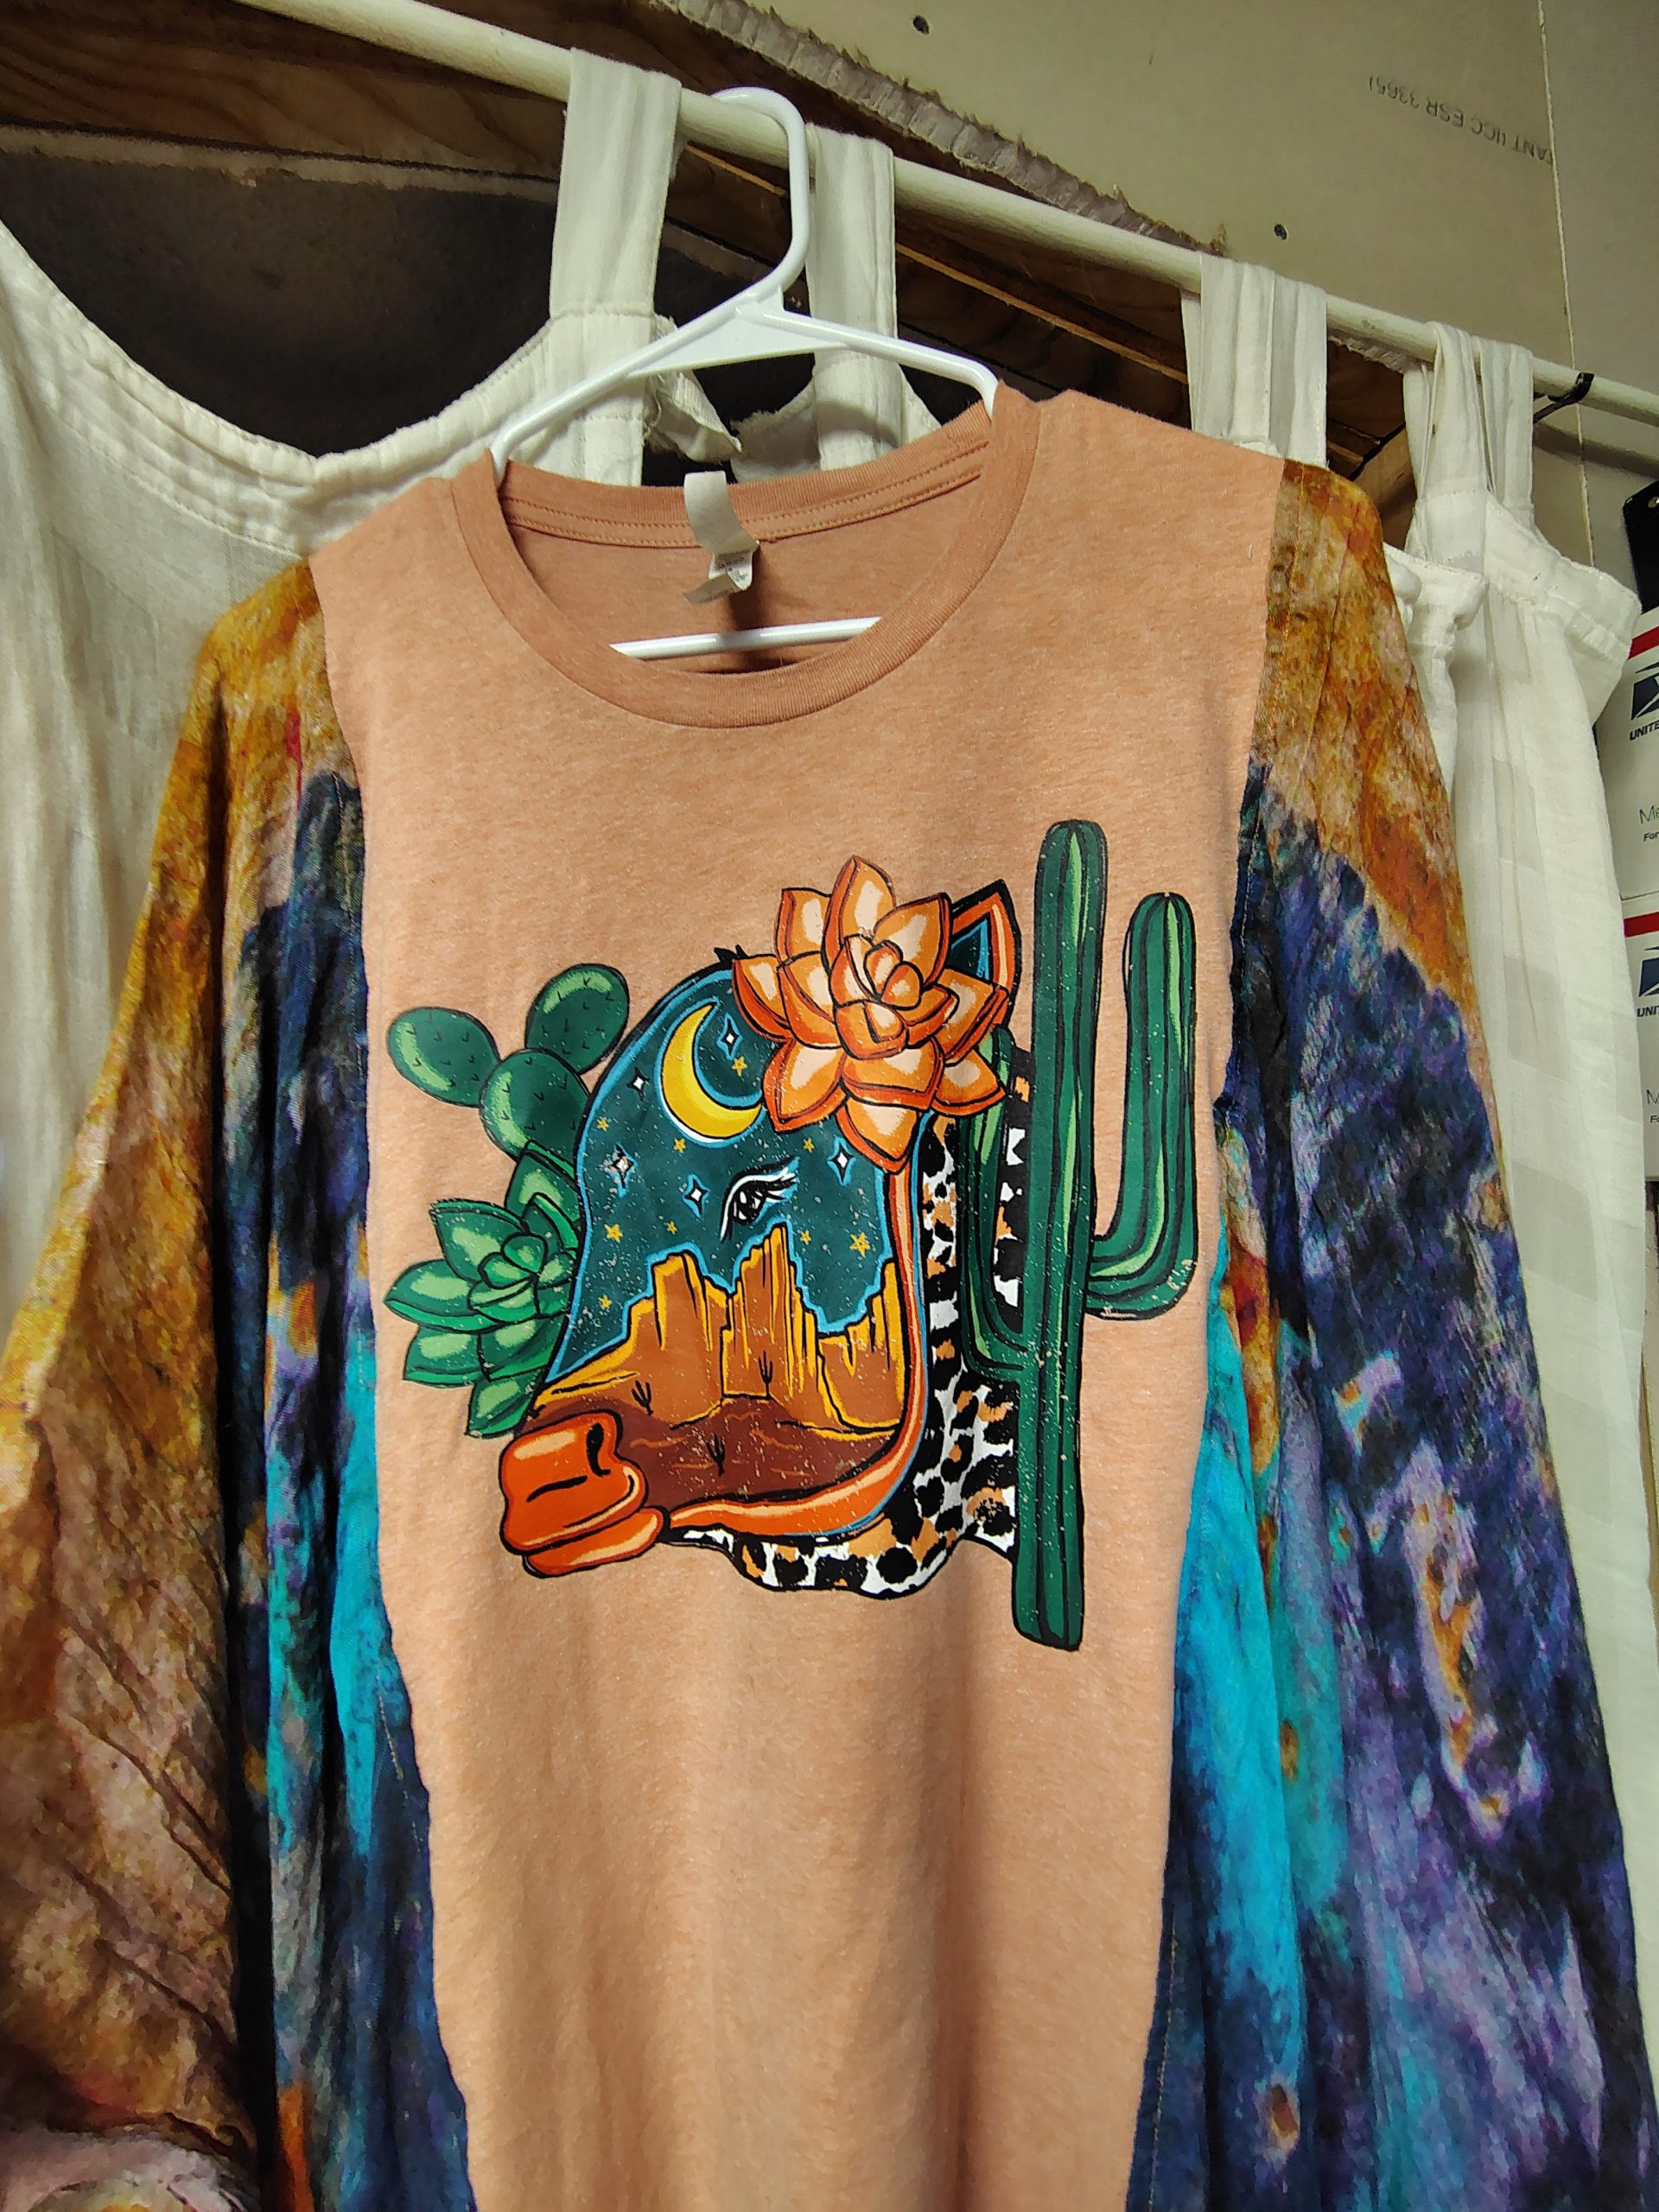
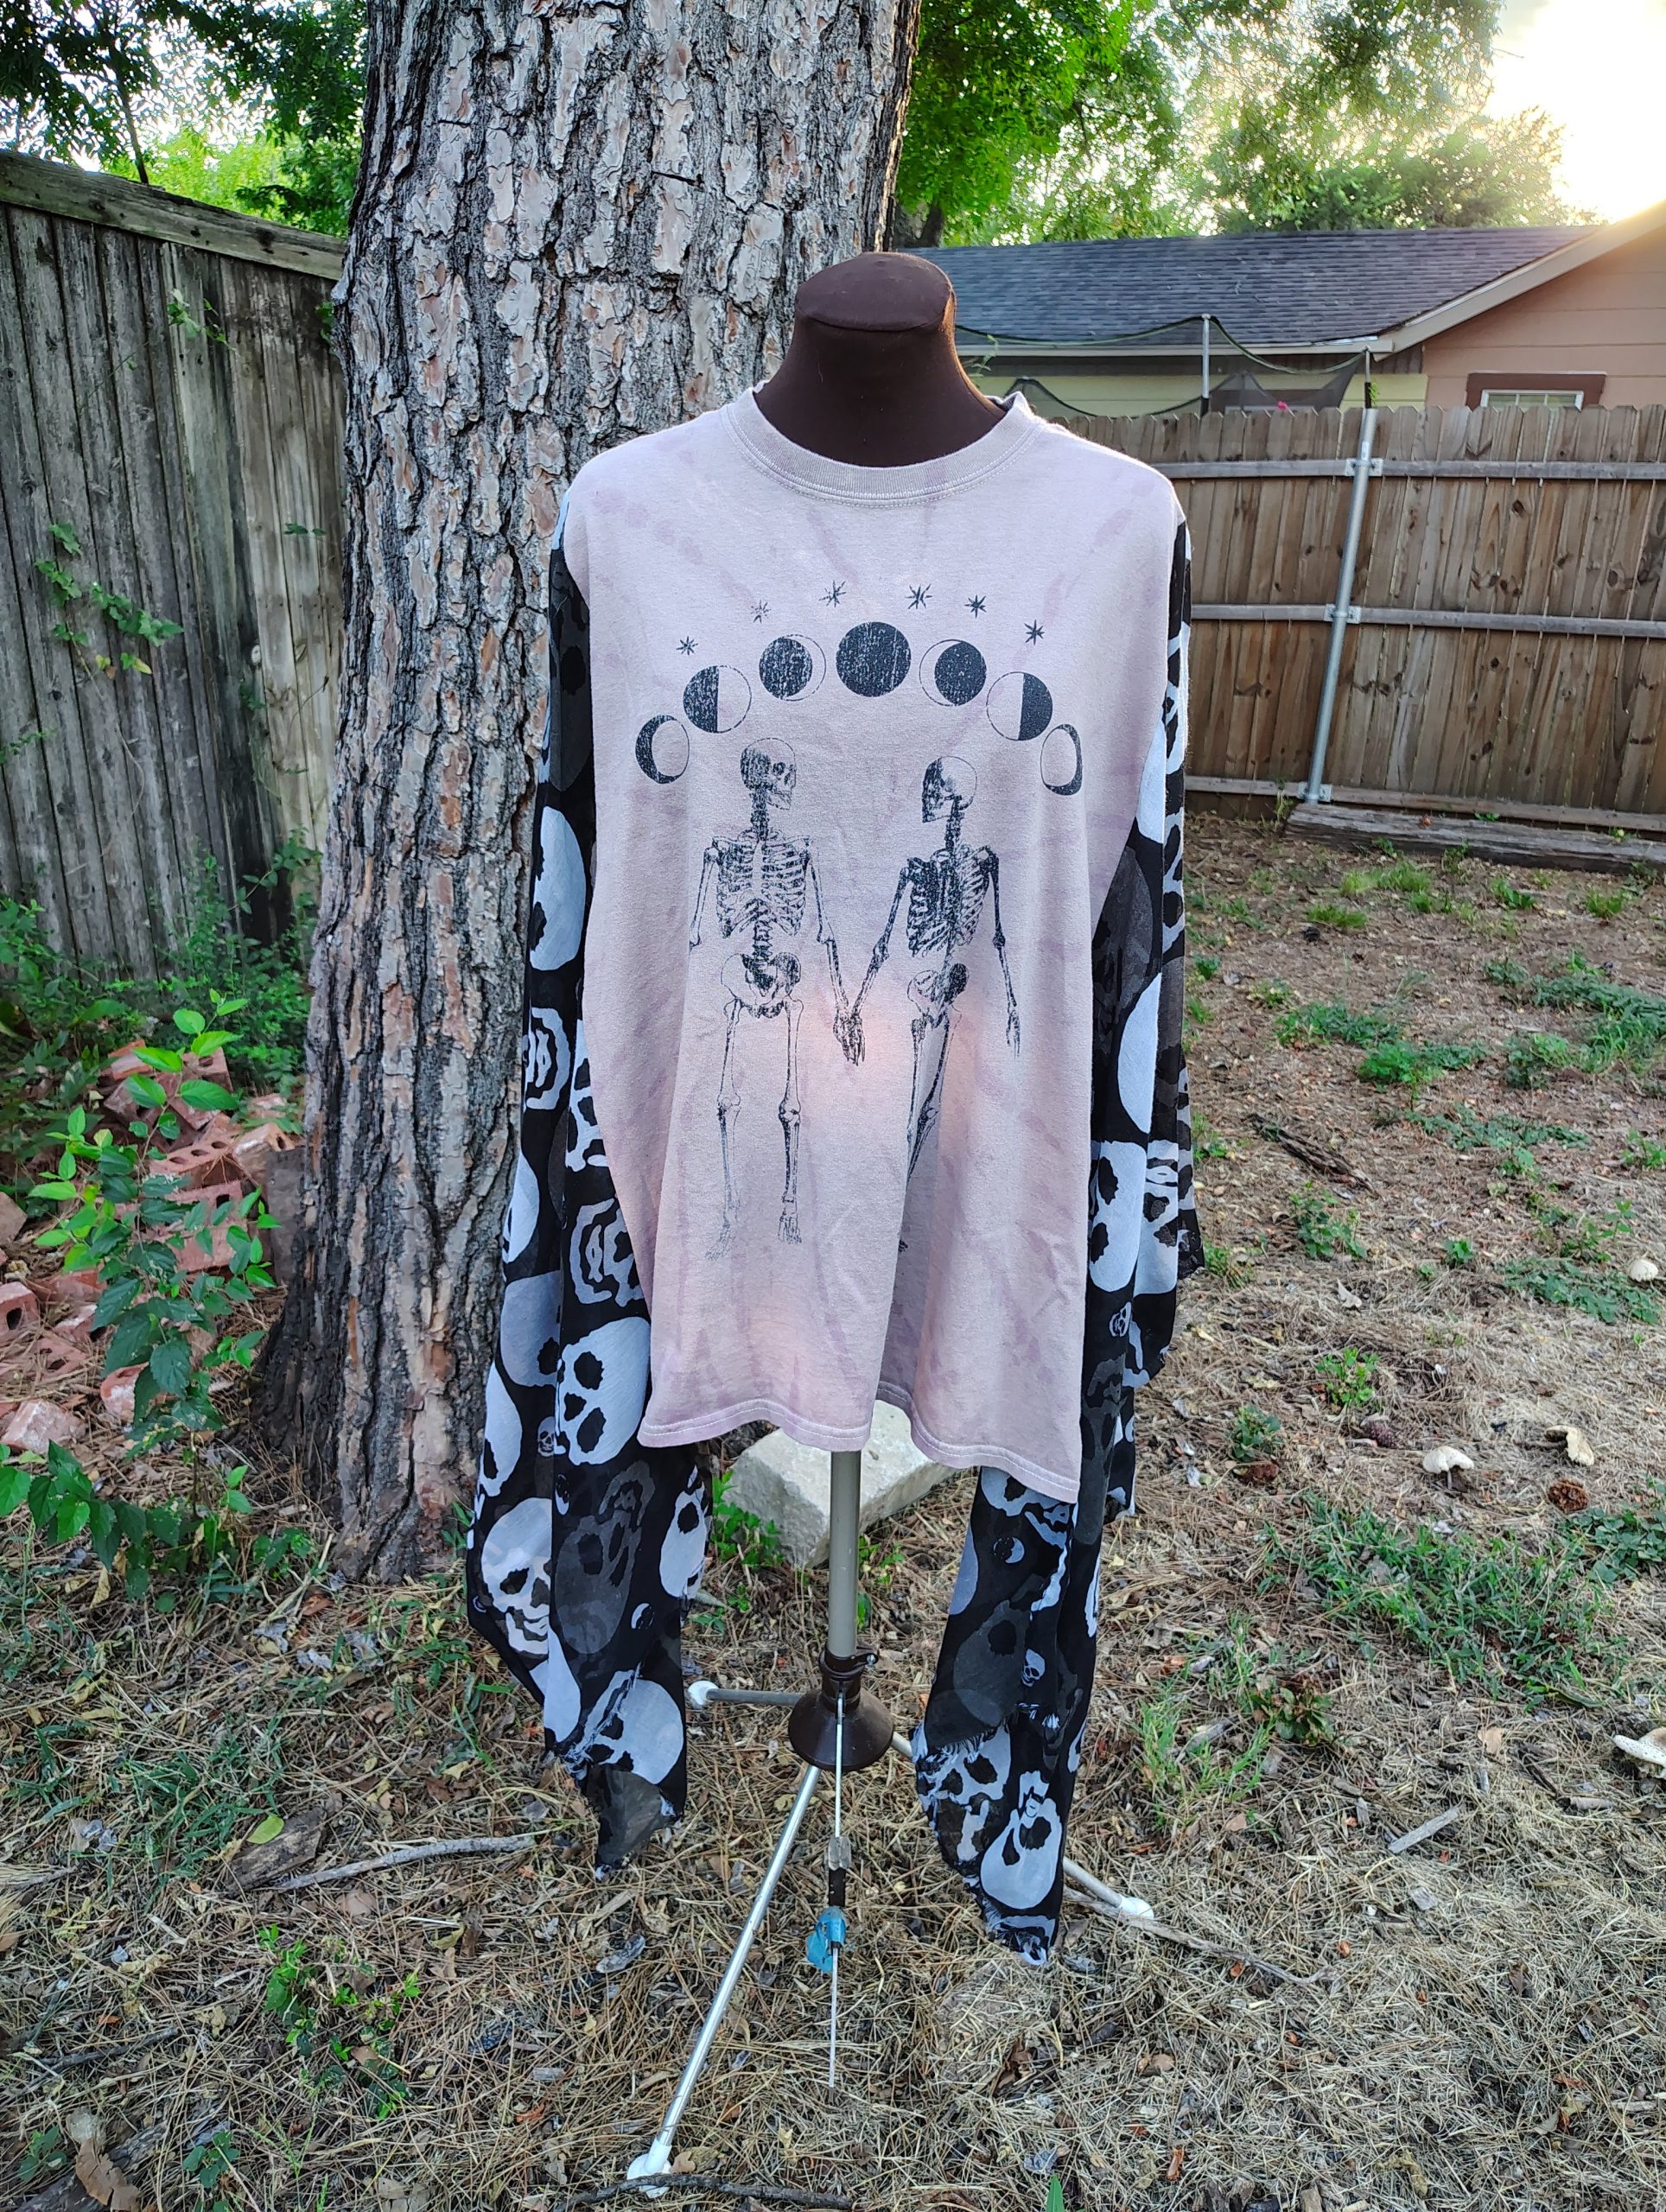
Better photos are coming soon, but I really wanted to show this one off and answer a few questions about my poncho shirts.
Sizing. My goal with these shirts is to make them so drapey and roomy that they will fit the most body types through just about everything. If you gain 15 pounds because hormones or pizza, this shirt has your back. If you get pregnant and gain 50+ pounds like I did every single time, it’s still going to be loose and drapey, although probably a little shorter. If you have that baby and choose to nurse them, it’s got you covered. Literally. If you like a little coverage while feeding your baby, this shirt will provide.
I list the measurements of these shirts flat on my website. This one is 42 inches from side seam to side seam flat. That means it has an 84 inch circumference.
The length is determined by the length of the original T-shirt and scarves. While they look adorable layered over a cami or with a little belly showing, I know not everyone likes that. I can totally add a coordinating piece of T-shirt to lengthen the middle front and back of one if you’d like.
Or, let me know your preferred length and colors and I will scour the thrift stores for a suitable shirt and scarf combo for you.
Or, and this option does make me a bit nervous, I can make a poncho shirt out of a t-shirt you send me. It only makes me nervous because WHAT IF MY WELL BEHAVED SEWING MACHINE DECIDES TO EAT SOMEONE’S SHIRT!!! I’m probably being a little paranoid. Also, I can do customs just because, not only for sizing issues.
Those custom options will only cost more if the material costs are significantly higher. That’s really only going to happen if I have to buy a brand new T-shirt or a fancy-pants brand T-shirt.
Finally, as I’ve previously mentioned, I do source my materials from local thrift stores. That makes every shirt unique and keeps clothing out of landfills. If that’s not your thing, you do you. 😘
Find all my upcycled clothing here: https://subearthancottage.com/product-category/upcycled-clothing/
If you’re interested in something like this shirt that I haven’t listed yet, please contact me about it.
I just wanted to take a minute to let you know about my PDF printable or digital journals and planners. There’s currently ones for Fitness, Yoga, Reading and Meal planning. I should have a few more added by the end of the week. I also have a TON of sewing to do, so we’ll see how it goes.
Each planner is only $5 and can be used over and over again.
If you’re like me and still doing your holiday shopping, you’ll want to keep the shipping guidelines in mind. I currently only ship USPS. You can find the full USPS shipping deadline info here. https://www.usps.com/holiday/holiday-shipping-dates.htm
Here are the USPS shipping deadlines to arrive by December 25 for the lower 48 states:
USPS Ground Advantage® Service Dec. 17
First-Class Mail® Service Dec. 17
Priority Mail® Service Dec. 18
Priority Mail Express® Service2 Dec. 20
Alaska and Hawaii are mostly the same, but USPS Ground Advantage needs to ship a day earlier on December 16th.
Anything overseas requires Priority Mail Express International® Service and needs shipped by December 16th.
While I will pretty much ship until the last minute and do my best to get orders out by the next day, I can’t guarantee delivery by a certain date, so please order ASAP.
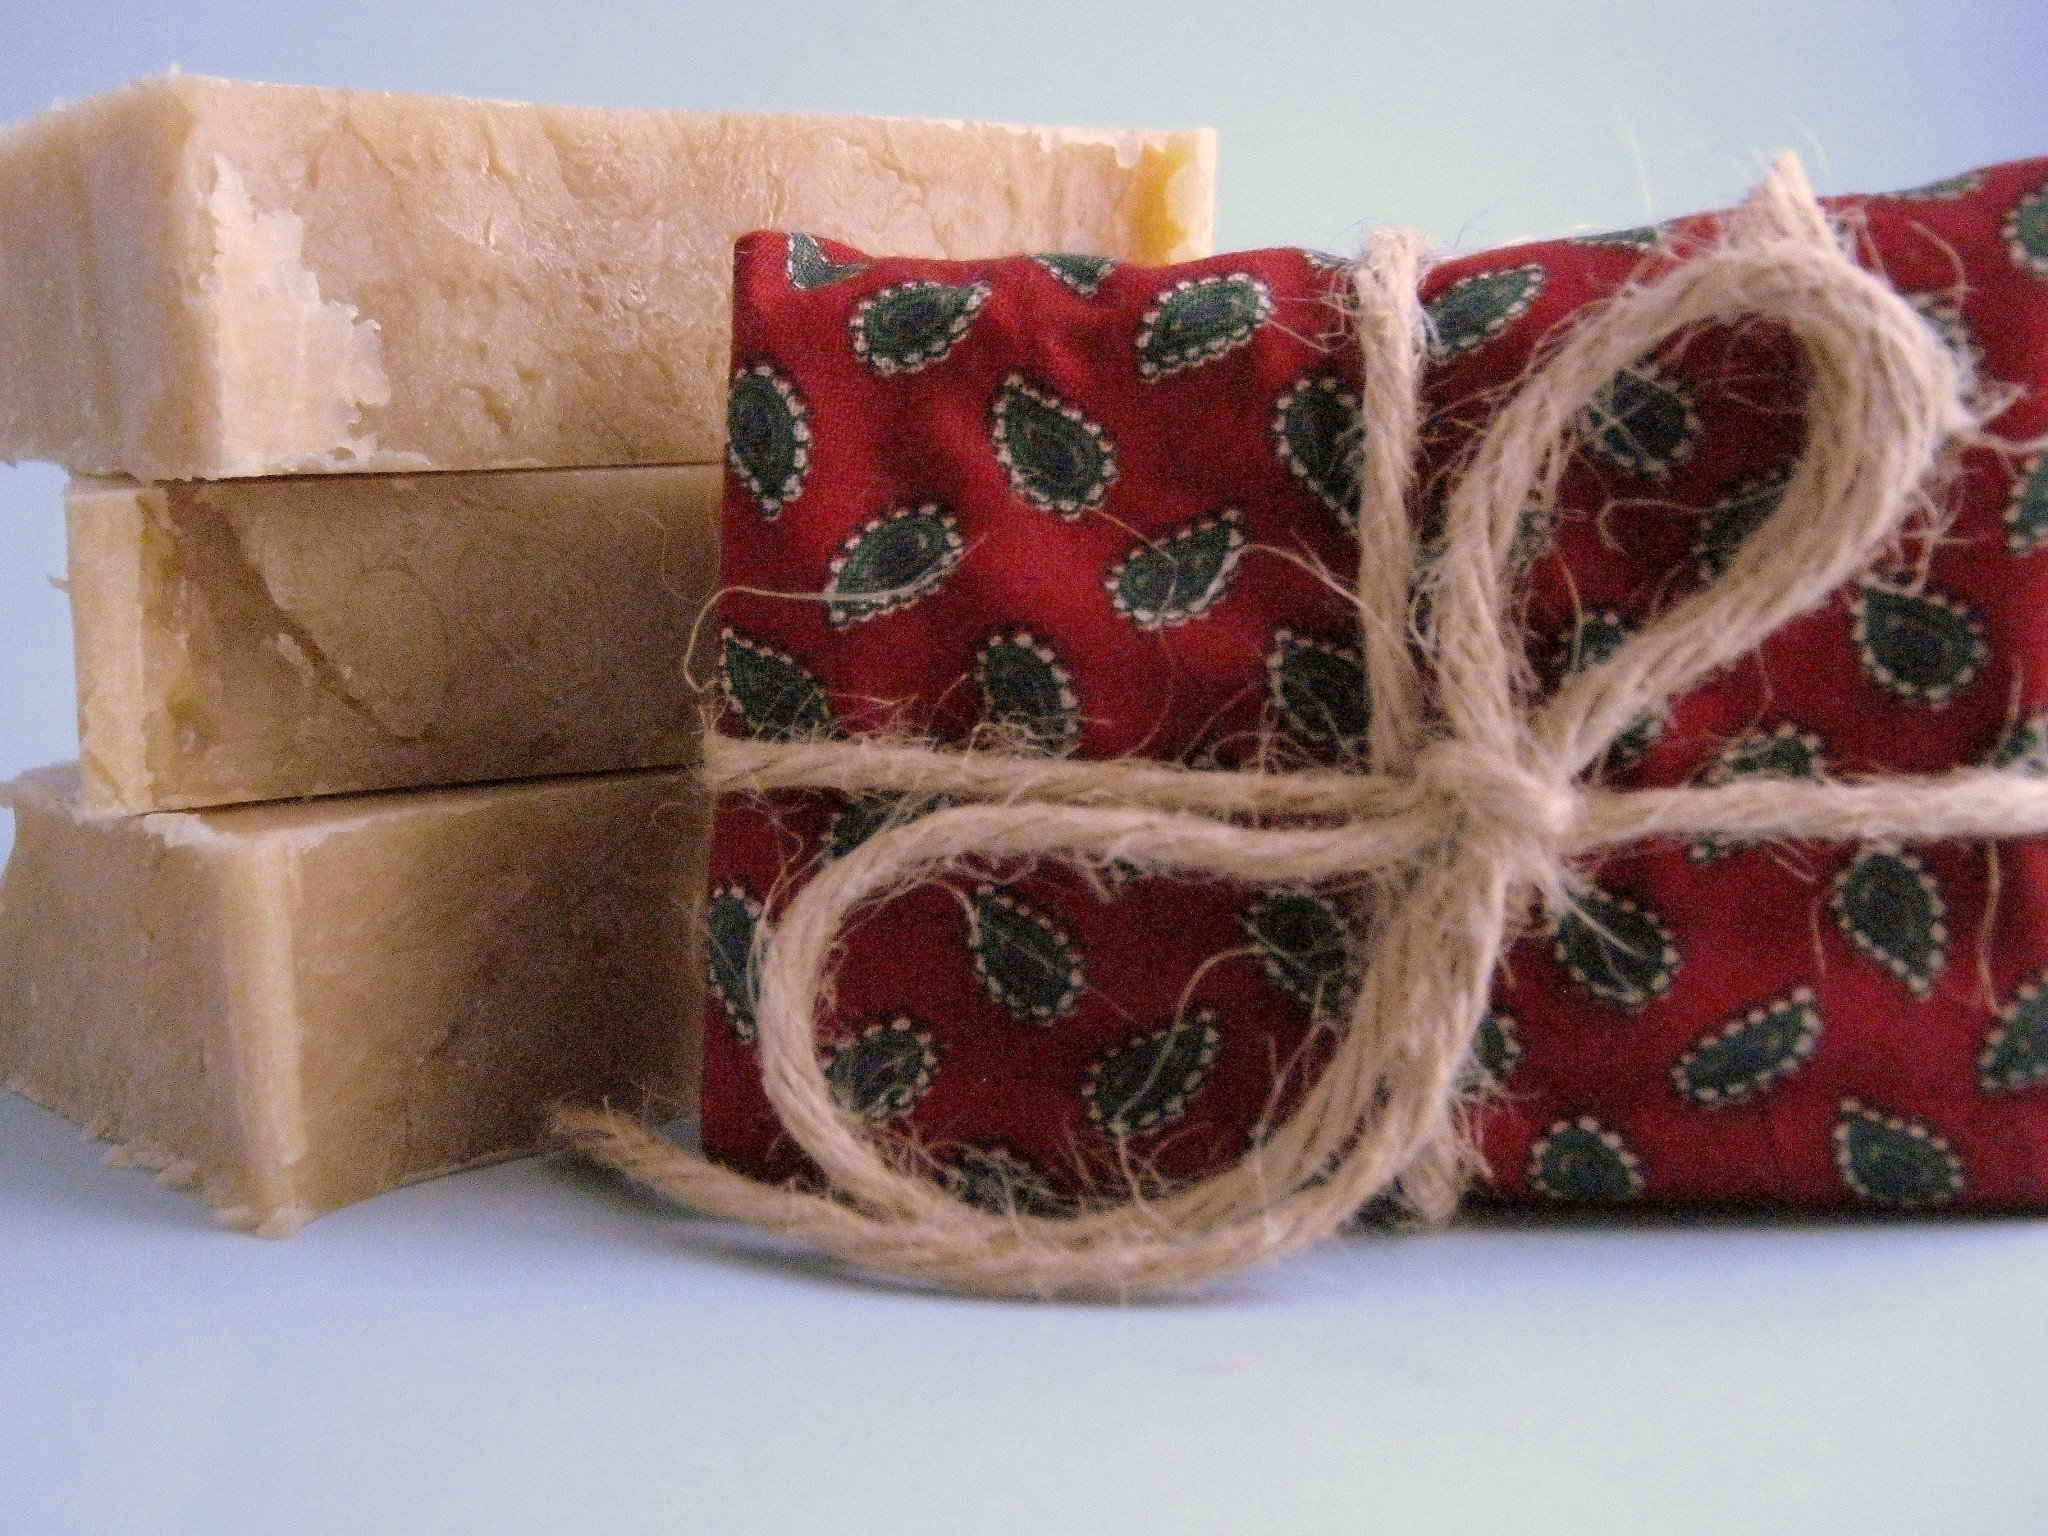
Stock up on my Handmade Soap
My five bars for $30 deal is back! To get that price, use this listing and tell me the five you would like in the notes at checkout. If you don’t let me know, or a variety is sold out, I’ll try to contact you first. If I don’t hear back within a day, I’ll send you an assortment of my favorites or substitute the sold out one with a different fabulous bar.
Now through December 19, if you use the coupon code CHRISTMAS25 at checkout, you’ll get 25% off your order, including clearance, sale and the bulk soap listing.
Come See Me!
Sunday, December 21 I will be at V’z Vintage Holiday Market from 10am-6pm. It’s located at the American Legion Post 655, 2817 Carson St., Haltom City, TX 76117. If you’re local, you should totally come check it out. SubEarthan Cottage will be inside this time because it’s December in Texas and you never know what you’ll get weather-wise.
This is my third month at this market. There’s always a ton of unique handmade booths, food vendors and some vintage finds. If you’re looking for some last minute gifts, come support some local small businesses!
Shampoo bars have become more popular recently. They are convenient for traveling. Unlike liquid shampoo, you don’t have to worry about travel limits and leaking bottles with a shampoo bar. Because they don’t require plastic bottles, shampoo bars are a great option for people trying to reduce waste.
Not all hair types are alike, so it takes some trial and error to find the right one. With the recent interest in shampoo bars, I thought now would be a great time to reshare my Shampoo Bar 101 post.
Shiner Bock Beer Soap: My top choice for washing my hair.
I began using bar soaps as shampoo about four years ago. Whenever I tell people this, they always look at me kind of strange or have tons of questions about how it works, so I thought I’d share it all here. Please keep in mind, this is all based on my personal experience and research.
What type of soap to use?
While there are some bars that are specially formulated to be shampoo bars, I’ve found that just about any good quality natural soap will work. You definitely want to avoid most of the bar soaps you’d find at your supermarket, because they don’t have the same properties as natural soaps and can dry your hair.
Among natural soaps, I’ve found that bars with little or no waxes work the best. My hair tends to be oily, so I also avoid soaps with a high percentage of butters (shea, cocoa, etc.) as they seem to add too much oil to my hair.
Some of the oils that work well in a shampoo bar are coconut, castor, olive, jojoba, and avocado. Most of the bars I’ve used contain at least the first three. I wouldn’t count out a bar that didn’t have them, though, until I’d tried it a few times.
What are the some of the benefits of using a bar soap?
Natural bars don’t strip your hair like shampoo.
Hair feels thicker
Has eliminated my need for a seperate conditioner
No more scalp and hairline irritation like I had with many shampoos
Convenient for travel-no worries about leaky bottles or (as far as I know) airline carry-on limits
Same bar can be used all over-no need for a seperate body wash or soap cluttering your shower
Tipsfor using a bar soap as shampoo:
Expect an adjustment period of 2-4 weeks. Your scalp is used to producing more oil to make up for the natural oils that are stripped by the detergents in shampoos.
You may want to use a simple clarifying shampoo or even a baby shampoo prior to the first wash with a bar. I’ve found that this helps speed up the adjustment period by removing buildup from shampoos, conditioners and styling products, giving the bar a clean slate to work with.
Periodically doing an apple cider vinegar (or lemon juice) rinse can help improve shine and seems to help if I feel like my hair isn’t rinsing out as well as it should. I use about 1/2 Tablespoon of ACV to about 3 cups of water and pour over my just washed hair, then rinse. I used to do this about every other wash, but now I do it about once every week or two.
Many styling products seem to need the detergents in shampoo to be fully removed. I try to avoid products with dimethecone and other -cone ingredients as these seem to be the hardest to wash out with a bar soap. Hairspray doesn’t seem to be a problem. You can also use pure aloe gel as a hair gel that’s also great for your hair.
I’m sure there are many things I’ve left out. Feel free to ask any questions or add to what I have here.
Oh, and before I forget, here are my favorites from my shop to use as a shampoo:
Today’s words of wisdom, brought to you by Sylvester the Cat and my favorite Yogi tea. (not sponsored) “Love is the highest of all virtues.”
Right on, Sylvester.
I’m prepping for my first market since my oldest was an only child. 😬 If you’re local, come check it out. All the details are in the second photo. I’ll have all my handmade goodies from my shop out there.
I’ve gotten a lot of questions about my upcycled kaftan or poncho shirts. I thought many of them could be best answered by seeing them on a real person. I didn’t have a model readily available, so you get me with my camera and tripod.
I want to do a product Q&A soon, so if you have any questions, please write them in the comments or send me a message.
I, Charity Sloan, am a participant in the Amazon Services LLC Associates Program, an affiliate advertising program designed to provide a means for sites to earn advertising fees by advertising and linking to Amazon.com. Any purchases through those links will result in my receiving a small percentage in commission.
This only refers to Amazon links found in/on my blog pages. All products in my shop are 100% mine and not linked to Amazon.
Prices are the same whether you click an affiliate link or a non-affiliate link, so you will not be charged more. Thank you for your support!