I realized a few days ago that my favorite pair of denim jeans were wearing through at the inner thigh, so I set them aside to reinforce before they were beyond the point of easy repair.
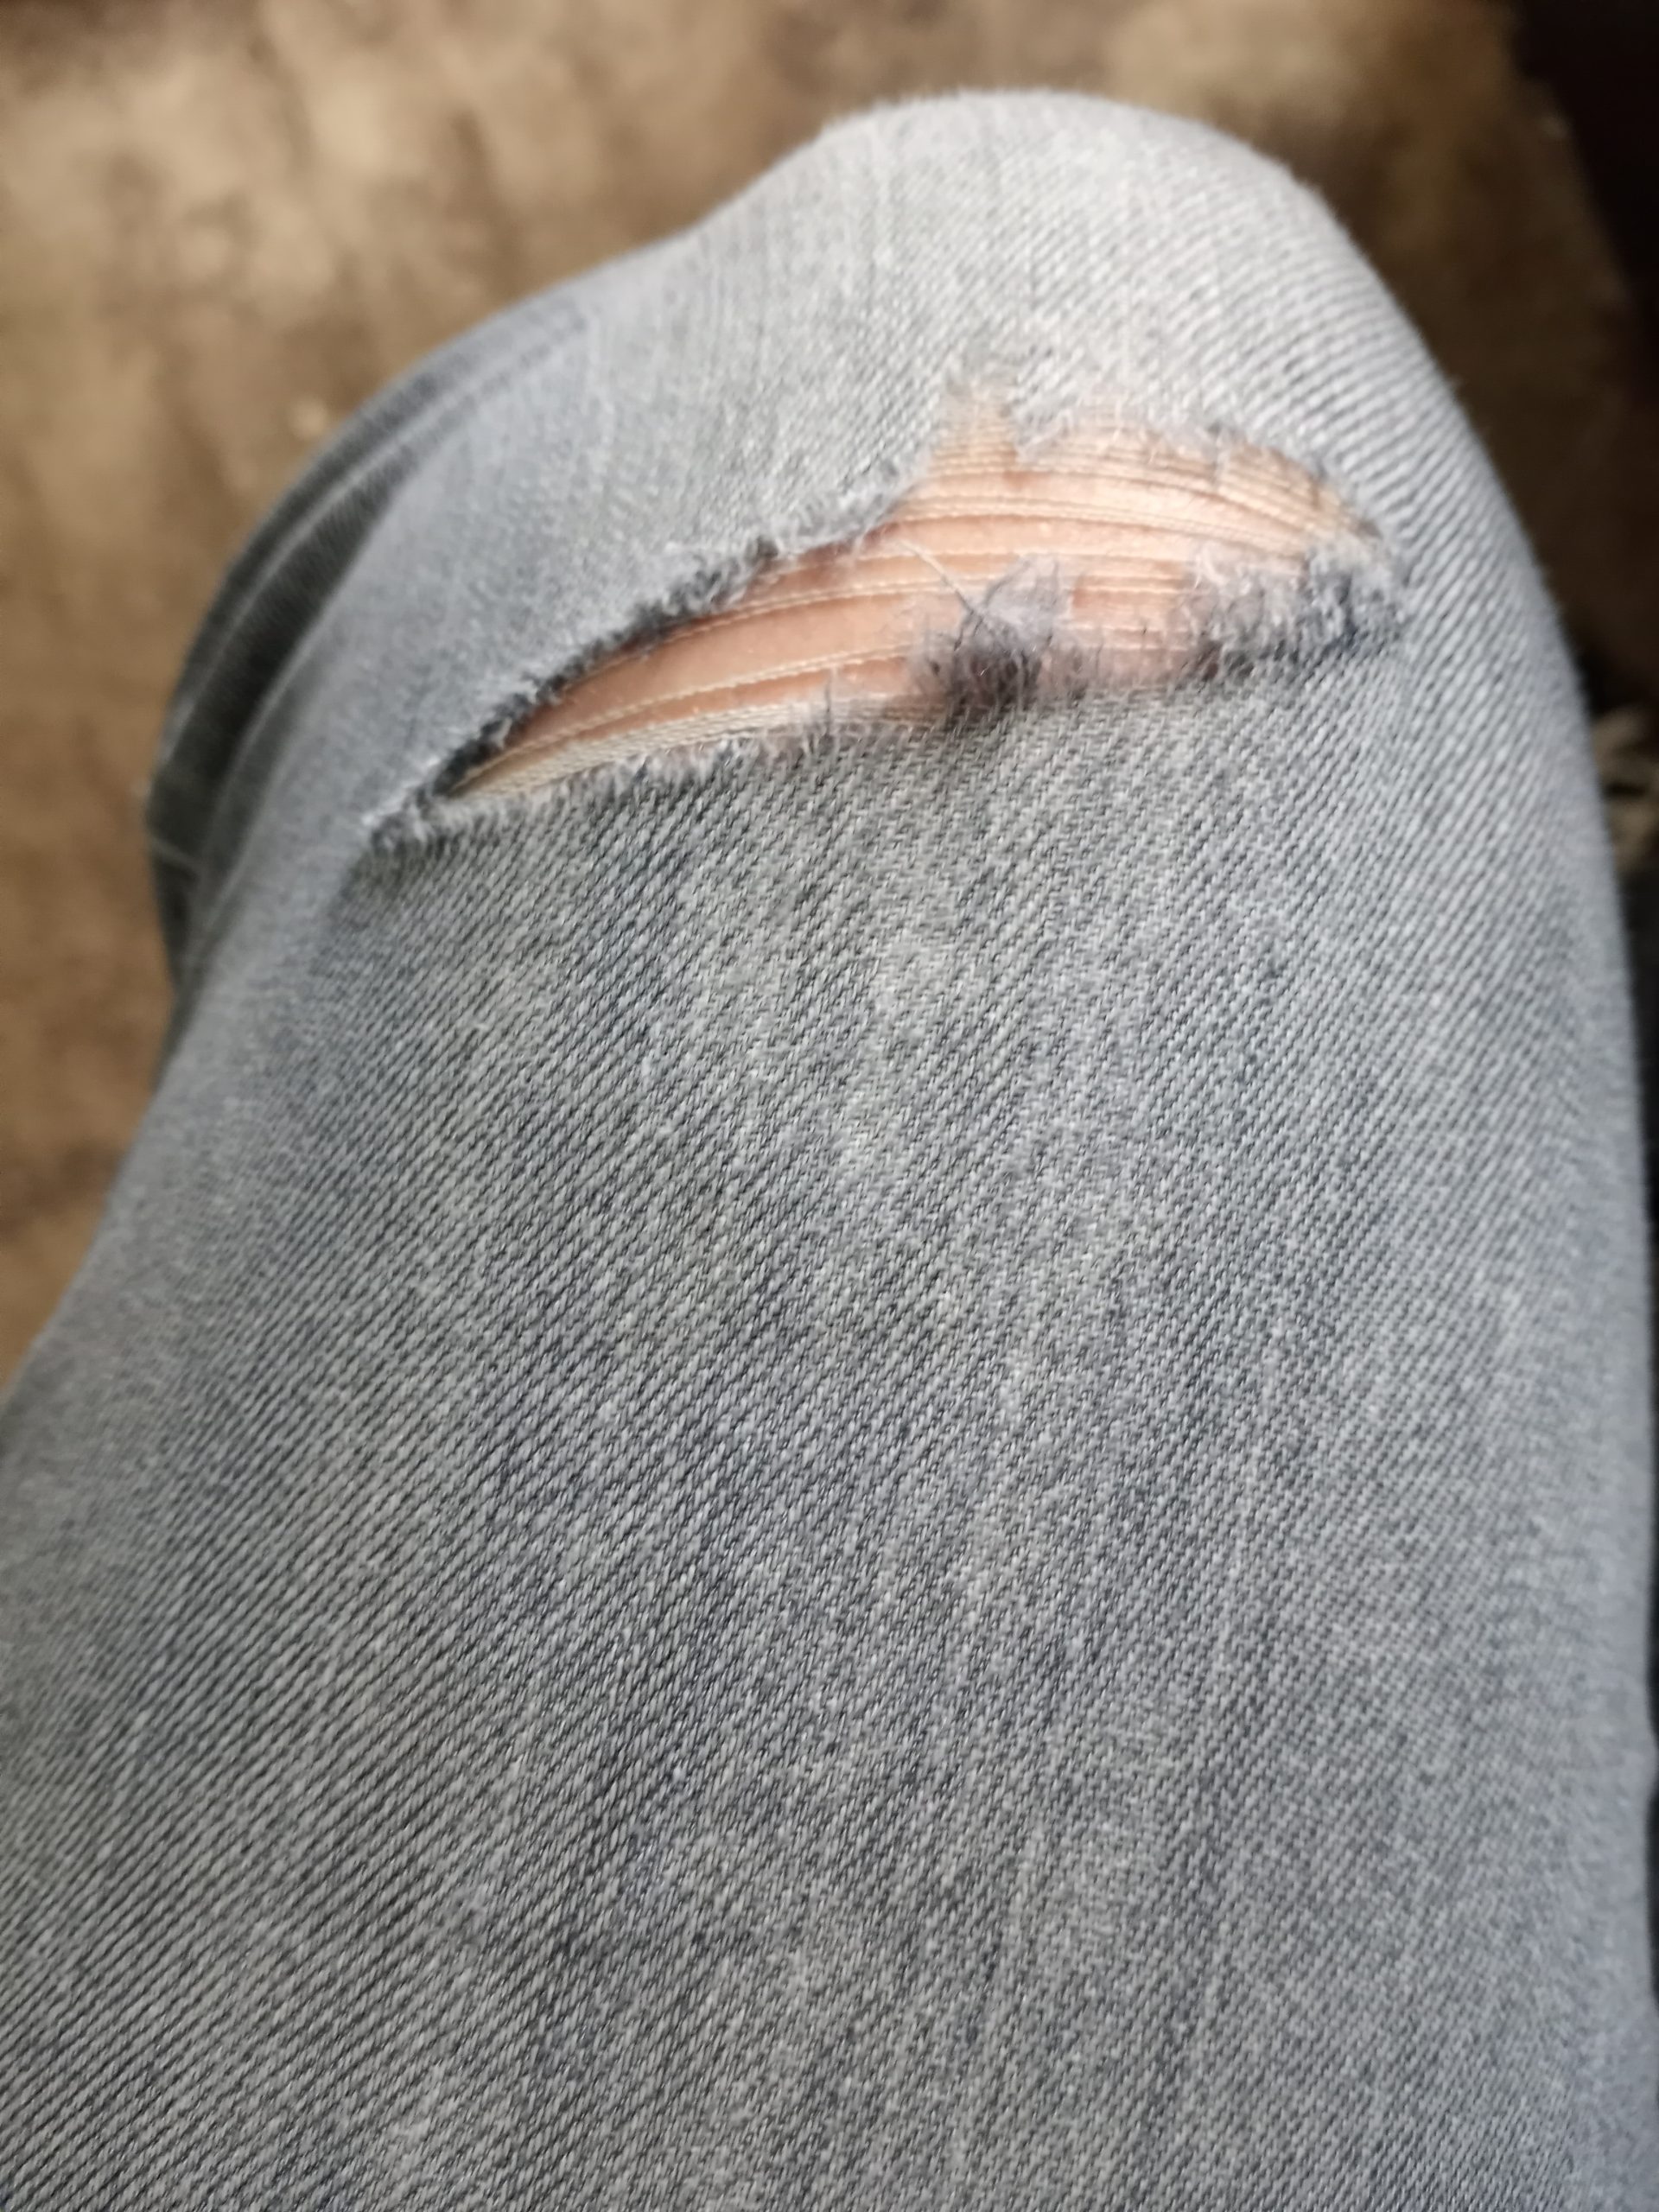
This morning, I planned to mend them and then tackle adding patches to an older denim skirt refashion. I got all those repairs done and was planning my next project when I ripped the knee out of the jeans I’m wearing.
These are honestly worn pretty thin and they’re not my preferred cut, so I’m not sure if I will mend these or add them to the repurpose pile.Â
If you’d like to learn my method for reinforcing worn spots in denim, check out this blog post. It’s actually really simple and works well, if you don’t procrastinate. If you procrastinate, then all your jeans wear out at once and you think, “Maybe I should just go get a pair of the ones I like from Old Navy,” but then you discover that they have discontinued that particular style and now you think you’ll never find comfortable jeans again, which is sad because you really like wearing jeans. Or something.
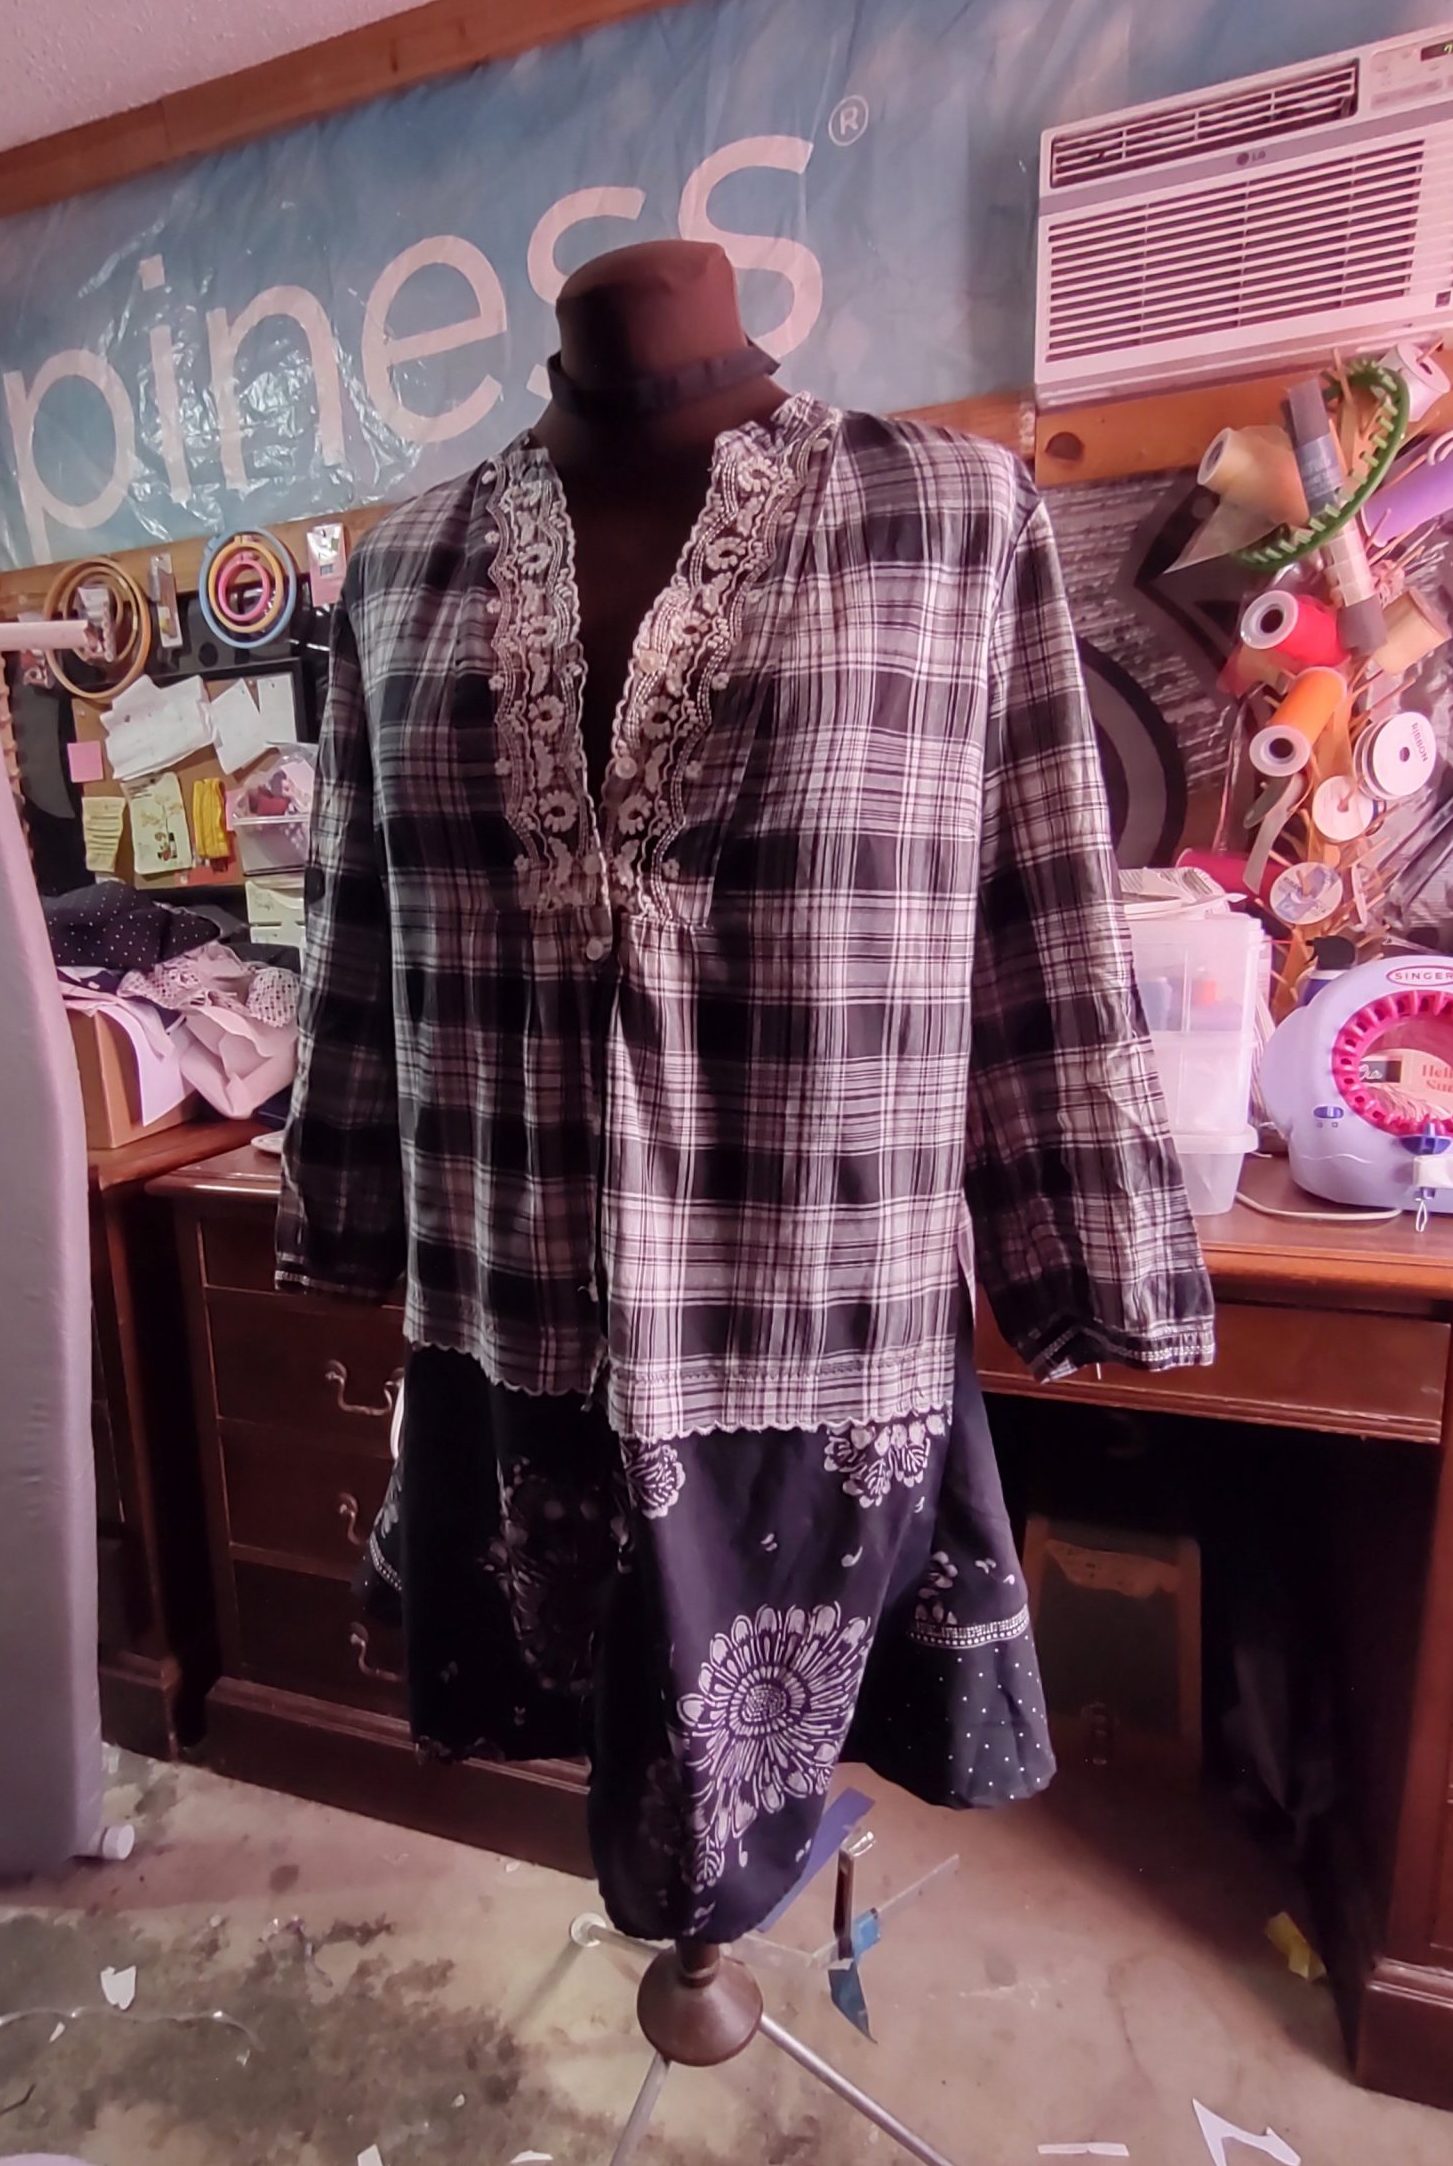
I’ve been working on some summer sewing and refashions lately. Here’s a quick video showing a few of them. The first is a backless halter top made with quilting cotton and ribbon. The second refashion is a halter tube top with a matching loose kimono/beach coverup. They were made from an old maxi dress that wasn’t getting much love. The beach coverup is my favorite. I love how it turned out, especially the print.
I hope you find these inspiring for your own projects. If you like these kinds of videos, follow me on TikTok. I also post on Instagram and YouTube. I tend to prefer the length options on TikTok, so that’s where most of my complete videos are located.
Like this post? To make sure you never miss a future post, please sign up for my newsletter.
This isn’t going to be a full tutorial because I didn’t do a great job of documenting the process. If you’d like a full tutorial, please let me know. I will link to the page I learned it from here.
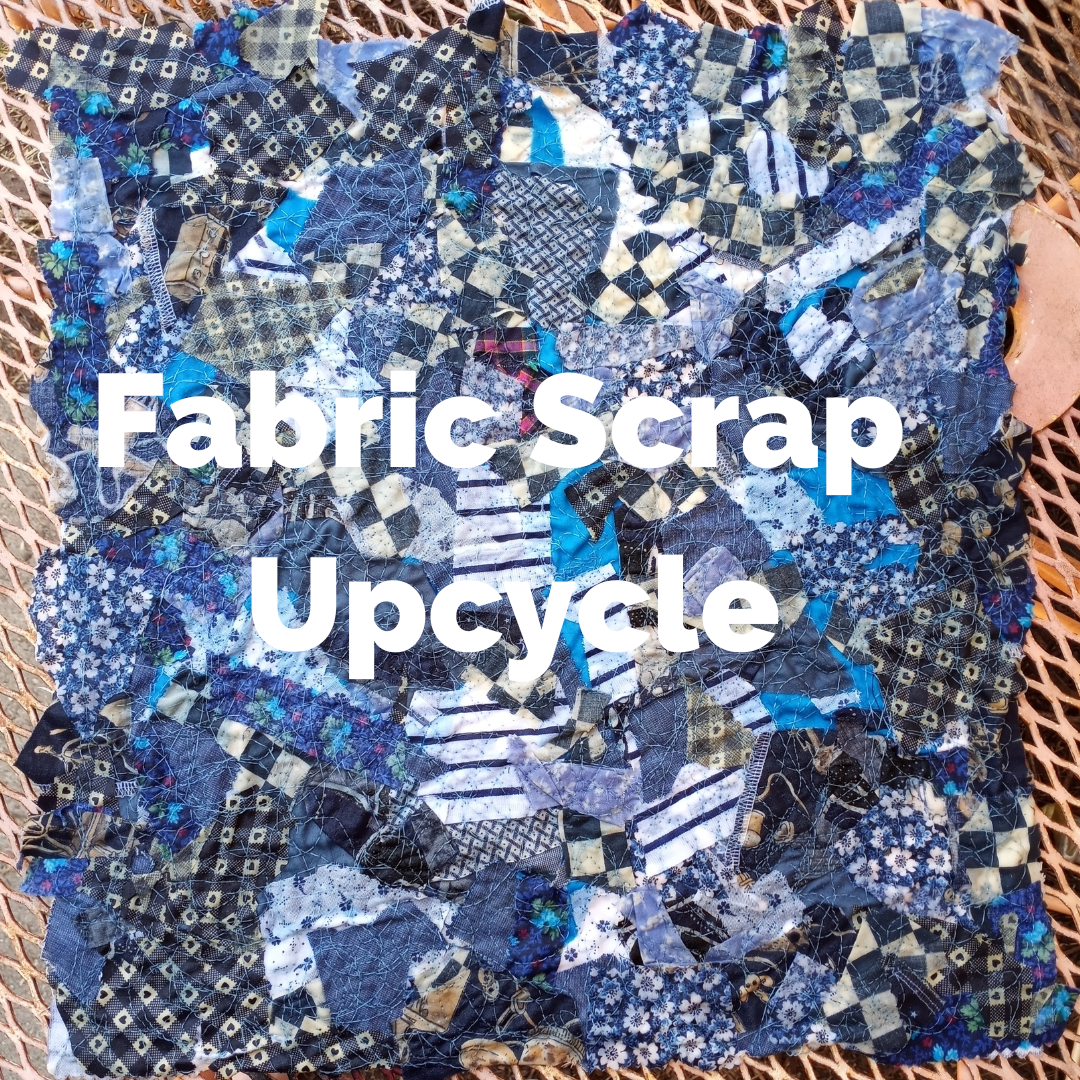
I saw this really cool way to make a bunch of fabric scraps into new, usable fabric that is really textured and cool. First, you need a backing piece of fabric. I used an upholstery sample square that I hadn’t found a use for yet. Then, you cover it in fabric scraps. I went with all pieces from my “blue” sorter bin and let them fall all over randomly. I did try to keep it all in one or two layers and moved pieces around to cover all the empty spots. I left some upside down to add more variety in the colors, and I didn’t worry about ironing the pieces first.Â
Once I had everything in place, I pressed it with my iron to smooth it down. Then I pinned water soluble stabilizer on top to help hold everything in place for the sewing machine. To sew, I lowered the feed dogs on my machine and crazy free motion quilted everything together. You can see that in the first video below.
That’s it. Now I have this really cool piece of fabric. I can’t decide what to do with it. It almost looks like it could hang on the wall like that as art. I also thought about making a couple of zipper pouches or sets of coasters out of it. It would also be fun to use as patches for clothing.Â
What would you make with it? Leave your suggestions below. 🙂
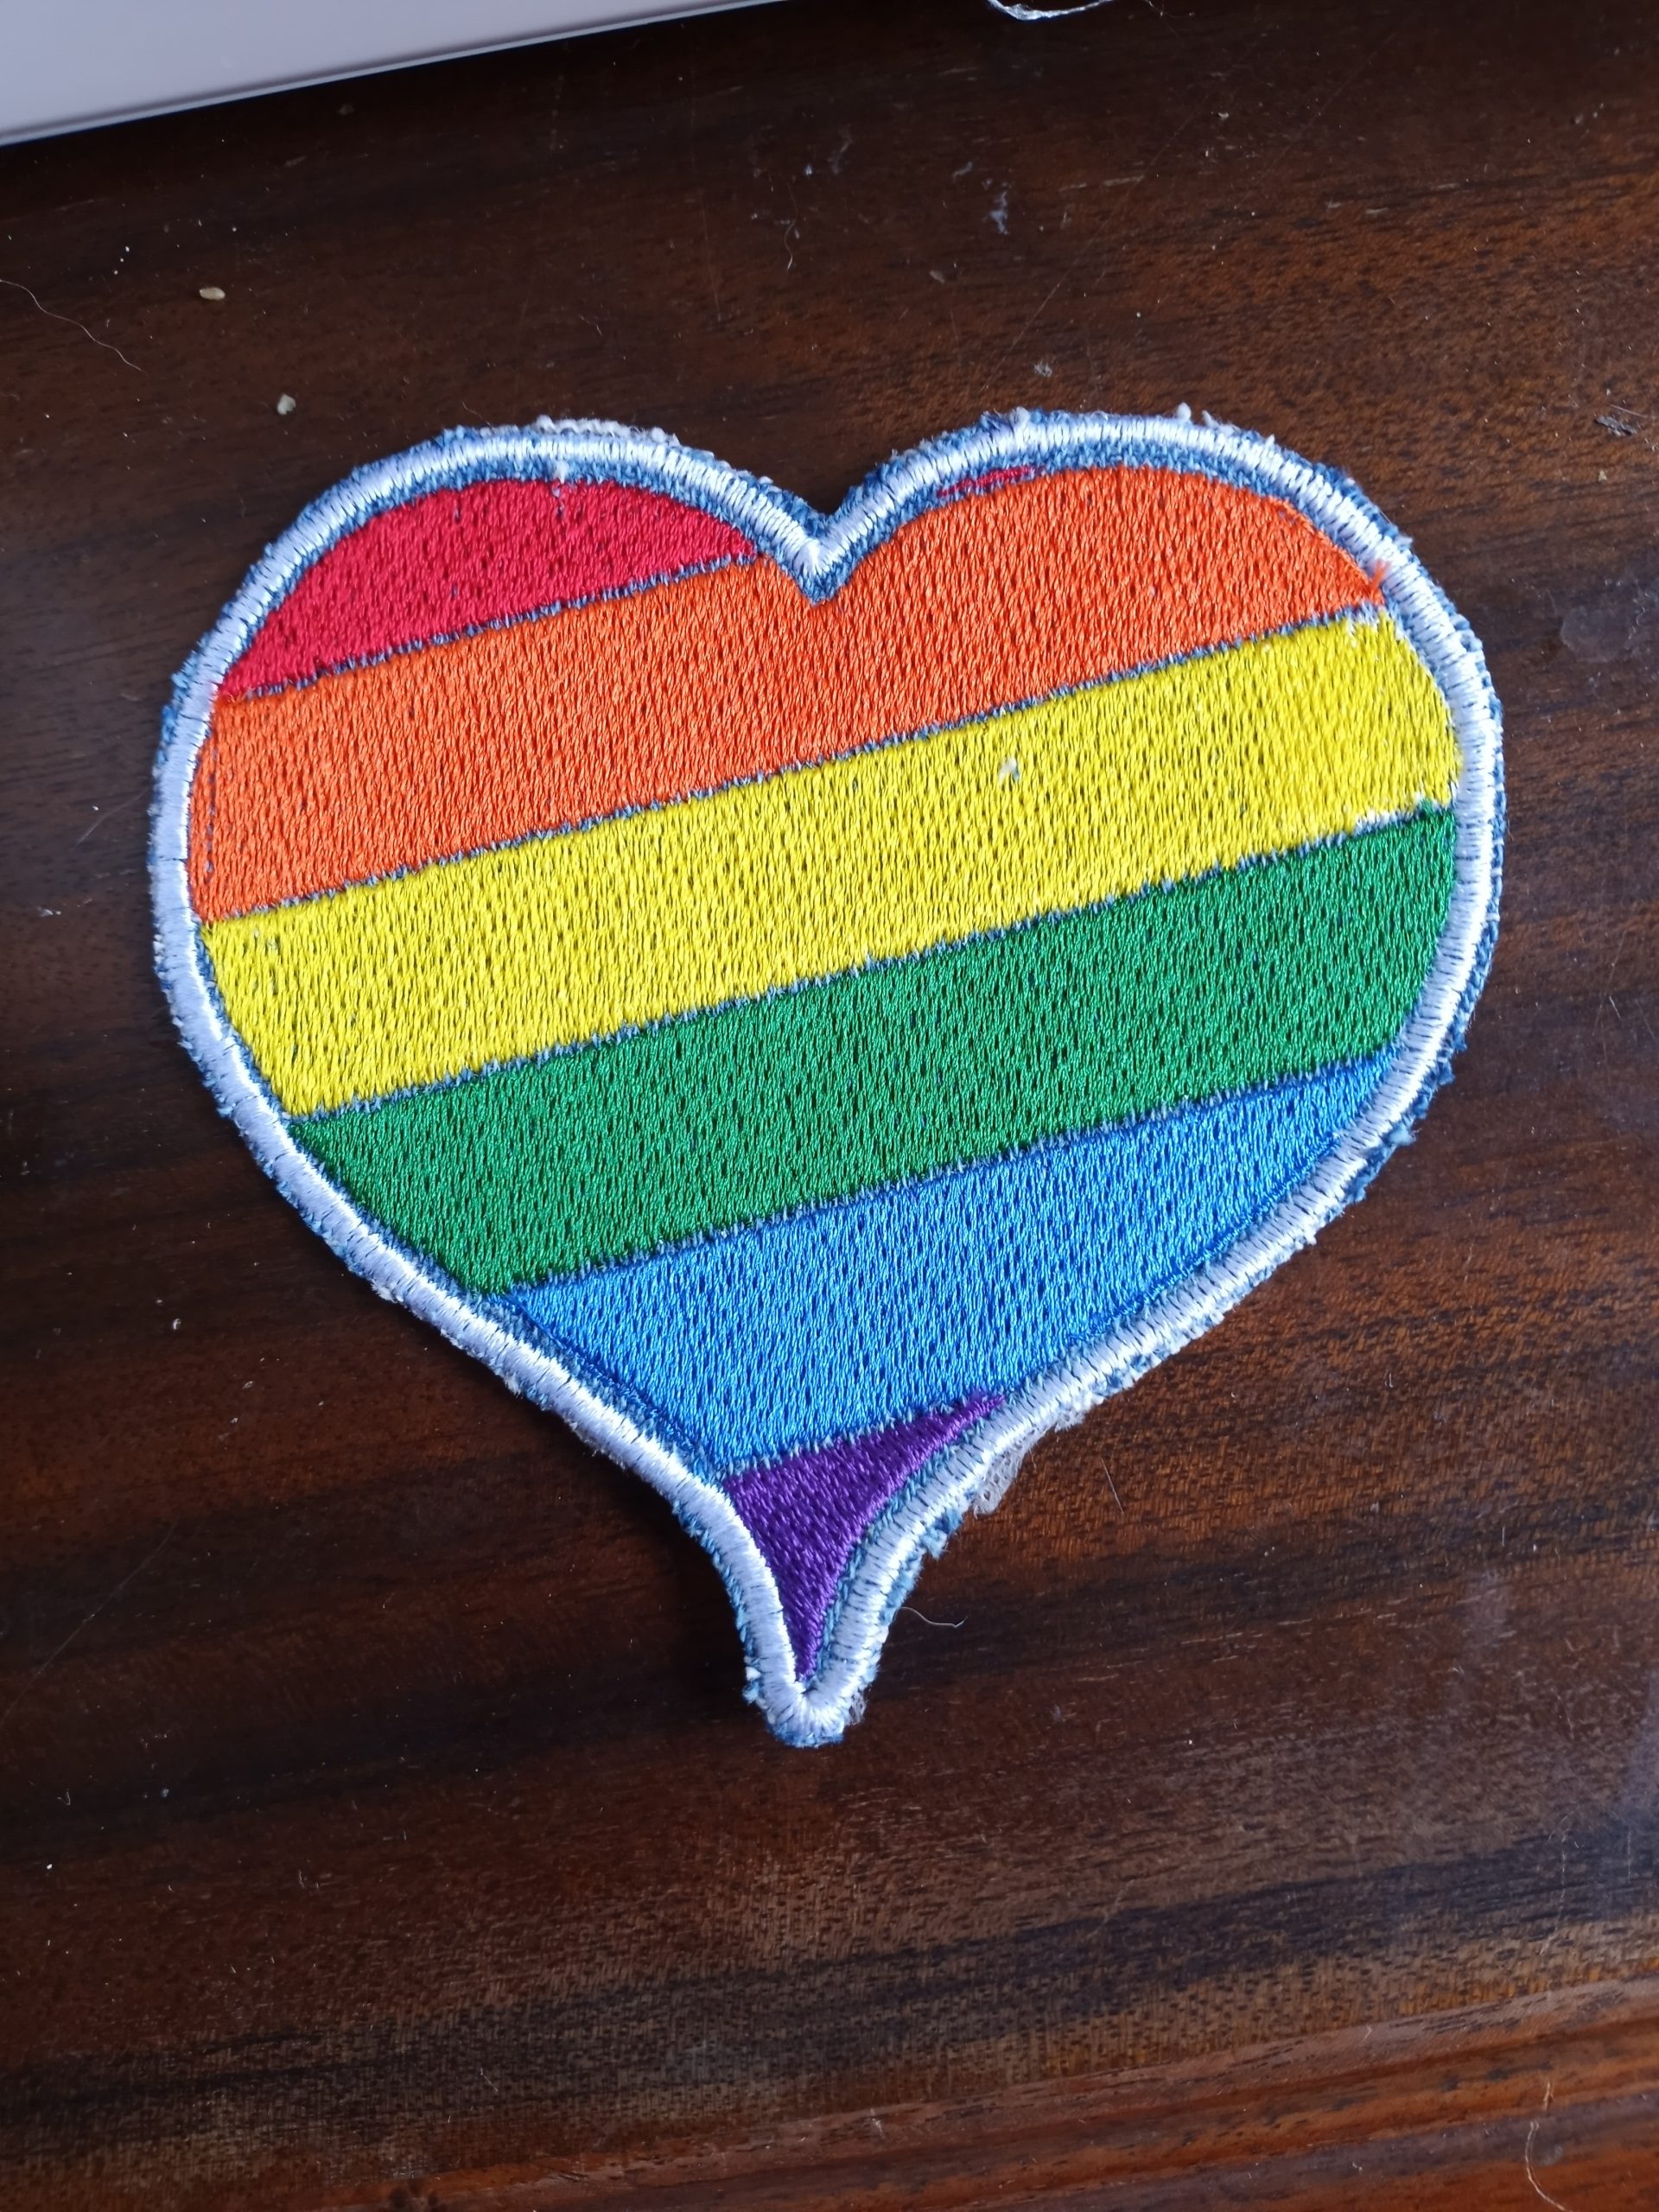
I love upcycling in my crafting. I love that it saves money and keeps things out of the landfill. One of my latest ways to upcycle is using denim as a base for machine embroidery patches. Just about everyone has a pair of worn out jeans. Denim is the perfect weight for patches, so I take usable fabric from old jeans and stitch my patch designs on that. Give it a shot!
Something that I have found very useful since getting my chemo port put in is a port pillow. Port pillows are small pillows that attach to seatbelts to prevent the seatbelt from irritating the port. Luckily, they are super easy to make with very little materials needed. There are many organizations that accept them as donations to give to cancer patients, so that’s something to consider if you are looking for a charitable way to use up your stash.
Materials for a port pillow.
Materials needed for One Port Pillow
2 rectangles of soft fabric, approximately 4 inches by 7 inches. I like using quilting cotton. There is enough fabric in my soap’s wrapping to make one pillow, so upcycle if you have it.Â
2 pieces of hook and loop tape (Velcro) measuring 3.5 inches each.Â
Polyfil or other stuffing.
Thread
Step one: Baste the Velcro
Separate the Velcro pieces and baste them in place on one piece of the fabric close to the edges. I just eyeball the placement at about halfway between the middle and short edge of the rectangle for each Velcro piece. I like to make the softer piece face up, but it doesn’t really matter. You could also use pins to hold it in place instead of basting, but I find machine basting easier.Â
Step Two: Sew the pillow
Sew the fabric rectangles wrong sides together as shown in the photo below. Be sure to leave an opening for turning. I left the opening on a long side for this one, but it’s easier to sew closed if you leave it on a short side.Â
Leave the opening on the end next time.
Step Three: Turn and Stuff
Clip the corners, being careful not to cut the thread, turn the pillow right side out and stuff. I like to press the empty pillow before stuffing for a crisper look. Just be careful not to melt the Velcro if you do this too.Â
Â
Turned and pressed.Stuffing. Needs a little more to be semi-firm.
Step Four: Sew it Closed
If you want the seam hidden, you can sew it closed by hand. I don’t mind the seam, so I use my machine to make it quick. This is much easier when the opening is on the end as evidenced by the number of pins I used to hold it closed. I hate using pins.Â
I can usually manage without pins when the opening is on the end.
Done
The end result should look something like this.
Â
This is one of those projects that I’ve done so often I may have overlooked something in trying to tell someone else how to do it. If anything is confusing, please ask in the comments. I will clarify it ASAP.
Like this post? To make sure you don’t miss out on future posts, sign up for my newsletter.
Laundry detergents have always been problematic for me. Certain brands irritate my skin, and I’ve never been able to pinpoint what ingredient is the problem. Even if I knew, most laundry detergents don’t exactly provide a list of ingredients I could check. Luckily, laundry detergent is easy to make. Doing it yourself not only allows you to control what ingredients are in your detergent, it also saves a ton of money.
My recipe uses four basic ingredients stocked by many supermarkets now, and one optional ingredient.
Ingredients:
2 parts Borax
2 parts Washing Soda
1 part Grated Bar Soap
0.25 part Baking Soda
Optional Fragrance Oil or Essential Oil
Prep:
You’ll want a clean, dry, lidded container or bag to store your homemade laundry detergent. If the container isn’t air-tight, the detergent may clump from moisture in the air. Usually it’s easy to break it up, so this isn’t a big problem. If you don’t do laundry very often, though, you probably want to store it in something with a good seal.
The soap can be anything. Most people start out using a laundry soap like Fels Naptha. Once I started making my own soap, I switched to using whatever basic recipe soap I had on hand. You can grate it by hand with a cheese grater or with a shredding disk on a food processor.
Make it:
Combine the first four ingredients in a large mixing bowl. If you’re not familiar with the “parts” measurement, it’s a simple way of making a recipe fit whatever amount you need by giving the amounts as a ratio instead of a specific measurement. You could substitute “cup” for “parts” if that makes it easier.
Options:
Leave it unscented, use a scented bar of soap, or add your choice of fragrance or essential oil to the combined ingredients and stir to combine. I usually use about half an ounce of fragrance oil per batch. With essential oils, I usually start with 15 drops or so and see how it smells before adding any more. I’ve heard you could use your favorite cologne or perfume, but I haven’t personally tried it.
Use it:
I use about two tablespoons per load in my top loading machine. You can use one tablespoon for lightly soiled loads, but with my family, every load is a two tablespoon load.
DIY Powdered Laundry Detergent
Soap, Bath and Fragrance
SubEarthan Cottage offers unique, gift-ready handmade soaps, essential oil rollers, bath salts and other bath and beauty products. All of my bath and body products are sodium laurel sulfate-free and phthalate-free. I welcome custom orders, so feel free to contact me if you don’t see what you need.
Chocolate syrup is deliciously versatile. Stir it in hot or cold milk or coffee for a treat or pour over ice cream to make it even more decadent. Then there’s old fashioned sodas and baked goods made with chocolate syrup. With this chocolate syrup recipe, you can make delicious chocolate syrup with just a few basic pantry staples whenever you need it.
Sure, it’s easy to pick up a bottle from the supermarket, but with this easy chocolate syrup recipe, you can make it for a fraction of the cost and without a trip to the store. By making it, you also have control over the ingredients. Use your favorite cocoa powder, experiment with the type and amount of sugar or swap out the vanilla extract for something a little more creative to make it your own. I can totally see using peppermint extract to mimic the flavor of Andes mints. Or, if you’re a fan of Terry’s Chocolate Orange chocolates, add orange extract.
Like most of my recipes, this chocolate syrup is gluten free and dairy free.
This chocolate syrup recipe is so easy and delicious. With only a few pantry-staple ingredients needed, you'll never have an excuse not to make it. Should be good for at least a month when stored properly. I usually find plenty of ways to use it up before then.
Prep Time2 minutesmins
Cook Time5 minutesmins
Course: Dessert
Ingredients
1cup cocoa powder
1 cup sugar
1 cupwater
1/2teaspoonsaltor to taste
1teaspoon vanilla extractor to taste
Instructions
Mix the sugar and cocoa together in a saucepan until thoroughly combined.
Add the water and half of the salt (1/4 teaspoon). Bring to a boil over medium heat, stirring constantly.
Continue to boil while constantly stirring until the mixture thickens a little. (It will thicken more as it cools) This should take around 3 or 4 minutes.
Carefully taste and add the rest of the salt, if desired.
Remove from heat and add vanilla extract.
Cool and store in an airtight container in the refrigerator. I like using a glass jar.
Notes
The vanilla extract and salt amount can be adjusted according to taste. I can also see swapping out the vanilla for peppermint or orange extract.
While I try to write recipes as clearly as possible, it’s easy to miss a step or make assumptions. If anything is confusing, please don’t hesitate to comment with your questions. If you make this recipe, please let me know what you think.
Like this post? To make sure you never miss a future post, please sign up for my newsletter.
This post contains affiliate links. If you click through any of the Amazon links and make a purchase, I will receive a small commission. There is no added cost to you.
I, Charity Sloan, am a participant in the Amazon Services LLC Associates Program, an affiliate advertising program designed to provide a means for sites to earn advertising fees by advertising and linking to Amazon.com. Any purchases through those links will result in my receiving a small percentage in commission.
Prices are the same whether you click an affiliate link or a non-affiliate link, so you will not be charged more. Thank you for your support!