Thaddeus turns three next week! When asked what he wants for his birthday, he exclaims, “Paw Patrol stuuuuuufff!” He is also constantly asking me to sew basically the entire cast of Paw Patrol for him. I may be crafty, but that is a bit beyond my skill set. So, since I have a lovely embroidery machine that doesn’t get used nearly enough, I thought I’d purchase a Paw Patrol design set for my machine.
The set came from Etsy seller OhMyArtDesigns. It comes with all the main pups, Rider, Robo Dog, and the Paw Patrol Logo. They also come in a few different sizes and file types to accommodate different brands and machines. So far, I love the designs. The stitch density is great, and they have a lot of detail. The only problems I’ve had fall completely in the “user error” category.
Embroidery Color Charts Matter
My first mistake was using the thread colors displayed on the machine and my manual chart to choose my threads.

The thread colors and names used by different machine brands varies, so if a design is drafted using different colors than yours, the color suggestions can seem a bit off. I was in a hurry and didn’t pay attention to the color chart provided by the designer, so some of my color choices weren’t quite right.


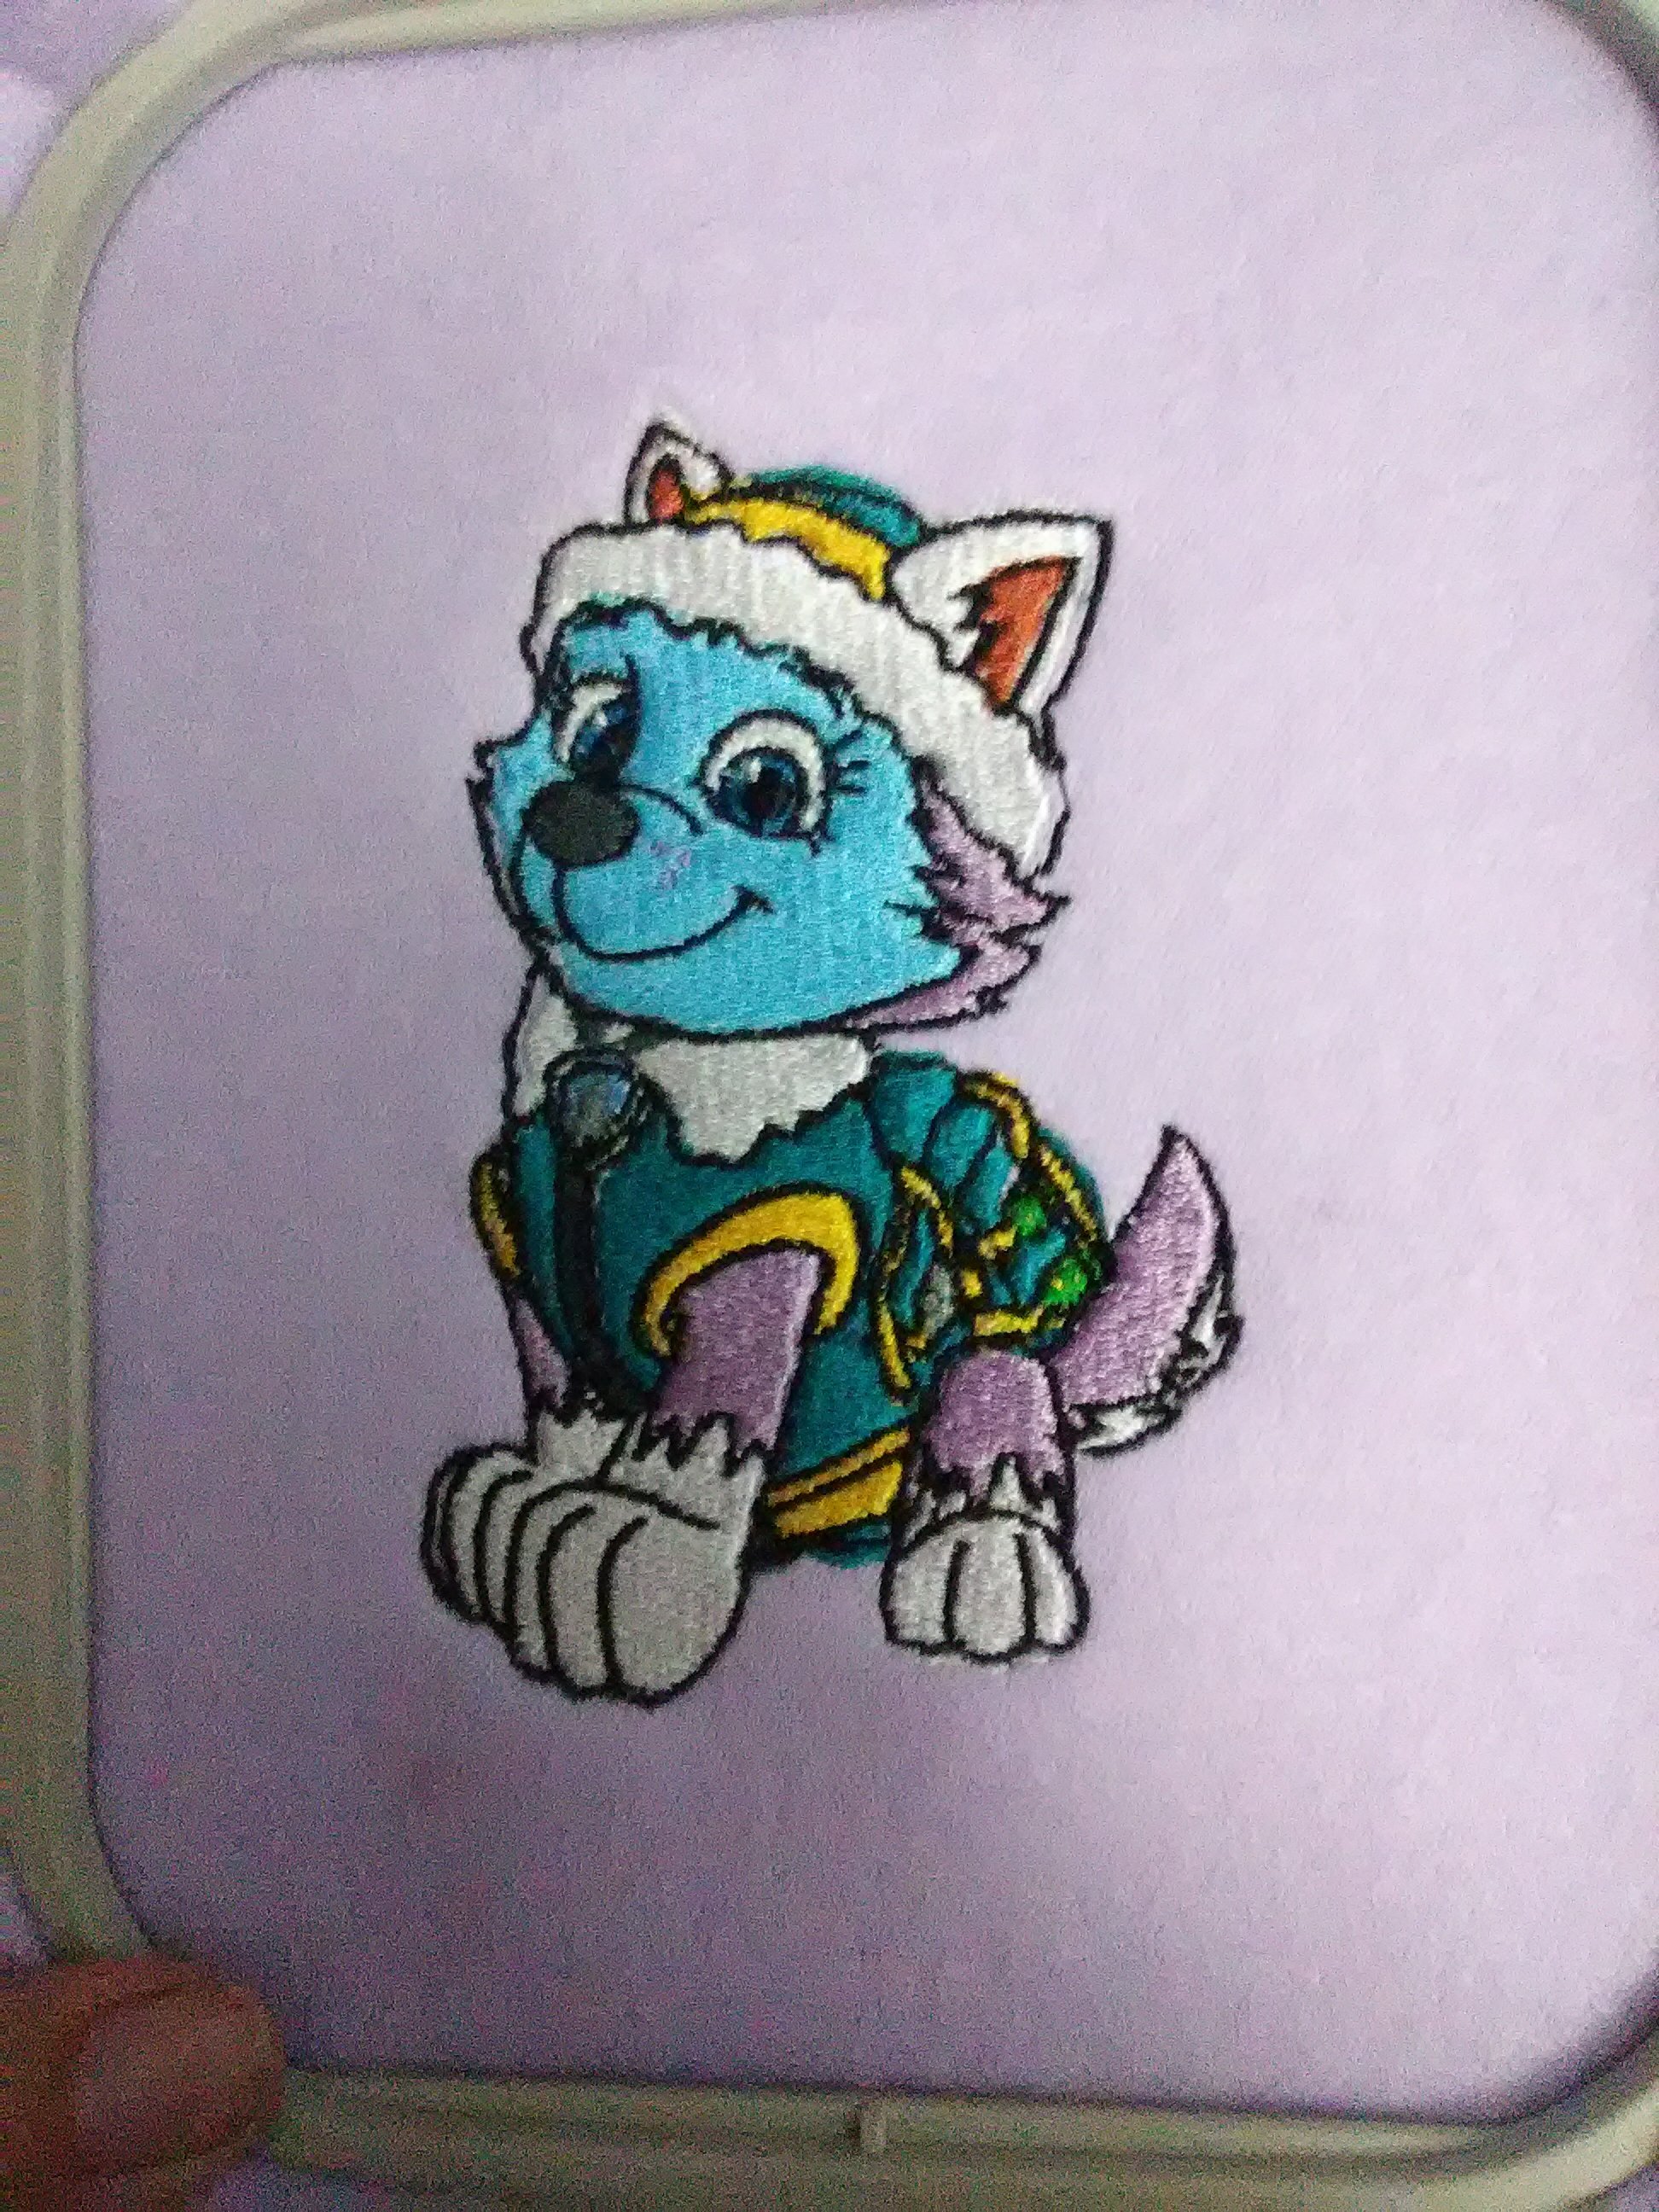
Everest would be less blue if I had used the appropriate chart. Lesson learned. This also highlights the need to test run any new patterns before stitching them on your final product. Embroidery machine stitching is so dense that it’s almost impossible to remove without ruining the fabric.
Hoop Tightly
The other problem I encountered is also easily fixed. I just need to learn how to hoop my fabric properly. If you look closely, you can see the black outline on both Everest and Rider strays from the edge of the design on one side. I still have trouble getting the fabric and stabilizer drum-taut, so by the time the outline is stitched, the design stitches puckered the fabric in places. I have a magnetic hoop set on my wish list to see if that would help, but honestly it’s probably a case of needing more practice. Considering how many pups I have left to stitch, I may be an expert at hooping by the end of the week!

It is so fun to watch the designs being sewn. It’s like putting together a puzzle.

Looking for new designs to try on your embroidery machine? Find my embroidery files and freebies here.
To stay informed about new posts, products and sales, sign up for my newsletter here.


