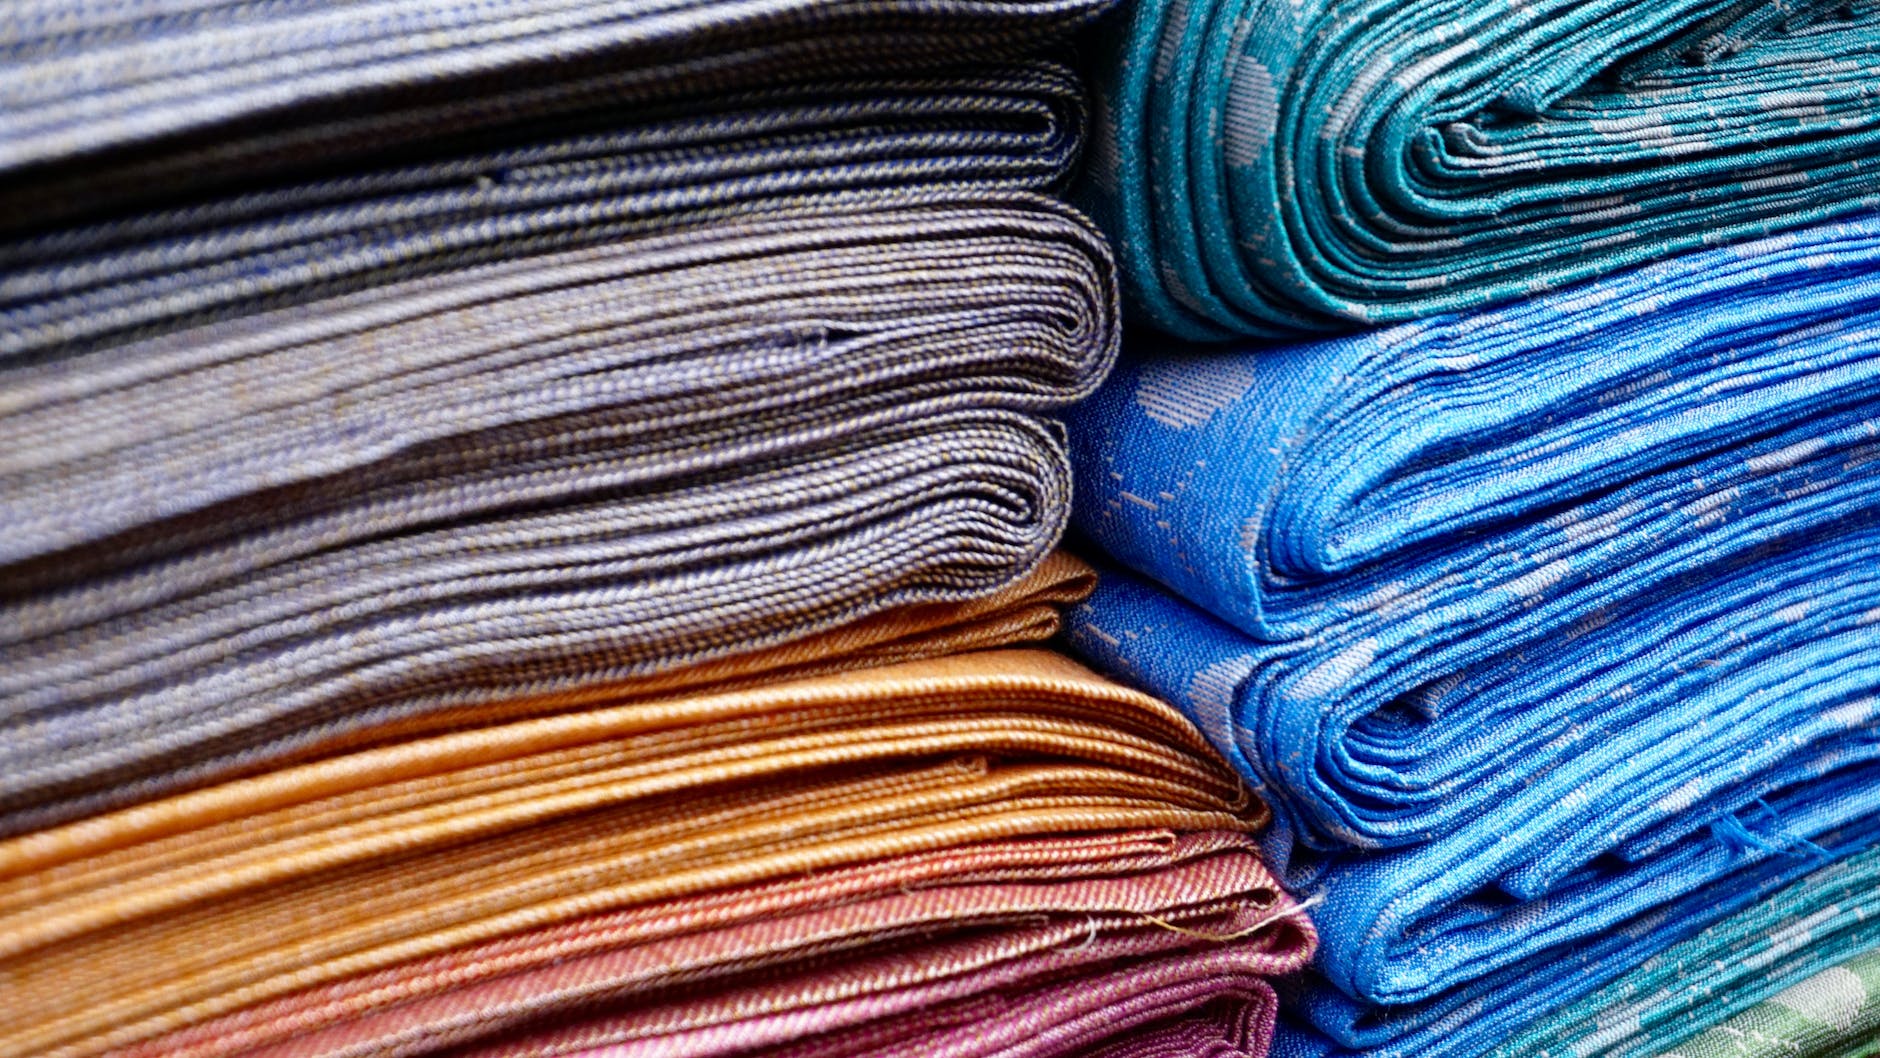
In order to have high quality finished products, it’s best to prewash your fabric. Without this step, your finished product can shrink and look uneven or lumpy when it is eventually washed. It’s not a good idea to just toss your fabric into the wash, though, as it comes out a stringy, tangled mess. Luckily, there’s a few different ways to make prewashing your fabric painless.
Overlock the cut edges
If you have a serger or overlock machine, serge the cut edges before washing. You shouldn’t have to worry about the selvedges as they won’t unravel. This is my favorite method. I usually just leave the thread tails long and they don’t unravel enough to be annoying.

Use your Sewing Machine
With a sewing machine, you can sew a quick zig-zag or similar stitch along the cut edges to prevent fraying. Even a straight stitch would probably work, although I haven’t tried it. You will probably need to back-tack or knot the ends to keep it secure through the wash.
Pink the edges for a painless prewash
If you have pinking shears, cut the fabric with the pinking shears along the cut edges. The edges will still get fuzzy, but shouldn’t unravel.

One bonus of using one of these methods is it’s easy to know at a glance which fabric from my stash was prewashed.
I know probably 90% of the people reading this are thinking “Duh!” because it’s such an obvious fix. The other 10% are wondering why they didn’t think of that, much like myself when I first learned the trick.
To make sure you never miss a post, please sign up for my newsletter.
