In order to have high quality finished products, it’s best to prewash your fabric. Without this step, your finished product can shrink and look uneven or lumpy when it is eventually washed. It’s not a good idea to just toss your fabric into the wash, though, as it comes out a stringy, tangled mess. Luckily, there’s a few different ways to make prewashing your fabric painless.
Overlock the cut edges
If you have a serger or overlock machine, serge the cut edges before washing. You shouldn’t have to worry about the selvedges as they won’t unravel. This is my favorite method. I usually just leave the thread tails long and they don’t unravel enough to be annoying.
With a sewing machine, you can sew a quick zig-zag or similar stitch along the cut edges to prevent fraying. Even a straight stitch would probably work, although I haven’t tried it. You will probably need to back-tack or knot the ends to keep it secure through the wash.
Pink the edges for a painless prewash
If you have pinking shears, cut the fabric with the pinking shears along the cut edges. The edges will still get fuzzy, but shouldn’t unravel.
One bonus of using one of these methods is it’s easy to know at a glance which fabric from my stash was prewashed.
I know probably 90% of the people reading this are thinking “Duh!” because it’s such an obvious fix. The other 10% are wondering why they didn’t think of that, much like myself when I first learned the trick.
To make sure you never miss a post, please sign up for my newsletter.
My local Kroger frequently has bags of kale, spinach and other greens on sale because it’s nearing its “best by” date. I love picking up a few whenever I see them. If I don’t plan to use them right away, I either toss the whole bag into the freezer (this works best with sturdy greens like kale or collard greens) or I dehydrate them for future use.
To dehydrate the greens without a dehydrator, I set my oven to it’s lowest setting (150-200 degrees Fahrenheit) , spread the greens on a baking sheet, and bake until they are dry. I check them about every 10-15 minutes to prevent them from burning.
Once they are done, I crumble them to the consistency of a dried herb and store in a canning jar. The dried greens are great to add to sauces, soups, stews or smoothies. Add a little if you need to hide the taste or a lot to really boost the nutrients.
It’s quick, easy and doesn’t result in a gross bag of kale forgotten in the back of the fridge. Plus, it may help picky eaters get a little more nutrition.
Like this post? Sign up for our newsletter to get post notifications and updates.
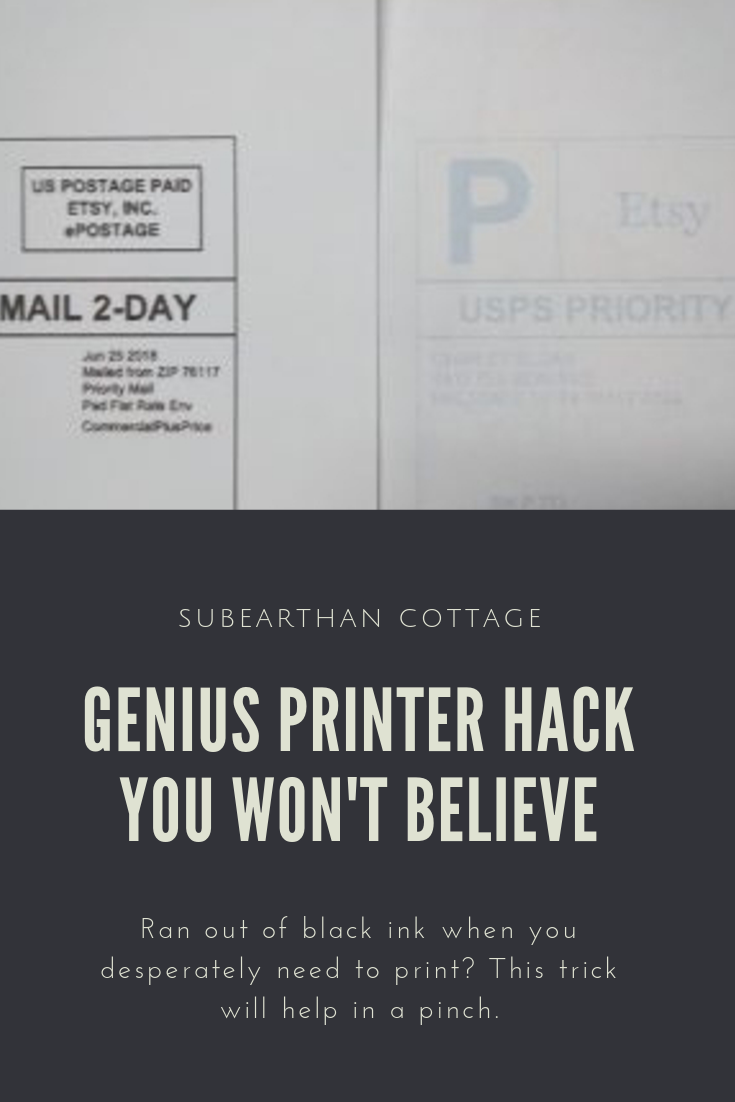
Have you ever had to print a paper or mailing label NOW and realized your black ink cartridge is out of ink? As much as I try to keep an extra on hand, sometimes I run out without a backup. Something I’ve found that works in a pinch is to simply remove the black ink cartridge. This forces the printer to use the color cartridge to print the document instead.
With and without the empty black ink cartridge removed.
The label on the right was my first attempt at printing a mailing label before realizing that I was overdue for a new black cartridge. The label on the right was printed with the black cartridge removed.
My printer will usually print one or two jobs this way without complaining, then I may have to put the old cartridge back in for a bit then remove it again if I need to print something else. Usually by that time I have been able to get a replacement cartridge.
It’s always better to be prepared, but in a pinch this trick works like magic. It has certainly saved me a rushed trip to buy ink on more than one occasion.
Even if you love sewing, there’s some parts that can be a chore. Ignoring those tasks or leaving them for later can result in wasted sewing time and money. Here’s a list of chores I try to tackle when I have a few minutes so that my real sewing time is spent actually sewing.
Bobbin winding
If you have a Side Winder, bobbin thread running out mid-project might not be a big hassle. If you rely on your machine to wind bobbins, though, running out means stopping your work, re-threading your machine to wind a bobbin and then setting it back up to sew. To prevent this headache, when you have a few spare moments, wind a few bobbins in your most commonly used colors. If you have a project in mind, wind a couple of bobbins in the needed colors. Keep extra bobbins on hand and wind at least one for every different thread color you have.
Pre-winding extra bobbins makes this notice less annoying.
Clean your machine
Lint, threads and dust build up over time and can cause poor stitch quality or even damage your machine. It’s a good idea to make a habit of brushing the debris out at the end of each project, or during projects with linty fabrics.
If the inside of your machine looks like this, you should probably clean it more often.
Periodically you’ll want to vacuum out your machine to really clean it. Vacuum attachments made for cleaning computers work well for this. Some people use canned air, but that’s not recommended. It pushes some of the debris deeper into your machine.
Oil your machine
Once your machine is thoroughly clean, take a moment to oil it according to your manual. This will keep it running smoothly and reduce the need for costly repairs. If you don’t have the manual, you can usually find one online.
After oiling, always sew a few rows on scrap fabric to soak up excess oil. That way, you won’t risk ruining a project with oil spots.
Tidy up
The best practice is to put away tools and excess fabric as you go. It’s easy to get distracted and forget, though. Taking a moment here and there to run through your sewing area to tidy up when you aren’t working on a project can save sewing time later.
Keep a shopping list
Nothing is more annoying than having to stop work because you ran out of a necessary supply. Make note of supplies that are low or that have run out on a notepad to take on your next shopping trip.
Prewash fabric
Unless you know your final project will never be washed, you should always prewash your fabric. One way to make sure this happens is to wash it as soon as you bring it home from the store. You could also work it into your usual laundry schedule. Having a prewashing routine prevents delaying a project or worse, giving in to the temptation to make something and have your final product ruined in the wash.
These are the chores that, for me, are the biggest sewing time-wasters when neglected. Please share your dreaded sewing chores and tips to keep them from becoming time-wasters in the comments.
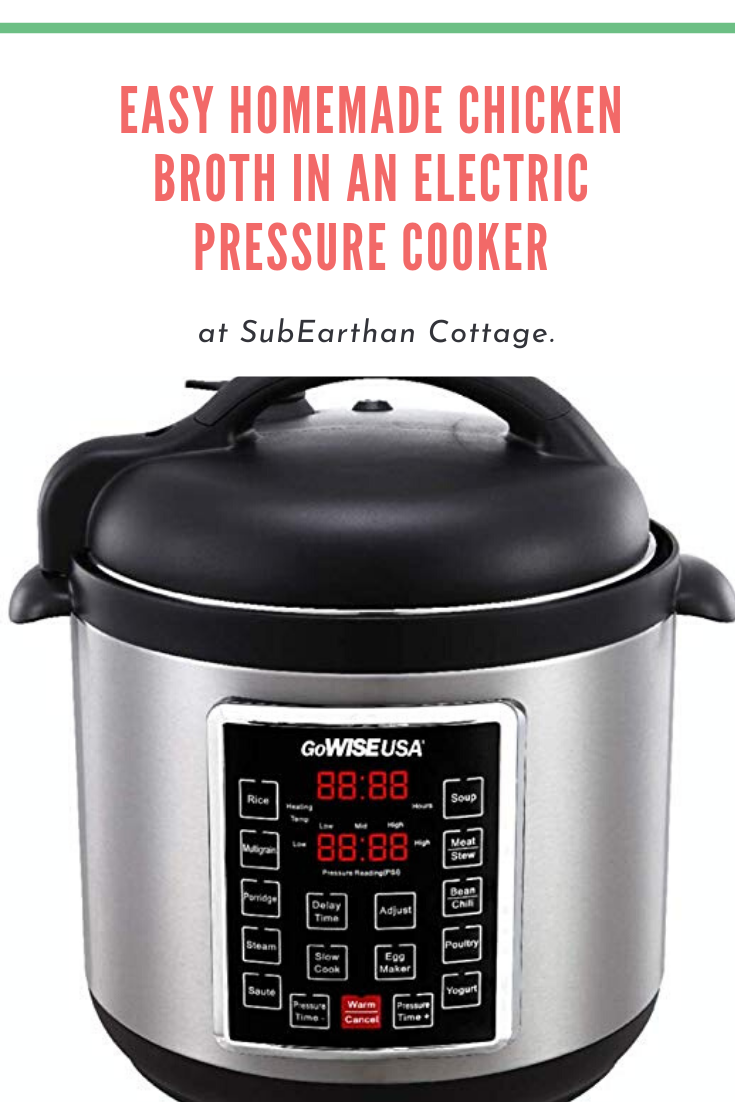
If you have an Instant Pot or other electric pressure cooker, delicious homemade chicken broth takes just a few minutes of prep. This technique can easily be applied to other types of broth as well.
The ingredients
When I make chicken broth, I prefer to use bones from a cooked chicken. It’s easy to cook a whole chicken in an electric pressure cooker, or use an oven-roasted or rotisserie chicken. Save the bones for broth to make a chicken stretch farther meal-wise. You can make the broth immediately after de-boning a cooked chicken. If you’re short on time, store the bones in the freezer until you’re ready.
To flavor the broth, I like to add some combination of carrots, celery, onion, garlic, salt and pepper. I usually use:
one onion peeled and cut into chunks
one or two carrots
two to three celery stalks broken into two or three pieces each
two to three cloves of peeled garlic
a few peppercorns
about 2 teaspoons of salt.
It’s easy to add salt and pepper to taste to the finished broth, so I lean toward adding less at the beginning.
Herbs like sage, bay leaf, parsley, basil and oregano are great additions, too. You could also add jalapeno to give it some spice.
Making the Chicken Broth
To make the chicken broth, put the bones, chosen vegetables and seasonings into the pot of your electric pressure cooker. Add enough water to cover the ingredients by 1-2 inches. Lock the lid and manually set the pressure cooker to cook on high pressure for 2 hours. When it’s done, depressurize naturally.
Once it’s cool enough to handle, I like to pour it through a mesh strainer to get all the small bones and vegetable remnants out. If not using the broth within a few days, it’s best to store it in the freezer.
That’s it. With a just few minutes of prep to assemble the ingredients, an electric pressure cooker makes flavorful chicken broth that tastes like it was simmered on the stove all day long. Unlike on the stovetop, though, there’s no worry about it boiling over, and the time is dramatically reduced.
Like this post? To make sure you never miss a future post, please sign up for my newsletter.
I, Charity Sloan, am a participant in the Amazon Services LLC Associates Program, an affiliate advertising program designed to provide a means for sites to earn advertising fees by advertising and linking to Amazon.com. Any purchases through those links will result in my receiving a small percentage in commission.
This only refers to Amazon links found in/on my blog pages. All products in my shop are 100% mine and not linked to Amazon.
Prices are the same whether you click an affiliate link or a non-affiliate link, so you will not be charged more. Thank you for your support!