Today’s words of wisdom, brought to you by Sylvester the Cat and my favorite Yogi tea. (not sponsored) “Love is the highest of all virtues.”
Right on, Sylvester.
I’m prepping for my first market since my oldest was an only child. 😬 If you’re local, come check it out. All the details are in the second photo. I’ll have all my handmade goodies from my shop out there.
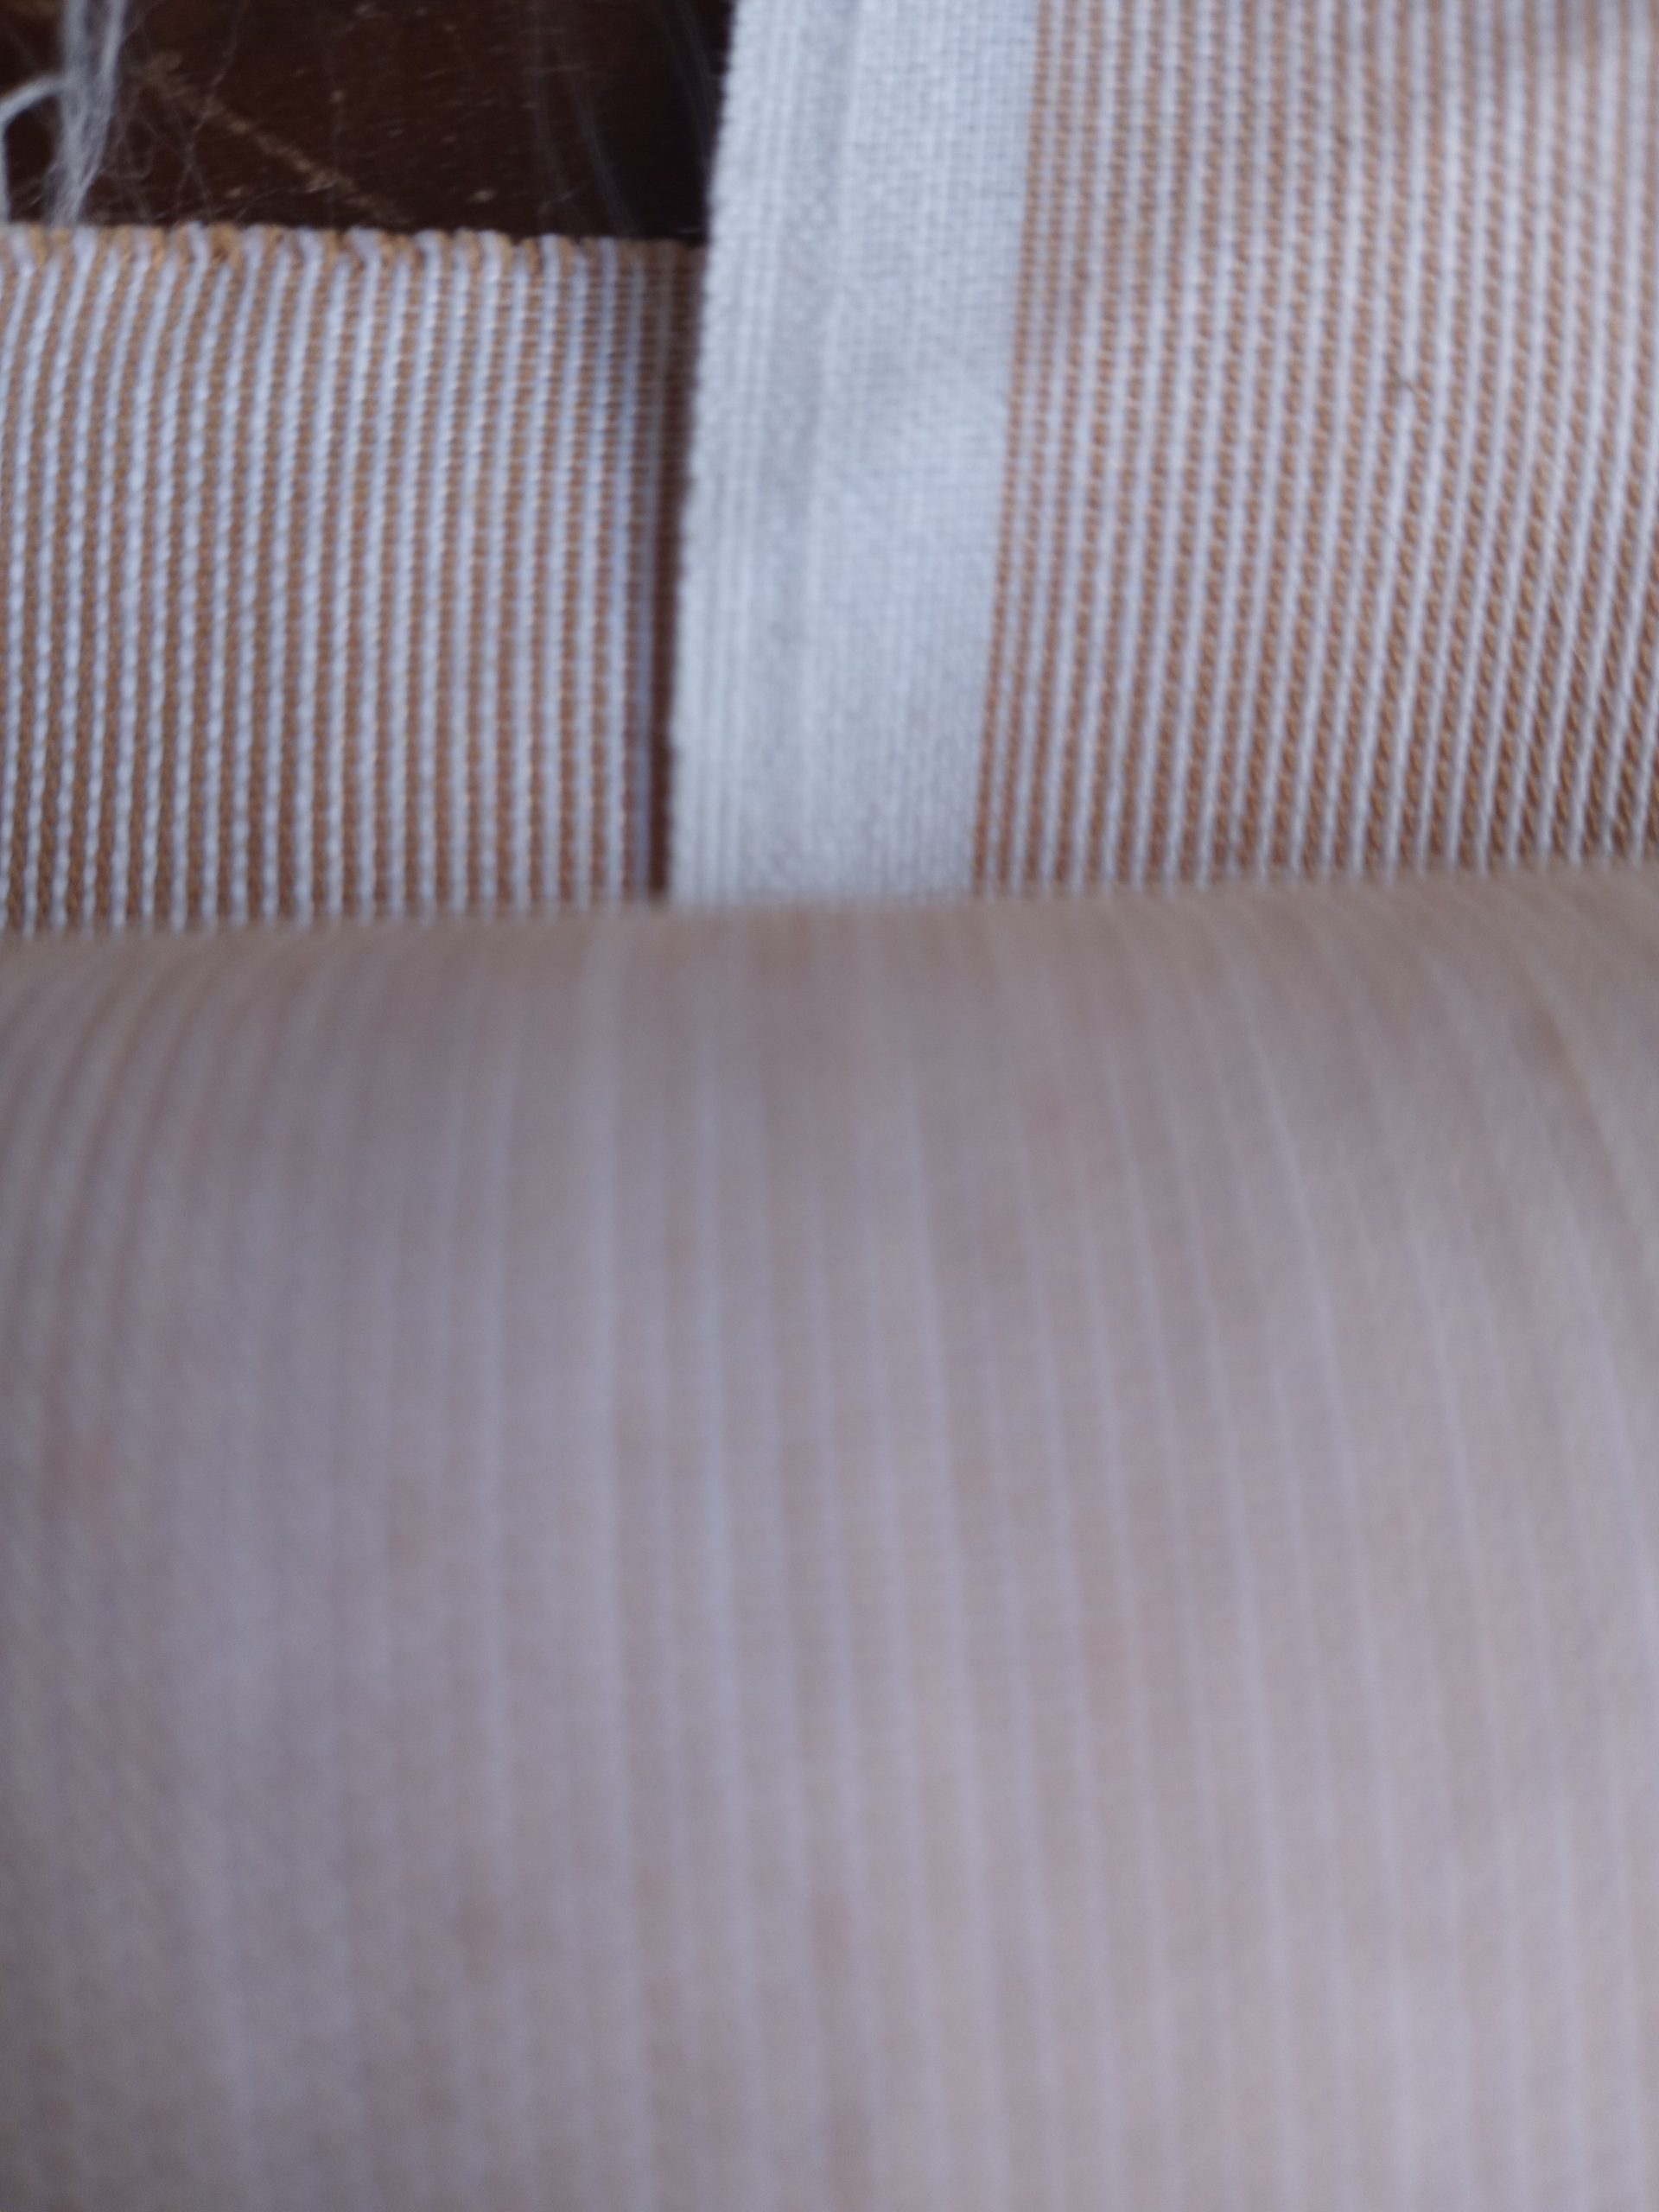
I’ve listed two “new” vintage fabrics in the shop, but wondering if anyone can help with giving more information about them. I love second hand materials, but not having all the details is a bit frustrating. They are:
I’ve burn tested them, and they tend to burn quickly. The burned edge seems more melted than ashy, which leads me to believe they are a synthetic or a synthetic blend. Here’s a video of the beige burn test:
Burn testing some vintage fabric. I think this one is a synthetic or synthetic blend. I’m listing some of my fabric stash at https://subearthancottage.com #sewing#vintagefabric#fabricdestash
I’m a bit of a sewing machine hoarder. If you don’t count the one that is Finn’s, I have four sewing machines. That includes my sewing and embroidery machine combo, but not my two sergers. Also not including the knitting machine, because it knits.
While I’m certainly not an expert, I do have my preferences. I would take a well-built, old metal machine over a new machine any day. Mainly because when they break, I tend to do this:
That is my first sewing machine. It is a Montgomery Ward’s Signature sewing machine from the 60s, I think. I got it from my mom who got it from my grandma. I can’t remember what was wrong with it that time, but it sews nicely now.
The Signatures at that time were made by a Japanese company that specialized in industrial machines, I think for sewing feed sacks. That translates to a heavy duty, domestic sewing machine that will sew through anything. It also has a set of cams. Cams are interchangeable disks that allow it to sew pretty embroidery stitches.
My next sewing machine is another, slightly older Montgomery Ward’s Signature. This one was rescued from a lot of machines that were destined for the junk heap.
I love the blue color! It reminds me of cars from that era.
Like the other Signature, it uses cams. You can see them in the little accessory box. I actually like this one a little better than the other. It sews the prettiest straight stitch out of all my machines and has a cam that stitches a row of teeny tiny hearts!
I’ve never actually made anything on it, though. Unlike the other, this one is in a portable case, which is hilarious. I lift my 40+ pound four year old all the time and lifting that machine is still a struggle. Since I don’t have a dedicated place for it, I don’t have the motivation to lug it out.
My workhorse is a 90s model Kenmore, made by Janome. The case is plastic, but all the internal workings are metal. I know, because I’ve had to open it up a few times now to fix the hook timing. (Posts on that here and here.)
That is the best photo I could find of it not undergoing repairs. I love that machine because it isn’t as quirky as the Signatures. It also tells me how to thread it right on the machine, and when it comes to sewing machines, threading is half the battle.
My final machine is the Brother SE400 embroidery combo. I keep it set up as an embroidery machine because I have three other sewing machines. Also, it scares me, so I want to risk messing it up as little as possible. I haven’t had it opened up beyond the bobbin area, but I’m guessing there’s some plastic, and I know there are scary electronic components. With the other machines, I am freer to play because I know that if something happens, it’s not likely to be catastrophic. With this, something like a timing issue would definitely mean a big repair bill.
But, it makes pretty embroidery, has loads of decorative and utility stitches as a sewing machine, and has the most awesome needle threader I have ever seen. Seriously. Finn’s machine has a needle threader that I will never use, because it is complicated and I stabbed myself with it one time. Brother’s needle threader is like magic. It is especially handy when embroidering with multiple colors. Color changes take mere seconds.
Just to show I’m not as much of a hoarder as I could be, here is a photo of the White machine I couldn’t get working and sold on craigslist.
Then, while I was waiting for the buyers to show up, I decided to play with it a bit and figured out what was wrong. I hope they love it, or at least open it up to look at from time to time. Sigh.
Like this post? To make sure you never miss a future post, please sign up for my newsletter.
I’ve been sewing lots of masks lately. Apparently my sewing machine needed a break, so it decided to skip time again. Thankfully I’ve done it a few times now, so I should have it up and running soon.
Hook timing is a fairly common problem that sends many sewers running to the repair shop. When it happened the first time on my older Kenmore, I decided to try to repair it myself first. My thinking was, since it’s a mechanical machine with mostly metal parts, as long as I was careful, I couldn’t really hurt anything. I probably would have thought twice before attempting it on a computerized machine.
All machines are a little different, so what worked on mine may not work on yours. Something I recommend to everyone who wants to work on their own sewing machine, is getting a copy of the service manual. Honestly, I still need to do this. There’s tons of info online, but having the actual service manual is even better. You should have an owner’s manual on hand, too. It covers basic care and maintenance. For repairs, though, the service manual will give you technical instructions and confidence.
Once you’ve tried the easy fixes, if it still isn’t working right, look at how the needle and the bobbin hook intersect. This page, https://tv-sewingcenter.com/general/sewing-machine-timing-hook-timing, has illustrations, photos and descriptions for where they should meet on both rotary and oscillating machines.
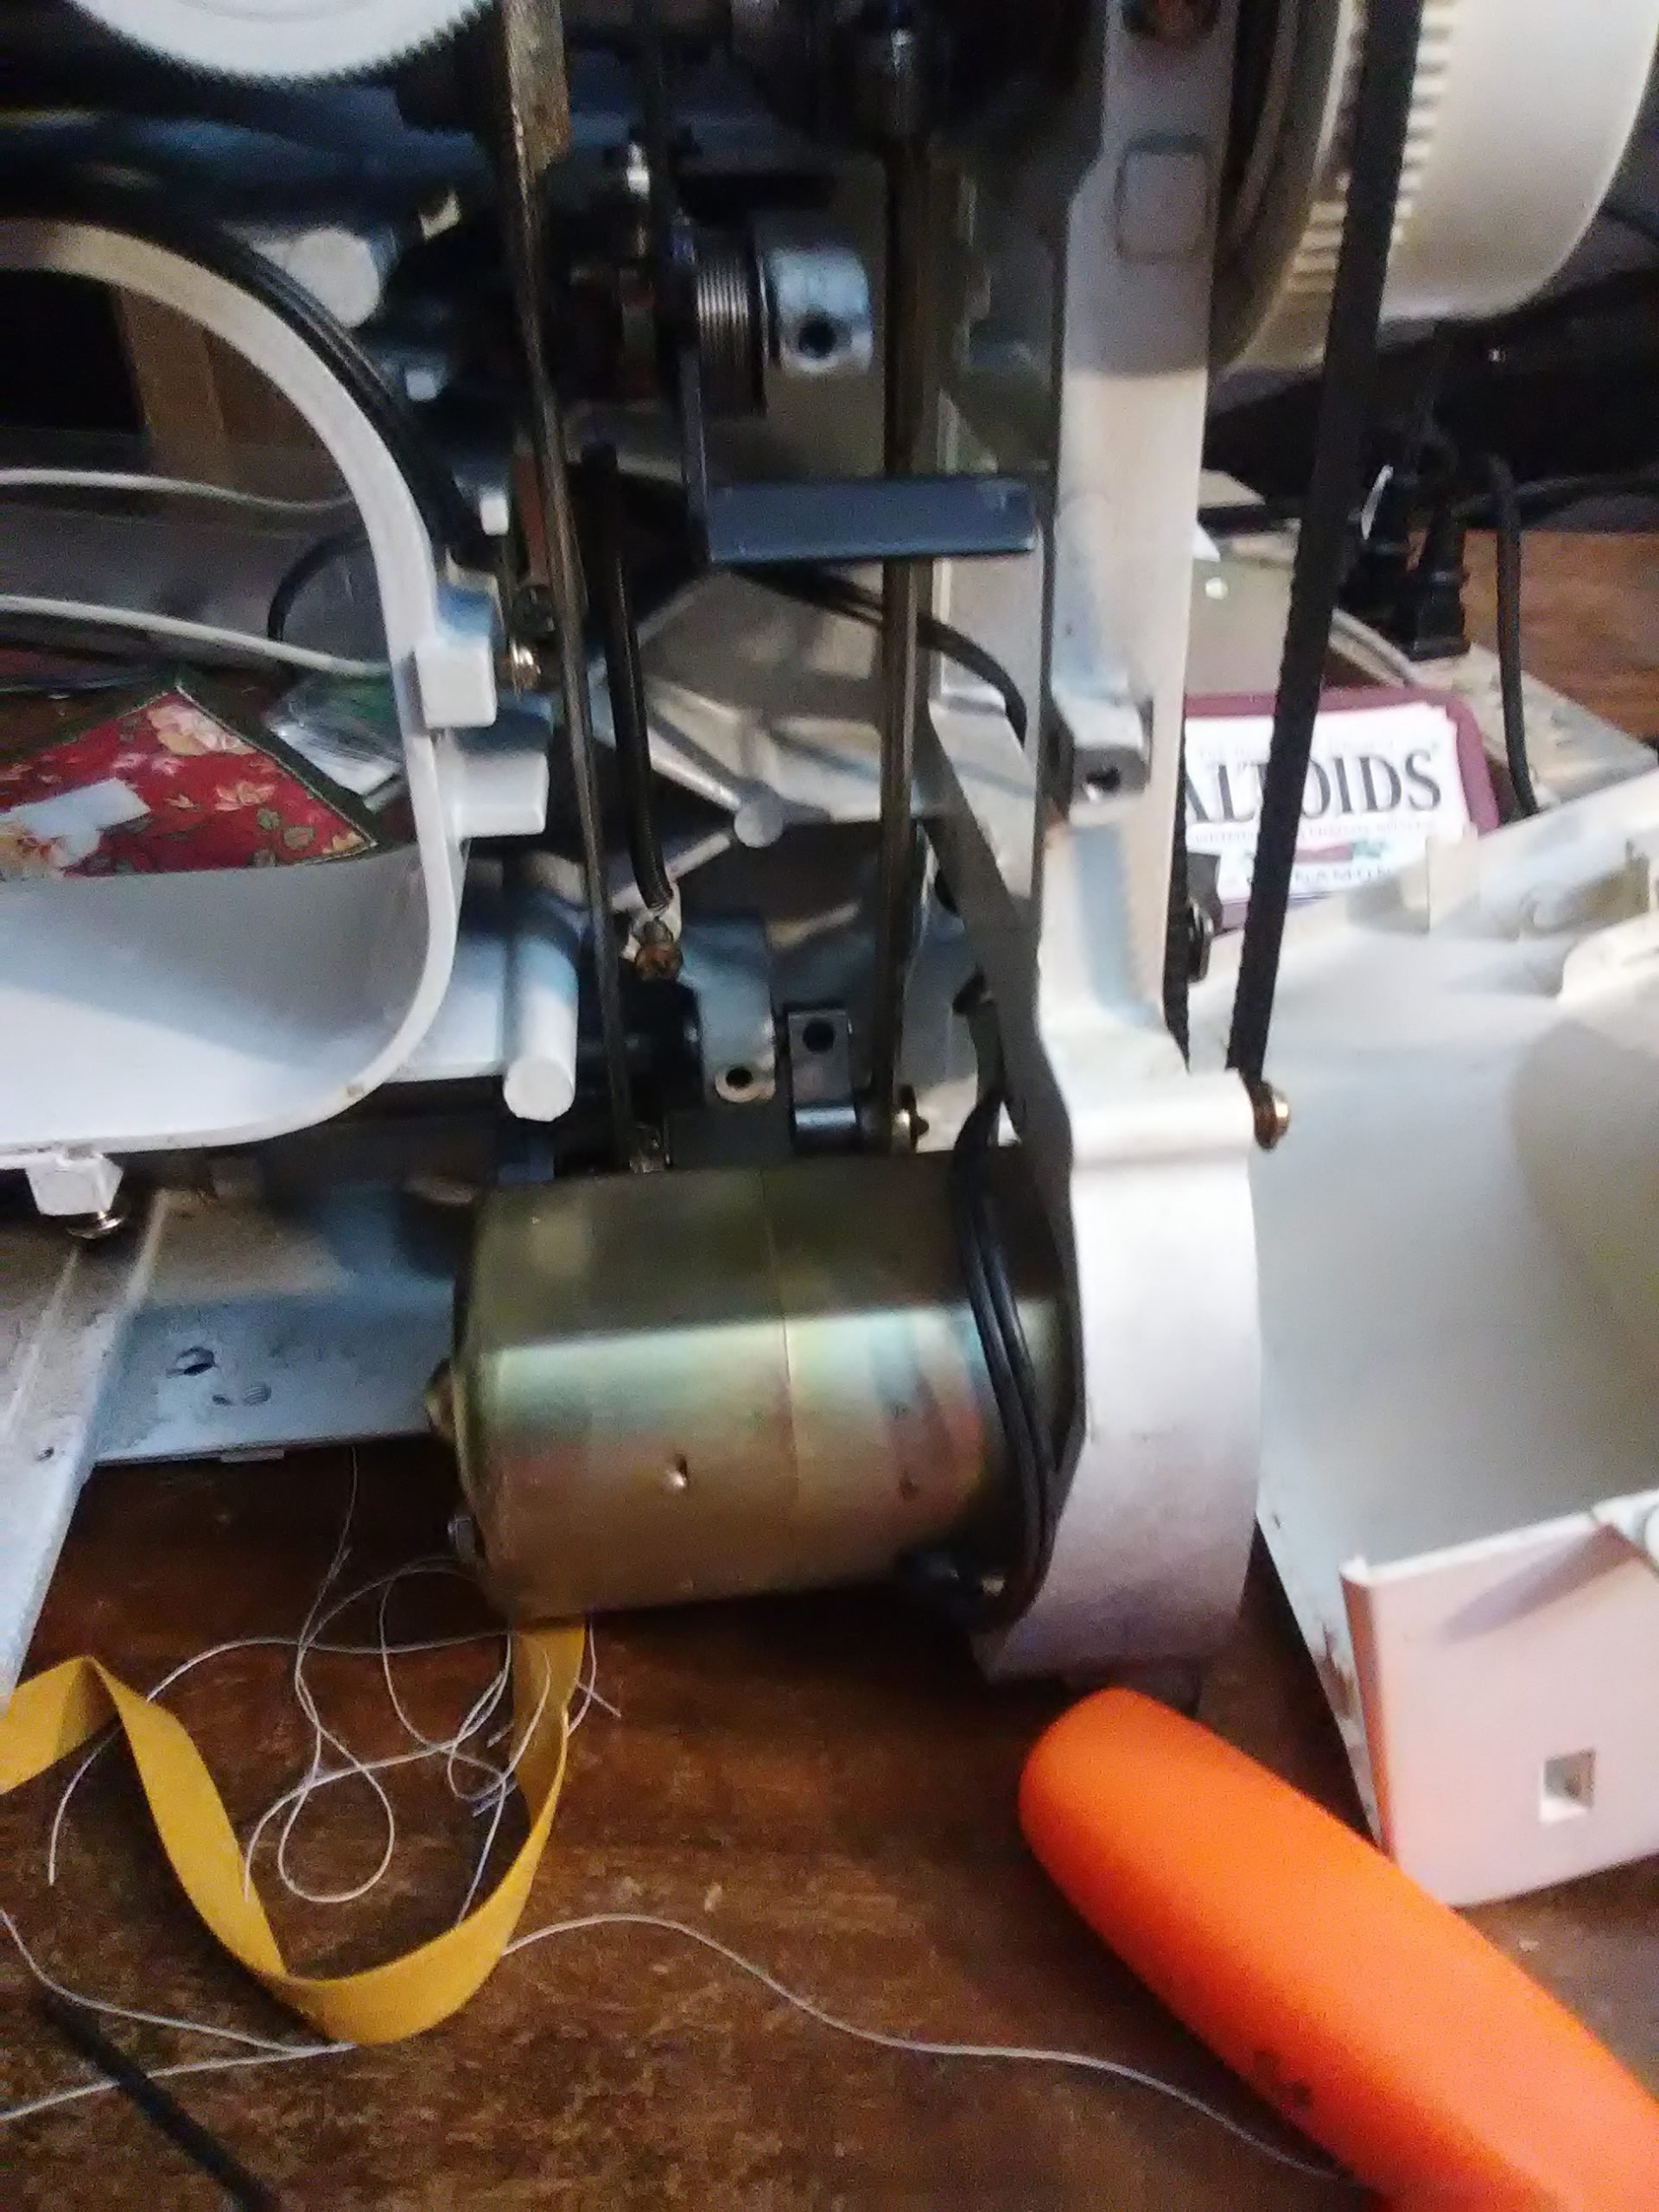
Taking a look at my oscillating hook.
My machine is an oscillating machine, so the hook tip should pass just above the eye of the needle. Mine was passing below the needle’s eye, so clearly the hook timing needed adjustment.
Open it up
The first and honestly the hardest step was figuring out where all the screws were that I needed to remove to take off the casing. (Actually, the first step was to turn off and unplug the machine. If you’re attempting this at home, do not skip this step!) On my Kenmore, I have to take off the side by the hand wheel, a plate on the bottom, and the front panel.
More cleaning
While I have my machine open, I like to take the opportunity to clean it out and oil it. Oiling a linty machine, using the wrong oil or putting it in the wrong places can cause tons of problems, though, so if you’re not sure, stick to dusting only.
Find and adjust
Next, I tilted the machine on to it’s back so I could get a good look at the mechanism that rotates the hook. Once I had isolated that, I found a hex head set screw. Loosening that allowed me to gently adjust the hook position so that the tip passed just above the needle’s eye.
About in the middle, just above the motor is a silver piece with a round, black screw near the top. That is the set screw I loosened to adjust the hook timing.
When I was sure I had it properly positioned, I tightened the set screw. I turned the hand wheel a few more times, making sure everything still looked good before I put the casing back. A quick test run showed everything was working properly again.
Done!
It’s so satisfying to be able to make simple repairs to my machines myself, especially when most repair shops start around $75 and go up from there, depending on what needs to be done.
Whether you want to make your own clothes or home decor or just be able to mend and tailor the things you already have, a sewing machine makes it much easier. If you don’t have much experience with sewing on a machine, though, it can be daunting looking at all of the choices out there. While it really is up to personal preference, there are a few guidelines that will help you to find a solid sewing machine that meets your needs.
Determine your stitch needs
What are you planning to do with your sewing machine? For most sewing, you really don’t need a huge variety of stitches. Almost everything can be done with a machine that sews straight and zig-zag stitches, and has a button hole option. A blind hem stitch, an overedge stitch and a smocking stitch round it out nicely for garments and decor construction. If you plan to do decorative top stitching, then look for a sewing machine with decorative stitches you like.
Computerized sewing machine?
Honestly, I avoid computerized machines. A sewing and embroidery combo machine like my Brother SE400 (this is the updated version) is the exception. If you really want to do machine embroidery you will need a computerized embroidery machine. Otherwise, a purely mechanical machine is my recommendation. Even though my embroidery machine is also a regular sewing machine, I prefer to keep my embroidery machine for embroidery only and use another sewing machine for standard sewing. Computerized machines have more things that can go wrong, and I like to keep things simple.
This is my model of embroidery machine. It is computerized and scary, lol.
Presser feet
To me, having a variety of presser feet is more valuable than having a variety of stitches. While most things can be done with a standard zig-zag foot, a zipper foot makes sewing in zippers a lot easier. A rolled hem foot makes it easier to sew tiny narrow hems. Button hole and button feet round out the basic feet that make sewing garments easier and with more professional looking results. Those are many other presser feet available, and, while usually not required, they each make their specific task easier.
Most new sewing machines use a universal snap-on presser foot system, so it’s not hard to add more presser feet to your collection. Older machines use a thumb screw to attach the feet, but you can usually screw on a snap on adapter and use snap on feet on them, too. This page gives a good rundown on how to know if a presser foot works for your machine.
Vintage foot. I think it is a knit foot.
Construction
For a long-lasting machine, the less plastic the better. I prefer vintage machines for this reason. A good metal vintage machine will last forever if maintained properly, whereas machines with internal plastic gears and other mechanisms is more likely to break. If you buy a new machine, it’s more likely to have a lot of plastic components, but you can still look for quality. Check out the display model, if possible. Is there anything already broken just while on display? While the break may have just been a previous too-rough customer, it’s also likely a weak point. Do the knobs, levers and buttons operate smoothly and feel solid? How heavy is the machine? I personally would lean toward a heavier machine.
Used or vintage sewing machine
It’s not hard to find used sewing machines at thrift stores, garage sales or on sites like craigslist in the $20-$75 range. If shopping for a used machine, see if you can test it before buying. If not, gently turn the hand wheel to see if it moves smoothly. They usually turn towards the front. Don’t force it if it feels stiff or resistant. If it turns, are there any weird sounds like something hitting or rubbing that shouldn’t. Are the plug and visible wiring in good shape? Does it pass the construction tests previously mentioned?
With a used machine, you may not have the manual or attachments for the machine. Most manuals can be found online, but if you can, do a quick search for it before buying it. Things like presser feet and bobbins are easy to replace, unless it is a really old machine. Even then, there are still parts out there on ebay and similar sites, but try to check first.
It’s a good idea to get a used machine tuned up at a repair shop, especially if you’re not familiar with sewing machine maintenance. On average, a tune up runs $75-$100. If it turns out further repair is needed, then that will add to the cost. Depending on the purchase price and the solidness of the machine, though, even with the tune up cost, you may spend about the same as a lower end new model, but the machine will last a lot longer.
A word about Singer sewing machines
I personally haven’t owned a Singer. All of mine are either Signatures (Montgomery Ward brand), a Kenmore (Sears brand) or my new Brother embroidery machine. They all are low shank machines, so the feet are interchangeable, and, except for the Brother, the bobbins are the same. Older Singers have either a Singer-exclusive slant shank or, if I’m not mistaken, a high shank, which has deterred me from owning one. The older Singers are good, solid machines, though, so if you aren’t worried about being able to use the same feet on another machine, they are a good choice.
Newer Singers are another matter. I’ve had friends purchase a brand new Singer that had it break just after the warranty ran out. The cost of repair made it better to replace the machine. Looking online, the general consensus is that Singers aren’t made to last anymore. For low-cost, entry-level machines, Brother tends to have a better reputation. Again, I haven’t owned a Singer, but, from what I’ve heard, I would stick with vintage models and avoid the new ones.
Questions?
These are just a few basic guidelines. If you have any other questions relating to sewing machines, ask in the comments and I will answer them as best as I can. If you have your own guidelines to add, feel free to comment those as well.
Like this post? To make sure you never miss a future post, please sign up for my newsletter.
This post contains affiliate links. If you click through any of the Amazon links and make a purchase, I will receive a small commission. There is no added cost to you.
I, Charity Sloan, am a participant in the Amazon Services LLC Associates Program, an affiliate advertising program designed to provide a means for sites to earn advertising fees by advertising and linking to Amazon.com. Any purchases through those links will result in my receiving a small percentage in commission.
This only refers to Amazon links found in/on my blog pages. All products in my shop are 100% mine and not linked to Amazon.
Prices are the same whether you click an affiliate link or a non-affiliate link, so you will not be charged more. Thank you for your support!