I’ve been working my way through my clothing stash and thought I’d share a couple of refashion projects. For the first, I took the leg of an old pair of denim jeans and upcycled it into an apron. Here’s a quick video of that project.
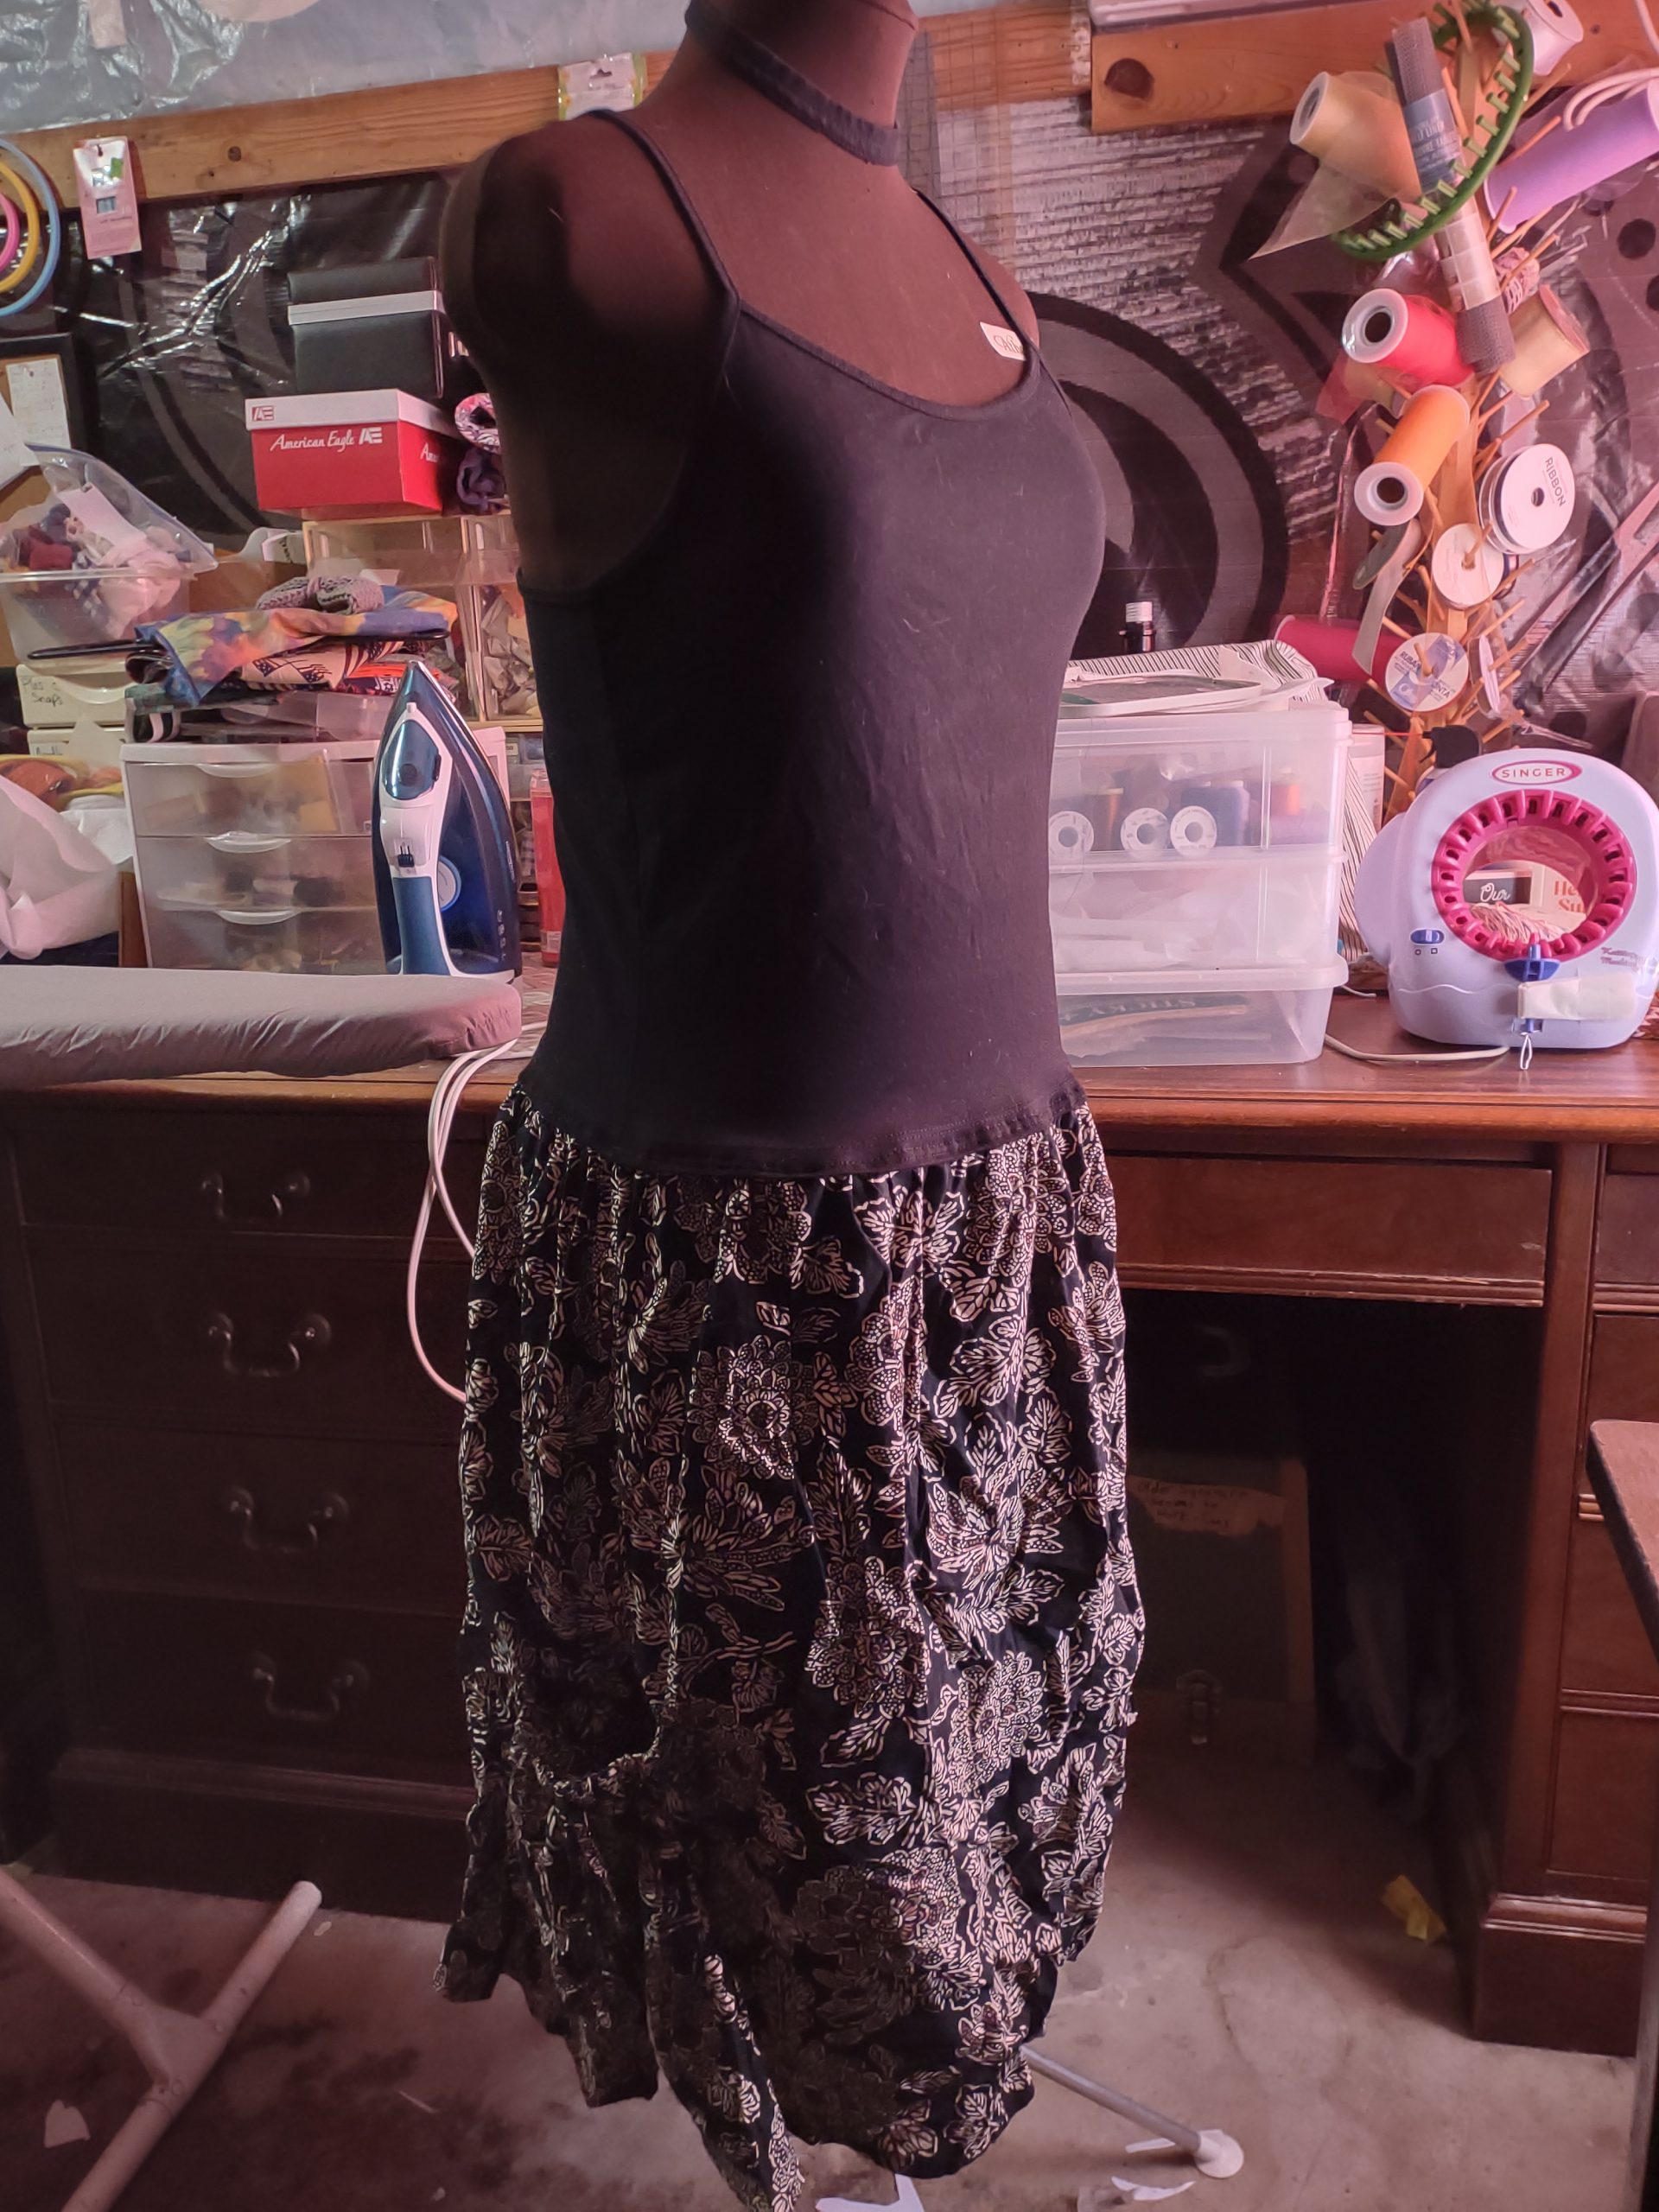
For the second, I refashioned a sundress. I didn’t take a before photo of the sundress, unfortunately. A strap on it had broken and the top was shaped for boobs, which I don’t have, lol. I really liked the dress, though, because it’s a lightweight, breathable cotton and it has big pockets. So, I took a Wild Fable cami that I didn’t like because the hem would ride up and attached the bottom of the sundress to it.
Now I have another super-comfy dress to wear in this insane heat. I am so ready for fall.
Like this post? To make sure you never miss a future post, please sign up for my newsletter.
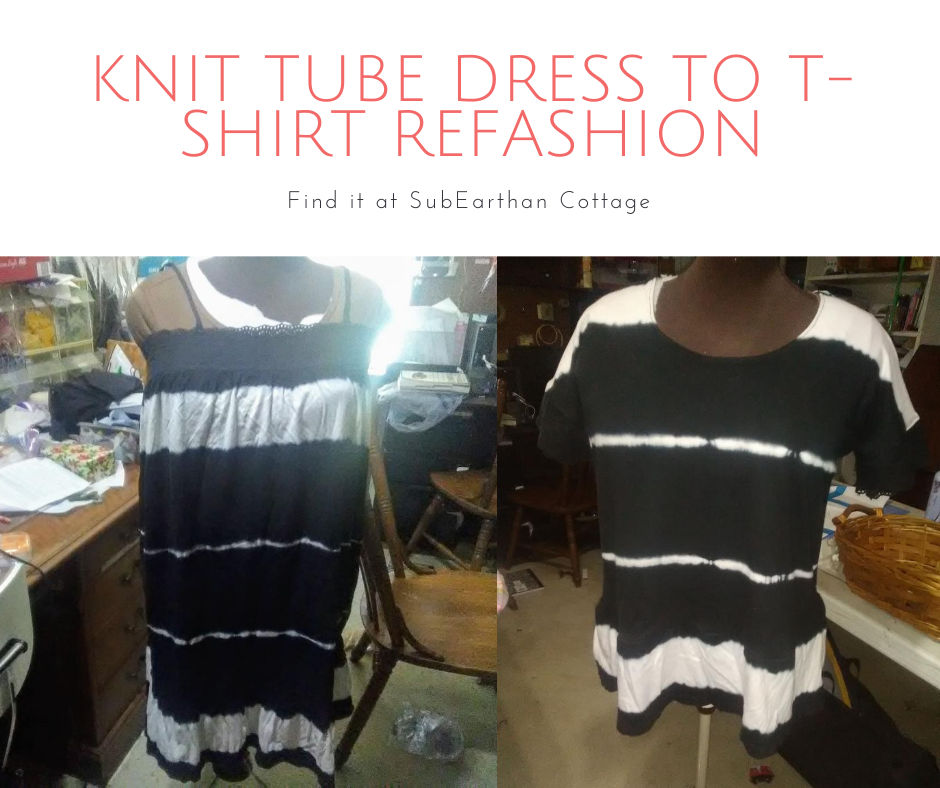
I’ve had two striped knit dresses in my refashion pile for about six months now. One black and white and one navy blue and white. The knit is soft, and I like the tie dye stripe, but the shape is basically a tube with a ruffle on the bottom. They are so unflattering, I don’t even want to wear them around the house. There’s a good amount of fabric in them, though, so I decided to try turn one of the knit tube dresses into a t-shirt.
Here’s the original shapeless dress. Excuse the background, please.
Knit tube dress to T-Shirt Refashion T shirt Process
I wasn’t sure what I would do at first, but I knew whatever it was wouldn’t need the straps, so I cut them off. I briefly considered leaving it close to as-is at that point and turning it into a skirt. It still wouldn’t have been very flattering, and I really don’t need any more casual skirts, so I moved on to other ideas.
T-shirts are always something I need, so that was my next direction. I didn’t take any process photos, so I’ll do my best to describe it. Refashioning always requires a little improvising based on what you have to work with, so consider this more as a guide than a complete how-to.
Turn the dress into fabric
I find it’s easiest to see what I have to work with when I’m looking at deconstructed pieces of fabric. Unless I think I’m going to use an element intact, I cut or rip out all seams and remove elements like buttons so that I can see how much fabric I have to use.
For this project, I cut off the black cotton eyelet band at the top and cut off the ruffle from the bottom before cutting off the side seams. I left the ruffle intact by cutting just above the seam that connected it to the dress because I thought it might come in handy. I chose to cut, rather than rip the seams, because the seams were narrow, so I wasn’t losing much fabric.
The Base Pattern
I thought about using a t-shirt as a pattern, but that doesn’t always work out as well. In my pattern files, I have a copy of the breezy tee from it’s always autumn, so I used that. I didn’t have enough fabric to make it exactly like the pattern, but it was a good starting point.
Laying it out
I squared up the main pieces of fabric and cut out the pattern. The fabric was too short for the pattern’s length, so I just focused on fitting in the top portion. I had to shorten the sleeves slightly because there wasn’t enough width.
Constructing the T-shirt
I serged (overlocked) the neckline folded it over and hemmed. I will probably regret not doing a banded neckline, because I’ve had hemmed necklines get wonky with wear. I can change it later if needed, though.
I serged the shoulder seams and then started thinking about the sleeves. The original pattern has pieces to create wide bands on the sleeves. I didn’t have enough scraps from the sides to create those bands. Instead, I decided to use the eyelet from the top of the dress. Honestly, I really wanted to use some of the ruffle to make flutter sleeves, but I figured that would be needed to add length.
I’m still not sure about this. I may remove it after wearing it a few times.
After attaching the eyelet, I serged the underarm and side seams, then straight stitched just inside the serged seam to reinforce.
The shirt was more of a crop top at that point, so I attached the ruffle to the bottom by serging and then straight stitching like I did on the side seams. Here’s the final result.
Finished, other than steaming the ruffle.
I like it, other than the eyelet on the sleeves. I’m not sure about that. It’s not tight, but it makes the sleeves snug. I’ll probably wear it a few times and decide if I just want to take it off altogether. Overall, though, it’s a cute t-shirt and definitely something more wearable than the original.
Like this post? To make sure you never miss a future post, please sign up for my newsletter.
If you search for refashioning ideas online, you’ll find tons of amazing examples of outdated styles being turned into trendy pieces that bear little resemblance to the original. (https://refashionista.net/ is one of my favorite refashion blogs to browse for inspiration.) It’s easy to get overwhelmed with ideas, especially if you’re new to sewing. The main goal of refashioning is to take a piece that is unflattering or unwearable and turning it into something that will be worn again. Sometimes a few simple tweaks are all that is needed to accomplish that goal.
The Dress
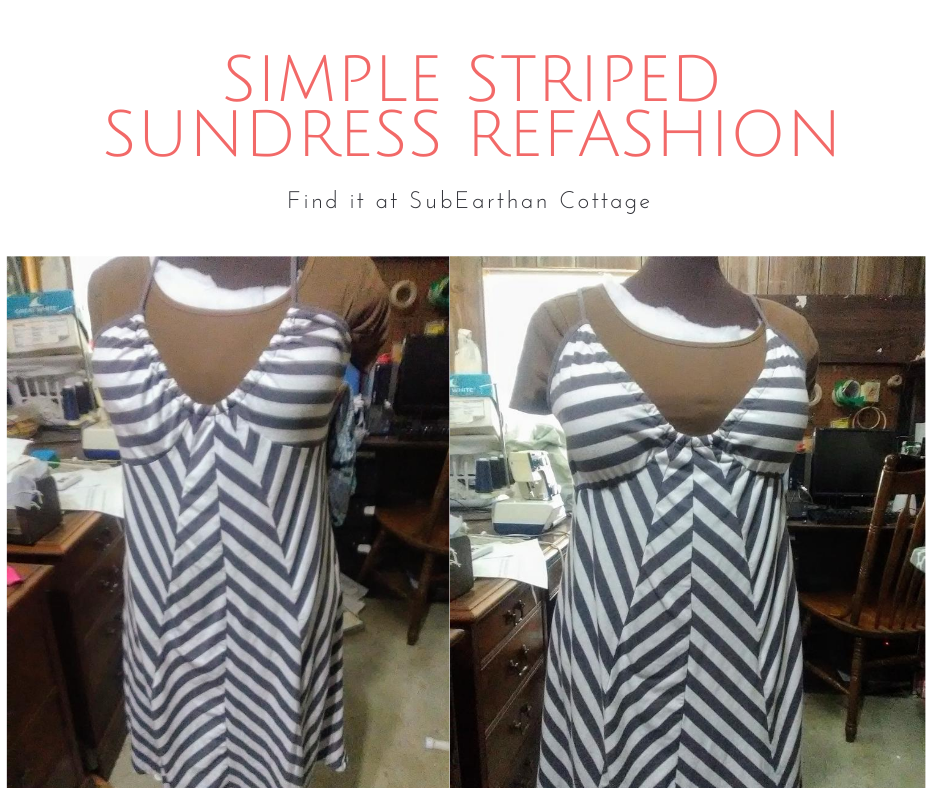
Before
This sundress is a perfect example. In it’s original form, it was breezy and comfortable for summer, except that it required a strapless bra to be flattering. Strapless bras tend to be uncomfortable in general. When it’s August in Texas hot, they’re almost unbearable. Having to wear one took away from the comfort of this dress, leaving it regulated to the back of my closet most of the time.
The refashion Fix
In order to fix the problem, I needed to add coverage and a little support to keep the cups in place.
First, I sewed elastic into the seams under the bust. I sewed it onto the seam allowance to keep my stitches invisible from the outside.
I cut the elastic a little shorter than the length of the seam and stretched it to gather it slightly. When worn, it doesn’t look gathered, but it keeps the cups in place.
For coverage, I took the cup inserts from a soft seamless bra and hand stitched them in place. I never use them in the bras, so I have several sets sitting around. By hand stitching, I was able to keep my stitches from showing on the right side of the fabric. Rather than sew all around the cups, I strategically tacked them to keep them secure but invisible from the front.
The result
After
Those two simple tweaks only took about twenty minutes. The final result is a smoother, more flattering fit that doesn’t sacrifice comfort.
What simple refashions have you done that made a huge impact on wear-ability? I’d love to hear about them in the comments.
Like this post? To make sure you never miss a future post, please sign up for my newsletter.
I finally got around to refashioning the green knit dress that I found at Goodwill over a year ago.
Green knit dress
What I did to the dress
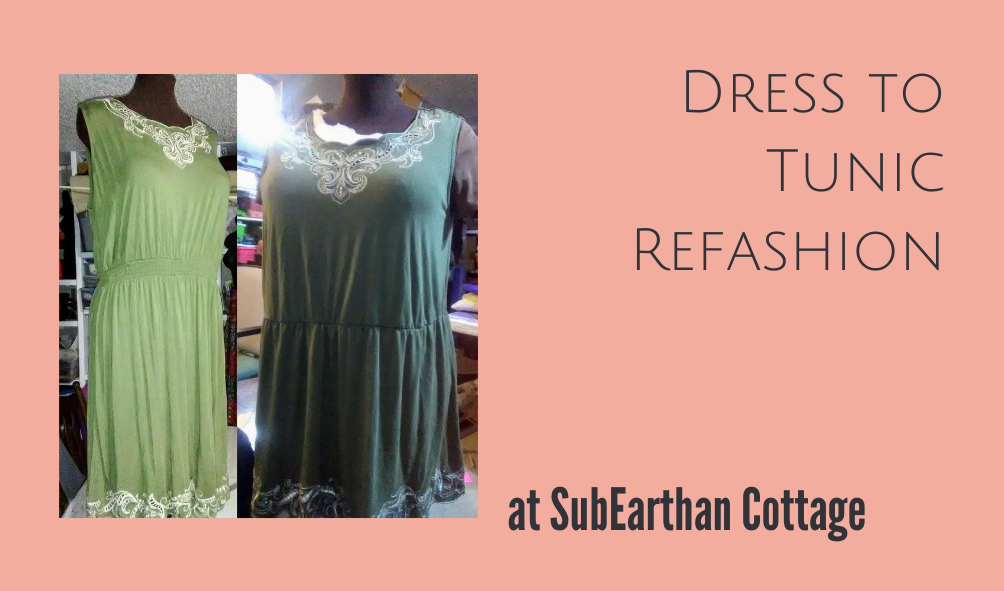
I decided to shorten it to mid-thigh and take in the top for a better fit. In order to keep the pretty stitching at the bottom, I took the excess length from the middle.
I took the top in a little at the sides, but not enough to make it too fitted. It’s hot, so loose and breezy isn’t a bad thing.
To join the two parts, I added elastic to the waist of the skirt and then reattached it to the top.
Refashioned green knit dress.
End result
Here’s the result. In retrospect, I wish I had made the elastic fit a bit tighter. Right now, it just hangs fairly straight. I may go back and redo that some other time.
As it is, it’s comfortable to wear over leggings, so perfect for hanging out at home with the kiddos.
A note for homeschoolers
I’ve been cleaning the office and getting our homeschooling supplies ready for our official start to the school year. If you’re new to homeschooling, or just looking for new ideas, I’ll post photos of our setup, as well as other homeschooling tips next week.
Like this post? To make sure you never miss a future post, please sign up for my newsletter.
This weekend, we visited a local Goodwill store. Unlike the other Goodwill’s in our area, this one has everything in big bins and they charge a flat, by-the-pound fee. Thrift stores always have unique items, but this one seems to have some really good finds, if you’re willing to dig.
In addition to a few household odds and ends, I found a couple of dresses and a shirt that need a little bit of refashioning, and a pair of skinny boyfriend cut jeans that are like new and fit perfectly. I also found a pretty floral vintage bed sheet. Vintage linens are somewhat in demand among crafters, and I rarely have luck finding them, so it was a nice surprise.
Vintage Pink and Purple Floral Bed Sheet
Green Dress
The first dress is a casual, green knit dress with interesting cutwork and stitching at the neckline and hem.
Green knit dress
Pros: It’s comfortable, easy to wear and chase after kiddos, and I like the color and detailing. Cons: It’s a size or two too big. This makes the underarms gappy and the waistline droopy. It’s too short to be a maxi dress, but not short enough to not be frumpy. I could wear it as is around the house, but I think I can make it into something better.
My plan: Separate it at the waist into the bodice and skirt. Tighten the bodice at the side seams. Reattach the skirt to the bodice after removing a few inches from the top of the skirt to make it somewhere between tunic and knee length. Add new, tighter elastic at the waist.
Long, Floral Shirtdress
The pretty blue and floral pattern is what caught my attention with this dress.
Blue, long floral shirtdress
Pros: The print is very pretty, and there is a lot of fabric to work with. Cons: The fabric is a stiff, non-breathing 100% polyester. It’s a size too small through the middle.
My plan: I have a few ideas for this one. The top (bodice) fits pretty well. The only fit issue is right through the middle. I could separate the bodice from the skirt, raise the skirt so that a wider section that fits me better is at the waist and reattach. Factoring in the button placket might make it tricky, but not that difficult.
I’m not sure I would wear it enough to go through that trouble, though. Option two is to use the skirt portion to make a slip-style nightgown by shaping a neckline and cutouts for armholes, then adding bias tape trim and snaps. I would probably use it more this way, but I still worry about the feel of the fabric. I usually avoid things without at least some natural fiber content. Texas is hot and I need my clothes to breathe.
My final idea is to salvage the buttons and use the fabric for things like bag linings, makeup pouches or other accessories. I will probably try one of my first two ideas before this one. I can always use option three if one or two don’t work out.
Pink Tunic Shirt
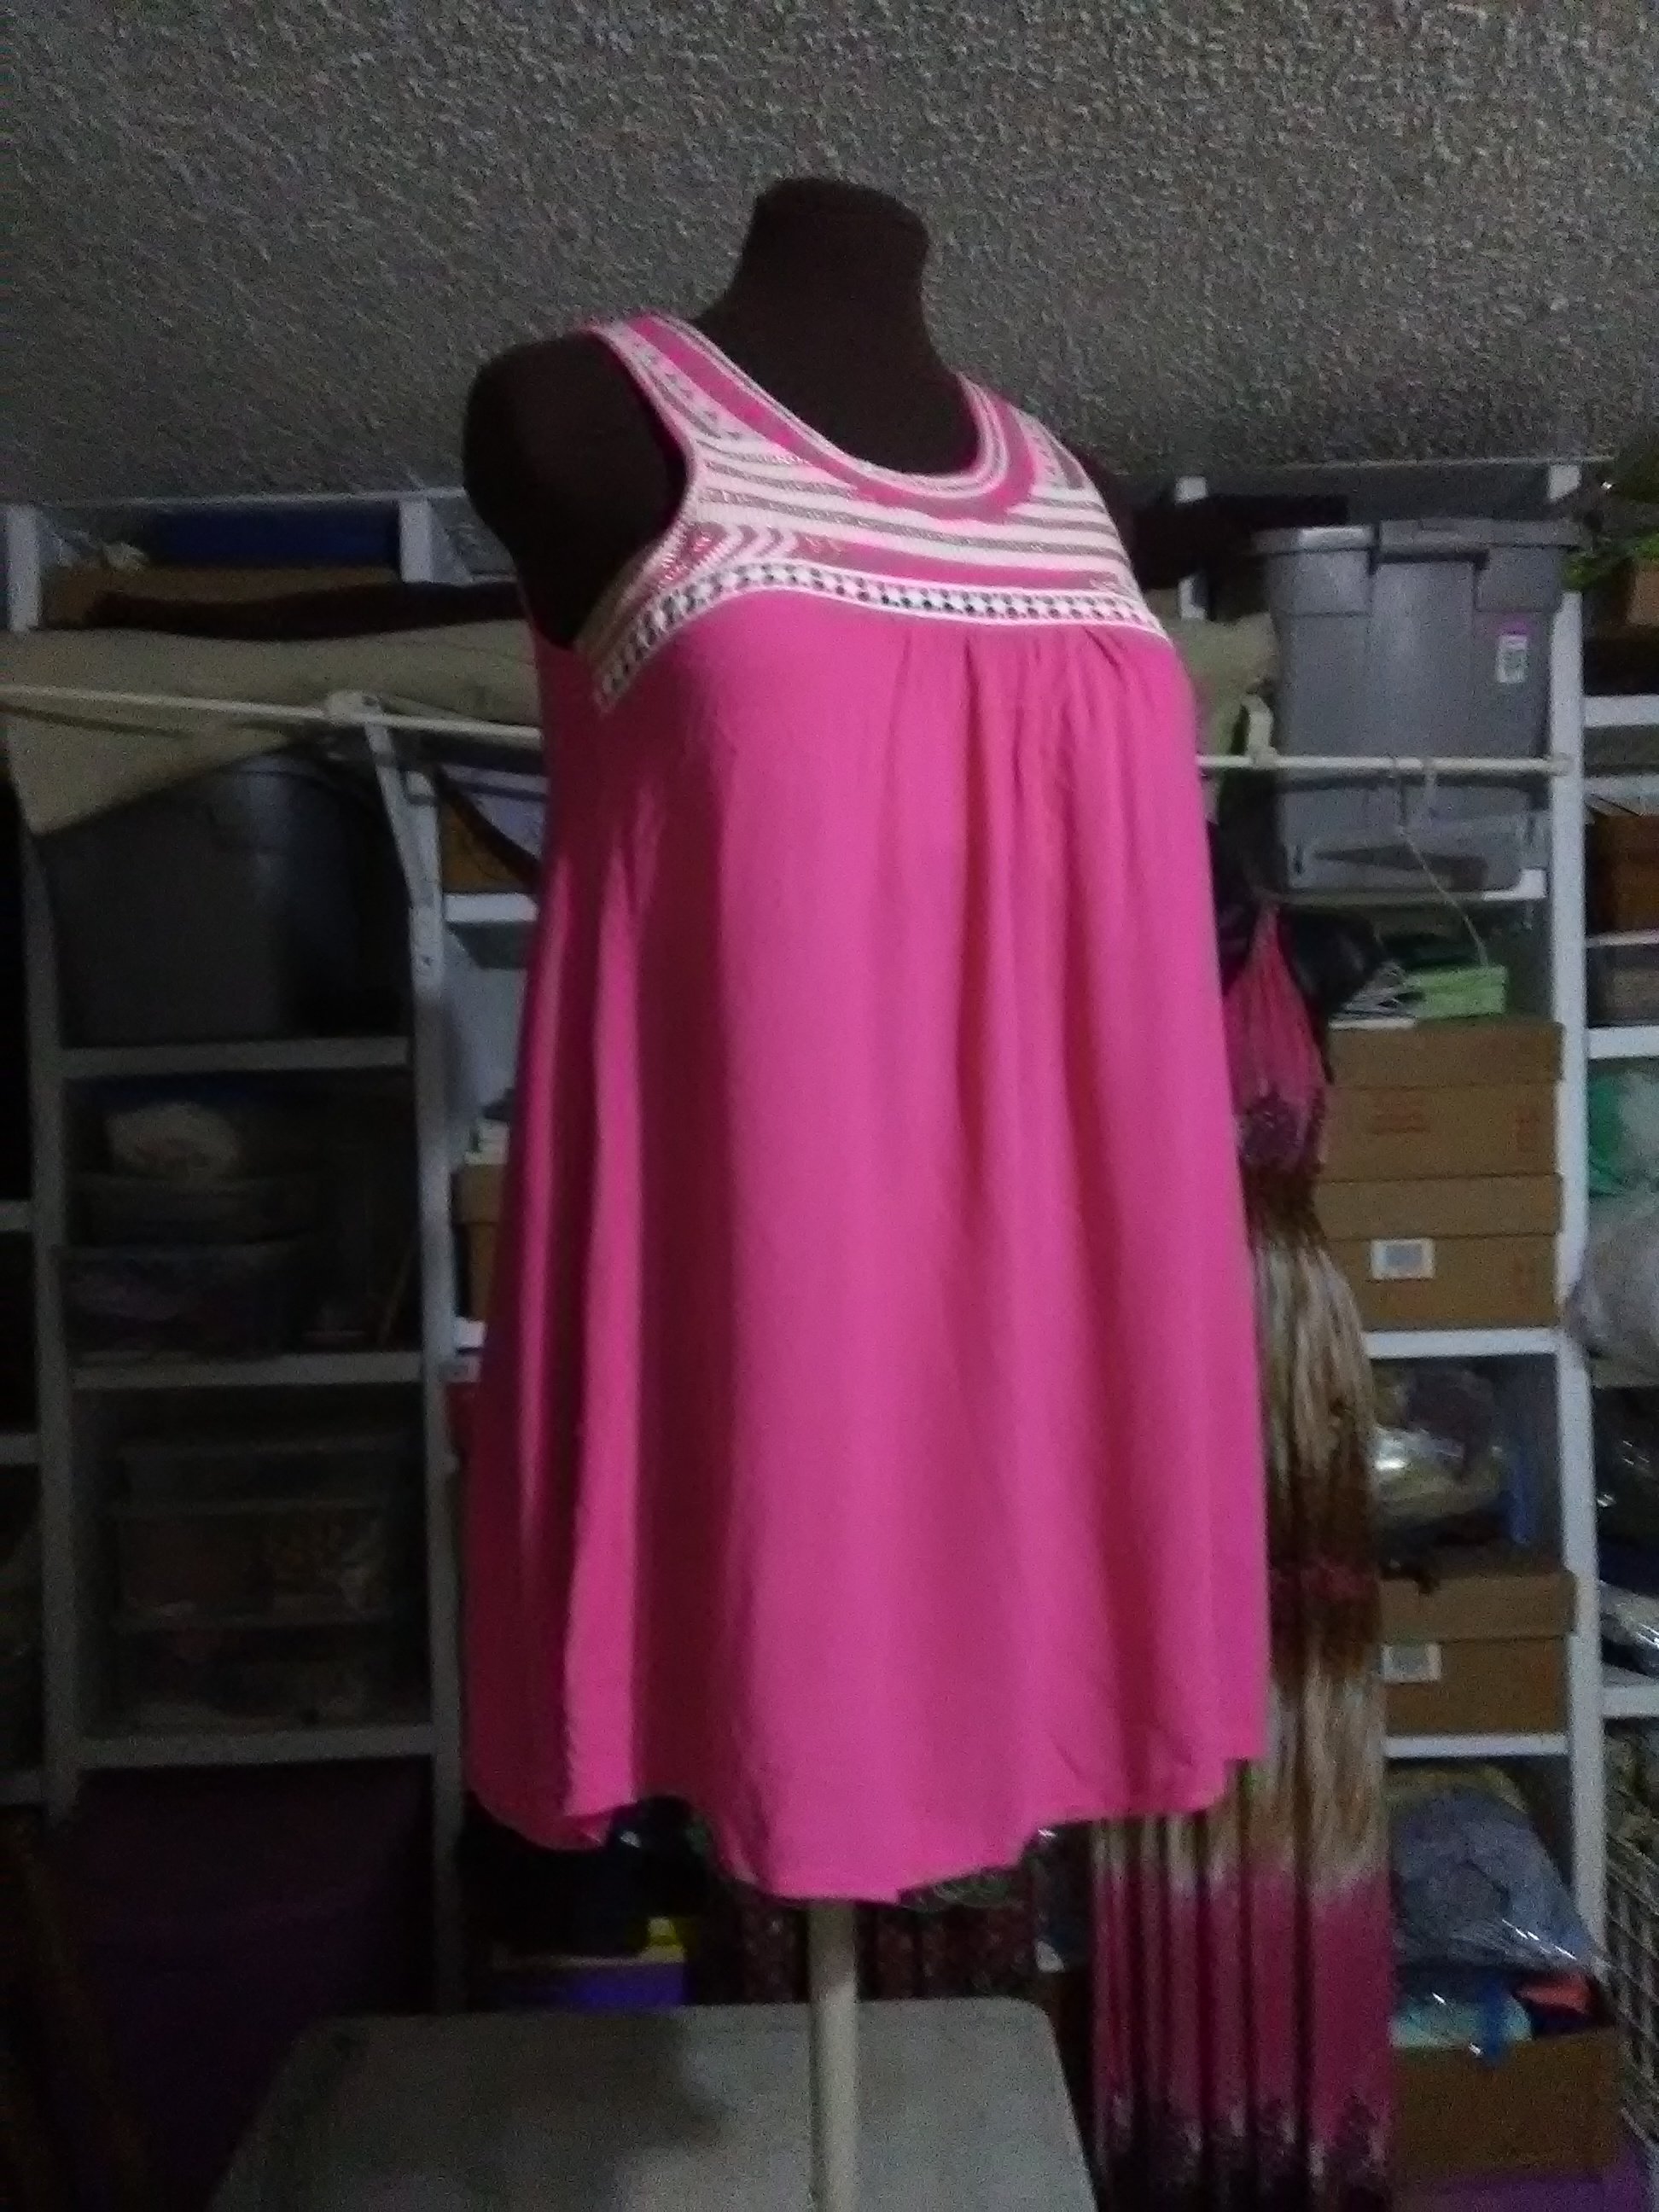
I think the flowiness of the outer layer and the stitching around the neckline is what made me grab this tunic shirt from the bin.
Flowy Pink Tunic Shirt
Pros: Flowy, comfortable fit. Detailing at the neckline keeps it from being too plain. Nice, bright color. Cons: The top layer seems to have shrunk, exposing the lining layer. The lining is 100% polyester knit, which is stretchy and comfortable, but doesn’t breathe.
My plan: This one was so simple, I actually did it in about five minutes this morning. I thought about shortening the lining by a few inches. The top, gauzy layer didn’t really have to have a lining, though, so I decided to remove the lining altogether by simply cutting it out. This made it super easy, and now the tunic is lighter and more suitable to Texas summers.
Pink tunic after removing the lining.
It’s not the most dramatic refashion, but it fixed a problem and made it so much more comfortable to wear. I wore it Sunday over my new-to-me Goodwill blue jeans to The Modern art museum and then to Central Market with the family for a treat and playtime on their playground. Without the lining, the tunic was lightweight, and the drapiness of the fabric kept it from feeling frumpy. I totally see it becoming one of my new favorites.
Speaking of The Modern, if you’re on Instagram, I’ve shared a video to @subearthancottage of Thadd and Beckett having fun with the crazy acoustics inside the Vortex sculpture out front. It was so much fun to watch them play, as well as just about anyone walking by. Few people passed without stepping inside to stomp their feet or shout.
I, Charity Sloan, am a participant in the Amazon Services LLC Associates Program, an affiliate advertising program designed to provide a means for sites to earn advertising fees by advertising and linking to Amazon.com. Any purchases through those links will result in my receiving a small percentage in commission.
This only refers to Amazon links found in/on my blog pages. All products in my shop are 100% mine and not linked to Amazon.
Prices are the same whether you click an affiliate link or a non-affiliate link, so you will not be charged more. Thank you for your support!