Posted on Leave a comment

Make Your Own Aromatherapy Bath Salts Easily from Basic Ingredients

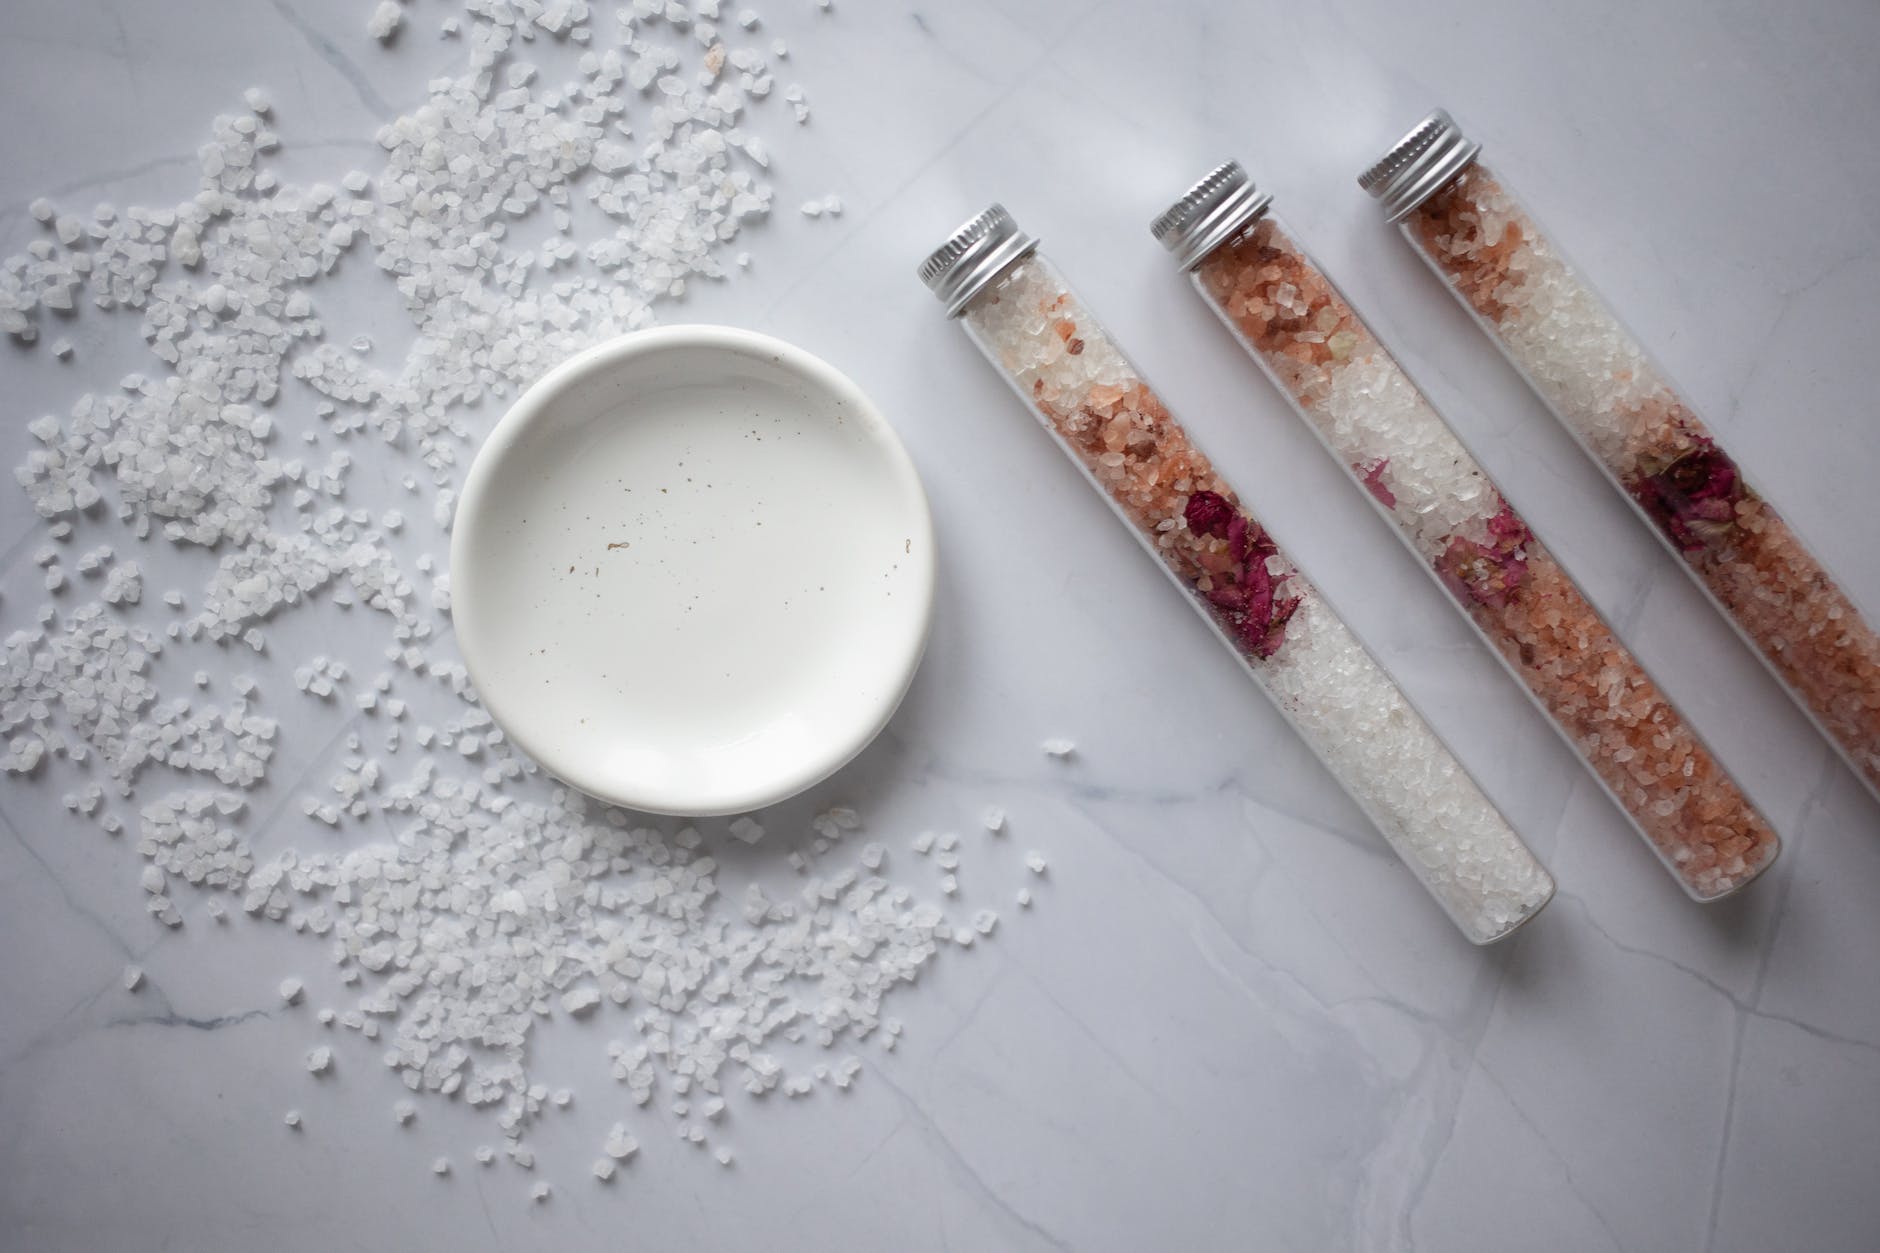
set of salt for bath placed on marble table


Creating your own aromatherapy bath salts is a terrific way to enjoy aromatherapy at home. Surprisingly, bath salts are very affordable to make and require no harsh ingredients. In fact, the main ingredients in bath salts include baking soda, table salt and epsom salt. Each of these are commonly found in a local grocery or retail store and are safe to use. The advantage to creating your own bath salts is that you can tailor the recipe to your needs and preferences. This way, you also know that the ingredients are going into your product safe for you to use.

Basic Aromatherapy Bath Salt Recipe 

First, you’ll need a large mixing bowl and spoon reserved for this type of project. Essential oils are not easily washed out, especially if you use plastic, so keep this bowl separate from your food prep bowls. The next step is to add 3 cups of epsom salt, 2 cups of baking soda and 1 cup of table salt into the mixing bowl. You can also add pink Himalayan salt or sea salt instead of table salt. Once each of the ingredients are added, begin mixing them with your hand or the spoon.

Coloring your Aromatherapy bath salts

If you’d like to color your bath salts, food coloring is a great option. If I’m coloring my bath salts, I try to match the color to the intended purpose of the bath salts. For example, if I’m making lavender bath salts for relaxation, I would choose a calming color like blue or purple.

Once mixing is complete, slowly add the food coloring to the mixture. Adding more drops will darken the color and adding fewer will make it softer. If you’re blending colors, such as blue and red to make purple, mix them before adding to the bath salts. Otherwise, you will end up with splotches of red and blue, not an even purple.

set of salt for bath placed on marble table
Photo by Monstera on Pexels.com

Adding the essential oils

The final step is to add essential oils until the desired scent is achieved. While I have made lavender bath salts by adding the lavender essential oil directly to the salt mixture, it is best to dilute the essential oils in a carrier oil. This is especially important with things like peppermint essential oil that could be very uncomfortable in a bath if not diluted properly (essential oils do not dilute in water!)

I like to use 1-2 tablespoons of carrier oil and add the essential oils until I get the scent level I’m needing. Ten drops of essential oil per cup of bath salts is a good guideline to start. I then add the diluted essential oils to the salt mixture and blend well.

Essential oil alternatives

If you’d prefer not to use essential oils, you can use skin safe fragrance oils or a bit of your favorite perfume. Just be absolutely sure anything you add is made to use on skin. I would use the same method for adding the fragrance as for essential oils.

Storing your Aromatherapy bath Salts

For the best results, store your bath salts in an airtight container. I like using glass canning jars because they are reusable, the essential oils don’t get embedded into the glass, and they are pretty. If you choose to use glass too, just be careful not to drop them in the tub.

Aromatherapy bath salts

I do offer aromatherapy bath salts in my shop, so check them out if you’d prefer not to make them yourself. 🙂

Like this post? To make sure you never miss a future post, please sign up for my newsletter.

Posted on 3 Comments

How I Patched My Denim Jeans And Added an Embroidery Embellishment

Another way to patch denim jeans

My mom gave me several pairs of worn out denim jeans for me to play with several months ago.  A few just happened to be my favorite style from Old Navy and in my size. Rather than cut them up for other projects, I decided to make them cute with patches and a little embroidery. Here’s the method I used for patching denim jeans.

Another way to patch denim jeans
First, the knees.

Patching the knees

Prepping the denim jeans

In order to sew at the knees, you have to carefully rip out the stitches along one leg seam. You don’t have to rip out the entire seam, but you need to give yourself plenty of room above and below the knee to work. One seam is usually top-stitched. To make it easier all around, do NOT rip out the top-stitched seam.

After ripping out the seam, press the denim as smooth as possible with an iron.

Prepping the fabric

To patch the denim jeans, I chose to go underneath the rips and leave the torn edges visible. For the patches, I used cotton quilting material left over from sewing masks . I cut the fabric into squares a few inches bigger than I needed to patch. In the future, I will probably interface the fabric at this time. I knew I planned to interface everything at a later step, though, so I didn’t.

I pinned the fabric to the inside of the denim jeans.

Sewing the patches

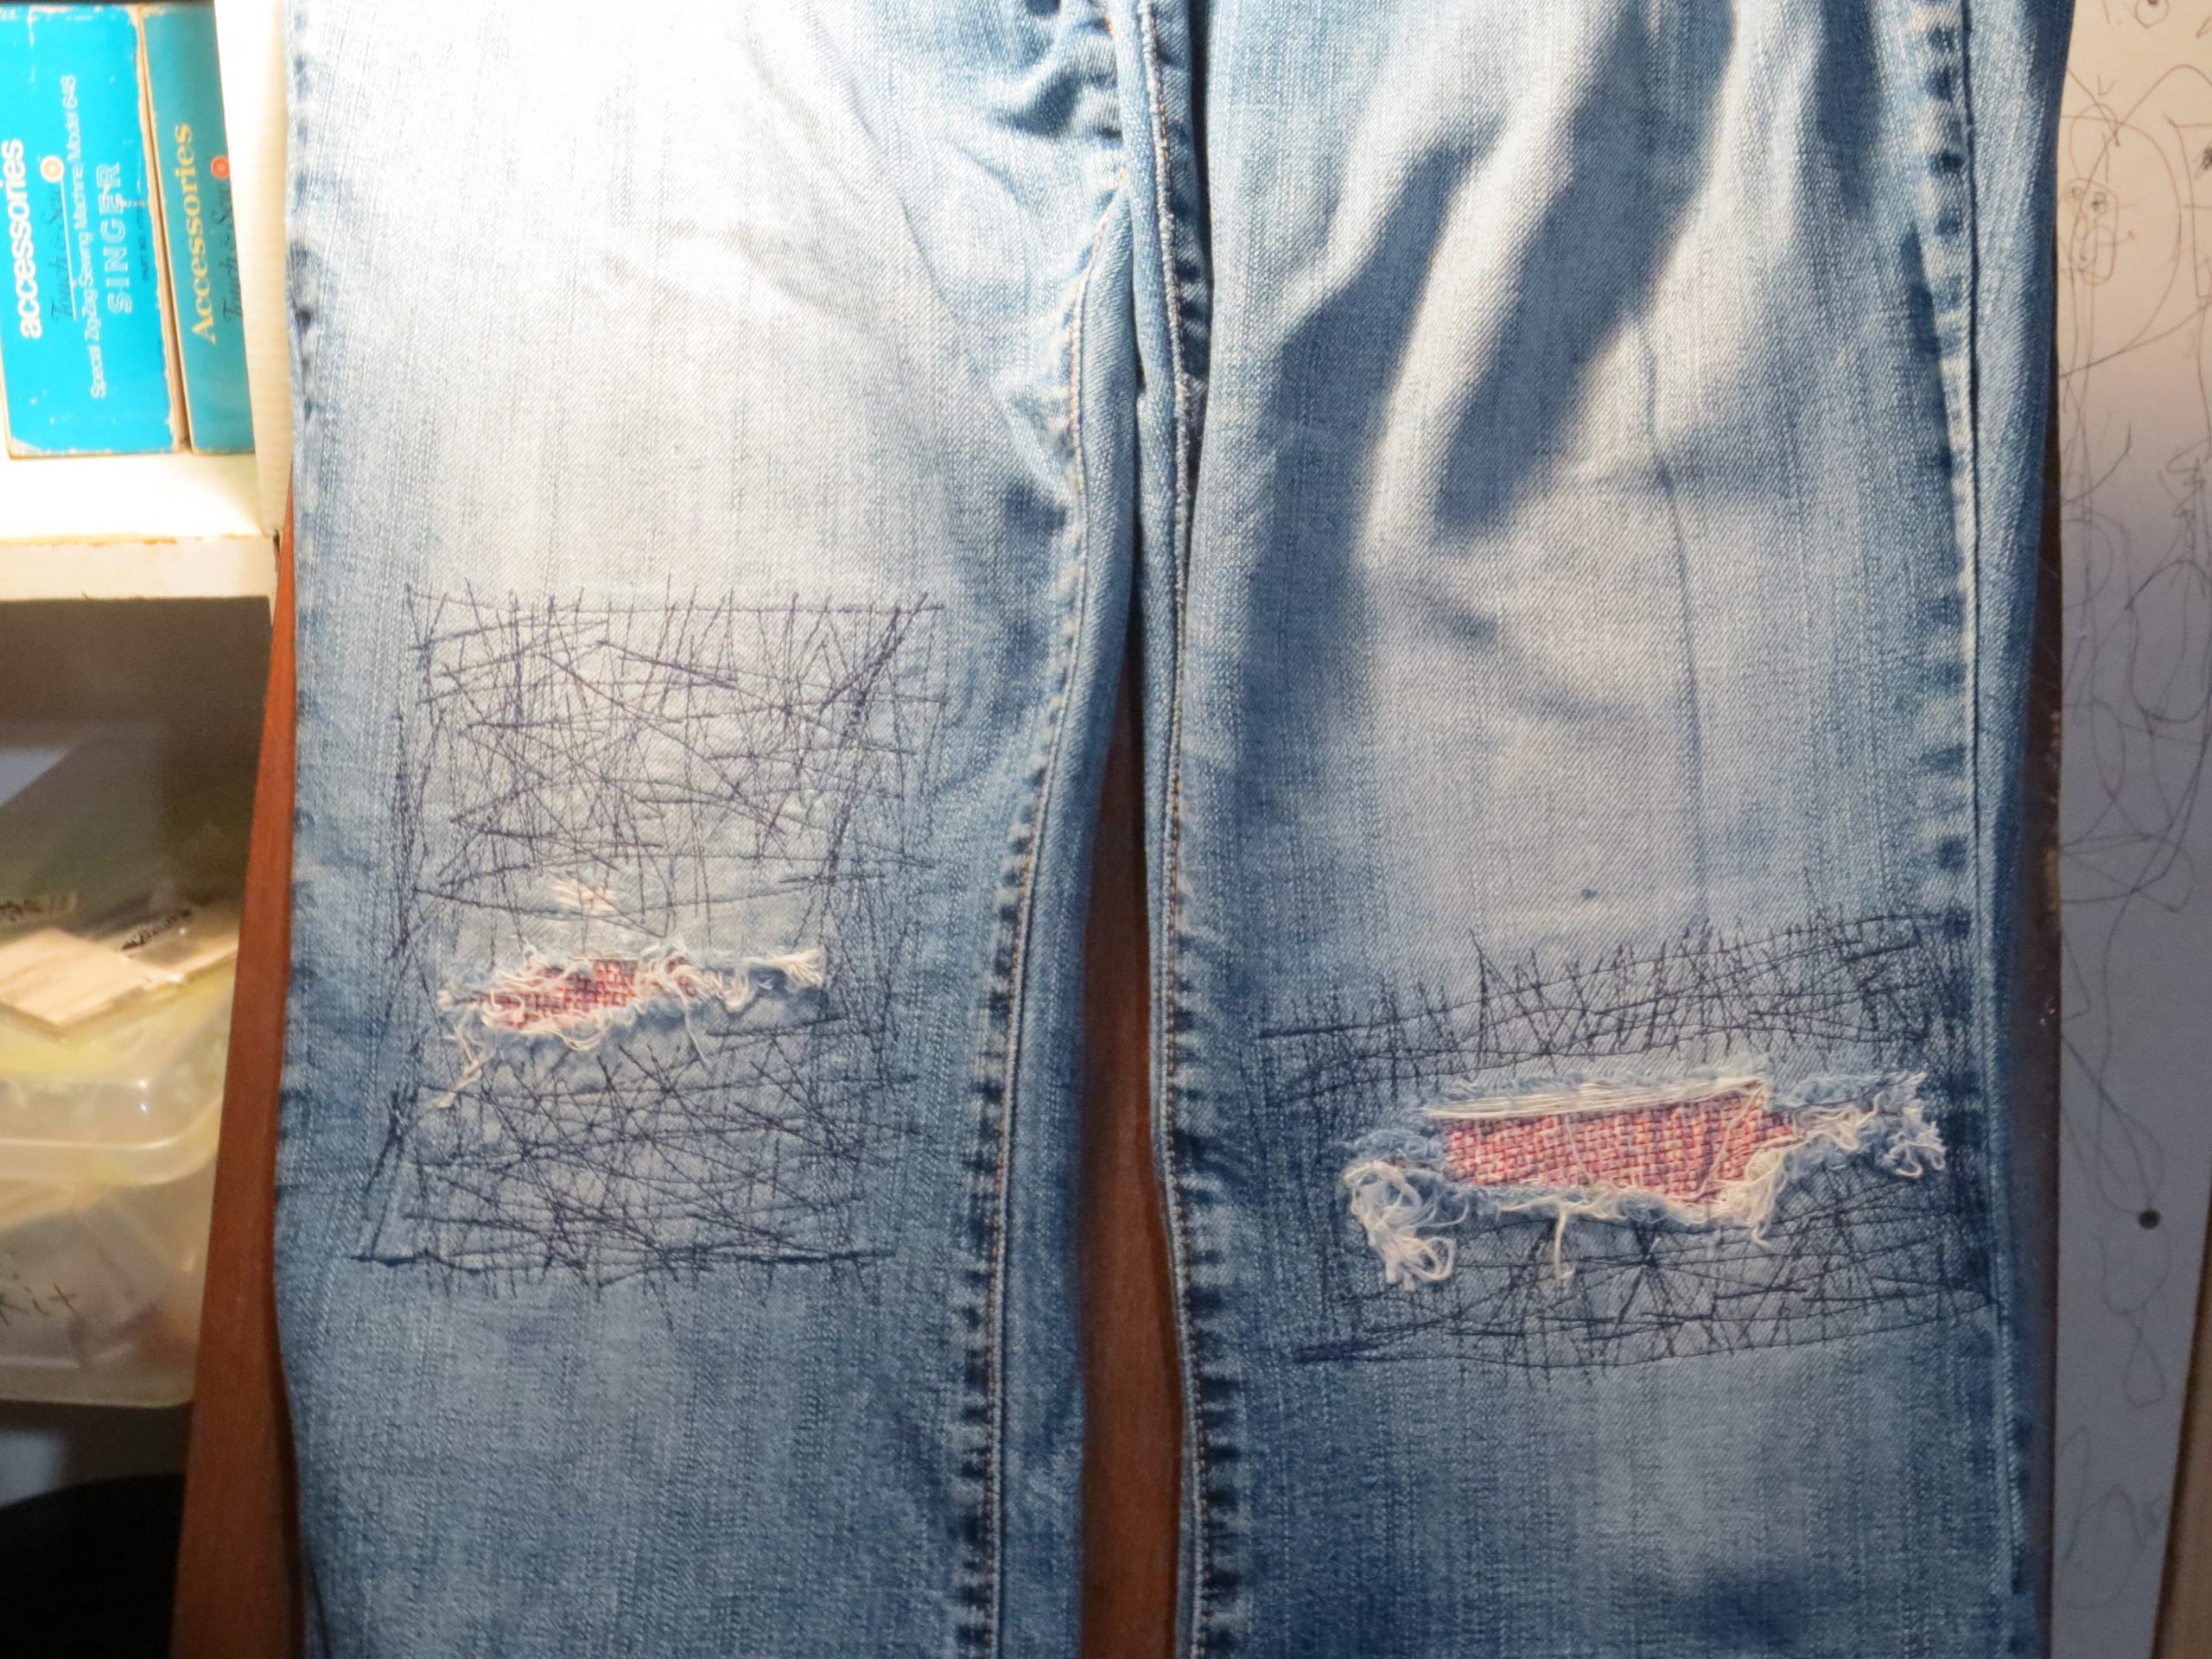
Before sewing the crazy stitches shown in the photos, I sewed a single line of stitching all around the patch about a quarter of an inch inside the edge of the quilting fabric. This kept it in place while I did the crazy reinforcing stitches. After it was secure, I stitched in all different directions between the edge of the tear and slightly overlapping the first single line of stitching.

This side was more worn out, so it got more reinforcement stitching.

When jeans rip, usually the material around the tear is worn thin as well. In the past, I often left too much of the worn area without reinforcement. This results in new rips soon after the first repair. This time I reinforced at least an inch and a half around the tears.

Reinforcing the patched denim jeans with interfacing

After I was done stitching, I ironed interfacing to the inside. I did the interfacing last to act as a soft layer between my knees and the stitching. In retrospect, I probably should have interfaced the quilting cotton first, and then interfaced again at this step if I felt it was necessary. So far my jeans are holding up with the way I did it, though.

Sew it up

With the patches done, all that’s left is resewing the side seams. I just pinned it closed and sewed it back along the original stitching line. For the overcasting to finish the raw edges, I was lazy and used the overedge stitch on my sewing machine instead of switching to my serger. Zig-zag stitching along the edge to finish it would also work.

Embroidering the pocket

To embroider the pocket, I first removed the pocket from my jeans. Since it’s too small to hoop, I hooped tear away stabilizer alone and secured the pocket to the stabilizer with a glue stick. I used my Damask Rose embroidery pattern for the embellishment.

After the embroidery machine was done working its magic, I removed the stabilizer and replaced the pocket on my jeans using a heavy denim thread in a close shade to the original thread.

Simple, right? Actually, I tried to do that, messed up the hook timing on my Kenmore sewing machine AGAIN within the first few stitches and had to move to my backup vintage Montgomery Ward Signature machine. It took a few minutes of fiddling with the settings, but once I got it set up correctly it sewed through the heavy denim layers like butter.

In all fairness to my Kenmore, I did probably deserve it this time, between the crazy reinforcement stitches and then trying to sew through multiple layers of denim with thick thread. At least this time it let me reset the hook timing without much fuss.

Have you gotten more acquainted with your sewing machine lately? I’d love to see your projects in the comments.

Like this post? To make sure you never miss a future post, please sign up for my newsletter.
Posted on Leave a comment

Quick Summer Refashion Video Inspiration

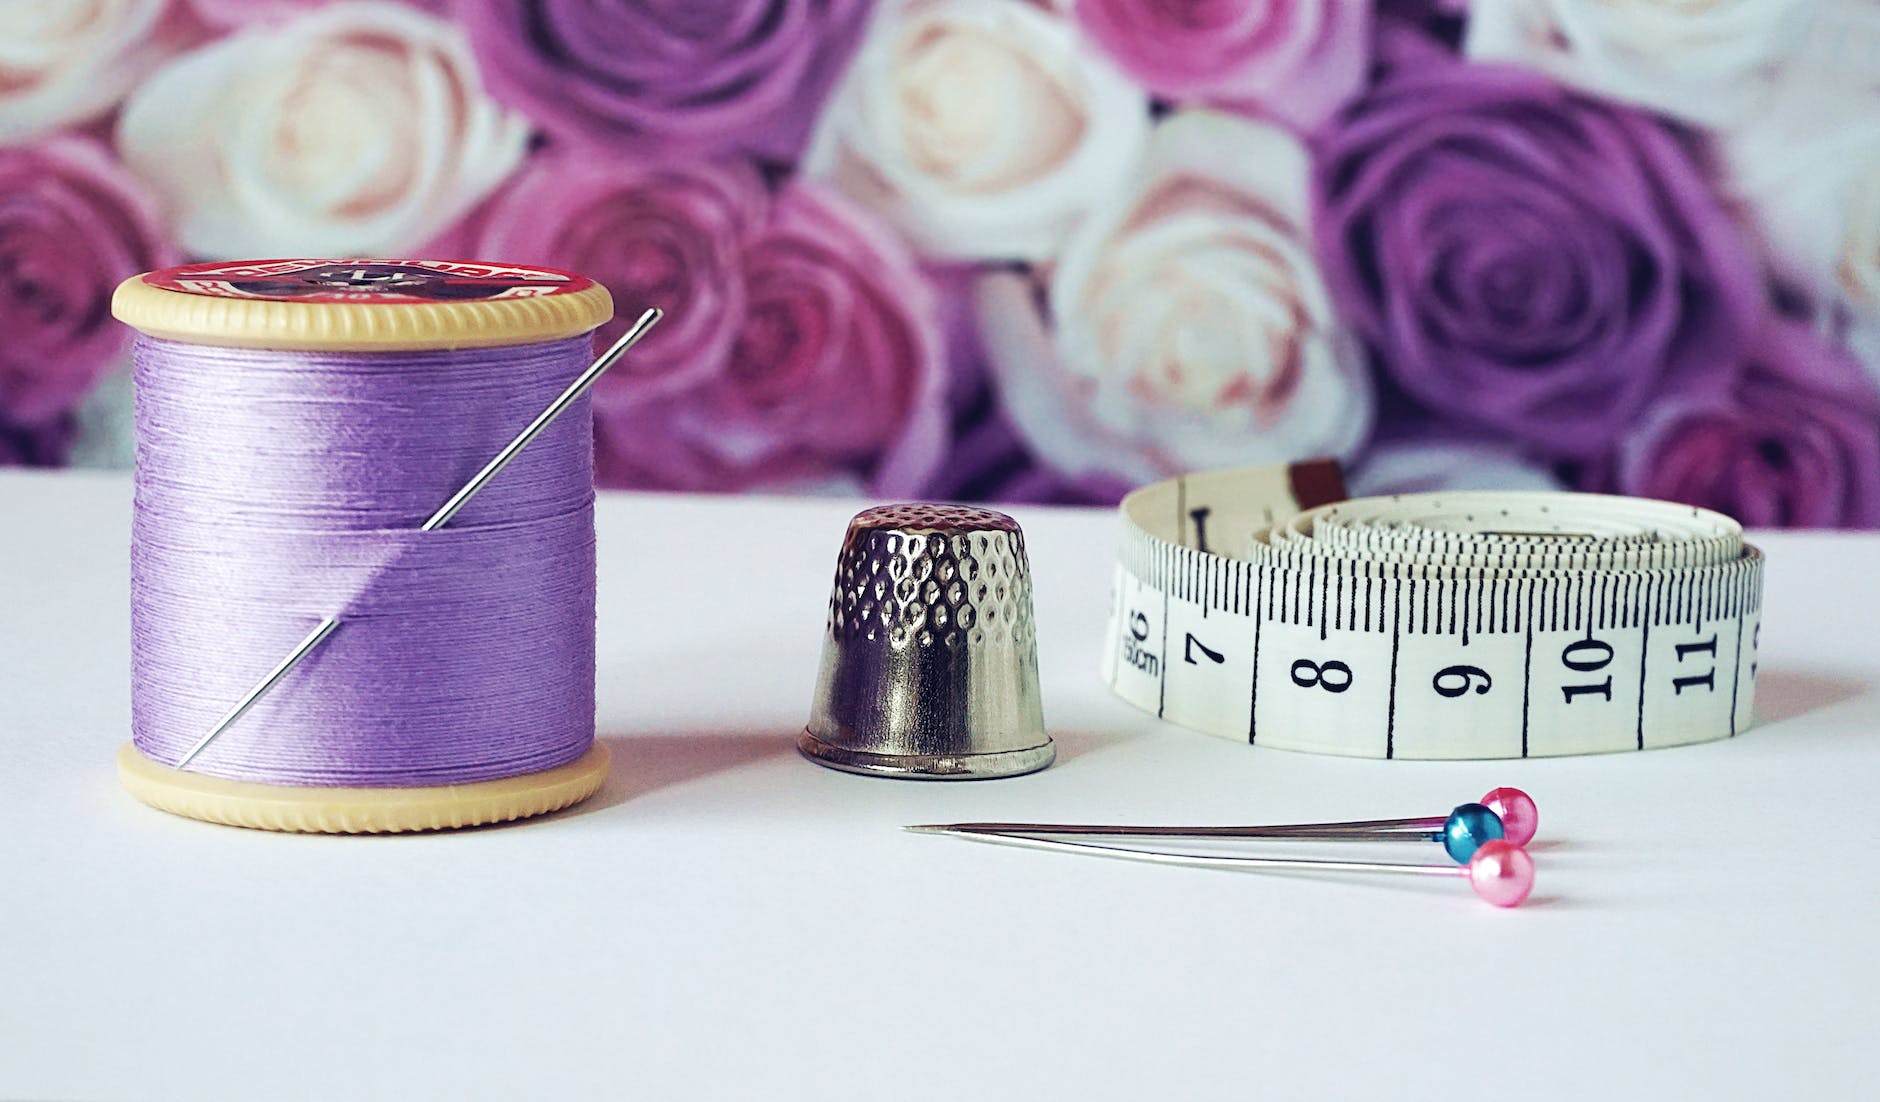
spool of purple thread near needle thimble and measuring tape

I’ve been working on some summer sewing and refashions lately. Here’s a quick video showing a few of them. The first is a backless halter top made with quilting cotton and ribbon. The second refashion is a halter tube top with a matching loose kimono/beach coverup. They were made from an old maxi dress that wasn’t getting much love. The beach coverup is my favorite. I love how it turned out, especially the print.

I hope you find these inspiring for your own projects. If you like these kinds of videos, follow me on TikTok. I also post on Instagram and YouTube. I tend to prefer the length options on TikTok, so that’s where most of my complete videos are located.

Like this post? To make sure you never miss a future post, please sign up for my newsletter.

Posted on 1 Comment

Simple Way to Patch the Back Pocket of Denim Jeans

The back pockets of denim jeans are prone to wearing out at the top corners with use. If that’s where you carry your phone or wallet, you’ll almost certainly develop holes at those stress points long before the rest of the jeans are worn out. Luckily, repairing a back pocket is a pretty simple fix.

Pocket with hole

These are my husband’s work jeans. You can see the inside corner of the right pocket has a small hole and another one is forming on the inside corner of the left pocket. These are the steps I used to repair and reinforce the pockets.

Choosing your patch material

The first thing you’ll want to do is add material to patch the hole. The material should extend past the edges of the hole, overlapping onto the good fabric by about a centimeter or so. I like to use the iron-on denim patches, but fusible webbing or strong interfacing works, too. This product is similar to the one I used. You can also just use a scrap of fabric a bit larger than the hole, but I prefer the added strength of an iron-on product. An iron-on product is also easier in that it won’t shift while you sew it in.

Iron-on patch
denim iron-on patch for pocket repair
Wrong side of iron-on patch

Securing the patch to the pocket

If you’re using an iron-on product, iron it on to cover the hole from the inside according to the manufacturer’s instructions. For sewn-in patches, baste in patch to keep it from shifting.

Ironed on patches
Patches ironed in place on the inside of the jeans.

Reinforce the patch

Regardless of whether you chose an iron-on or sew-in patch, you need to reinforce the patch by sewing a strong row of stitches around the edges. For a less visible patch, I like to sew a square of stitching around the hole, making sure to include the corner of the pocket in the square. I sew over the square a few times to reinforce. Choosing a thread that matches the denim or is slightly darker makes the patch less noticeable.

Reinforcement stitching from the inside.

For the actual hole, I like to sew back and forth over the hole in a matching thread. This secures the area to the patch, hides the frayed edges and prevents further ripping.

For a more visible patch, you can get creative with the patch material and choose a contrasting thread. You can also crazy stitch over the area, similar to what I did here.

Preventing the problem

Whenever I patch one pocket rip, I take the time to reinforce all the corners with iron-on patches and a square of reinforced stitching. It doesn’t take much extra time, and keeps the rest of the corners from needing repair in the near future. You could even do this to new jeans as a preventative measure if you have this problem frequently.

Final result

Here’s the finished patches. I’m pretty satisfied with the results. The work isn’t that noticeable and matches the variations in blue on the rest of the jeans. It’s definitely better than holes that will continue to rip in a revealing location.

Like this post? To make sure you never miss a future post, please sign up for my newsletter.

Shop sales!

For the entire month of September, all of my handmade soaps are 20% off. Shop handmade soaps here.

My machine embroidery files are also on sale all month for just $1 each! Be sure to check out my latest Halloween designs. Shop embroidery designs here.

Posted on 2 Comments

Eat More Greens the Cheap and Easy Way

My local Kroger frequently has bags of kale, spinach and other greens on sale because it’s nearing its “best by” date. I love picking up a few whenever I see them. If I don’t plan to use them right away, I either toss the whole bag into the freezer (this works best with sturdy greens like kale or collard greens) or I dehydrate them for future use. 

To dehydrate the greens without a dehydrator, I set my oven to it’s lowest setting (150-200 degrees Fahrenheit) , spread the greens on a baking sheet, and bake until they are dry. I check them about every 10-15 minutes to prevent them from burning.

Once they are done, I crumble them to the consistency of a dried herb and store in a canning jar. The dried greens are great to add to sauces, soups, stews or smoothies. Add a little if you need to hide the taste or a lot to really boost the nutrients.

It’s quick, easy and doesn’t result in a gross bag of kale forgotten in the back of the fridge. Plus, it may help picky eaters get a little more nutrition.

Like this post? Sign up for our newsletter to get post notifications and updates.

Posted on 3 Comments

DIY Soft Scrub Cleaner

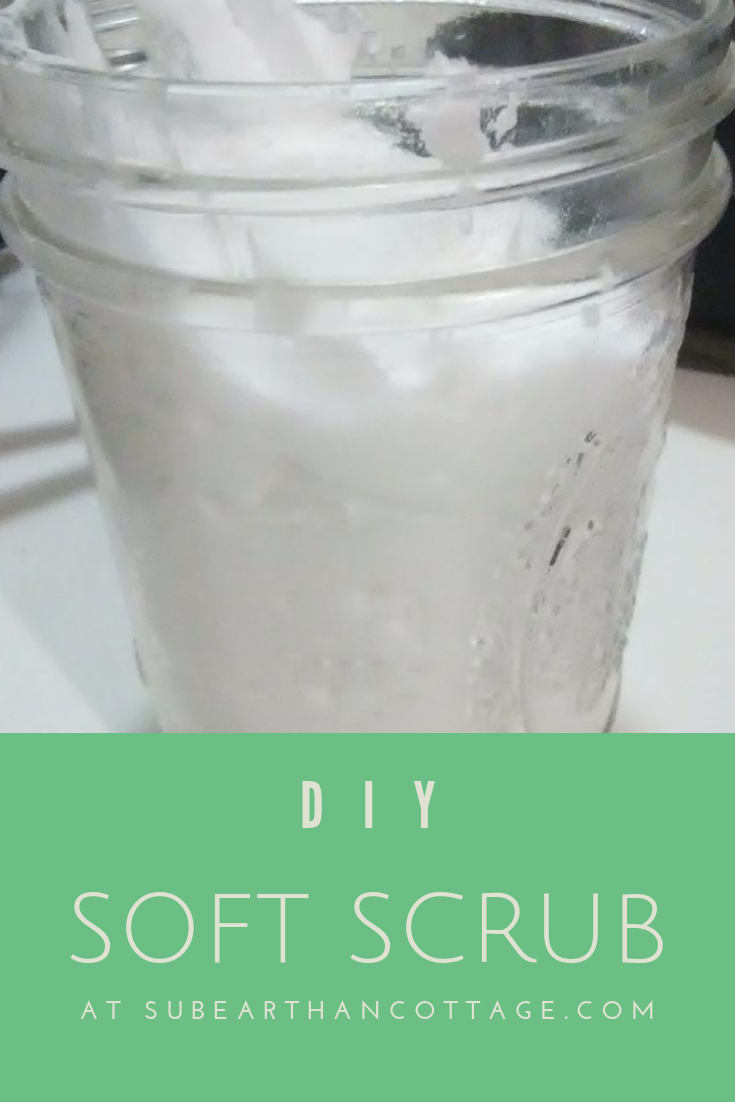
DIY Soft Scrub

I like getting my kiddos involved in housecleaning. Not just because they are highly involved in making messes, but because it is important that they know how to take care of themselves as adults. I’m pretty choosy as to what cleaning products I will let them use. So many cleaners are irritating to the skin, eyes and lungs.

Not only do I want my cleaning products to be safe, I like things that multitask and don’t cost an arm and a leg. Often, I’ve found the best way to achieve this is to make them myself, like with my natural furniture polish. With a few simple ingredients I keep around the house anyway, I find I can cover most cleaning needs.

My most recent cleaning concoction is soft scrub. It works well for when I need a little extra scrubbing power than I get with my usual all-purpose water, vinegar and dish soap mix.

Soft scrub in a jar
Soft scrub in a jar

Soft Scrub Ingredients

  • 1 cup of baking soda
  • 1/4 cup of liquid soap
  • 1 tablespoon of hydrogen peroxide
  • Optional: 2-3 drops of essential oil

Instructions

Place all the ingredients into a big bowl and mix until a uniform paste forms. To store, I like to scoop it into a wide mouth canning jar, but any lidded container will work. The mix will expand, so use a container that allows for at least double the amount to be safe.

Mixing the soft scrub

Variations

Type of Soap

Liquid castile soap will work, but for extra cleaning power I prefer a detergent soap, like Dr. Bronner’s Sal Suds or even Dawn dish soap. You could probably get away with any liquid hand soap or liquefied bar soap, but I haven’t tried those yet. The only time I haven’t liked it was when I made it with Ajax dish soap because that is what I had on hand. I think there was something in the Ajax that reacted badly with the baking soda or hydrogen peroxide. That mixture was fluffier and had an odd smell. I’m not quite sure what it was that caused it, but because of that, I recommend staying away from any dish soap that advertise extra cleaning additives. For the soap, basic is better.

Scent

I rarely add any essential oils for fragrance. Usually the soap I have is already scented, so I don’t see the need. Really, unscented is fine, too, unless you just prefer a scent to signal that something is clean. If I were to add an essential oil, though, I would probably use either peppermint, lemon or tea tree oil. If you choose to use an essential oil, please be aware of safety guidelines for using them around children, pregnant women, pets, and other sensitive individuals.

How to use

To use, I scoop out a dollop of the soft scrub and apply a layer to the area I’m cleaning. I usually let it sit for a minute or two then buff it off with a rag. If there’s a residue left, I’ll either wipe it down with a damp rag or mist it with my all purpose vinegar, dish soap and water solution and wipe it clean.

Results

I almost forgot to take a before photo. This is an embarrassing photo of tomato sauce splatter left on my stove overnight.

Before using soft scrub to clean last night's spaghetti sauce.
Before using soft scrub to clean last night’s spaghetti sauce.

This is a photo of what it looks like after using my soft scrub and minimal elbow grease.

Shiny stovetop
Shiny stovetop

I do apologize for the blurry photos. Lighting in my kitchen isn’t the greatest, and also I was in the middle of cleaning.

Posted on Leave a comment

Scrapbusting Project for Creative Block

https://youtube.com/shorts/-a4LSQ-R4sQ?feature=share

Sometimes when I’m stuck and don’t know what to make, I dig through my scraps and just start piecing them together.

Sometimes I use them for mug rugs or accents in other pieces. They would make a cool patch or add on pocket.

It usually helps get through the creative block, and it makes use of small scraps that might otherwise get thrown away.

Like this post? Sign up for our newsletter to get post notifications and updates.