My local Kroger frequently has bags of kale, spinach and other greens on sale because it’s nearing its “best by” date. I love picking up a few whenever I see them. If I don’t plan to use them right away, I either toss the whole bag into the freezer (this works best with sturdy greens like kale or collard greens) or I dehydrate them for future use.
To dehydrate the greens without a dehydrator, I set my oven to it’s lowest setting (150-200 degrees Fahrenheit) , spread the greens on a baking sheet, and bake until they are dry. I check them about every 10-15 minutes to prevent them from burning.
Once they are done, I crumble them to the consistency of a dried herb and store in a canning jar. The dried greens are great to add to sauces, soups, stews or smoothies. Add a little if you need to hide the taste or a lot to really boost the nutrients.
It’s quick, easy and doesn’t result in a gross bag of kale forgotten in the back of the fridge. Plus, it may help picky eaters get a little more nutrition.
Like this post? Sign up for our newsletter to get post notifications and updates.
I like getting my kiddos involved in housecleaning. Not just because they are highly involved in making messes, but because it is important that they know how to take care of themselves as adults. I’m pretty choosy as to what cleaning products I will let them use. So many cleaners are irritating to the skin, eyes and lungs.
Not only do I want my cleaning products to be safe, I like things that multitask and don’t cost an arm and a leg. Often, I’ve found the best way to achieve this is to make them myself, like with my natural furniture polish. With a few simple ingredients I keep around the house anyway, I find I can cover most cleaning needs.
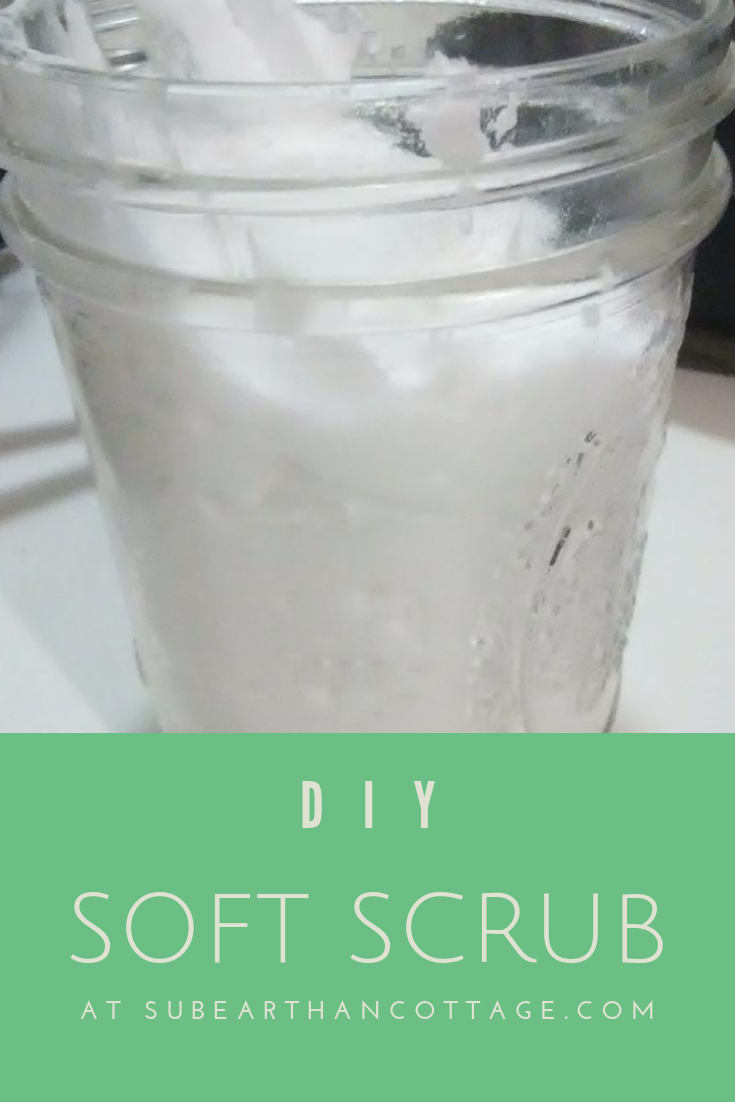
My most recent cleaning concoction is soft scrub. It works well for when I need a little extra scrubbing power than I get with my usual all-purpose water, vinegar and dish soap mix.
Soft scrub in a jar
Soft Scrub Ingredients
1 cup of baking soda
1/4 cup of liquid soap
1 tablespoon of hydrogen peroxide
Optional: 2-3 drops of essential oil
Instructions
Place all the ingredients into a big bowl and mix until a uniform paste forms. To store, I like to scoop it into a wide mouth canning jar, but any lidded container will work. The mix will expand, so use a container that allows for at least double the amount to be safe.
Mixing the soft scrub
Variations
Type of Soap
Liquid castile soap will work, but for extra cleaning power I prefer a detergent soap, like Dr. Bronner’s Sal Suds or even Dawn dish soap. You could probably get away with any liquid hand soap or liquefied bar soap, but I haven’t tried those yet. The only time I haven’t liked it was when I made it with Ajax dish soap because that is what I had on hand. I think there was something in the Ajax that reacted badly with the baking soda or hydrogen peroxide. That mixture was fluffier and had an odd smell. I’m not quite sure what it was that caused it, but because of that, I recommend staying away from any dish soap that advertise extra cleaning additives. For the soap, basic is better.
Scent
I rarely add any essential oils for fragrance. Usually the soap I have is already scented, so I don’t see the need. Really, unscented is fine, too, unless you just prefer a scent to signal that something is clean. If I were to add an essential oil, though, I would probably use either peppermint, lemon or tea tree oil. If you choose to use an essential oil, please be aware of safety guidelines for using them around children, pregnant women, pets, and other sensitive individuals.
How to use
To use, I scoop out a dollop of the soft scrub and apply a layer to the area I’m cleaning. I usually let it sit for a minute or two then buff it off with a rag. If there’s a residue left, I’ll either wipe it down with a damp rag or mist it with my all purpose vinegar, dish soap and water solution and wipe it clean.
Results
I almost forgot to take a before photo. This is an embarrassing photo of tomato sauce splatter left on my stove overnight.
Before using soft scrub to clean last night’s spaghetti sauce.
This is a photo of what it looks like after using my soft scrub and minimal elbow grease.
Shiny stovetop
I do apologize for the blurry photos. Lighting in my kitchen isn’t the greatest, and also I was in the middle of cleaning.
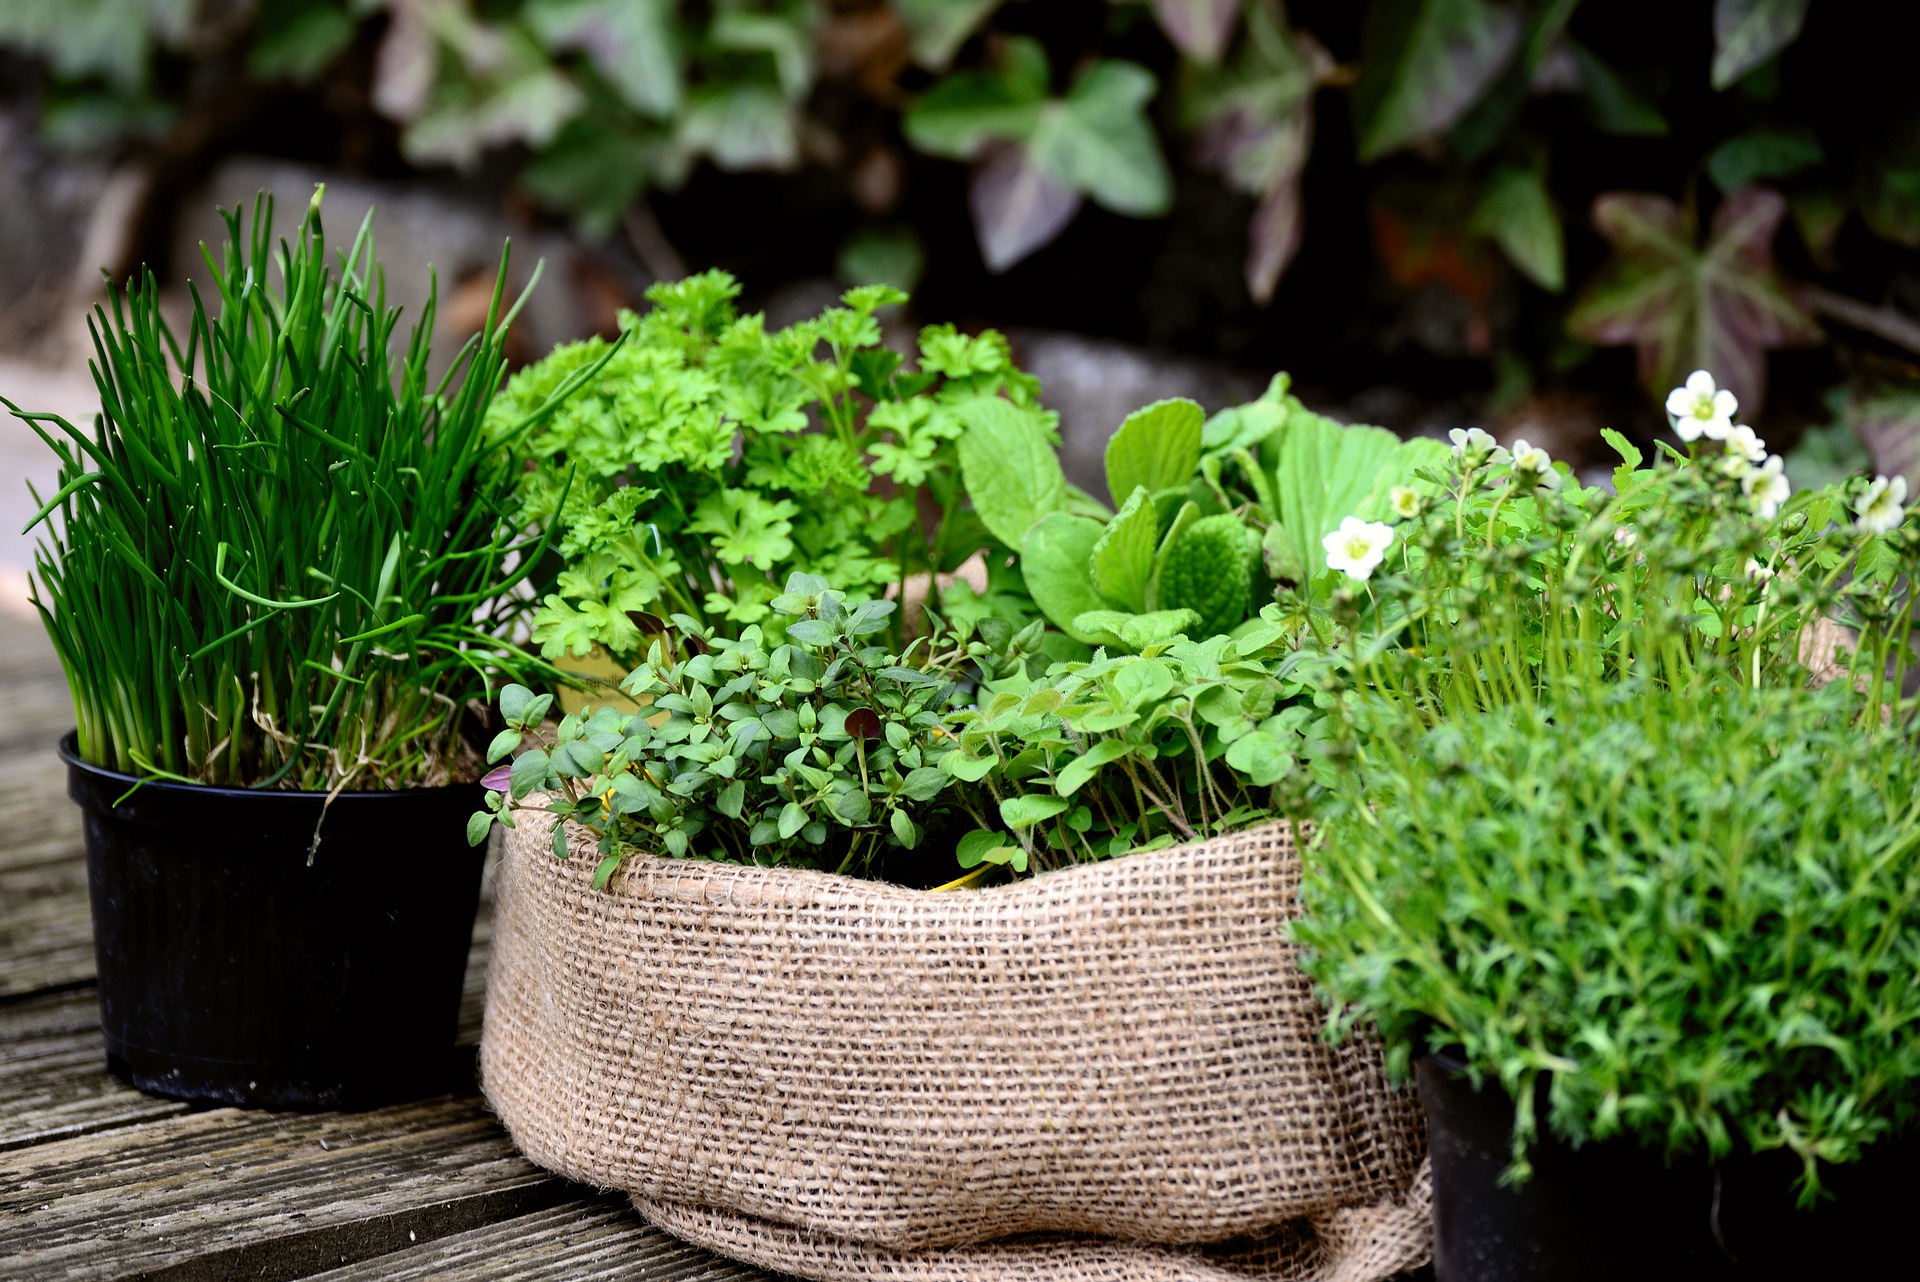
With the cost of everything going up, many people are turning to gardening as a way to save money on food. Depending on your location or gardening experience or abilities, a fruit or vegetable garden may seem daunting or just not possible. One way to get started that doesn’t require a huge amount of space is planting an herb garden. Dried herbs from the store are pricey, so growing your own still can help your budget while giving your food loads of fresh flavor.
Starting Your Herb Garden
Choosing Your Herbs
First you’ll want to choose the herbs that you’ll plant. You might have a hard time doing this because of the huge scope of herbs available. The most practical way to choose is to do what I did; look at what you have in your kitchen. By planting your own collection of the herbs you already use, you know you’ll get the most use from your garden. Some of the herbs you might start with include rosemary, sage, basil, dill, mint, chives, and parsley.
Don’t feel that you have to only start with these, though. If there’s an herb you’re curious about, give it a try. If plant medicine is something that interests you, research and plant a few basics like lavender, catnip or lemon balm.
Location
When choosing an area to put your herb garden, you should remember that the soil should have extremely good drainage. If the dirt gets watered and stays completely saturated, you have no chance of ever growing a healthy plant.
One way to fix the drainage problem is to dig a foot deep in the soil, and put a layer of crushed rocks down before replacing all the soil. This will allow all that water to escape, thus saving your plants.
Another way is to build a raised bed. This allows you to fill the bed with a suitable soil mix without having to dig down deep into your existing soil. Raised beds can be made from timbers, bricks or any suitable material you have available.
If you are incredibly limited on space or don’t have a yard at all, herbs are perfect for container gardens.
Getting your plants
When you are ready to begin planting herbs, you might be tempted to buy the more expensive plants from the store. However, with herbs it is much easier to grow them from seed than it is with other plants. Therefore you can save a bundle of money by sticking with seed packets. If you’re a little impatient (like me), a selectively chosen plant or two is nice for some greenery to tend while you wait for the seeds to sprout.
I personally haven’t had much luck with starting lavender or rosemary from seed, so I would choose those to get as a small plant. Plants in the mint family and basils do really well from seed, so save your money on those.
Once mints start growing, they can get out of control. The best way to prevent this problem is to plant the more aggressive plants in pots (with holes in the bottom to allow drainage, of course).
Harvesting from Your Herb Garden
When it comes time to harvest the herbs you have labored so hard over, it can be fatal to your plant to take off too much. If your plant isn’t well established, it isn’t healthy to take any leaves at all, even if it looks like it isn’t using them. You should wait until your plant has been well established for at least a few months before taking off any leaves. This wait will definitely be worth it, because by growing unabated your plant will produce healthily for years to come.
It’s a good idea to harvest from the ends of the plants as needed throughout the growing season to keep the shape and encourage new growth. The end of the season is when you’ll want to harvest and dry more of the plant for storage. Do check recommendations for the specific herbs in your garden as not all are the same.
Storing Your Herbs
Once you’ve harvested your delicious home grown herbs, you’ll want to use them year round. The easiest way to store them is drying. If you have a safe place to hang them to air dry that isn’t overly humid, that is the simplest. I also think this way preserves the most color and flavor.
You could also use a food dehydrator on the recommended settings. If not, don’t worry. You can dry them in the oven. This is easily achieved by placing them on a cookie sheet and baking them on the lowest setting, usually around 150 degrees Fahrenheit for 2 to 4 hours. After they’re sufficiently dried, store them in an airtight container such as a Ziploc bag or glass jar. I think they look beautiful in glass jars, so save any you get to upcycle as herb storage.
During the first few days of storage, you should regularly check the container and see if any moisture has accumulated. If it has, you must remove all the herbs and re-dry them. If moisture is left from the first drying process, it will encourage mildew.
Herbs are a fun, easy and useful way to get into gardening no matter what your space. I encourage you to give it a try.
Like this post? To make sure you don’t miss out on future posts, sign up for my newsletter.
I wrap my soaps in fabric because it looks nice, it allows the soap to breathe (read here for why), and because it feels better than plastic. I often wonder what happens to the wrapping. I’m sure there are some that toss it. I know of one person who collects the fabric for quilts. For those of you who, like me, don’t want to throw away something that could be useful but don’t know what to do with it, I have a tutorial for a drawstring pouch, just for you.
This is done with the wrapping from one of my soaps, but you could make it in any size you like.
Materials
Cloth wrapper from soap (roughly 8×11 inches)
Jute string from soap (about 29 inches)
Thread
Tools
Needle or Sewing machine
Safety pin or Bodkin
Scissors
Iron
First, iron your fabric flat. Then, fold down a long edge about 3/4 of an inch to one inch and press. This is for the casing. It doesn’t have to be super precise.
Sew a straight seam along the bottom of the flap to form the casing. All the sewing can be done by hand or machine. I have no time or patience, so I choose machine. Fold your material in half with right sides together like a book.
The fold is at the bottom of this photo.
Next, starting just below the casing seam, sew down the side and across the bottom. I use anywhere from a 1/4 to 1/2 inch seam allowance for this. Again, it doesn’t have to be precise.
With scissors, clip the bottom corners, being careful not to cut your stitching. You could probably skip this step, but it helps the corners look square and crisp. Turn your bag right side out.
Now it’s time to thread the string. Tie one end of the string to a safety pin, large paper clip, or attach a small bodkin. This makes it easier to work it through the casing. Thread it through the casing, safety pin first.
Once you get the string to the other side, remove your safety pin or other tool and adjust the string so that the ends are even.
Knot the ends together once or twice to keep it from coming out.
Ta-da! It’s done! Perfect for organizing your purse, storing jewelry or other small items, or as a small gift bag.
Or holding your favorite bar of soap.
Tutorials are always a little complicated to write because it’s easy to overlook small steps in things you do frequently. If something is unclear, please ask. 🙂
If you have any other creative uses for a SubEarthan Cottage soap wrapper, I would love to hear it!
Laundry detergents have always been problematic for me. Certain brands irritate my skin, and I’ve never been able to pinpoint what ingredient is the problem. Even if I knew, most laundry detergents don’t exactly provide a list of ingredients I could check. Luckily, laundry detergent is easy to make. Doing it yourself not only allows you to control what ingredients are in your detergent, it also saves a ton of money.
My recipe uses four basic ingredients stocked by many supermarkets now, and one optional ingredient.
Ingredients:
2 parts Borax
2 parts Washing Soda
1 part Grated Bar Soap
0.25 part Baking Soda
Optional Fragrance Oil or Essential Oil
Prep:
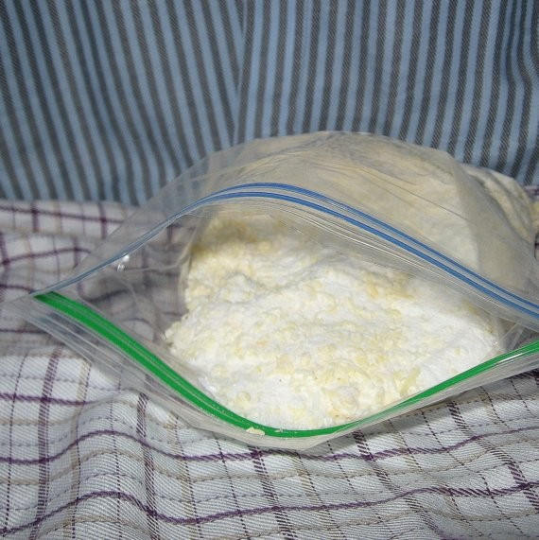
You’ll want a clean, dry, lidded container or bag to store your homemade laundry detergent. If the container isn’t air-tight, the detergent may clump from moisture in the air. Usually it’s easy to break it up, so this isn’t a big problem. If you don’t do laundry very often, though, you probably want to store it in something with a good seal.
The soap can be anything. Most people start out using a laundry soap like Fels Naptha. Once I started making my own soap, I switched to using whatever basic recipe soap I had on hand. You can grate it by hand with a cheese grater or with a shredding disk on a food processor.
Make it:
Combine the first four ingredients in a large mixing bowl. If you’re not familiar with the “parts” measurement, it’s a simple way of making a recipe fit whatever amount you need by giving the amounts as a ratio instead of a specific measurement. You could substitute “cup” for “parts” if that makes it easier.
Options:
Leave it unscented, use a scented bar of soap, or add your choice of fragrance or essential oil to the combined ingredients and stir to combine. I usually use about half an ounce of fragrance oil per batch. With essential oils, I usually start with 15 drops or so and see how it smells before adding any more. I’ve heard you could use your favorite cologne or perfume, but I haven’t personally tried it.
Use it:
I use about two tablespoons per load in my top loading machine. You can use one tablespoon for lightly soiled loads, but with my family, every load is a two tablespoon load.
DIY Powdered Laundry Detergent
Soap, Bath and Fragrance
SubEarthan Cottage offers unique, gift-ready handmade soaps, essential oil rollers, bath salts and other bath and beauty products. All of my bath and body products are sodium laurel sulfate-free and phthalate-free. I welcome custom orders, so feel free to contact me if you don’t see what you need.
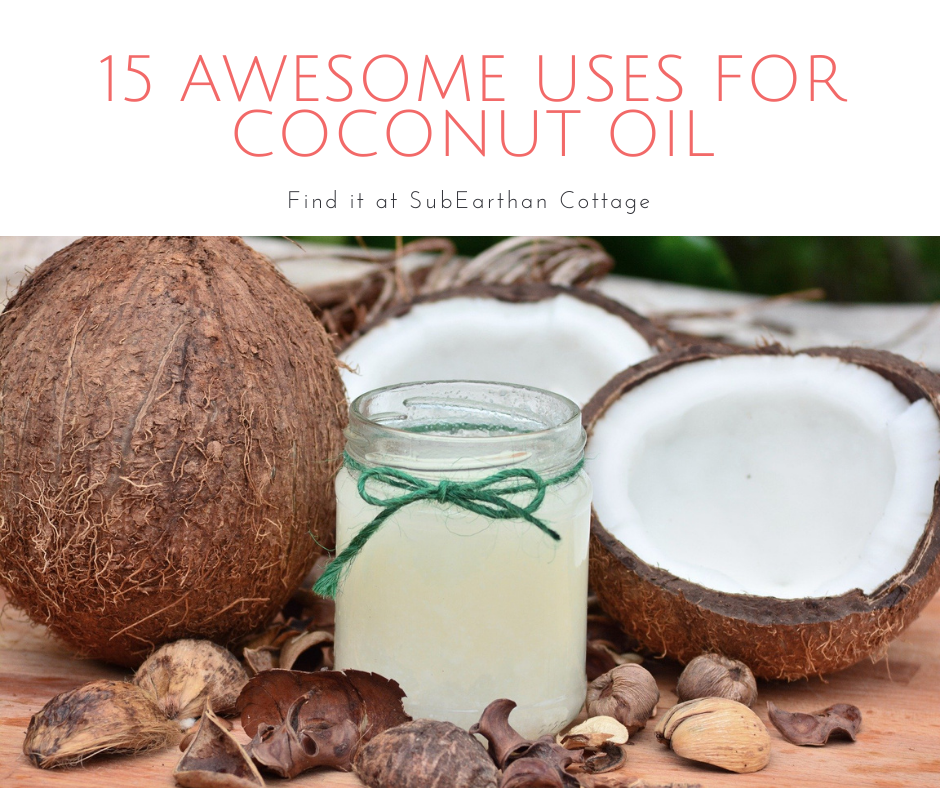
If I had to pick only one oil to keep around, it would be coconut oil. This versatile oil has many applications in and out of the kitchen. Here’s fifteen of my favorite uses for coconut oil.
Coconut Oil in the Kitchen
High Heat Cooking
Coconut oil is a stable oil, unlike olive oil. It doesn’t break down at high temperatures, making it great for frying, sautéing and other high-heat cooking applications.
Dairy and Animal Fat Substitute
Coconut oil is also a great butter substitute for those avoiding dairy. It also makes a great substitution for tallow or lard.
Cooking Popcorn
If you like cooking popcorn on the stove the “old-fashioned” way, coconut oil is the best. It adds a wonderful flavor to the popcorn, and holds up to the high temperature. My favorite way to eat popcorn is cooked in coconut oil and topped with salt and fresh cracked black pepper. It’s so simple and yet so yummy!
Season Cast Iron Skillets with Coconut Oil
I love my cast iron skillets. Whenever I need to re-season them, coconut oil is my go-to oil.
Coconut Oil for Cleaning
Natural Furniture Polish
The natural furniture polish recipe I use calls for olive oil, but coconut oil is a suitable substitute. It’s a little lighter and less greasy than olive oil, so it polishes out nicely. It also has a longer shelf-life, so there’s little worry about using it up before it goes rancid.
Stuck on Stickers
Rubbing a little coconut oil on sticker residue helps remove the residue without harming the surface underneath. I like to coat the sticker residue with oil and let it sit for a few minutes. Wipe in a circular motion with a rag or gentle scrubber until the residue is gone.
Coconut Oil for Hair
Protect and Treat Your Hair
I’ve seen it recommended to coat your hair in coconut oil and leave it in overnight before lightening your hair with bleach. While I personally haven’t tried that, since lightening my hair, I put a small amount of oil on my hair almost every day. I especially focus on drier or damaged areas. Since I started doing this, I’ve noticed a huge difference in my hair. It’s definitely stronger and smoother.
Deep Condition with Coconut Oil
Even if you haven’t tortured your hair with bleach, a deep conditioning treatment is good from time to time. Apply the oil to your hair and cover with a shower cap. Leave it in for a few hours or overnight and then wash out. A couple of drops of essential oil added to the oil makes the conditioning treatment even more luxurious.
Frizz Fighter
Rub a couple of drops of coconut oil in your hands and then smooth over the ends of your hair to keep frizz away.
Coconut Oil for Skin
Moisturize Your Skin
Coconut oil is great as a moisturizer. Start with a little and massage in to moisturize or to soothe dry, irritated skin. It even helps some eczema!
Diaper Ointment
Coconut oil provides a gentle, moisturizing barrier to soothe and protect babies’ bottoms. Unlike many commercial diaper creams, it is considered safe for cloth diapers. Do check with the manufacturer for their recommendations first, as using unapproved products can void any warranties.
Makeup Remover
A little coconut oil easily takes off eye makeup. I like to put it on a cotton square and gently swipe away makeup. As a bonus, it moisturizes your skin as it removes the makeup.
Shaving Cream
Shaving with coconut oil leaves my legs feeling soft, smooth and moisturized. I don’t even need to use lotion afterwards.
Handmade Soap
I use coconut oil in all of my soap recipes. It helps to create a firm bar that produces lots of fluffy lather.
Essential Oil Carrier
Coconut oil is my favorite carrier oil for essential oils. It’s not too heavy and absorbs nicely into the skin. If you use the refined oil, there’s no real coconut scent to compete with the essential oils.
I, Charity Sloan, am a participant in the Amazon Services LLC Associates Program, an affiliate advertising program designed to provide a means for sites to earn advertising fees by advertising and linking to Amazon.com. Any purchases through those links will result in my receiving a small percentage in commission.
This only refers to Amazon links found in/on my blog pages. All products in my shop are 100% mine and not linked to Amazon.
Prices are the same whether you click an affiliate link or a non-affiliate link, so you will not be charged more. Thank you for your support!