Posted on 3 Comments

Gluten free chocolate chip cookie recipe

Gluten Free Cookies SubEarthan Cottage

At least from what I’ve tasted, most store bought gluten free chocolate chip cookies are very dry and either too sweet or lacking in flavor. Chocolate chip cookies are practically a staple food, so I hacked my grandma’s cookies recipe. The results are definitely not dry, lacking in flavor or too sweet.

Jump to Recipe

The biggest change I made, of course, is using gluten free flour. My preferred flour is Bob’s Red Mill 1 to 1 gluten free flour. Others will work, but if it’s not one that is blended to be a direct substitute for wheat flour, you will probably want to add about one half teaspoon of xanthan gum.

Even with the 1 to 1 blends, sometimes the cookies spread more than I like. The original recipe calls for one cup and two tablespoons of flour. If I have it on hand, I’ll replace the two tablespoons of flour with a generous one tablespoon of coconut flour. That prevents them from spreading too much. Chilling the dough for a few hours or overnight helps, too, but who has time for that? Besides, the sooner they go in the oven, the less cookie dough I’ll eat.

The original recipe calls for shortening. I would much rather use butter, but one of my boys is lactose intolerant. Straight coconut oil adds to the spreading problem, so I compromise and use half shortening and half coconut oil. The small amount of milk in most chocolate chips isn’t a problem for my son, but using for dairy-free chips would make these completely dairy-free, too! If dairy isn’t a problem, feel free to swap all the fats with butter.

The final change happened after staying up late watching Martha Stewart bake cookies. She mentioned that brown sugar helps make the cookies be moist. The original recipe calls for more white sugar than brown. I tried a few different ratios before settling on using equal amounts of brown and white sugars.

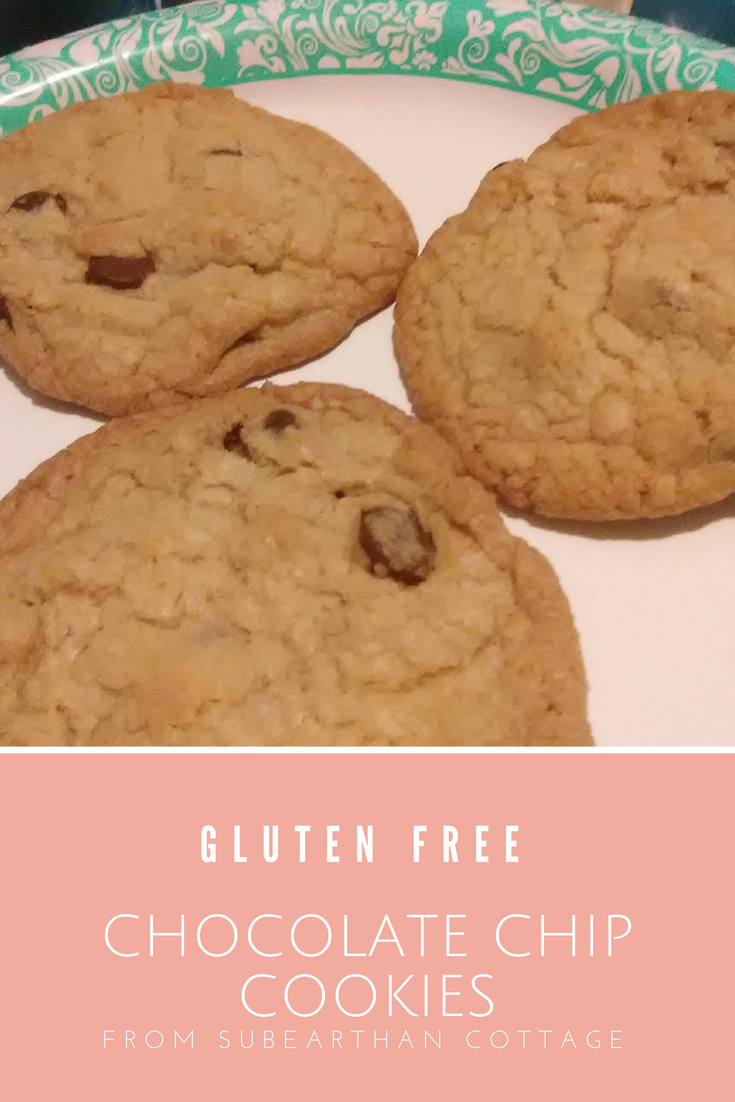
The final result is a yummy, gluten free cookie that isn’t dry and crumbly.

Gluten free chocolate chip cookies

  • 1/2 cup shortening
  • 1/2 cup coconut oil
  • 3/4 cup granulated sugar
  • 3/4 cup brown sugar
  • 1 teaspoon vanilla
  • 2 well beaten eggs
  • 2 cups 1 to 1 gluten free flour plus 2 generous tablespoons of coconut flour (or 2 cups plus 4 tablespoons 1 to 1 gluten free flour)
  • 1 teaspoon baking soda
  • 1 teaspoon salt
  • 1 generous cup of chocolate chips

Preheat the oven to 375° F.

Cream together the shortening, coconut oil, sugars and vanilla. I usually use a mixer for everything, but you can do it by hand, too.

Fold in the eggs and mix well.

In another bowl, sift (or just mix really well) the dry ingredients.

Add the dry ingredients a little at a time to the wet ingredients and mix well.

Stir in the chocolate chips. If you are patient, chill the dough for a few hours or overnight.

Otherwise, grease your cookie sheets or line with parchment paper or silicone liners. Greasing is what the original recipe calls for, but I prefer the results from lining the sheets.

Form your cookies (I use a 2 tablespoon sized scoop, but you can make them bigger or smaller) and place them two inches apart on the sheets.

Bake for about 8-10 minutes, keeping a close eye on them during the last few minutes. You want them to be golden and not doughy in the middle.

Cool for a few minutes on the sheets before removing them.

A few notes on the recipe: My recipe is actually double the original. I almost never made a single batch because it’s not really any more effort. If you want, you can save some of the dough in the fridge for a few days.

I also don’t have an accurate cookie count, mainly because cookie dough is delicious. I think I can usually get about 36 cookies with my 2 tablespoon scoop, but that is a a very rough guess.

Gluten and Dairy Free Chocolate Chip Cookies.

Yummy gluten and dairy free chocolate chip cookie recipe. Can be made with real butter and flour if you don't have those restrictions.
Cook Time8 minutes
Course: Dessert
Keyword: chocolate, cookie, dairy free, gluten free
Servings: 36 cookies

Ingredients

  • 1/2 cup shortening
  • 1/2 cup coconut oil
  • 3/4 cup granulated sugar
  • 3/4 cup brown sugar
  • 1 tsp vanilla
  • 2 large eggs
  • 2 cups gluten free 1 to 1 flour
  • 2 tbsp coconut flour Or 4 more tablespoons gluten free flour
  • 1 tsp baking soda
  • 1 tsp salt
  • 1 cup chocolate chips Make sure these are gluten and dairy free!

Instructions

  • Preheat the oven to 375° F.
  • Cream together the shortening, coconut oil, sugars and vanilla. I usually use a mixer for everything, but you can do it by hand, too.
  • Fold in the eggs and mix well.
  • In another bowl, sift (or just mix really well) the dry ingredients.
  • Add the dry ingredients a little at a time to the wet ingredients and mix well.
  • Stir in the chocolate chips. If you are patient, chill the dough for a few hours or overnight. This helps prevent spreading. I am not patient, lol.
  • To bake, grease your cookie sheets or line with parchment paper or silicone liners. Greasing is what the original recipe calls for, but I prefer the results from lining the sheets.
  • Form your cookies (I use a 2 tablespoon sized scoop, but you can make them bigger or smaller) and place them two inches apart on the sheets.
  • Bake for about 8-10 minutes, keeping a close eye on them during the last few minutes. You want them to be golden and not doughy in the middle.
  • Cool for a few minutes on the sheets before removing them.

Notes

A few notes on the recipe: My recipe is actually double the original. I almost never made a single batch because it’s not really any more effort. If you want, you can save some of the dough in the fridge for a few days.
You can use all shortening instead of half shortening and half coconut oil, or use all butter or butter substitute. 
I also don’t have an accurate cookie count, mainly because cookie dough is delicious. I think I can usually get about 36 cookies with my 2 tablespoon scoop, but that is a a very rough guess.

Posted on 4 Comments

Tips for Saving Money on Food

No matter what our budget looks like, food is always a part of it. You have to eat, right? There are many thoughts on the best way to save on food. These are the things that work for me.

Eat at home

This one is probably the most important. If you eat out, regardless of whether it’s a dine-in or fast food restaurant, you are going to spend more than if you cook and eat at home. It’s fine to splurge once in a while, but if you’re looking to save, eating at home gives you the most bang for your buck.

Buy mostly ingredients

Prepackaged foods are sometimes quicker, but they are usually more expensive per serving. If it’s a choice between eating out and eating convenience foods from the grocery, it’s still usually cheaper than eating out, so if it’s a choice between KFC or a deli rotisserie chicken, bagged salad and prepackaged dinner rolls, the deli chicken is probably the cheaper and healthier option.

There are some convenience items that I find helpful, especially when life gets hectic. Jarred sauces, bouillon and frozen potatoes in various forms are things that I like to have on hand to help me get a meal on the table quickly. When there’s not time to make the sauce from scratch or I don’t have homemade broth on hand those can make it easy to still throw something together. They’re also usually fairly inexpensive, so I feel they are budget friendly convenience choices.

Buy in bulk where it makes sense

Don’t buy a ton of perishables like fresh fruit just because it’s on sale. If you have time to prep and freeze or can the fruit, then go for it. Things like canned goods, freezer staples and shelf stable items are great for buying in bulk, if you have the room. We have a small chest freezer, so I’m able to buy fruit on sale to freeze for smoothies or desserts and an extra ham or turkey when they are on sale for under $1 per pound around the holidays.

I also buy basmati rice in 20 lb bags because we prefer it over other types of rice and it is so much cheaper that way. To keep it fresh and manageable, I keep a small container of it in the cupboard and the rest goes into the freezer.

Shop creatively

It’s easy to have one or two grocery stores or box stores where you do all of your shopping. If you have farmer’s markets, discount groceries or ethnic groceries in your area, you may find better deals on some items.

For starters, if you have an Aldi nearby and haven’t given them a try, please do. I’ve found them to have a good selection of staples and they have a good guarantee on everything they sell. You won’t find many name-brands at Aldi, but with their guarantee, it’s worth trying and seeing if you like their store brands. They also carry a lot of gluten-free options, as well as dairy-free milk alternatives and a dairy-free mozarella cheese.

I also frequently shop a local Vietnamese grocery store. They have tons of fresh greens and other produce at really good prices. I also get a lot of specialty items, like things for making pho or sushi for sometimes half the cost or less of what I would pay at Kroger or Walmart. Bulk spices and rice are also cheaper there. For gluten-free pasta, rice noodles from there are cheaper than gluten-free options from Kroger and Walmart.

Find a method of meal planning that works for you.

Some people do really well with having every meal, every day planned out to every last detail. I prefer something more flexible that allows for changes based on last minute plans or whatever is on sale that week or whatever leftovers we need to eat. Regardless of the type of meal planner you are, have some sort of game plan in place.

Meal planning is one area where I need to improve, but I do have a basic game plan for meals that I’ll post on at a later date.

While you’re planning, don’t forget lunch. Leftovers are quick and easy lunches, so if you’re planning a dinner that reheats well, make enough for lunch the next day.

Keep staples for one or two quick meals on hand always

This is important in case you forget to plan, or something doesn’t work out with your plan. Whether it’s spaghetti and premade sauce, eggs, fruit and toast or some other meal you can throw together in under thirty minutes, keep the ingredients on hand for one or two backups that you like. Having a backup option makes it easier to eat at home when you might otherwise be tempted to eat out.

Eat real food

If you have to change your eating habits due to health or personal beliefs, it’s easy to try to substitute faux or “free” foods tailored to that diet. Price-wise though, it’s better to adapt your diet with real foods. Rather than faux meat burgers, try grilling portobello mushrooms or making your own patties with chickpeas. Instead of gluten free pasta, substitute rice or potatoes. Instead of diet drinks, flavor water, tea or soda water with fruit.

If you’re really craving cheese and you’re dairy free or bread and you’re gluten free, go ahead and splurge on the dairy or gluten free options. If you’re on a plant-based diet but desperately want something like a real burger, go for one of the faux meat patties. Just try to keep those splurges to a minimum and you’ll save money.

Find recipes for soups, stews and beans that you like

Soups, stews and beans are usually cheap, filling and can be a one pot meal. Having a few recipes you like and keeping the ingredients on hand can really help save money on food. They also are easy to make in bulk and usually freeze well, so making a bunch and having it for lunch or in the freezer for nights that dinner plans don’t work out helps prevent eating out. I love crock pots or pressure cookers for making soups and stews. It’s absolutely not necessary to run out and buy a slow cooker or pressure cooker, but if it’s something you’ve been considering, I love my electric pressure cooker for so many things.

Saving money on food.
Ultimate Homemaking Bundle 2020
Posted on 3 Comments

Easy All in One Electric Pressure Cooker Meal

For busy weeknights, there’s nothing better than an all in one meal that practically cooks itself. Prepare everything the night before and keep it in the refrigerator until it’s time to cook for even more time in the evening. You could even prep the vegetables and meat and store in the freezer for last minute meals.

The basics

This is more of a how-to than a recipe. You can really use however much of the ingredients based on how much food you need and your pressure cooker’s size. For my family of five with two little appetites, I used about four chicken breasts, three cups of rice and water, one jar of sauce and all the broccoli I could squeeze in and around everything.

You can easily swap out the protein for whatever you prefer. Ideally, it should be cut into small, bite sized pieces prior to cooking. With the chicken breasts, I’ve been able to cook them from frozen first and cut them later, but it’s not ideal.

This time, I used broccoli, but it was a little overdone for my liking. Root vegetables cut into bite sized pieces or frozen peas or green beans are probably better for all in one meals like this.

The sauce

To make it super easy, I started with a jar of Korma simmer sauce from Aldi. You could easily substitute any store bought or homemade sauce. Canned soup, salsa, tomato sauce or even just broth are all options. Tailor it to your family’s tastes.

Assemble the ingredients

I used an old rice cooker pot for the rice. Any heatproof container that is big enough to hold the rice and cooking liquid but small enough to fit in your pressure cooker’s cooking pot would work.

I put the chicken and broccoli under and around the rice pot. Then I filled the rice pot with appropriate amounts of rice, water and salt.

The Korma went on top of the broccoli and chicken, and I added about half a cup of water just to make sure there was plenty of liquid. If you use broth or a thinner, liquid sauce, the water isn’t necessary.

Cooking

Finally, I set the whole thing in my pressure cooker and cooked it with the “Rice” setting. My electric pressure cooker is a GoWISE USA brand. Recipes for the Instant Pot brand usually work as written for mine, so I assume that setting would work for the Instant Pot and other similar pressure cookers.

Here is a terrible picture of the end result. I promise it tasted better than it looks. A homemade sauce would have been healthier, I’m sure. When you are strapped for time or having to make do without a fully functioning kitchen, though, it’s lots better than having to rely on fast food.

Like this recipe? Sign up for my newsletter to never miss future tips, tutorials and recipes.

All in one Electric Pressure Cooker Meal