Shampoo bars have become more popular recently. They are convenient for traveling. Unlike liquid shampoo, you don’t have to worry about travel limits and leaking bottles with a shampoo bar. Because they don’t require plastic bottles, shampoo bars are a great option for people trying to reduce waste.
Not all hair types are alike, so it takes some trial and error to find the right one. With the recent interest in shampoo bars, I thought now would be a great time to reshare my Shampoo Bar 101 post.
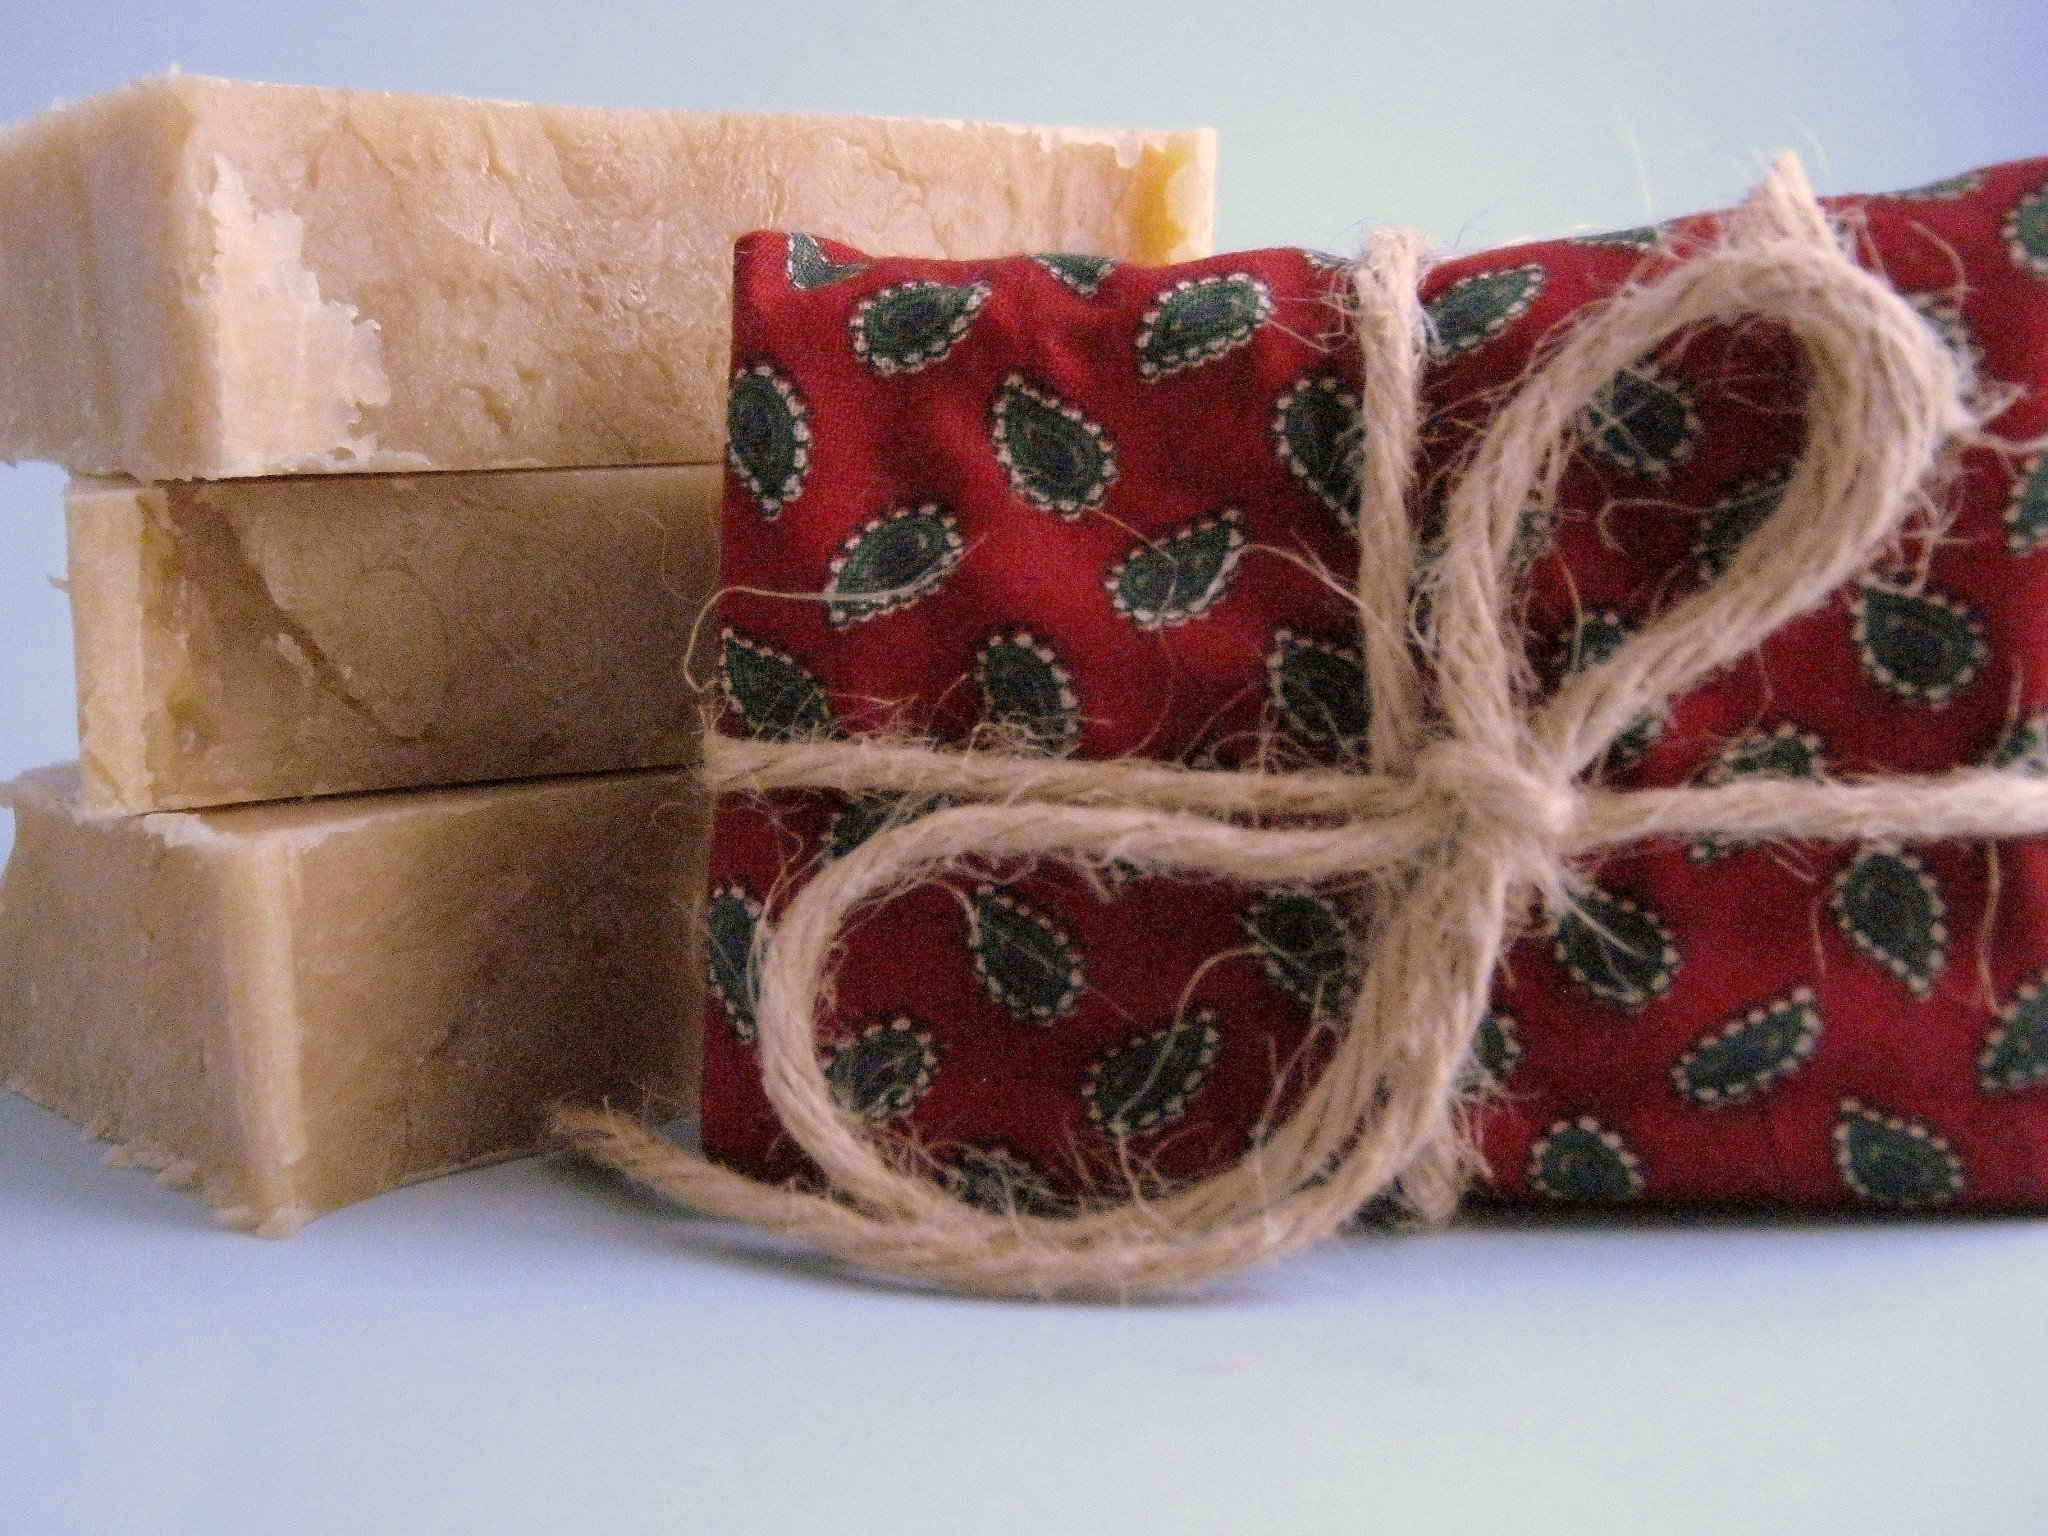
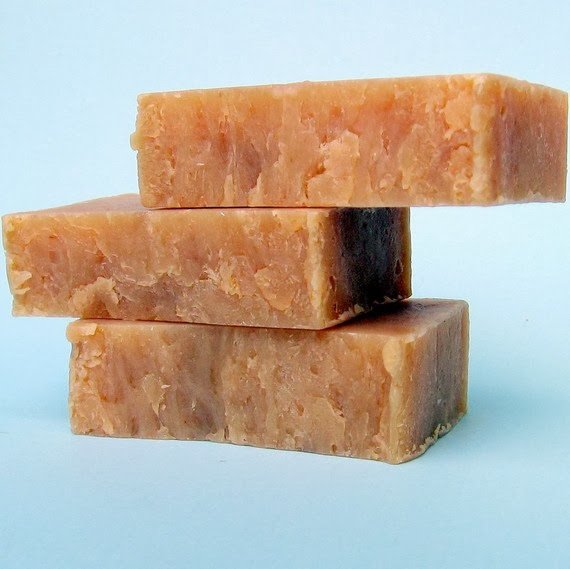
Shiner Bock Beer Soap: My top choice for washing my hair.
I began using bar soaps as shampoo about four years ago. Whenever I tell people this, they always look at me kind of strange or have tons of questions about how it works, so I thought I’d share it all here. Please keep in mind, this is all based on my personal experience and research.
What type of soap to use?
While there are some bars that are specially formulated to be shampoo bars, I’ve found that just about any good quality natural soap will work. You definitely want to avoid most of the bar soaps you’d find at your supermarket, because they don’t have the same properties as natural soaps and can dry your hair.
Among natural soaps, I’ve found that bars with little or no waxes work the best. My hair tends to be oily, so I also avoid soaps with a high percentage of butters (shea, cocoa, etc.) as they seem to add too much oil to my hair.
Some of the oils that work well in a shampoo bar are coconut, castor, olive, jojoba, and avocado. Most of the bars I’ve used contain at least the first three. I wouldn’t count out a bar that didn’t have them, though, until I’d tried it a few times.
What are the some of the benefits of using a bar soap?
Natural bars don’t strip your hair like shampoo.
Hair feels thicker
Has eliminated my need for a seperate conditioner
No more scalp and hairline irritation like I had with many shampoos
Convenient for travel-no worries about leaky bottles or (as far as I know) airline carry-on limits
Same bar can be used all over-no need for a seperate body wash or soap cluttering your shower
Tipsfor using a bar soap as shampoo:
Expect an adjustment period of 2-4 weeks. Your scalp is used to producing more oil to make up for the natural oils that are stripped by the detergents in shampoos.
You may want to use a simple clarifying shampoo or even a baby shampoo prior to the first wash with a bar. I’ve found that this helps speed up the adjustment period by removing buildup from shampoos, conditioners and styling products, giving the bar a clean slate to work with.
Periodically doing an apple cider vinegar (or lemon juice) rinse can help improve shine and seems to help if I feel like my hair isn’t rinsing out as well as it should. I use about 1/2 Tablespoon of ACV to about 3 cups of water and pour over my just washed hair, then rinse. I used to do this about every other wash, but now I do it about once every week or two.
Many styling products seem to need the detergents in shampoo to be fully removed. I try to avoid products with dimethecone and other -cone ingredients as these seem to be the hardest to wash out with a bar soap. Hairspray doesn’t seem to be a problem. You can also use pure aloe gel as a hair gel that’s also great for your hair.
I’m sure there are many things I’ve left out. Feel free to ask any questions or add to what I have here.
Oh, and before I forget, here are my favorites from my shop to use as a shampoo:
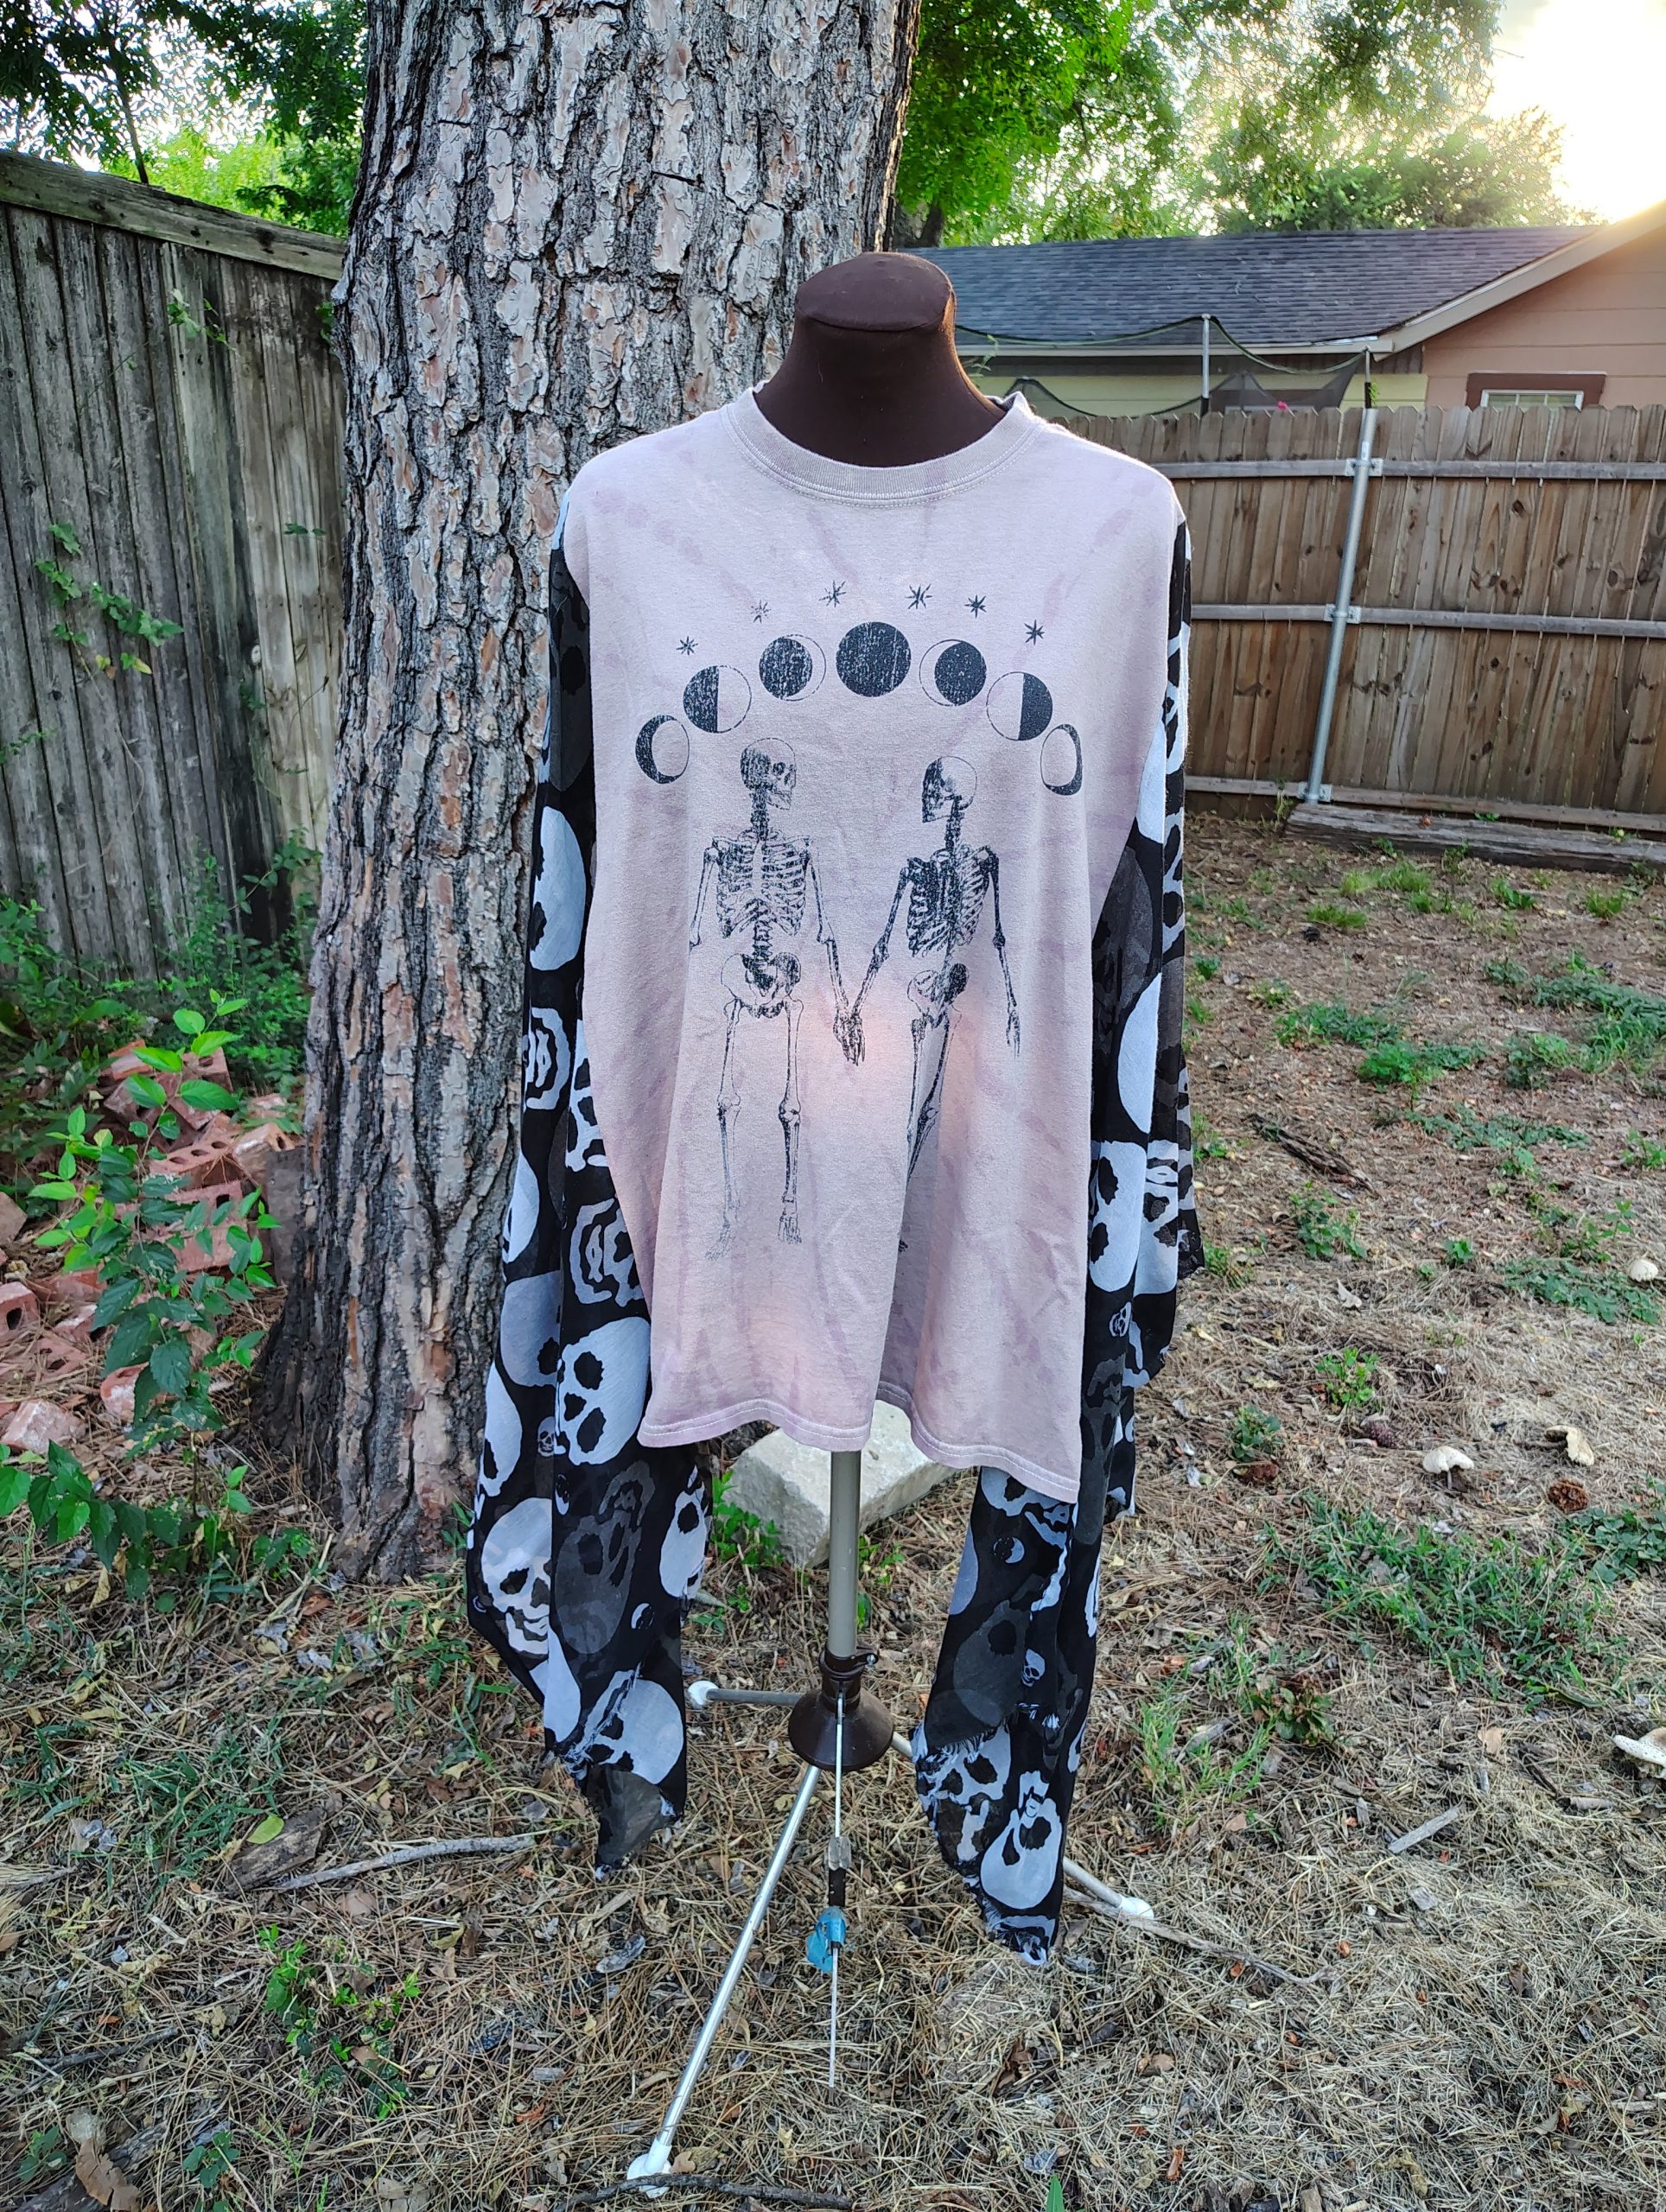
I’ve gotten a lot of questions about my upcycled kaftan or poncho shirts. I thought many of them could be best answered by seeing them on a real person. I didn’t have a model readily available, so you get me with my camera and tripod.
I want to do a product Q&A soon, so if you have any questions, please write them in the comments or send me a message.
I finally got all of the upcycled boho tops listed in the shop. I’ve been calling them poncho tops, but they’re really more kaftan-like. So Kaftan tops? Anyway.
I also finished another upcycle that I’ve been working on for over a year now. If you follow me on the socials, you’ve seen a little teaser of it. Either way, here it is!
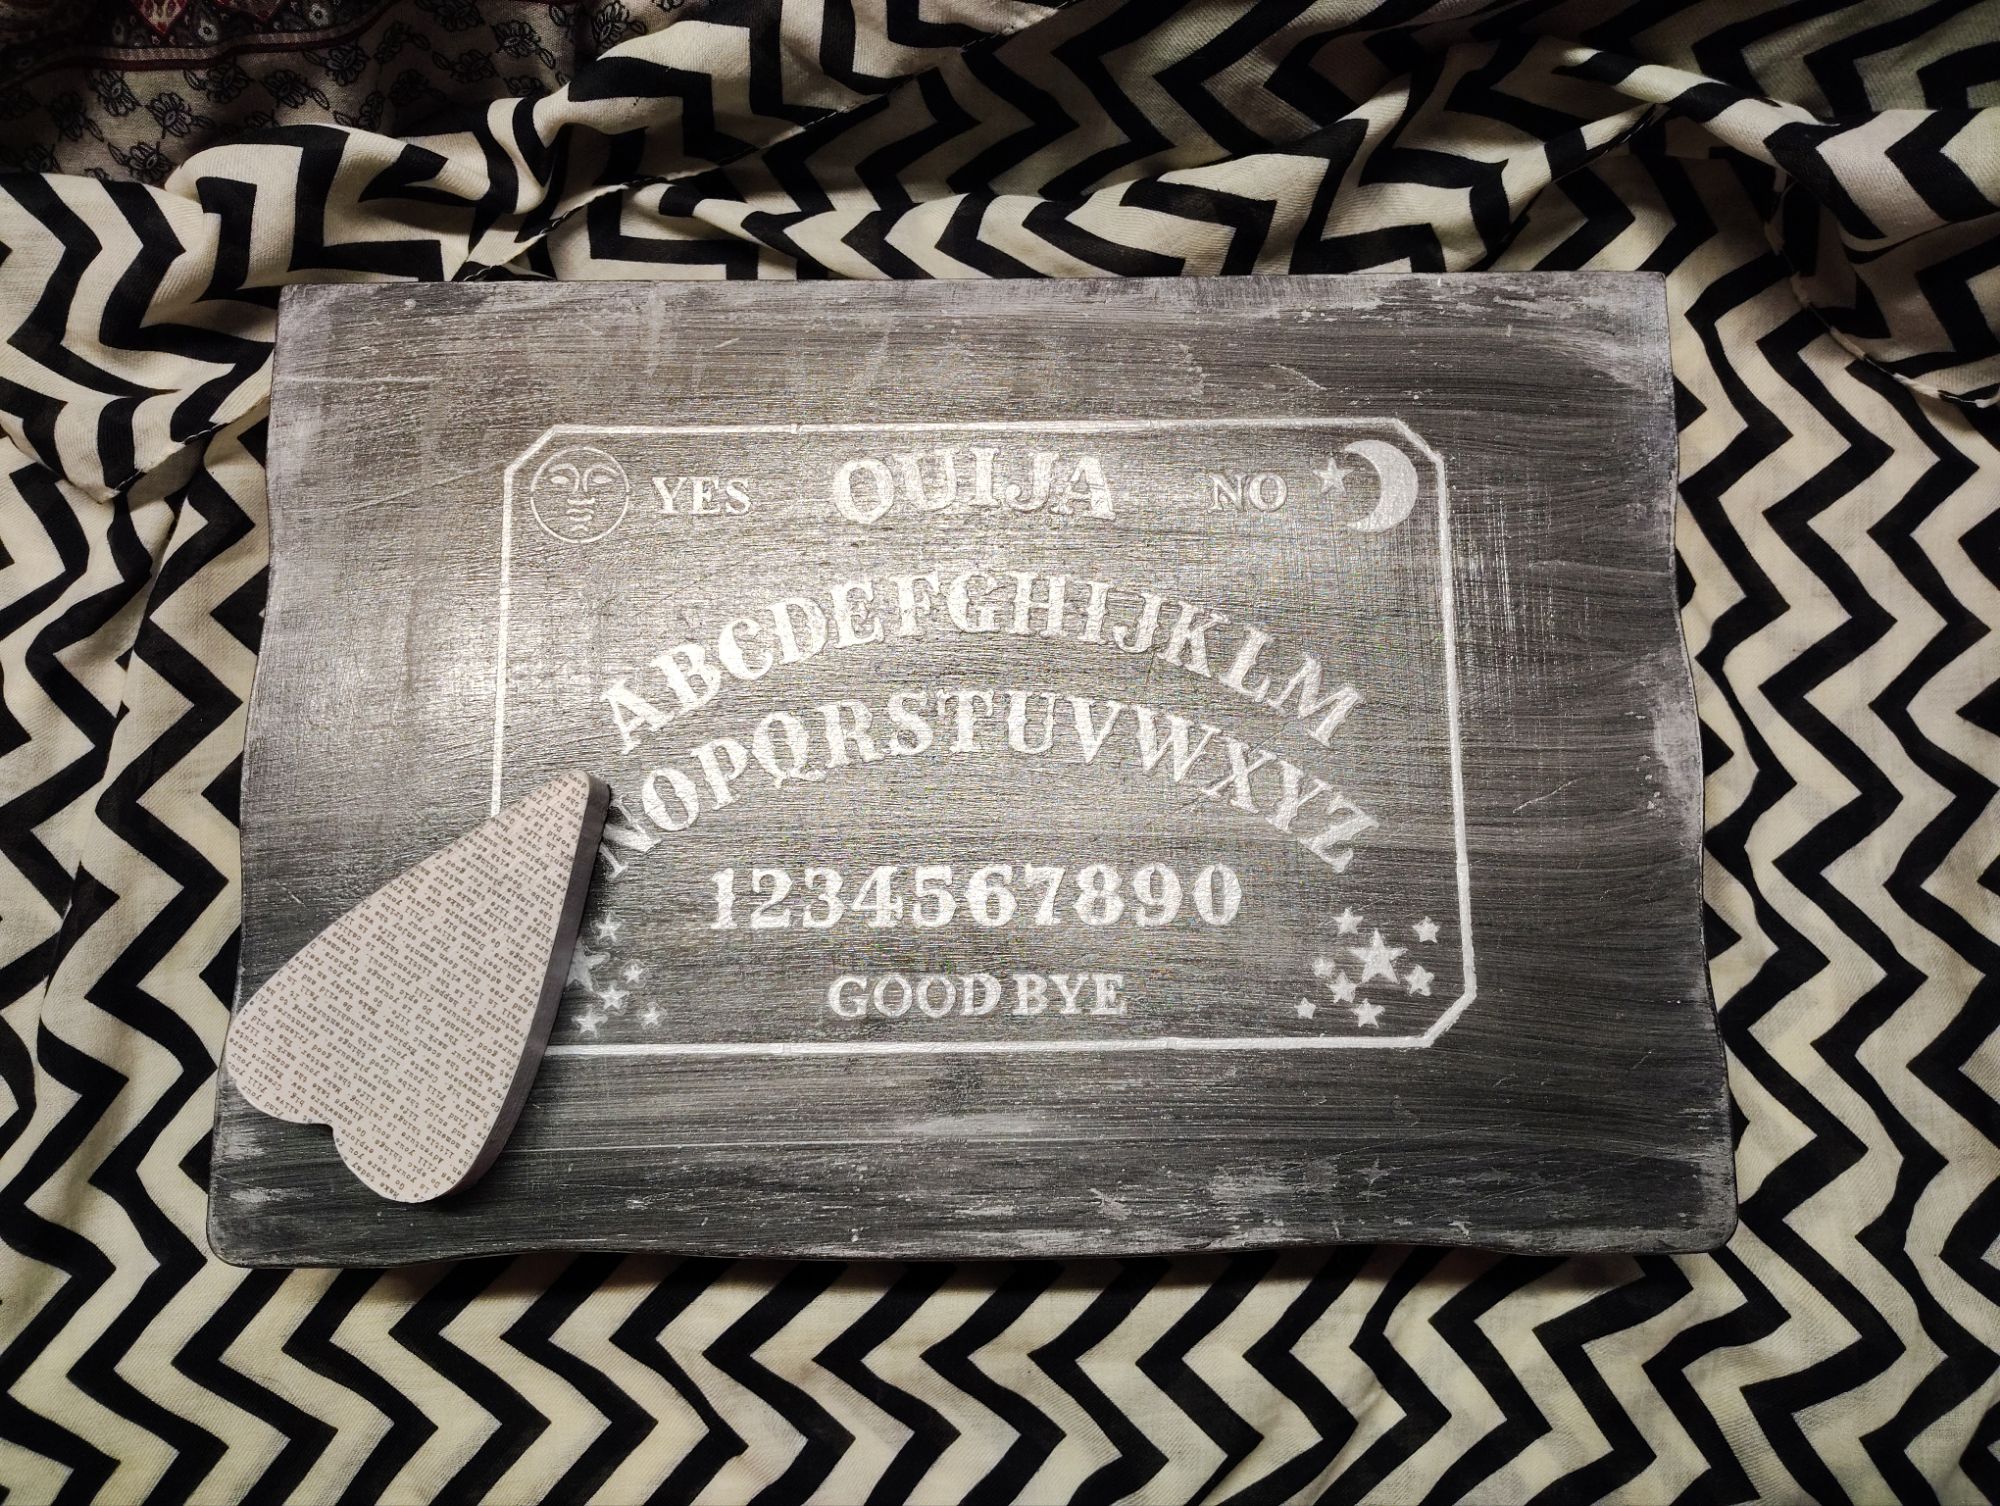
This spooky box began its life as a vintage silverware storage box that had seen better days. (Of course I forgot to take before pictures. Grrr.) I gutted it, painted it, re-lined it with some lovely purple velvet and made a cute wooden planchette to go with it. I absolutely love it. It’s great for spooky or goth decor, or for storing tarot decks, crystals and ritual tools if that’s your thing.
Here’s the inside. the purple is such a nice contrast to the black and silver on the outside.
Everything above can be found in my shop. It’s all one of a kind, though, so if you see something you like, don’t miss out.
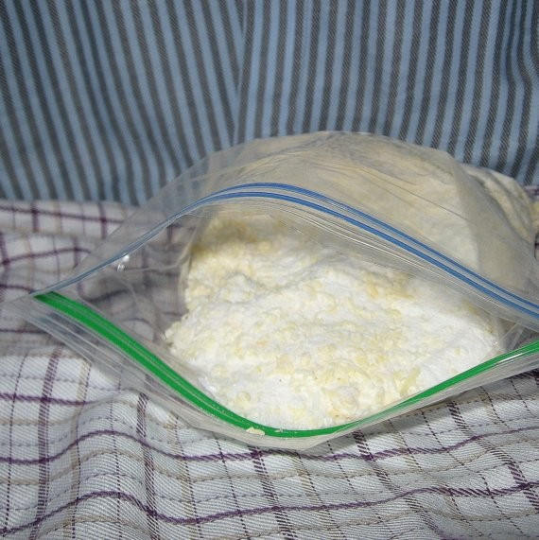
Laundry detergents have always been problematic for me. Certain brands irritate my skin, and I’ve never been able to pinpoint what ingredient is the problem. Even if I knew, most laundry detergents don’t exactly provide a list of ingredients I could check. Luckily, laundry detergent is easy to make. Doing it yourself not only allows you to control what ingredients are in your detergent, it also saves a ton of money.
My recipe uses four basic ingredients stocked by many supermarkets now, and one optional ingredient.
Ingredients:
2 parts Borax
2 parts Washing Soda
1 part Grated Bar Soap
0.25 part Baking Soda
Optional Fragrance Oil or Essential Oil
Prep:
You’ll want a clean, dry, lidded container or bag to store your homemade laundry detergent. If the container isn’t air-tight, the detergent may clump from moisture in the air. Usually it’s easy to break it up, so this isn’t a big problem. If you don’t do laundry very often, though, you probably want to store it in something with a good seal.
The soap can be anything. Most people start out using a laundry soap like Fels Naptha. Once I started making my own soap, I switched to using whatever basic recipe soap I had on hand. You can grate it by hand with a cheese grater or with a shredding disk on a food processor.
Make it:
Combine the first four ingredients in a large mixing bowl. If you’re not familiar with the “parts” measurement, it’s a simple way of making a recipe fit whatever amount you need by giving the amounts as a ratio instead of a specific measurement. You could substitute “cup” for “parts” if that makes it easier.
Options:
Leave it unscented, use a scented bar of soap, or add your choice of fragrance or essential oil to the combined ingredients and stir to combine. I usually use about half an ounce of fragrance oil per batch. With essential oils, I usually start with 15 drops or so and see how it smells before adding any more. I’ve heard you could use your favorite cologne or perfume, but I haven’t personally tried it.
Use it:
I use about two tablespoons per load in my top loading machine. You can use one tablespoon for lightly soiled loads, but with my family, every load is a two tablespoon load.
DIY Powdered Laundry Detergent
Soap, Bath and Fragrance
SubEarthan Cottage offers unique, gift-ready handmade soaps, essential oil rollers, bath salts and other bath and beauty products. All of my bath and body products are sodium laurel sulfate-free and phthalate-free. I welcome custom orders, so feel free to contact me if you don’t see what you need.
Making soap is like magic. Seriously, think about it: You take stuff that makes things feel greasy, mix it with stuff that would eat your face off and, if you do it just right, the end result is a wonderful bar of non-drying, skin-loving, fluffy-lathering soap.
Soapmaking is fun, but safety is a priority when dealing with sodium hydroxide, aka lye, aka the eat-your-face-off stuff. This is just a brief overview of the soapmaking process I use. Please do not use this as a complete how to guide. If that’s something you’re interested in, please, leave a comment and I will direct you to some more thorough resources on soapmaking.
Melting the Oils
Creating soap takes two basic things: oils or fats and an alkaline solution. In order to combine the oils and alkaline solution, the oils have to all be in liquid form and uniformly mixed. So, step one is measuring and melting the oils. For precision, all measuring is done by weight. Since I use a Crockpot for my hot process soapmaking, I add all my weighed oils to the Crockpot, then melt and mix them in the pot. For soapmaking, I generally use the low setting, but if I need to jump start the melting process I will start it on high then turn it down after a few minutes. This Crockpot is similar to the one I use.
Melting the Oils
Measuring the Lye
While the oils are warming in the Crockpot, I weigh the lye. It is important to be very precise when measuring the lye. Too little and the soap will be too soft. Too much and the soap could burn your skin. This is also why you need to be very careful about the soap recipes you use. If they are not correctly formulated, the end result could be dangerous.
Before I measure the lye, I measure the water or other liquid for the lye solution, also by weight. I do that first to limit the time I have the lye out.
Weighing the Lye. Gloves and goggles on.
Lye Safety
I make sure to measure the lye into glassware and all containers and utensils that come into contact with lye or the lye solution are reserved solely for that purpose. Once the lye is out, I never leave it unattended. Lye crystals resemble table salt, which would be a potentially deadly mix-up. That’s also why my soap production has slowed since Thaddeus was born. Until they are old enough to understand the importance of staying out of the room and can be trusted out of sight but in earshot for the time it takes to get the soap cooking, I only make it when they are either out of the house or asleep with Chris there to tend to them if they wake up during the process.
Mixing the Lye Solution
Once my lye is measured, I add the lye to the water and stir with a wooden spoon until dissolved. Lye fizzes up when mixed, so it is important to have the liquid in a container with plenty of room. The solution with also get really hot and put off fumes, so be prepared. I like to have a window open or fans and the vent a hood running. Some soap makers mix the solution outside, but I like to stay close to my work space to limit the chance of spills.
Blending the Oils and Lye Solution
For cold process soapmaking, it is important to have the oils and lye solution at about the same temperature. With the Crockpot hot process method I use, I find I can mix the lye solution into the warmed, melted oils without having to measure the temperatures first.
When you first add the lye solution to the melted oils, the color will change from clear to opaque. In order to properly combine the lye and oils, I use a handheld stick blender. You can stir by hand, but it is much harder to get everything properly blended and it takes f-o-r-e-v-e-r. I have had a stick blender die in the middle of making a batch of soap and it is a crazy long arm workout. I do not recommend it.
Adding the Lye Solution
Goal of Blending
The goal for all the hard mixing is called “trace”. Basically, I’m wanting to be able to lift my blender out of the mixture and trace a design on top. With cold process, there are various stages of trace that guide when to add any fragrance, essential oils or other add-ins. Since I use the hot process method, I add almost everything after the cook. Because of that, I can mix my batches to a full, hard trace where my traced design doesn’t melt back into the mix. This limits the possibility of a false trace, or the mix seeming to quickly come to trace when it isn’t thoroughly mixed. When that happens, it might separate or have lye heavy spots.
Hard Trace
Once it is at a hard trace, I stop mixing and put the lid on the Crockpot. If the mix seems too hot, for example, I had a false trace that I had to stir through, I will either turn the Crockpot to warm or off for a few minutes. Otherwise, I make sure it is on low and busy myself with cleaning up, lining my soap molds, and preparing essential oils and other additives.
Cleanup
Any lingering lye solution or soap mixture on the blender is still a risk for lye burns, so I’m cautious with the cleanup. For the whole soapmaking process, I keep a good amount of water with vinegar and a bit of dish soap ready in the sink. The vinegar helps neutralize the lye, so anything that comes into contact with lye goes directly into the vinegar solution, and I use a similar vinegar solution to wipe down my soapmaking area, just in case.
Stages of Saponification
During the cooking, the soap mix will change from an opaque, milky color to a shiny, translucent gel like texture. A pool of liquid also forms on top. that pool of liquid is glycerin, a byproduct of the saponification process. This transformation starts at the edges of the pot and happens in a wave moving towards the center. I find it really fun to watch.
Soap Waves
Finishing the Batch
When the entire soap mixture is translucent and the consistency of mashed potatoes without lumps, I turn off the heat and stir the soap by hand for just a couple of minutes to let it cool. At this point, if done correctly, the mixture completely transformed to soap. I don’t want it to cool too much, or it would be hard to add the essential oils, but too hot and it will burn off the scent.
Glycerin Pool Forming in the Middle
I then add any essential oils blended in my chosen carrier oil and any other add-ins I’m using in that batch, stir thoroughly by hand, and plop it into my molds. Since it is thick, I generally have to tap my molds on my counter firmly to eliminate air pockets.
Adding the Blended Essential Oils and Carrier Oil
Curing the Final Product
Because the saponification process is completed during the cooking, the soap is totally safe to use as soon as it is cool enough to touch. It needs to cool in the molds for 12-24 hours or so to hold it’s shape, though. Once it is firm enough to cut, I cut and wrap the bars. While not necessary, hot process bars still benefit from curing for at least a week or two to allow excess moisture to evaporate. As I discussed in my Proper Care and Feeding of Your Bar Soap post, the firmer and drier a bar of soap is, the longer it will last. That’s one of the reasons I wrap my soap in cloth rather than plastic. Cloth allows the soap to continue to harden for a longer lasting bar.
Lately Christopher and I have been talking a lot about fashion. It started as a discussion about not being able to find comfortable clothes, especially pants (trousers for British English speakers) and how hard it is to find clothing that goes against the trends. Being crafty, we explored making our own clothing. The cost of fabric, supplies, time it takes to cut and sew all highlighted how impossible it is to produce clothing ethically at the low prices charged for much ready-to-wear clothing. That doesn’t even take into account the raw materials that are used to make the fabric and problems with content, pesticides, sustainability, etc.
At the same time, like many, our budget, doesn’t allow us to spend a ton on clothes. We try to make the most of our clothing budget guilt-free by shopping thrift stores and second hand shops. That way we aren’t adding to the problem by purchasing new. Most thrift shops are charity-based, so our purchases help others. We often find better quality items than what we would otherwise be able to afford this way, too.
With thrift shopping, you’re not as limited by trends. If you’re looking for something in particular, unless it’s a common item, you’re still likely to come up empty handed. That has been our problem when it comes to comfortable men’s and boy’s pants. Both Finn and Christopher would prefer something a little roomier, like karate gi pants. Unfortunately, nothing like that has been in fashion since M.C. Hammer. That means it’s time to put my sewing machines to use.
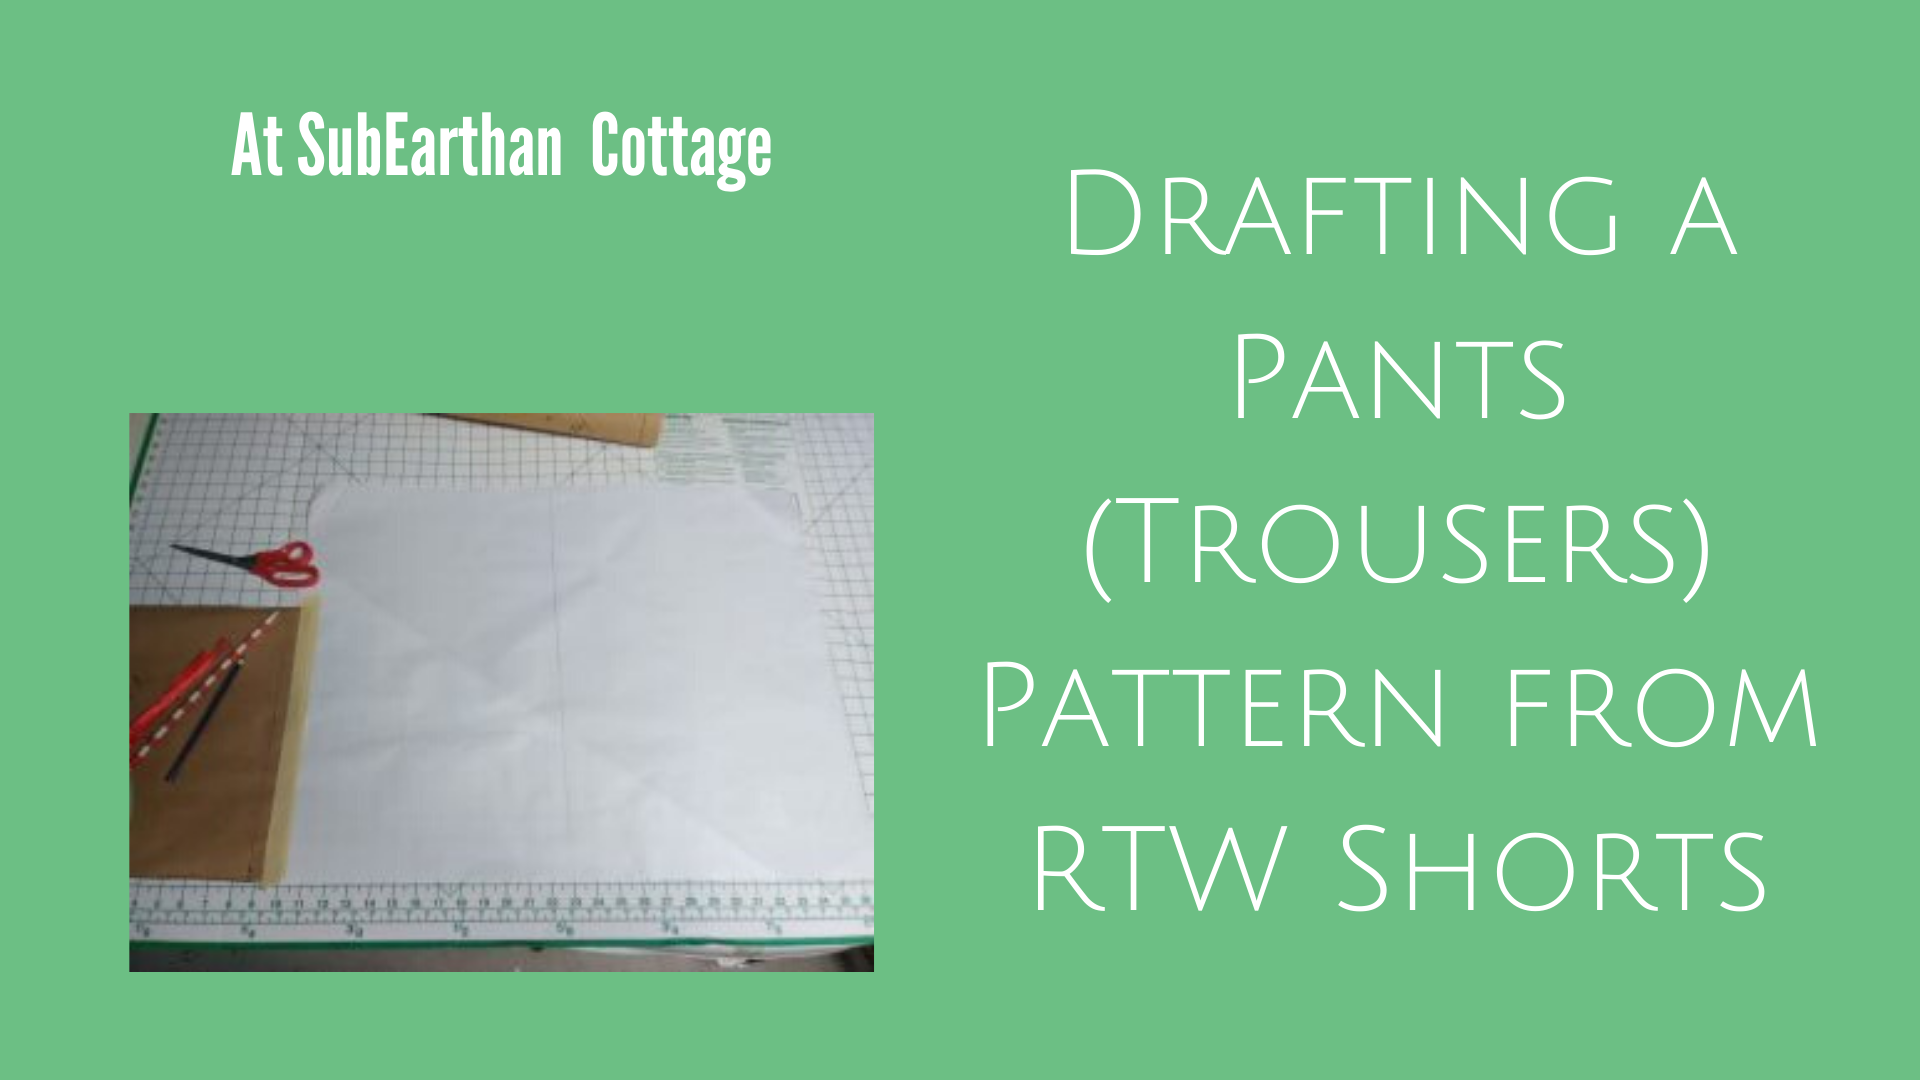
Making a Pattern from Shorts
This summer, I started by trying to copy a pair of the cotton knit gym shorts they practically lived in, adding a gusset for comfort and mobility. I used to buy bulk bags of t-shirts from Thrift Town before they closed, so instead of using new fabric, I used some XL t-shirts I had on hand. That way, if things went horribly wrong I wouldn’t feel as bad.
If you follow me on Instagram, you might remember seeing this photo with some enticing caption like, “Working on a new project!” Then, nothing else was said. Sorry.
I have zero experience with pattern making, so this was a learning experience. Here’s a brief overview of how I did it.
I laid the shorts inside out and folded in half, front to the inside, smoothing them as flat as possible. Then I traced them, adding about an inch all around. The inch is for seam allowance and to account for the fact that it’s impossible to get finished shorts to lay flat. I always err on the side of too big, because that is much easier to fix.
At the waistband, I measured the waistband and extended the pattern by that amount plus seam allowance above the waistband. This allows it to be folded down for elastic and a drawstring casing. At the hem, I extended the lines two times the width of the hem to allow enough fabric to fold and hem. On the pattern, I drew lines straight across to show where the finished hem and waistband hit on the original shorts for reference.
Then I folded them in half , backs to the inside and repeated the above steps since the back is cut differently than the front.
Drafting the Gusset
For the gusset, I drew kind of a triangle with the top point cut off. To do this evenly, I folded a piece of paper in half, drew a half inch line perpendicular to the fold, moved over about four inches and drew another perpendicular line measuring one and a half inches. Then I drew a straight line connecting the tops of the lines. I cut along the lines and opened it up to get my gusset pattern. Sewing the gusset in with the wider part at the crotch seam and using a half inch seam allowance results the gusset tapering down to a point.
Shorts to Pants
Shorts work for summer, but I needed to come up with a pants pattern for fall and winter. Chris suggested just making the shorts pattern longer, so I did by measuring the waist to floor measurement and extending my pattern the needed amount, including seam allowances.
I did this by taping the bottom of the pattern to a big piece of paper, sketching out the needed length and side seams and cutting it out.
Final Pants Result
My pattern isn’t perfect. I think I’ve tweaked it each time I’ve used it. Since the pants are made to be loose and flowy it hides the imperfections.
These are my first attempt. I made them with a linen blend, elastic and drawstring combo waistband and no pockets. I added side-seam pockets later.
My goal is to find or draft a few more basic, customizable patterns for pants and shirts that can be made in linen or a similar material. Then I can buy a bulk amount of undyed fabric and dye it as needed.
Like this post? To make sure you never miss a future post, please sign up for my newsletter.
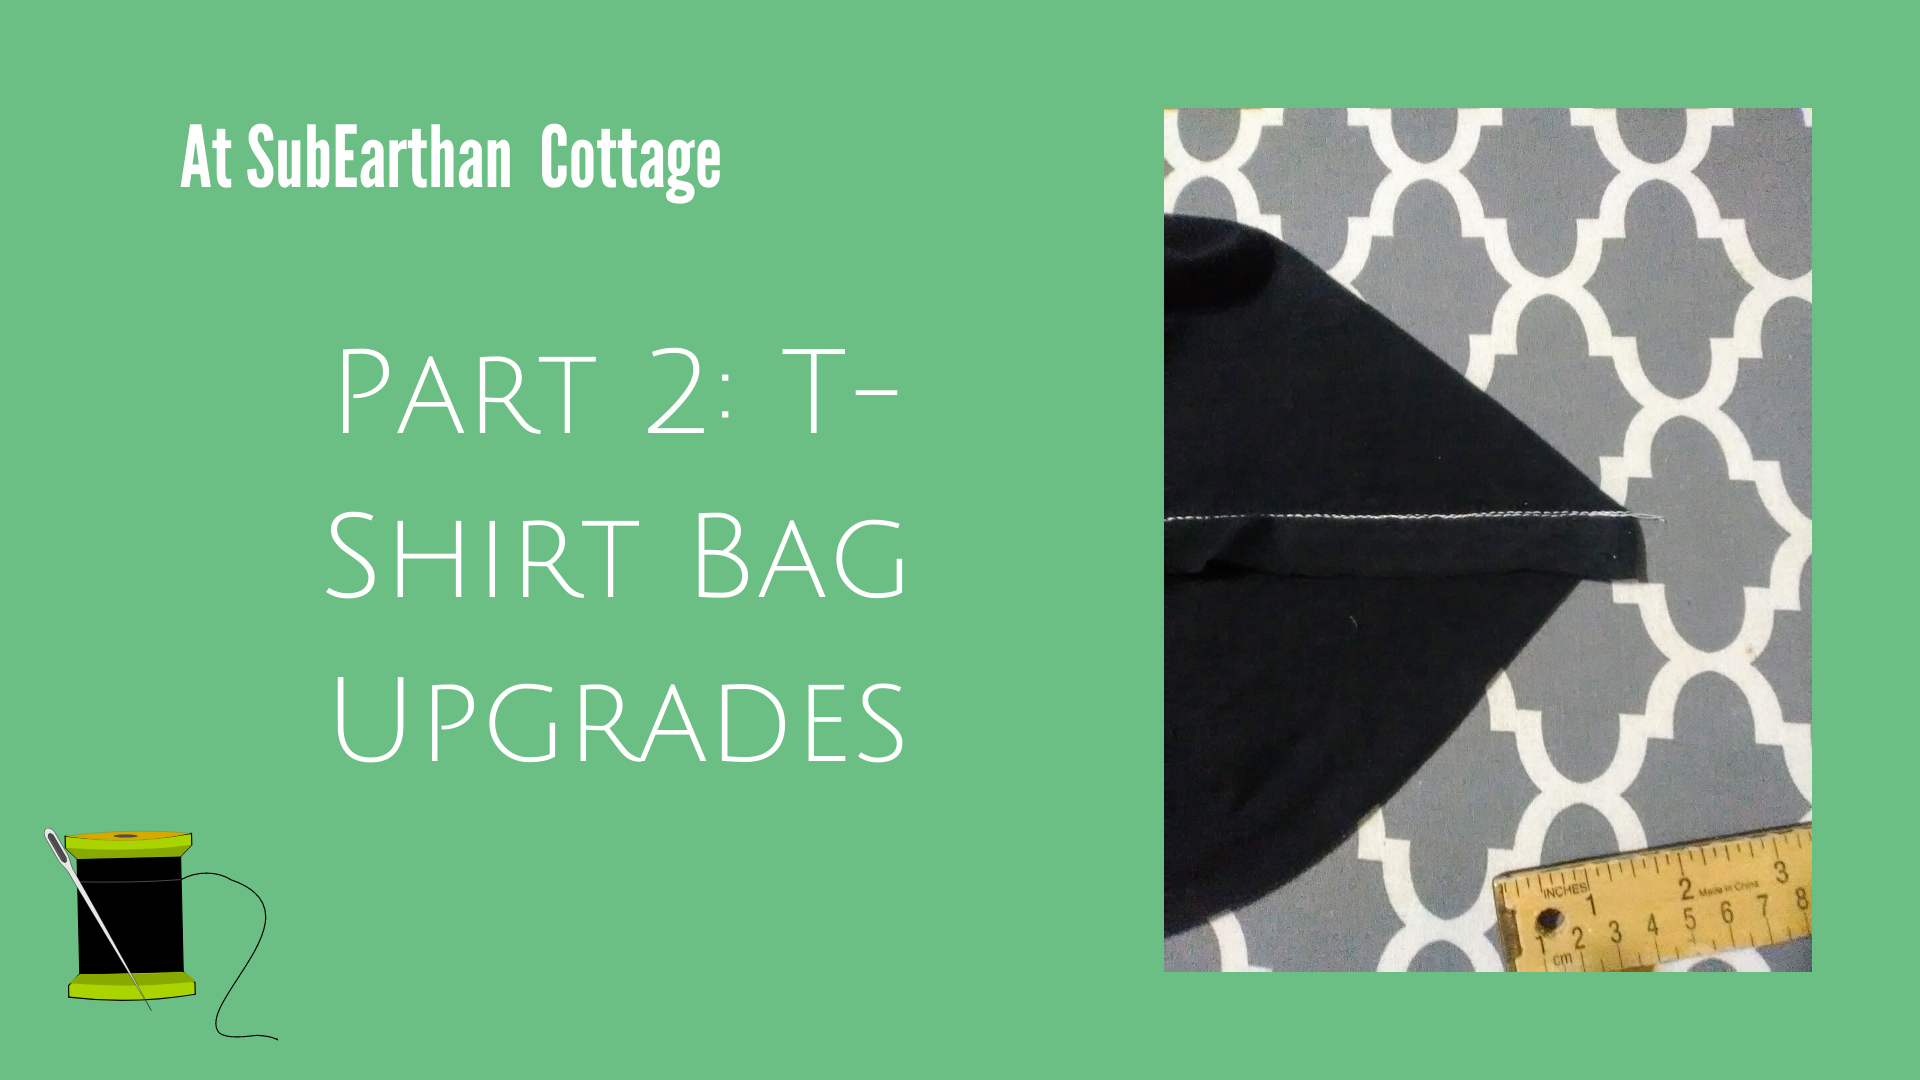
In last week’s tutorial, the bottom hem was double stitched but otherwise left raw. Since knits don’t unravel, it is fine to leave it that way. I prefer to finish the raw edge, either with a serger or by enclosing the cut edge.
The top seam is finished by serging the raw edge. If you don’t have a serger/overlock machine, you can use a zig-zag or overcast stitch on a regular sewing machine.
The bottom seam is enclosed. Do do this, when following the first tutorial (found here) do NOT turn the shirt inside out when sewing the first bottom seam. Instead, sew it with the shirt right side out. Once it is sewn, trim any excess material from below the stitch line, leaving about 1/8-1/4 of an inch.
Now, turn the shirt inside out and smooth the bottom seam flat, like in this photo:
Pretend the bag is inside out this time.
Once it is all smooth (ironing helps) sew a seam at least 1/2 inch to 5/8 inch from the bottom. This stitch line encloses the raw edge. Since it is the bottom seam that will get the most stress, I still stitch it twice. Turn it right side out, and you’re done, unless you’d like to add a little shape to your bag.
Boxing the bottom
Boxing the bottom of the bag basically squares off the bottom, similar to a paper bag. I rarely do this with t shirt bags. They are too floppy for it to make much difference without adding a ton of interfacing for support. I also like these bags because they are easy to fold and stash in the car or my purse. Boxing the bottom complicates that a little. Even so, sometimes a boxed bottom can help things like cereal boxes or egg cartons fit neatly, so having one or two is nice.
Step 1
With your bag inside out, flatten the bottom seam so that it forms a triangle. That is a horrible description, so hopefully you can see what I mean from this photo:
The white stitching is the bottom hem of the bag. It should be in the middle, cutting the triangle in half.
Step 2
Measure about 3 inches down from the point of the triangle and draw a straight line perpendicular to the hem stitching.
Step 3
Sew along the line you drew twice to make it a strong seam. This photo shows my stitching in red and my chalk line.
Repeat steps 1-3 on the other side.
Step 4
To finish, you could cut the excess part of the triangles and leave them raw or overcast/zig-zag stitch the cut edges. If you want to add strength and more structure to the bag, leave the triangles intact. Fold them down flat into the bottom of the bag and either tack in place with a few stitches at the point or sew along the loose sides of the triangles.
Inside of the bag with one triangle sewn down. View from the outside of the bottom of the bag.
I, Charity Sloan, am a participant in the Amazon Services LLC Associates Program, an affiliate advertising program designed to provide a means for sites to earn advertising fees by advertising and linking to Amazon.com. Any purchases through those links will result in my receiving a small percentage in commission.
This only refers to Amazon links found in/on my blog pages. All products in my shop are 100% mine and not linked to Amazon.
Prices are the same whether you click an affiliate link or a non-affiliate link, so you will not be charged more. Thank you for your support!