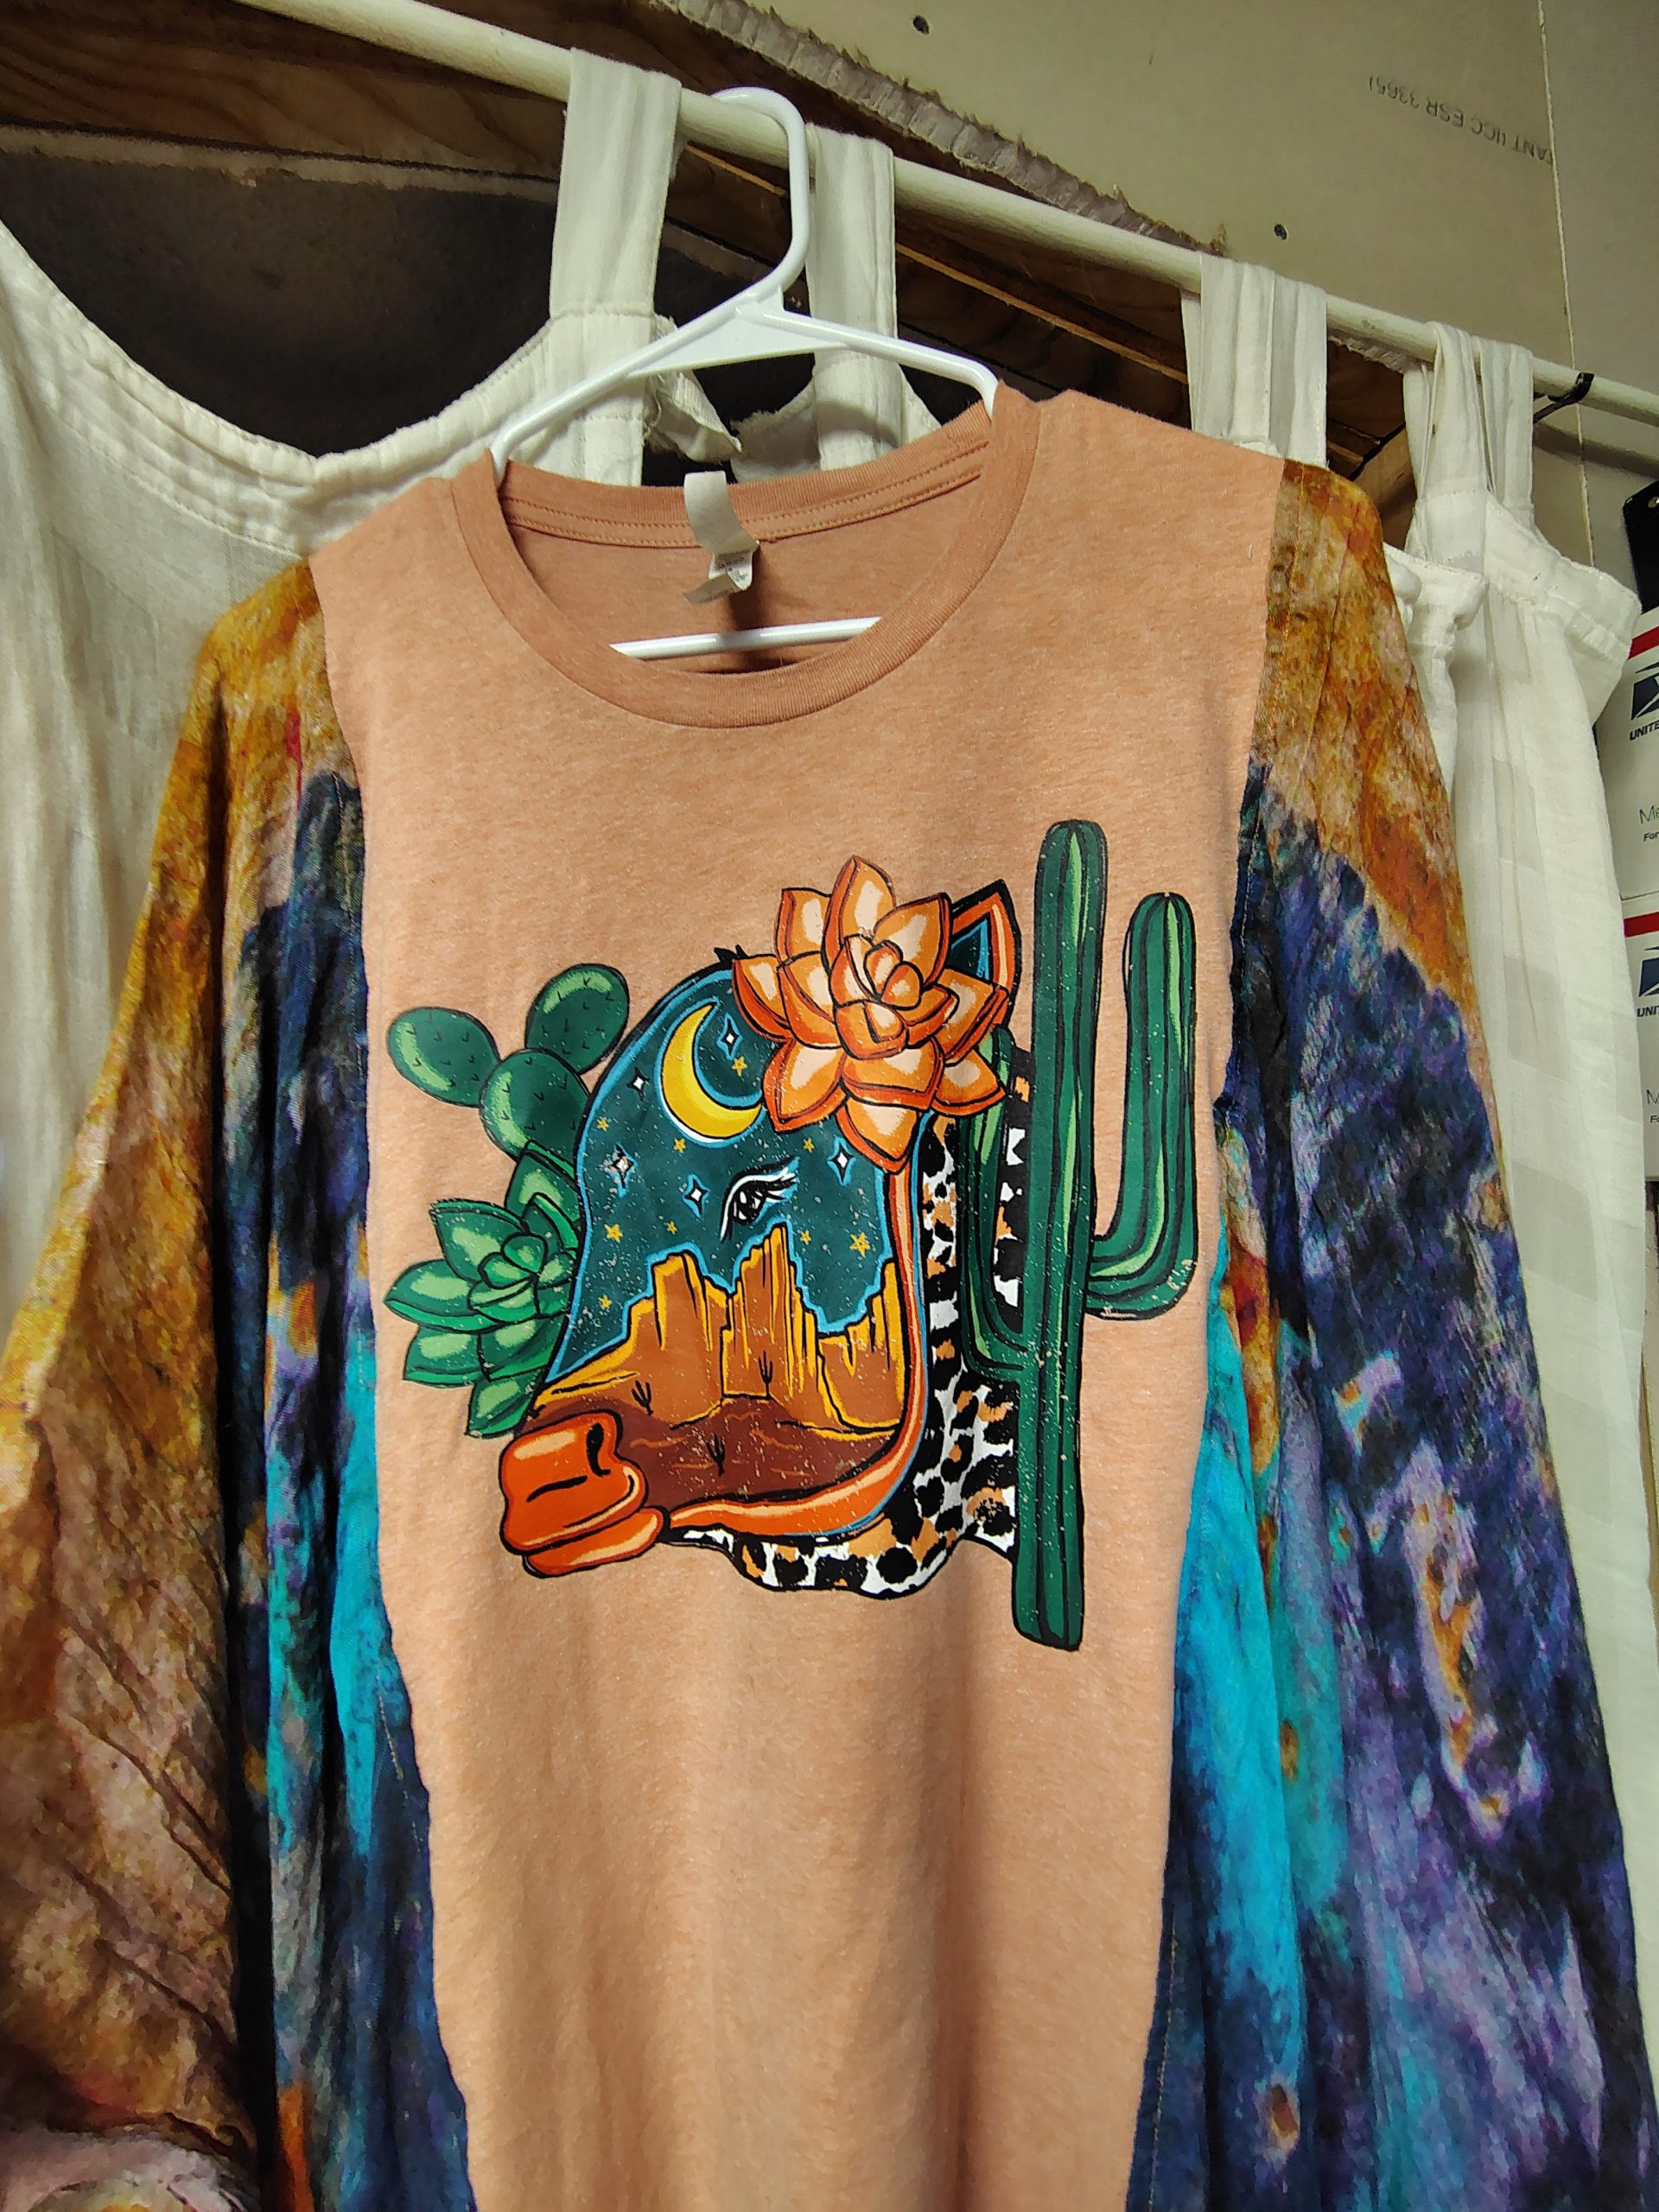
Better photos are coming soon, but I really wanted to show this one off and answer a few questions about my poncho shirts.
Sizing. My goal with these shirts is to make them so drapey and roomy that they will fit the most body types through just about everything. If you gain 15 pounds because hormones or pizza, this shirt has your back. If you get pregnant and gain 50+ pounds like I did every single time, it’s still going to be loose and drapey, although probably a little shorter. If you have that baby and choose to nurse them, it’s got you covered. Literally. If you like a little coverage while feeding your baby, this shirt will provide.
I list the measurements of these shirts flat on my website. This one is 42 inches from side seam to side seam flat. That means it has an 84 inch circumference.
The length is determined by the length of the original T-shirt and scarves. While they look adorable layered over a cami or with a little belly showing, I know not everyone likes that. I can totally add a coordinating piece of T-shirt to lengthen the middle front and back of one if you’d like.
Or, let me know your preferred length and colors and I will scour the thrift stores for a suitable shirt and scarf combo for you.
Or, and this option does make me a bit nervous, I can make a poncho shirt out of a t-shirt you send me. It only makes me nervous because WHAT IF MY WELL BEHAVED SEWING MACHINE DECIDES TO EAT SOMEONE’S SHIRT!!! I’m probably being a little paranoid. Also, I can do customs just because, not only for sizing issues.
Those custom options will only cost more if the material costs are significantly higher. That’s really only going to happen if I have to buy a brand new T-shirt or a fancy-pants brand T-shirt.
Finally, as I’ve previously mentioned, I do source my materials from local thrift stores. That makes every shirt unique and keeps clothing out of landfills. If that’s not your thing, you do you. 😘
Find all my upcycled clothing here: https://subearthancottage.com/product-category/upcycled-clothing/
If you’re interested in something like this shirt that I haven’t listed yet, please contact me about it.
In last week’s tutorial, the bottom hem was double stitched but otherwise left raw. Since knits don’t unravel, it is fine to leave it that way. I prefer to finish the raw edge, either with a serger or by enclosing the cut edge.
The top seam is finished by serging the raw edge. If you don’t have a serger/overlock machine, you can use a zig-zag or overcast stitch on a regular sewing machine.
The bottom seam is enclosed. Do do this, when following the first tutorial (found here) do NOT turn the shirt inside out when sewing the first bottom seam. Instead, sew it with the shirt right side out. Once it is sewn, trim any excess material from below the stitch line, leaving about 1/8-1/4 of an inch.
Now, turn the shirt inside out and smooth the bottom seam flat, like in this photo:
Pretend the bag is inside out this time.
Once it is all smooth (ironing helps) sew a seam at least 1/2 inch to 5/8 inch from the bottom. This stitch line encloses the raw edge. Since it is the bottom seam that will get the most stress, I still stitch it twice. Turn it right side out, and you’re done, unless you’d like to add a little shape to your bag.
Boxing the bottom
Boxing the bottom of the bag basically squares off the bottom, similar to a paper bag. I rarely do this with t shirt bags. They are too floppy for it to make much difference without adding a ton of interfacing for support. I also like these bags because they are easy to fold and stash in the car or my purse. Boxing the bottom complicates that a little. Even so, sometimes a boxed bottom can help things like cereal boxes or egg cartons fit neatly, so having one or two is nice.
Step 1
With your bag inside out, flatten the bottom seam so that it forms a triangle. That is a horrible description, so hopefully you can see what I mean from this photo:
The white stitching is the bottom hem of the bag. It should be in the middle, cutting the triangle in half.
Step 2
Measure about 3 inches down from the point of the triangle and draw a straight line perpendicular to the hem stitching.
Step 3
Sew along the line you drew twice to make it a strong seam. This photo shows my stitching in red and my chalk line.
Repeat steps 1-3 on the other side.
Step 4
To finish, you could cut the excess part of the triangles and leave them raw or overcast/zig-zag stitch the cut edges. If you want to add strength and more structure to the bag, leave the triangles intact. Fold them down flat into the bottom of the bag and either tack in place with a few stitches at the point or sew along the loose sides of the triangles.
Inside of the bag with one triangle sewn down. View from the outside of the bottom of the bag.
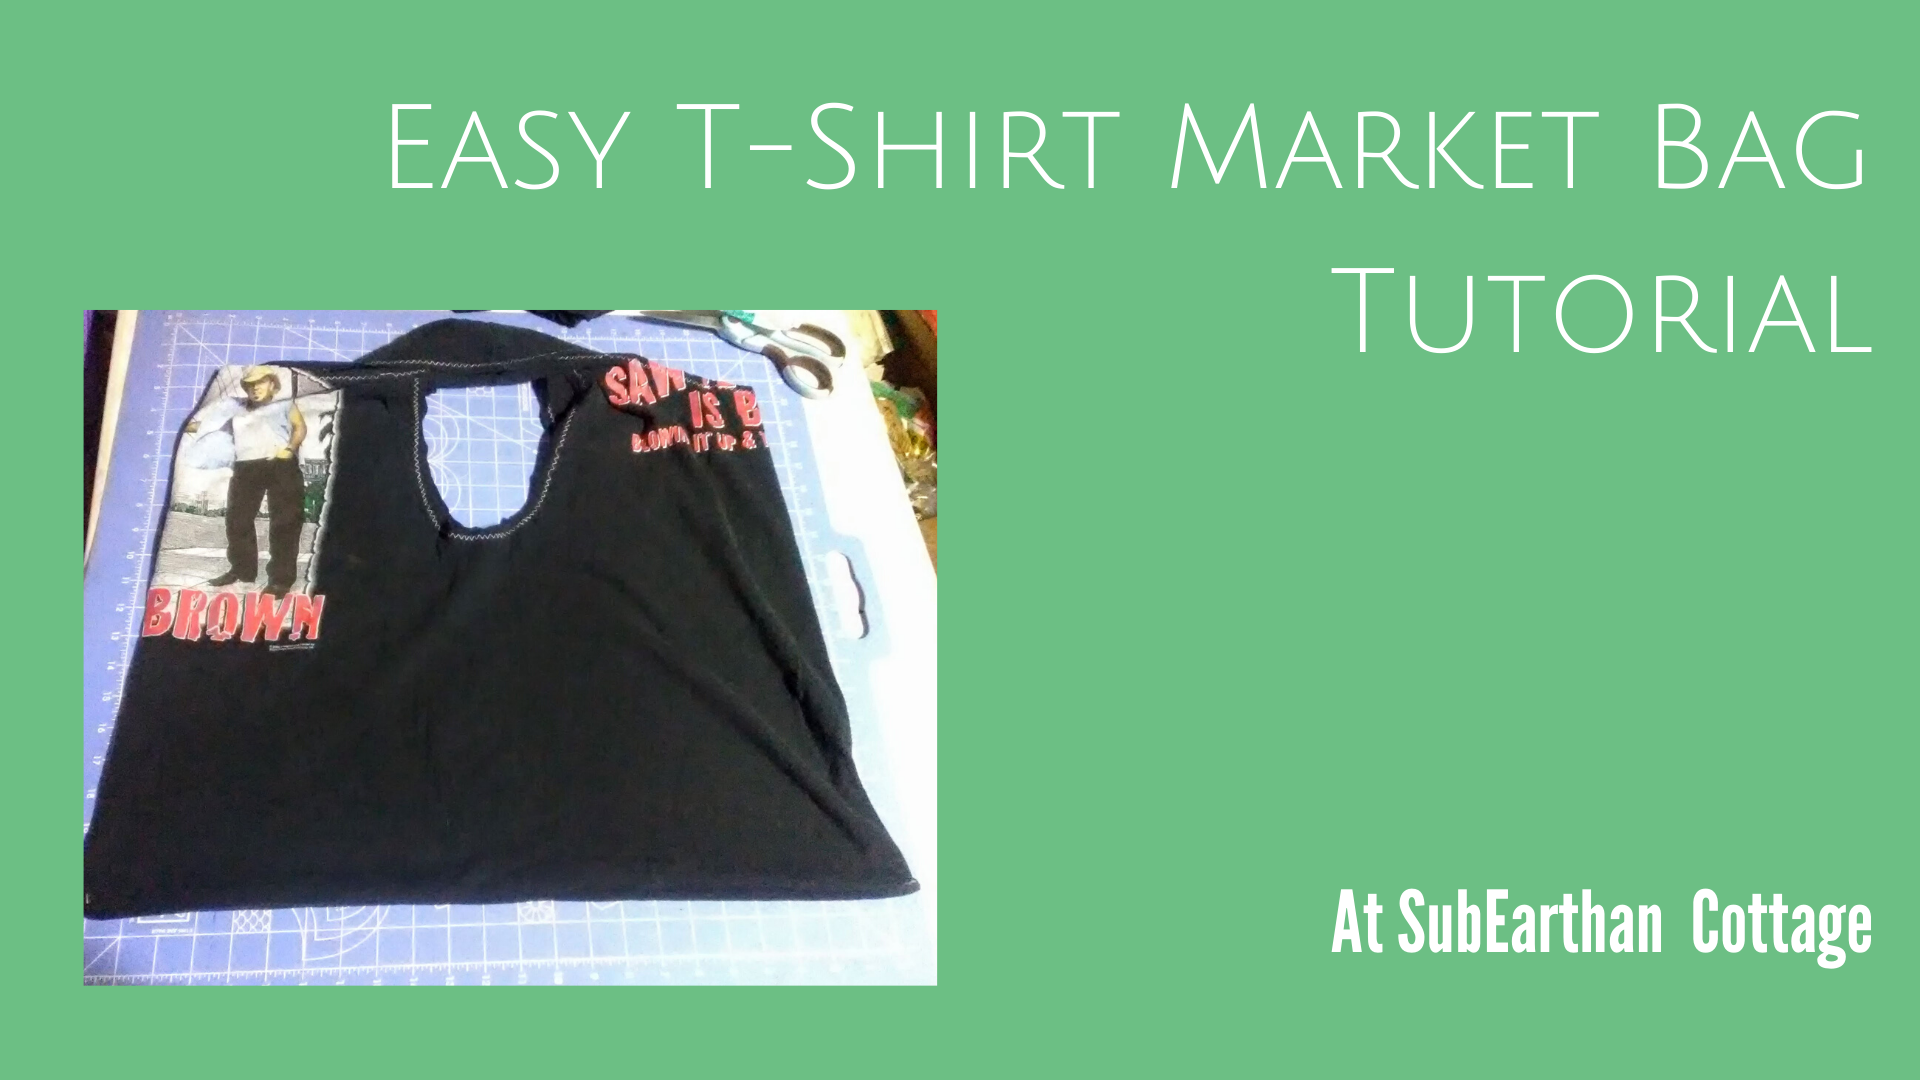
One of my lovely nieces is learning to sew with a sewing machine. To help, I thought I would do a series of beginning sewing project tutorials. Today’s tutorial turns an old t-shirt into a market bag. I’m keeping it simple today, but in the future I’ll do a post on how to make it with and enclosed bottom seam and how to box the bottom. It’s a great way to turn t-shirts that you no longer wear into something useful. If you don’t have a sewing machine, you could even sew it by hand.
Materials:
T-shirt
T-shirts with a high cotton content and no side seams work the best.
Thread in your choice of color.
Fabric scissors
Sewing machine set up with appropriate needle and bobbin threaded in your color choice.
Note: Ball point needles are generally the best for sewing with knits. This project does fine with an all-purpose needle, though, so use what you have.
Preparing the shirt:
Lay the shirt out flat and smooth out any wrinkles. Since this one is just to add to my Aldi bag stash, I didn’t worry too much about wrinkles.
T-shirt. I’m not sure where I got this one. Also, forgive the grainy photos. Lighting in my craft room wasn’t great that day.
Cut off the arms including the armhole seams.
Cut off the neck about 2-3 inches below the neckband. My shirt is pretty big, so I went three inches below the neckband. With smaller shirts you can do less.
I like to fold it in half before cutting to keep everything even. If your scissors aren’t sharp enough to go through all the layers, cut one side and then fold it in half to use as a template for the other side.
Cut straight across the bottom of the shirt to remove the hem. The hemline is often uneven on t-shirts, so focus on keeping the shoulder seams lined up, the shirt smooth and cutting a straight line that removes all of the hem.
Bottom hem removed.
At this point, you should basically have turned the t-shirt into a tank top. Now, decide if you want your bag to look like plastic grocery sacks that have the handles at the top sides (so, your tank top with the bottom sewn closed), or if you want the handles at the top middle, like a purse or market tote.
Looks like a tank top. For a grocery style bag, turn it inside out and lay it back
flat in this position.
For the grocery sack-style, turn your shirt inside out and lay it flat, just like a tank top again. For the purse/market tote, turn it inside out and match the shoulder seams and armholes together, then lay it flat. I’m making a market style tote, so you can see it in the photos.
For a purse/market tote turn it inside out and lay it flat with the shoulder seams at the top, as shown here. I find this style easier to carry on my shoulder.
Once everything is lined up, pin along the bottom to hold it in place.
Pinned hem.
Sewing the bag:
Many sewing machines have an assortment of stitches to use with knit fabric. They are useful for keeping the thread from breaking when the fabric stretches. On my machine, they are labeled “stretch” and shown in brown. Zig-zag stitches also work well on knits.
Normal stitches are in red. Stretch stitches are in brown.
You could use a stretch or zig-zag stitch for the bottom of the bag. Since it really shouldn’t be stretching much, I usually stick with a regular straight stitch set to a long-ish length of 3.
Straight stitch.
Length of 3.
Regardless of the type of stitch you choose, I recommend sewing across the bottom twice to make it nice and strong.
The seam allowance, or distance between the edge of the fabric and the stitches, doesn’t really matter that much as long as you keep it the same all the way across. For this bag, I used a 5/8 inch allowance, marked on the footplate of my machine. To keep a straight line, focus on keeping the fabric lined up with the guideline for the seam allowance rather than watching the needle.
Edge of fabric lined up on 5/8 mark.
At the start , sew about 2-3 stitches then backstitch to secure the stitching before continuing to sew to the end. At the end, backstitch another 2-3 stitches, then sew to the end and cut the threads. Repeat the seam as close to the original line of sewing as possible to make it nice and strong.
Back stitched first seam
Second line stitched for reinforcement.I tried to stay as close to the first line as possible.
Turn the bag right side out. Since knit doesn’t unravel, you could stop there and be done. I like to sew around the arm and neck holes to reinforce the t-shirts original shoulder seams and give it a more finished look.
Finishing around the t-shirt arm and neck hole handles:
I usually use a serger for this, but it’s not necessary. On a sewing machine, I do like to use either a zig-zag or stretch stitch since there is going to be more stretch on the handles so a straight stitch might break.
Zig-zag setting.
This time, I’m using a zig-zag stitch, keeping the stitch length set at 3 and using about a 1/2 inch seam allowance. If your sewing machine has a free-arm, it can make it easier to sew around the armholes if you use it. Sew around each arm hole and the neck hole separately.
Messy zig-zag backstitching.
To start and finish the zig-zag, I backstitched like normal. It looks a little messy that way. You could leave extra thread at the beginning and end, pull the threads to the back side and tie knots to secure them if you want a cleaner look.
Finished t-shirt bag.
That’s it. You now have a purse or reusable bag from what used to be an old t-shirt. Don’t throw the t-shirt scraps away. I’ll post some creative uses for them soon!
To learn how to make this bag a little more polished, read my t-shirt bag upgrades post.
If you read through the tutorial and like the concept but don’t want to diy, I still have a few left in my shop on clearance here.
Like this tutorial? To make sure you don’t miss out on future tutorial posts, sign up for my newsletter.
I, Charity Sloan, am a participant in the Amazon Services LLC Associates Program, an affiliate advertising program designed to provide a means for sites to earn advertising fees by advertising and linking to Amazon.com. Any purchases through those links will result in my receiving a small percentage in commission.
This only refers to Amazon links found in/on my blog pages. All products in my shop are 100% mine and not linked to Amazon.
Prices are the same whether you click an affiliate link or a non-affiliate link, so you will not be charged more. Thank you for your support!