Posted on Leave a comment

Last Chemo Day! And More Treatment Details

‘This is a breast cancer and treatment post. If you don’t want to read about medical stuff, check out some of my DIYs and recipes.

I actually started this post about a week and a half ago on my last chemotherapy day. Then, I got tired, then sick a few days later and got to stress over whether I needed to go to the hospital. Luckily, all I needed was rest, antibiotics and my mom for a few days.

Today is my last chemotherapy treatment. I had an MRI done a week ago that shows all the previously affected lymph nodes to look completely normal. As for the three tumors in my breast, all that remains is wispy asymmetry in a benign pattern. “Wispy asymmetry” almost makes it sound pretty. Almost.

I’m still having a double mastectomy in June. The cancer was so diffuse and since I’m young, we’re not taking chances. It’s kind of funny how relative age is. When I was pregnant at thirty five, I was of “advanced maternal age” and it was considered a “geriatric” pregnancy. Get breast cancer at forty one and I’m young again, lol.

The chemo has made it so I won’t lose as many lymph nodes, so that is great news. Fewer lymph nodes removed means less chance of lymphedema.

Pathology from the surgery will determine if radiation is needed and if I will continue on the Herceptin and Perjeta or switch to a different targeted therapy. I’d really like to avoid radiation, if possible. For some reason, I’m more worried about radiation than chemo and surgery.

I am looking forward to having hair again. It will be nice not having to wash my hair while recovering from surgery, and being bald in summer isn’t terrible. I’m over tying scarves or wearing my wig, though, and as it gets hotter, both are uncomfortable. I need some hair to keep my scalp from getting sunburned.

I did make myself a couple of bucket hats that are easy to throw on. They turned out nicely, so I made a couple more to put in my shop. Right now, this is the only print, and I only have two available.

Bucket hat available for sale at SubEarthan Cottage.

Like this post? To make sure you don’t miss out on future posts, sign up for my newsletter.

Posted on Leave a comment

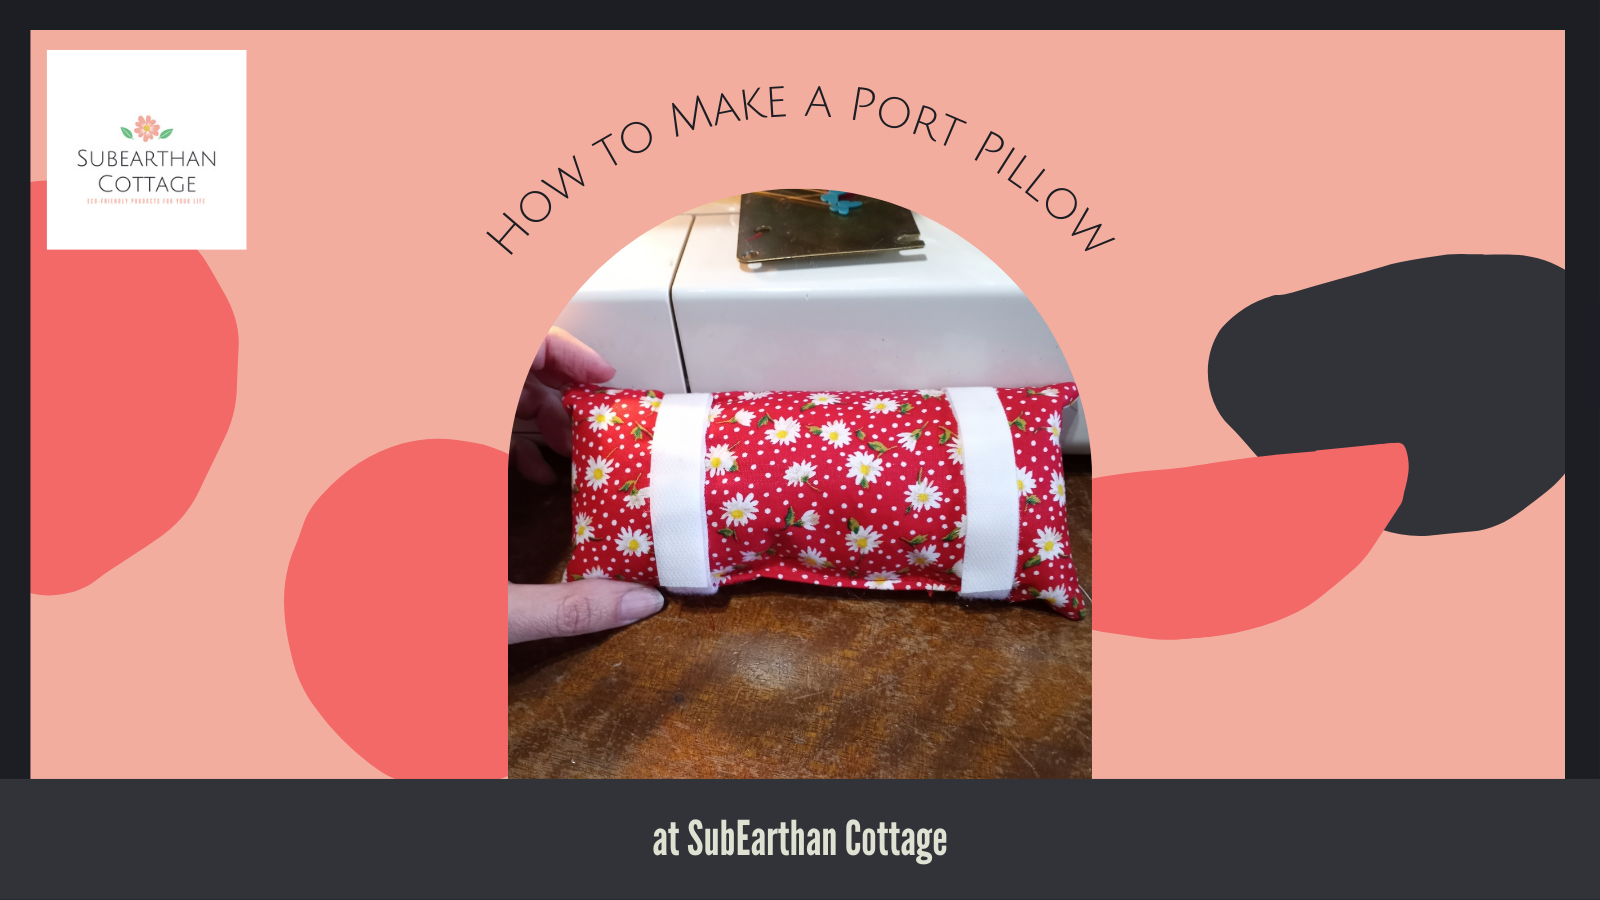
How to Make a Port Pillow

Something that I have found very useful since getting my chemo port put in is a port pillow. Port pillows are small pillows that attach to seatbelts to prevent the seatbelt from irritating the port. Luckily, they are super easy to make with very little materials needed. There are many organizations that accept them as donations to give to cancer patients, so that’s something to consider if you are looking for a charitable way to use up your stash.

Materials for a port pillow.

Materials needed for One Port Pillow

  • 2 rectangles of soft fabric, approximately 4 inches by 7 inches. I like using quilting cotton.  There is enough fabric in my soap’s wrapping to make one pillow, so upcycle if you have it. 
  • 2 pieces of hook and loop tape (Velcro) measuring 3.5 inches each. 
  • Polyfil or other stuffing.
  • Thread

Step one: Baste the Velcro

Separate the Velcro pieces and baste them in place on one piece of the fabric close to the edges. I just eyeball the placement at about halfway between the middle and short edge of the rectangle for each Velcro piece. I like to make the softer piece face up, but it doesn’t really matter. You could also use pins to hold it in place instead of basting, but I find machine basting easier. 

Step Two: Sew the pillow

Sew the fabric rectangles wrong sides together as shown in the photo below. Be sure to leave an opening for turning. I left the opening on a long side for this one, but it’s easier to sew closed if you leave it on a short side. 

Leave the opening on the end next time.

Step Three: Turn and Stuff

Clip the corners, being careful not to cut the thread, turn the pillow right side out and stuff. I like to press the empty pillow before stuffing for a crisper look. Just be careful not to melt the Velcro if you do this too. 


Turned and pressed.
Stuffing. Needs a little more to be semi-firm.

Step Four: Sew it Closed

If you want the seam hidden, you can sew it closed by hand. I don’t mind the seam, so I use my machine to make it quick. This is much easier when the opening is on the end as evidenced by the number of pins I used to hold it closed. I hate using pins. 

I can usually manage without pins when the opening is on the end.

Done

The end result should look something like this.


This is one of those projects that I’ve done so often I may have overlooked something in trying to tell someone else how to do it. If anything is confusing, please ask in the comments. I will clarify it ASAP.

Like this post? To make sure you don’t miss out on future posts, sign up for my newsletter.