Posted on Leave a comment

Mushroom Brown Rice for Instant Pots

Mushrooms are one of those foods that you either love or hate. I love them and try to incorporate them into once in awhile in hopes of swaying my kids to the “love” side. Finn is already there and Thadd is interested but skeptical that something with that texture can be delicious. I’m not giving up on Beckett, but I think he may have inherited his dad’s and grandma’s mushroom dislike. 

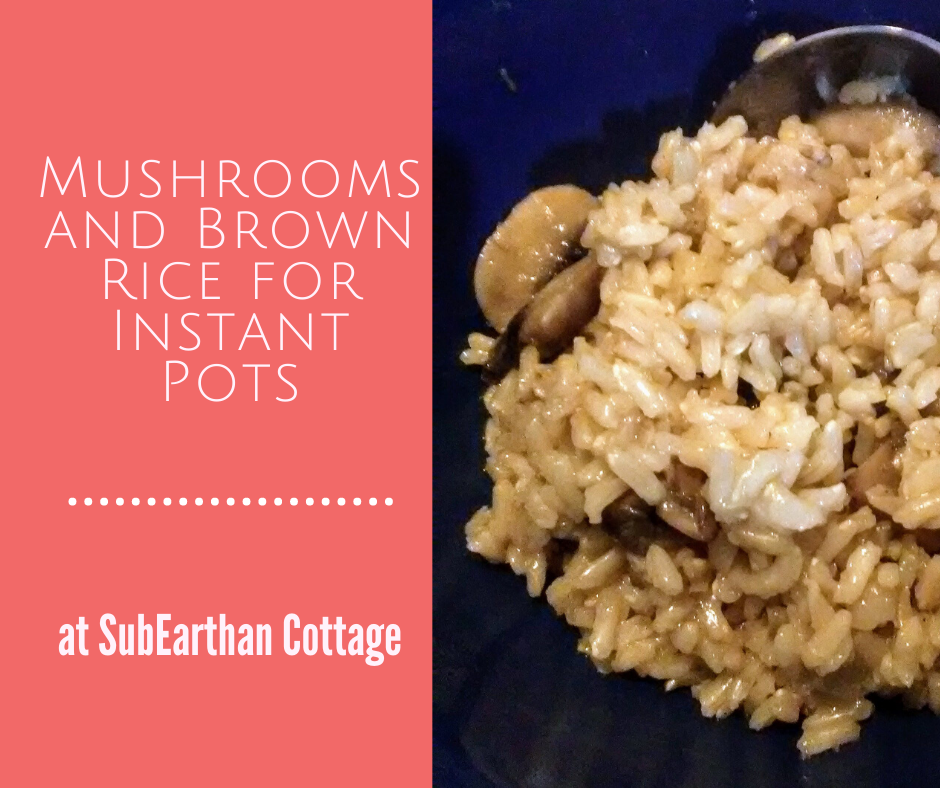
This mushroom brown rice dish is rich but mild, with the brown rice adding a little nutty flavor. Because the mushrooms are sliced and not chopped, they are large enough for little mushroom skeptics to remove them and eat the rice.

Not a fan of brown rice?

The brown rice adds to the flavor, but takes a lot longer to cook than white rice. With an electric pressure cooker, it’s only about 15 minutes of active prep time. After that, the pressure cooker does all the work. If you’re in a hurry to eat, though, swap it out in favor of a long grain white rice. I like basmati and jasmine rice the best for white rice. 

Dietary Restrictions?

As written, this recipe is plant-based, gluten free and dairy free. If you choose to use broth instead of water, that could change depending on the type of broth you use.

One thing I like to keep on hand is a broth base called “Better than Bouillon“.  It’s a paste that comes in a small jar. You mix a bit of the paste into water to make broth like you would with bouillon. To me, it really does have a better flavor, and a little goes a long way. I usually have the vegetable version on hand and would have added a bit to this recipe, but I used my last bit up yesterday. They also have a mushroom version that would compliment this recipe as well. Between the onion, garlic, mushrooms and brown rice, though, it’s really not necessary. 

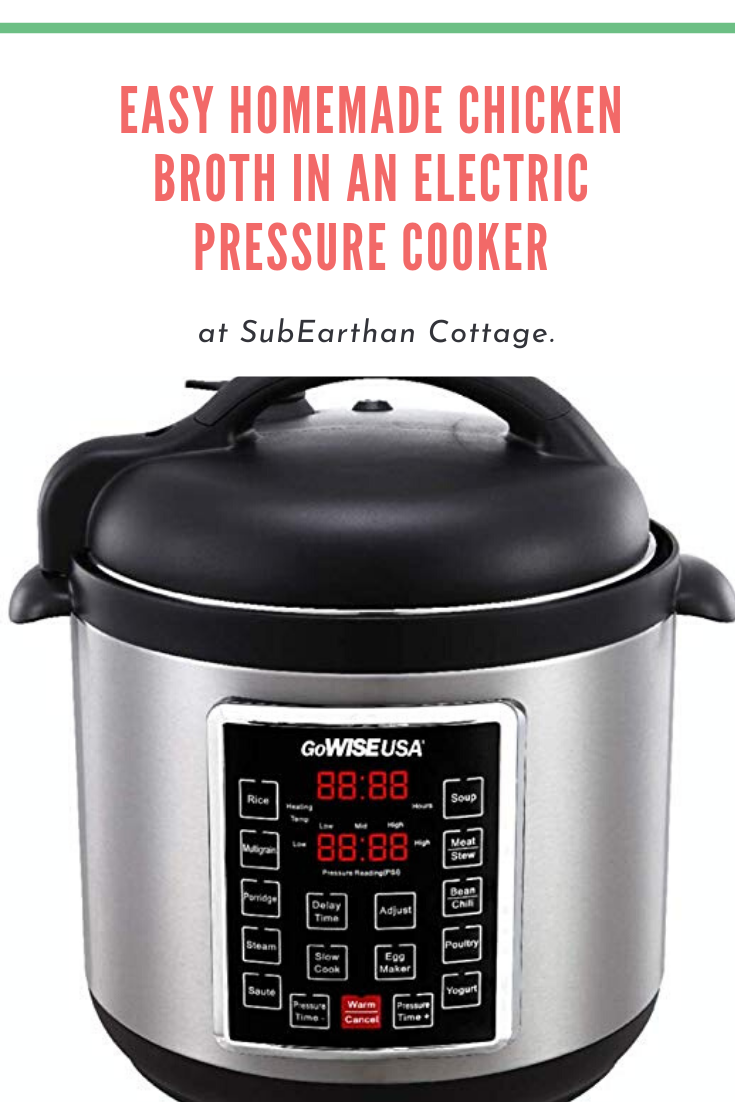
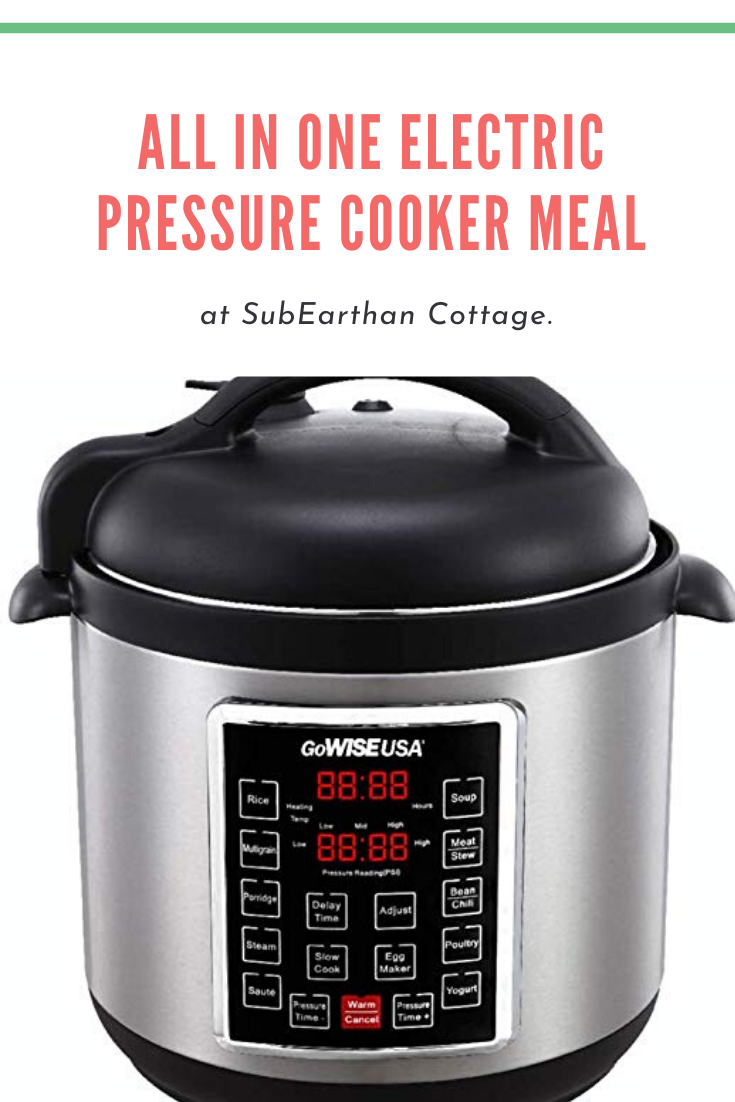
All electric pressure cookers welcome.

I’ve titled this post “Mushroom Brown Rice for Instant Pots” because Instant Pot has become the most popular brand and is now synonymous with electric pressure cooker. The recipe should work in any similar electric pressure cooker. Personally, I use a GoWise brand 8 quart electric pressure cooker.

Mushroom Brown Rice for Instant Pots or other Electric Pressure Cookers

Rich, earthy mushrooms in nutty brown rice make this work as a side dish or, serve with a salad to make it a meatless main course. Makes 6-8 servings.
Prep Time15 minutes
Cook Time22 minutes
Course: Main Course, Side Dish
Keyword: gluten free, mushroom, rice, vegan
Servings: 8 people

Equipment

  • Electric pressure cooker, such as an Instant Pot

Ingredients

  • 1 T coconut or other oil
  • 1 small onion, diced
  • 3 cloves garlic, minced
  • 3 cups mushrooms, sliced White, bella or similar.
  • 1.5 tsp salt Can use less if preferred.
  • 3 cups water or broth
  • 2 cups long grain brown rice
  • 1 squeeze lemon juice optional
  • 1 dash black pepper Adjust to taste.

Instructions

  • Select "Saute" on the pressure cooker and add the coconut oil.
  • Add the diced onion and saute until translucent.
  • Add the minced garlic and saute for about a minute more.
  • Add the mushrooms, salt and pepper. Continue to saute until onions are lightly browned and mushrooms begin to get some color.
  • Add about 1/2 cup of water or preferred broth and stir up any browned bits from the bottom of the pot. Let simmer for 1-2 minutes.
  • Add the rice, remaining 2 1/2 cups of water, lemon juice and pepper.
  • Turn off the "Saute" function and set the pressure cooker manually to 22 minutes or follow your pressure cooker's instructions for brown rice. Most require longer than the "Rice" setting allows.
  • Allow the pressure to release naturally for at least 10 minutes before doing a quick release. I think it's best to let it naturally release completely if you have the time.
  • Fluff rice and serve.

Notes

This recipe has tons of flavor with just water, but you can use broth (vegetable broth to keep it vegan) if you prefer. Unless the broth is low sodium, you probably want to reduce the amount of salt.
I like coconut oil, but feel free to use olive or your preferred cooking oil.
Brown rice adds an earthy, nutty flavor, but it takes a long time to cook compared to white rice. If you’re in a hurry, substitute a long grain white rice and reduce the cooking time to 8 minutes or use the “Rice” setting. Basmati is my favorite long grain white rice.

While I try to write recipes as clearly as possible, it’s easy to miss a step or make assumptions. If anything is confusing, please don’t hesitate to comment with your questions. If you make this recipe, please let me know what you think.

Like this post? To make sure you never miss a future post, please sign up for my newsletter.

This post contains affiliate links. If you click through any of the Amazon links and make a purchase, I will receive a small commission. There is no added cost to you.

Mushroom brown rice
Posted on 2 Comments

Easy Homemade Chicken Broth in an Electric Pressure Cooker

If you have an Instant Pot or other electric pressure cooker, delicious homemade chicken broth takes just a few minutes of prep. This technique can easily be applied to other types of broth as well.

The ingredients

When I make chicken broth, I prefer to use bones from a cooked chicken. It’s easy to cook a whole chicken in an electric pressure cooker, or use an oven-roasted or rotisserie chicken. Save the bones for broth to make a chicken stretch farther meal-wise. You can make the broth immediately after de-boning a cooked chicken. If you’re short on time, store the bones in the freezer until you’re ready.

To flavor the broth, I like to add some combination of carrots, celery, onion, garlic, salt and pepper. I usually use:

  • one onion peeled and cut into chunks
  • one or two carrots
  • two to three celery stalks broken into two or three pieces each
  • two to three cloves of peeled garlic
  • a few peppercorns
  • about 2 teaspoons of salt.

It’s easy to add salt and pepper to taste to the finished broth, so I lean toward adding less at the beginning.

Herbs like sage, bay leaf, parsley, basil and oregano are great additions, too. You could also add jalapeno to give it some spice.

Making the Chicken Broth

To make the chicken broth, put the bones, chosen vegetables and seasonings into the pot of your electric pressure cooker. Add enough water to cover the ingredients by 1-2 inches. Lock the lid and manually set the pressure cooker to cook on high pressure for 2 hours. When it’s done, depressurize naturally.

Once it’s cool enough to handle, I like to pour it through a mesh strainer to get all the small bones and vegetable remnants out. If not using the broth within a few days, it’s best to store it in the freezer.

That’s it. With a just few minutes of prep to assemble the ingredients, an electric pressure cooker makes flavorful chicken broth that tastes like it was simmered on the stove all day long. Unlike on the stovetop, though, there’s no worry about it boiling over, and the time is dramatically reduced.

Like this post? To make sure you never miss a future post, please sign up for my newsletter.

Posted on 2 Comments

Whole Chicken and Potatoes for Electric Pressure Cookers

whole chicken recipe for electric pressure cookers

Whole chickens are inexpensive, frugal type of meat. They provide easy leftover meals, and you can use the bones to make homemade broth for soups and to flavor other meals. While you can cook a whole chicken in an Instant Pot or other electric pressure cooker (this is the type I have) just by seasoning it and adding it to the pot with liquid, a few extra steps will add even more flavor to the final result.

Customize your whole chicken

I like to keep the seasonings fairly neutral so that I can get creative with the leftovers. My family often gets bored with multiple meals of chicken and vegetables. If I use some of the chicken for chicken tacos for the next meal and chicken soup with the rest, it makes it less monotonous.

In this recipe, to keep it neutral I use salt, pepper and poultry seasoning to flavor the chicken. It’s easy to adapt the seasonings for a different twist. Cumin, chili pepper and cayenne pepper work well for making chicken chili, tacos or tortilla soup with the leftovers. Garlic, ginger and orange zest work well for making leftover chicken stir-fry. Get creative with the flavors you like.

You can also leave out the potatoes or swap them out for other hardy vegetables. Root vegetables hold up the best with the longer cooking time the chicken requires. Sweet potatoes, carrots and parsnips are some possibilities.

Slow cook

One neat feature on most electric pressure cookers is the ability to use them as a slow cooker. If you’d rather slow cook your whole chicken, follow the steps through step 11. Instead of locking the lid and setting it to cook under high pressure, keep the lid in the venting position and select the slow cook setting. You will want to cook the chicken for about 3-4 hours on “high” slow cook or 6-7 hours on “normal” slow cook, which is the equivalent of “low” on a traditional slow cooker. I do recommend double-checking the instructions for the slow cook setting on your pressure cooker, as there may be some variations.

Electric Pressure Cooker (Instant Pot) Whole Chicken and Potatoes

This is my method for cooking a flavorful whole chicken and potatoes in an electric pressure cooker. After a little prep work, you can walk away and let the pressure cooker do it's job without having to check on it or worry about overcooking. I'm using an 8 quart electric pressure cooker. If yours is smaller, you may need to adjust the size of the chicken and other ingredients accordingly.
Prep Time25 minutes
Cook Time35 minutes
Course: Main Course
Servings: 6 people

Equipment

  • Electric pressure cooker
  • Trivet or rack insert for the electric pressure cooker

Ingredients

  • 5-6 lb whole chicken, giblets removed
  • 1 large onion, cut into wedges
  • 5-6 medium potatoes cut into large chunks Firmer potatoes, like Yukon golds work a little better, but I used Russets because that's what I had on hand.
  • 4 tbsp coconut or other high heat oil
  • 3/4 cup water or chicken broth
  • salt
  • pepper
  • poultry seasoning

Instructions

  • Season both sides of your chicken with your choice of seasonings. I used salt, pepper, and poultry seasoning, but you can adjust this to your family's taste.
  • Select the "Saute" setting on your pressure cooker.
  • Add the coconut oil to the pot and heat until melted and shimmery.
  • Brown the whole chicken on both sides in the coconut oil until lightly browned. I use this time do cut up the onion and potatoes.
  • Remove the chicken and set aside.
  • Add the onion wedges to the pot and cook until translucent and starting to brown.
  • Add about 1/2 cup of water or broth to the pot with the onions to deglaze the pot. Be sure to scrape up the browned bits from the bottom of the pot to mix into the liquid.
  • Turn off the "Saute" function.
  • Place the trivet on top of the onions and liquid in the pot. Add about 1/4 cup more of water or broth to the pot.
  • Place the browned chicken on the trivet.
  • Place the potato chunks around and on top of the chicken.
  • Lock the lid in place and cook on high pressure for 35 minutes.
  • Allow the pressure to release naturally and carefully open the lid.
  • Check the temperature of the chicken to ensure that it has reached at least 165 degrees Fahrenheit. If not done, cook for another 3-5 minutes under high pressure and recheck.
  • Carefully remove the potatoes, chicken and trivet.
  • Optional: Press "Saute" and allow the onions and liquid to simmer for a few minutes to condense the liquid to serve over the chicken and potatoes.
  • Optional: Place the chicken on a broiler-safe pan and place in the oven under the broiler for 3-5 minutes to crisp up the skin.
  • Plate and serve with a side of veggies.

Notes

I like to keep the seasonings fairly neutral so that I can get creative with the leftovers without worrying about seasonings clashing. In addition to potatoes, other root vegetables such as carrots can be used. 
Whole Chicken and Potatoes for Electric Pressure Cookers

Like this post? To make sure you never miss a future post, please sign up for my newsletter.

This post contains affiliate links. If you click through any of the Amazon links and make a purchase, I will receive a small commission. There is no added cost to you.

Posted on 3 Comments

Easy All in One Electric Pressure Cooker Meal

For busy weeknights, there’s nothing better than an all in one meal that practically cooks itself. Prepare everything the night before and keep it in the refrigerator until it’s time to cook for even more time in the evening. You could even prep the vegetables and meat and store in the freezer for last minute meals.

The basics

This is more of a how-to than a recipe. You can really use however much of the ingredients based on how much food you need and your pressure cooker’s size. For my family of five with two little appetites, I used about four chicken breasts, three cups of rice and water, one jar of sauce and all the broccoli I could squeeze in and around everything.

You can easily swap out the protein for whatever you prefer. Ideally, it should be cut into small, bite sized pieces prior to cooking. With the chicken breasts, I’ve been able to cook them from frozen first and cut them later, but it’s not ideal.

This time, I used broccoli, but it was a little overdone for my liking. Root vegetables cut into bite sized pieces or frozen peas or green beans are probably better for all in one meals like this.

The sauce

To make it super easy, I started with a jar of Korma simmer sauce from Aldi. You could easily substitute any store bought or homemade sauce. Canned soup, salsa, tomato sauce or even just broth are all options. Tailor it to your family’s tastes.

Assemble the ingredients

I used an old rice cooker pot for the rice. Any heatproof container that is big enough to hold the rice and cooking liquid but small enough to fit in your pressure cooker’s cooking pot would work.

I put the chicken and broccoli under and around the rice pot. Then I filled the rice pot with appropriate amounts of rice, water and salt.

The Korma went on top of the broccoli and chicken, and I added about half a cup of water just to make sure there was plenty of liquid. If you use broth or a thinner, liquid sauce, the water isn’t necessary.

Cooking

Finally, I set the whole thing in my pressure cooker and cooked it with the “Rice” setting. My electric pressure cooker is a GoWISE USA brand. Recipes for the Instant Pot brand usually work as written for mine, so I assume that setting would work for the Instant Pot and other similar pressure cookers.

Here is a terrible picture of the end result. I promise it tasted better than it looks. A homemade sauce would have been healthier, I’m sure. When you are strapped for time or having to make do without a fully functioning kitchen, though, it’s lots better than having to rely on fast food.

Like this recipe? Sign up for my newsletter to never miss future tips, tutorials and recipes.

All in one Electric Pressure Cooker Meal
Posted on Leave a comment

Electric Pressure Cooker Update

In the interest of being totally transparent regarding the things I recommend, I think it’s only fair that I post an update to my Why I Love my Electric Pressure Cooker, aka Knockoff Instant Pot post.

GoWise Electric Pressure Cooker, Take One

My first GoWise electric pressure cooker worked beautifully for almost a year and a half. Then, one day while mid-cooking cycle it just died. There was no warning, no error codes, no lights on, nothing. I gave it time to cool off to make sure it hadn’t overheated, but still nothing. Luckily, when my parents bought it for me as a Christmas present, purchased the extended warranty, so I was able to ship the broken pressure cooker back in exchange for an Amazon gift card.

Pardon the messiness. I literally took the photo as soon as I transferred the half cooked bean soup out so I would have it for the warranty process.

Even though my first GoWise electric pressure cooker broke, I chose to repurchase the same model. I also bought the extended warranty. Until it died, I hadn’t had any trouble whatsoever, even with almost daily use, so I thought it was worth giving it another try.

GoWise Electric Pressure Cooker, Take Two

After almost a year, my second GoWise electric pressure died in exactly the same way as my first one. I do use my electric pressure cooker almost daily, so I might be legitimately wearing them out. I did, however, have a friend say her GoWise died in the same manner. Because it’s a common malfunction, this time I planned to pay the little bit more and get an Instant Pot.

Unfortunately, because it lasted less than a year, the manufacturer’s warranty still covered my second GoWise. That means my extended warranty won’t cover it yet. Since the manufacturer’s warranty covers an exact replacement, I’m expecting my third GoWise electric pressure cooker in the mail. I’m sure it will still be awesome for about a year, and maybe the third time is a charm.

Backup for Number Three

In the meantime, I’ve actually been considering getting a second electric pressure cooker so I can have one for the main dish and sides. I like how rice turns out in the pressure cooker compared to other rice cookers, and I frequently burn it on the stove top. Having two would work nicely for when I’m making beans or curry in the pressure cooker and need rice to go along. If I find a good deal on an Instant Pot, I may go ahead and splurge on it as my second. That way, I’ll have a backup in case this GoWise breaks mid-cooking and I can do a real comparison of the two.