Posted on 3 Comments

DIY Soft Scrub Cleaner

DIY Soft Scrub

I like getting my kiddos involved in housecleaning. Not just because they are highly involved in making messes, but because it is important that they know how to take care of themselves as adults. I’m pretty choosy as to what cleaning products I will let them use. So many cleaners are irritating to the skin, eyes and lungs.

Not only do I want my cleaning products to be safe, I like things that multitask and don’t cost an arm and a leg. Often, I’ve found the best way to achieve this is to make them myself, like with my natural furniture polish. With a few simple ingredients I keep around the house anyway, I find I can cover most cleaning needs.

My most recent cleaning concoction is soft scrub. It works well for when I need a little extra scrubbing power than I get with my usual all-purpose water, vinegar and dish soap mix.

Soft scrub in a jar
Soft scrub in a jar

Soft Scrub Ingredients

  • 1 cup of baking soda
  • 1/4 cup of liquid soap
  • 1 tablespoon of hydrogen peroxide
  • Optional: 2-3 drops of essential oil

Instructions

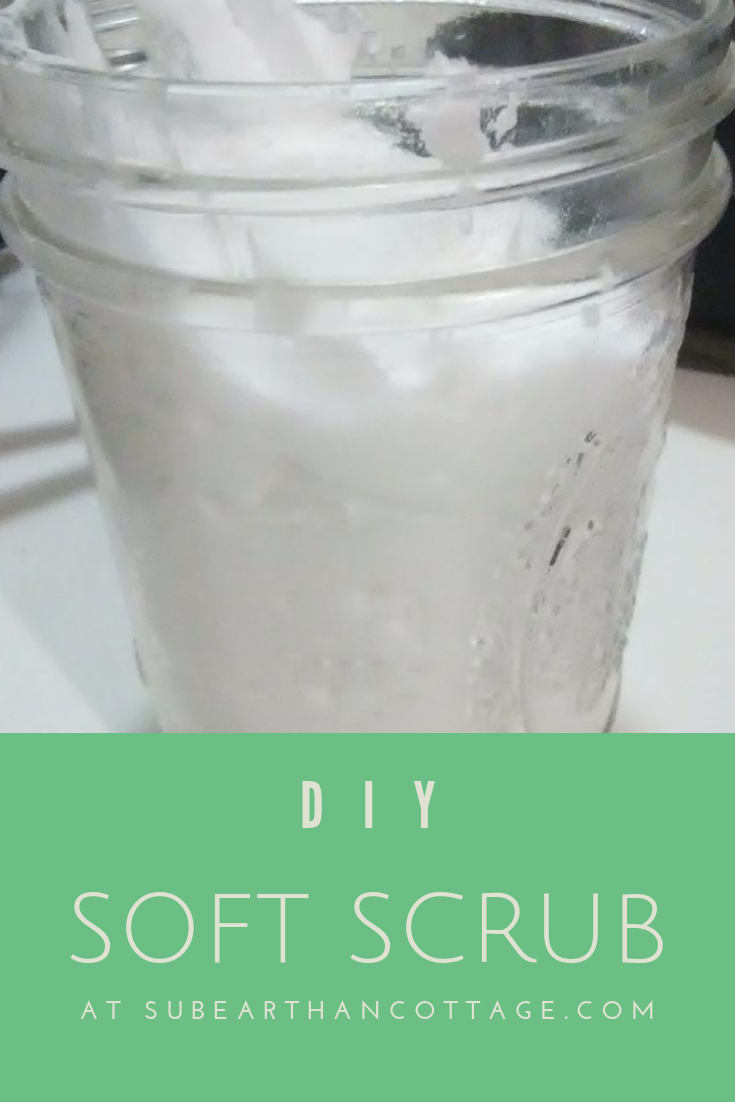
Place all the ingredients into a big bowl and mix until a uniform paste forms. To store, I like to scoop it into a wide mouth canning jar, but any lidded container will work. The mix will expand, so use a container that allows for at least double the amount to be safe.

Mixing the soft scrub

Variations

Type of Soap

Liquid castile soap will work, but for extra cleaning power I prefer a detergent soap, like Dr. Bronner’s Sal Suds or even Dawn dish soap. You could probably get away with any liquid hand soap or liquefied bar soap, but I haven’t tried those yet. The only time I haven’t liked it was when I made it with Ajax dish soap because that is what I had on hand. I think there was something in the Ajax that reacted badly with the baking soda or hydrogen peroxide. That mixture was fluffier and had an odd smell. I’m not quite sure what it was that caused it, but because of that, I recommend staying away from any dish soap that advertise extra cleaning additives. For the soap, basic is better.

Scent

I rarely add any essential oils for fragrance. Usually the soap I have is already scented, so I don’t see the need. Really, unscented is fine, too, unless you just prefer a scent to signal that something is clean. If I were to add an essential oil, though, I would probably use either peppermint, lemon or tea tree oil. If you choose to use an essential oil, please be aware of safety guidelines for using them around children, pregnant women, pets, and other sensitive individuals.

How to use

To use, I scoop out a dollop of the soft scrub and apply a layer to the area I’m cleaning. I usually let it sit for a minute or two then buff it off with a rag. If there’s a residue left, I’ll either wipe it down with a damp rag or mist it with my all purpose vinegar, dish soap and water solution and wipe it clean.

Results

I almost forgot to take a before photo. This is an embarrassing photo of tomato sauce splatter left on my stove overnight.

Before using soft scrub to clean last night's spaghetti sauce.
Before using soft scrub to clean last night’s spaghetti sauce.

This is a photo of what it looks like after using my soft scrub and minimal elbow grease.

Shiny stovetop
Shiny stovetop

I do apologize for the blurry photos. Lighting in my kitchen isn’t the greatest, and also I was in the middle of cleaning.

Posted on 4 Comments

All Purpose Cleaner Recipe

We are all becoming more aware of the types of products we use everyday. Whether it’s a concern for the environmental impact, the effect they have on our health or the safety for our pets and children, we want to know we aren’t inadvertently introducing harmful things into our homes. Something I do to feel confident in the safety of cleaning products I use around my family is to make my own where possible. One such product is a simple all purpose cleaner I use for cleaning hard surfaces, such as kitchen and bathroom counters and walls. It only uses a few ingredients, all of which you probably already have on hand.

Photo by Daiga Ellaby on Unsplash

All Purpose Cleaner Recipe

Ingredients:

  • Liquid soap, either dish soap or something like Dr. Bronner’s castile soap
  • Distilled white vinegar
  • Water
  • Optional: Essential oil of your choice

Supplies:

  • Clean, empty spray bottle
  • Liquid measuring supplies if you aren’t comfortable just eyeballing it
  • Optional: A funnel might make it easier to fill the bottle.

How to make it:

Measure about 2 tablespoons of soap, one cup of vinegar and one cup of water into the spray bottle. It doesn’t have to be exact. I usually just eyeball it. If you would like to use an essential oil, add 3-5 drops as well. Do be aware of safety guidelines regarding any essential oils you use, especially around pregnant women, children and pets. Tea tree oil or lavender are nice for cleaning and generally safe for most people. If the soap you use is scented or if you or your family members are sensitive to scents, you may want to skip the essential oil.

Swirl the bottle to mix everything without making the soap foam up too much. 

That’s it. Now you have an all purpose cleaner that works as well as any other I’ve tried, with the added benefit of being safe enough that kiddos can help with the cleaning. 

If you like this cleaning recipe, you’ll also like my DIY soft scrub for tougher cleaning jobs. To make sure you don’t miss out on future posts, sign up for my newsletter.

Posted on 1 Comment

Feeling Stuck and Overwhelmed? 10 Tips to Get Moving Again

Feeling Stuck and Overwhelmed? 10 Tips to Get Moving Again

Whether it’s a new project, work, or just daily life, sometimes it’s easy to get overwhelmed. Maybe you’re struggling to find balance while juggling work, home life and new schooling situations. Maybe a task seems too huge or unpleasant to tackle. It could be that you’re unsure of how a project will turn out, so fear keeps you from making the first move. Maybe there’s just so many other things on your plate that you find yourself too mentally or physically exhausted to tackle that one thing. Here’s a few ideas to get unstuck and moving forward again.

Overwhelmed? These 10 tips will help

Brain dump

When you’re really anxious or don’t know where to begin, doing a brain dump helps. Grab a pen and paper and just write out everything on your mind. Don’t think about it, don’t worry about complete sentences or cohesive ideas, just get everything out on paper. When your done, look it over. Is there a theme to what you wrote, some repeated word or idea or area of focus? Use that to help you determine your next move.

Image by congerdesign from Pixabay

Make a list

Making a list of what needs to be done creates focus. It also takes the pressure off of yourself to remember everything. Once it’s written down, you’re free to focus on one task at a time. Because it’s all written down, you don’t have to keep a running list of everything in your head. As you complete a task, mark it off. Focus on your list getting shorter, not how much is still left to do.

Break it down

If a task seems too big, it’s easy to get overwhelmed. Breaking it down into smaller tasks makes it more manageable. For example, if you need to clean the house for company, don’t look at the whole task of cleaning the house. Take it room by room. If that still seems too big, list specific tasks within each room. Don’t say “Clean the kitchen”, have individual tasks like wiping down counters, sweeping the floor, mopping the floor, etc. listed separately.

Prioritize

Some tasks come with a deadline or are more important than others. If there’s a deadline, make a note of that deadline on your list and mark it somehow to make it stand out. If it’s something that is high priority, regardless of a specific deadline, make note of that, too. I like to draw a star next to high priority tasks, and highlight or double star things with a deadline.

Set goals

Be realistic about what you can accomplish in a day and set goals accordingly. If there are specific tasks that have to be done first, then set your goals around those. Otherwise, your goals could be something like marking off five tasks each day. If you meet your goal, good for you! Do you have the time, energy and desire to mark off a few more? Go for it! Didn’t meet your goal? See if you need to re-evaluate your expectations so as not to get overwhelmed and discouraged. If it was simply a case of other obligations taking too much time, try again tomorrow.

Set alarms

If you have something that needs to be done at a certain time, like an appointment at noon or starting dinner at five pm, set an alarm in plenty of time to stop and get ready. When I have an appointment or event coming up later in the day, it’s hard for me to focus on other tasks, even when I have plenty of time. Knowing that I have an alarm to remind me when I need to stop makes it a little easier.

Image by congerdesign from Pixabay

Set a timer

Setting a timer is useful in a few ways. First, if you find yourself completely unmotivated, pick a task and set a timer for five, ten or fifteen minutes, whatever seems manageable. You can do anything for five minutes. Pick a task and see how much you can accomplish in that time. When the timer goes off, give yourself permission to stop for a break or switch to a a different task. I often find that when the time is up, I’m so close to finishing that task that I want to keep working.

You can also use a timer to break up a bigger task into smaller chunks of time. Give yourself thirty minutes or an hour to work on a bigger job. When your time is up, stop and take a break or give yourself a five to fifteen minute window to knock out a few quick tasks. This helps you keep the little things from snowballing while you work on a big project.

Finally, setting a timer helps with time management. Everyone needs a break now and then, but it’s easy to allow a quick break to turn into an hour of getting off task. Decide how long of a break you want, set a timer and stick to it.

If timers work for you, you may want to checkout Flylady. I’ve used that method of home organization in the past and found it really helpful. It’s particularly helpful with establishing routines and taking everything in “baby steps” so you don’t get overwhelmed with the process.

Stop waiting

Do you ever find yourself doing nothing just waiting for something. Things like waiting tem minutes for dinner in the oven or sitting on hold on a phone call. Use waiting time that’s often wasted to knock easy tasks off your list.

Just do it

Sometimes there’s a task that I put off because I find it really unpleasant. Usually that leads to putting off other things, because that task is hanging over my head. Often it’s something simple like making a phone call to set up an appointment. There’s no way around getting some things done, so give yourself a minute to stress if you need and jump in. Once it’s done, you can mark it off your list and wonder why you put it off for so long. If it really was that bad, at least it’s done.

Reward yourself

Sometimes your accomplishments are their own reward, and sometimes not so much. Give yourself little incentives, even if it’s just ten minutes of playing a game, or a cup of tea and your favorite show. Knowing that something enjoyable comes after something unpleasant is motivating, especially after a “Just do it” task.

Not everything is as easy as just make a list and do it, but when you’re feeling overwhelmed, using these strategies where they do apply can help free up energy for dealing with the more difficult problems life throws at you.

Bulletin board image by Gerd Altmann from Pixabay

Like this post? To make sure you never miss a future post, please sign up for my newsletter.

Posted on Leave a comment

Easy! 5 Steps to Clean Small Felt Toys.

Making felt toys and accessories has been a bit of an obsession for me lately. They’re cute and easily customized with my Brother embroidery machine.

Felt finger puppet toys
Dog, daughter and mother finger puppets waiting to be cut out.

I was concerned that I didn’t know the best way to clean them so I could share that information with my customers. Luckily (HA!) it didn’t take Thaddeus long to soak the finger puppet set I gave him for his birthday in a smoothie.

Washing them in the washing machine on cold and air drying was a possibility. I think that would work, but I worried about them getting distorted, fuzzy or lost with all the socks that go missing. Plus, Thadd was very anxious to see that they weren’t ruined, so the quicker I got them clean, the better.

Here’s the steps I used to clean his felt finger puppets:

  1. Fill a large bowl about halfway with lukewarm water.
  2. Add a drop of dish soap.
  3. Place the felt finger puppets into the water and gently swish. Heavily soiled items may need to soak for 5-10 minutes.
  4. Rinse with lukewarm water to remove any soap residue.
  5. Press the excess water out between towels and lay flat to air dry.

This method should work well for any small toys without a lot of stuffing, as well as for my felt snap clip covers. I would remove the metal barrette for the snap clips first. In general, I think the keys to keeping them looking like new after washing are making sure the water isn’t hot, minimal friction and air drying.

Finger puppets

All of the finger puppets seen below can be found here: https://subearthancottage.com/?s=finger+puppets&post_type=product Felt and thread colors are customizable. Purchases of five or more come with a random print drawstring bag for storage.

Felt snap clips

All of my felt snap clips are found here: https://subearthancottage.com/?s=snap+clips&post_type=product