Posted on Leave a comment

Scrap Busting: Organization for Zero Waste Sewing

If you sew, you have a stash of fabric scraps. No matter how carefully you plan and lay out your patterns, there is almost always going to be some little extra bit. With some creativity, even the smallest scraps are useful in other projects. In order for that to happen, though, you need to be able to know what you have and find what you need. Here’s some simple suggestions to make the most of your fabric scraps.

Decide what makes sense.

I sort my scrap stash primarily by color. Most of it consists of quilting cottons, so sorting by color makes sense. For other types of fabric, I sort by fabric type more than color. For example, all flannel scraps go together.

Think about how you craft or how you naturally group things to find what will work best for you. If you focus more on prints than color family, then try group by prints. If you use a large variety of fabric weights and textures, use that to determine your groupings.

Out of sight, out of mind.

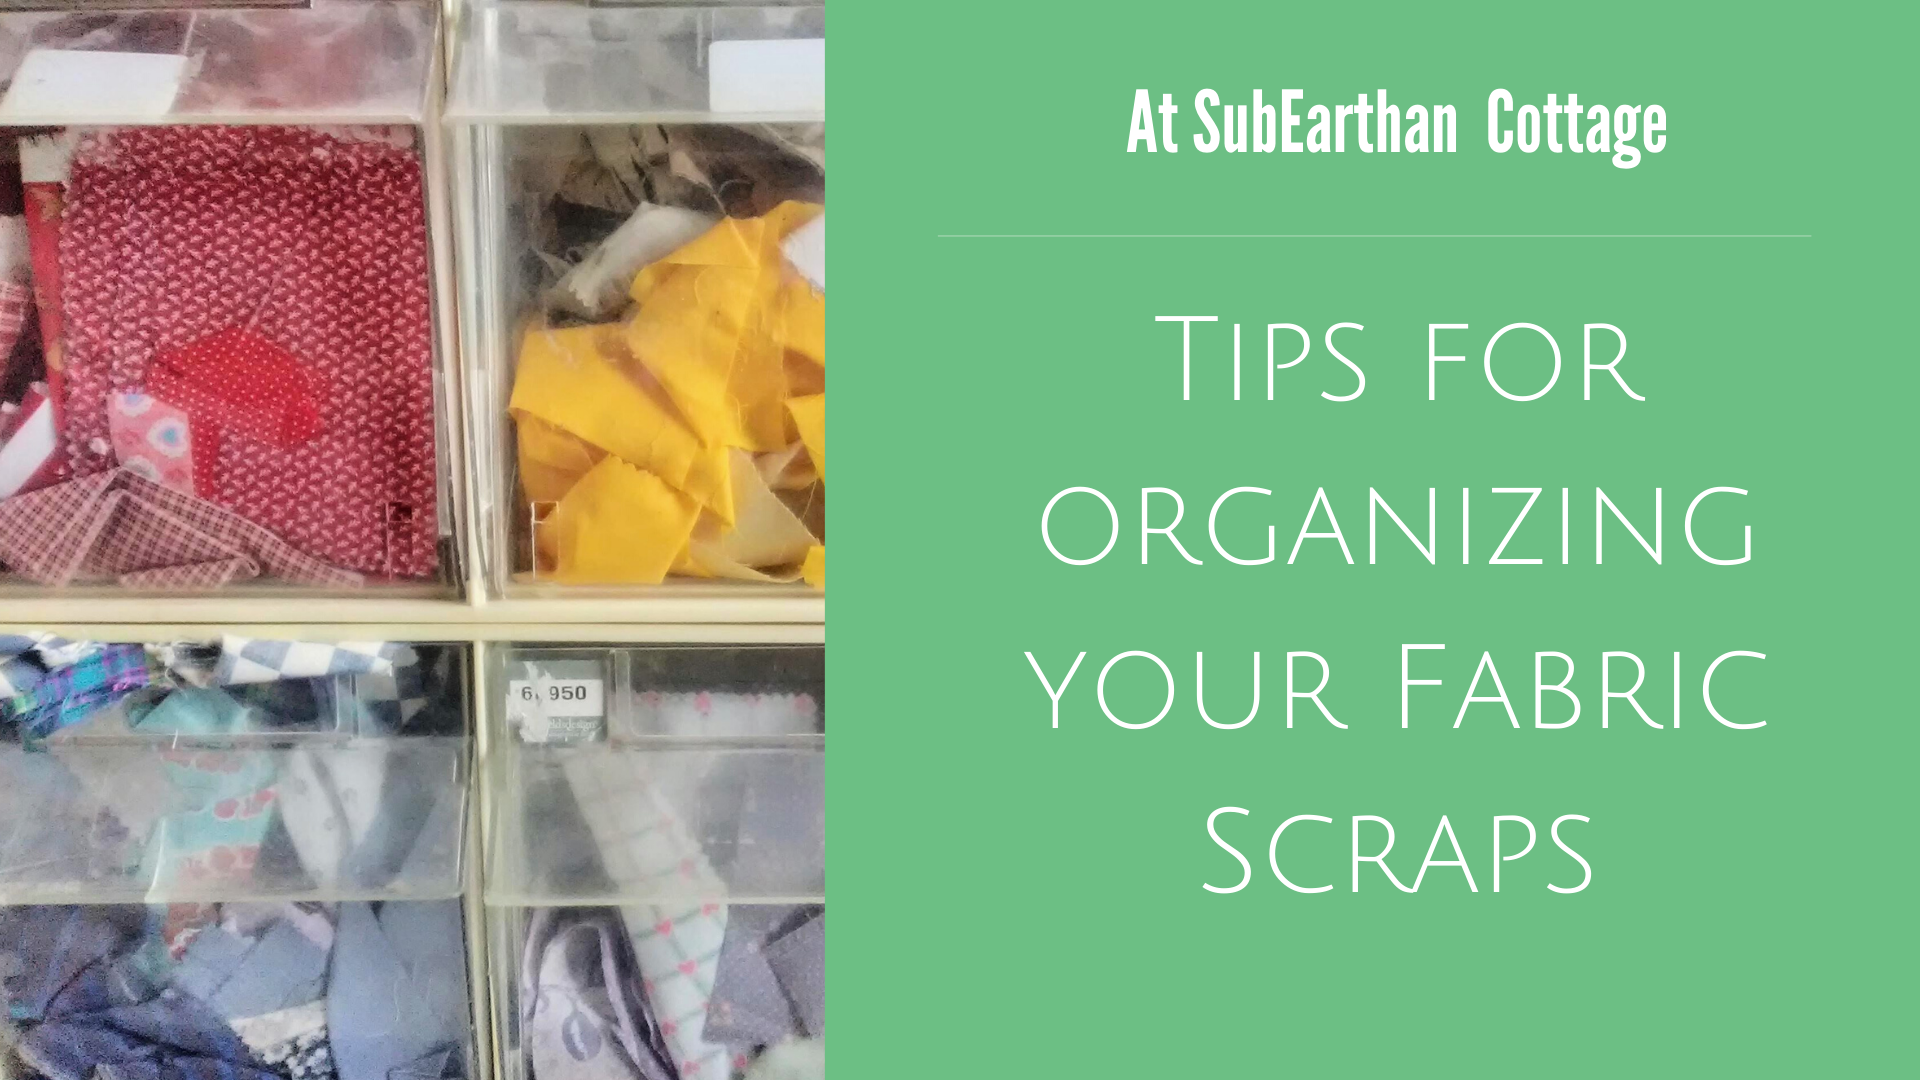
For me, being able to see what I have is the most important. I have a clear plastic sorter bin, similar to what you’d find at a hardware store, that I keep near my cutting table. I put scraps that aren’t really big enough to fold practically into the bins, sorted by color family. The front of the bins are clear, so it’s easy for me to see colors and prints at a glance.

Plastic shoe bins or similar containers would also work. You could upcycle shoe boxes or shipping boxes, but you lose the visibility with something that isn’t clear. In that case I would clearly label the outside with the color family.

Scrap organization
This garage sale find keeps my scraps organized and visible.

Don’t forget the tiniest scraps.

Even the tiniest scraps can be used for stuffing, to strengthen handmade paper or in textile art. I keep a small bin next to my sewing machines and sergers to collect threads, clipped corners, trimmed seam allowances, etc.

Have a plan for other types of scraps.

Little bits of lace, trim and buttons from refashioned clothing get stored in glass jars. I find the variety of colors and shapes pretty, so I like having them sit on a shelf where I can see them. If I need a button or bit of embellishment I know what I have. In the meantime, it’s art.

Scrap jars

Stabilizer scraps go into a drawer under my embroidery machine. If I’m embroidering something that needs a little extra support in an area, I use a suitable scrap instead of a whole new piece. Stabilizer scraps can also be used to reinforce buttons and button holes.

I store most of my interfacing in a shoebox. Small scraps go back into the box to use similarly to how I use stabilizer scraps.

Don’t get overwhelmed.

If you find that your scrap stash is growing larger than what you can use, sort through and pull out anything you don’t love or just don’t see yourself using and donate them. Schools, libraries, scouting groups and similar organizations will often take fabric scraps and other craft materials to use for art projects. You can also list them for free on craigslist or Facebook. As a little girl, I used scraps from my grandma to fashion clothes for my Barbies and My Little Ponies. If you have know of anyone with children, they might like the scraps to play with, too. By donating them, they still get put to use and you’re better able to see and use what you still have.

Put those scraps to use!

Once you know what scraps you have, make it a goal to use them up. If you’re stuck for ideas, Pinterest is a great place to turn for ideas. I have a board dedicated to scrap busting projects that I add to frequently. You can find it here.

I’ll be posting creative ways to use fabric scraps soon. To make sure you don’t miss it, sign up for my newsletter here. When you sign up, be sure to check your spam folder for the confirmation if it doesn’t go straight to your inbox.

Posted on 1 Comment

Feeling Stuck and Overwhelmed? 10 Tips to Get Moving Again

Feeling Stuck and Overwhelmed? 10 Tips to Get Moving Again

Whether it’s a new project, work, or just daily life, sometimes it’s easy to get overwhelmed. Maybe you’re struggling to find balance while juggling work, home life and new schooling situations. Maybe a task seems too huge or unpleasant to tackle. It could be that you’re unsure of how a project will turn out, so fear keeps you from making the first move. Maybe there’s just so many other things on your plate that you find yourself too mentally or physically exhausted to tackle that one thing. Here’s a few ideas to get unstuck and moving forward again.

Overwhelmed? These 10 tips will help

Brain dump

When you’re really anxious or don’t know where to begin, doing a brain dump helps. Grab a pen and paper and just write out everything on your mind. Don’t think about it, don’t worry about complete sentences or cohesive ideas, just get everything out on paper. When your done, look it over. Is there a theme to what you wrote, some repeated word or idea or area of focus? Use that to help you determine your next move.

Image by congerdesign from Pixabay

Make a list

Making a list of what needs to be done creates focus. It also takes the pressure off of yourself to remember everything. Once it’s written down, you’re free to focus on one task at a time. Because it’s all written down, you don’t have to keep a running list of everything in your head. As you complete a task, mark it off. Focus on your list getting shorter, not how much is still left to do.

Break it down

If a task seems too big, it’s easy to get overwhelmed. Breaking it down into smaller tasks makes it more manageable. For example, if you need to clean the house for company, don’t look at the whole task of cleaning the house. Take it room by room. If that still seems too big, list specific tasks within each room. Don’t say “Clean the kitchen”, have individual tasks like wiping down counters, sweeping the floor, mopping the floor, etc. listed separately.

Prioritize

Some tasks come with a deadline or are more important than others. If there’s a deadline, make a note of that deadline on your list and mark it somehow to make it stand out. If it’s something that is high priority, regardless of a specific deadline, make note of that, too. I like to draw a star next to high priority tasks, and highlight or double star things with a deadline.

Set goals

Be realistic about what you can accomplish in a day and set goals accordingly. If there are specific tasks that have to be done first, then set your goals around those. Otherwise, your goals could be something like marking off five tasks each day. If you meet your goal, good for you! Do you have the time, energy and desire to mark off a few more? Go for it! Didn’t meet your goal? See if you need to re-evaluate your expectations so as not to get overwhelmed and discouraged. If it was simply a case of other obligations taking too much time, try again tomorrow.

Set alarms

If you have something that needs to be done at a certain time, like an appointment at noon or starting dinner at five pm, set an alarm in plenty of time to stop and get ready. When I have an appointment or event coming up later in the day, it’s hard for me to focus on other tasks, even when I have plenty of time. Knowing that I have an alarm to remind me when I need to stop makes it a little easier.

Image by congerdesign from Pixabay

Set a timer

Setting a timer is useful in a few ways. First, if you find yourself completely unmotivated, pick a task and set a timer for five, ten or fifteen minutes, whatever seems manageable. You can do anything for five minutes. Pick a task and see how much you can accomplish in that time. When the timer goes off, give yourself permission to stop for a break or switch to a a different task. I often find that when the time is up, I’m so close to finishing that task that I want to keep working.

You can also use a timer to break up a bigger task into smaller chunks of time. Give yourself thirty minutes or an hour to work on a bigger job. When your time is up, stop and take a break or give yourself a five to fifteen minute window to knock out a few quick tasks. This helps you keep the little things from snowballing while you work on a big project.

Finally, setting a timer helps with time management. Everyone needs a break now and then, but it’s easy to allow a quick break to turn into an hour of getting off task. Decide how long of a break you want, set a timer and stick to it.

If timers work for you, you may want to checkout Flylady. I’ve used that method of home organization in the past and found it really helpful. It’s particularly helpful with establishing routines and taking everything in “baby steps” so you don’t get overwhelmed with the process.

Stop waiting

Do you ever find yourself doing nothing just waiting for something. Things like waiting tem minutes for dinner in the oven or sitting on hold on a phone call. Use waiting time that’s often wasted to knock easy tasks off your list.

Just do it

Sometimes there’s a task that I put off because I find it really unpleasant. Usually that leads to putting off other things, because that task is hanging over my head. Often it’s something simple like making a phone call to set up an appointment. There’s no way around getting some things done, so give yourself a minute to stress if you need and jump in. Once it’s done, you can mark it off your list and wonder why you put it off for so long. If it really was that bad, at least it’s done.

Reward yourself

Sometimes your accomplishments are their own reward, and sometimes not so much. Give yourself little incentives, even if it’s just ten minutes of playing a game, or a cup of tea and your favorite show. Knowing that something enjoyable comes after something unpleasant is motivating, especially after a “Just do it” task.

Not everything is as easy as just make a list and do it, but when you’re feeling overwhelmed, using these strategies where they do apply can help free up energy for dealing with the more difficult problems life throws at you.

Bulletin board image by Gerd Altmann from Pixabay

Like this post? To make sure you never miss a future post, please sign up for my newsletter.

Posted on Leave a comment

Key holder craft inspiration

We needed a better way to organize our keys. I thought about using hooks and scrap wood to make something, but I didn’t have any hooks on hand. I did, however have an old license plate, clothespins and hot glue, so this is what resulted.

I used hot glue because I could remove the clothespins without much, if any damage to the license plate. So far it’s holding up well, but if I were to make another, I might use something more permanent now that I know the concept works. I’d also use a ruler to line up the pins. I had “help” from the two year old this time, so I had to work fast to keep the glue gun safely away from little fingers.