Posted on 3 Comments

Easy Natural Furniture Polish

I have quite a bit of finished wood furniture that I love, except when it comes to polishing. There’s always some sticky fingerprints or a glob of something unidentifiable (thank you, Thaddeus). Most commercial polishes do okay on relatively clean surfaces, but don’t do a great job on the really messy stuff. Sometimes I’d spray some polish right on the spots, polish the rest and hope the globs loosened up enough to wipe away. Once in a while it worked. Other times it resulted in a ring around the spot while the sticky may or may not have loosened at all.

I finally did a little research on homemade furniture polish recipes. Here’s the one I use.

DIY Natural Furniture Polish

Ingredients:

3 parts olive oil
1 part vinegar
Splash lemon juice (optional)

Combine everything in a spray bottle and shake to mix. Some recommend storing it in the refrigerator or only making what you’ll use in a day. I make about 1-2 cups worth at a time  and keep it at room temperature. So far I haven’t had problems with it spoiling.

IMG_1875
IMG_1878

For light polishing, I spray the rag and wipe. For heavier cleaning, I spray directly where needed. I have never had it leave a ring, and it buffs nicely without leaving a residue. It works equally well on furniture with a matte stain and pieces with a high gloss varnish.

I love that this recipe uses things I have around the house and costs less than even the cheap commercial polishes.  I also like knowing that it is completely nontoxic. I can let Thadd help without worrying that it might hurt him if he sprays it in his face. Or my face. Seriously, you never know with this kid.

You could probably customize it with a few drops of essential oils, too. I think something citrus-y would be nice. Also, if you don’t have olive oil, you could try swapping it with whatever you have on hand.

Give it a try and tell me what you think. If you’d like more “green” cleaning options check out my recipe for soft scrub and my all purpose cleaner recipe.

For my handmade home and laundry products, click the link below.

Like this post? To make sure you don’t miss out on future posts, sign up for my newsletter.

Posted on 3 Comments

Quick Drawstring Bag Tutorial or How to Reuse Your SubEarthan Cottage Soap Wrapping

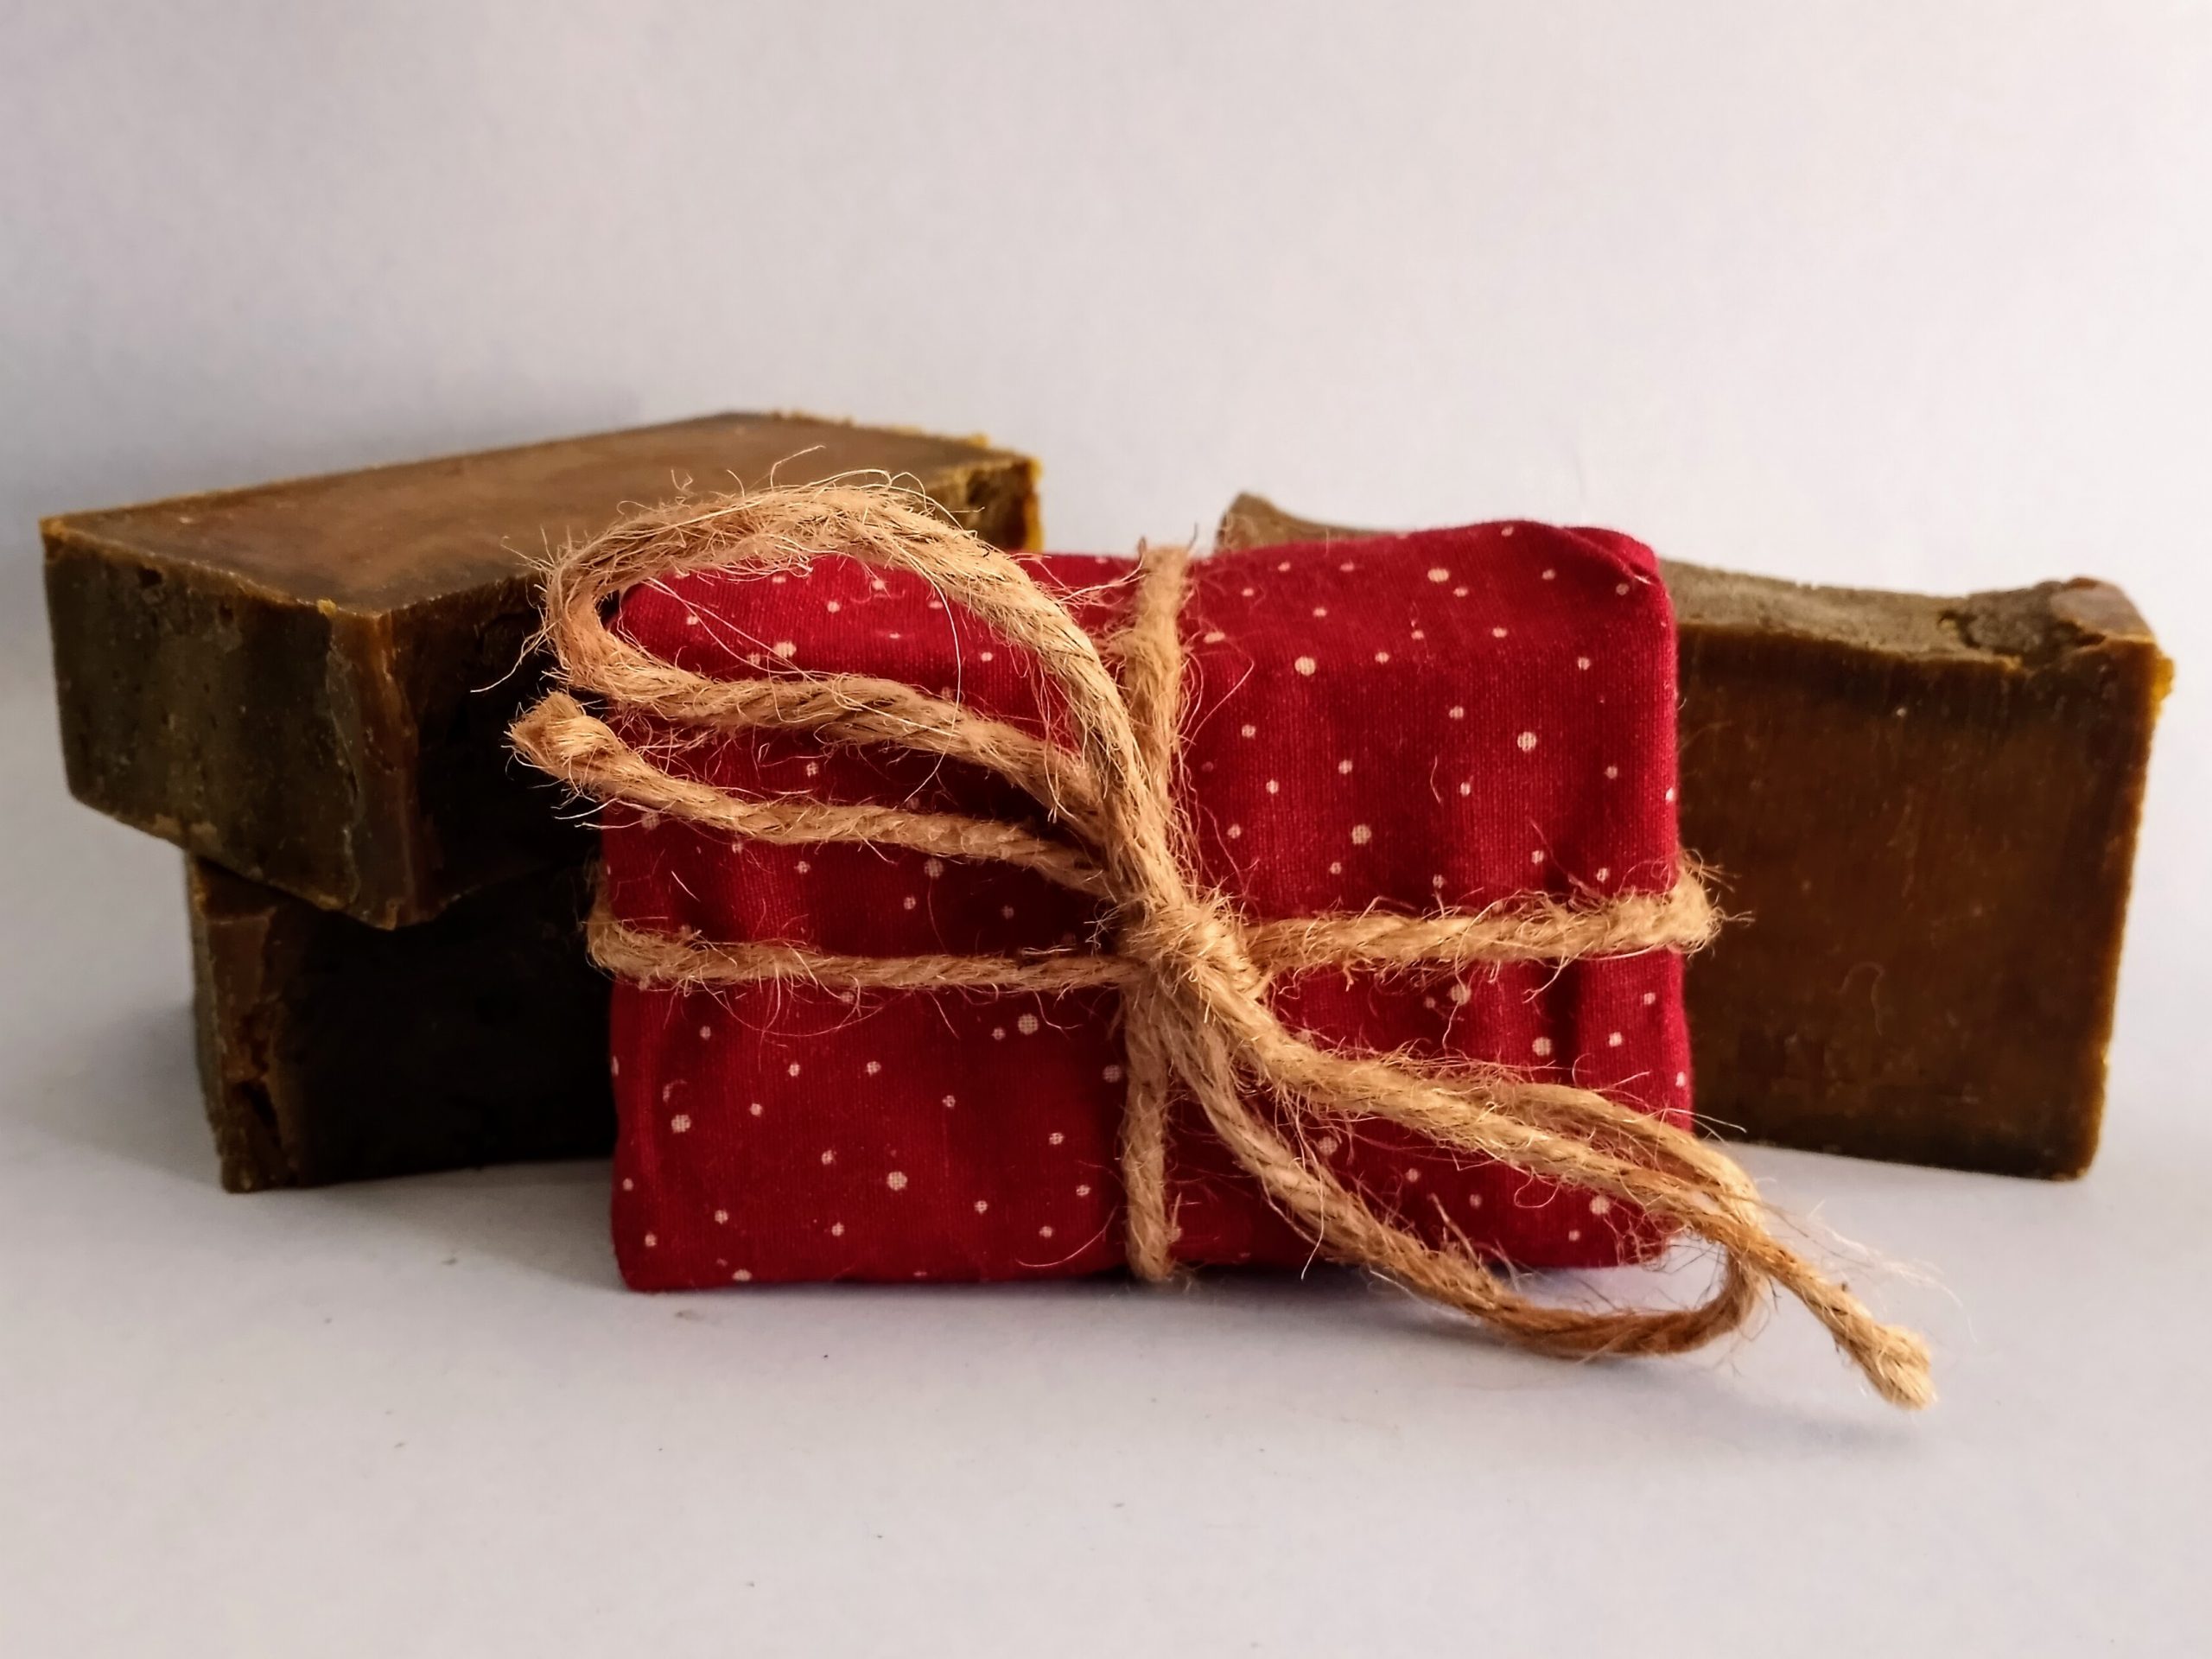
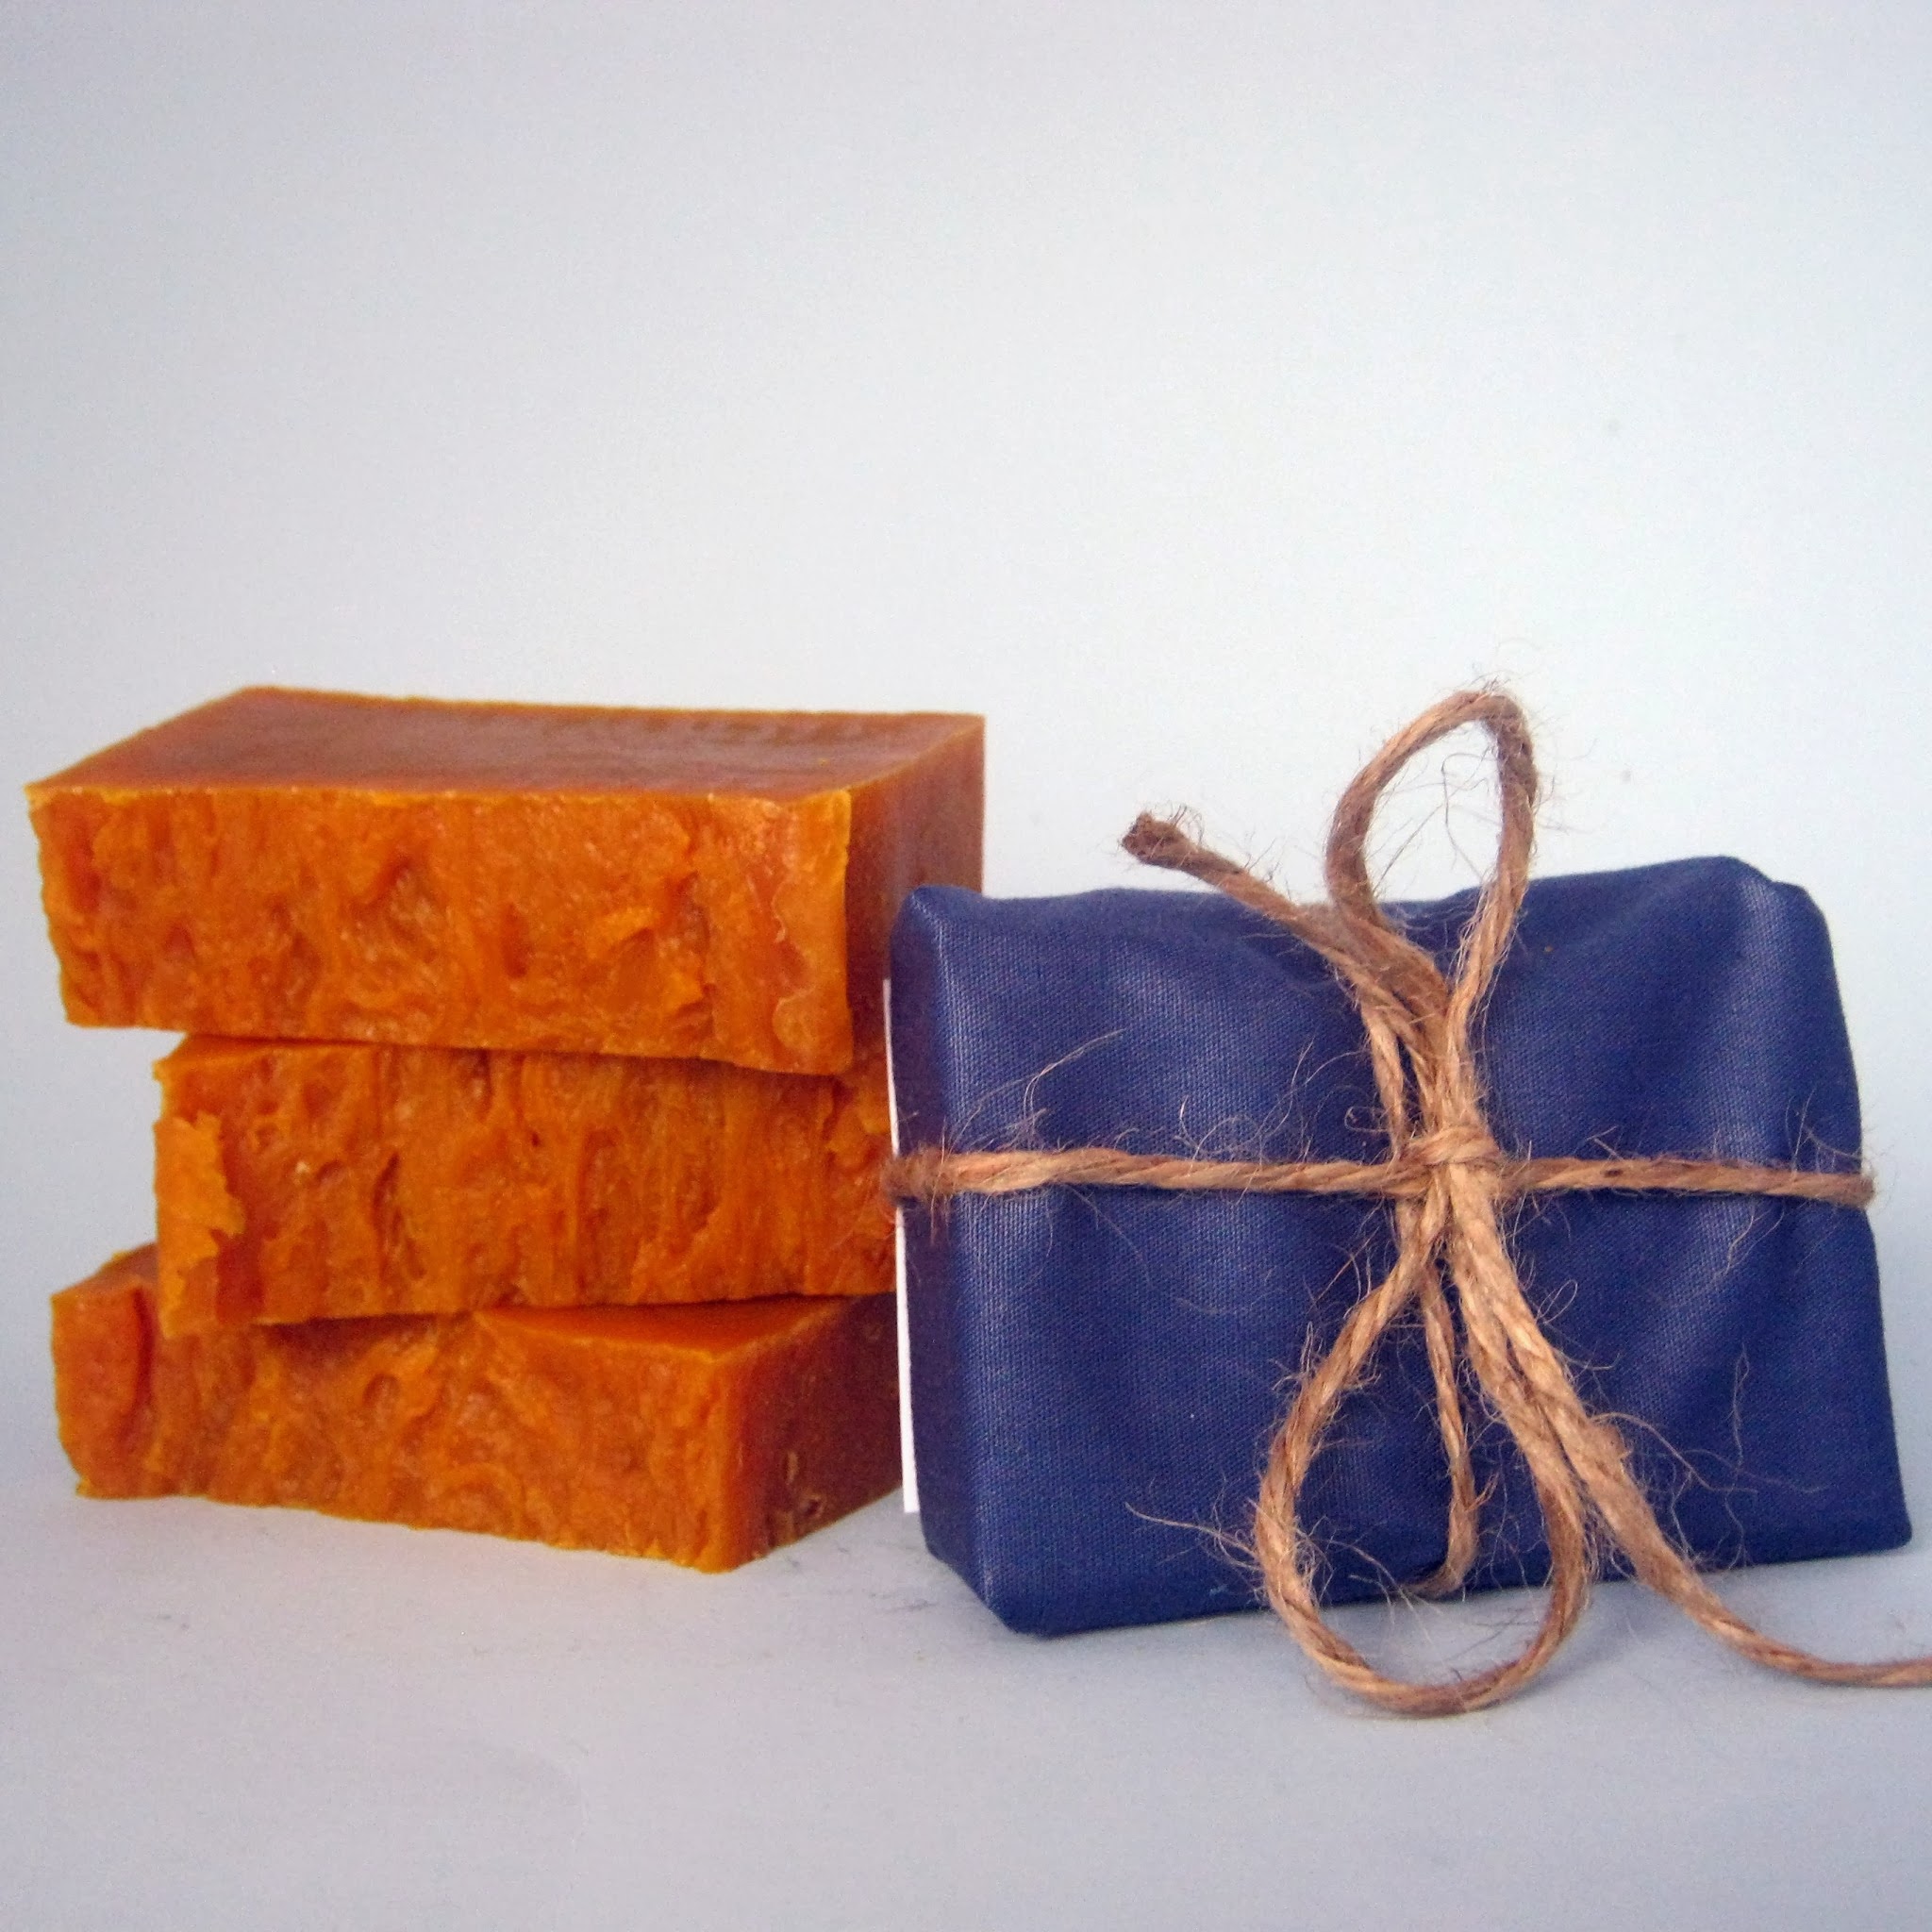
I wrap my soaps in fabric because it looks nice, it allows the soap to breathe (read here for why), and because it feels better than plastic. I often wonder what happens to the wrapping. I’m sure there are some that toss it. I know of one person who collects the fabric for quilts. For those of you who, like me, don’t want to throw away something that could be useful but don’t know what to do with it, I have a tutorial for a drawstring pouch, just for you.

This is done with the wrapping from one of my soaps, but you could make it in any size you like.

Materials
Cloth wrapper from soap (roughly 8×11 inches)
Jute string from soap (about 29 inches)
Thread

Tools
Needle or Sewing machine
Safety pin or Bodkin
Scissors
Iron

First, iron your fabric flat. Then, fold down a long edge about 3/4 of an inch to one inch and press. This is for the casing. It doesn’t have to be super precise.

Sew a straight seam along the bottom of the flap to form the casing. All the sewing can be done by hand or machine. I have no time or patience, so I choose machine. Fold your material in half with right sides together like a book.

The fold is at the bottom of this photo.

Next, starting just below the casing seam, sew down the side and across the bottom. I use anywhere from a 1/4 to 1/2 inch seam allowance for this. Again, it doesn’t have to be precise.

With scissors, clip the bottom corners, being careful not to cut your stitching. You could probably skip this step, but it helps the corners look square and crisp. Turn your bag right side out.

Now it’s time to thread the string. Tie one end of the string to a safety pin, large paper clip, or attach a small bodkin. This makes it easier to work it through the casing. Thread it through the casing, safety pin first.

Once you get the string to the other side, remove your safety pin or other tool and adjust the string so that the ends are even.

Knot the ends together once or twice to keep it from coming out.

Ta-da! It’s done! Perfect for organizing your purse, storing jewelry or other small items, or as a small gift bag.

Or holding your favorite bar of soap.

Tutorials are always a little complicated to write because it’s easy to overlook small steps in things you do frequently. If something is unclear, please ask. 🙂

If you have any other creative uses for a SubEarthan Cottage soap wrapper, I would love to hear it!

Posted on 4 Comments

Heating a Rice Pack Without a Microwave

Hot rice packs are wonderful tools for easing muscle aches, cramps, and just comforting to use in cold weather. I prefer using a rice pack to an electric heating pad because you’re not tied to an electrical outlet.

A few years ago, though, I got rid of our microwave. I have some concerns about whether they are healthy, and we rarely used it anyway. Even if the potential health risks are exaggerated or non-existent, I don’t like having things that don’t get used taking up space. At the time, it was summer in Texas, I didn’t really miss my rice packs. Now that it’s cold, I wanted to find a way to heat them without caving and getting another microwave.

Please be cautious. I’ve seen some things that say anything other than a microwave is a fire-risk, so if you try to heat a rice pack in an oven, please never leave it unattended and use extreme caution. All appliances are different, so what works with mine may not work with yours.

Basic oven method

When researching, I found many people say to use an oven set to about 200 degrees Fahrenheit for thirty minutes. They also said to put the rice pack on a metal tray or roasting pan, and to have a pan or oven-safe dish of water alongside it to keep it from getting too dry.

My method

I was a little concerned that I may forget about it, and my oven doesn’t have a window so keeping an eye on it would be difficult. I do have a counter-top convection oven, so  that is what use. Because the door is glass, I can see in and keep an eye on things. It also has a timer that turns the unit off once time is up, so even if I get distracted I don’t have to worry about it over-heating. 

I always place the rice pack on a tray and put a dish of water in with it as others have suggested. Any rice packs I heat in the oven are made with 100% cotton fabric and thread. Synthetics melt easier and burn faster, whereas cotton can withstand a pretty high heat and burns slower, so cotton seems like a safer choice. 

I started with 200 degrees Fahrenheit for 20-30 minutes. It worked, but I needed it hotter. I upped it to 300-325 degrees for 15-20 minutes. At that temperature, sometimes I have to let it cool for a minute or wrap it in a towel, but it works better for me than the lower temperature. I tend to push the limit with heat, though, so 200 degrees for thirty minutes is probably plenty for most.

Probably safer method

One other method I’ve seen is to preheat the oven to 350 degrees Fahrenheit, TURN IT OFF, and place the rice pack (on a tray with heatproof dish of water next to it) in the preheated oven. I haven’t tried this yet, but having the oven hot but turned off seems like it would minimize any risk of the rice pack overheating and burning. If I didn’t have the convection oven, I would probably use this method. 

The standard microwave method

Using a microwave is still the recommended method. To heat rice packs in the microwave, warm it in the microwave in 15 second intervals until you reach the desired temperature. Some people recommend placing a cup of water in the microwave as well.

Basic safety

Whether you use a microwave or an oven, be mindful that they can vary in power. ALWAYS test the temperature of the rice pack before using and never leave the microwave or oven unattended while heating. You should never use heat packs on individuals who are unable to let you know if it feels too warm on their skin.

Lavender rice packs at SubEarthan Cottage

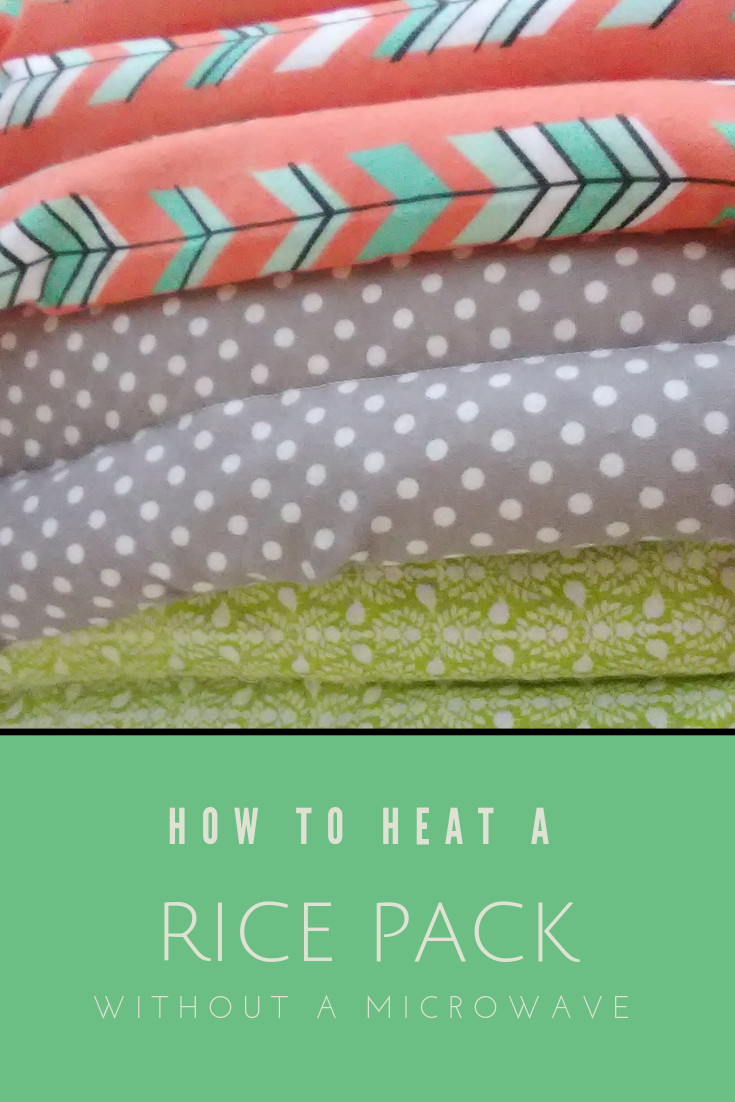
SubEarthan Cottage now offers large 100% cotton flannel rice packs. These are filled with a blend of rice and lavender buds for a pleasant hint of lavender. I sewed channels in the flannel to help keep the rice evenly distributed. They can be heated as described above, or kept in the freezer to use cold. Find all of my rice packs here.


Lavender rice packs at SubEarthan Cottage.

Like this post? To make sure you don’t miss out on future posts, sign up for my newsletter.

Posted on 1 Comment

Feeling Stuck and Overwhelmed? 10 Tips to Get Moving Again

Feeling Stuck and Overwhelmed? 10 Tips to Get Moving Again

Whether it’s a new project, work, or just daily life, sometimes it’s easy to get overwhelmed. Maybe you’re struggling to find balance while juggling work, home life and new schooling situations. Maybe a task seems too huge or unpleasant to tackle. It could be that you’re unsure of how a project will turn out, so fear keeps you from making the first move. Maybe there’s just so many other things on your plate that you find yourself too mentally or physically exhausted to tackle that one thing. Here’s a few ideas to get unstuck and moving forward again.

Overwhelmed? These 10 tips will help

Brain dump

When you’re really anxious or don’t know where to begin, doing a brain dump helps. Grab a pen and paper and just write out everything on your mind. Don’t think about it, don’t worry about complete sentences or cohesive ideas, just get everything out on paper. When your done, look it over. Is there a theme to what you wrote, some repeated word or idea or area of focus? Use that to help you determine your next move.

Image by congerdesign from Pixabay

Make a list

Making a list of what needs to be done creates focus. It also takes the pressure off of yourself to remember everything. Once it’s written down, you’re free to focus on one task at a time. Because it’s all written down, you don’t have to keep a running list of everything in your head. As you complete a task, mark it off. Focus on your list getting shorter, not how much is still left to do.

Break it down

If a task seems too big, it’s easy to get overwhelmed. Breaking it down into smaller tasks makes it more manageable. For example, if you need to clean the house for company, don’t look at the whole task of cleaning the house. Take it room by room. If that still seems too big, list specific tasks within each room. Don’t say “Clean the kitchen”, have individual tasks like wiping down counters, sweeping the floor, mopping the floor, etc. listed separately.

Prioritize

Some tasks come with a deadline or are more important than others. If there’s a deadline, make a note of that deadline on your list and mark it somehow to make it stand out. If it’s something that is high priority, regardless of a specific deadline, make note of that, too. I like to draw a star next to high priority tasks, and highlight or double star things with a deadline.

Set goals

Be realistic about what you can accomplish in a day and set goals accordingly. If there are specific tasks that have to be done first, then set your goals around those. Otherwise, your goals could be something like marking off five tasks each day. If you meet your goal, good for you! Do you have the time, energy and desire to mark off a few more? Go for it! Didn’t meet your goal? See if you need to re-evaluate your expectations so as not to get overwhelmed and discouraged. If it was simply a case of other obligations taking too much time, try again tomorrow.

Set alarms

If you have something that needs to be done at a certain time, like an appointment at noon or starting dinner at five pm, set an alarm in plenty of time to stop and get ready. When I have an appointment or event coming up later in the day, it’s hard for me to focus on other tasks, even when I have plenty of time. Knowing that I have an alarm to remind me when I need to stop makes it a little easier.

Image by congerdesign from Pixabay

Set a timer

Setting a timer is useful in a few ways. First, if you find yourself completely unmotivated, pick a task and set a timer for five, ten or fifteen minutes, whatever seems manageable. You can do anything for five minutes. Pick a task and see how much you can accomplish in that time. When the timer goes off, give yourself permission to stop for a break or switch to a a different task. I often find that when the time is up, I’m so close to finishing that task that I want to keep working.

You can also use a timer to break up a bigger task into smaller chunks of time. Give yourself thirty minutes or an hour to work on a bigger job. When your time is up, stop and take a break or give yourself a five to fifteen minute window to knock out a few quick tasks. This helps you keep the little things from snowballing while you work on a big project.

Finally, setting a timer helps with time management. Everyone needs a break now and then, but it’s easy to allow a quick break to turn into an hour of getting off task. Decide how long of a break you want, set a timer and stick to it.

If timers work for you, you may want to checkout Flylady. I’ve used that method of home organization in the past and found it really helpful. It’s particularly helpful with establishing routines and taking everything in “baby steps” so you don’t get overwhelmed with the process.

Stop waiting

Do you ever find yourself doing nothing just waiting for something. Things like waiting tem minutes for dinner in the oven or sitting on hold on a phone call. Use waiting time that’s often wasted to knock easy tasks off your list.

Just do it

Sometimes there’s a task that I put off because I find it really unpleasant. Usually that leads to putting off other things, because that task is hanging over my head. Often it’s something simple like making a phone call to set up an appointment. There’s no way around getting some things done, so give yourself a minute to stress if you need and jump in. Once it’s done, you can mark it off your list and wonder why you put it off for so long. If it really was that bad, at least it’s done.

Reward yourself

Sometimes your accomplishments are their own reward, and sometimes not so much. Give yourself little incentives, even if it’s just ten minutes of playing a game, or a cup of tea and your favorite show. Knowing that something enjoyable comes after something unpleasant is motivating, especially after a “Just do it” task.

Not everything is as easy as just make a list and do it, but when you’re feeling overwhelmed, using these strategies where they do apply can help free up energy for dealing with the more difficult problems life throws at you.

Bulletin board image by Gerd Altmann from Pixabay

Like this post? To make sure you never miss a future post, please sign up for my newsletter.

Posted on Leave a comment

Want to be Featured?

Want to be featured

Want to be featured?

In the past, I often featured handmade or vintage shops on Fridays. Over the years, the world of crafting and blogging has changed dramatically. I would love to resume Feature Fridays, but with a broader scope.

Handmade shop and websites are still welcome. I also want to feature guest writers sharing tutorials, tips, advice, recipes, etc. Categories that I feel are a good fit for this blog are crafting, sewing, sustainability, refashioning, healthy living, parenting, hair and beauty tips for busy moms, homeschooling and homesteading. I am open to other topics as well, so if you are interested but don’t quite fit into one of the above categories, please contact me anyway with your idea.

Guest posts will be promoted across my social media sites frequently throughout the week they are published and then periodically after.

Handmade shop/website features

For handmade shop/website features, answer the questions in the following list and email them to csloan@s696056323.onlinehome.us. I will contact you before your shop is featured and if any clarification is needed. You can give as much or a little info for each section as you are comfortable with sharing. Be sure to include links to your shop, web page and blog, if you have them. If you sell your products in a brick and mortar store and would like to include that info, you may include that as well.

I also choose a favorite item from your shop on the week that you’re featured and briefly tell why I like it. The first image from your shop for both your favorite item and my favorite item will be included in the blog.

  • Name and Business Name
  • Tell us a little about yourself and your business.
  • What made you get started in your business?
  • Anything else you’d like to share?
  • Tell us about your favorite item listed in your shop.
  • Links to your shop, website, blog, etc.
  • Email address (This will NOT be published)

Guest posts, tutorials and everything else

Please contact me at csloan@s696056323.onlinehome.us with your idea. If you already blog, a link to your blog or site where your writings are published is also helpful. Newbies are welcome, too. I’m also not opposed to reposts if they are a good fit and your own work.

If I think your idea is a good fit for SubEarthan Cottage, I will let you know and we will work out the details from there.

Matisse Creativity Mug Mugs featured
Posted on 3 Comments

How I Make Soap: An overview of the hot process soapmaking method

tea tree oil soap: no more lye

Making soap is like magic. Seriously, think about it: You take stuff that makes things feel greasy, mix it with stuff that would eat your face off and, if you do it just right, the end result is a wonderful bar of non-drying, skin-loving, fluffy-lathering soap.

Soapmaking is fun, but safety is a priority when dealing with sodium hydroxide, aka lye, aka the eat-your-face-off stuff. This is just a brief overview of the soapmaking process I use. Please do not use this as a complete how to guide. If that’s something you’re interested in, please, leave a comment and I will direct you to some more thorough resources on soapmaking.

Melting the Oils

Creating soap takes two basic things: oils or fats and an alkaline solution. In order to combine the oils and alkaline solution, the oils have to all be in liquid form and uniformly mixed. So, step one is measuring and melting the oils. For precision, all measuring is done by weight. Since I use a Crockpot for my hot process soapmaking, I add all my weighed oils to the Crockpot, then melt and mix them in the pot. For soapmaking, I generally use the low setting, but if I need to jump start the melting process I will start it on high then turn it down after a few minutes. This Crockpot is similar to the one I use.

Melting the Oils
Melting the Oils

Measuring the Lye

While the oils are warming in the Crockpot, I weigh the lye. It is important to be very precise when measuring the lye. Too little and the soap will be too soft. Too much and the soap could burn your skin. This is also why you need to be very careful about the soap recipes you use. If they are not correctly formulated, the end result could be dangerous.

Before I measure the lye, I measure the water or other liquid for the lye solution, also by weight. I do that first to limit the time I have the lye out.

Weighing the Lye
Weighing the Lye. Gloves and goggles on.

Lye Safety

I make sure to measure the lye into glassware and all containers and utensils that come into contact with lye or the lye solution are reserved solely for that purpose. Once the lye is out, I never leave it unattended. Lye crystals resemble table salt, which would be a potentially deadly mix-up. That’s also why my soap production has slowed since Thaddeus was born. Until they are old enough to understand the importance of staying out of the room and can be trusted out of sight but in earshot for the time it takes to get the soap cooking, I only make it when they are either out of the house or asleep with Chris there to tend to them if they wake up during the process.

Mixing the Lye Solution

Once my lye is measured, I add the lye to the water and stir with a wooden spoon until dissolved. Lye fizzes up when mixed, so it is important to have the liquid in a container with plenty of room. The solution with also get really hot and put off fumes, so be prepared. I like to have a window open or fans and the vent a hood running. Some soap makers mix the solution outside, but I like to stay close to my work space to limit the chance of spills.

Blending the Oils and Lye Solution

For cold process soapmaking, it is important to have the oils and lye solution at about the same temperature. With the Crockpot hot process method I use, I find I can mix the lye solution into the warmed, melted oils without having to measure the temperatures first.

When you first add the lye solution to the melted oils, the color will change from clear to opaque. In order to properly combine the lye and oils, I use a handheld stick blender. You can stir by hand, but it is much harder to get everything properly blended and it takes f-o-r-e-v-e-r. I have had a stick blender die in the middle of making a batch of soap and it is a crazy long arm workout. I do not recommend it.

Adding the Lye Solution

Goal of Blending

The goal for all the hard mixing is called “trace”. Basically, I’m wanting to be able to lift my blender out of the mixture and trace a design on top. With cold process, there are various stages of trace that guide when to add any fragrance, essential oils or other add-ins. Since I use the hot process method, I add almost everything after the cook. Because of that, I can mix my batches to a full, hard trace where my traced design doesn’t melt back into the mix. This limits the possibility of a false trace, or the mix seeming to quickly come to trace when it isn’t thoroughly mixed. When that happens, it might separate or have lye heavy spots.

Hard Trace
Hard Trace

Once it is at a hard trace, I stop mixing and put the lid on the Crockpot. If the mix seems too hot, for example, I had a false trace that I had to stir through, I will either turn the Crockpot to warm or off for a few minutes. Otherwise, I make sure it is on low and busy myself with cleaning up, lining my soap molds, and preparing essential oils and other additives.

Cleanup

Any lingering lye solution or soap mixture on the blender is still a risk for lye burns, so I’m cautious with the cleanup. For the whole soapmaking process, I keep a good amount of water with vinegar and a bit of dish soap ready in the sink. The vinegar helps neutralize the lye, so anything that comes into contact with lye goes directly into the vinegar solution, and I use a similar vinegar solution to wipe down my soapmaking area, just in case.

Stages of Saponification

During the cooking, the soap mix will change from an opaque, milky color to a shiny, translucent gel like texture. A pool of liquid also forms on top. that pool of liquid is glycerin, a byproduct of the saponification process. This transformation starts at the edges of the pot and happens in a wave moving towards the center. I find it really fun to watch.

Soap Waves
Soap Waves

Finishing the Batch

When the entire soap mixture is translucent and the consistency of mashed potatoes without lumps, I turn off the heat and stir the soap by hand for just a couple of minutes to let it cool. At this point, if done correctly, the mixture completely transformed to soap. I don’t want it to cool too much, or it would be hard to add the essential oils, but too hot and it will burn off the scent.

Glycerin Pool Forming in the Middle

I then add any essential oils blended in my chosen carrier oil and any other add-ins I’m using in that batch, stir thoroughly by hand, and plop it into my molds. Since it is thick, I generally have to tap my molds on my counter firmly to eliminate air pockets.

Adding the Blended Essential Oils and Carrier Oil

Curing the Final Product

Because the saponification process is completed during the cooking, the soap is totally safe to use as soon as it is cool enough to touch. It needs to cool in the molds for 12-24 hours or so to hold it’s shape, though. Once it is firm enough to cut, I cut and wrap the bars. While not necessary, hot process bars still benefit from curing for at least a week or two to allow excess moisture to evaporate. As I discussed in my Proper Care and Feeding of Your Bar Soap post, the firmer and drier a bar of soap is, the longer it will last. That’s one of the reasons I wrap my soap in cloth rather than plastic. Cloth allows the soap to continue to harden for a longer lasting bar.

Soap Log in the Mold

The batch I photographed for this post is my Tea Tree Oil Soap. Find it and my other handmade soaps for sale here: https://subearthancottage.com/product-category/soap-bath-beauty.