Shampoo bars have become more popular recently. They are convenient for traveling. Unlike liquid shampoo, you don’t have to worry about travel limits and leaking bottles with a shampoo bar. Because they don’t require plastic bottles, shampoo bars are a great option for people trying to reduce waste.
Not all hair types are alike, so it takes some trial and error to find the right one. With the recent interest in shampoo bars, I thought now would be a great time to reshare my Shampoo Bar 101 post.
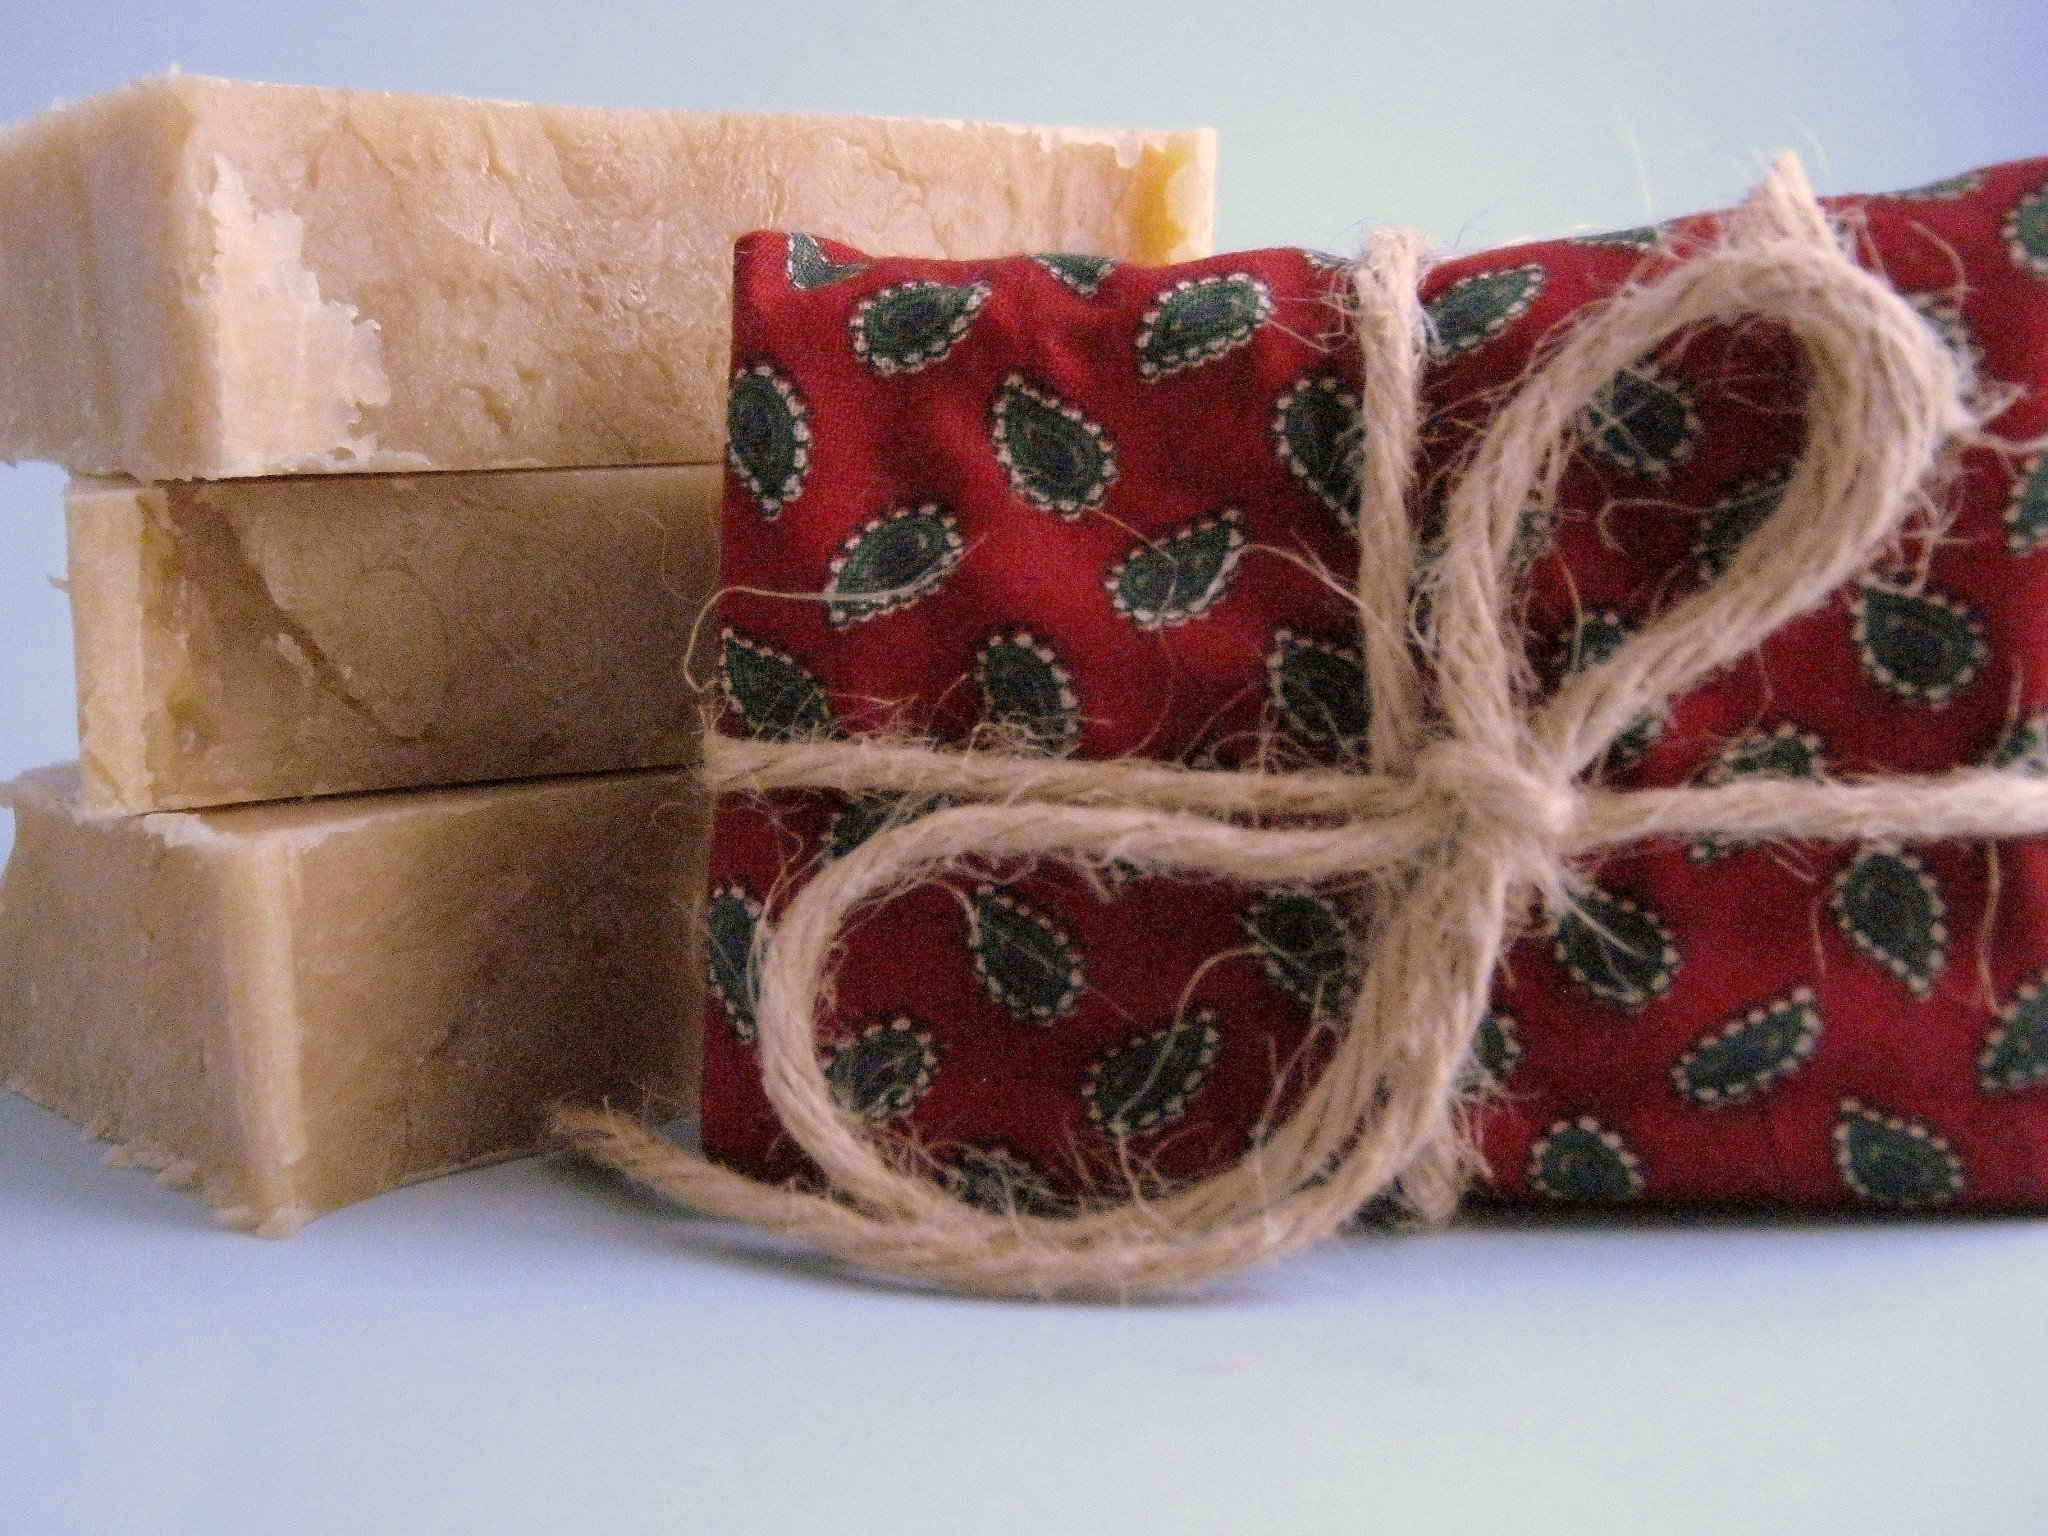
Shiner Bock Beer Soap: My top choice for washing my hair.
I began using bar soaps as shampoo about four years ago. Whenever I tell people this, they always look at me kind of strange or have tons of questions about how it works, so I thought I’d share it all here. Please keep in mind, this is all based on my personal experience and research.
What type of soap to use?
While there are some bars that are specially formulated to be shampoo bars, I’ve found that just about any good quality natural soap will work. You definitely want to avoid most of the bar soaps you’d find at your supermarket, because they don’t have the same properties as natural soaps and can dry your hair.
Among natural soaps, I’ve found that bars with little or no waxes work the best. My hair tends to be oily, so I also avoid soaps with a high percentage of butters (shea, cocoa, etc.) as they seem to add too much oil to my hair.
Some of the oils that work well in a shampoo bar are coconut, castor, olive, jojoba, and avocado. Most of the bars I’ve used contain at least the first three. I wouldn’t count out a bar that didn’t have them, though, until I’d tried it a few times.
What are the some of the benefits of using a bar soap?
Natural bars don’t strip your hair like shampoo.
Hair feels thicker
Has eliminated my need for a seperate conditioner
No more scalp and hairline irritation like I had with many shampoos
Convenient for travel-no worries about leaky bottles or (as far as I know) airline carry-on limits
Same bar can be used all over-no need for a seperate body wash or soap cluttering your shower
Tipsfor using a bar soap as shampoo:
Expect an adjustment period of 2-4 weeks. Your scalp is used to producing more oil to make up for the natural oils that are stripped by the detergents in shampoos.
You may want to use a simple clarifying shampoo or even a baby shampoo prior to the first wash with a bar. I’ve found that this helps speed up the adjustment period by removing buildup from shampoos, conditioners and styling products, giving the bar a clean slate to work with.
Periodically doing an apple cider vinegar (or lemon juice) rinse can help improve shine and seems to help if I feel like my hair isn’t rinsing out as well as it should. I use about 1/2 Tablespoon of ACV to about 3 cups of water and pour over my just washed hair, then rinse. I used to do this about every other wash, but now I do it about once every week or two.
Many styling products seem to need the detergents in shampoo to be fully removed. I try to avoid products with dimethecone and other -cone ingredients as these seem to be the hardest to wash out with a bar soap. Hairspray doesn’t seem to be a problem. You can also use pure aloe gel as a hair gel that’s also great for your hair.
I’m sure there are many things I’ve left out. Feel free to ask any questions or add to what I have here.
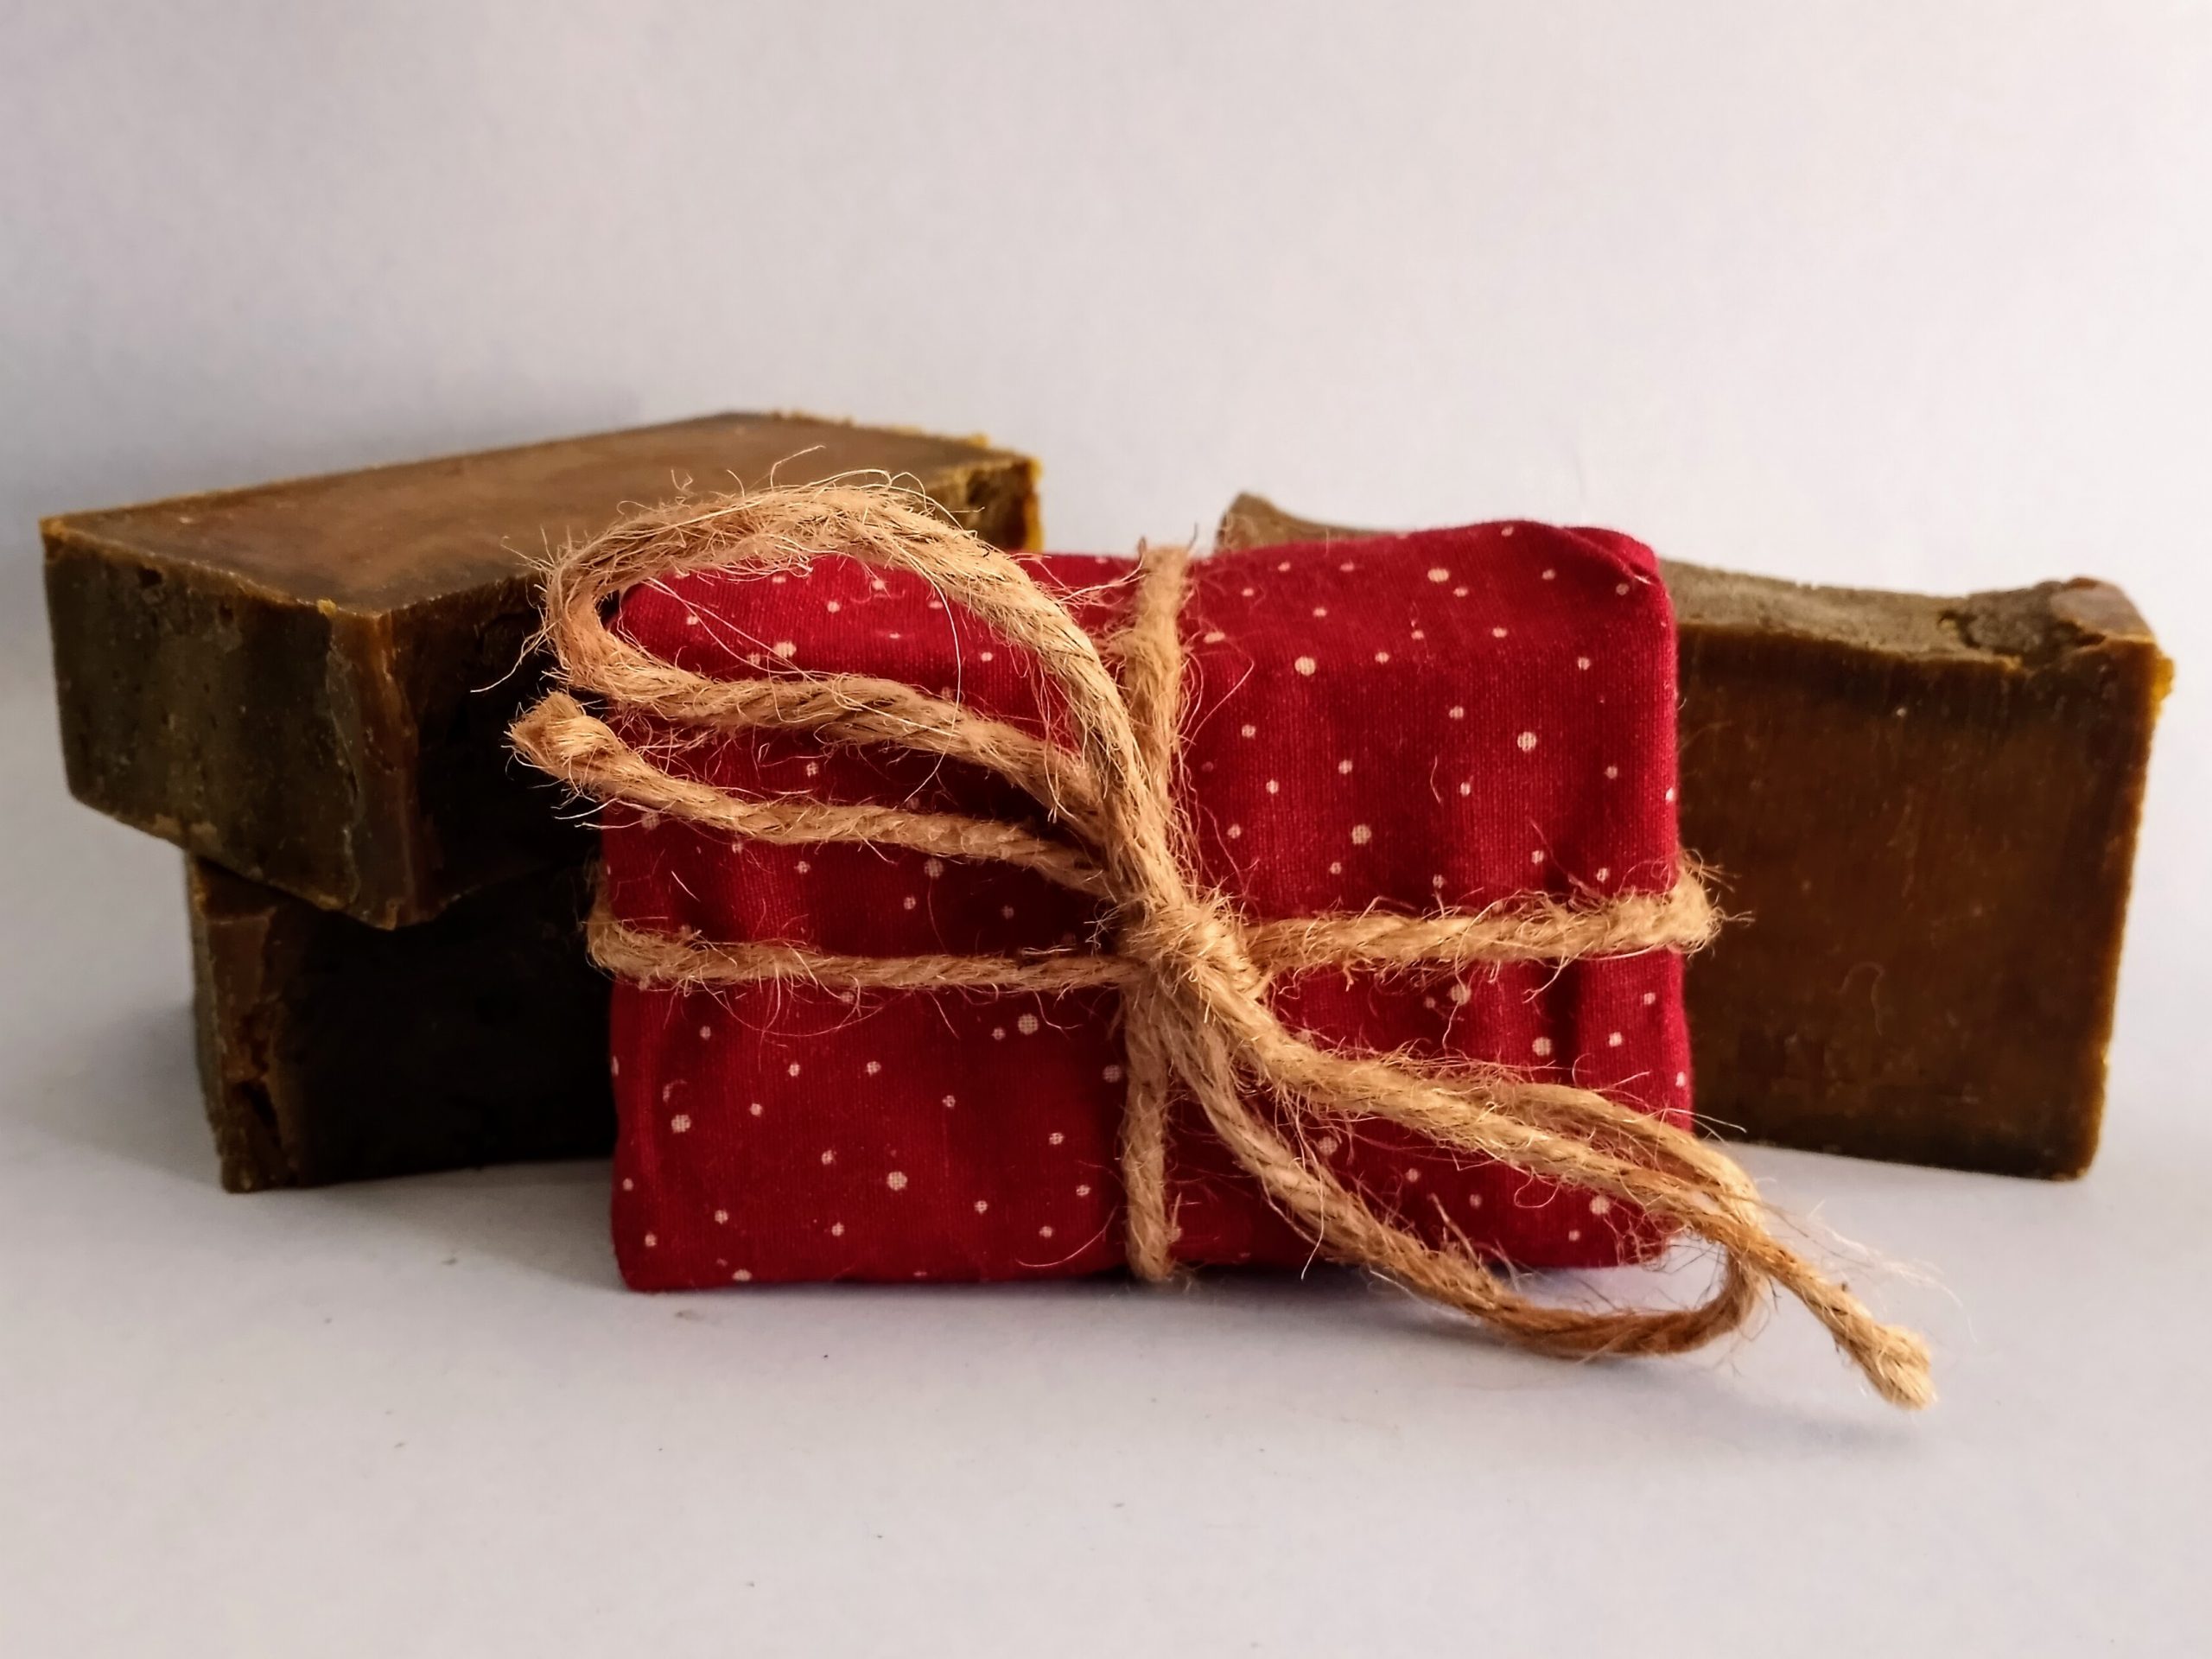
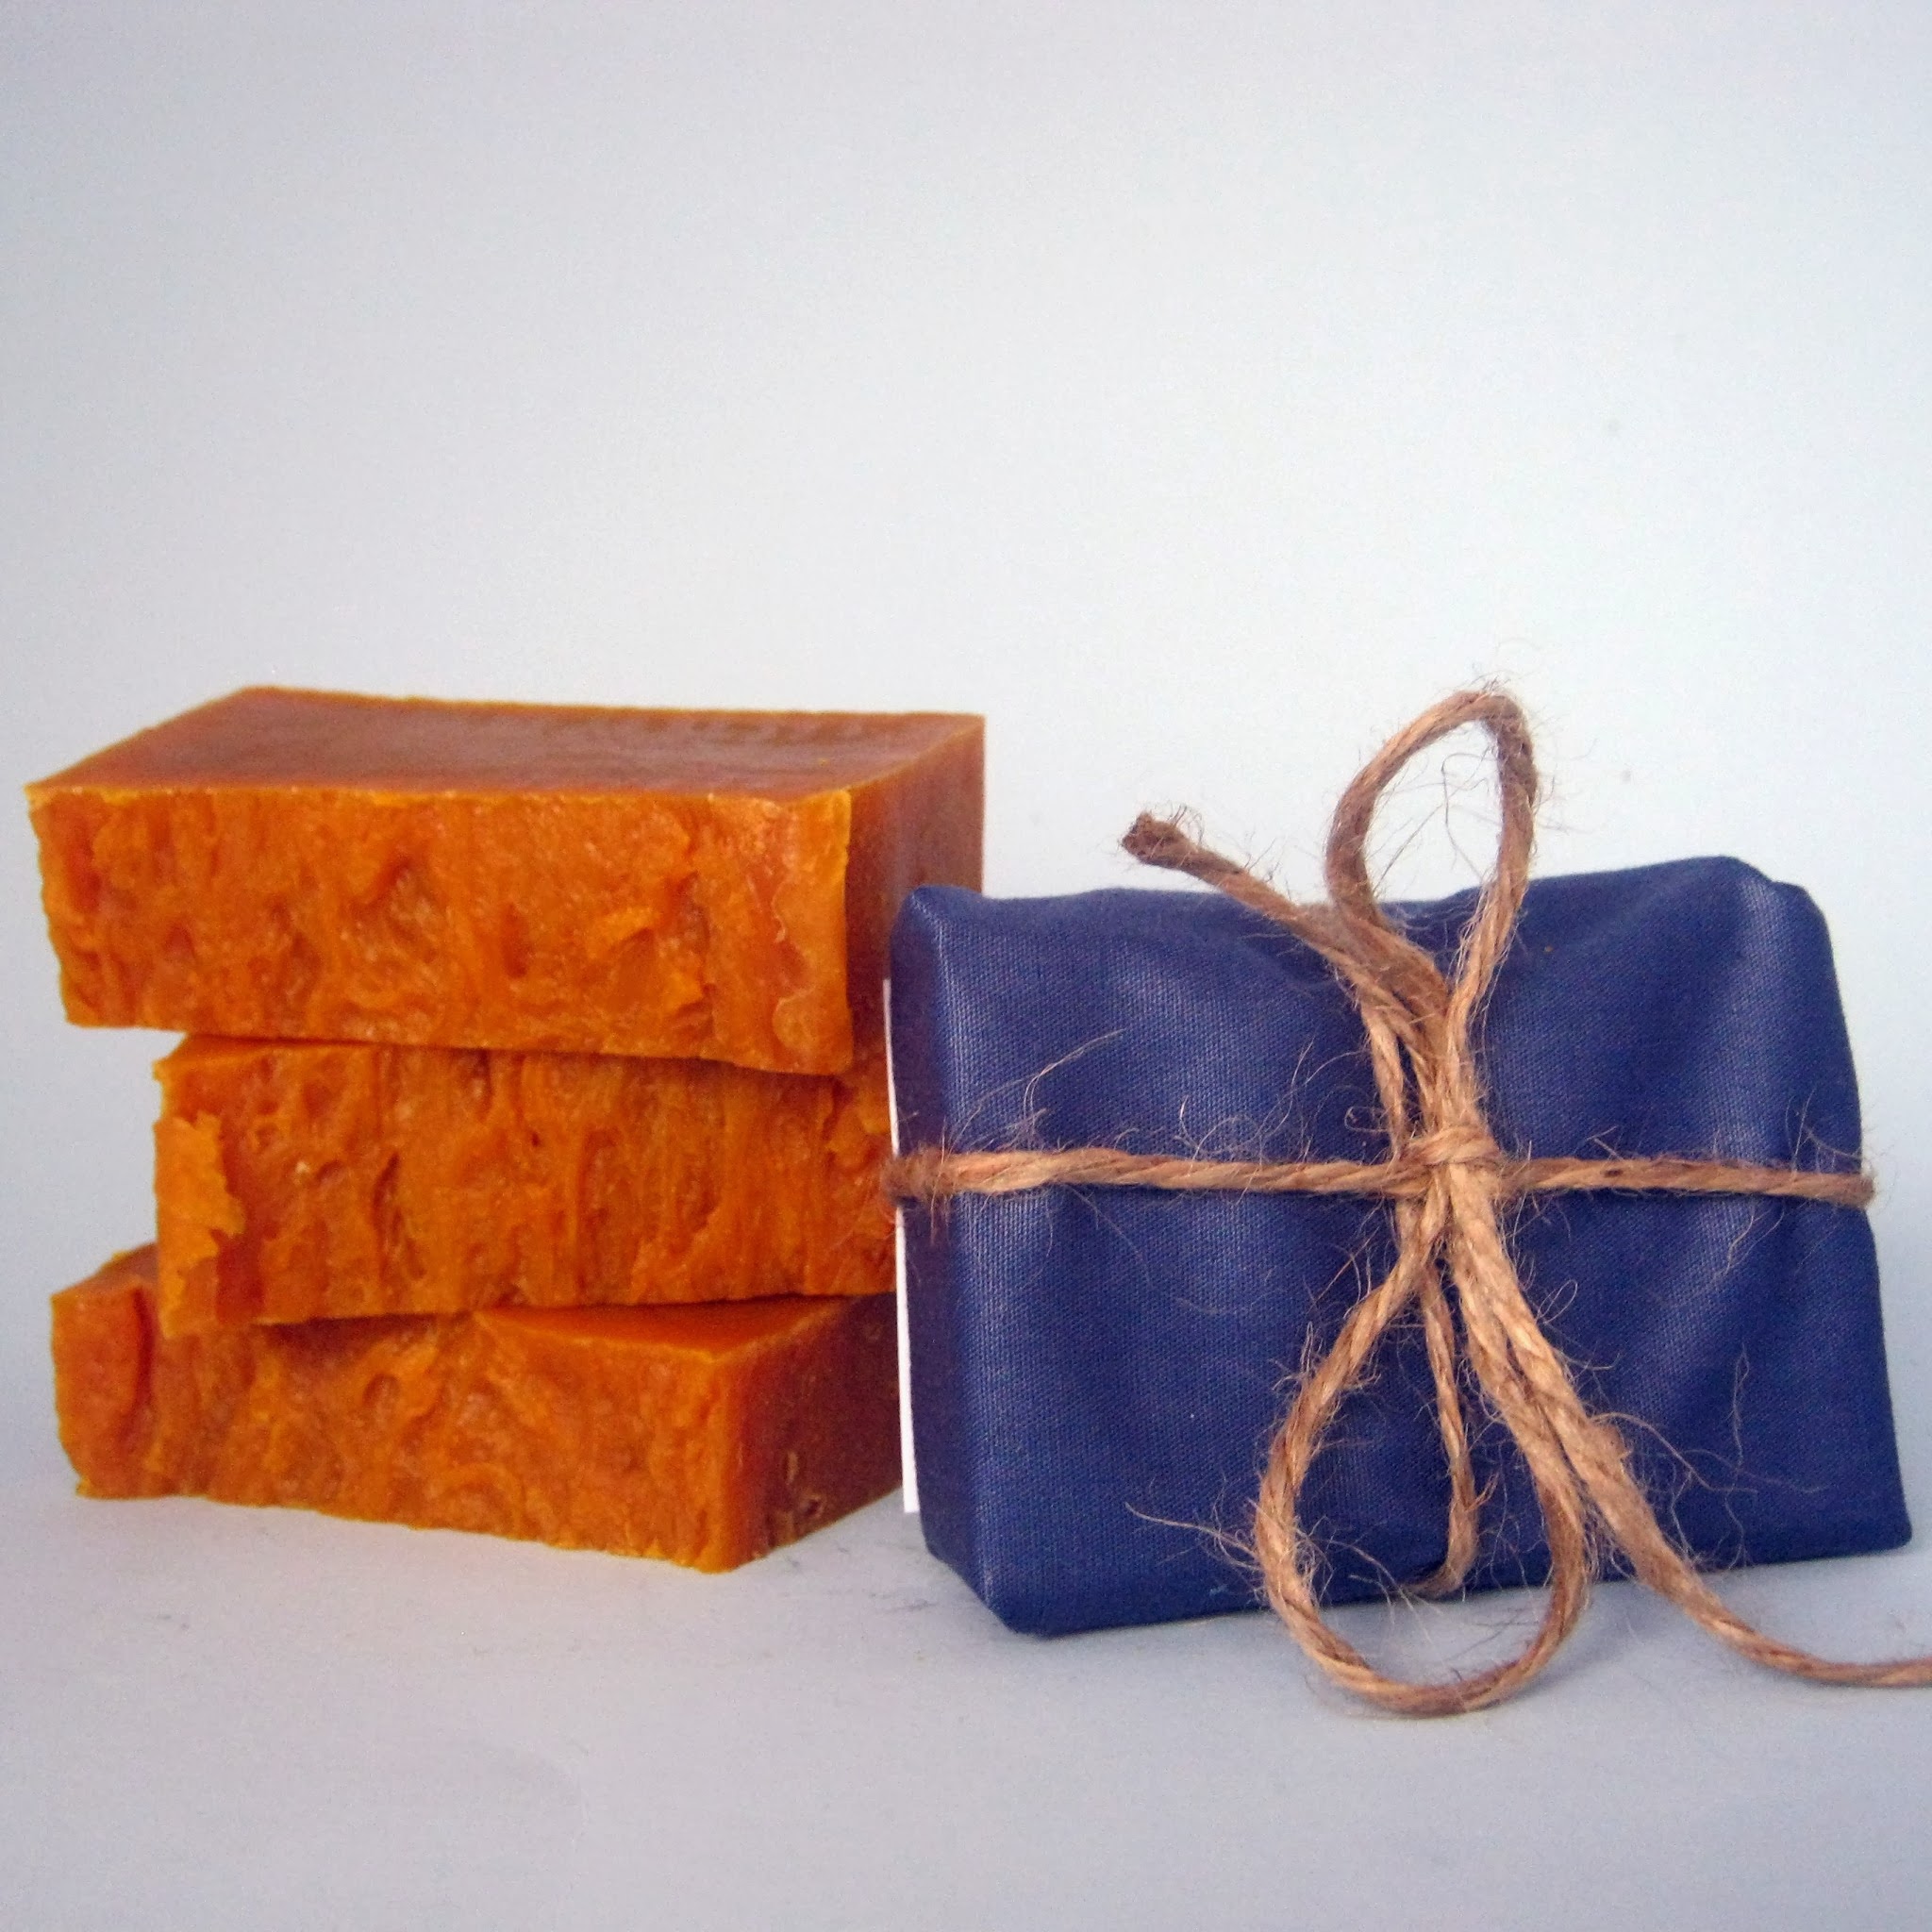
Oh, and before I forget, here are my favorites from my shop to use as a shampoo:
Just wanted to give you a quick update. The Hot Chocolate Soap I mentioned in my last post is now available in my shop. It’s a limited edition, seasonal soap, so get it while you can. 🙂
Hot Chocolate Soap
Also, if you want this Halloween Sugar Skull Bunting, it will only be available until the end of the weekend. If it doesn’t sell, I’m claiming it for my own décor.
The Hot Chocolate has a rich, chocolaty scent with just a bit of espresso to cut the sweetness. It’s still curing, so look for it to be listed on Tuesday, September 27, 2022. I may list it this weekend and allow pre-orders. If you want to be notified when it’s available, join the mailing list or contact me at csloan@subearthancottage.com.
Both new soaps are seasonal, small batch limited editions, so get them while you can.
I like getting my kiddos involved in housecleaning. Not just because they are highly involved in making messes, but because it is important that they know how to take care of themselves as adults. I’m pretty choosy as to what cleaning products I will let them use. So many cleaners are irritating to the skin, eyes and lungs.
Not only do I want my cleaning products to be safe, I like things that multitask and don’t cost an arm and a leg. Often, I’ve found the best way to achieve this is to make them myself, like with my natural furniture polish. With a few simple ingredients I keep around the house anyway, I find I can cover most cleaning needs.
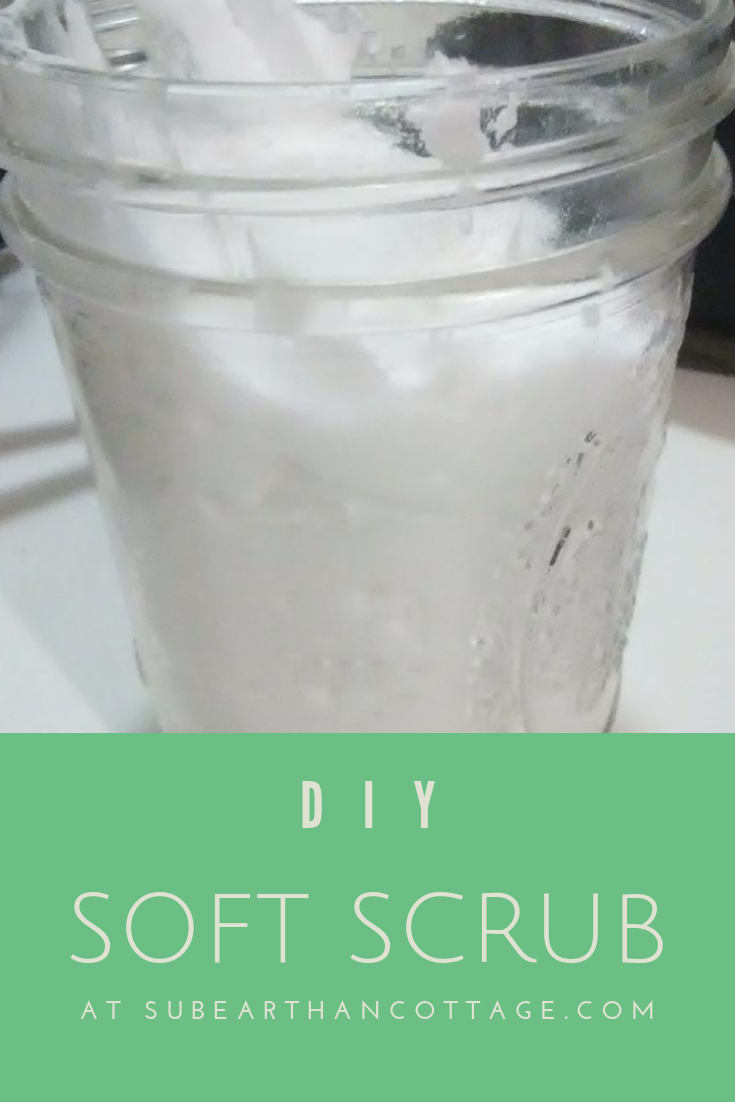
My most recent cleaning concoction is soft scrub. It works well for when I need a little extra scrubbing power than I get with my usual all-purpose water, vinegar and dish soap mix.
Soft scrub in a jar
Soft Scrub Ingredients
1 cup of baking soda
1/4 cup of liquid soap
1 tablespoon of hydrogen peroxide
Optional: 2-3 drops of essential oil
Instructions
Place all the ingredients into a big bowl and mix until a uniform paste forms. To store, I like to scoop it into a wide mouth canning jar, but any lidded container will work. The mix will expand, so use a container that allows for at least double the amount to be safe.
Mixing the soft scrub
Variations
Type of Soap
Liquid castile soap will work, but for extra cleaning power I prefer a detergent soap, like Dr. Bronner’s Sal Suds or even Dawn dish soap. You could probably get away with any liquid hand soap or liquefied bar soap, but I haven’t tried those yet. The only time I haven’t liked it was when I made it with Ajax dish soap because that is what I had on hand. I think there was something in the Ajax that reacted badly with the baking soda or hydrogen peroxide. That mixture was fluffier and had an odd smell. I’m not quite sure what it was that caused it, but because of that, I recommend staying away from any dish soap that advertise extra cleaning additives. For the soap, basic is better.
Scent
I rarely add any essential oils for fragrance. Usually the soap I have is already scented, so I don’t see the need. Really, unscented is fine, too, unless you just prefer a scent to signal that something is clean. If I were to add an essential oil, though, I would probably use either peppermint, lemon or tea tree oil. If you choose to use an essential oil, please be aware of safety guidelines for using them around children, pregnant women, pets, and other sensitive individuals.
How to use
To use, I scoop out a dollop of the soft scrub and apply a layer to the area I’m cleaning. I usually let it sit for a minute or two then buff it off with a rag. If there’s a residue left, I’ll either wipe it down with a damp rag or mist it with my all purpose vinegar, dish soap and water solution and wipe it clean.
Results
I almost forgot to take a before photo. This is an embarrassing photo of tomato sauce splatter left on my stove overnight.
Before using soft scrub to clean last night’s spaghetti sauce.
This is a photo of what it looks like after using my soft scrub and minimal elbow grease.
Shiny stovetop
I do apologize for the blurry photos. Lighting in my kitchen isn’t the greatest, and also I was in the middle of cleaning.
For people new to buying or making handmade soaps, sometimes the terminology can be confusing. Here are a few of the basic terms you’re likely to come across and basic information on what they mean.
Cold process (cp)
This is the most traditional method. A lye (sodium hydroxide) solution with oils once they are both in a certain temperature range and stirred like mad until the mixture thickens. At this point, fragrances, essential oils and herbs can be added. The mixture is then poured into molds and left to harden and finish the chemical reaction for about 24 to 48 hours, depending on the recipe. After this time, the soap is removed from the molds and then allowed to cure for about 4-6 weeks. This lets excess water from the soap evaporate and makes the soap last longer.
Hot process (hp)
Hot process is very similar to cold process, except that the lye and oil mixture is cooked over a low temperature until the reaction is complete. Fragrances, essential oils and herbs can be added after the cook. The cooked mixture is then poured into molds and left to harden. The soap is safe to use immediately after it hardens, although it is best to allow the soap to cure for at least a week or two. Since some of the water evaporates during the cooking process, hp soap doesn’t have to cure for as long.
Melt and pour (mp)
This is probably the easiest for a beginner or for people uncomfortable with working with lye. A soap base that has been formulated to melt easily is melted down over low heat. Once it has thoroughly melted, fragrances, essential oils and herbs can be added. The soap is then poured into molds. This type of soap can be used as soon as the soap has sufficiently hardened.
Soap bases can be purchased from most craft stores, although you’ll generally find better quality bases from specialty suppliers.
Hand milled or rebatched
This is very similar to melt and pour except that instead of a soap base, grated soap is combined with a liquid and melted down. Some soap makers like to make plain batches of cp or hp soap and then hand mill it and add the fragrances, etc. then.
Hand milled bars can be firmer, although it really depends on the amount of liquid added and the length of time the soap is cured.
This is just a basic overview. If you have any questions, please feel free to ask.
Like this post? To make sure you never miss a future post, please sign up for my newsletter.
For those unfamiliar with making soap, seeing lye, aka sodium hydroxide or potassium hydroxide as an ingredient in handmade soap can be a little scary. Today I thought I’d share why it’s in there and why it’s nothing to scare you away from handmade soap.
The basic soapmaking process involves adding a solution of lye and water or some other liquid to oils. The lye reacts with the oils to make soap (saponification). Lye is necessary for saponification to occur and is therefore used in making all soap. In other words, if there wasn’t sodium hydroxide (potassium hydroxide for liquid soap) , aka. lye involved in making a product, it’s not soap.
Is there lye in the finished soap?
Short answer: No, absolutely not. Assuming the maker’s calculations are correct, all of the lye reacts with the oil, thus leaving no trace of the lye in the final product. Because of this, you will often see terms such as “Saponified Coconut Oil” or “Sodium Cocoate”. Both terms refer to coconut oil that has reacted with lye to saponify.
Many soap makers, including myself, also take a small discount in the amount of lye used. This adds a cushion to further ensure that there are no traces of lye in the final product. It also produces a milder bar without sacrificing the cleaning properties of the soap.
A word about labeling
When labeling soap, you can either list the starting ingredients or list the end products. So, some soapmakers’ labels will list things like “lye (or sodium hydroxide), olive oil, coconut oil,” etc. Some will list “saponified coconut oil, saponified olive oil,” etc. Others choose to list ingredients as “Sodium Olivate, Sodium Cocoate,” etc. All mean the same thing.
Personally, I find listing the starting ingredients simpler and more easily understandable. It does mean that my labels list lye or sodium hydroxide, which might seem scary if you don’t know that there are no longer traces of it in the finished product.
Like this post? To make sure you never miss a future post, please sign up for my newsletter.
Making soap is like magic. Seriously, think about it: You take stuff that makes things feel greasy, mix it with stuff that would eat your face off and, if you do it just right, the end result is a wonderful bar of non-drying, skin-loving, fluffy-lathering soap.
Soapmaking is fun, but safety is a priority when dealing with sodium hydroxide, aka lye, aka the eat-your-face-off stuff. This is just a brief overview of the soapmaking process I use. Please do not use this as a complete how to guide. If that’s something you’re interested in, please, leave a comment and I will direct you to some more thorough resources on soapmaking.
Melting the Oils
Creating soap takes two basic things: oils or fats and an alkaline solution. In order to combine the oils and alkaline solution, the oils have to all be in liquid form and uniformly mixed. So, step one is measuring and melting the oils. For precision, all measuring is done by weight. Since I use a Crockpot for my hot process soapmaking, I add all my weighed oils to the Crockpot, then melt and mix them in the pot. For soapmaking, I generally use the low setting, but if I need to jump start the melting process I will start it on high then turn it down after a few minutes. This Crockpot is similar to the one I use.
Melting the Oils
Measuring the Lye
While the oils are warming in the Crockpot, I weigh the lye. It is important to be very precise when measuring the lye. Too little and the soap will be too soft. Too much and the soap could burn your skin. This is also why you need to be very careful about the soap recipes you use. If they are not correctly formulated, the end result could be dangerous.
Before I measure the lye, I measure the water or other liquid for the lye solution, also by weight. I do that first to limit the time I have the lye out.
Weighing the Lye. Gloves and goggles on.
Lye Safety
I make sure to measure the lye into glassware and all containers and utensils that come into contact with lye or the lye solution are reserved solely for that purpose. Once the lye is out, I never leave it unattended. Lye crystals resemble table salt, which would be a potentially deadly mix-up. That’s also why my soap production has slowed since Thaddeus was born. Until they are old enough to understand the importance of staying out of the room and can be trusted out of sight but in earshot for the time it takes to get the soap cooking, I only make it when they are either out of the house or asleep with Chris there to tend to them if they wake up during the process.
Mixing the Lye Solution
Once my lye is measured, I add the lye to the water and stir with a wooden spoon until dissolved. Lye fizzes up when mixed, so it is important to have the liquid in a container with plenty of room. The solution with also get really hot and put off fumes, so be prepared. I like to have a window open or fans and the vent a hood running. Some soap makers mix the solution outside, but I like to stay close to my work space to limit the chance of spills.
Blending the Oils and Lye Solution
For cold process soapmaking, it is important to have the oils and lye solution at about the same temperature. With the Crockpot hot process method I use, I find I can mix the lye solution into the warmed, melted oils without having to measure the temperatures first.
When you first add the lye solution to the melted oils, the color will change from clear to opaque. In order to properly combine the lye and oils, I use a handheld stick blender. You can stir by hand, but it is much harder to get everything properly blended and it takes f-o-r-e-v-e-r. I have had a stick blender die in the middle of making a batch of soap and it is a crazy long arm workout. I do not recommend it.
Adding the Lye Solution
Goal of Blending
The goal for all the hard mixing is called “trace”. Basically, I’m wanting to be able to lift my blender out of the mixture and trace a design on top. With cold process, there are various stages of trace that guide when to add any fragrance, essential oils or other add-ins. Since I use the hot process method, I add almost everything after the cook. Because of that, I can mix my batches to a full, hard trace where my traced design doesn’t melt back into the mix. This limits the possibility of a false trace, or the mix seeming to quickly come to trace when it isn’t thoroughly mixed. When that happens, it might separate or have lye heavy spots.
Hard Trace
Once it is at a hard trace, I stop mixing and put the lid on the Crockpot. If the mix seems too hot, for example, I had a false trace that I had to stir through, I will either turn the Crockpot to warm or off for a few minutes. Otherwise, I make sure it is on low and busy myself with cleaning up, lining my soap molds, and preparing essential oils and other additives.
Cleanup
Any lingering lye solution or soap mixture on the blender is still a risk for lye burns, so I’m cautious with the cleanup. For the whole soapmaking process, I keep a good amount of water with vinegar and a bit of dish soap ready in the sink. The vinegar helps neutralize the lye, so anything that comes into contact with lye goes directly into the vinegar solution, and I use a similar vinegar solution to wipe down my soapmaking area, just in case.
Stages of Saponification
During the cooking, the soap mix will change from an opaque, milky color to a shiny, translucent gel like texture. A pool of liquid also forms on top. that pool of liquid is glycerin, a byproduct of the saponification process. This transformation starts at the edges of the pot and happens in a wave moving towards the center. I find it really fun to watch.
Soap Waves
Finishing the Batch
When the entire soap mixture is translucent and the consistency of mashed potatoes without lumps, I turn off the heat and stir the soap by hand for just a couple of minutes to let it cool. At this point, if done correctly, the mixture completely transformed to soap. I don’t want it to cool too much, or it would be hard to add the essential oils, but too hot and it will burn off the scent.
Glycerin Pool Forming in the Middle
I then add any essential oils blended in my chosen carrier oil and any other add-ins I’m using in that batch, stir thoroughly by hand, and plop it into my molds. Since it is thick, I generally have to tap my molds on my counter firmly to eliminate air pockets.
Adding the Blended Essential Oils and Carrier Oil
Curing the Final Product
Because the saponification process is completed during the cooking, the soap is totally safe to use as soon as it is cool enough to touch. It needs to cool in the molds for 12-24 hours or so to hold it’s shape, though. Once it is firm enough to cut, I cut and wrap the bars. While not necessary, hot process bars still benefit from curing for at least a week or two to allow excess moisture to evaporate. As I discussed in my Proper Care and Feeding of Your Bar Soap post, the firmer and drier a bar of soap is, the longer it will last. That’s one of the reasons I wrap my soap in cloth rather than plastic. Cloth allows the soap to continue to harden for a longer lasting bar.
I, Charity Sloan, am a participant in the Amazon Services LLC Associates Program, an affiliate advertising program designed to provide a means for sites to earn advertising fees by advertising and linking to Amazon.com. Any purchases through those links will result in my receiving a small percentage in commission.
This only refers to Amazon links found in/on my blog pages. All products in my shop are 100% mine and not linked to Amazon.
Prices are the same whether you click an affiliate link or a non-affiliate link, so you will not be charged more. Thank you for your support!