Posted on Leave a comment

Garden Tour: Bell Peppers, Tomatoes, Jalapenos, Beans, Wild Amaranth and a Sale

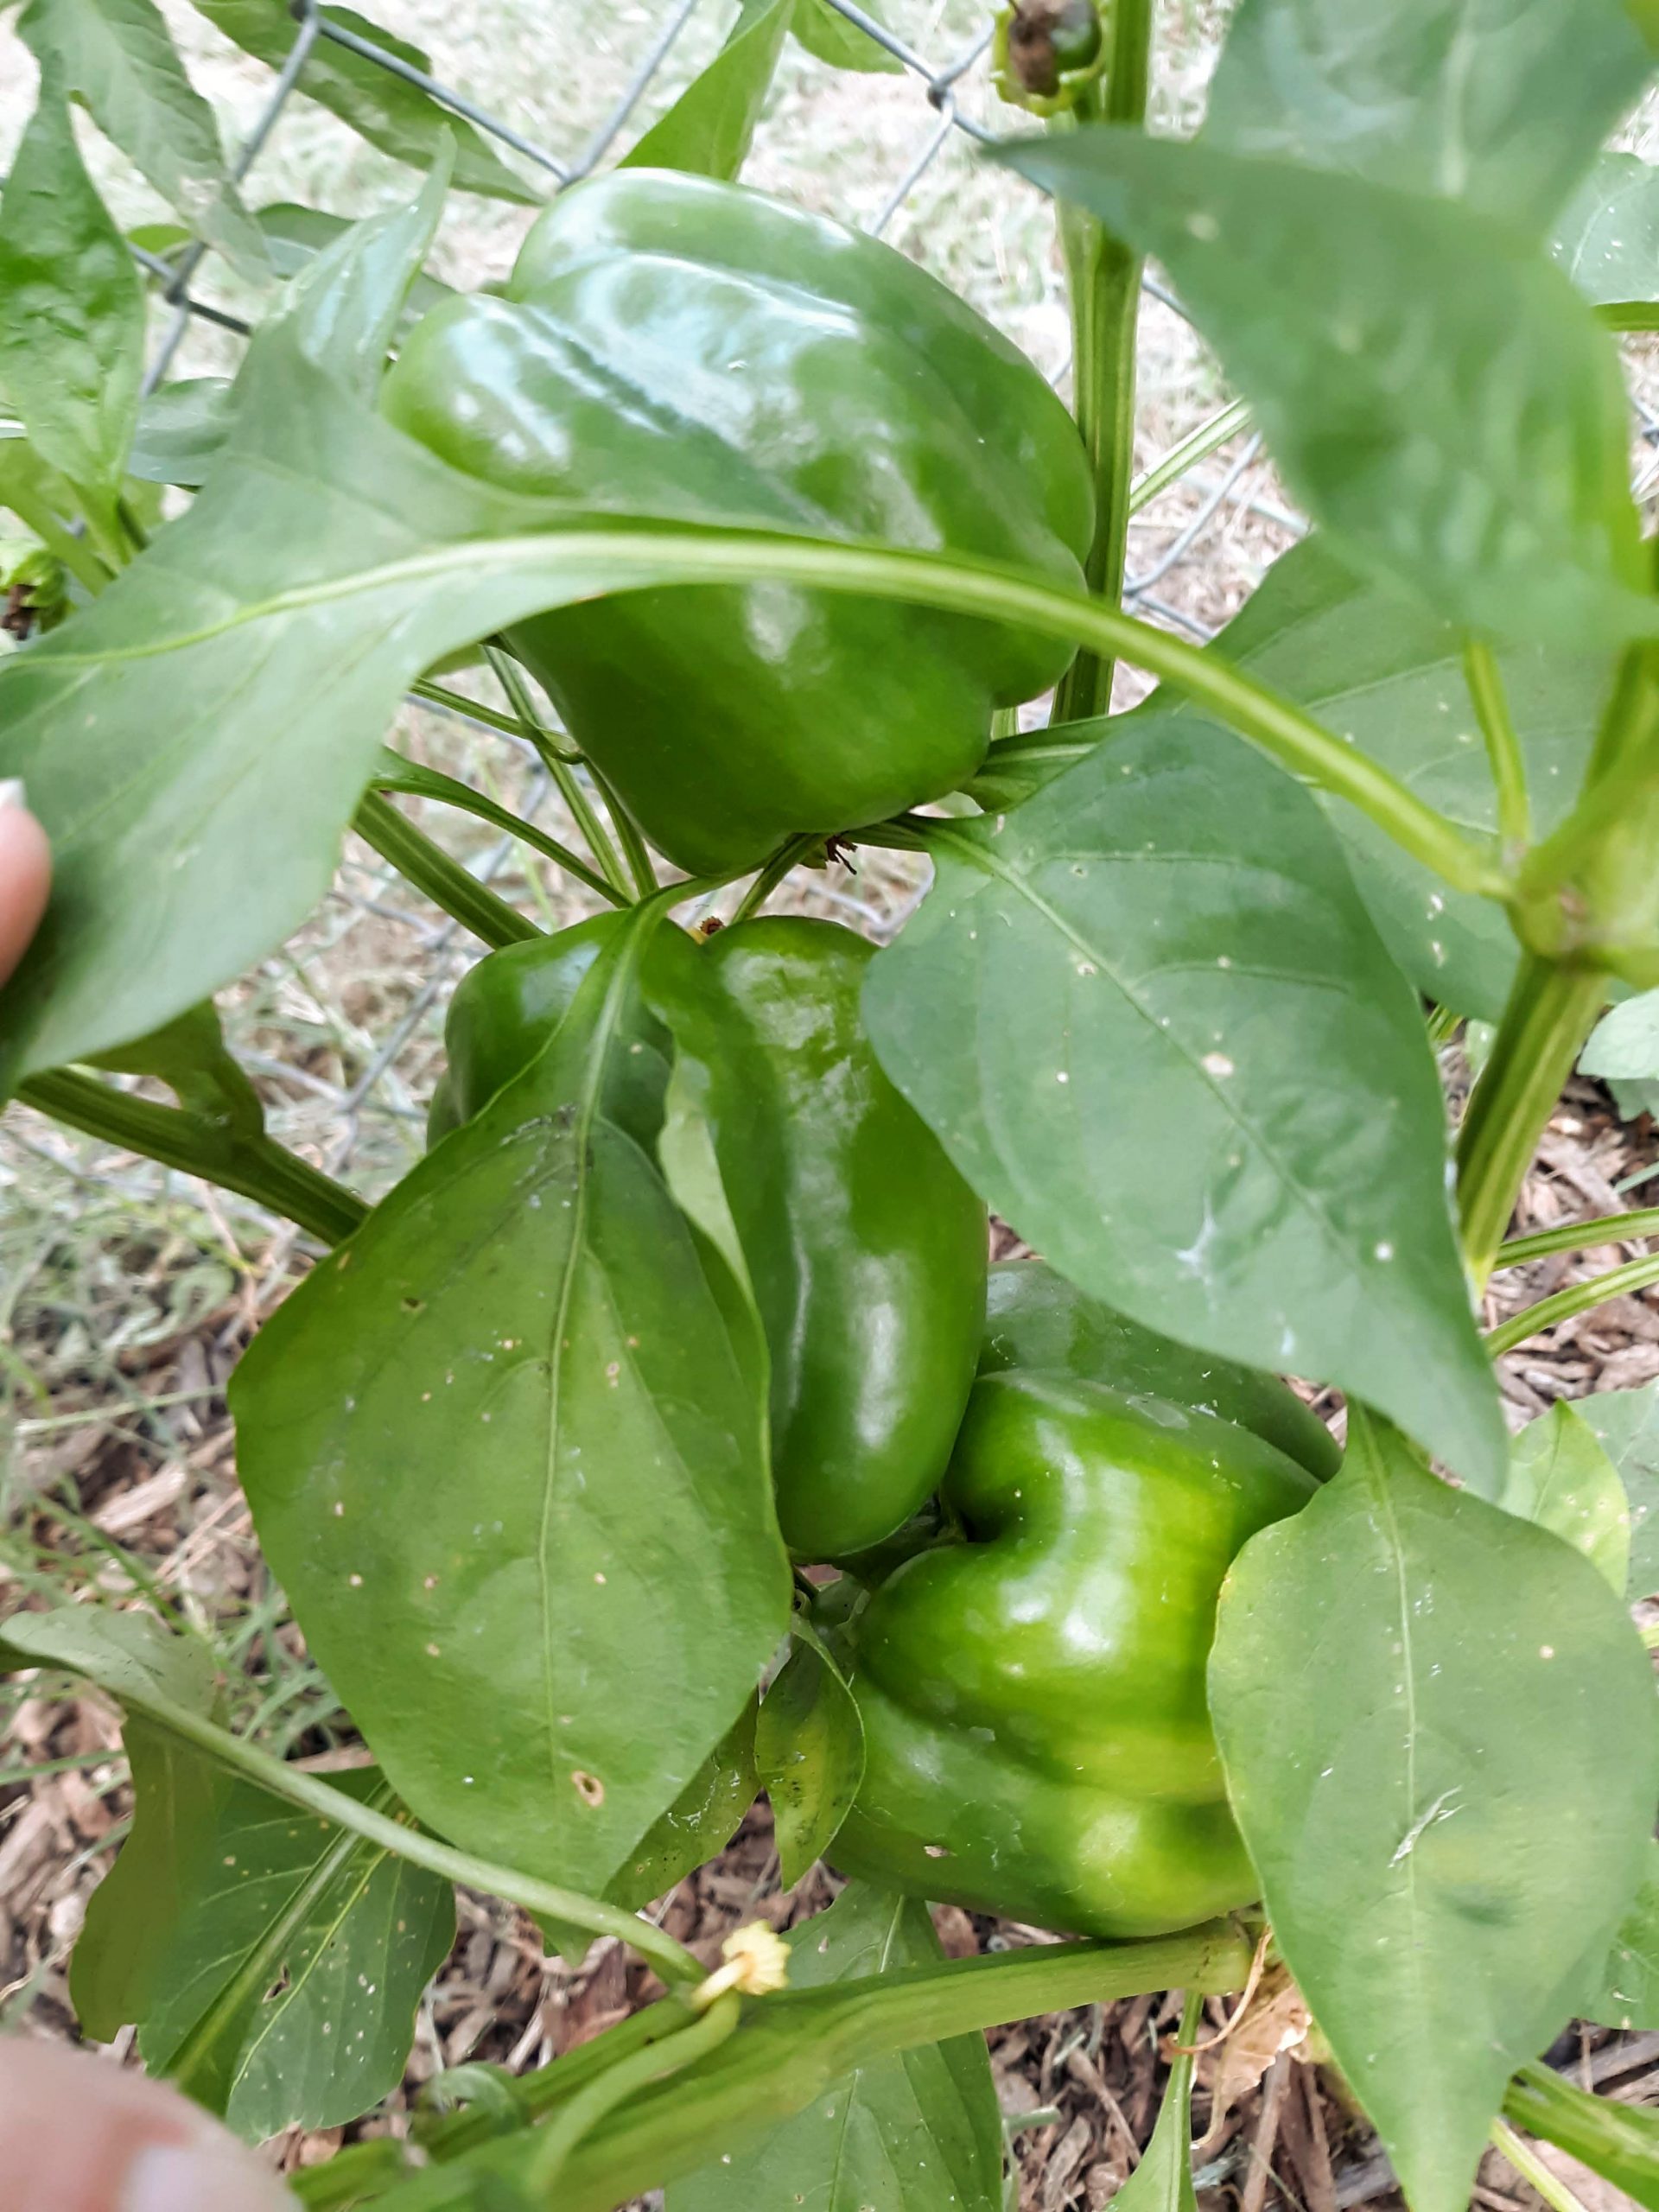
Bell peppers in the garden

After years of living here, we finally planted an actual garden this year. These aren’t all of the plants, but they’re the ones that are doing the best so far. In the future, I’ll have to update as the others get more interesting, and share about all of my container plants, too.

Bell Peppers

I honestly have no idea how big I should let these get before harvesting. I know they will change color, so while I do enjoy green peppers, I figure letting at least a few turn red will let me know when they’re ready.

Bell peppers in the garden
Green bell peppers

Tomatoes

We planted a couple of varieties of tomato plants, then a neighbor gave us a few more, so we should have lots of tomatoes this year.

Huge green tomato
Green tomatoes

Those lovely tomatoes on the bottom got so big that they started to break the plant. Chris harvested them, and I did the yummiest thing I could think to do with green tomatoes: fry them.

Jalapenos

We have one jalapeno plant, and it’s an overachiever. We’ve already harvested four peppers and there’s about a dozen more currently on the plant.

Jalapeno plant
Jalapenos

You can see a few in the photo. There’s more hiding behind the leaves.

Pumpkin

The pumpkin was kind of an accident. We left an uncarved pumpkin sitting out front all winter. After the freeze in February it split and all the seeds were exposed. I through some soil on it and ignored it. Before long, we had about a million little pumpkin plants. I transplanted a few to the garden area and they’ve taken off.

Pumpkin plants
Pumpkin plants.

Some of the pumpkin plants left in the front were huge, but they took over the walkway and started getting damaged from the dogs walking through them, so we removed them. Hopefully these will continue to grow. It would be so cool to have pumpkins from our own garden this fall.

Beans

A few months ago, my clumsy self picked up a bag of pinto beans the wrong way and spilled a bunch on the floor. I decided to try to sprout them by soaking. When they sprouted, I planted them in the garden. These three plants are the survivors.

Pinto beans
Three little bean plants.

I have no idea if they need more support than just being allowed to climb the fence. I guess we’ll see.

Amaranth

The last major plant that’s taking off is, unsurprisingly, the amaranth. Amaranth literally grows as a weed around here, and we actually started our amaranth patch from weeds. The leaves are an awesome spinach replacement, and the seeds can be cooked or ground into flour. So far we’ve never harvested the seeds, but we do use the greens. It is important to note that they do contain a lot of oxalic acid, so you have to be careful of that. I’ve heard blanching helps to reduce the amount of oxalic acid, so I do that when cooking with amaranth.

Here’s a video of Chris harvesting some of our amaranth, filmed by Beckett.

What are your favorite things to plant? If you’ve been gardening this year, I would love to see.

Like this post? To make sure you never miss a future post, please sign up for my newsletter.

Shop Sale!

All items in my shop are 15% off until Friday, July 16, so please, check it out. Here’s just a few of the things you’ll find.

Posted on Leave a comment

Fascinating Hummingbird Moth Hemaris thysbe Sighting

Hummingbird moth

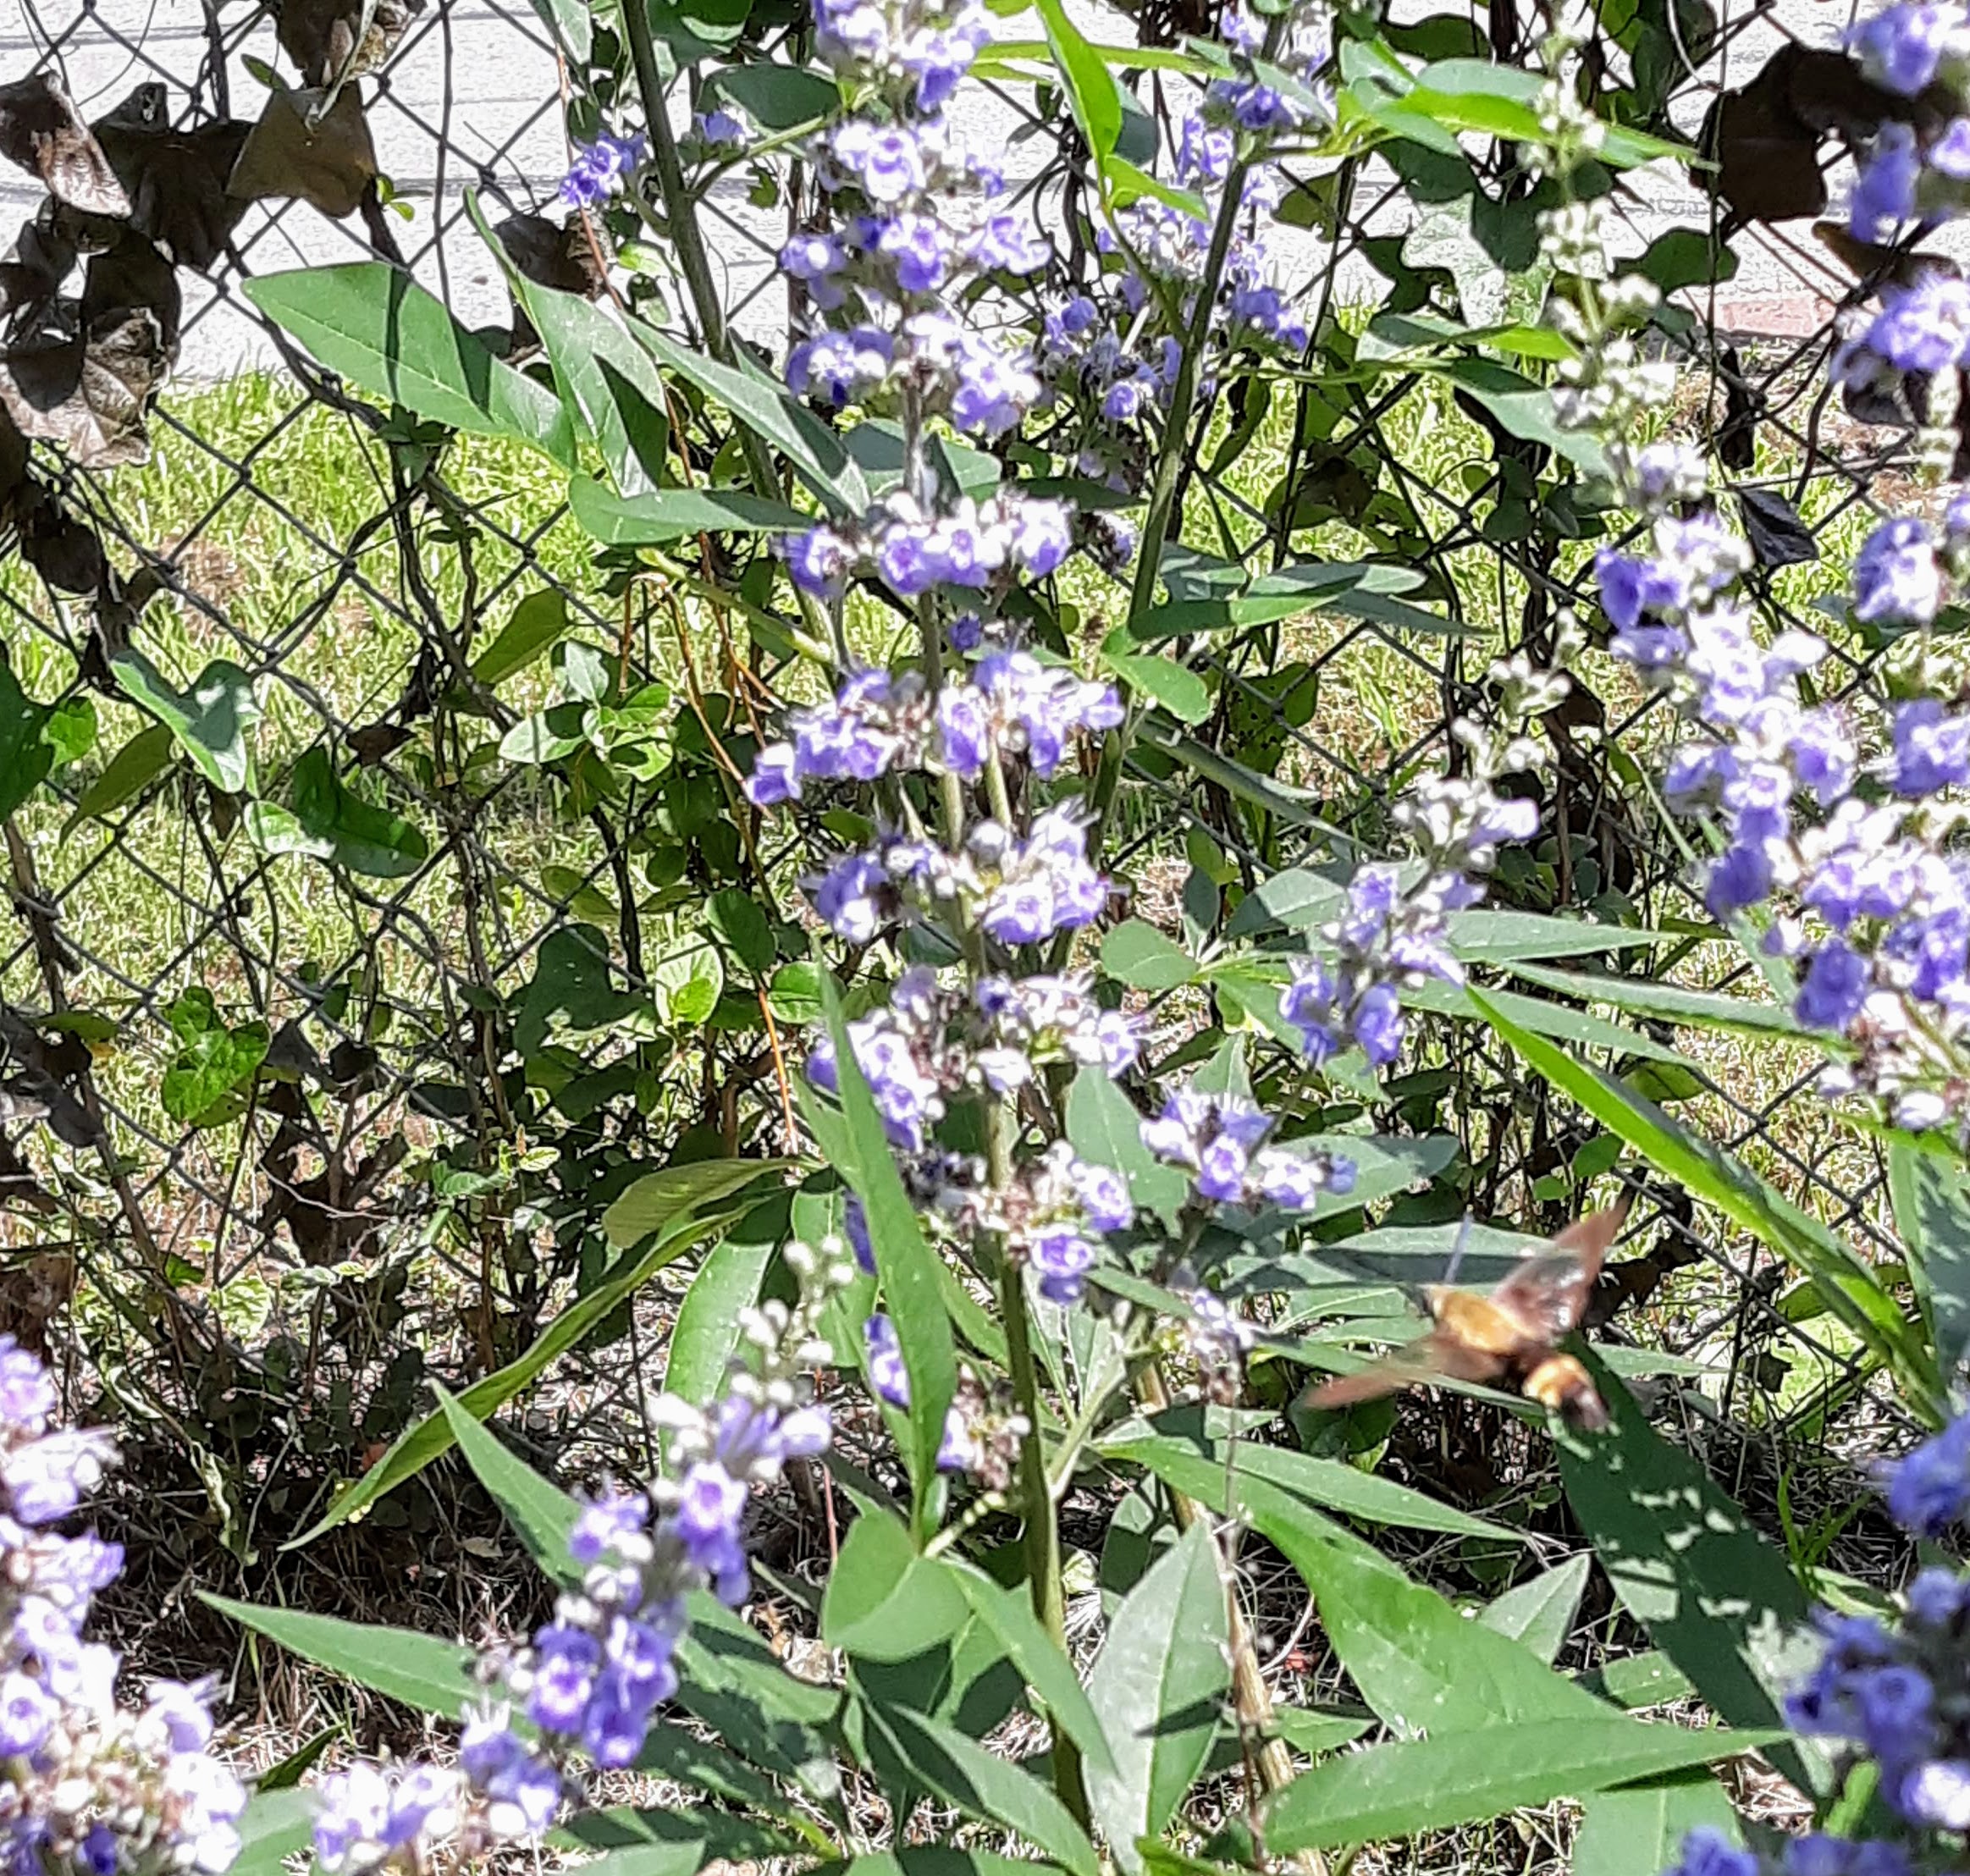
Have you ever heard of a hummingbird moth? I hadn’t, until one day I saw this little creature that looked like a cross between a bee and a hummingbird buzzing around our Chaste tree. Luckily it didn’t mind me at all, so I was able to get a few pictures of them.

Hummingbird moth
It’s in the bottom right corner, if the business of the Chaste flowers make it hard to find.

I really wasn’t sure what to think at first. It’s size and tail made me think of a hummingbird, but it had antennae. In person, the wings moved so fast that they were hard to see, just like a hummingbird, and it hovered more like a hummingbird than a bee. Fortunately, a quick Google search of “bee hummingbird” was all it took to find out more about this fascinating creature.

I’m a little surprised that I haven’t seen one before now. They are a bit rare, but tend to love honeysuckle, and our yard has lots of honeysuckle. I guess this one prefers the colorful purple blossoms of the chaste tree.

Hummingbird Moth 2

I’m pretty sure the one I saw is a Hemaris thysbe, or hummingbird clearwing sphinx moth. I am a little concerned, as hornworms are the larval stage for the hummingbird moth, and hornworms love tomatoes. All of our tomato plants are in the back yard while most of the big flowering plants are in the front, so hopefully that will help keep them away from the tomatoes. So far I haven’t seen any of the hornworm caterpillars near the tomatoes.

Photo by icon0.com from Pexels

We absolutely saw a few of these huge caterpillars in the front yard earlier this spring, though. They’re kind of hard to miss. If I had known the awesomeness they turn into, I might have attempted to watch the process somehow.

Like this post? To make sure you never miss a future post, please sign up for my newsletter.

Posted on 1 Comment

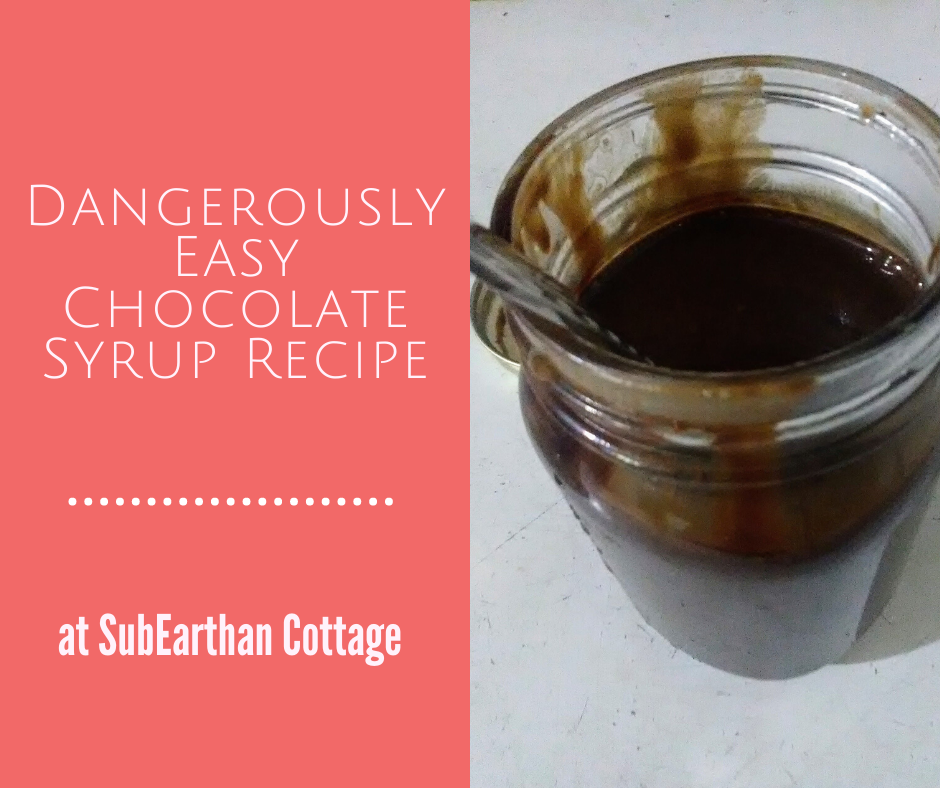
Dangerously Easy Chocolate Syrup Recipe

Chocolate syrup is deliciously versatile. Stir it in hot or cold milk or coffee for a treat or pour over ice cream to make it even more decadent. Then there’s old fashioned sodas and baked goods made with chocolate syrup. With this chocolate syrup recipe, you can make delicious chocolate syrup with just a few basic pantry staples whenever you need it.

Sure, it’s easy to pick up a bottle from the supermarket, but with this easy chocolate syrup recipe, you can make it for a fraction of the cost and without a trip to the store. By making it, you also have control over the ingredients. Use your favorite cocoa powder, experiment with the type and amount of sugar or swap out the vanilla extract for something a little more creative to make it your own. I can totally see using peppermint extract to mimic the flavor of Andes mints. Or, if you’re a fan of Terry’s Chocolate Orange chocolates, add orange extract.

Like most of my recipes, this chocolate syrup is gluten free and dairy free.

Dangerously Easy Chocolate Syrup Recipe

This chocolate syrup recipe is so easy and delicious. With only a few pantry-staple ingredients needed, you'll never have an excuse not to make it. Should be good for at least a month when stored properly. I usually find plenty of ways to use it up before then.
Prep Time2 minutes
Cook Time5 minutes
Course: Dessert

Ingredients

  • 1 cup cocoa powder
  • 1 cup sugar
  • 1 cup water
  • 1/2 teaspoon salt or to taste
  • 1 teaspoon vanilla extract or to taste

Instructions

  • Mix the sugar and cocoa together in a saucepan until thoroughly combined.
  • Add the water and half of the salt (1/4 teaspoon). Bring to a boil over medium heat, stirring constantly.
  • Continue to boil while constantly stirring until the mixture thickens a little. (It will thicken more as it cools) This should take around 3 or 4 minutes.
  • Carefully taste and add the rest of the salt, if desired.
  • Remove from heat and add vanilla extract.
  • Cool and store in an airtight container in the refrigerator. I like using a glass jar.

Notes

The vanilla extract and salt amount can be adjusted according to taste. I can also see swapping out the vanilla for peppermint or orange extract.

While I try to write recipes as clearly as possible, it’s easy to miss a step or make assumptions. If anything is confusing, please don’t hesitate to comment with your questions. If you make this recipe, please let me know what you think.

Like this post? To make sure you never miss a future post, please sign up for my newsletter.

This post contains affiliate links. If you click through any of the Amazon links and make a purchase, I will receive a small commission. There is no added cost to you.

chocolate syrup recipe
Posted on 2 Comments

Easy fix for worn out denim jeans

Denim jeans don’t have to be tossed or cut up for crafts when they start to wear out. With a little effort, you can easily get some more wear out of your favorite jeans. For this tutorial, I’m using a pair of denim blue jeans that are still in good shape except for where my thighs touch. There they are really worn on one side and there is a hole on the other. Because of where the hole was located, I wasn’t comfortable even wearing them around the house, so I decided to try a simple fix.

Interfacing for support

First, I ironed lightweight fusible interfacing on the inside of the worn areas, making sure to completely cover all the worn out spots with the interfacing.

Reinforce with stitching

Once it fused and cooled down, I turned them right side out. Using a narrow zig-zag, I stitched back and forth over the hole and worn areas. This serves to secure the interfacing and add strength.

If you can, drop or cover the feed dogs on your sewing machine so you can move the jeans freely under the needle. The machine I used doesn’t have a way to drop them and I don’t have the special foot plate to cover them. Instead, I used a combination of repositioning and forward and reverse stitching to make it work.

Denim Jeans Fix

Depending on the location, you could use contrasting thread and decorative stitches to turn the repair into an embellishment.

Lengthening a slightly short pair of jeans

I also have a pair of jeans I love, but they needed a button sewn back on. They were also a little short, so I replaced the button and let out the hem while watching TV one evening. These heavy denim jeans are now ready for the coming colder months.

Buttons!

These have an obvious line where the hem was. They’re really cute so I don’t care.

Like this tutorial? To make sure you don’t miss out on future tutorial posts, sign up for my newsletter.

Easy denim jeans fix.
 

Posted on Leave a comment

Scrap Busting: Organization for Zero Waste Sewing

If you sew, you have a stash of fabric scraps. No matter how carefully you plan and lay out your patterns, there is almost always going to be some little extra bit. With some creativity, even the smallest scraps are useful in other projects. In order for that to happen, though, you need to be able to know what you have and find what you need. Here’s some simple suggestions to make the most of your fabric scraps.

Decide what makes sense.

I sort my scrap stash primarily by color. Most of it consists of quilting cottons, so sorting by color makes sense. For other types of fabric, I sort by fabric type more than color. For example, all flannel scraps go together.

Think about how you craft or how you naturally group things to find what will work best for you. If you focus more on prints than color family, then try group by prints. If you use a large variety of fabric weights and textures, use that to determine your groupings.

Out of sight, out of mind.

For me, being able to see what I have is the most important. I have a clear plastic sorter bin, similar to what you’d find at a hardware store, that I keep near my cutting table. I put scraps that aren’t really big enough to fold practically into the bins, sorted by color family. The front of the bins are clear, so it’s easy for me to see colors and prints at a glance.

Plastic shoe bins or similar containers would also work. You could upcycle shoe boxes or shipping boxes, but you lose the visibility with something that isn’t clear. In that case I would clearly label the outside with the color family.

Scrap organization
This garage sale find keeps my scraps organized and visible.

Don’t forget the tiniest scraps.

Even the tiniest scraps can be used for stuffing, to strengthen handmade paper or in textile art. I keep a small bin next to my sewing machines and sergers to collect threads, clipped corners, trimmed seam allowances, etc.

Have a plan for other types of scraps.

Little bits of lace, trim and buttons from refashioned clothing get stored in glass jars. I find the variety of colors and shapes pretty, so I like having them sit on a shelf where I can see them. If I need a button or bit of embellishment I know what I have. In the meantime, it’s art.

Scrap jars

Stabilizer scraps go into a drawer under my embroidery machine. If I’m embroidering something that needs a little extra support in an area, I use a suitable scrap instead of a whole new piece. Stabilizer scraps can also be used to reinforce buttons and button holes.

I store most of my interfacing in a shoebox. Small scraps go back into the box to use similarly to how I use stabilizer scraps.

Don’t get overwhelmed.

If you find that your scrap stash is growing larger than what you can use, sort through and pull out anything you don’t love or just don’t see yourself using and donate them. Schools, libraries, scouting groups and similar organizations will often take fabric scraps and other craft materials to use for art projects. You can also list them for free on craigslist or Facebook. As a little girl, I used scraps from my grandma to fashion clothes for my Barbies and My Little Ponies. If you have know of anyone with children, they might like the scraps to play with, too. By donating them, they still get put to use and you’re better able to see and use what you still have.

Put those scraps to use!

Once you know what scraps you have, make it a goal to use them up. If you’re stuck for ideas, Pinterest is a great place to turn for ideas. I have a board dedicated to scrap busting projects that I add to frequently. You can find it here.

I’ll be posting creative ways to use fabric scraps soon. To make sure you don’t miss it, sign up for my newsletter here. When you sign up, be sure to check your spam folder for the confirmation if it doesn’t go straight to your inbox.

Posted on Leave a comment

OMG! There’s lye in handmade soap!

For those unfamiliar with making soap, seeing lye, aka sodium hydroxide or potassium hydroxide as an ingredient in handmade soap can be a little scary. Today I thought I’d share why it’s in there and why it’s nothing to scare you away from handmade soap.

The basic chemistry of soapmaking

From the Wikipedia page on Saponification:
Saponification is the hydrolysis of an ester under basic conditions to form an alcohol and the salt of a carboxylic acid (carboxylates). Saponification is commonly used to refer to the reaction of a metallic alkali (base) with a fat or oil to form soap. Saponifiable substances are those that can be converted into soap. http://en.wikipedia.org/wiki/Saponification

The basic soapmaking process involves adding a solution of lye and water or some other liquid to oils. The lye reacts with the oils to make soap (saponification). Lye is necessary for saponification to occur and is therefore used in making all soap. In other words, if there wasn’t sodium hydroxide (potassium hydroxide for liquid soap) , aka. lye involved in making a product, it’s not soap.

Is there lye in the finished soap?

Short answer: No, absolutely not. Assuming the maker’s calculations are correct, all of the lye reacts with the oil, thus leaving no trace of the lye in the final product. Because of this, you will often see terms such as “Saponified Coconut Oil” or “Sodium Cocoate”. Both terms refer to coconut oil that has reacted with lye to saponify.

Many soap makers, including myself, also take a small discount in the amount of lye used. This adds a cushion to further ensure that there are no traces of lye in the final product. It also produces a milder bar without sacrificing the cleaning properties of the soap.

tea tree oil soap: no more lye

A word about labeling

When labeling soap, you can either list the starting ingredients or list the end products. So, some soapmakers’ labels will list things like “lye (or sodium hydroxide), olive oil, coconut oil,” etc. Some will list “saponified coconut oil, saponified olive oil,” etc. Others choose to list ingredients as “Sodium Olivate, Sodium Cocoate,” etc. All mean the same thing.

Personally, I find listing the starting ingredients simpler and more easily understandable. It does mean that my labels list lye or sodium hydroxide, which might seem scary if you don’t know that there are no longer traces of it in the finished product.

Like this post? To make sure you never miss a future post, please sign up for my newsletter.

Posted on 4 Comments

All Purpose Cleaner Recipe

We are all becoming more aware of the types of products we use everyday. Whether it’s a concern for the environmental impact, the effect they have on our health or the safety for our pets and children, we want to know we aren’t inadvertently introducing harmful things into our homes. Something I do to feel confident in the safety of cleaning products I use around my family is to make my own where possible. One such product is a simple all purpose cleaner I use for cleaning hard surfaces, such as kitchen and bathroom counters and walls. It only uses a few ingredients, all of which you probably already have on hand.

Photo by Daiga Ellaby on Unsplash

All Purpose Cleaner Recipe

Ingredients:

  • Liquid soap, either dish soap or something like Dr. Bronner’s castile soap
  • Distilled white vinegar
  • Water
  • Optional: Essential oil of your choice

Supplies:

  • Clean, empty spray bottle
  • Liquid measuring supplies if you aren’t comfortable just eyeballing it
  • Optional: A funnel might make it easier to fill the bottle.

How to make it:

Measure about 2 tablespoons of soap, one cup of vinegar and one cup of water into the spray bottle. It doesn’t have to be exact. I usually just eyeball it. If you would like to use an essential oil, add 3-5 drops as well. Do be aware of safety guidelines regarding any essential oils you use, especially around pregnant women, children and pets. Tea tree oil or lavender are nice for cleaning and generally safe for most people. If the soap you use is scented or if you or your family members are sensitive to scents, you may want to skip the essential oil.

Swirl the bottle to mix everything without making the soap foam up too much. 

That’s it. Now you have an all purpose cleaner that works as well as any other I’ve tried, with the added benefit of being safe enough that kiddos can help with the cleaning. 

If you like this cleaning recipe, you’ll also like my DIY soft scrub for tougher cleaning jobs. To make sure you don’t miss out on future posts, sign up for my newsletter.