Posted on 1 Comment

Six Tips for Going Gluten Free on a Budget

Many people eat gluten free (g-free, gf), either by choice or need. For those with celiac, eliminating gluten is an absolute necessity. Others find that, for one reason or another, they feel better when they avoid it. In my case, I kind of accidentally discovered that joint pain in my hands and feet go away and I’m less brain foggy when I avoid gluten. Other family members suffer from breakouts and rashes that flare whenever they eat something with gluten. I strongly believe that if you feel bad after eating something, you should probably stop eating it, so we do our best to avoid gluten all together.

Eliminating something that is such a big part of your diet is daunting at first, but there are a few things that can make the transition easier and less expensive. These tips focus on gluten, but many will also help if you need to eliminate other foods.

1. Start with real foods

Processed foods often have hidden fillers and ingredients, and specialty gluten free foods are expensive. In contrast, fruits, vegetables, meat, nuts, beans, eggs and dairy are naturally gluten free in their pure forms. Rice is a grain that does not contain gluten. Starting from scratch with real food ingredients that you know naturally don’t have gluten is often easier and definitely cheaper than scrutinizing food labels and buying special gluten free versions of normally wheat based foods.

Image by skeeze from Pixabay

2. Go simple with seasonings

For the most part, single herbs and spices are gluten free. Certain spice blends may have gluten, though. Making your own blends is the safest bet, but if you have a spice blend you love, most manufacturer websites list whether their products contain gluten.

While not technically an herb or spice, most soy sauce contains gluten. La Choy is a major brand that is made without gluten. Bragg’s liquid aminos are another form of g-free soy sauce.

Most vinegar is g-free. Malt vinegar is not. You’ll also want to check the label on flavored vinegar to be sure.

Cooking oils don’t have gluten unless seasoned with something containing gluten.

3. Find your current gluten free staples

Look at the foods that currently stock your pantry. What things that you buy are already gluten free? For us, we usually keep a box or two of cereal around for snacking or a quick breakfast. Most cereals are made with wheat and therefore have gluten, but some that we already bought, like Honey Nut Cheerios, Lucky Charms and Rice Chex are gluten free. Knowing that, I can continue to keep a box or two of cereal we already liked on hand.

Likewise, we keep tortilla chips on hand for snacking or nachos. Most tortilla chips don’t have gluten and inexpensive. Since gluten free crackers are both hard to find and usually expensive, tortilla chips are an easy cracker substitute as well.

4. Look for the easy substitute

Like substituting tortilla chips for crackers, there are other easy swaps. Corn tortillas usually don’t have gluten and can be substituted for flour tortillas. Rice is often a good substitute for pasta, or substitute rice noodles. If you have an Asian grocery nearby, you can usually find rice noodles there for cheaper than a mainstream supermarket, as well as leafy greens and spices for cheap.

5. Make it yourself

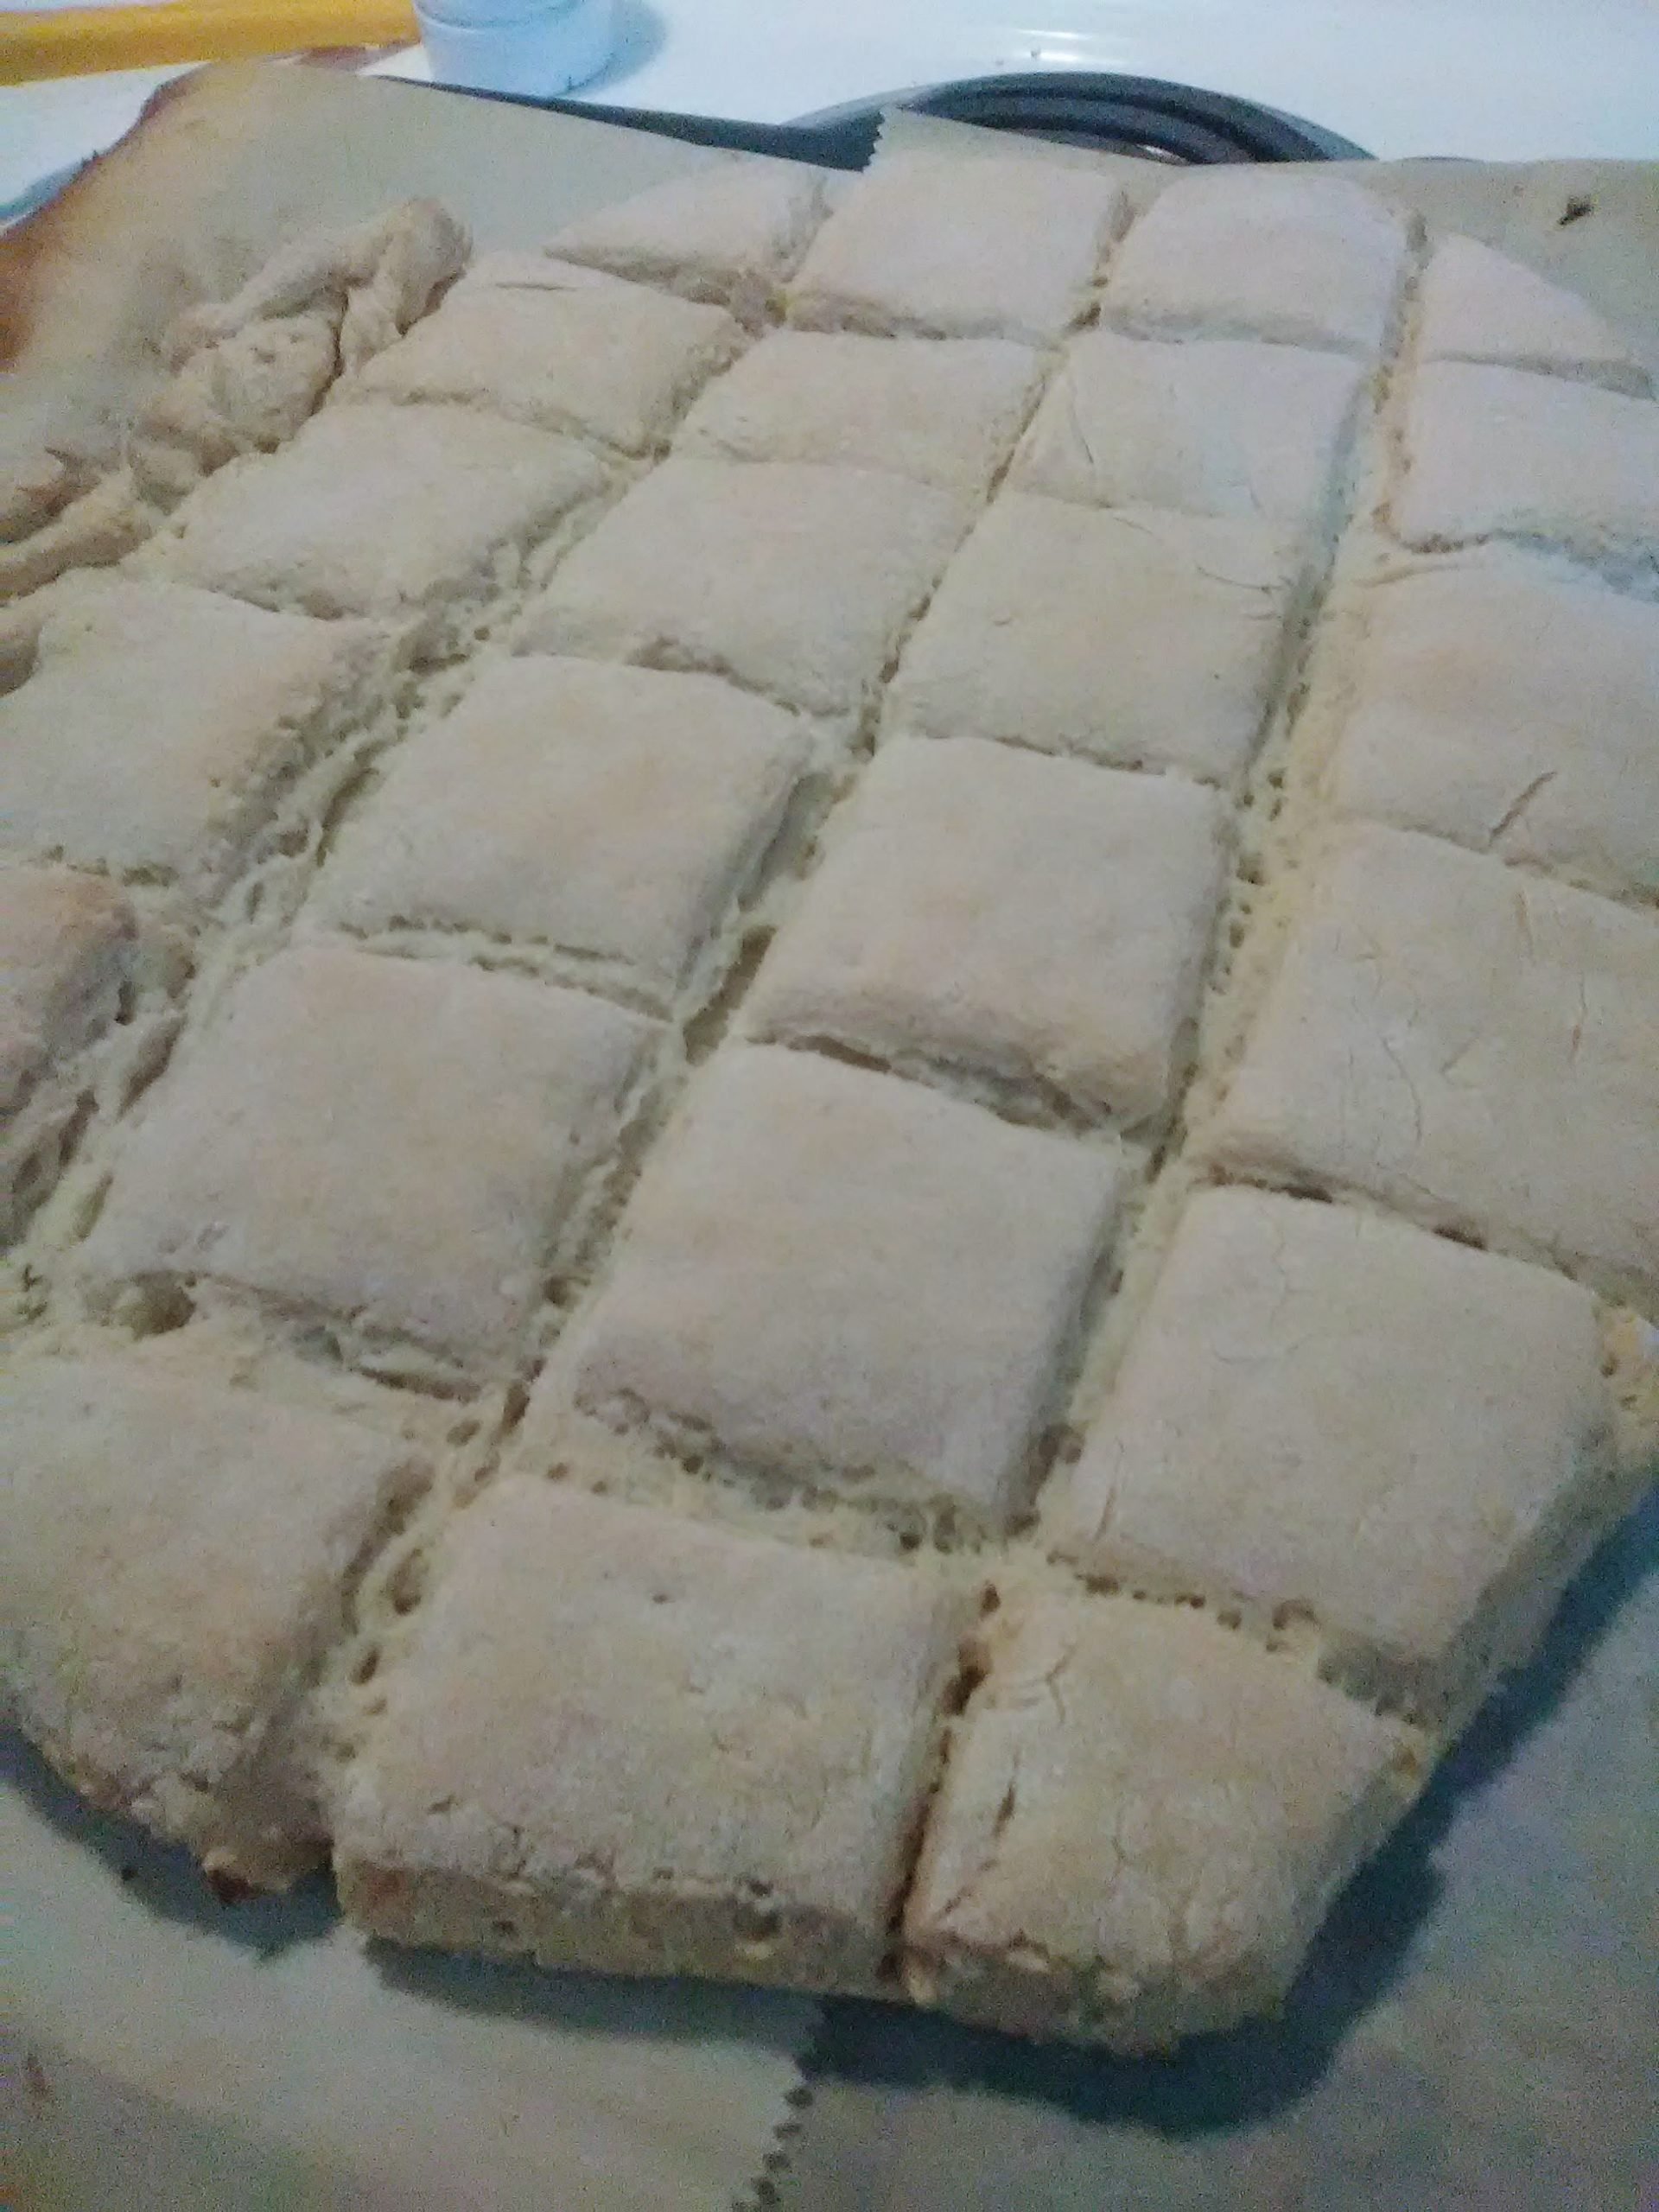
It’s fairly easy to find gluten-free flour now, so making your own gluten free cookies, pizza crusts, pancakes, breads, etc. is a good option. I love Bob’s Red Mill 1 to 1 gluten free flour. With it, I can continue to make my favorite deserts just by substituting it for wheat flour. There are other good gluten free flours on the market, too. The most important thing is to know if it is blended to be an exact 1 to 1 substitute or if you need to add something like xanthan gum to give it the stretchiness and rise that you usually get from gluten. For example, Bob’s Red Mill has an All Purpose Gluten Free Flour that is not the 1 to 1 blend. It is a little denser and does not have xanthan gum already blended. I like blending it with tapioca flour, which adds some stretchiness. That works well for things like gluten free flour tortillas. For things that need to rise, though, like cakes or breads, I also add xanthan gum if I’m using the all purpose and not the 1 to 1 blend.

6. When buying gluten free, shop around

Sometimes you really just want to get some gluten free penne pasta or a g-free bagel. More and more grocery stores regularly stock g-free pastas, breads and desserts, but they can be pricey. If you find them on sale, stock up and freeze the extras. Alternative grocery stores sometimes offer better prices, too. Aldi has a decent selection of g-free breads, pastas, and baking mixes at a lower price than most other stores. I even found some gluten free donuts there recently.

Locally, we have a surplus/discount/closeout grocery store called Town Talk. They frequently have udi’s bread in the range of two loaves for $3.00. I periodically stop in and stock up when I can.

To make sure you never miss a post, please sign up for my newsletter.

Tips for going gluten free

If you click through any of the Amazon links and make a purchase, I will receive a small commission. There is no added cost to you.

Posted on 1 Comment

Potato Ham Soup for EPCs Dairy and Gluten Free

In my Tips to Save Money on Food post, I mention buying ham on sale after the holidays. I love cooking a ham at the beginning of the week. It provides sliced ham for a few meals. Then I cook a pot of red beans or pinto beans with what’s left of the meat and the ham bone for lots of flavor and richness.

Sometimes that gets boring, though. After cooking a ham on Sunday, I wanted something to use some of the ham that was different but easy. I also needed something that used ingredients I already had on hand. A quick internet search found this delicious Potato Ham Soup shared by Sandy at Simply Happy Foodie. It’s written for one of my favorite appliances, the electric pressure cooker, and uses basic ingredients that are common kitchen staples.

Since this isn’t my recipe, I’m linking to the original at Simply Happy Foodie. I made a few changes to the original to make it gluten and dairy free. I also had to make a few adjustments to make it work with what I had on hand. Those I will share here.

Potato Ham Soup hacks

  • In place of milk or cream, I used coconut milk to make it dairy free. Almond or cashew would probably work well, too.
  • For the flour, I subbed an all-purpose gluten free flour blend. Cornstarch also works well as a gluten free thickener. I would recommend reducing the amount of cornstarch to 1-1.5 tablespoons, though, because, to me, cornstarch gives things a different flavor.
  • I had russet potatoes on hand, so that’s what I used.
  • The recipe called for thyme. I’m out, so I added poultry seasoning instead.
  • The original recipe suggested cheese as an add-in. To add a little cheesy flavor without dairy, I sprinkled in about a tablespoon of nutritional yeast.

That’s it. This soup is a great way to use up leftover ham. With an electric pressure cooker it’s done in under an hour, start to finish. Check it out at Simply Happy Foodie, and if you need a gluten-free or dairy-free option, use the adjustments I’ve shared here.

Like this recipe hack? Sign up for my newsletter to never miss a post.

Potato Ham Soup
Posted on 3 Comments

Gluten free chocolate chip cookie recipe

Gluten Free Cookies SubEarthan Cottage

At least from what I’ve tasted, most store bought gluten free chocolate chip cookies are very dry and either too sweet or lacking in flavor. Chocolate chip cookies are practically a staple food, so I hacked my grandma’s cookies recipe. The results are definitely not dry, lacking in flavor or too sweet.

Jump to Recipe

The biggest change I made, of course, is using gluten free flour. My preferred flour is Bob’s Red Mill 1 to 1 gluten free flour. Others will work, but if it’s not one that is blended to be a direct substitute for wheat flour, you will probably want to add about one half teaspoon of xanthan gum.

Even with the 1 to 1 blends, sometimes the cookies spread more than I like. The original recipe calls for one cup and two tablespoons of flour. If I have it on hand, I’ll replace the two tablespoons of flour with a generous one tablespoon of coconut flour. That prevents them from spreading too much. Chilling the dough for a few hours or overnight helps, too, but who has time for that? Besides, the sooner they go in the oven, the less cookie dough I’ll eat.

The original recipe calls for shortening. I would much rather use butter, but one of my boys is lactose intolerant. Straight coconut oil adds to the spreading problem, so I compromise and use half shortening and half coconut oil. The small amount of milk in most chocolate chips isn’t a problem for my son, but using for dairy-free chips would make these completely dairy-free, too! If dairy isn’t a problem, feel free to swap all the fats with butter.

The final change happened after staying up late watching Martha Stewart bake cookies. She mentioned that brown sugar helps make the cookies be moist. The original recipe calls for more white sugar than brown. I tried a few different ratios before settling on using equal amounts of brown and white sugars.

The final result is a yummy, gluten free cookie that isn’t dry and crumbly.

Gluten free chocolate chip cookies

  • 1/2 cup shortening
  • 1/2 cup coconut oil
  • 3/4 cup granulated sugar
  • 3/4 cup brown sugar
  • 1 teaspoon vanilla
  • 2 well beaten eggs
  • 2 cups 1 to 1 gluten free flour plus 2 generous tablespoons of coconut flour (or 2 cups plus 4 tablespoons 1 to 1 gluten free flour)
  • 1 teaspoon baking soda
  • 1 teaspoon salt
  • 1 generous cup of chocolate chips

Preheat the oven to 375° F.

Cream together the shortening, coconut oil, sugars and vanilla. I usually use a mixer for everything, but you can do it by hand, too.

Fold in the eggs and mix well.

In another bowl, sift (or just mix really well) the dry ingredients.

Add the dry ingredients a little at a time to the wet ingredients and mix well.

Stir in the chocolate chips. If you are patient, chill the dough for a few hours or overnight.

Otherwise, grease your cookie sheets or line with parchment paper or silicone liners. Greasing is what the original recipe calls for, but I prefer the results from lining the sheets.

Form your cookies (I use a 2 tablespoon sized scoop, but you can make them bigger or smaller) and place them two inches apart on the sheets.

Bake for about 8-10 minutes, keeping a close eye on them during the last few minutes. You want them to be golden and not doughy in the middle.

Cool for a few minutes on the sheets before removing them.

A few notes on the recipe: My recipe is actually double the original. I almost never made a single batch because it’s not really any more effort. If you want, you can save some of the dough in the fridge for a few days.

I also don’t have an accurate cookie count, mainly because cookie dough is delicious. I think I can usually get about 36 cookies with my 2 tablespoon scoop, but that is a a very rough guess.

Gluten and Dairy Free Chocolate Chip Cookies.

Yummy gluten and dairy free chocolate chip cookie recipe. Can be made with real butter and flour if you don't have those restrictions.
Cook Time8 minutes
Course: Dessert
Keyword: chocolate, cookie, dairy free, gluten free
Servings: 36 cookies

Ingredients

  • 1/2 cup shortening
  • 1/2 cup coconut oil
  • 3/4 cup granulated sugar
  • 3/4 cup brown sugar
  • 1 tsp vanilla
  • 2 large eggs
  • 2 cups gluten free 1 to 1 flour
  • 2 tbsp coconut flour Or 4 more tablespoons gluten free flour
  • 1 tsp baking soda
  • 1 tsp salt
  • 1 cup chocolate chips Make sure these are gluten and dairy free!

Instructions

  • Preheat the oven to 375° F.
  • Cream together the shortening, coconut oil, sugars and vanilla. I usually use a mixer for everything, but you can do it by hand, too.
  • Fold in the eggs and mix well.
  • In another bowl, sift (or just mix really well) the dry ingredients.
  • Add the dry ingredients a little at a time to the wet ingredients and mix well.
  • Stir in the chocolate chips. If you are patient, chill the dough for a few hours or overnight. This helps prevent spreading. I am not patient, lol.
  • To bake, grease your cookie sheets or line with parchment paper or silicone liners. Greasing is what the original recipe calls for, but I prefer the results from lining the sheets.
  • Form your cookies (I use a 2 tablespoon sized scoop, but you can make them bigger or smaller) and place them two inches apart on the sheets.
  • Bake for about 8-10 minutes, keeping a close eye on them during the last few minutes. You want them to be golden and not doughy in the middle.
  • Cool for a few minutes on the sheets before removing them.

Notes

A few notes on the recipe: My recipe is actually double the original. I almost never made a single batch because it’s not really any more effort. If you want, you can save some of the dough in the fridge for a few days.
You can use all shortening instead of half shortening and half coconut oil, or use all butter or butter substitute. 
I also don’t have an accurate cookie count, mainly because cookie dough is delicious. I think I can usually get about 36 cookies with my 2 tablespoon scoop, but that is a a very rough guess.

Posted on 1 Comment

Gluten Free Biscuits (Dairy Free, Too!)

Biscuits are one of the hardest things to make gluten free. Most of my gluten free biscuit attempts turn out flat, hard and dry. After much searching, I finally found a recipe that yielded something like the fluffy biscuits we’ve craved since eliminating gluten.

You can find the recipe at Mama Knows Gluten Free here. Audrey at Mama Knows Gluten Free suggests using Pilsbury gluten free flour. I haven’t found it nearby, so I used my preferred Bob’s Red Mill 1 to 1 flour. It does result in a wetter dough, so I use a little different technique for shaping the biscuits. She also gives some info on different gluten free flours and how to make ahead and freeze.

Recipe adjustments for gluten free biscuits

Single biscuit

Xanthan gum

In the original recipe, it says to only add xanthan gum if your flour doesn’t already have it. Bob’s Red Mill 1 to 1 flour does have xanthan gum. Lately, though, I’ve noticed that for fluffier types of breads, it doesn’t seem to be enough. I want light, fluffy biscuits, so I added the full amount of xanthan gum anyway.

Dairy free

The original recipe gives instructions on how to make it dairy free, so I didn’t have to make my own adjustments. I used unsweetened almond milk and vinegar in place of the buttermilk as suggested. For the butter, I used vegetable shortening. If you have a kitchen scale, one trick to making shortening easier to measure is to use weight instead of measuring and scraping out one tablespoon of shortening at a time. One tablespoon of shortening is equal to 0.42 ounces or 11.94 grams. Multiply that number by the number of tablespoons you need to get the weight amount.

Shaping the dough

In order to limit handling the dough and overworking it, I shaped my dough on the parchment paper. Since my dough was pretty wet, I generously dusted the paper and my hands with flour. Like the original directions state, I patted and folded rather than rolled out the dough.

Instead of cutting with a biscuit cutter, I just cut straight lines with a sharp knife to form square biscuits. That way, I wouldn’t have to reshape the dough to cut more biscuits. Less handling is better. I also trimmed a tiny amount from the edges so that all the edges were cut like they would be with a biscuit cutter. This allows the biscuits to rise evenly. If you do it this way, the trick is to cut with a straight up and down motion, not a sliding motion. Sliding the knife would seal the edges and prevent them from rising.

Gluten free biscuits in a big block
Double batch of gluten free biscuits before I separated them.

Baking

Rather than move the biscuits by hand to a greased pan, I slid the whole parchment paper with the biscuits onto a baking sheet. The parchment provides a nonstick surface. If you’ve cut through the dough completely, they will bake perfectly like that. I had a little healper this morning, so I can tell that we didn’t quite cut all the way through in some areas and the biscuits stayed a little doughier in those areas. To help with that, I separated them when they were almost done and baked them for a few minutes longer.

My biscuits did take a about 25 minutes to bake, so just a bit longer than the original. I’m not sure if that is because of how close together they were or just my oven. I usually set my oven a notch lower than the suggested temperature because it bakes hotter than it says. Sometimes I overcompensate, though.

All in all, these biscuits satisfy our biscuit cravings and are good enough to serve to my non-gluten free friends and family. Give it a try and let me know what you think.

Like this post? To make sure you never miss a future post, please sign up for my newsletter.

Posted on 1 Comment

Gluten Free Angel Food Cake

Angel Food Cake

We were running low on flour but wanted something for dessert. Luckily we have lots of eggs, so I thought I’d give angel food cake a try because it uses lots of egg whites and very little flour. I’ve never made angel food cake before, gluten free or otherwise. I think it turned out pretty well for a first attempt.

Recipes that call for beaten egg whites used to be intimidating to me. Seeing how easily my Sunbeam stand mixer handles the task took the fear out of it. It doesn’t have a whisk, only beater and bread hook attachments, so I wasn’t sure if it would work. It is possible to whip egg whites by hand or with an electric hand mixer, but a stand mixer makes it so. much. easier.

Pretty egg whites

Since the egg whites provide most of the structure in an angel food cake, it makes it a good candidate to make gluten free. It was slightly denser than other angel food cakes I’ve eaten. I’m not sure if that’s due to using gluten free flour or if I over mixed it. Even so, it was still light and fluffy.

Angel food cake

I don’t have a proper angel food tube pan, so I improvised with a bundt pan. That made it a little harder to get out, but not impossible. I’m always nervous any time a recipe calls for an ungreased pan. It’s important for angel food, though, otherwise you risk it falling as it cools.

Angel Food Cake

To use the left over egg yolks, puddings are another dessert option. You could also try egg coffee or mix with whole eggs in scrambled eggs.

Gluten Free Angel Food Cake Recipe

Gluten Free Angel Food Cake

This Angel Food Cake recipe is adapted from my favorite vintage Better Homes and Gardens New Cookbook. This version uses gluten free 1 to 1 all purpose flour instead of regular wheat cake flour.
Prep Time20 minutes
Cook Time35 minutes
Course: Dessert
Keyword: cake, gluten free
Servings: 16 servings

Equipment

  • Angel Food Tube Pan or Bundt Pan
  • Electric Mixer

Ingredients

  • 0.88 cups 1 to 1 gluten free all purpose flour 0.88 cups is equal to 1 cup minus 2 tablespoons. I like Bob's Red Mill or Krusteaz brand 1 to 1 gluten free flour.
  • 1.5 cups sugar, divided in half
  • 12 egg whites
  • 1.5 tsp cream of tartar
  • 0.25 tsp salt
  • 1.5 tsp vanilla

Instructions

  • Sift flour with 3/4 cup of sugar. Set aside.
  • Beat egg whites, cream of tartar, salt and vanilla until stiff enough to form soft peaks. I lift the beaters and look at the little mounds that form. For soft peaks, they should stand up with just the tops of the peaks folding over, kind of like the top of a soft-serve ice cream cone.
  • Add the remaining 3/4 cup of sugar a little at a time while continuing to beat until stiff peaks form. For stiff peaks, the peaks should be standing up completely.
  • Sift about 1/4 cup of the flour mixture over the egg whites and gently fold in. Repeat about four more times until all the flour mixture is added, folding in each addition gently.
  • Bake in a ungreased 10 inch tube pan (I don't have a tube pan, so I used a bundt pan) and bake at 375 degrees for 35 to 40 minutes.
  • Invert cake in pan to cool completely before removing the cake. Some angel food tube pans have feet that allow them to rest inverted (cake side down) without setting it directly on a plate. This prevents steam from forming and making the cake soggy. If your pan doesn't have the feet, invert it on a bottle with the neck of the bottle fitting in the center hole. You can also use four soup or similar cans or cups spaced so that the rim of the pan rests on the cans/cups.
  • Once it has cooled completely, remove from the pan by gently running a thin spatula or knife around the edge of the pan and around the tube, being careful not to cut the cake. Invert over a plate and it should come out. If you used a bundt pan like I did, it may take a few tries and possibly gently pulling the cake away from the sides of the pan.

Like this post? To make sure you never miss a future post, please sign up for my newsletter.

Embroidery freebies

Knowing that so many are stuck at home right now needing distractions, I’ve decided to make all of my machine embroidery design files free until April 30. That’s the day my area’s shelter in place order expires. If it is extended, I’ll extend the embroidery design freebies, too. If you make something with one of my designs, I would love to see it.

Posted on 2 Comments

Ridiculously Easy Gluten Free Tortillas

I have never been a huge fan of corn tortillas. They’re good for some things, like street tacos, but overall I love the soft, slightly chewy texture of flour tortillas. While there are flour gluten free tortillas on the market, they are pricey and hard to find. Which means that since eliminating gluten from our diets, I’ve had to stick to corn. Which is fine, because it’s better than no more tacos, but , I still miss flour.

After much searching, I finally found a recipe that mimics the soft, chewy texture of flour tortillas. They require no real prep work, so it’s easy to make them last minute, if needed. Basically, if you can make a pancake, you can make these gluten free tortillas.

You can also adjust the thickness to be more like a flatbread. I can see pairing them with curries or stews, or cut into chips , toast and serve with hummus.

Ridiculously Easy Gluten Free Flour Tortillas

Soft, chewy gluten free flour tortillas so easy you can make them last minute.
Prep Time5 minutes
Cook Time1 minute
Course: Side Dish

Ingredients

  • 1 Cup Chickpea based gluten free flour Can be straight chickpea flour, or a blend with a high amount of chickpea flour, such as Bob's Red Mill GF flour. (NOT the 1 to 1 flour)
  • 0.5 cup Tapioca flour
  • 1 tsp salt
  • 1 cup water
  • 1 tsp coconut or other oil If you use a non-stick skillet or griddle you may not need the oil.

Instructions

  • Mix the dry ingredients in a large bowl.
  • Add the water and stir until blended.
  • Oil a skillet or griddle as needed and heat to medium high.
  • Pour about 1/4 cup of the batter onto your prepared skillet or griddle.
  • Cook for 1-2 minutes over medium high heat.
  • Flip like a pancake and cook for another 1-2 minutes.
  • Repeat the cooking and flipping for the rest of the batter.

Notes

This recipe is very versatile. For thinner tortillas, add a little more water. For more of a flatbread, reduce the water to about 3/4 of a cup. 
Gluten Free tortillas
 

Find more of my gluten-free recipes here: https://subearthancottage.com/?s=gluten+free

Posted on Leave a comment

Easy Gluten & Dairy Free Fruit Cobbler

This fruit cobbler is easy to make and uses mostly pantry staples. From start to finish, you’ll have a delicious cobbler in under an hour. If you aren’t gluten or dairy free, I’ve included the ingredients for that, too!

Bob’s Red Mill 1 to 1 Gluten Free flour blend* is my favorite for baking, but I’ve used others with success, too. If you use a blend that doesn’t have xanthan gum or something similar, I do recommend adding probably about 1/4 of a teaspoon of xanthan gum as well.

The assembly and not stirring part seems a little weird, but trust the process. My oven runs hot, so I start checking it after about 40 minutes. Sometimes different flour blends can make a difference, too, so the first time you make it, I recommend checking it early. When the top is golden and just starting to brown around the edges, it’s done. Enjoy!

Easy Gluten and Dairy Free Fruit Cobbler

This fruit cobbler is easy to make and uses mostly pantry staples. From start to finish, you'll have a delicious cobbler in under an hour. If you aren't gluten or dairy free, I've included the ingredients for that, too!
Prep Time5 minutes
Cook Time50 minutes
Course: Dessert
Keyword: dairy free, easy, egg free, gluten free, simple, vegan
Servings: 6 servings

Ingredients

  • 0.25 cup coconut oil Or your preferred butter substitute, or just butter if you eat dairy.
  • 1 cup gluten free flour blend I like Bob's Red Mill 1 to 1 Gluten Free flour blend. Use regular flour if you're not gluten free.
  • 1 cup almond milk Or your preferred plant milk, or just milk if you eat dairy.
  • 1 tsp baking powder I accidentally used a tablespoon once and it came out a little fluffier. I haven't decided which I prefer, so experiment and see what you like.
  • 1 cup sugar
  • 1 can fruit pie filling (20 oz) Cherry is my favorite, but apple and blueberry are really good, too.
  • 1 tsp vanilla extract Optional, but I add vanilla to just about everything sweet.

Instructions

  • Heat oven to 350 degrees F.
  • Add coconut oil or substitute to a 2 quart baking dish and place in the oven to melt. I do this even if the oil is already liquid to warm it up.
  • Meanwhile, combine the dry ingredients in a mixing bowl.
  • Add the milk and vanilla (if using) to the dry ingredients and mix thoroughly.
  • When the oil or butter is melted, add the batter to the baking dish. DO NOT STIR.
  • Pour the fruit pie filling on top of the batter. Again, DO NOT STIR.
  • Bake for about 50 minutes at 350 degrees.

Notes

The assembly and not stirring part seems a little weird, but trust the process. My oven runs hot, so I start checking it after about 40 minutes. Sometimes different flour blends can make a difference, too, so the first time you make it, I recommend checking it early. When the top is golden and just starting to brown around the edges, it’s done. Enjoy!

Like this post? To make sure you never miss a future post, please sign up for my newsletter.

*Note: If you make a purchase through this Amazon link, I will receive a small commission. It doesn’t change the cost to you.  

Fruit cobbler