Shampoo bars have become more popular recently. They are convenient for traveling. Unlike liquid shampoo, you don’t have to worry about travel limits and leaking bottles with a shampoo bar. Because they don’t require plastic bottles, shampoo bars are a great option for people trying to reduce waste.
Not all hair types are alike, so it takes some trial and error to find the right one. With the recent interest in shampoo bars, I thought now would be a great time to reshare my Shampoo Bar 101 post.

I began using bar soaps as shampoo about four years ago. Whenever I tell people this, they always look at me kind of strange or have tons of questions about how it works, so I thought I’d share it all here. Please keep in mind, this is all based on my personal experience and research.
What type of soap to use?
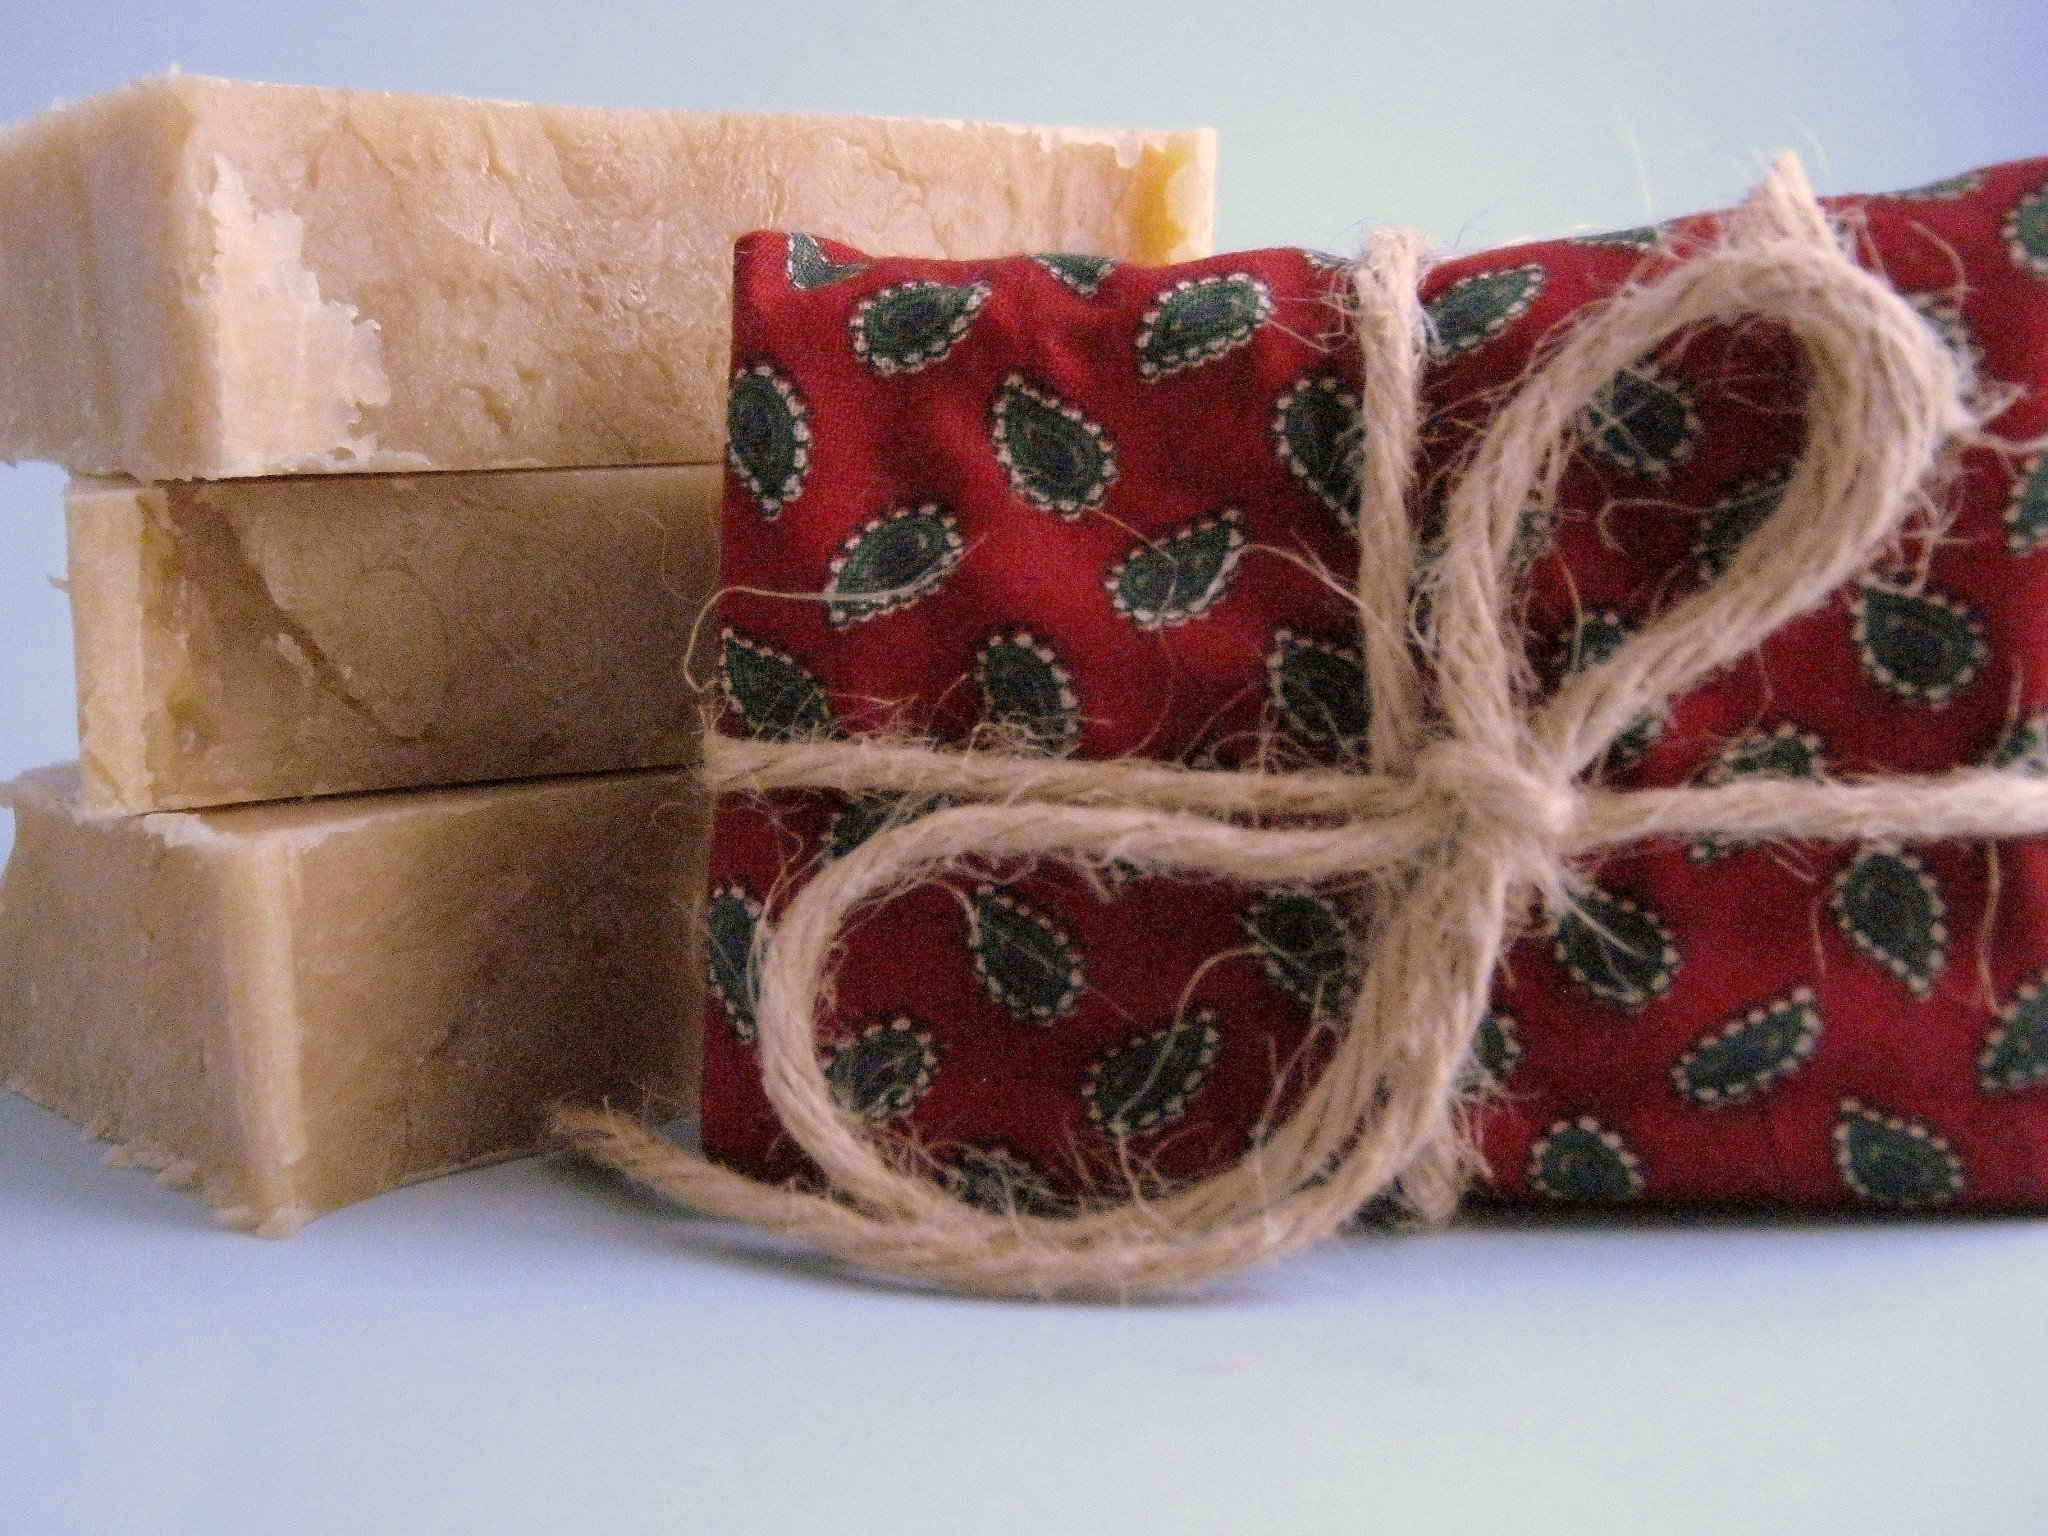
While there are some bars that are specially formulated to be shampoo bars, I’ve found that just about any good quality natural soap will work. You definitely want to avoid most of the bar soaps you’d find at your supermarket, because they don’t have the same properties as natural soaps and can dry your hair.
Among natural soaps, I’ve found that bars with little or no waxes work the best. My hair tends to be oily, so I also avoid soaps with a high percentage of butters (shea, cocoa, etc.) as they seem to add too much oil to my hair.
Some of the oils that work well in a shampoo bar are coconut, castor, olive, jojoba, and avocado. Most of the bars I’ve used contain at least the first three. I wouldn’t count out a bar that didn’t have them, though, until I’d tried it a few times.
What are the some of the benefits of using a bar soap?
- Natural bars don’t strip your hair like shampoo.
- Hair feels thicker
- Has eliminated my need for a seperate conditioner
- No more scalp and hairline irritation like I had with many shampoos
- Convenient for travel-no worries about leaky bottles or (as far as I know) airline carry-on limits
- Same bar can be used all over-no need for a seperate body wash or soap cluttering your shower
Tips for using a bar soap as shampoo:
- Expect an adjustment period of 2-4 weeks. Your scalp is used to producing more oil to make up for the natural oils that are stripped by the detergents in shampoos.
- You may want to use a simple clarifying shampoo or even a baby shampoo prior to the first wash with a bar. I’ve found that this helps speed up the adjustment period by removing buildup from shampoos, conditioners and styling products, giving the bar a clean slate to work with.
- Periodically doing an apple cider vinegar (or lemon juice) rinse can help improve shine and seems to help if I feel like my hair isn’t rinsing out as well as it should. I use about 1/2 Tablespoon of ACV to about 3 cups of water and pour over my just washed hair, then rinse. I used to do this about every other wash, but now I do it about once every week or two.
- Many styling products seem to need the detergents in shampoo to be fully removed. I try to avoid products with dimethecone and other -cone ingredients as these seem to be the hardest to wash out with a bar soap. Hairspray doesn’t seem to be a problem. You can also use pure aloe gel as a hair gel that’s also great for your hair.
I’m sure there are many things I’ve left out. Feel free to ask any questions or add to what I have here.
Oh, and before I forget, here are my favorites from my shop to use as a shampoo:
Tea Tree Oil Soap (especially great if I’m experiencing any dandruff)