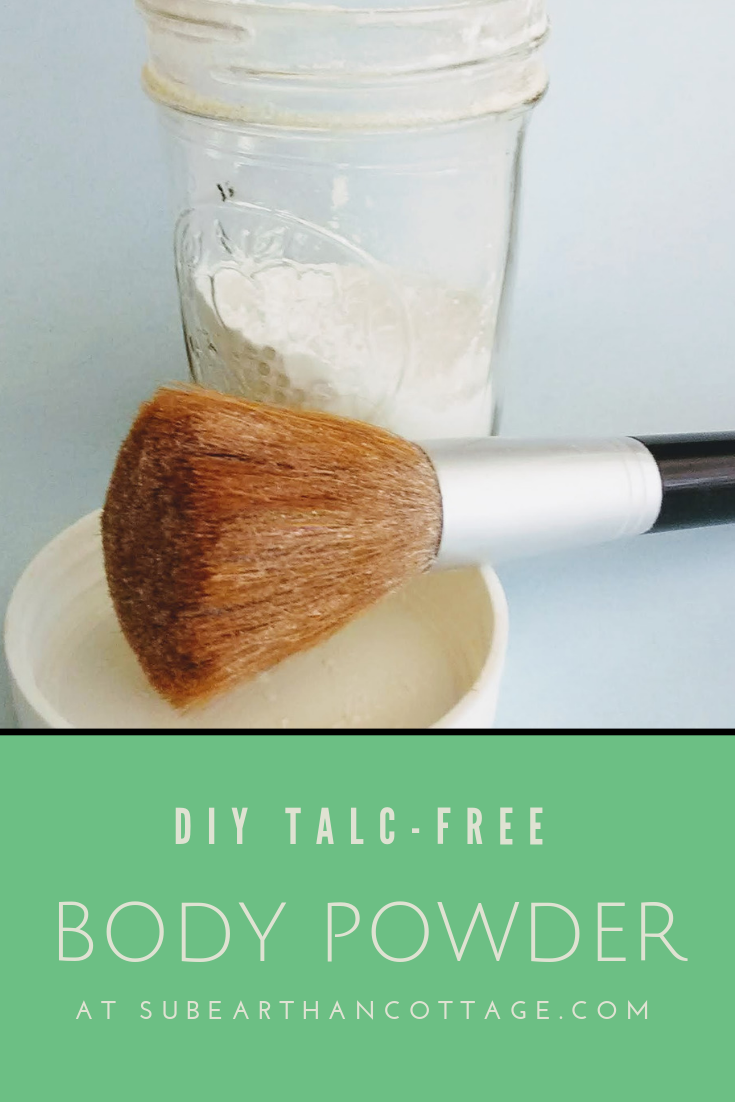
It’s hot outside. Like really sticky, sweaty hot. If you’re looking for a talc-free body powder to help you through it, I’ve got a recipe for you.
While you can purchase talc-free powder, making it yourself is simple, allows you to customize it, and is super inexpensive. Better yet, you probably already have everything you need.
Body Powder Recipe
Ingredients:
3/4 cup of Cornstarch
1/4 cup of Baking Soda
10-ish Drops of essential oil (optional)
Make it:
Combine the cornstarch and baking soda in a bowl or jar. Give it a stir or shake to mix. If you’re using an essential oil, add it now, then stir or shake some more to distribute.
Use it:
I keep mine in a jar and use a fluffy makeup brush to dust it where I need it. It works great as an all-over dusting powder, deodorant and shoe deodorizer. You can also dust a little in your hair in place of dry shampoo. For that, I like to put it in my hair at night and then brush it out in the morning.
Customize it:
The basic recipe is 3 parts cornstarch to 1 part baking soda, so you can use that 3:1 ratio to make as much or as little as you need.
Add more or less essential oil based on your preference. You can also use your favorite perfume to make a coordinating dusting powder.
If you find this formula too drying, reduce the amount of baking soda, or omit it all together.
Not a fan of cornstarch? Try using arrowroot. I personally haven’t tried it, so if you do, let me know how it works.
For babies, I recommend just plain cornstarch as baking soda might be too harsh. If you want to scent it, add a couple of drops of lavender essential oil. Essential oils aren’t generally recommended for babies under six months, so take that into consideration.
If you like using this as a dry shampoo and have dark hair, you can add a little bit of cocoa powder to the mix to make it less noticeable if you don’t get it brushed out completely.
Re-purpose a shaker jar, such as a spice or Parmesan cheese jar, rather than using a brush or puff to dispense.
My local Kroger frequently has bags of kale, spinach and other greens on sale because it’s nearing its “best by” date. I love picking up a few whenever I see them. If I don’t plan to use them right away, I either toss the whole bag into the freezer (this works best with sturdy greens like kale or collard greens) or I dehydrate them for future use.
To dehydrate the greens without a dehydrator, I set my oven to it’s lowest setting (150-200 degrees Fahrenheit) , spread the greens on a baking sheet, and bake until they are dry. I check them about every 10-15 minutes to prevent them from burning.
Once they are done, I crumble them to the consistency of a dried herb and store in a canning jar. The dried greens are great to add to sauces, soups, stews or smoothies. Add a little if you need to hide the taste or a lot to really boost the nutrients.
It’s quick, easy and doesn’t result in a gross bag of kale forgotten in the back of the fridge. Plus, it may help picky eaters get a little more nutrition.
Like this post? Sign up for our newsletter to get post notifications and updates.
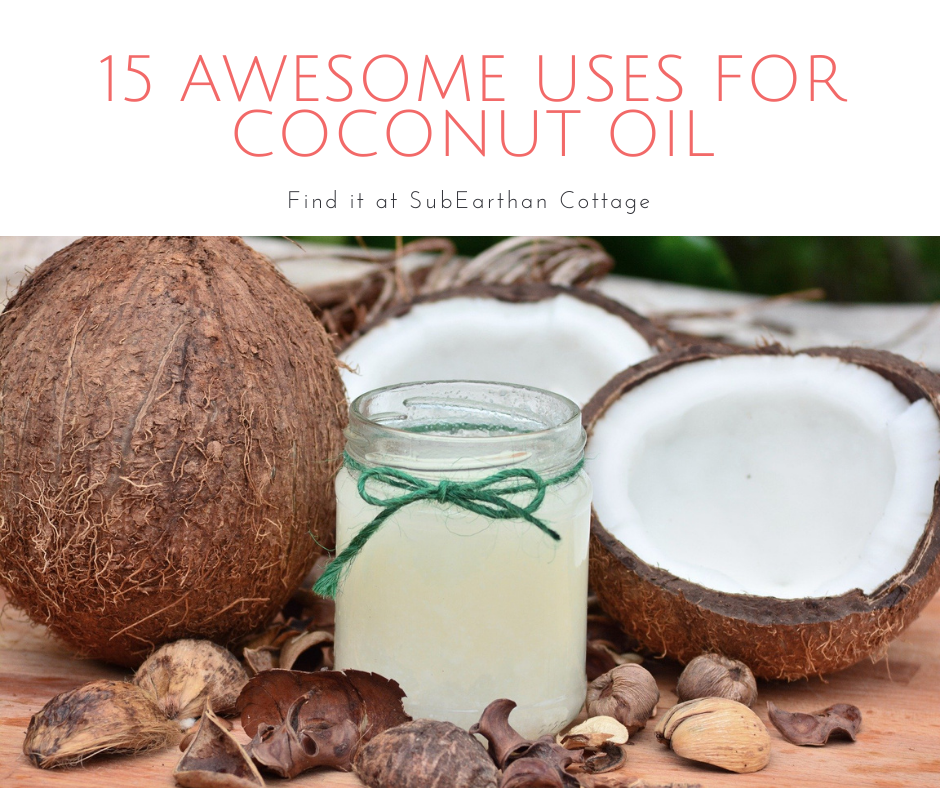
If I had to pick only one oil to keep around, it would be coconut oil. This versatile oil has many applications in and out of the kitchen. Here’s fifteen of my favorite uses for coconut oil.
Coconut Oil in the Kitchen
High Heat Cooking
Coconut oil is a stable oil, unlike olive oil. It doesn’t break down at high temperatures, making it great for frying, sautéing and other high-heat cooking applications.
Dairy and Animal Fat Substitute
Coconut oil is also a great butter substitute for those avoiding dairy. It also makes a great substitution for tallow or lard.
Cooking Popcorn
If you like cooking popcorn on the stove the “old-fashioned” way, coconut oil is the best. It adds a wonderful flavor to the popcorn, and holds up to the high temperature. My favorite way to eat popcorn is cooked in coconut oil and topped with salt and fresh cracked black pepper. It’s so simple and yet so yummy!
Season Cast Iron Skillets with Coconut Oil
I love my cast iron skillets. Whenever I need to re-season them, coconut oil is my go-to oil.
Coconut Oil for Cleaning
Natural Furniture Polish
The natural furniture polish recipe I use calls for olive oil, but coconut oil is a suitable substitute. It’s a little lighter and less greasy than olive oil, so it polishes out nicely. It also has a longer shelf-life, so there’s little worry about using it up before it goes rancid.
Stuck on Stickers
Rubbing a little coconut oil on sticker residue helps remove the residue without harming the surface underneath. I like to coat the sticker residue with oil and let it sit for a few minutes. Wipe in a circular motion with a rag or gentle scrubber until the residue is gone.
Coconut Oil for Hair
Protect and Treat Your Hair
I’ve seen it recommended to coat your hair in coconut oil and leave it in overnight before lightening your hair with bleach. While I personally haven’t tried that, since lightening my hair, I put a small amount of oil on my hair almost every day. I especially focus on drier or damaged areas. Since I started doing this, I’ve noticed a huge difference in my hair. It’s definitely stronger and smoother.
Deep Condition with Coconut Oil
Even if you haven’t tortured your hair with bleach, a deep conditioning treatment is good from time to time. Apply the oil to your hair and cover with a shower cap. Leave it in for a few hours or overnight and then wash out. A couple of drops of essential oil added to the oil makes the conditioning treatment even more luxurious.
Frizz Fighter
Rub a couple of drops of coconut oil in your hands and then smooth over the ends of your hair to keep frizz away.
Coconut Oil for Skin
Moisturize Your Skin
Coconut oil is great as a moisturizer. Start with a little and massage in to moisturize or to soothe dry, irritated skin. It even helps some eczema!
Diaper Ointment
Coconut oil provides a gentle, moisturizing barrier to soothe and protect babies’ bottoms. Unlike many commercial diaper creams, it is considered safe for cloth diapers. Do check with the manufacturer for their recommendations first, as using unapproved products can void any warranties.
Makeup Remover
A little coconut oil easily takes off eye makeup. I like to put it on a cotton square and gently swipe away makeup. As a bonus, it moisturizes your skin as it removes the makeup.
Shaving Cream
Shaving with coconut oil leaves my legs feeling soft, smooth and moisturized. I don’t even need to use lotion afterwards.
Handmade Soap
I use coconut oil in all of my soap recipes. It helps to create a firm bar that produces lots of fluffy lather.
Essential Oil Carrier
Coconut oil is my favorite carrier oil for essential oils. It’s not too heavy and absorbs nicely into the skin. If you use the refined oil, there’s no real coconut scent to compete with the essential oils.
Here’s a few common questions about Kombucha. I’ve answered them based on my research and personal experience.
How much should I drink?
If you’ve never had Kombucha before, you’ll want to start slowly. Kombucha can have a detoxifying effect that can be unpleasant if you rush it. It is recommended to start with about an ounce per day at first and gradually increase until you reach a comfortable level for you. If you notice any ill effects cut back or stop for a few days to let your body catch up. Drinking lots of water can help, too.
Of course, you should always listen to your body. If you feel like you can’t tolerate kombucha don’t push it. There are plenty of other ways to get probiotics. Also, I’m not a doctor, and the above might not apply to everyone depending on your personal health. If you have any concerns, definitely consult your doctor.
Can I use metal utensils when making Kombucha?
Metal tea kettles for boiling the water are fine. It’s fine to stir the tea and sugar together with a metal spoon before adding the SCOBY. What you want to avoid is the SCOBY coming into contact with metal as that can damage the SCOBY. Even then, I have heard very brief contact is ok, such as when cutting up a giant SCOBY. I prefer to peel apart the layers and avoid metal touching my SCOBYs, though.
Can I use honey/stevia/coconut sugar/some other sweetener?
The sugar is food for the SCOBY and plain white sugar is recommended because it is easy for the SCOBY to digest. I have heard of some people having success with other sugars, but I haven’t tried it myself. If you want to try another form of sugar, I would start with a small batch and keep another SCOBY in a tea/white sugar brew as backup.
Stevia or other zero calorie sweeteners will not work because they don’t provide food for the SCOBY.
Can I use flavored teas?
Not for the main brew. You can use flavored teas to add flavor in a second ferment.
Can I use decaf teas?
This is another one where I’ve heard conflicting information. Most say not to use decaf tea. If you want to try decaf, as with different sugars, I would start with a small batch and keep another SCOBY in a regular tea/white sugar brew as backup.
My SCOBY looks funny. Is it bad?
Most SCOBYs look funny. They can be smooth and creamy colored or have air pockets and brown spots. The bottoms usually have brown stringy tentacle things hanging down. New SCOBYs grow on top of older ones until they look like a stack of slimy pancakes. (Eww.) All of this is normal, and there’s probably a million variations I haven’t described.
There are two main things to watch for: mold and black. If your SCOBY molds, it will look like blue-green dusty mold, just like what grows on bread. If you get mold, throw it all out and start over.
Black means the SCOBY is dead or dying. Toss it.
My Kombucha tastes like vinegar. What happened?
Kombucha is supposed to taste vinegary, but if it’s too strong you can always mix it with something like juice to make it more palatable. You can also use super-vinegary Kombucha in place of apple cider vinegar in recipes. If it’s straight vinegar with no sugariness left, you could use it as a hair rinse or for household cleaning where you would use ACV.
To make future batches less vinegary, there’s a couple of things to try.
1. Kombucha brews faster in warmer weather. If it’s been hot, try a shorter brew time and/or increasing the amount of sugar in the brew.
2. If your SCOBY is getting super thick, split off some layers. More SCOBY = shorter brew time.
My Kombucha is too sweet. What happened?
The easiest fix is to let it brew longer. If it’s cold, moving your jar to a warmer location may help. I think the ideal range is somewhere around 70-80 degrees Fahrenheit.
You should also check the condition of your SCOBY. If it is turning black, you’ll want to replace it.
Should I store my SCOBYs in the refrigerator?
No. You want to avoid extreme temperatures because they can damage the SCOBYs. The best range is between 70-80 degrees Fahrenheit.
To store your extra SCOBYs, place them in a lidded jar with at least enough Kombucha for them to float and store in a cool-ish location, such as a pantry or shelf out of direct sunlight and away from heat sources.
When you get your homebrew timing right, kombucha is pretty yummy on it’s own. Sometimes you want something a little different, though. Or maybe straight kombucha just isn’t your thing but you still want the probiotic benefits. Luckily you can easily change the taste of your kombucha to make it more palatable or fix a soda craving. Here’s my tips for flavoring your Kombucha tea.
Mixing with juice
The simplest way to flavor kombucha is to mix it with juice or another beverage. This is a great way to get started drinking kombucha. To start, add 1-2 ounces of kombucha to a glass of your favorite juice. As your body and tastes adjust to drinking kombucha you can increase the kombucha to juice ratio.
I like to dilute 3-4 ounces kombucha with sparkling or still water, add a splash of lemon or lime juice and a bit of stevia. This makes a refreshing summer drink when served over ice.
Kombucha is also nice as an add in for smoothies. It can be fizzy on it’s own, though, so make sure to account for that when adding it to blended drinks. Leaving a little extra headspace in the blender is a good idea. Or, stir it in after everything else is blended.
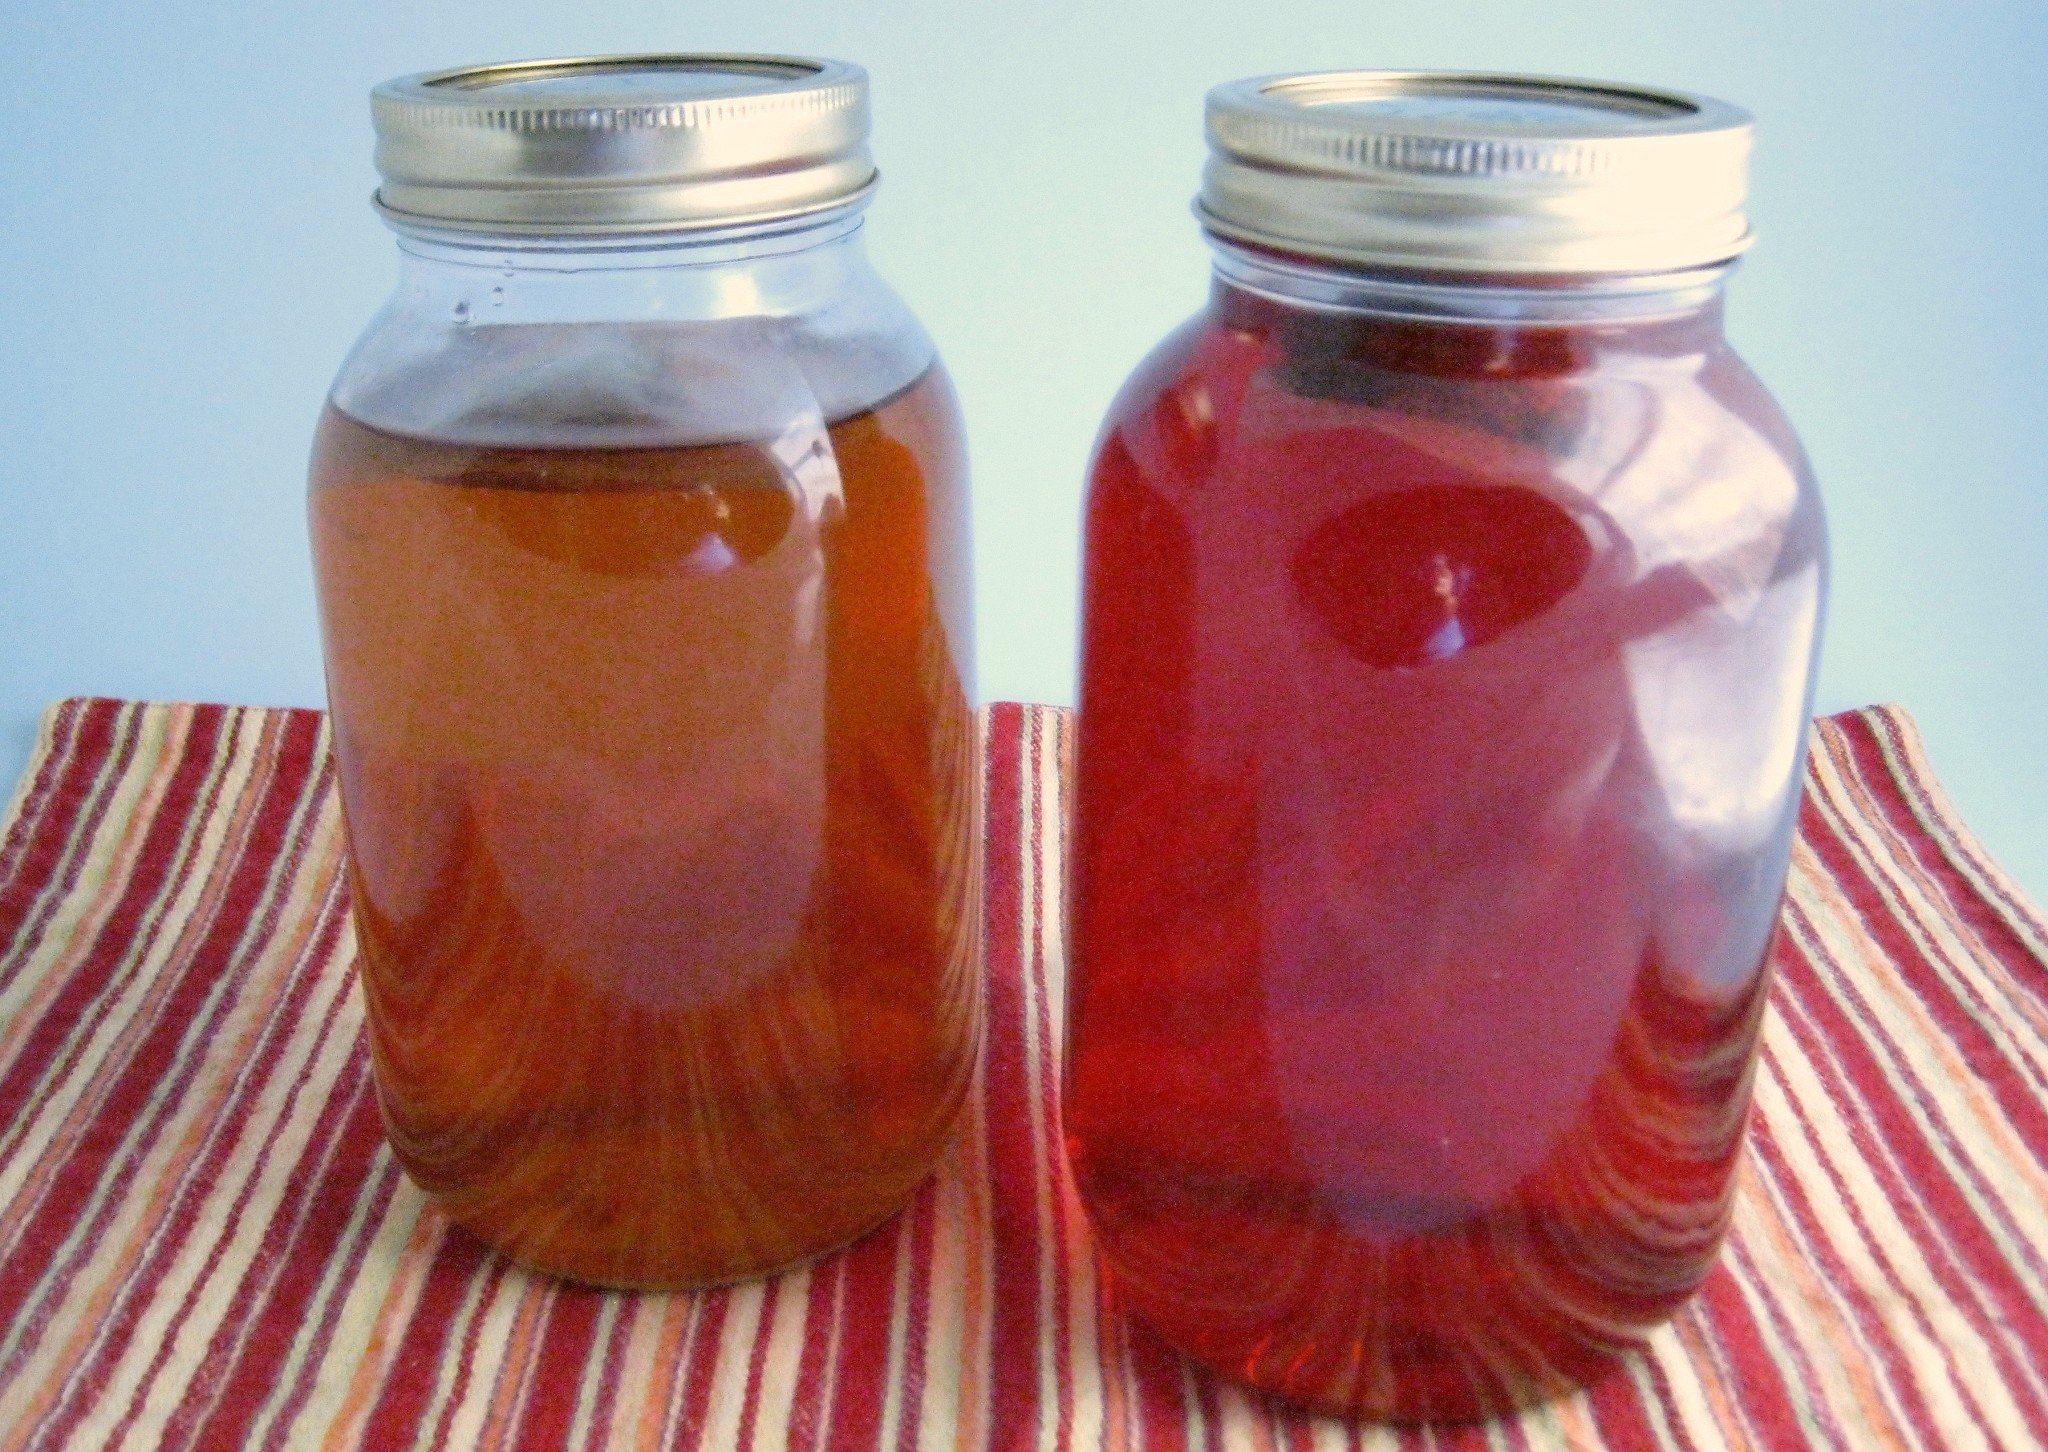
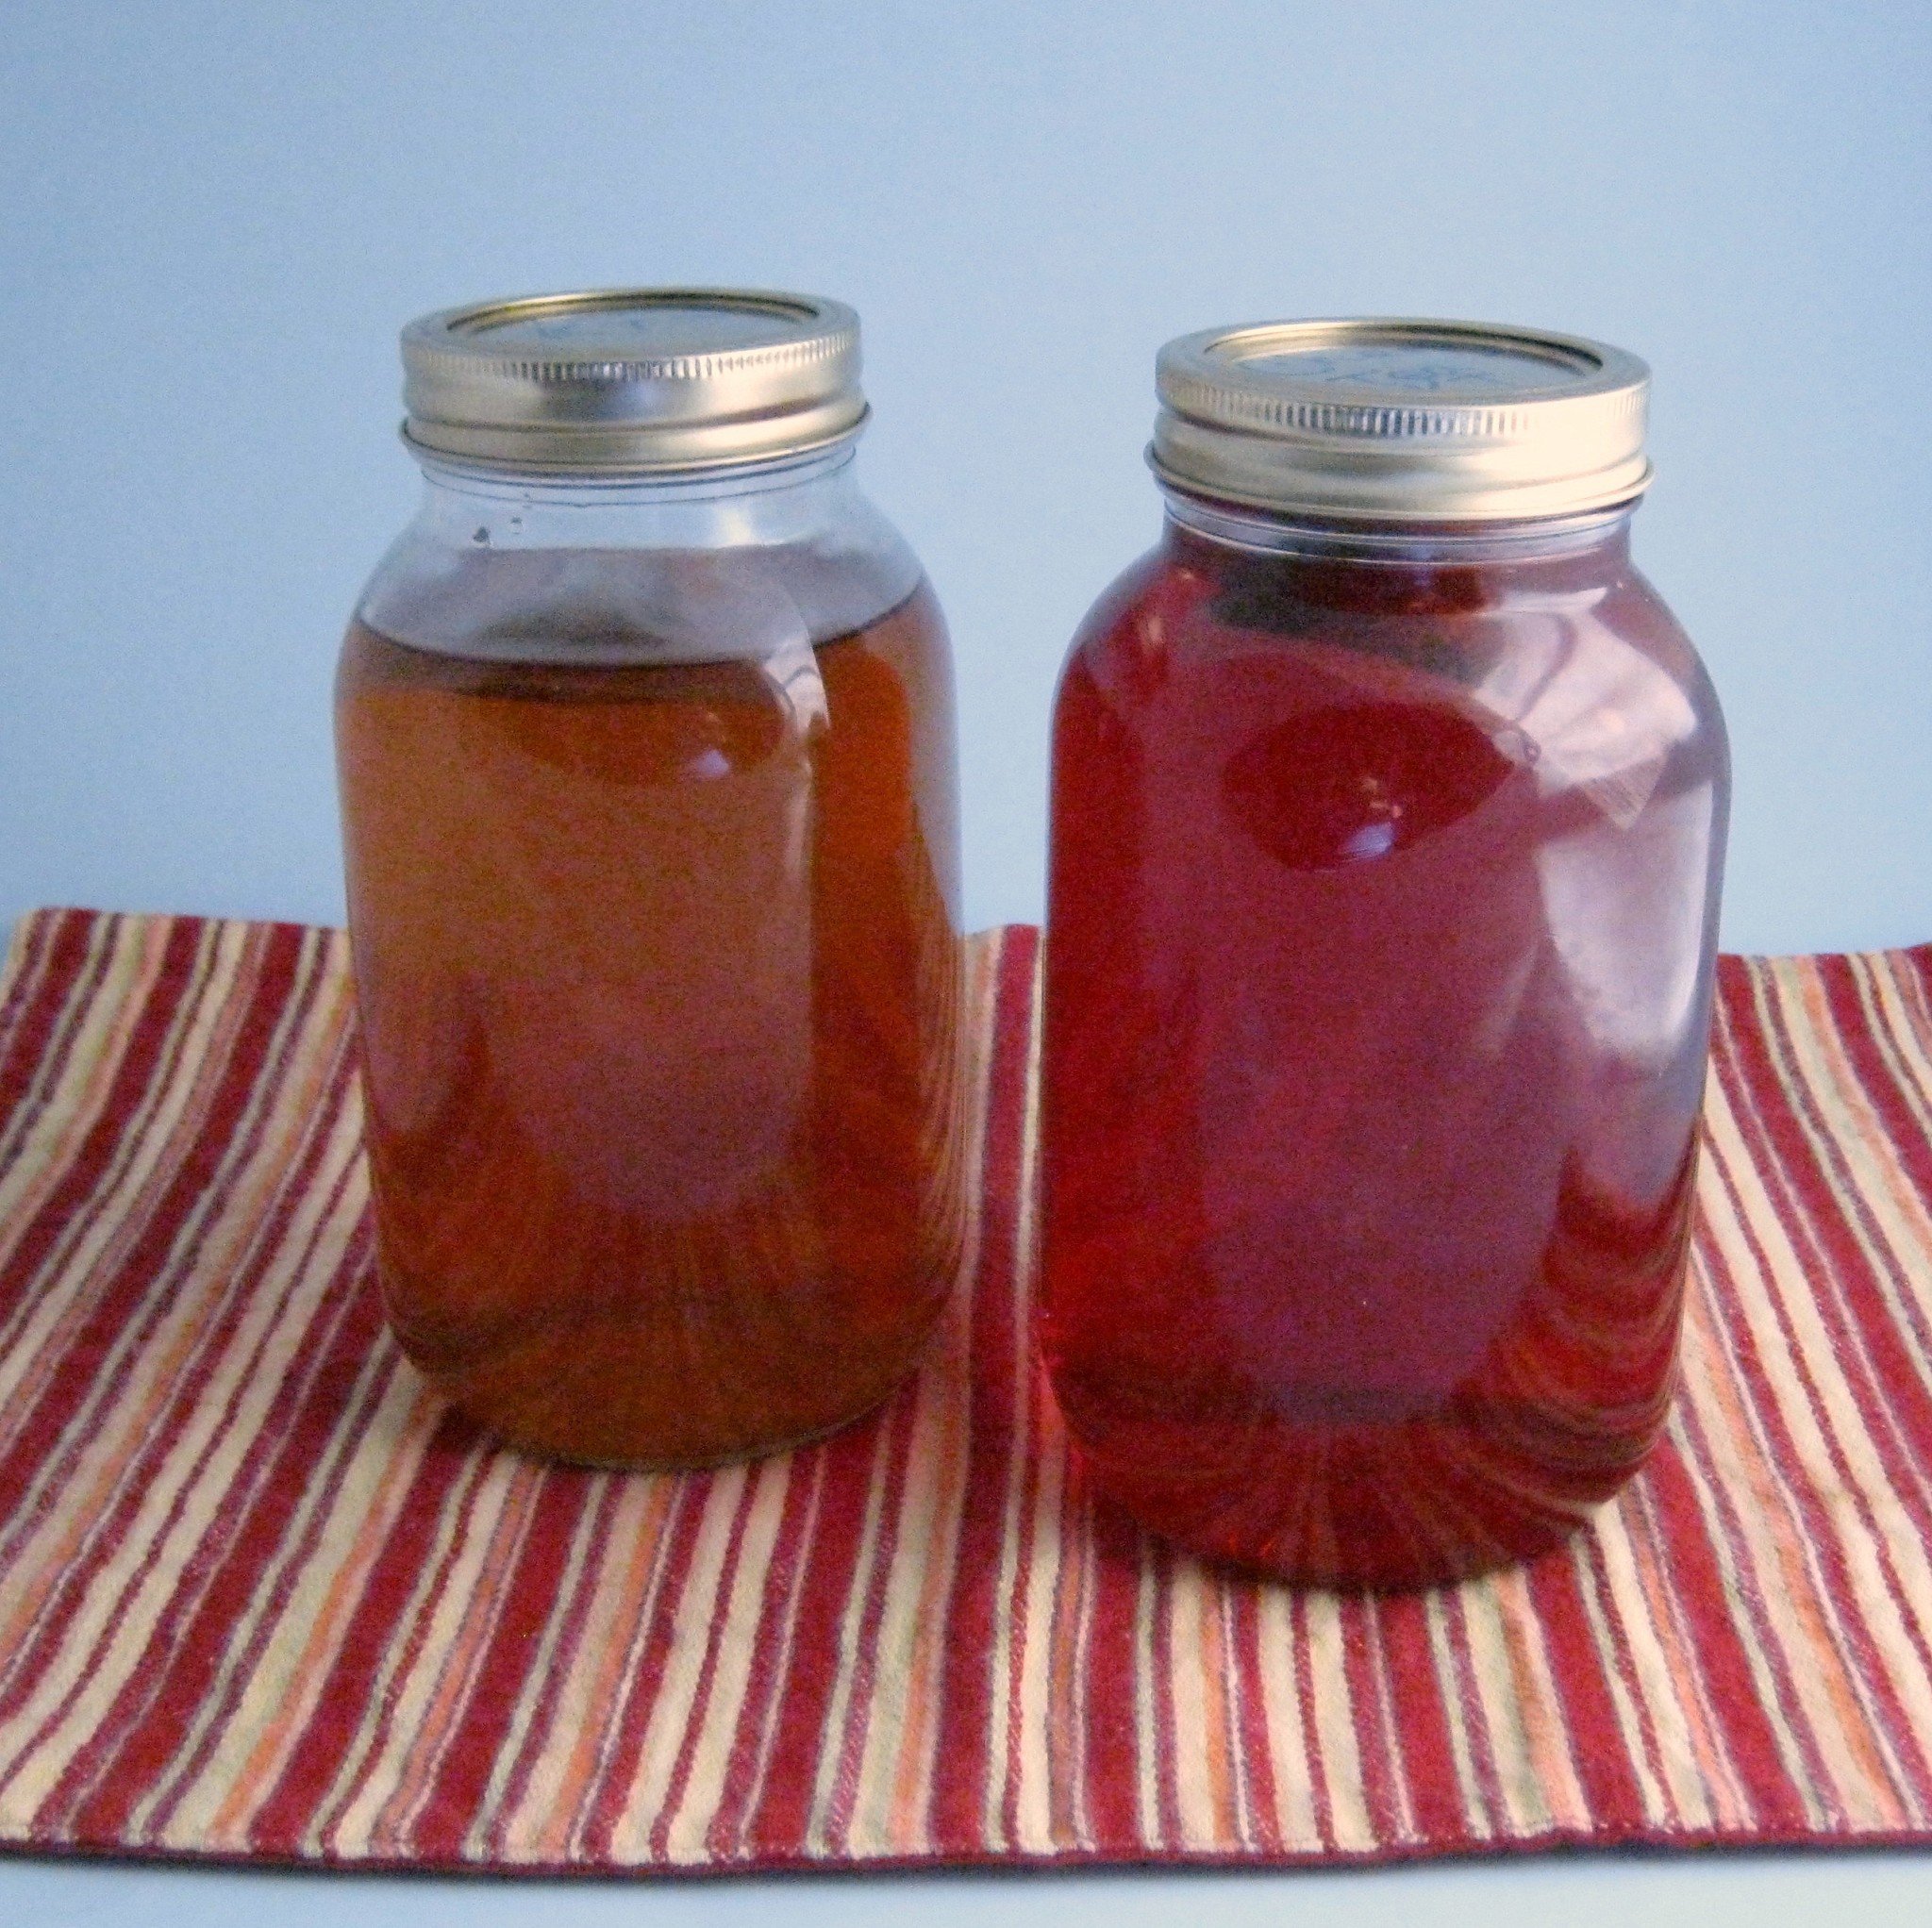
Flavored with peach and cherry teas in a second ferment.
Flavoring your Kombucha with a second ferment
You can also add flavoring in a second, shorter ferment. Basically you’ll put your flavorings in a bottle or jar (I like canning jars), fill almost to the top with your brewed kombucha and cap the jar. Leave at room temperature for 2-4 days and then refrigerate or drink.
The second ferment can increase the carbonation in your kombucha, so it’s a good idea to be cautious when opening and storing the jars. I’ve never had a jar break from the pressure, but I have had the metal disks on canning jar lids pop up in the middle. If I think too much pressure is building up, I “burp” the jars by opening them just enough to release some of the pressure and recap.
There’s a variety of things you can add for the second ferment. Really, any herbs, spices or fruits can be added. If you want to increase the carbonation, add a little bit of sugar, honey, raisins or a sweet fruit. My favorite thing to do is put enough orange peel to fill the jar halfway, add a teaspoon of sugar or honey, top with kombucha and let it sit for two days. It makes a kind of healthier orange soda and uses something that would normally have been tossed.
Orange peel and honey Kombucha
Other flavorings I’ve tried:
Lemons and limes cut into wedges, sliced or just the peels. You can also use a lemon or lime half after juicing it for another recipe.
Fresh sliced ginger, plain or with a dash of chai spice and squirt of honey.
Fruit flavored herbal teas, one bag per quart jar.
Blueberries.
If you brew your own Kombucha tea, I would love to hear your tips for flavoring your Kombucha. Please share them in the comments below.
Next week I plan to do a FAQ/kombucha myths post. If you have any questions please share them in the comments and I’ll do my best to answer them.
Like this post? To make sure you never miss a future post, please sign up for my newsletter.
Making Kombucha using the continuous brewing method means you’ll always have plenty of Kombucha ready to drink or flavor in a second ferment. Here’s how to do it.
Supplies for continuous brewing
In addition to the basic Kombucha ingredients listed here, you’ll want to have a jar with a spigot. There’s some debate over the best materials for the jar and spigot. The biggest thing to watch for is something non-metallic, although I think I’ve heard stainless steel is okay. Most people like to avoid plastics to prevent any weird chemicals from leeching into the KT. I went with the cheapest, most available option of a glass sun tea pitcher with a plastic spigot.
Keep about half of the finished KT and the SCOBY in the jar and bottle the rest. Brew about half a gallon of tea. I use two black tea bags, one green tea bag and one half to one cup of sugar. Let it cool and add it to the jar with your finished KT and SCOBY. Since you replaced half of the KT, you’ll want to wait a couple of days before drinking from the new batch. After that, you can drink some fresh from the tap every day. Just replace what you drink with fresh sweet tea. Because you are only adding a small amount of fresh tea in relation to the KT, you can drink a little every day without the wait time. I like to keep a small pitcher of sweet tea in the refrigerator to replenish what gets taken out each day.
Like this post? To make sure you never miss a future post, please sign up for my newsletter.
For those who aren’t familiar with it, Kombucha Tea is tea that is fermented with a culture of beneficial bacteria and yeast (SCOBY). There are many claimed health benefits to it, although the most widely accepted is as a probiotic. It can be a bit fizzy, so many people use it as a soda replacement. It’s becoming much easier to find in mainstream supermarkets, but usually runs about $4 for a small bottle. Yikes! It’s really not that complicated to brew your own and the way to go IMO if you want to drink it daily.
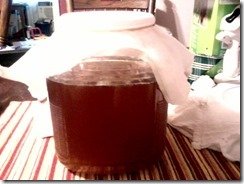
My first batch of Kombucha Tea brewing.
Ingredients to start 1 gallon of Kombucha:
3 Black tea bags 2 Green tea bags 1-2 cups Granulated white sugar 1 gallon Filtered water 1 Kombucha SCOBY (I got mine from here: https://www.etsy.com/shop/OKposeyMom) 2 cup Starter Kombucha tea (KT) or distilled vinegar
Supplies:
1 gallon glass jar (with spigot for continuous brew) tightly woven or knit cloth or coffee filter larger than the mouth of the jar rubber band or elastic big enough to securely fit around the mouth of the jar. Wooden or plastic spoon (metal is fine unless you need to stir after adding the SCOBY)
Make sure all jars and utensils are clean. Rinse everything really well to be sure there’s no soap residue. For the first batch, you’ll need a full gallon of tea. I use both black and green tea with three black and two green tea bags. As long as you are using unflavored, caffeinated tea, any ratio should work. Brew the tea like normal and add the sugar. Stir to dissolve. It needs to be plain white granulated sugar to make it easy for the SCOBY to break down. The sugar can be adjusted to taste, but for the first batch I like to use a full 2 cups. I’ve also found that in warmer months the brew gets strong really fast, so I add closer to the full 2 cups then to compensate. In cooler months, I can cut back on the sugar.
When the tea is cooled to about 80 degrees, add the SCOBY and starter Kombucha Tea (KT) and/or distilled vinegar. The temperature really isn’t that important as long as it’s cool enough to not kill the SCOBY. I usually just feel the jar. When it feels no more than a little warm, I add the SCOBY. If you don’t have enough starter KT you’ll use distilled vinegar to make up the difference. Do NOT use cider vinegar. Cider vinegar contains some of it’s own culture “mother”. If you use cider vinegar you’ll end up with some sort of hybrid culture.
Cover your jar with the cloth or filter and secure with a rubber band or knotted piece of elastic. This allows it to breathe while keeping dust and ickies out. Wait. and wait. and wait. lol. The KT usually takes about 7-10 days to develop. It brews faster in warmer weather, so keep that in mind. Starting around day seven, use a straw to siphon off a little from under the SCOBY. You want it to have a little bit of a vinegary zing to it, but other than that the taste is up to you. My first batch tasted like cider made from honey crisp apples-tart but still really sweet.
The longer it brews the less sweet and more vinegary it will taste. If you think it needs to brew longer, leave it for another day or two and taste again. If you like the taste, great! Time to bottle it and brew batch number two.
For batch brewing, you’ll basically be doing everything you did for your first batch. All but 2 cups of KT from your first batch can go in to bottles. I use Mason jars. If you want to add flavorings you’ll add them to the bottled KT. I’ll do a post about that later. The 2 cups you reserve and your SCOBY will stay in the jar to start the next batch. (Every few batches, you will want to transfer them to a non-metallic bowl so you can wash the jar. If you keep a second jar on hand, you can just switch jars every batch.)
Repeat the above steps including the wait time for each new batch.
With each new batch, you will grow a new SCOBY. Usually the new SCOBY will grow on top of the old SCOBY. Technically you can separate the new SCOBY each time to use in your new batch. I like to leave the SCOBYs alone until it gets to be about a half inch to an inch thick. After that, I’ll separate off a few layers by pulling it apart between two layers. One SCOBY keeps brewing while the other goes into a big jar with some KT and a lid, aka a SCOBY hotel. Many SCOBYs can live in a hotel as long as you have enough KT to keep them moist. It’s always a good idea to have an extra SCOBY or two on hand in case your batch gets contaminated. You can also give your extra SCOBYs to friends so they can start their own brew.
Next week I’ll cover how to move from batch brewing to continuous brewing.
Like this post? To make sure you never miss a future post, please sign up for my newsletter.
I, Charity Sloan, am a participant in the Amazon Services LLC Associates Program, an affiliate advertising program designed to provide a means for sites to earn advertising fees by advertising and linking to Amazon.com. Any purchases through those links will result in my receiving a small percentage in commission.
This only refers to Amazon links found in/on my blog pages. All products in my shop are 100% mine and not linked to Amazon.
Prices are the same whether you click an affiliate link or a non-affiliate link, so you will not be charged more. Thank you for your support!