I just wanted to take a minute to let you know about my PDF printable or digital journals and planners. There’s currently ones for Fitness, Yoga, Reading and Meal planning. I should have a few more added by the end of the week. I also have a TON of sewing to do, so we’ll see how it goes.
Each planner is only $5 and can be used over and over again.
I like getting my kiddos involved in housecleaning. Not just because they are highly involved in making messes, but because it is important that they know how to take care of themselves as adults. I’m pretty choosy as to what cleaning products I will let them use. So many cleaners are irritating to the skin, eyes and lungs.
Not only do I want my cleaning products to be safe, I like things that multitask and don’t cost an arm and a leg. Often, I’ve found the best way to achieve this is to make them myself, like with my natural furniture polish. With a few simple ingredients I keep around the house anyway, I find I can cover most cleaning needs.
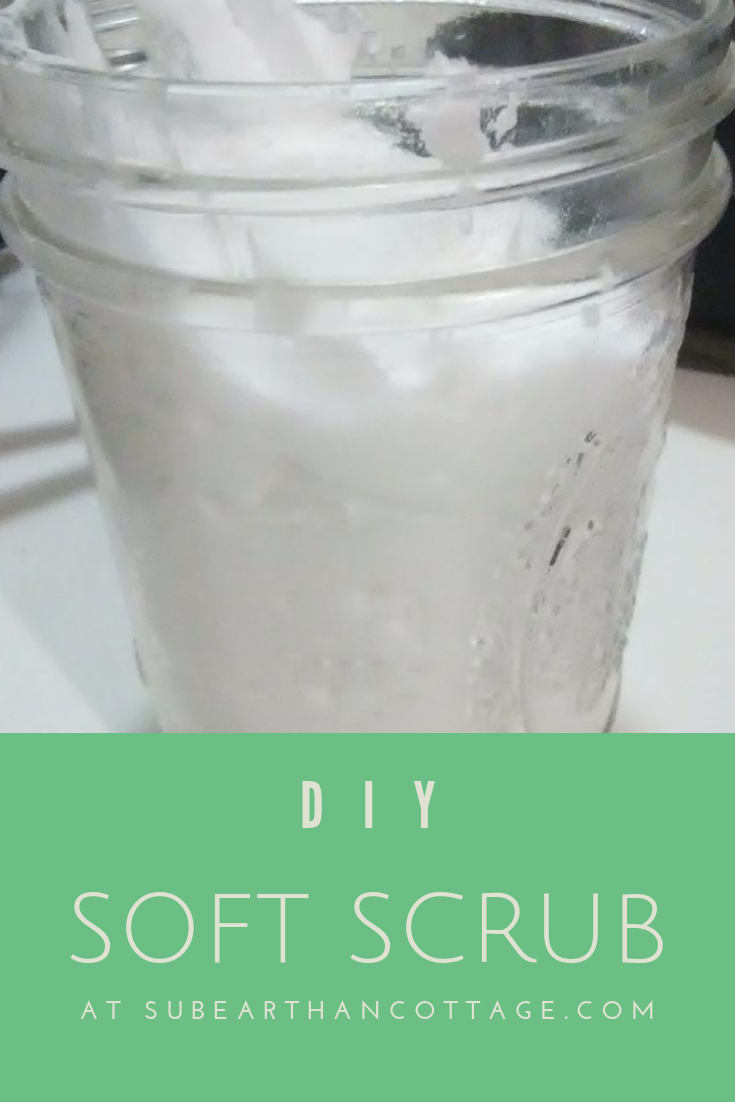
My most recent cleaning concoction is soft scrub. It works well for when I need a little extra scrubbing power than I get with my usual all-purpose water, vinegar and dish soap mix.
Soft scrub in a jar
Soft Scrub Ingredients
1 cup of baking soda
1/4 cup of liquid soap
1 tablespoon of hydrogen peroxide
Optional: 2-3 drops of essential oil
Instructions
Place all the ingredients into a big bowl and mix until a uniform paste forms. To store, I like to scoop it into a wide mouth canning jar, but any lidded container will work. The mix will expand, so use a container that allows for at least double the amount to be safe.
Mixing the soft scrub
Variations
Type of Soap
Liquid castile soap will work, but for extra cleaning power I prefer a detergent soap, like Dr. Bronner’s Sal Suds or even Dawn dish soap. You could probably get away with any liquid hand soap or liquefied bar soap, but I haven’t tried those yet. The only time I haven’t liked it was when I made it with Ajax dish soap because that is what I had on hand. I think there was something in the Ajax that reacted badly with the baking soda or hydrogen peroxide. That mixture was fluffier and had an odd smell. I’m not quite sure what it was that caused it, but because of that, I recommend staying away from any dish soap that advertise extra cleaning additives. For the soap, basic is better.
Scent
I rarely add any essential oils for fragrance. Usually the soap I have is already scented, so I don’t see the need. Really, unscented is fine, too, unless you just prefer a scent to signal that something is clean. If I were to add an essential oil, though, I would probably use either peppermint, lemon or tea tree oil. If you choose to use an essential oil, please be aware of safety guidelines for using them around children, pregnant women, pets, and other sensitive individuals.
How to use
To use, I scoop out a dollop of the soft scrub and apply a layer to the area I’m cleaning. I usually let it sit for a minute or two then buff it off with a rag. If there’s a residue left, I’ll either wipe it down with a damp rag or mist it with my all purpose vinegar, dish soap and water solution and wipe it clean.
Results
I almost forgot to take a before photo. This is an embarrassing photo of tomato sauce splatter left on my stove overnight.
Before using soft scrub to clean last night’s spaghetti sauce.
This is a photo of what it looks like after using my soft scrub and minimal elbow grease.
Shiny stovetop
I do apologize for the blurry photos. Lighting in my kitchen isn’t the greatest, and also I was in the middle of cleaning.
I have quite a bit of finished wood furniture that I love, except when it comes to polishing. There’s always some sticky fingerprints or a glob of something unidentifiable (thank you, Thaddeus). Most commercial polishes do okay on relatively clean surfaces, but don’t do a great job on the really messy stuff. Sometimes I’d spray some polish right on the spots, polish the rest and hope the globs loosened up enough to wipe away. Once in a while it worked. Other times it resulted in a ring around the spot while the sticky may or may not have loosened at all.
I finally did a little research on homemade furniture polish recipes. Here’s the one I use.
DIY Natural Furniture Polish
Ingredients:
3 parts olive oil 1 part vinegar Splash lemon juice (optional)
Combine everything in a spray bottle and shake to mix. Some recommend storing it in the refrigerator or only making what you’ll use in a day. I make about 1-2 cups worth at a time and keep it at room temperature. So far I haven’t had problems with it spoiling.
For light polishing, I spray the rag and wipe. For heavier cleaning, I spray directly where needed. I have never had it leave a ring, and it buffs nicely without leaving a residue. It works equally well on furniture with a matte stain and pieces with a high gloss varnish.
I love that this recipe uses things I have around the house and costs less than even the cheap commercial polishes. I also like knowing that it is completely nontoxic. I can let Thadd help without worrying that it might hurt him if he sprays it in his face. Or my face. Seriously, you never know with this kid.
You could probably customize it with a few drops of essential oils, too. I think something citrus-y would be nice. Also, if you don’t have olive oil, you could try swapping it with whatever you have on hand.
Give it a try and tell me what you think. If you’d like more “green” cleaning options check out my recipe for soft scrub and my all purpose cleaner recipe.
For my handmade home and laundry products, click the link below.
Home and Laundry
SubEarthan Cottage offers handmade laundry products, scented wax tart melts and reusable products for your home to reduce waste and synthetic chemical exposures in your home.
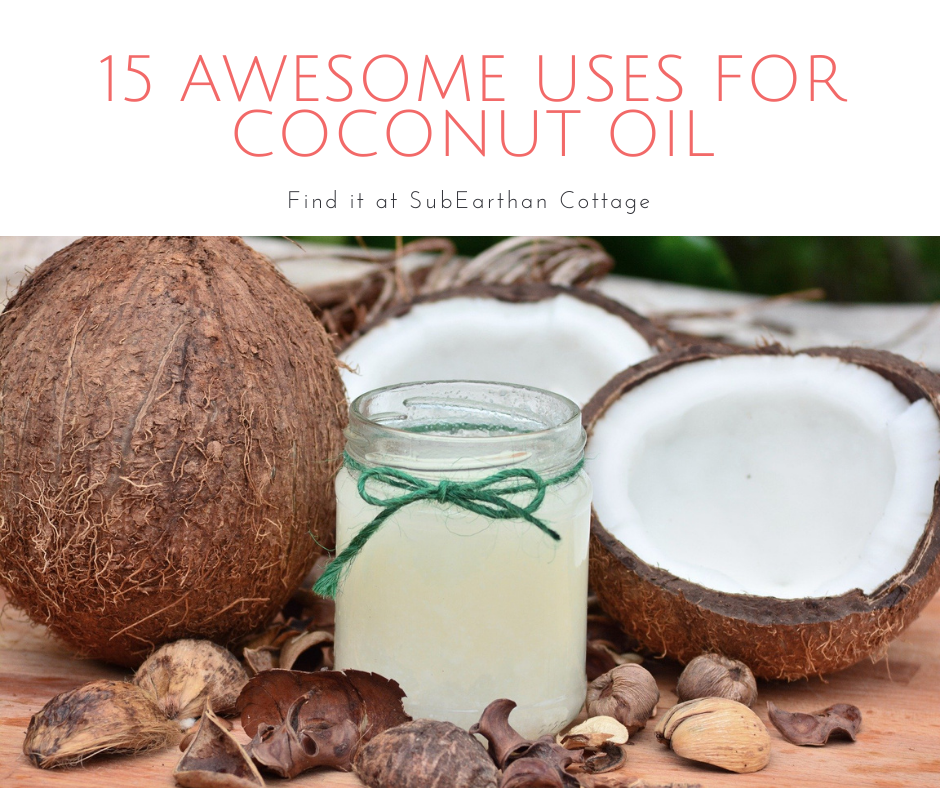
If I had to pick only one oil to keep around, it would be coconut oil. This versatile oil has many applications in and out of the kitchen. Here’s fifteen of my favorite uses for coconut oil.
Coconut Oil in the Kitchen
High Heat Cooking
Coconut oil is a stable oil, unlike olive oil. It doesn’t break down at high temperatures, making it great for frying, sautéing and other high-heat cooking applications.
Dairy and Animal Fat Substitute
Coconut oil is also a great butter substitute for those avoiding dairy. It also makes a great substitution for tallow or lard.
Cooking Popcorn
If you like cooking popcorn on the stove the “old-fashioned” way, coconut oil is the best. It adds a wonderful flavor to the popcorn, and holds up to the high temperature. My favorite way to eat popcorn is cooked in coconut oil and topped with salt and fresh cracked black pepper. It’s so simple and yet so yummy!
Season Cast Iron Skillets with Coconut Oil
I love my cast iron skillets. Whenever I need to re-season them, coconut oil is my go-to oil.
Coconut Oil for Cleaning
Natural Furniture Polish
The natural furniture polish recipe I use calls for olive oil, but coconut oil is a suitable substitute. It’s a little lighter and less greasy than olive oil, so it polishes out nicely. It also has a longer shelf-life, so there’s little worry about using it up before it goes rancid.
Stuck on Stickers
Rubbing a little coconut oil on sticker residue helps remove the residue without harming the surface underneath. I like to coat the sticker residue with oil and let it sit for a few minutes. Wipe in a circular motion with a rag or gentle scrubber until the residue is gone.
Coconut Oil for Hair
Protect and Treat Your Hair
I’ve seen it recommended to coat your hair in coconut oil and leave it in overnight before lightening your hair with bleach. While I personally haven’t tried that, since lightening my hair, I put a small amount of oil on my hair almost every day. I especially focus on drier or damaged areas. Since I started doing this, I’ve noticed a huge difference in my hair. It’s definitely stronger and smoother.
Deep Condition with Coconut Oil
Even if you haven’t tortured your hair with bleach, a deep conditioning treatment is good from time to time. Apply the oil to your hair and cover with a shower cap. Leave it in for a few hours or overnight and then wash out. A couple of drops of essential oil added to the oil makes the conditioning treatment even more luxurious.
Frizz Fighter
Rub a couple of drops of coconut oil in your hands and then smooth over the ends of your hair to keep frizz away.
Coconut Oil for Skin
Moisturize Your Skin
Coconut oil is great as a moisturizer. Start with a little and massage in to moisturize or to soothe dry, irritated skin. It even helps some eczema!
Diaper Ointment
Coconut oil provides a gentle, moisturizing barrier to soothe and protect babies’ bottoms. Unlike many commercial diaper creams, it is considered safe for cloth diapers. Do check with the manufacturer for their recommendations first, as using unapproved products can void any warranties.
Makeup Remover
A little coconut oil easily takes off eye makeup. I like to put it on a cotton square and gently swipe away makeup. As a bonus, it moisturizes your skin as it removes the makeup.
Shaving Cream
Shaving with coconut oil leaves my legs feeling soft, smooth and moisturized. I don’t even need to use lotion afterwards.
Handmade Soap
I use coconut oil in all of my soap recipes. It helps to create a firm bar that produces lots of fluffy lather.
Essential Oil Carrier
Coconut oil is my favorite carrier oil for essential oils. It’s not too heavy and absorbs nicely into the skin. If you use the refined oil, there’s no real coconut scent to compete with the essential oils.
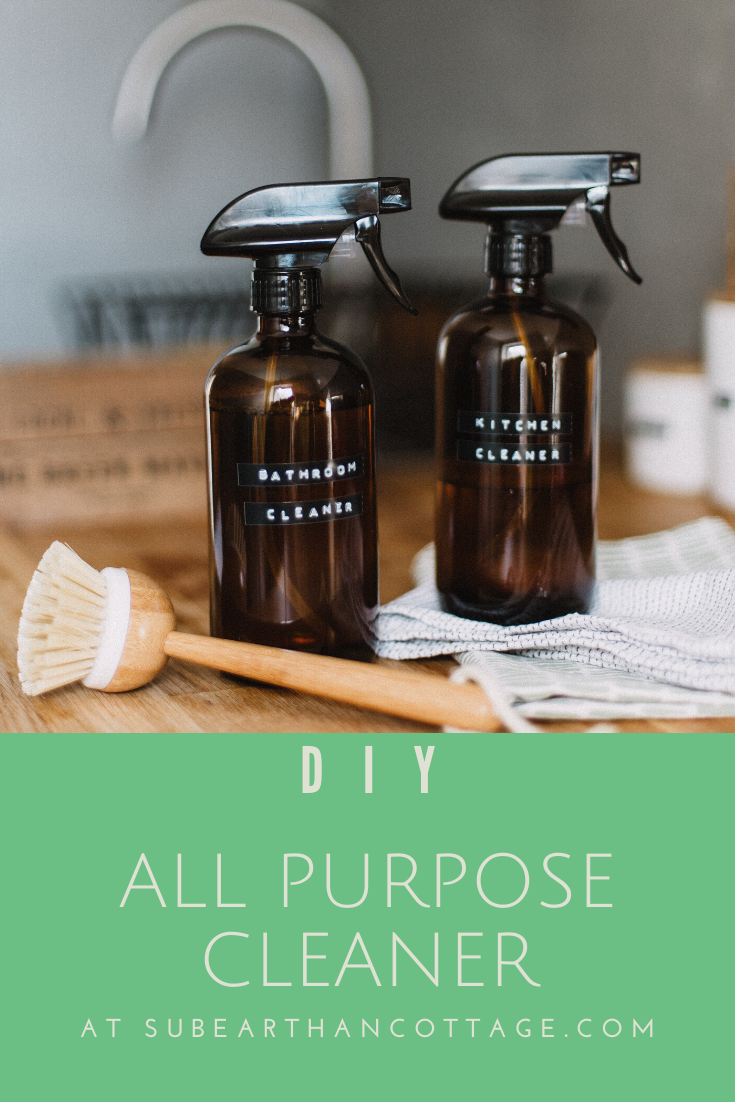
We are all becoming more aware of the types of products we use everyday. Whether it’s a concern for the environmental impact, the effect they have on our health or the safety for our pets and children, we want to know we aren’t inadvertently introducing harmful things into our homes. Something I do to feel confident in the safety of cleaning products I use around my family is to make my own where possible. One such product is a simple all purpose cleaner I use for cleaning hard surfaces, such as kitchen and bathroom counters and walls. It only uses a few ingredients, all of which you probably already have on hand.
Photo by Daiga Ellaby on Unsplash
All Purpose Cleaner Recipe
Ingredients:
Liquid soap, either dish soap or something like Dr. Bronner’s castile soap
Distilled white vinegar
Water
Optional: Essential oil of your choice
Supplies:
Clean, empty spray bottle
Liquid measuring supplies if you aren’t comfortable just eyeballing it
Optional: A funnel might make it easier to fill the bottle.
How to make it:
Measure about 2 tablespoons of soap, one cup of vinegar and one cup of water into the spray bottle. It doesn’t have to be exact. I usually just eyeball it. If you would like to use an essential oil, add 3-5 drops as well. Do be aware of safety guidelines regarding any essential oils you use, especially around pregnant women, children and pets. Tea tree oil or lavender are nice for cleaning and generally safe for most people. If the soap you use is scented or if you or your family members are sensitive to scents, you may want to skip the essential oil.
Swirl the bottle to mix everything without making the soap foam up too much.
That’s it. Now you have an all purpose cleaner that works as well as any other I’ve tried, with the added benefit of being safe enough that kiddos can help with the cleaning.
If you like this cleaning recipe, you’ll also like my DIY soft scrub for tougher cleaning jobs. To make sure you don’t miss out on future posts, sign up for my newsletter.
In the past, I often featured handmade or vintage shops on Fridays. Over the years, the world of crafting and blogging has changed dramatically. I would love to resume Feature Fridays, but with a broader scope.
Handmade shop and websites are still welcome. I also want to feature guest writers sharing tutorials, tips, advice, recipes, etc. Categories that I feel are a good fit for this blog are crafting, sewing, sustainability, refashioning, healthy living, parenting, hair and beauty tips for busy moms, homeschooling and homesteading. I am open to other topics as well, so if you are interested but don’t quite fit into one of the above categories, please contact me anyway with your idea.
Guest posts will be promoted across my social media sites frequently throughout the week they are published and then periodically after.
Handmade shop/website features
For handmade shop/website features, answer the questions in the following list and email them to csloan@subearthancottage.com. I will contact you before your shop is featured and if any clarification is needed. You can give as much or a little info for each section as you are comfortable with sharing. Be sure to include links to your shop, web page and blog, if you have them. If you sell your products in a brick and mortar store and would like to include that info, you may include that as well.
I also choose a favorite item from your shop on the week that you’re featured and briefly tell why I like it. The first image from your shop for both your favorite item and my favorite item will be included in the blog.
Name and Business Name
Tell us a little about yourself and your business.
What made you get started in your business?
Anything else you’d like to share?
Tell us about your favorite item listed in your shop.
Links to your shop, website, blog, etc.
Email address (This will NOT be published)
Guest posts, tutorials and everything else
Please contact me at csloan@subearthancottage.com with your idea. If you already blog, a link to your blog or site where your writings are published is also helpful. Newbies are welcome, too. I’m also not opposed to reposts if they are a good fit and your own work.
If I think your idea is a good fit for SubEarthan Cottage, I will let you know and we will work out the details from there.
Relying on paper towels to clean up spill after spill stinks. Sure, it’s not so eco-friendly, but, even more immediately distressing to me, at least, is it’s practically throwing money away. Plus, a paper towel is usually not as good at cleaning up a mess.
There’s always the option of buying a huge supply of kitchen towels and cloth napkins, but the initial cost of buying enough to keep up with a toddler’s destructive capabilities is off-putting to say the least. Retiring old clothes, sheets, etc. to rags is a viable and frugal option, not to mention you’re upcycling (or is it recycling? or repurposing?). I don’t really mind just using scraps as rags, but I prefer something a little more aesthetically pleasing, especially if guests are involved.
There’s also the convenience factor to consider. I have limited storage space, so devoting a kitchen drawer or part of a cabinet to hold all the towels isn’t practical. Neither is a basket on the counter, because counter space is even more limited.
My reusable paper towel solution
Here’s my solution. First, I cut up any appropriate worn fabric (t-shirts, flannel sheets, old bath towels, anything soft and absorbent) to whatever size I want. I started with something close to paper towel size but then started cutting some smaller to make more use of the fabric. Then I serged the edges to make them pretty. You could also do a zig-zag, overcast stitch or even just a straight stitch a little in from the edge on a sewing machine. If you are really ambitious you could do a real hem. I’m going for nice but quick to do in bulk. Any edge finishing is unnecessary for t-shirt knits, but they will be more durable being finished. Wovens like flannel will need something to keep them from fraying.
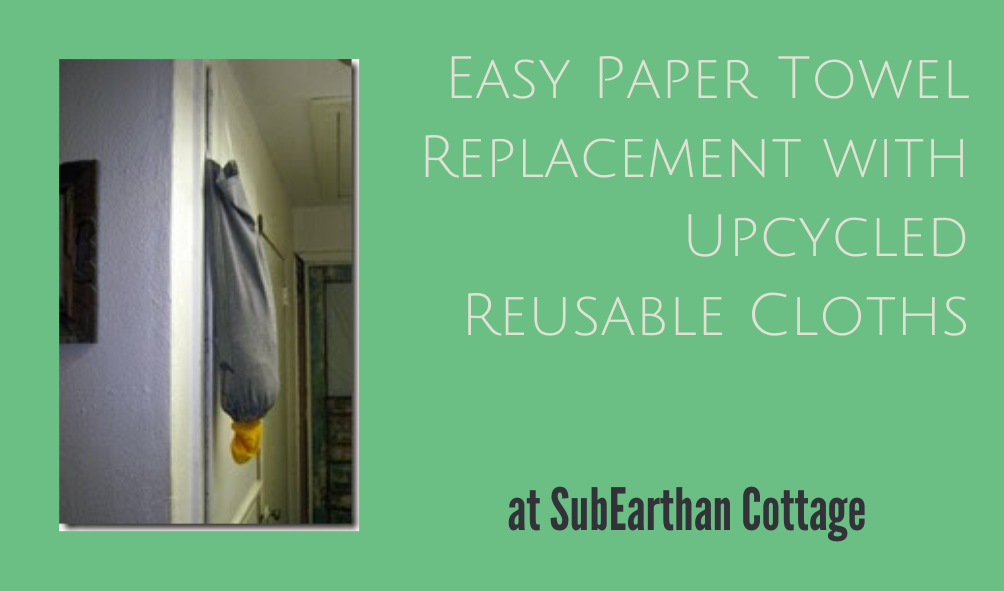
Easy storage with limited counter space
For the storage, I made a hanging tube similar to a plastic bag dispenser. If you have one of those around it will probably work perfectly. If not, there are tons of tutorials for them floating around. The basic design is a tube of fabric with a handle at the top and elastic at the bottom. The elastic tightens the opening enough to keep the towels/bags from falling out. This solves my lack of space problem because I can hang it anywhere and it’s as easy as pulling a paper towel off a roll. They stay in and dispense better if I just shove them in the top without folding them, so no extra laundry folding time.
This was my quick nap-time prototype. I made it out of half a t-shirt. You can easily make one out of any fabric to match your décor.
I also made a little tote bag to hang in the kitchen to put the dirty towels in. Unless they are really gross or soaking wet, there’s no reason to keep them separate from the rest of the laundry.
Since making these, I have almost eliminated my need for paper towels. I do try to keep a roll on hand in case the cats do something gross because eww. I have to hide it, though, to keep other people from reaching for them out of habit.
If you need some heavier cleaning cloths, double up the fabric. To use up smaller scraps of flannel, finish the edges of small squares to use in place of cotton balls.
Like this post? To make sure you never miss a future post, please sign up for my newsletter.
I, Charity Sloan, am a participant in the Amazon Services LLC Associates Program, an affiliate advertising program designed to provide a means for sites to earn advertising fees by advertising and linking to Amazon.com. Any purchases through those links will result in my receiving a small percentage in commission.
This only refers to Amazon links found in/on my blog pages. All products in my shop are 100% mine and not linked to Amazon.
Prices are the same whether you click an affiliate link or a non-affiliate link, so you will not be charged more. Thank you for your support!