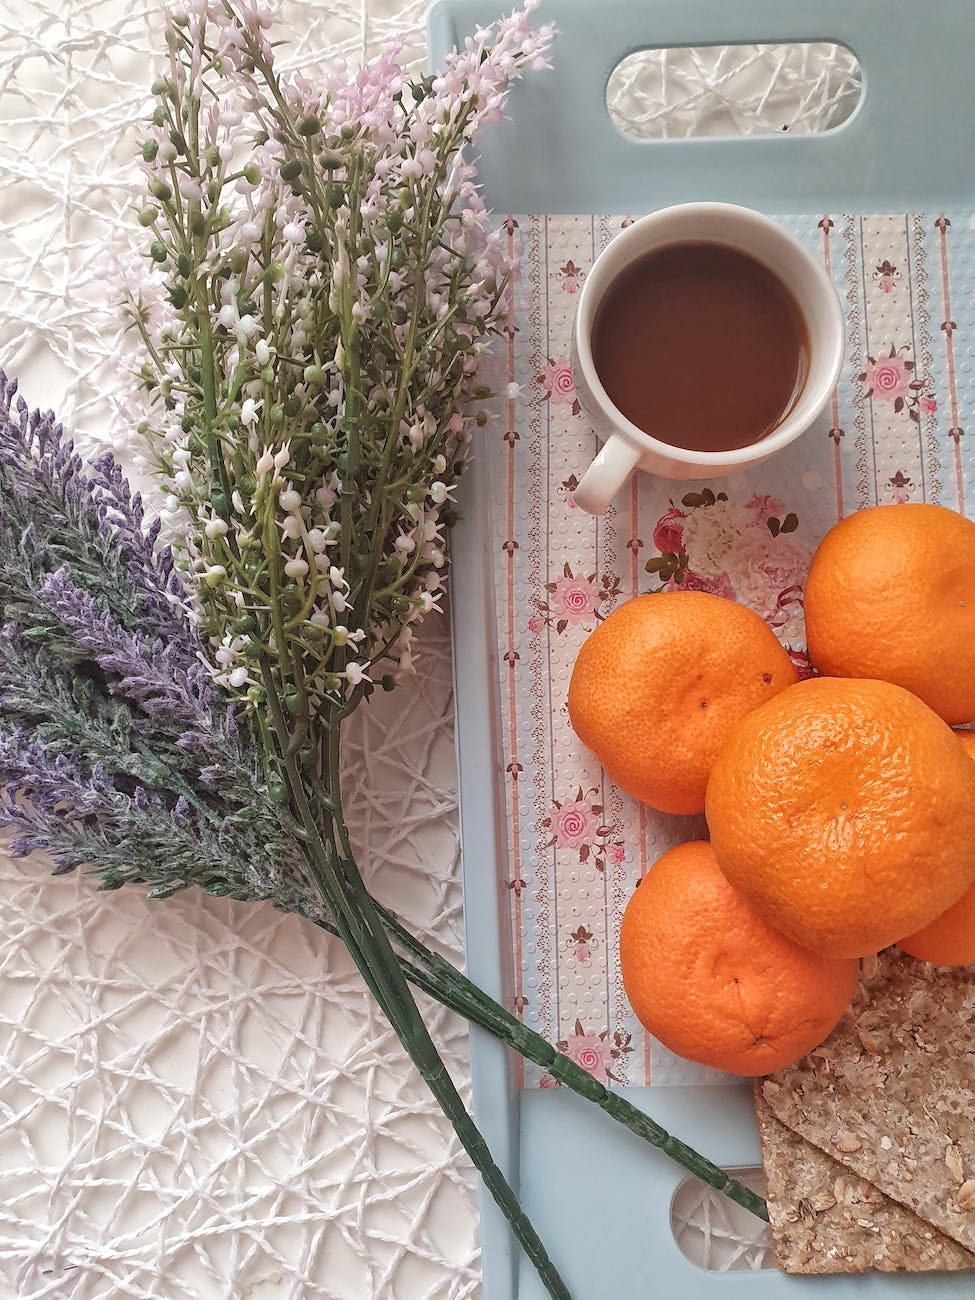
Many people eat gluten free (g-free, gf), either by choice or need. For those with celiac, eliminating gluten is an absolute necessity. Others find that, for one reason or another, they feel better when they avoid it. In my case, I kind of accidentally discovered that joint pain in my hands and feet go away and I’m less brain foggy when I avoid gluten. Other family members suffer from breakouts and rashes that flare whenever they eat something with gluten. I strongly believe that if you feel bad after eating something, you should probably stop eating it, so we do our best to avoid gluten all together.
Eliminating something that is such a big part of your diet is daunting at first, but there are a few things that can make the transition easier and less expensive. These tips focus on gluten, but many will also help if you need to eliminate other foods.
1. Start with real foods
Processed foods often have hidden fillers and ingredients, and specialty gluten free foods are expensive. In contrast, fruits, vegetables, meat, nuts, beans, eggs and dairy are naturally gluten free in their pure forms. Rice is a grain that does not contain gluten. Starting from scratch with real food ingredients that you know naturally don’t have gluten is often easier and definitely cheaper than scrutinizing food labels and buying special gluten free versions of normally wheat based foods.
For the most part, single herbs and spices are gluten free. Certain spice blends may have gluten, though. Making your own blends is the safest bet, but if you have a spice blend you love, most manufacturer websites list whether their products contain gluten.
While not technically an herb or spice, most soy sauce contains gluten. La Choy is a major brand that is made without gluten. Bragg’s liquid aminos are another form of g-free soy sauce.
Most vinegar is g-free. Malt vinegar is not. You’ll also want to check the label on flavored vinegar to be sure.
Cooking oils don’t have gluten unless seasoned with something containing gluten.
3. Find your current gluten free staples
Look at the foods that currently stock your pantry. What things that you buy are already gluten free? For us, we usually keep a box or two of cereal around for snacking or a quick breakfast. Most cereals are made with wheat and therefore have gluten, but some that we already bought, like Honey Nut Cheerios, Lucky Charms and Rice Chex are gluten free. Knowing that, I can continue to keep a box or two of cereal we already liked on hand.
Likewise, we keep tortilla chips on hand for snacking or nachos. Most tortilla chips don’t have gluten and inexpensive. Since gluten free crackers are both hard to find and usually expensive, tortilla chips are an easy cracker substitute as well.
4. Look for the easy substitute
Like substituting tortilla chips for crackers, there are other easy swaps. Corn tortillas usually don’t have gluten and can be substituted for flour tortillas. Rice is often a good substitute for pasta, or substitute rice noodles. If you have an Asian grocery nearby, you can usually find rice noodles there for cheaper than a mainstream supermarket, as well as leafy greens and spices for cheap.
5. Make it yourself
It’s fairly easy to find gluten-free flour now, so making your own gluten free cookies, pizza crusts, pancakes, breads, etc. is a good option. I love Bob’s Red Mill 1 to 1 gluten free flour. With it, I can continue to make my favorite deserts just by substituting it for wheat flour. There are other good gluten free flours on the market, too. The most important thing is to know if it is blended to be an exact 1 to 1 substitute or if you need to add something like xanthan gum to give it the stretchiness and rise that you usually get from gluten. For example, Bob’s Red Mill has an All Purpose Gluten Free Flour that is not the 1 to 1 blend. It is a little denser and does not have xanthan gum already blended. I like blending it with tapioca flour, which adds some stretchiness. That works well for things like gluten free flour tortillas. For things that need to rise, though, like cakes or breads, I also add xanthan gum if I’m using the all purpose and not the 1 to 1 blend.
6. When buying gluten free, shop around
Sometimes you really just want to get some gluten free penne pasta or a g-free bagel. More and more grocery stores regularly stock g-free pastas, breads and desserts, but they can be pricey. If you find them on sale, stock up and freeze the extras. Alternative grocery stores sometimes offer better prices, too. Aldi has a decent selection of g-free breads, pastas, and baking mixes at a lower price than most other stores. I even found some gluten free donuts there recently.
Locally, we have a surplus/discount/closeout grocery store called Town Talk. They frequently have udi’s bread in the range of two loaves for $3.00. I periodically stop in and stock up when I can.
To make sure you never miss a post, please sign up for my newsletter.
If you click through any of the Amazon links and make a purchase, I will receive a small commission. There is no added cost to you.
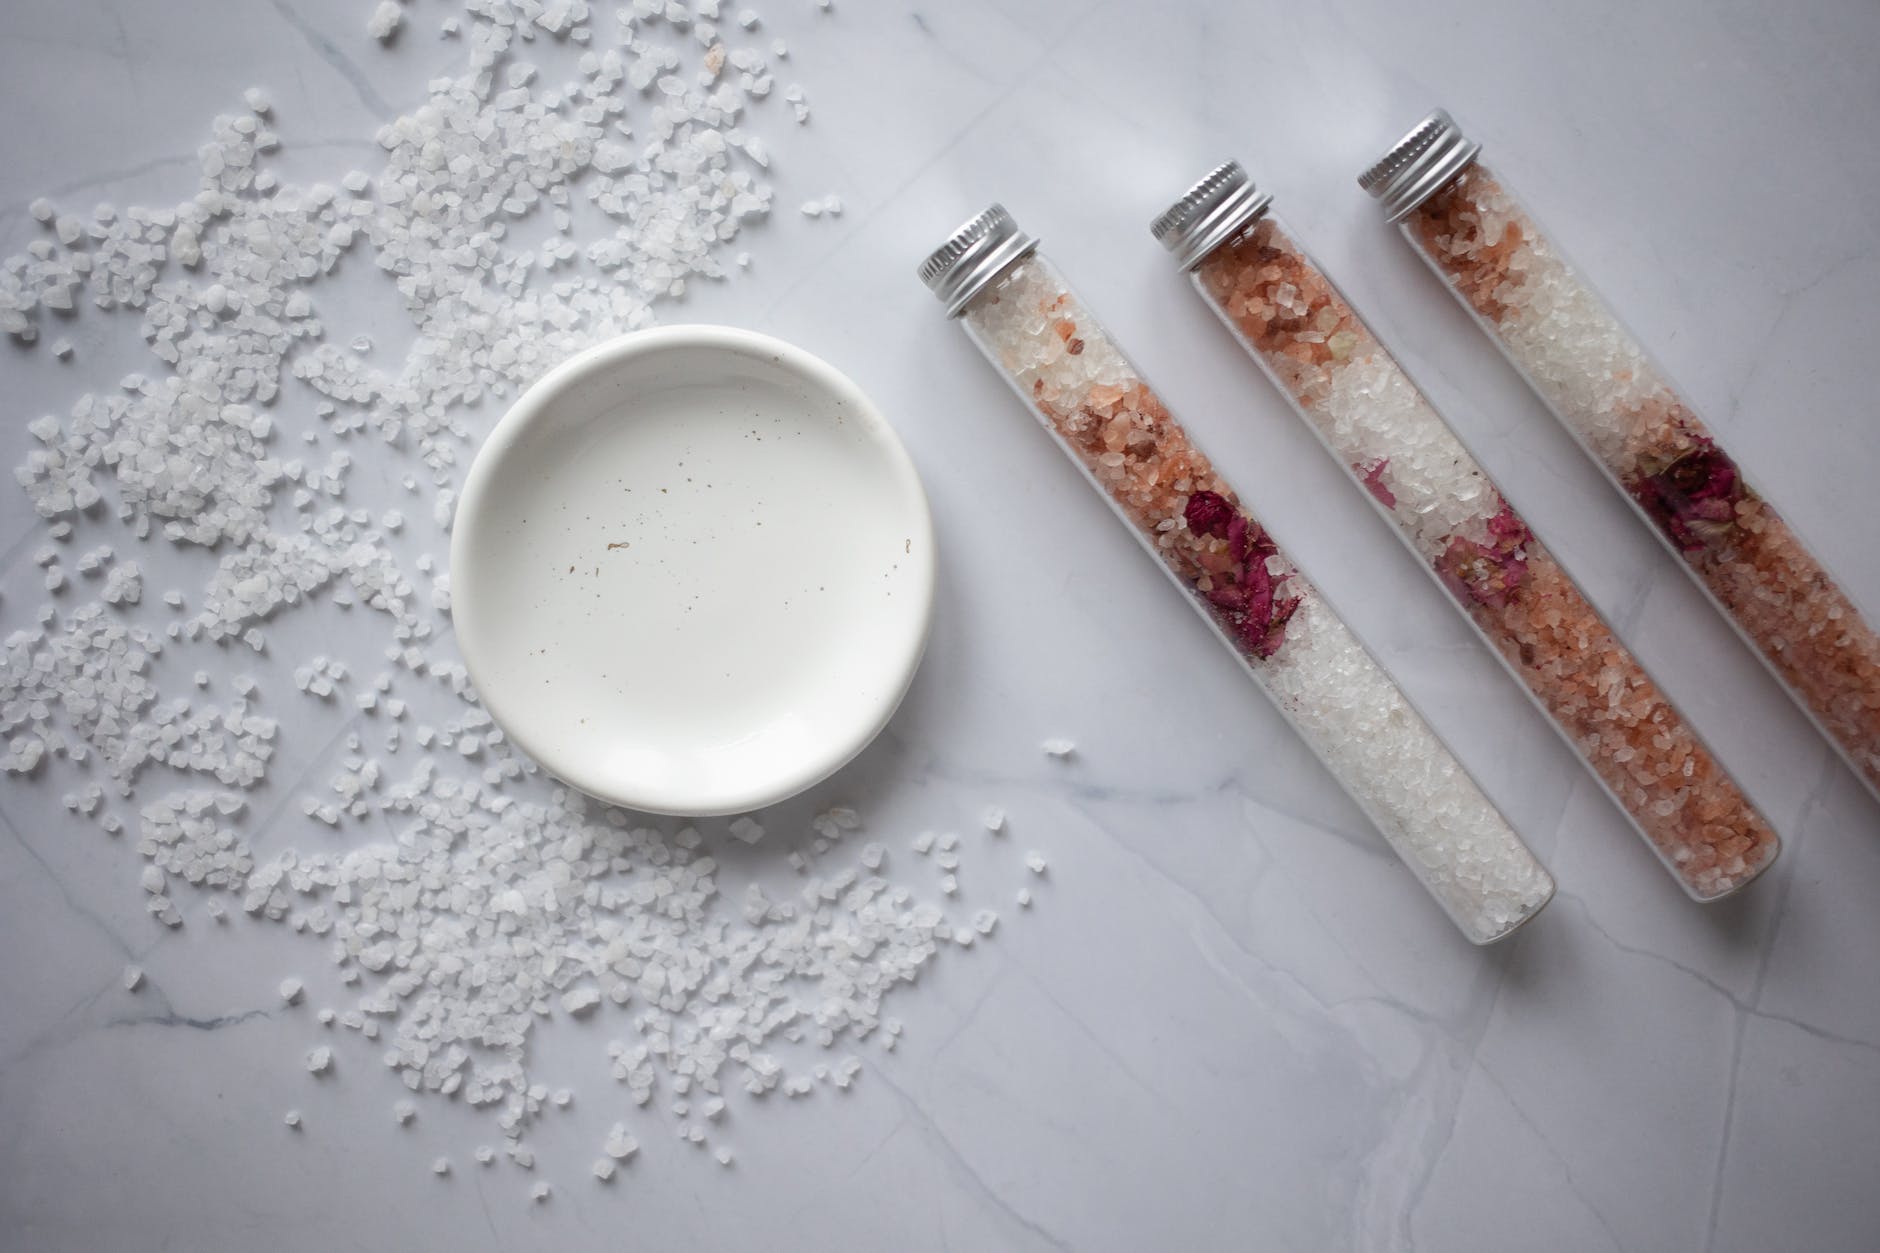
Creating your own aromatherapy bath salts is a terrific way to enjoy aromatherapy at home. Surprisingly, bath salts are very affordable to make and require no harsh ingredients. In fact, the main ingredients in bath salts include baking soda, table salt and epsom salt. Each of these are commonly found in a local grocery or retail store and are safe to use. The advantage to creating your own bath salts is that you can tailor the recipe to your needs and preferences. This way, you also know that the ingredients are going into your product safe for you to use.
Basic Aromatherapy Bath Salt Recipe
First, you’ll need a large mixing bowl and spoon reserved for this type of project. Essential oils are not easily washed out, especially if you use plastic, so keep this bowl separate from your food prep bowls. The next step is to add 3 cups of epsom salt, 2 cups of baking soda and 1 cup of table salt into the mixing bowl. You can also add pink Himalayan salt or sea salt instead of table salt. Once each of the ingredients are added, begin mixing them with your hand or the spoon.
Coloring your Aromatherapy bath salts
If you’d like to color your bath salts, food coloring is a great option. If I’m coloring my bath salts, I try to match the color to the intended purpose of the bath salts. For example, if I’m making lavender bath salts for relaxation, I would choose a calming color like blue or purple.
Once mixing is complete, slowly add the food coloring to the mixture. Adding more drops will darken the color and adding fewer will make it softer. If you’re blending colors, such as blue and red to make purple, mix them before adding to the bath salts. Otherwise, you will end up with splotches of red and blue, not an even purple.
The final step is to add essential oils until the desired scent is achieved. While I have made lavender bath salts by adding the lavender essential oil directly to the salt mixture, it is best to dilute the essential oils in a carrier oil. This is especially important with things like peppermint essential oil that could be very uncomfortable in a bath if not diluted properly (essential oils do not dilute in water!)
I like to use 1-2 tablespoons of carrier oil and add the essential oils until I get the scent level I’m needing. Ten drops of essential oil per cup of bath salts is a good guideline to start. I then add the diluted essential oils to the salt mixture and blend well.
Essential oil alternatives
If you’d prefer not to use essential oils, you can use skin safe fragrance oils or a bit of your favorite perfume. Just be absolutely sure anything you add is made to use on skin. I would use the same method for adding the fragrance as for essential oils.
Storing your Aromatherapy bath Salts
For the best results, store your bath salts in an airtight container. I like using glass canning jars because they are reusable, the essential oils don’t get embedded into the glass, and they are pretty. If you choose to use glass too, just be careful not to drop them in the tub.
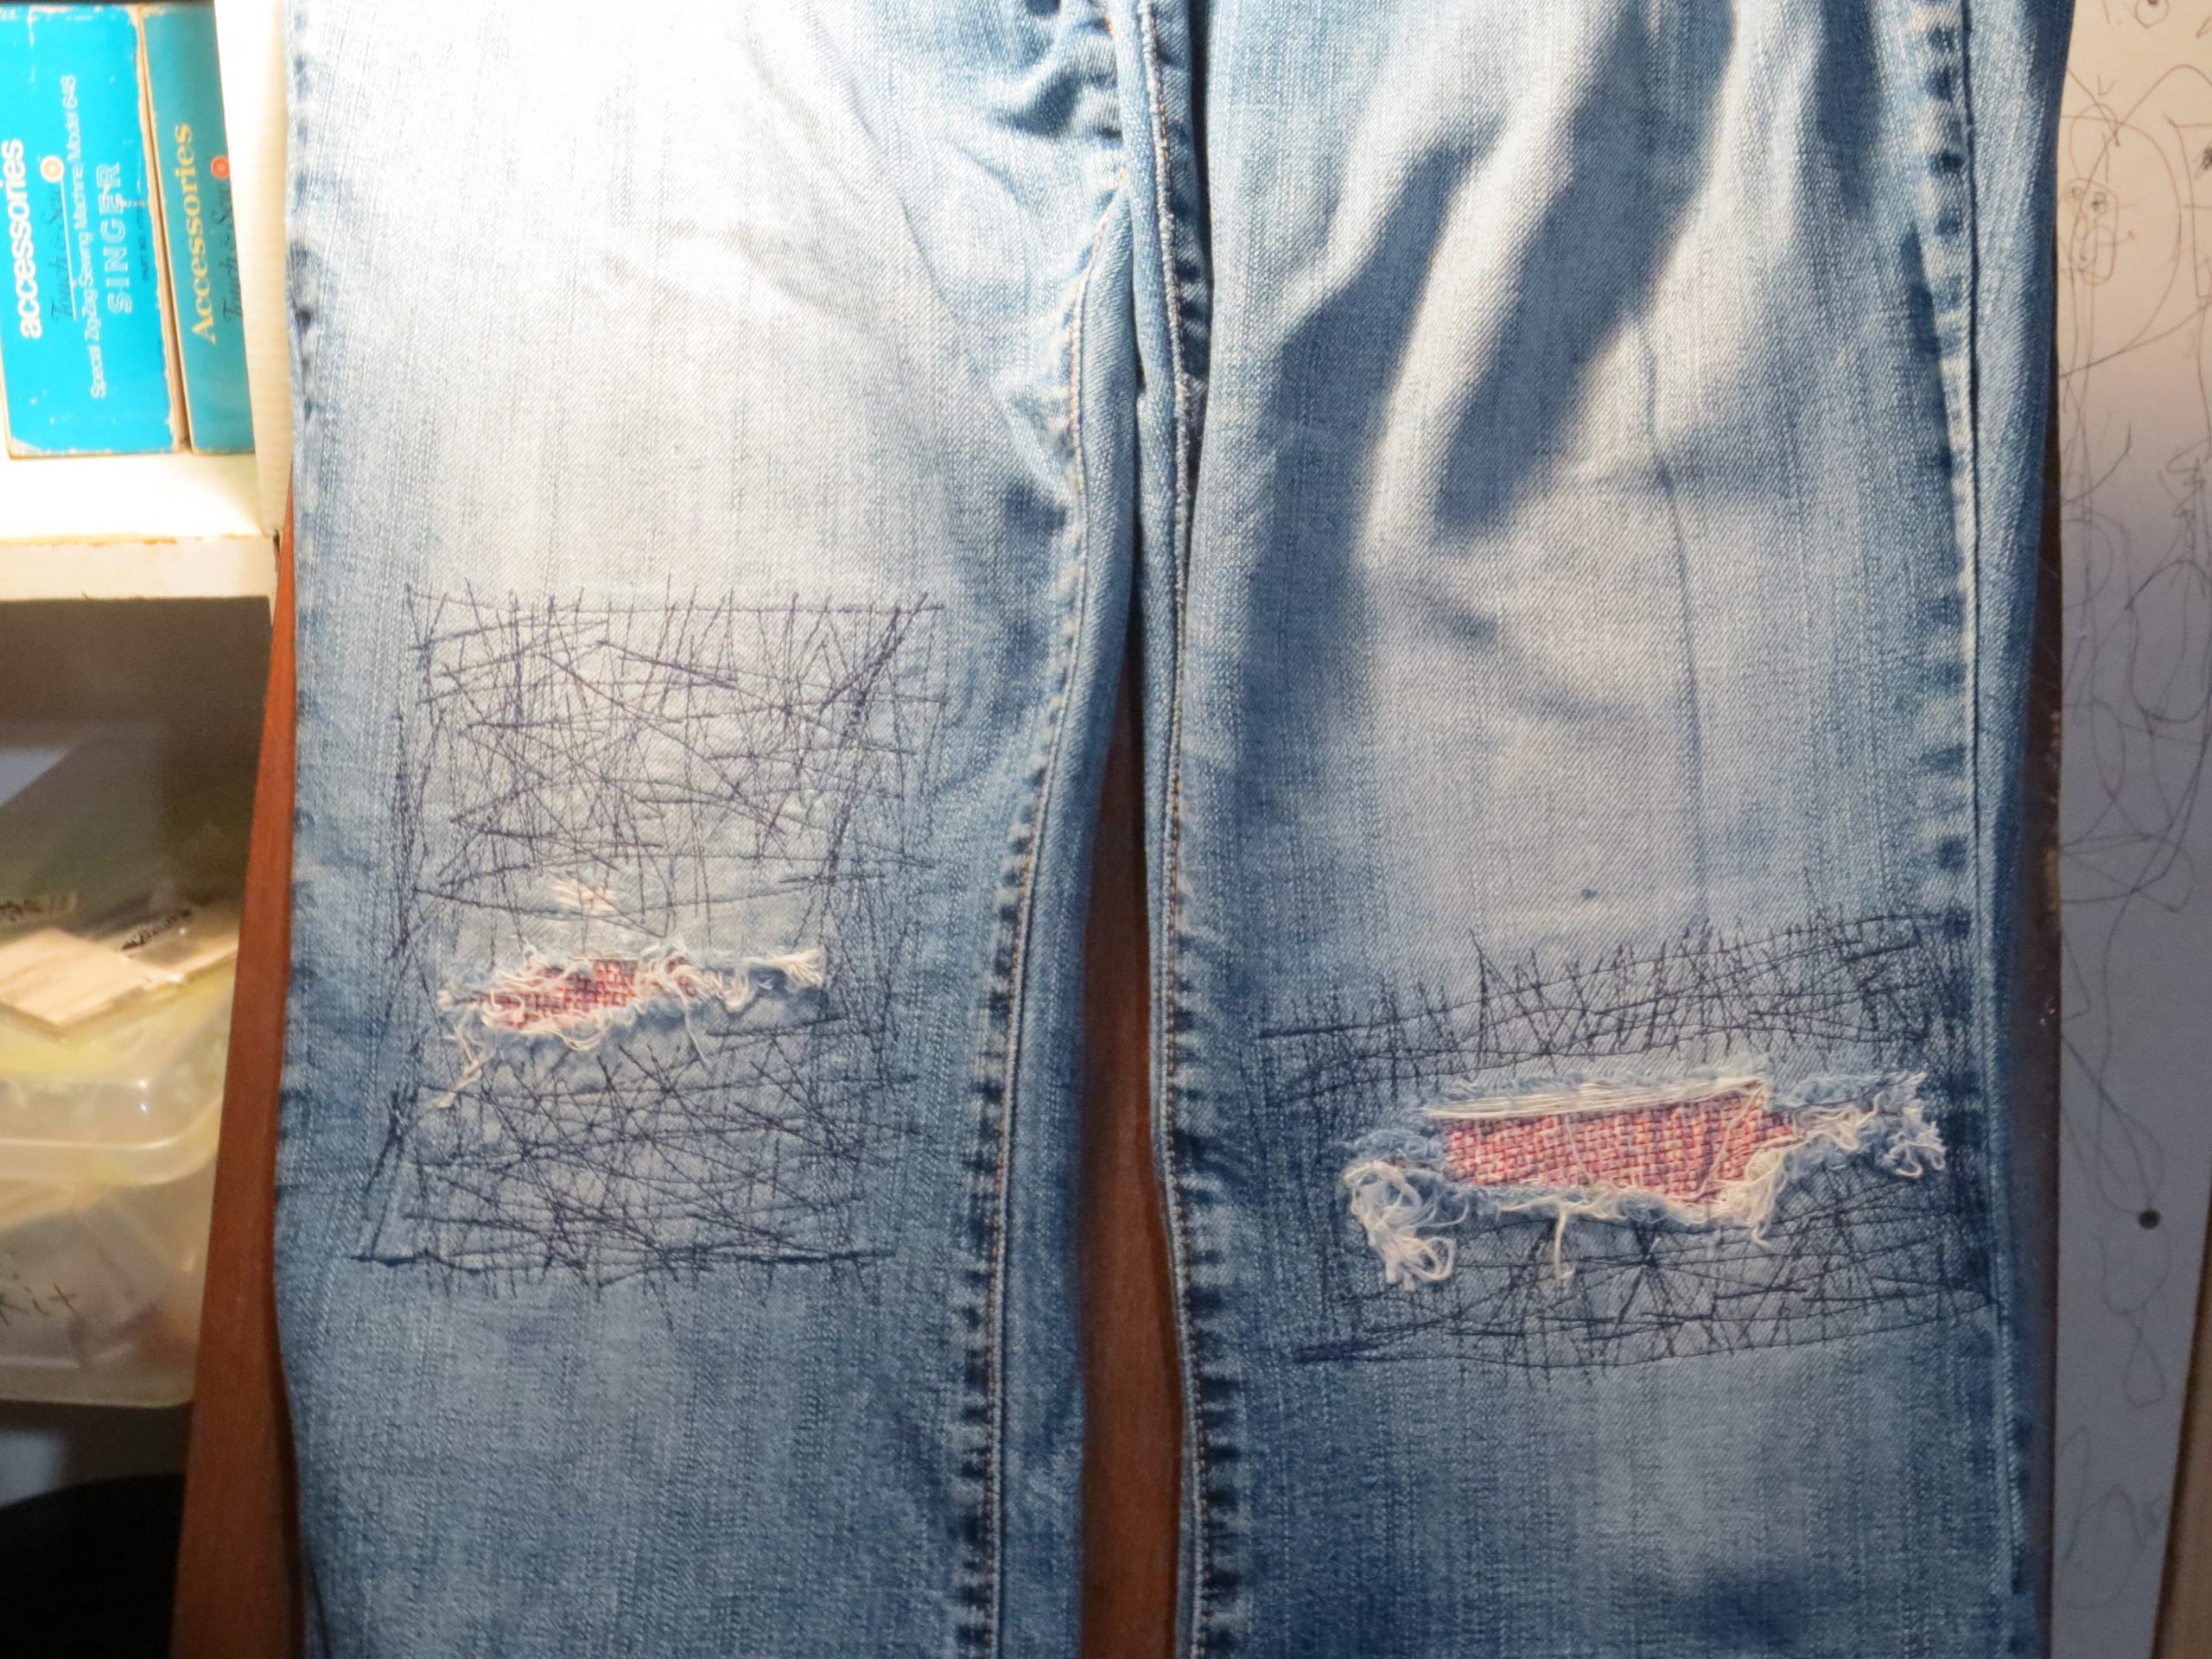
My mom gave me several pairs of worn out denim jeans for me to play with several months ago. A few just happened to be my favorite style from Old Navy and in my size. Rather than cut them up for other projects, I decided to make them cute with patches and a little embroidery. Here’s the method I used for patching denim jeans.
First, the knees.
Patching the knees
Prepping the denim jeans
In order to sew at the knees, you have to carefully rip out the stitches along one leg seam. You don’t have to rip out the entire seam, but you need to give yourself plenty of room above and below the knee to work. One seam is usually top-stitched. To make it easier all around, do NOT rip out the top-stitched seam.
After ripping out the seam, press the denim as smooth as possible with an iron.
Prepping the fabric
To patch the denim jeans, I chose to go underneath the rips and leave the torn edges visible. For the patches, I used cotton quilting material left over from sewing masks . I cut the fabric into squares a few inches bigger than I needed to patch. In the future, I will probably interface the fabric at this time. I knew I planned to interface everything at a later step, though, so I didn’t.
I pinned the fabric to the inside of the denim jeans.
Sewing the patches
Before sewing the crazy stitches shown in the photos, I sewed a single line of stitching all around the patch about a quarter of an inch inside the edge of the quilting fabric. This kept it in place while I did the crazy reinforcing stitches. After it was secure, I stitched in all different directions between the edge of the tear and slightly overlapping the first single line of stitching.
This side was more worn out, so it got more reinforcement stitching.
When jeans rip, usually the material around the tear is worn thin as well. In the past, I often left too much of the worn area without reinforcement. This results in new rips soon after the first repair. This time I reinforced at least an inch and a half around the tears.
Reinforcing the patched denim jeans with interfacing
After I was done stitching, I ironed interfacing to the inside. I did the interfacing last to act as a soft layer between my knees and the stitching. In retrospect, I probably should have interfaced the quilting cotton first, and then interfaced again at this step if I felt it was necessary. So far my jeans are holding up with the way I did it, though.
Sew it up
With the patches done, all that’s left is resewing the side seams. I just pinned it closed and sewed it back along the original stitching line. For the overcasting to finish the raw edges, I was lazy and used the overedge stitch on my sewing machine instead of switching to my serger. Zig-zag stitching along the edge to finish it would also work.
Embroidering the pocket
To embroider the pocket, I first removed the pocket from my jeans. Since it’s too small to hoop, I hooped tear away stabilizer alone and secured the pocket to the stabilizer with a glue stick. I used my Damask Rose embroidery pattern for the embellishment.
After the embroidery machine was done working its magic, I removed the stabilizer and replaced the pocket on my jeans using a heavy denim thread in a close shade to the original thread.
Simple, right? Actually, I tried to do that, messed up the hook timing on my Kenmore sewing machine AGAIN within the first few stitches and had to move to my backup vintage Montgomery Ward Signature machine. It took a few minutes of fiddling with the settings, but once I got it set up correctly it sewed through the heavy denim layers like butter.
In all fairness to my Kenmore, I did probably deserve it this time, between the crazy reinforcement stitches and then trying to sew through multiple layers of denim with thick thread. At least this time it let me reset the hook timing without much fuss.
Have you gotten more acquainted with your sewing machine lately? I’d love to see your projects in the comments.
Like this post? To make sure you never miss a future post, please sign up for my newsletter.
In my Tips to Save Money on Food post, I mention buying ham on sale after the holidays. I love cooking a ham at the beginning of the week. It provides sliced ham for a few meals. Then I cook a pot of red beans or pinto beans with what’s left of the meat and the ham bone for lots of flavor and richness.
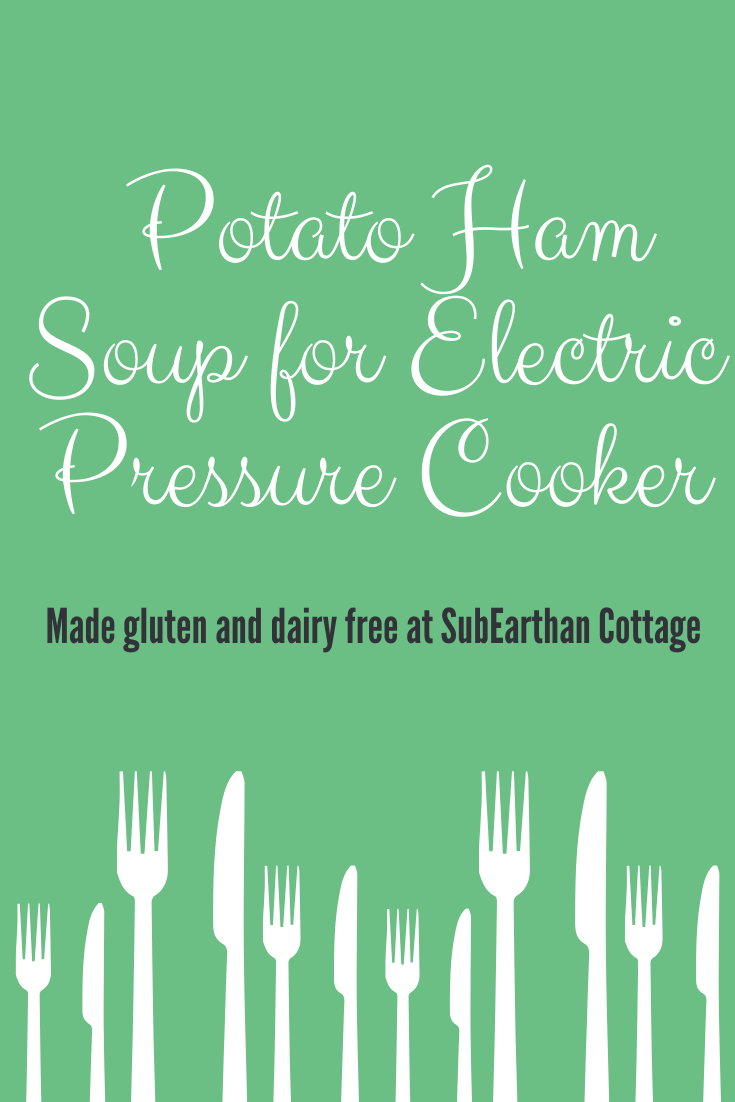
Sometimes that gets boring, though. After cooking a ham on Sunday, I wanted something to use some of the ham that was different but easy. I also needed something that used ingredients I already had on hand. A quick internet search found this delicious Potato Ham Soup shared by Sandy at Simply Happy Foodie. It’s written for one of my favorite appliances, the electric pressure cooker, and uses basic ingredients that are common kitchen staples.
Since this isn’t my recipe, I’m linking to the original at Simply Happy Foodie. I made a few changes to the original to make it gluten and dairy free. I also had to make a few adjustments to make it work with what I had on hand. Those I will share here.
Potato Ham Soup hacks
In place of milk or cream, I used coconut milk to make it dairy free. Almond or cashew would probably work well, too.
For the flour, I subbed an all-purpose gluten free flour blend. Cornstarch also works well as a gluten free thickener. I would recommend reducing the amount of cornstarch to 1-1.5 tablespoons, though, because, to me, cornstarch gives things a different flavor.
I had russet potatoes on hand, so that’s what I used.
The recipe called for thyme. I’m out, so I added poultry seasoning instead.
The original recipe suggested cheese as an add-in. To add a little cheesy flavor without dairy, I sprinkled in about a tablespoon of nutritional yeast.
That’s it. This soup is a great way to use up leftover ham. With an electric pressure cooker it’s done in under an hour, start to finish. Check it out at Simply Happy Foodie, and if you need a gluten-free or dairy-free option, use the adjustments I’ve shared here.
Like this recipe hack? Sign up for my newsletter to never miss a post.
Clearance
Clearing out to make room for new products. Everything listed here is at least 50% off the original price. If you see something you like, get it now before it sells out.
Aroma is very powerful. We all have certain scents that bring back memories or evoke certain thoughts and feelings. It’s no wonder, then, that for thousands of years people have used scents to evoke a physical response and to heal. Strong evidence was found to link aromatherapy to many ancient traditions. Though aromatic oils have been used to treat and cure various ailments and conditions for centuries, the formal study on their properties only started in 1928.
What is Aromatherapy?
In its simplest form, aromatherapy is the use of scent, usually in the form of essential plant oils for therapeutic purposes. The essential oils are normally used to relieve a person from stress and a variety of stress-related conditions. They are also used for promoting a person’s general well being and invigorating the body and psyche.
How does it work?
Aromatherapy works by inducing our olfactory nerve cells with aromatic oils, which then carries the message to our limbic system in the brain. The limbic system is the part of the brain responsible for controlling memory and emotions.
Aromatherapy is concerned in the workings of both our physical and emotional selves. Physically, aromatherapy helps in relieving specific conditions by stimulating our nervous, immune and circulatory systems. In emotions, however, they work by evoking pleasant memories and uplifting our mood.
Although the medical community is not in agreement over whether aromatherapy in itself is instrumental to healing various medical conditions, the idea of recovery through aromatherapy is widely accepted. Think of eucalyptus for easing cold symptoms, minty or peppery salves for soothing achy muscles and lavender, rose or frankincense for relieving stress.
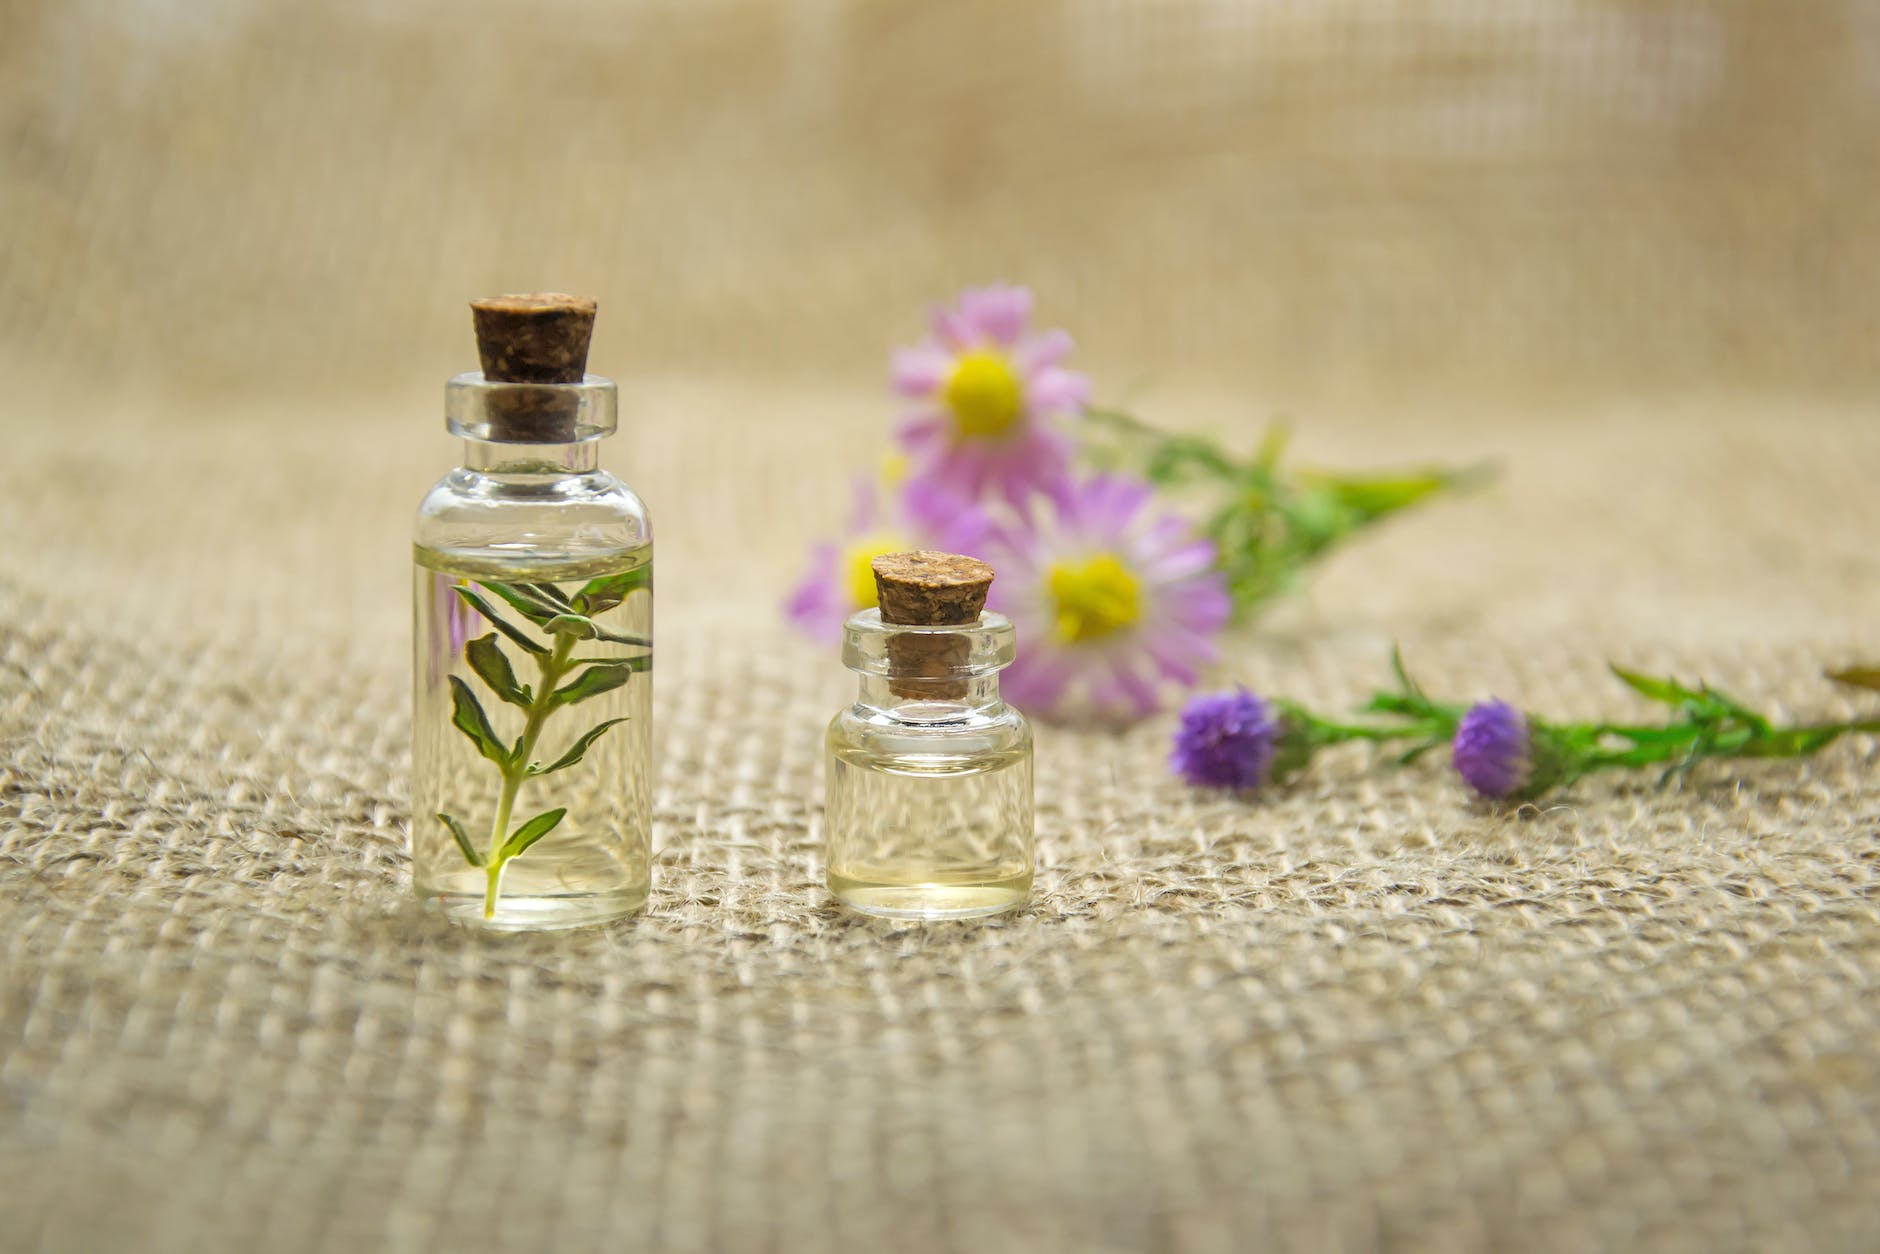
How are essential oils made?
Essential oils are derived from the distillation of the parts of a plant. They can come from the leaves, roots, flowers, stems or bark. They hold the true essence of the plants from which they originally came in high concentration. Though termed as oil, essential oils normally do not have all of the real properties of oil. It is important to note that, like oil, essential oils do not dilute in water. Their high concentration means that they should not be ingested or used without properly diluting them in a carrier oil first.
Essential oils are used in a variety of methods. A few are through inhalation, by blending them with a carrier oil and adding them to bathwater, or by the application of the diluted oil on the body.
You should only use pure essential oils for aromatherapy. You want to look for 100% essential oils, not fragrance oils when choosing oils for aromatherapy. Be aware, though that labels like “therapeutic grade” do not have a standardized meaning, nor are essential oils FDA approved.
Commonly Used Oils in Aromatherapy
Carrier (base) oils
The following is a list of the most common oils used in aromatherapy. First are the common carrier oils (also known as vegetable oils or base oils).
Almond, Sweet
Apricot Kernel
Avocado
Borage
Cocoa Butter
Coconut
Grapeseed
Jojoba
Olive
Rose Hip
Shea Butter (carrier)
Sunflower
Essential Oils
Next are some of the most commonly used essential oils. Everyone has their own preference, so expect some variation depending on the practitioner.
Below are some essential oils that are not recommended to use in aromatherapy. This is especially true if you are not supervised by a professional, licensed aromatherapist. This is not an extensive list, so please, know your essential oil before using it. Remember, essential oils are highly concentrated. Just because something is safe as a food does not mean it is safe as an essential oil.
Almond, Bitter
Arnica
Birch, Sweet
Broom, Spanish
Calamus
Camphor
Garlic
Horseradish
Mugwort
Mustard
Onion
Pennyroyal
Rue
Sassafras
Thuja
Wintergreen
Wormwood
Aromatherapy at Work
You’ll find aromatherapists in a variety of work environments including in private practice, natural health clinics, health clubs, spas and holistic medical practices, among others.
While there is limited formal research on aromatherapy, therapists and physicians often prescribe aromatic essential oils for a range of complaints. These include colds and flus, insomnia, sinusitis, migraines, digestive problems and muscle pains. Most people are familiar with using lavender for insomnia or peppermint and eucalyptus for congestion. While I’ve probably said this about a million times by now, essential oils should never be taken orally. They should also be diluted in a carrier oil and used sparingly at first until you know how you react to them.
Good morning! I hope everyone who celebrates had a happy holiday weekend, and to everyone else, I hope your weekend was also awesome.
Between children, cancer treatment and just life in general, things have been pretty hectic. I’ve often complained that I feel like I took better care of myself before I was diagnosed. My diet has definitely suffered, and too much of my spare time lately is spent “doom scrolling”.
There’s nothing wrong with comfort food and relaxing with whatever form of entertainment for a while, but I feel like it’s time to start focusing on getting myself healthy beyond fighting breast cancer. I have two Kadcyla treatments remaining (yay!). That will conclude my “active” cancer treatment. I still have years of estrogen-blocking medicine, but a pill a day is very different that multiple doctors appointments in a month, or week, and chemo fatigue. I am totally looking forward to it, but also worry that, without the constant business of treatment, I will be left feeling a little, “what now?”
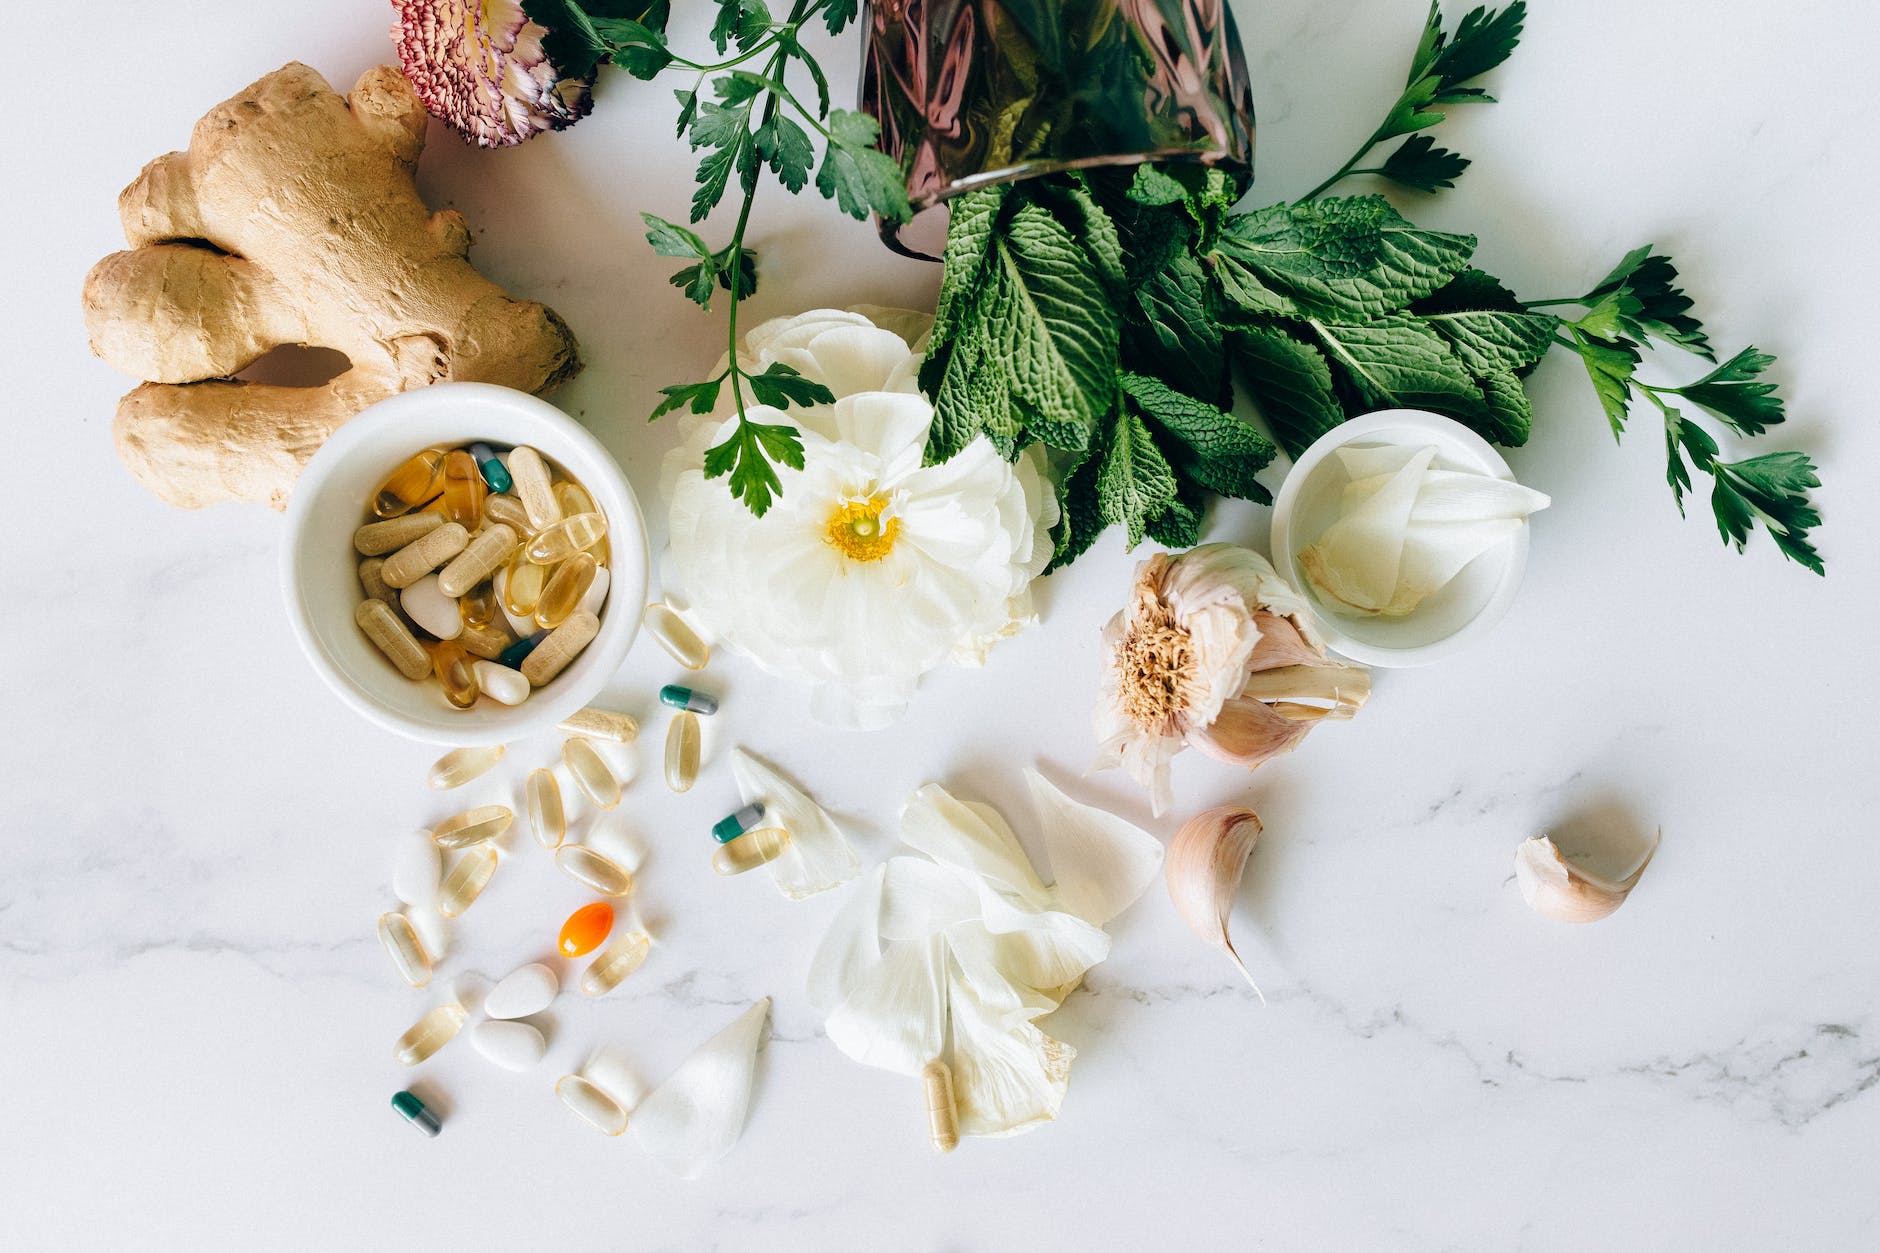
To help me focus on my health, and give me some direction to all my new free time, I want to focus not just on diet, but things like aromatherapy, herbalism, yoga, meditation and journaling. These are all things I’ve thoroughly enjoyed in the past but have gotten put aside in all the chaos.
To keep me focused, I will be sharing some of that information here, both as informative articles and candid posts about my personal experiences. There will still be plenty of crafty tips and tutorials, because creating is something that I have to do. (Remembering to photograph the process and actually post about it is something I need to work on, lol.)
If you subscribe and would rather not get the new content, let me know and I will figure out how to organize my mailing list so that everyone gets the content they want. 🙂
Like this post? To make sure you never miss a future post, please sign up for my newsletter.
I, Charity Sloan, am a participant in the Amazon Services LLC Associates Program, an affiliate advertising program designed to provide a means for sites to earn advertising fees by advertising and linking to Amazon.com. Any purchases through those links will result in my receiving a small percentage in commission.
Prices are the same whether you click an affiliate link or a non-affiliate link, so you will not be charged more. Thank you for your support!