If you follow me on social media, you know I frequently post inspirational quotes. I decided to start offering mugs printed with select quotes in my shop. Since I am a crafter, I’m starting with quotes focusing on art and creativity. Honestly, selling something that is my design but not my handiwork made me a little nervous, as I am a bit of a perfectionist when it comes to my products. I’m a big coffee and tea drinker, though, and the thought of getting to see a quote that makes me smile in my design every time I reach for my cup inspired me to take the plunge.
My first mug
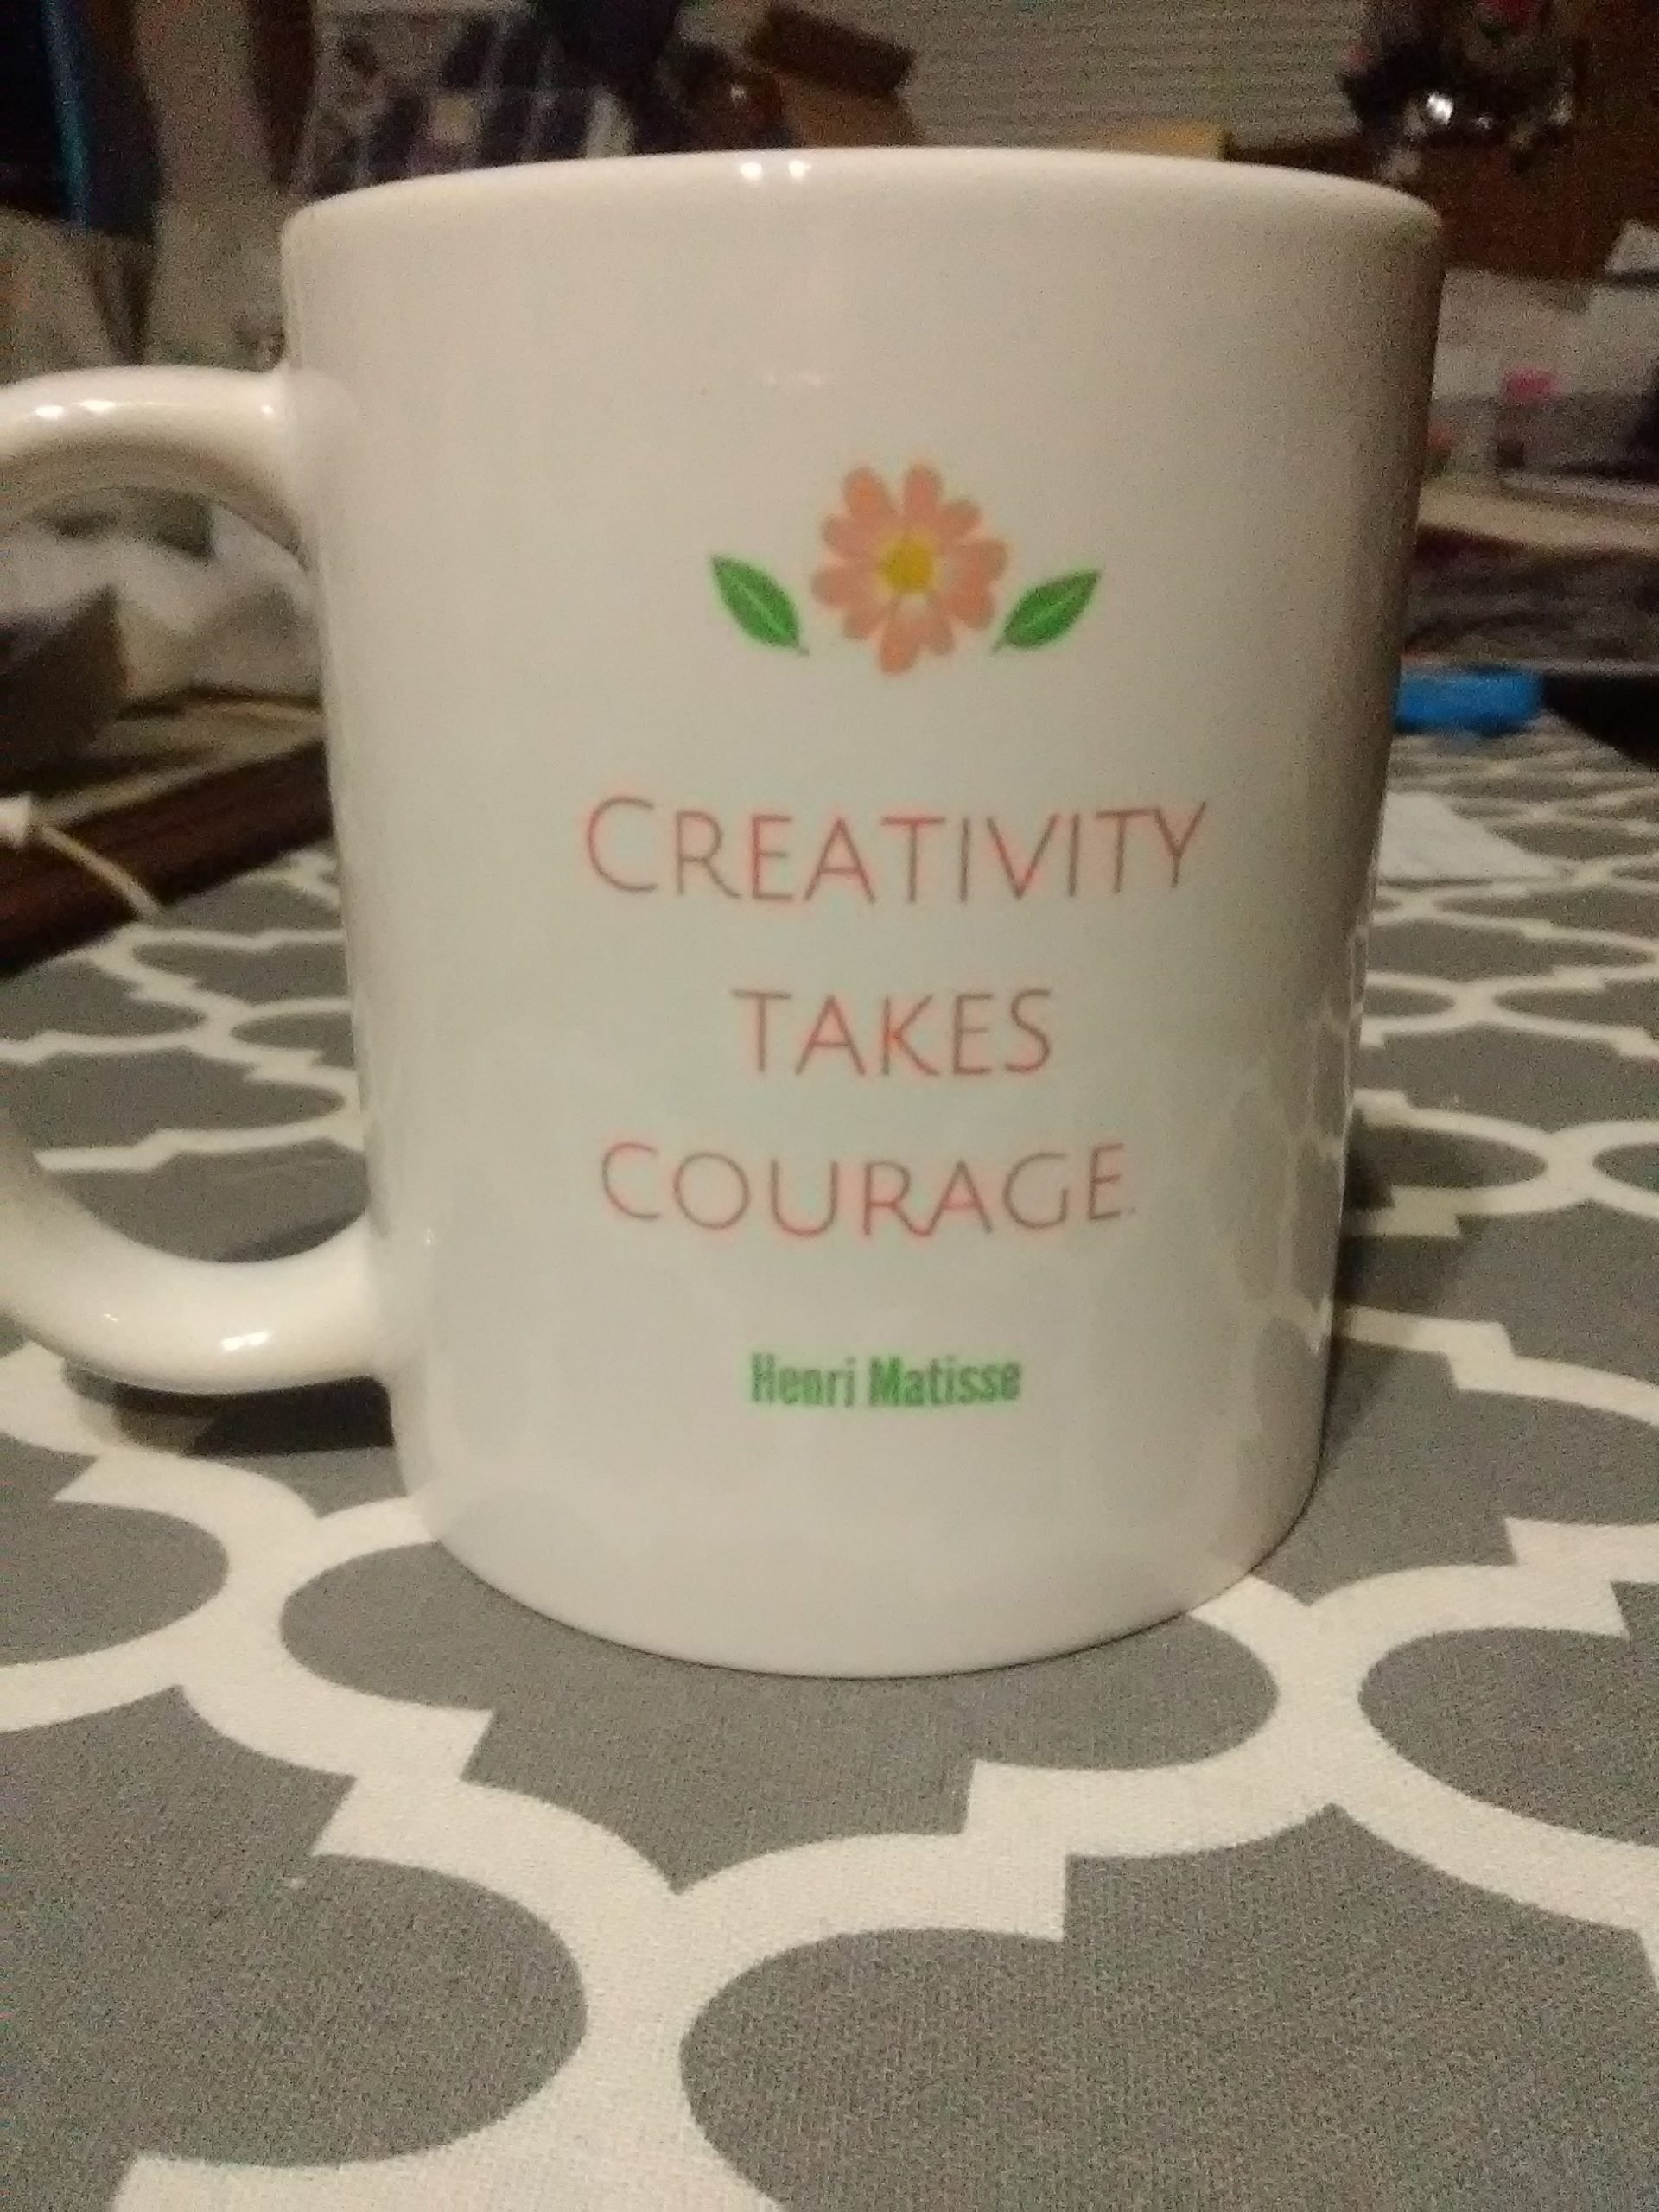
“Creativity takes courage,” by Henri Matisse seemed like the perfect quote to start the new year. I ordered my mug on Friday, and it arrived on Thursday, so it only took a week total for printing and shipping. My mug arrived securely packaged in a box designed to protect the mug without needing additional packing material. Yay for no plastic or excess packaging!
The mug itself turned out beautifully. My late night craft room with my cell phone photos really don’t do it justice. The colors are true to the original product photos and the designs are crisp. Unlike my photos. They are a little grainy and for some reason the dots in the center of the flower show up brown instead. In person, they are bluish-green. Hopefully the storms hold off long enough for me to break out my camera for daylight photos tomorrow.
Happy New Year! I’ve never been one for making resolutions. For some reason, with resolutions, it seems like anything but perfection is a failure and an excuse to give up. Setting goals, while essentially the same thing, seems to work better. With goals, it’s expected that you’re working toward something. It doesn’t seem so all-or-nothing like with resolutions. With that in mind, I decided to set and share some of my New Year’s goals for SubEarthan Cottage.
Goal 1: Move toward more eco-friendly packaging.
I already wrap my soap in fabric that can be reused or recycled and only print packing slips when requested. Some of my other items, though, like the wax melts are in plastic containers. They are recyclable, but I would like to find ways to minimize the amount of plastic. Even better, I would like to find suitable containers that are easier to recycle or compostable.
I like packaging my bath salts in glass because it is reusable, recyclable and has a nice presentation. At the same time, glass is heavy and fragile, requiring more packaging to ship safely. I may not move away from glass entirely, but I would like to find a lighter, more durable option that is still practical and eco-friendly.
Goal 2: Don’t let perfection stop progress.
This is kind of a subcategory of my first goal. I’ve been hesitant to offer as many new varieties of wax melts and bath salts due to the packaging concerns. I already have the cups and jars I currently use, though, and not using them is wasteful. Better to use what I have and phase them out in favor of better options rather than let them sit unused on a shelf.
Likewise, I plan to introduce reusable wax wraps soon. One of the reasons I haven’t yet is because I currently have a good supply beeswax on hand from another project. Beeswax works well for the wraps, but a plant based wax would be more optimal. In this case, I plan to introduce them first with beeswax to not be wasteful but switch to something like candelilla wax when I run out.
Goal 3: Take and share more project photos.
My shop is just one aspect of SubEarthan Cottage. Sharing ideas, teaching techniques and life skills, and even sharing when things don’t work are all part of SubEarthan Cottage as well. When things get busy, though, I tend to jump into doing without documenting. Photographing as I go will not only help me be able to repeat my successes, it will allow me to share and hopefully inspire others in the new year and beyond.
What goals do you have for the new year? If you would like to keep up with SubEarthan Cottage in the new year, please sign up for my newsletter here.
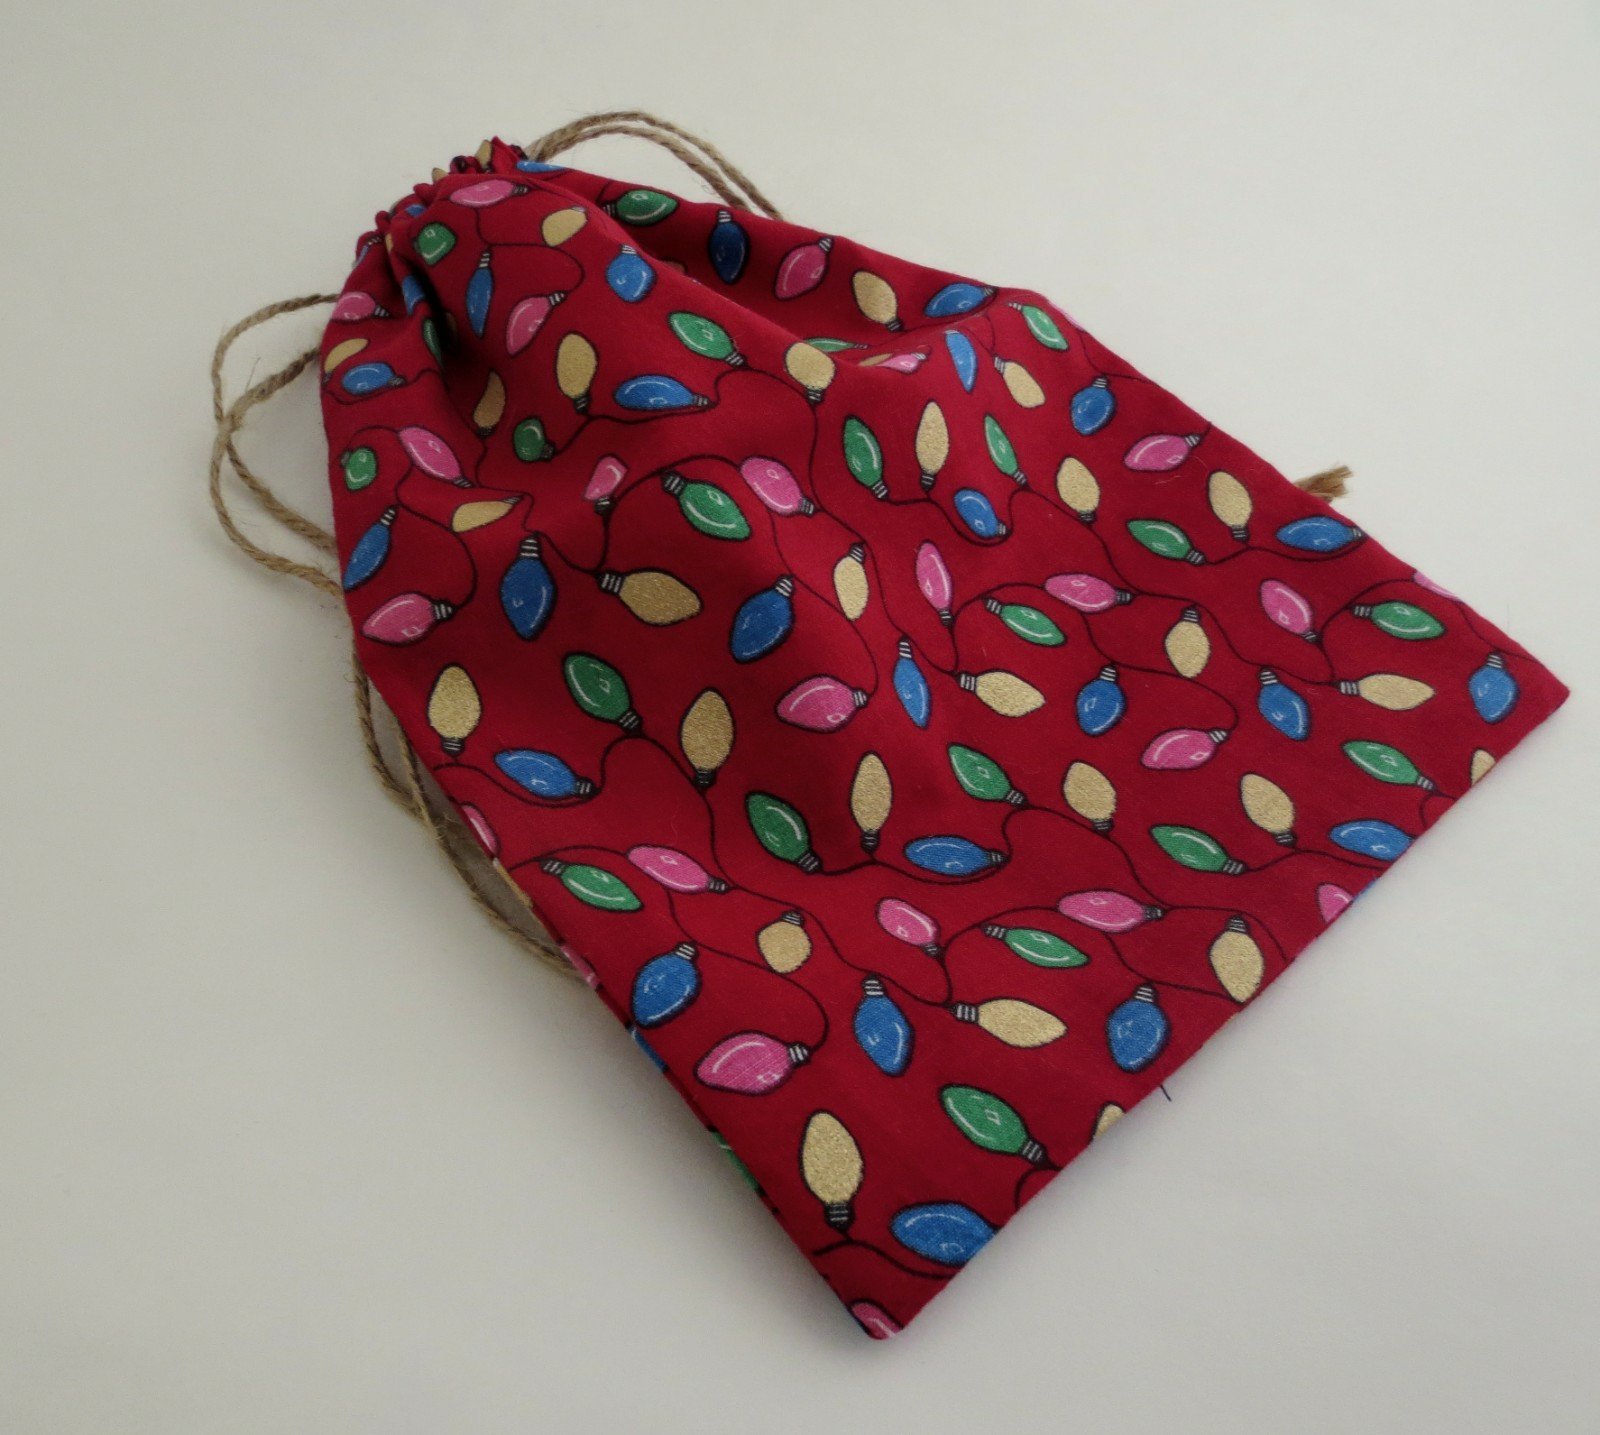
There’s a new batch of Christmas gift bags at the SubEarthan Cottage Shop. This year, you can choose between jute twine like I use for wrapping my soaps, or white satin ribbon for the drawstrings.
That is all the fabric I have in those prints, so if you like them, get them quickly before they sell out. Right now, coupon code “NewSiteSale” is good for 30% off your entire regular-priced order.
This weekend we held a rather slow garage sale. It was still fun, though, and we met some nice people, including a gentleman who shares our fondness of TBI Suburbans.
Chris took full advantage of the time to create a few billboard art pieces he’s been picturing for months.
Queen of Hearts
I think this is my favorite. I love the weathered door.
Show Stopper
This is the one everyone slowed down to see. He may decide to shorten it from the bottom to make it more manageable. As it is, though, in the right space it is impressive.
Coca Cola
This one just screams Americana. We held it up to see what it looks like on the outside of our house. I loved the pop of red against our brown. I can totally see this alongside other signs in rustic decor.
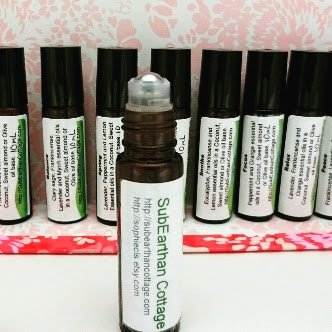
When used properly, essential oils are a wonderful tool for health and well-being. After much research, I now offer seven essential oil blends at SubEarthan Cottage in convenient roll-on form. Each blend is able to be customized for dilution, which is very important if you intend to use them on children or sensitive individuals. You can also choose between coconut, sweet almond and olive oils for the carrier. If none of my blends work for your needs, there is the option to choose a single essential oil or your own custom blend.
I personally carry two blends with me at all times. They are “Peace” and “Balance”.
Peace is a blend of Frankincense, Lavender, Orange and Patchouli essential oils. I love it for days when things get a bit crazy. It’s like a mini-vacation in a bottle.
Balance is a blend of pure Clary Sage, Lavender, Frankincense and Myrrh essential oils. Those oils are thought to help with pms, mood swings and all the other fun that comes with monthly hormone shifts. Since the oils in Balance may effect hormones, this blend is not suitable for pregnant women.
Soothe is a blend of pure eucalyptus, frankincense and lemon essential oils. It’s basically a nicer, less goopy version of the chest rub your mom made you use when you were sick. Eucalyptus is one of the essential oils that should not be used on children, so if you are interested in a version for children, let me know and I can swap the eucalyptus for something kid-friendly.
Spring is a blend of pure lavender, peppermint and lemon essential oils. If you’re like me, spring and fall are torture due to all the pollen in the air. These oils are supposed to help ease seasonal allergy symptoms. I personally haven’t put it to the test yet, but I’m sure by October I’ll be able to give a full review.
I go into more usage safety in the product listings, so be sure to read and ask questions if needed. I am always happy to make adjustments to the blends to better fit your needs.
Right now, everything at SubEarthan Cottage is on sale for 30% off, including the essential oil rollers, so now is a great time to try them for yourself.
Procrastination and chaos got the best of me and I didn’t get these gift bags finished until this morning. They’ve been half done since Thanksgiving, just waiting on me.
A couple of years ago, I really wanted a knitting machine. I like yarn and the thought of making pretty things with yarn has always appealed to me. I started teaching myself to knit and crochet while I was pregnant with Finn. He is eleven now, and it takes me two days of work to make a single dishcloth. So, a knitting machine seemed like a good compromise to speed things up a bit. They are kind of hard to come by, though, especially a well made machine. Besides, I knew nothing about how a knitting machine works, so I got my embroidery machine instead.
Fast forward to two Sundays ago. The family and I were having fun thrift shopping for some office furniture. (That could also read as, “Chris and I were dragging the kids around to thrift stores, with much protesting on their part.”) The first Goodwill store we went to didn’t have much in the way of office furniture. They did have lots of bins out full of miscellaneous stuff that I really wasn’t interested in digging through, until I happened to notice this long rectangular box poking up out of one bin.
That’s the one. It for is a Singer LK-140, made by Silver Reed. It is a plastic bed hobby machine, but a durable hobby machine. I’ve since learned that, except for having ten fewer needles, it is identical to the newer LK-150 knitting machine. That means parts are easy to come by.
The box was so well taped, and it had a good weight to it, so I decided not to even open it before buying it. I figured I probably wouldn’t even know what may have been missing. Also, let’s zoom in on the price tag:
Back when I was actively looking for a knitting machine, I would have thought getting one for $80 on eBay was a fairly good deal. At $5.49, it was worth it even if it was only good for parts.
When I finally opened it at home, I did notice a few parts were missing, but only the table clamps, manual and transfer tools. I found a free manual online, and the other two items are easily and inexpensively replaced. They also aren’t essential, so I have played with it a bit.
I did need to replace the sponge strip. That’s pretty standard for an older machine. Luckily on this machine, foam weatherstripping works great as an inexpensive replacement. I also needed to clean the needles, because they were covered with gunk from the old sponge strip. With that, I was able to set it up and play.
There is definitely a learning curve, but it is fun. I have noticed, though, that you can still tell it is my own handiwork.
See the dropped stitch. It’s like my signature. The best part, though, is it only took me a minute or two to make that swatch, as opposed to a day or two. A little more practice, and I might be able to make two or three dishcloths a day without dropped stitches, or a scarf with a few holes. Seriously, though, it is fun, and I look forward to coming up with new projects and products to make.
As for office furniture, I felt bad that I got a new toy but we hadn’t found the thing we really needed, so I did a quick craigslist search. There just happened to be a desk posted locally in the free section.
Excuse the mess. That photo was taken while everything was getting tossed around with moving in the desk. There is a trim piece that needs to be put in place on the top. Overall, it is in good shape. More importantly, it provides us with the two main things we needed for the office: more desk space and shelving. Best of all, it was free!
Like this thrift store finds? To make sure you don’t miss out on future posts, sign up for my newsletter.
I, Charity Sloan, am a participant in the Amazon Services LLC Associates Program, an affiliate advertising program designed to provide a means for sites to earn advertising fees by advertising and linking to Amazon.com. Any purchases through those links will result in my receiving a small percentage in commission.
This only refers to Amazon links found in/on my blog pages. All products in my shop are 100% mine and not linked to Amazon.
Prices are the same whether you click an affiliate link or a non-affiliate link, so you will not be charged more. Thank you for your support!