It’s my birthday on Saturday (yes, April Fool’s, I know, lol). If you use coupon code April2023 you’ll get 20% off your entire order at SubEarthan Cottage. Valid on regular and sale-priced items through April 3, 2023.
And, since birthday’s are weird without cake, here’s my favorite allergen-friendly chocolate cake recipe.
This is a simple chocolate cake recipe that is super easy. It is dairy-free, egg-free, and if you swap the wheat flour for a gluten-free flour blend, it's gluten-free, too! To make it gluten free, I like Bob's Red Mill 1 to 1 gluten free blend because it already contains xanthan gum. If you use a different gluten-free flour without xanthan gum, I would add about 1-1.5 teaspoons of xanthan gum.To top, make a simple buttercream (with shortening and non-dairy milk to keep it non-dairy) or use your favorite store bought frosting. You could also sprinkle the warm cake with dairy-free chocolate chips, let them melt a little, then spread across the top for a rich, chocolaty treat.
Prep Time10 minutesmins
Cook Time35 minutesmins
Course: Dessert
Keyword: 9 x 13, cake, chocolate, dairy free, easy, egg free, gluten free, one bowl, simple
Servings: 292×2 inch servings
Equipment
9 x 13 rectangle pan
Ingredients
3CupsFlour see recipe summary for gluten-free adjustment
1teaspoonsalt
2teaspoonsbaking soda
2cups sugar
6tablespoonscocoa powder
2tablespoonsvinegarwhite or apple cider vinegar
1cup vegetable oilany light flavored liquid vegetable oil is fine
2cups cold water
2teaspoonsvanilla
Instructions
Preheat the oven to 375 degrees Fahrenheit
Grease the 9 x 13 inch pan, either with shortening, butter, or cooking spray
Combine the first five (dry) ingredients in a large mixing bowl and mix until evenly blended. Alternatively, sift them together into the bowl.
Add the remaining (wet) ingredients and mix until thoroughly blended. You can use a spoon or an electric mixer.
Pour the batter into the greased 9 x 13 inch pan.
Bake at 375 degrees Fahrenheit for 35 minutes or until a toothpick inserted near the middle comes out clean.
Notes
I frosted this cake with buttercream tinted blue, then used gel food coloring to paint the faces. I then piped buttercream for the eyes, facial features, outlines, writing and trim. I clearly am not a trained cake decorator, so I can’t really say which tips I used or any other details.
Like this post? To make sure you never miss a future post, please sign up for my newsletter.
This was originally posted in 2017. I’ve been using my electric pressure cooker a lot lately to have easy, healthy meals. It’s been a while since I’ve shared, so I thought it was a good time to revisit it.
Last Christmas my lovely parents bought us an 8 qt. GoWise Pressure cooker that I have used almost daily ever since. This is the exact one I have:
With all the sales happening, and the Instant Pot craze still going strong, I know lots of people will be getting an electric pressure cooker and then wondering what to do with it. At least that’s what I did. Now that I’ve used mine for a while, I have some favorite uses for it to share with newbies. I have never used an official Instant Pot, so I can’t say how they compare. They should work about the same, though, so if you have an Instant Pot or other similar electric pressure cooker you should be able to enjoy all this awesomeness, too.
10 Reasons I Love My Electric Pressure Cooker (Instant Pot)
Easy Instant Pot Boiled eggs:
Boiled eggs on the stovetop are easy, unless you’re getting ready for work or school or have young children or are otherwise easily distracted. Then you either burn them or undercook them. Peeling them also is hit or miss. Sometimes the shell comes off easily, other times it takes half the egg white with it.
In the electric pressure cooker, I can put a dozen eggs in the steamer basket with a little water, push the button for eggs (mine has 1,3, and 5 minute settings for soft, medium and hard), and forget about it. The end result is perfectly cooked eggs that peel so easily my two year old can do it.
Potatoes:
Even in the microwave, I have a hard time getting potatoes and sweet potatoes to cook properly. It seems like I always have to restart it a few times to finally get them done. With the pressure cooker, I set it for 15-17 minutes depending on how soft I want them, and they are always done. I’m trying to quit using my microwave all together, too, so the pressure cooker is definitely the faster option compares to the oven.
Slow cooker recipes:
Anything you’d make in a crockpot can be cooked in the pressure cooker. You can either use the slow cooker setting, or, if you forgot about cooking dinner until after lunch, you can cook it under pressure and have it done in an hour or less.
Not only that, but, unlike with a slow cooker, you can use the sauté setting to brown meats or anything that needs browning first. That means more flavor with fewer dirty dishes.
Beans:
If I forget to presoak dry beans, I’ll put them in my pressure cooker for five minutes to do a quick presoak, drain, and add back to the pot along with the seasonings and broth or cooking water, then cook using the bean setting. It’s possible to skip the presoak entirely and go straight to cooking, if I’m short on time, but I prefer to presoak when I can.
If I get them cooking early enough in the day, I’ll switch to the slow cooker setting after they’ve cooked with pressure. That gives them the super yummy, second day flavor on day one.
Stews, soups and curries:
Browning meats and onions in the pot add flavor, and you can use the pressure then slow cook trick to further develop the flavor.
Smaller meats like chicken breasts, vegetables and rice can be put into separate heat-proof containers and steam cooked at the same time. I usually cook too much at once to do that, but when it works out, it is handy and doesn’t heat up the kitchen like using the oven. Easy All in One Electric Pressure Cooker Meal
Rice:
It cooks rice even better than my little rice cooker, and I don’t risk burning it like I do on the stovetop. (There’s lots of distractions here, people.) I don’t use it much for rice, though, since I usually cook curries and things I serve with rice in the pressure cooker. Whenever my rice cooker dies, though, I’m seriously considering a second, smaller pressure cooker as a replacement.
Yogurt:
I haven’t quite perfected yogurt with any method yet, but so far, the best I’ve made is in jars on the trivet in the pressure cooker. It is still a little runny, but it works well for smoothies.
Baking in an Instant Pot:
I’ve only done this once, but thought I’d mention it. You can bake cakes and breads in it by setting the bread or cake pan on the trivet and adding water to the pot for steam. This helps keep the bread or cake moist, which is especially handy for baking with gluten or grain-free flours.
Like this article? To make sure you don’t miss out on future posts, sign up for my newsletter.
The back pockets of denim jeans are prone to wearing out at the top corners with use. If that’s where you carry your phone or wallet, you’ll almost certainly develop holes at those stress points long before the rest of the jeans are worn out. Luckily, repairing a back pocket is a pretty simple fix.
These are my husband’s work jeans. You can see the inside corner of the right pocket has a small hole and another one is forming on the inside corner of the left pocket. These are the steps I used to repair and reinforce the pockets.
Choosing your patch material
The first thing you’ll want to do is add material to patch the hole. The material should extend past the edges of the hole, overlapping onto the good fabric by about a centimeter or so. I like to use the iron-on denim patches, but fusible webbing or strong interfacing works, too. This product is similar to the one I used. You can also just use a scrap of fabric a bit larger than the hole, but I prefer the added strength of an iron-on product. An iron-on product is also easier in that it won’t shift while you sew it in.
Iron-on patch Wrong side of iron-on patch
Securing the patch to the pocket
If you’re using an iron-on product, iron it on to cover the hole from the inside according to the manufacturer’s instructions. For sewn-in patches, baste in patch to keep it from shifting.
Patches ironed in place on the inside of the jeans.
Reinforce the patch
Regardless of whether you chose an iron-on or sew-in patch, you need to reinforce the patch by sewing a strong row of stitches around the edges. For a less visible patch, I like to sew a square of stitching around the hole, making sure to include the corner of the pocket in the square. I sew over the square a few times to reinforce. Choosing a thread that matches the denim or is slightly darker makes the patch less noticeable.
For the actual hole, I like to sew back and forth over the hole in a matching thread. This secures the area to the patch, hides the frayed edges and prevents further ripping.
For a more visible patch, you can get creative with the patch material and choose a contrasting thread. You can also crazy stitch over the area, similar to what I did here.
Preventing the problem
Whenever I patch one pocket rip, I take the time to reinforce all the corners with iron-on patches and a square of reinforced stitching. It doesn’t take much extra time, and keeps the rest of the corners from needing repair in the near future. You could even do this to new jeans as a preventative measure if you have this problem frequently.
Final result
Here’s the finished patches. I’m pretty satisfied with the results. The work isn’t that noticeable and matches the variations in blue on the rest of the jeans. It’s definitely better than holes that will continue to rip in a revealing location.
Like this post? To make sure you never miss a future post, please sign up for my newsletter.
Shop sales!
For the entire month of September, all of my handmade soaps are 20% off. Shop handmade soaps here.
My machine embroidery files are also on sale all month for just $1 each! Be sure to check out my latest Halloween designs. Shop embroidery designs here.
My local Kroger frequently has bags of kale, spinach and other greens on sale because it’s nearing its “best by” date. I love picking up a few whenever I see them. If I don’t plan to use them right away, I either toss the whole bag into the freezer (this works best with sturdy greens like kale or collard greens) or I dehydrate them for future use.
To dehydrate the greens without a dehydrator, I set my oven to it’s lowest setting (150-200 degrees Fahrenheit) , spread the greens on a baking sheet, and bake until they are dry. I check them about every 10-15 minutes to prevent them from burning.
Once they are done, I crumble them to the consistency of a dried herb and store in a canning jar. The dried greens are great to add to sauces, soups, stews or smoothies. Add a little if you need to hide the taste or a lot to really boost the nutrients.
It’s quick, easy and doesn’t result in a gross bag of kale forgotten in the back of the fridge. Plus, it may help picky eaters get a little more nutrition.
Like this post? Sign up for our newsletter to get post notifications and updates.
I like getting my kiddos involved in housecleaning. Not just because they are highly involved in making messes, but because it is important that they know how to take care of themselves as adults. I’m pretty choosy as to what cleaning products I will let them use. So many cleaners are irritating to the skin, eyes and lungs.
Not only do I want my cleaning products to be safe, I like things that multitask and don’t cost an arm and a leg. Often, I’ve found the best way to achieve this is to make them myself, like with my natural furniture polish. With a few simple ingredients I keep around the house anyway, I find I can cover most cleaning needs.
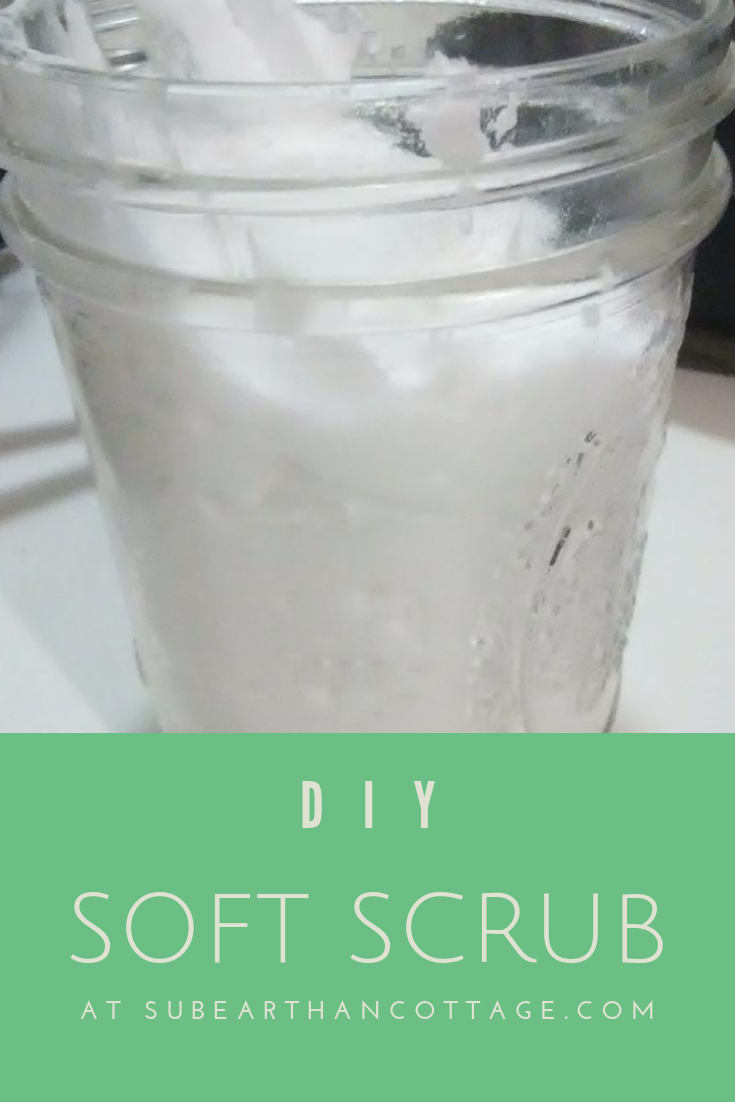
My most recent cleaning concoction is soft scrub. It works well for when I need a little extra scrubbing power than I get with my usual all-purpose water, vinegar and dish soap mix.
Soft scrub in a jar
Soft Scrub Ingredients
1 cup of baking soda
1/4 cup of liquid soap
1 tablespoon of hydrogen peroxide
Optional: 2-3 drops of essential oil
Instructions
Place all the ingredients into a big bowl and mix until a uniform paste forms. To store, I like to scoop it into a wide mouth canning jar, but any lidded container will work. The mix will expand, so use a container that allows for at least double the amount to be safe.
Mixing the soft scrub
Variations
Type of Soap
Liquid castile soap will work, but for extra cleaning power I prefer a detergent soap, like Dr. Bronner’s Sal Suds or even Dawn dish soap. You could probably get away with any liquid hand soap or liquefied bar soap, but I haven’t tried those yet. The only time I haven’t liked it was when I made it with Ajax dish soap because that is what I had on hand. I think there was something in the Ajax that reacted badly with the baking soda or hydrogen peroxide. That mixture was fluffier and had an odd smell. I’m not quite sure what it was that caused it, but because of that, I recommend staying away from any dish soap that advertise extra cleaning additives. For the soap, basic is better.
Scent
I rarely add any essential oils for fragrance. Usually the soap I have is already scented, so I don’t see the need. Really, unscented is fine, too, unless you just prefer a scent to signal that something is clean. If I were to add an essential oil, though, I would probably use either peppermint, lemon or tea tree oil. If you choose to use an essential oil, please be aware of safety guidelines for using them around children, pregnant women, pets, and other sensitive individuals.
How to use
To use, I scoop out a dollop of the soft scrub and apply a layer to the area I’m cleaning. I usually let it sit for a minute or two then buff it off with a rag. If there’s a residue left, I’ll either wipe it down with a damp rag or mist it with my all purpose vinegar, dish soap and water solution and wipe it clean.
Results
I almost forgot to take a before photo. This is an embarrassing photo of tomato sauce splatter left on my stove overnight.
Before using soft scrub to clean last night’s spaghetti sauce.
This is a photo of what it looks like after using my soft scrub and minimal elbow grease.
Shiny stovetop
I do apologize for the blurry photos. Lighting in my kitchen isn’t the greatest, and also I was in the middle of cleaning.
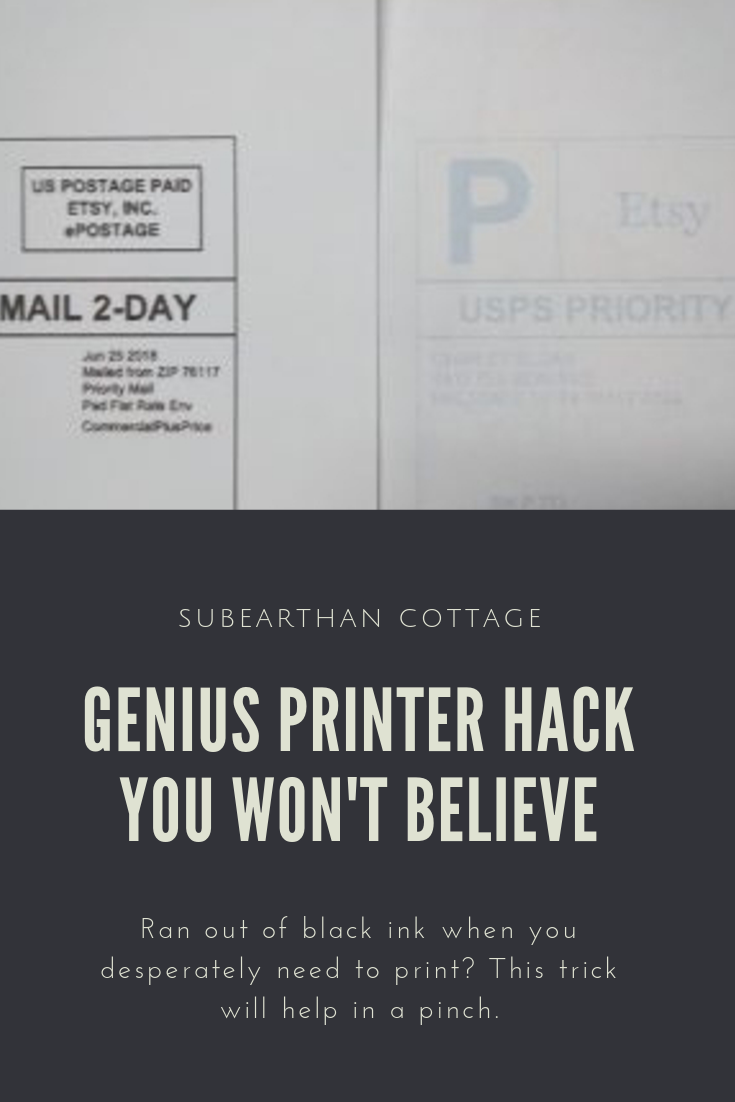
Have you ever had to print a paper or mailing label NOW and realized your black ink cartridge is out of ink? As much as I try to keep an extra on hand, sometimes I run out without a backup. Something I’ve found that works in a pinch is to simply remove the black ink cartridge. This forces the printer to use the color cartridge to print the document instead.
With and without the empty black ink cartridge removed.
The label on the right was my first attempt at printing a mailing label before realizing that I was overdue for a new black cartridge. The label on the right was printed with the black cartridge removed.
My printer will usually print one or two jobs this way without complaining, then I may have to put the old cartridge back in for a bit then remove it again if I need to print something else. Usually by that time I have been able to get a replacement cartridge.
It’s always better to be prepared, but in a pinch this trick works like magic. It has certainly saved me a rushed trip to buy ink on more than one occasion.
I, Charity Sloan, am a participant in the Amazon Services LLC Associates Program, an affiliate advertising program designed to provide a means for sites to earn advertising fees by advertising and linking to Amazon.com. Any purchases through those links will result in my receiving a small percentage in commission.
This only refers to Amazon links found in/on my blog pages. All products in my shop are 100% mine and not linked to Amazon.
Prices are the same whether you click an affiliate link or a non-affiliate link, so you will not be charged more. Thank you for your support!