Posted on 1 Comment

How to make powdered laundry detergent

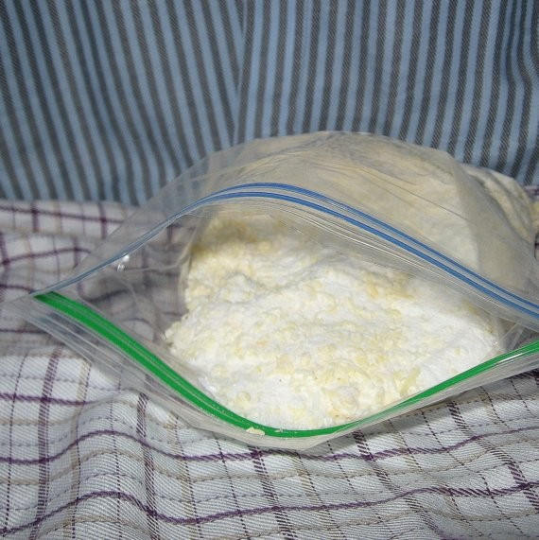
Laundry Detergent

Laundry detergents have always been problematic for me. Certain brands irritate my skin, and I’ve never been able to pinpoint what ingredient is the problem. Even if I knew, most laundry detergents don’t exactly provide a list of ingredients I could check. Luckily, laundry detergent is easy to make. Doing it yourself not only allows you to control what ingredients are in your detergent, it also saves a ton of money.

My recipe uses four basic ingredients stocked by many supermarkets now, and one optional ingredient.

Ingredients:

  • 2 parts Borax
  • 2 parts Washing Soda
  • 1 part Grated Bar Soap
  • 0.25 part Baking Soda
  • Optional Fragrance Oil or Essential Oil  

Prep:

You’ll want a clean, dry, lidded container or bag to store your homemade laundry detergent. If the container isn’t air-tight, the detergent may clump from moisture in the air. Usually it’s easy to break it up, so this isn’t a big problem. If you don’t do laundry very often, though, you probably want to store it in something with a good seal.

The soap can be anything. Most people start out using a laundry soap like Fels Naptha. Once I started making my own soap, I switched to using whatever basic recipe soap I had on hand. You can grate it by hand with a cheese grater or with a shredding disk on a food processor. 

Make it:

Combine the first four ingredients in a large mixing bowl. If you’re not familiar with the “parts” measurement, it’s a simple way of making a recipe fit whatever amount you need by giving the amounts as a ratio instead of a specific measurement. You could substitute “cup” for “parts” if that makes it easier.  

Options:

Leave it unscented, use a scented bar of soap, or add your choice of fragrance or essential oil to the combined ingredients and stir to combine. I usually use about half an ounce of fragrance oil per batch. With essential oils, I usually start with 15 drops or so and see how it smells before adding any more. I’ve heard you could use your favorite cologne or perfume, but I haven’t personally tried it. 

Use it:

I use about two tablespoons per load in my top loading machine. You can use one tablespoon for lightly soiled loads, but with my family, every load is a two tablespoon load.

Laundry Detergent
DIY Powdered Laundry Detergent
DIY Laundry detergent

Posted on 1 Comment

15 Awesome Uses for Coconut Oil

If I had to pick only one oil to keep around, it would be coconut oil. This versatile oil has many applications in and out of the kitchen. Here’s fifteen of my favorite uses for coconut oil.

Coconut Oil in the Kitchen

High Heat Cooking

Coconut oil is a stable oil, unlike olive oil. It doesn’t break down at high temperatures, making it great for frying, sautéing and other high-heat cooking applications.

Dairy and Animal Fat Substitute

Coconut oil is also a great butter substitute for those avoiding dairy. It also makes a great substitution for tallow or lard.

Cooking Popcorn

If you like cooking popcorn on the stove the “old-fashioned” way, coconut oil is the best. It adds a wonderful flavor to the popcorn, and holds up to the high temperature. My favorite way to eat popcorn is cooked in coconut oil and topped with salt and fresh cracked black pepper. It’s so simple and yet so yummy!

Season Cast Iron Skillets with Coconut Oil

I love my cast iron skillets. Whenever I need to re-season them, coconut oil is my go-to oil.

Coconut Oil for Cleaning

Natural Furniture Polish

The natural furniture polish recipe I use calls for olive oil, but coconut oil is a suitable substitute. It’s a little lighter and less greasy than olive oil, so it polishes out nicely. It also has a longer shelf-life, so there’s little worry about using it up before it goes rancid.

Stuck on Stickers

Rubbing a little coconut oil on sticker residue helps remove the residue without harming the surface underneath. I like to coat the sticker residue with oil and let it sit for a few minutes. Wipe in a circular motion with a rag or gentle scrubber until the residue is gone.

Coconut Oil for Hair

Protect and Treat Your Hair

I’ve seen it recommended to coat your hair in coconut oil and leave it in overnight before lightening your hair with bleach. While I personally haven’t tried that, since lightening my hair, I put a small amount of oil on my hair almost every day. I especially focus on drier or damaged areas. Since I started doing this, I’ve noticed a huge difference in my hair. It’s definitely stronger and smoother.

Deep Condition with Coconut Oil

Even if you haven’t tortured your hair with bleach, a deep conditioning treatment is good from time to time. Apply the oil to your hair and cover with a shower cap. Leave it in for a few hours or overnight and then wash out. A couple of drops of essential oil added to the oil makes the conditioning treatment even more luxurious.

Frizz Fighter

Rub a couple of drops of coconut oil in your hands and then smooth over the ends of your hair to keep frizz away.

Coconut Oil for Skin

Moisturize Your Skin

Coconut oil is great as a moisturizer. Start with a little and massage in to moisturize or to soothe dry, irritated skin. It even helps some eczema!

Diaper Ointment

Coconut oil provides a gentle, moisturizing barrier to soothe and protect babies’ bottoms. Unlike many commercial diaper creams, it is considered safe for cloth diapers. Do check with the manufacturer for their recommendations first, as using unapproved products can void any warranties.

Makeup Remover

A little coconut oil easily takes off eye makeup. I like to put it on a cotton square and gently swipe away makeup. As a bonus, it moisturizes your skin as it removes the makeup.

Shaving Cream

Shaving with coconut oil leaves my legs feeling soft, smooth and moisturized. I don’t even need to use lotion afterwards.

Handmade Soap

I use coconut oil in all of my soap recipes. It helps to create a firm bar that produces lots of fluffy lather.

Pumpkin lavender roll on

Essential Oil Carrier

Coconut oil is my favorite carrier oil for essential oils. It’s not too heavy and absorbs nicely into the skin. If you use the refined oil, there’s no real coconut scent to compete with the essential oils.

15 Awesome Uses for Coconut Oil
Image by moho01 from Pixabay

Like this post? To make sure you never miss a future post, please sign up for my newsletter.

Through Friday, everything in my shop is 15% off. Shop now.

Posted on 1 Comment

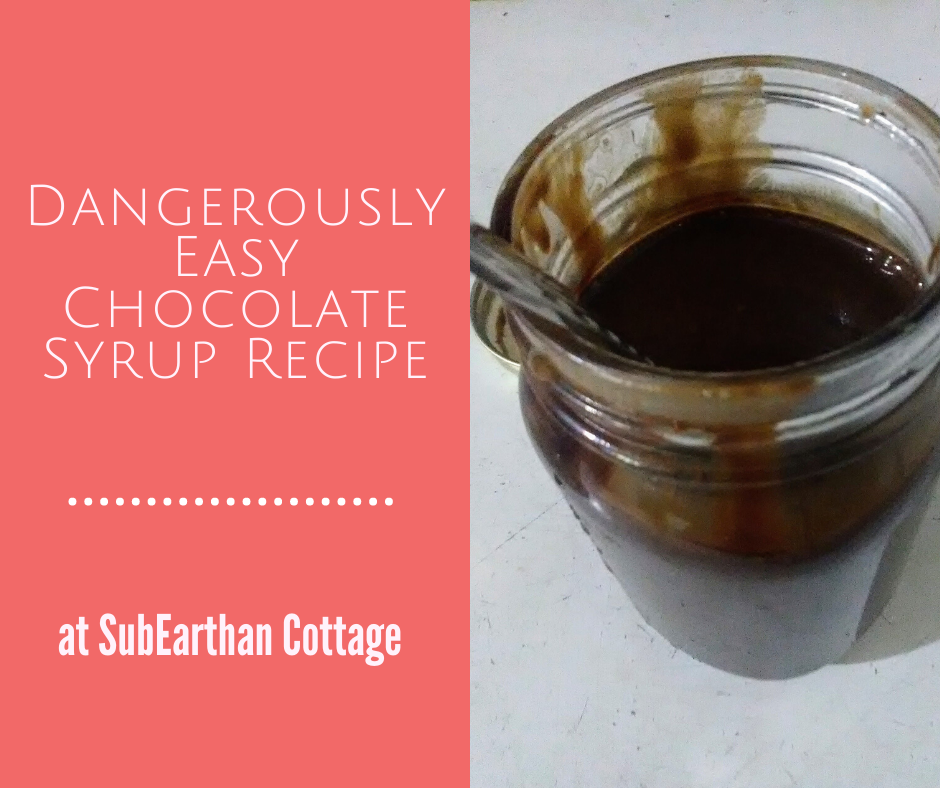
Dangerously Easy Chocolate Syrup Recipe

Chocolate syrup is deliciously versatile. Stir it in hot or cold milk or coffee for a treat or pour over ice cream to make it even more decadent. Then there’s old fashioned sodas and baked goods made with chocolate syrup. With this chocolate syrup recipe, you can make delicious chocolate syrup with just a few basic pantry staples whenever you need it.

Sure, it’s easy to pick up a bottle from the supermarket, but with this easy chocolate syrup recipe, you can make it for a fraction of the cost and without a trip to the store. By making it, you also have control over the ingredients. Use your favorite cocoa powder, experiment with the type and amount of sugar or swap out the vanilla extract for something a little more creative to make it your own. I can totally see using peppermint extract to mimic the flavor of Andes mints. Or, if you’re a fan of Terry’s Chocolate Orange chocolates, add orange extract.

Like most of my recipes, this chocolate syrup is gluten free and dairy free.

Dangerously Easy Chocolate Syrup Recipe

This chocolate syrup recipe is so easy and delicious. With only a few pantry-staple ingredients needed, you'll never have an excuse not to make it. Should be good for at least a month when stored properly. I usually find plenty of ways to use it up before then.
Prep Time2 minutes
Cook Time5 minutes
Course: Dessert

Ingredients

  • 1 cup cocoa powder
  • 1 cup sugar
  • 1 cup water
  • 1/2 teaspoon salt or to taste
  • 1 teaspoon vanilla extract or to taste

Instructions

  • Mix the sugar and cocoa together in a saucepan until thoroughly combined.
  • Add the water and half of the salt (1/4 teaspoon). Bring to a boil over medium heat, stirring constantly.
  • Continue to boil while constantly stirring until the mixture thickens a little. (It will thicken more as it cools) This should take around 3 or 4 minutes.
  • Carefully taste and add the rest of the salt, if desired.
  • Remove from heat and add vanilla extract.
  • Cool and store in an airtight container in the refrigerator. I like using a glass jar.

Notes

The vanilla extract and salt amount can be adjusted according to taste. I can also see swapping out the vanilla for peppermint or orange extract.

While I try to write recipes as clearly as possible, it’s easy to miss a step or make assumptions. If anything is confusing, please don’t hesitate to comment with your questions. If you make this recipe, please let me know what you think.

Like this post? To make sure you never miss a future post, please sign up for my newsletter.

This post contains affiliate links. If you click through any of the Amazon links and make a purchase, I will receive a small commission. There is no added cost to you.

chocolate syrup recipe
Posted on 4 Comments

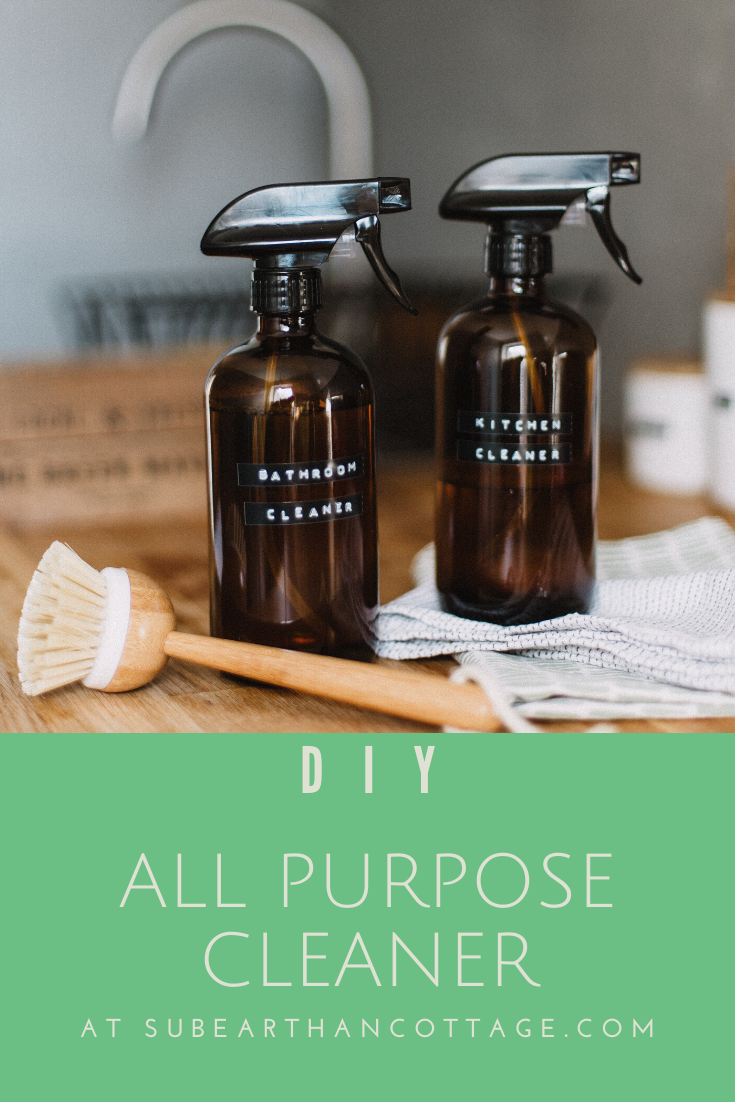
All Purpose Cleaner Recipe

We are all becoming more aware of the types of products we use everyday. Whether it’s a concern for the environmental impact, the effect they have on our health or the safety for our pets and children, we want to know we aren’t inadvertently introducing harmful things into our homes. Something I do to feel confident in the safety of cleaning products I use around my family is to make my own where possible. One such product is a simple all purpose cleaner I use for cleaning hard surfaces, such as kitchen and bathroom counters and walls. It only uses a few ingredients, all of which you probably already have on hand.

Photo by Daiga Ellaby on Unsplash

All Purpose Cleaner Recipe

Ingredients:

  • Liquid soap, either dish soap or something like Dr. Bronner’s castile soap
  • Distilled white vinegar
  • Water
  • Optional: Essential oil of your choice

Supplies:

  • Clean, empty spray bottle
  • Liquid measuring supplies if you aren’t comfortable just eyeballing it
  • Optional: A funnel might make it easier to fill the bottle.

How to make it:

Measure about 2 tablespoons of soap, one cup of vinegar and one cup of water into the spray bottle. It doesn’t have to be exact. I usually just eyeball it. If you would like to use an essential oil, add 3-5 drops as well. Do be aware of safety guidelines regarding any essential oils you use, especially around pregnant women, children and pets. Tea tree oil or lavender are nice for cleaning and generally safe for most people. If the soap you use is scented or if you or your family members are sensitive to scents, you may want to skip the essential oil.

Swirl the bottle to mix everything without making the soap foam up too much. 

That’s it. Now you have an all purpose cleaner that works as well as any other I’ve tried, with the added benefit of being safe enough that kiddos can help with the cleaning. 

If you like this cleaning recipe, you’ll also like my DIY soft scrub for tougher cleaning jobs. To make sure you don’t miss out on future posts, sign up for my newsletter.

Posted on Leave a comment

Easy, Flexible Meal Planning Lists for Stress-free Meals

Meal planning takes away the daily stress of deciding what’s for dinner. I’ve never done well with creating weekly menus by day, though. With a set schedule, I sometimes felt like I had to make what’s on the menu, rather than finish up the leftovers first. Silly, I know. Then there were the days that ended up busier than expected and I either didn’t have time to make the planned meal or I was too tired by the time dinner rolled around and needed something simpler. 

The solution I’ve found to traditional menu-style meal planning is making meal lists. Not only does it offer day by day flexibility, it makes it easier to work in sale items, saving money at the grocery store.

For us, breakfast and lunch are usually either made from the same basic staples or leftovers, so I only use my lists for dinner. You can easily use the same method for all meals, if you like.

Meal Planning Lists

Step 1: Make a Master List

Start by writing down all your favorite meals to make. This isn’t the time to pull out cookbooks or look for recipes online. You want this to be a brain dump of your go-to meals. I would aim for at least 10-14, but a bigger list gives you more variety. If you don’t have that many to start, don’t worry. You can always add to this list later.

You can leave your master list as-is, or sort it into categories such as grouping it by the type of protein, ease of prep, cook time or type of appliance used if you have lots of Instant Pot or slow cooker meals. My list is just one big list.

You could also make note of what sides you like to serve with each dish, but I usually add them later.

Step 2: Decide what types of meals you need for the week

For this step, consider things like what you have on hand that you need to use up, what’s on sale and how busy you’ll be during the week. If you know you’ll be eating out any days, make note of that, too. I don’t usually make a list for this step, but if it’s a busy week you might want to make some notes.

Step 3: Make your meal list for the week

Consider the things from step 2 and pick 5-7 meals for the week from your master list. I like to cook things like big pots of soup or chili at least once a week, so I know leftovers will take care of one or two days, so I usually make a list of five. If your meals won’t include leftovers, you’ll want to list seven, or as many days as you’ll be eating at home.

This is where I consider sides and make note of them alongside the meals I plan to make.

If you’re looking to expand your master list or just want to try something new, you can add a new recipe as one of your meals and make note of the cookbook or other source. Once you’ve tried it, if you like it, add it to your master list.

That’s my meal list for this week.

While I don’t add these to my list, I like to keep staples for one or two really quick backup meals on hand at all times. You can read more about this here. If this is new to you, you’ll want to consider picking a backup meal or two before moving on to the next step.

Step 4: Make your shopping list

Make a shopping list from your weekly meal list, including sides and staples for your backup meal, if you don’t already have one. From your list, shop your pantry then grocery shop for everything else you need.

Step 5: Using your list

If one meal relies on lots of fresh produce or other time-sensitive food, you’ll want to make it early in the week. Likewise, if one day is busy and you have one slow cooker or really simple meal on the list, you’ll want to save it for that day. Otherwise, you know you have everything to make all the meals on your weekly list, so pick whichever one you like for now and one for next. Picking your “next” gives you time to thaw out or presoak anything needed for that meal. Every day, think about what meal you want to be next and do the necessary prep. If that day’s meal has lots of leftovers, you can use them as your “next” and push the rest of the week’s meals down.

Each meal you make gets checked off the list. At the end of the week, if there’s anything not checked off, add that meal to next week’s list.

Customize Your Meal Planning Lists

Planning one week at a time works best for me because that’s about the longest we can go without needing to restock staples. If two weeks at a time works for you, make your list 10-14 meals instead of 5-7. Repeats are fine if you want or need.

If you want to be super organized, turn your master list into index cards with one meal and all the ingredients listed on each card. You can even make them full blown recipe cards, which is helpful if someone else does some of the meal prep or it’s a new recipe. Sort them into whatever categories work best for you, then pick out your 5-7 meal cards for the week. Now your grocery list is as simple as copying the ingredients from the cards.

Background image by Goumbik from Pixabay
Posted on Leave a comment

DIY Colorful Sugar Sprinkles

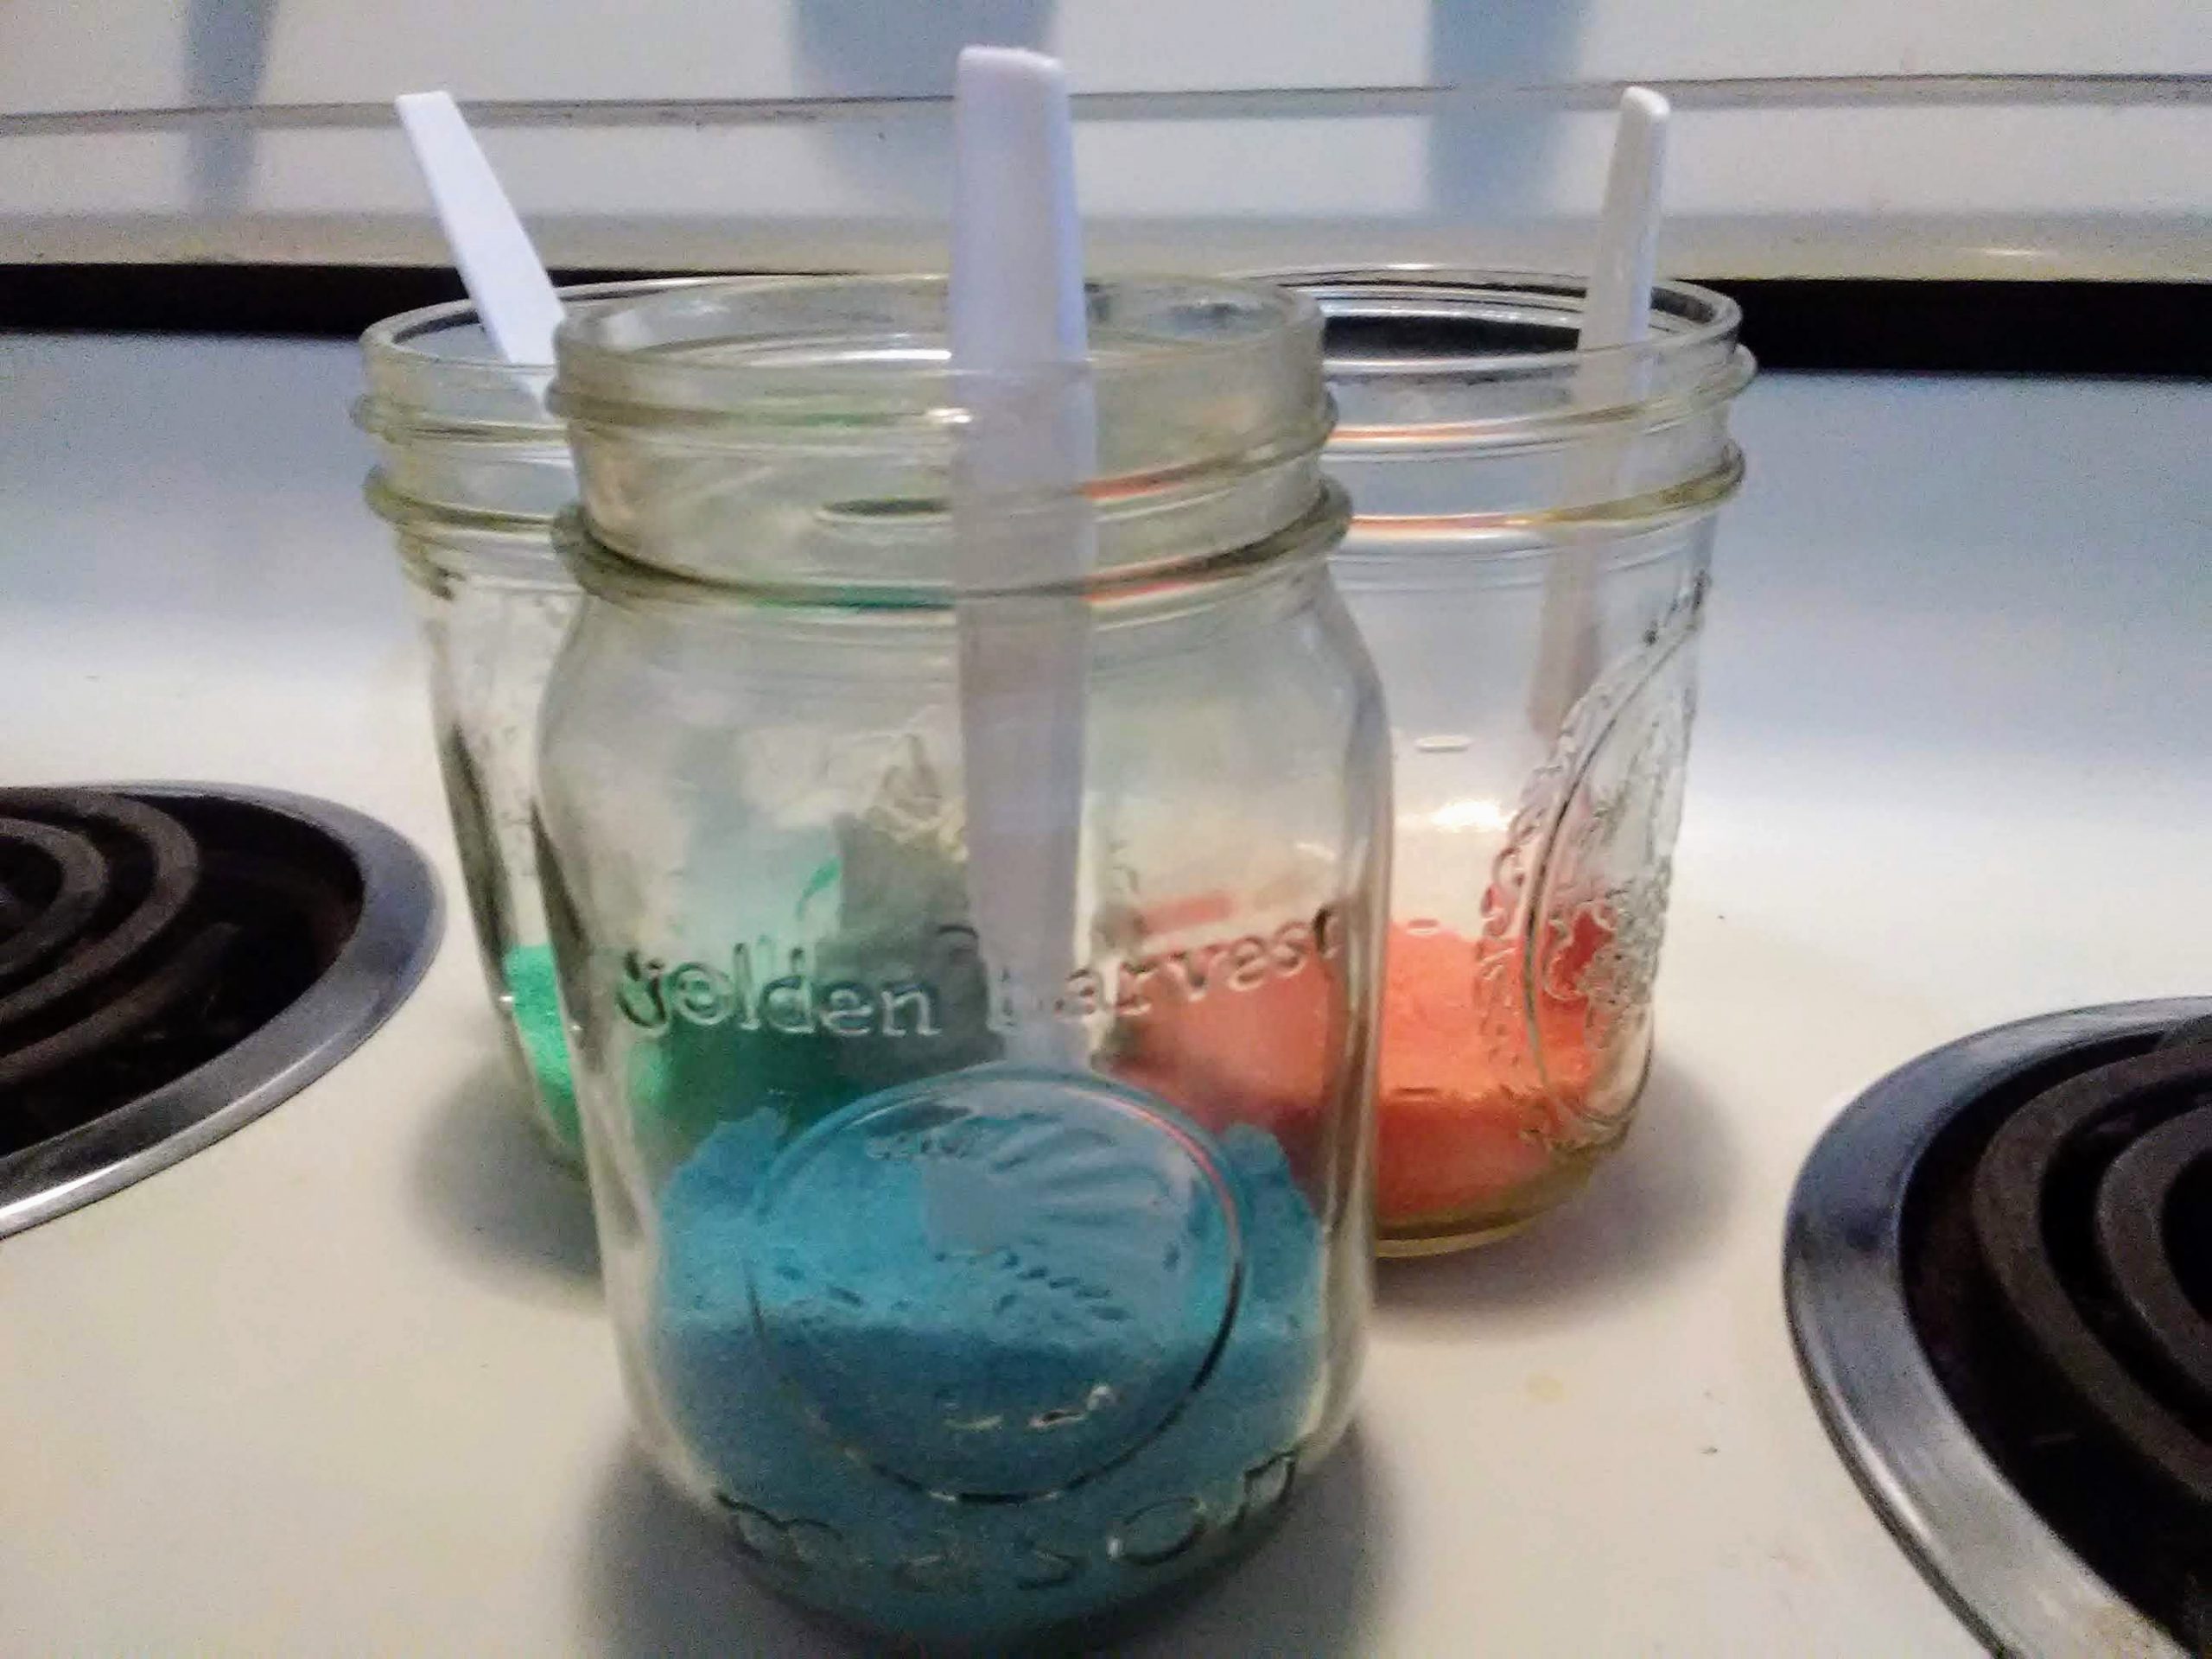
DIY sugar sprinkles side view

A few days ago, I thought it would be fun to make Christmas cookies. Then I remembered that my Christmas cookie cutters had disappeared, we were out of any sort of sprinkles for the cookies and I really didn’t want to make decorator frosting or go to the store for supplies. My solution? DIY sugar sprinkles!

DIY sugar sprinkles side view

Ingredients

  • Granulated sugar
  • Food coloring

Supplies

  • Jars, plastic containers or sandwich bags, one per color. (Ideally something with a shaker top, which I didn’t have)
  • Spoons or shakers
DIY sugar sprinkles top view

How to make the sugar sprinkles

  • Measure about 1/4 cup of sugar into each container. 
  • Add 2-3 drops of food coloring to the sugar. 
  • Shake or stir until the color is evenly distributed. 
  • Let air dry. I just left the lids off the jars and set them on the stove while the cookies baked, stirring occasionally. If you use bags or plan to store it for a longer period of time, you may want to spread it on parchment or a cookie sheet to make sure it is super dry.  
sugar cookies
Mom tip: If your cookie decorating skills are not Pinterest-worthy, just let your kiddos do the decorating.

The recipe I used for the cookies was the sugar cookie cutout recipe from my trusty red and white Better Homes and Gardens cookbook. To make them gluten free, I substituted Bob’s Red Mill 1 to 1 gluten free flour. If you are new to gluten free baking, it is a great flour to start with. I have had lots of success making all my old recipes gluten free with just that simple substitution.

My solution for not having cookie cutters was to use a round glass to cut out “ornaments”. We dusted some of the cookies with the sprinkles prior to baking. For the rest, I made a simple icing that got dusted or caked with sprinkles, depending on who was doing the decorating.

Posted on 1 Comment

Patching Denim with an Embroidery Machine

Finished sewing

I love wearing denim blue jeans, but chasing my boys and taking care of my small zoo, they get lots of wear and tear. One of the worst things is having to scrap a favorite pair because of one too many rips. I’ve repaired rips in a utilitarian way in the past. This time I thought I’d try patching denim using my embroidery machine. I haven’t done much applique, so I learned some things along the way.

This tutorial makes use of an embroidery machine and serger. You could also adapt it to use a sewing machine or applique by hand and embellishing with hand embroidery.

Items needed

  • Denim jeans or other item to repair
  • Interfacing
  • Thread in colors of choice
  • Seam ripper or similar tool
  • Scrap of fabric at least 4 in x 4 inches
  • Stabilizers: Cut away or tear away, water soluble optional
  • Floral denim patch applique design file

Step 1: Open the side seam.

Since I’m repairing a ripped knee, I needed to take out one of the side leg seams on my jeans. Using a seam ripper made this easy, but you could use small scissors, too. I left the seam intact at the hip and ankle, only removing what was necessary to lay the ripped area flat in the hoop without risking sewing it to the back. Leaving a little intact makes it easier to resew the seam at the end.

Step 2: Prepare the rip.

Iron the area around the rip so it’s smooth and flat. If there’s a lot of loose threads around the rip, trim them. I caught this rip before it frayed too badly, so no trimming was needed.

Before photo patching denim
Side seam removed and jeans ironed flat.

I wanted the embroidered area to be solid, so I applied some interfacing to the back of the rip. I used some medium weight interfacing, but any should work, since it’s job is just to hold it together while the jeans are embroidered. This is a perfect project for using whatever scraps are handy.

Interfaced rip
Back of rip with interfacing applied.

Step 3: Hooping.

For denim, tear away or cutaway stabilizer is best. I chose cutaway for the most stability. It’s stiff, but it should soften in the wash. If not, I’ll switch to tear away next time.

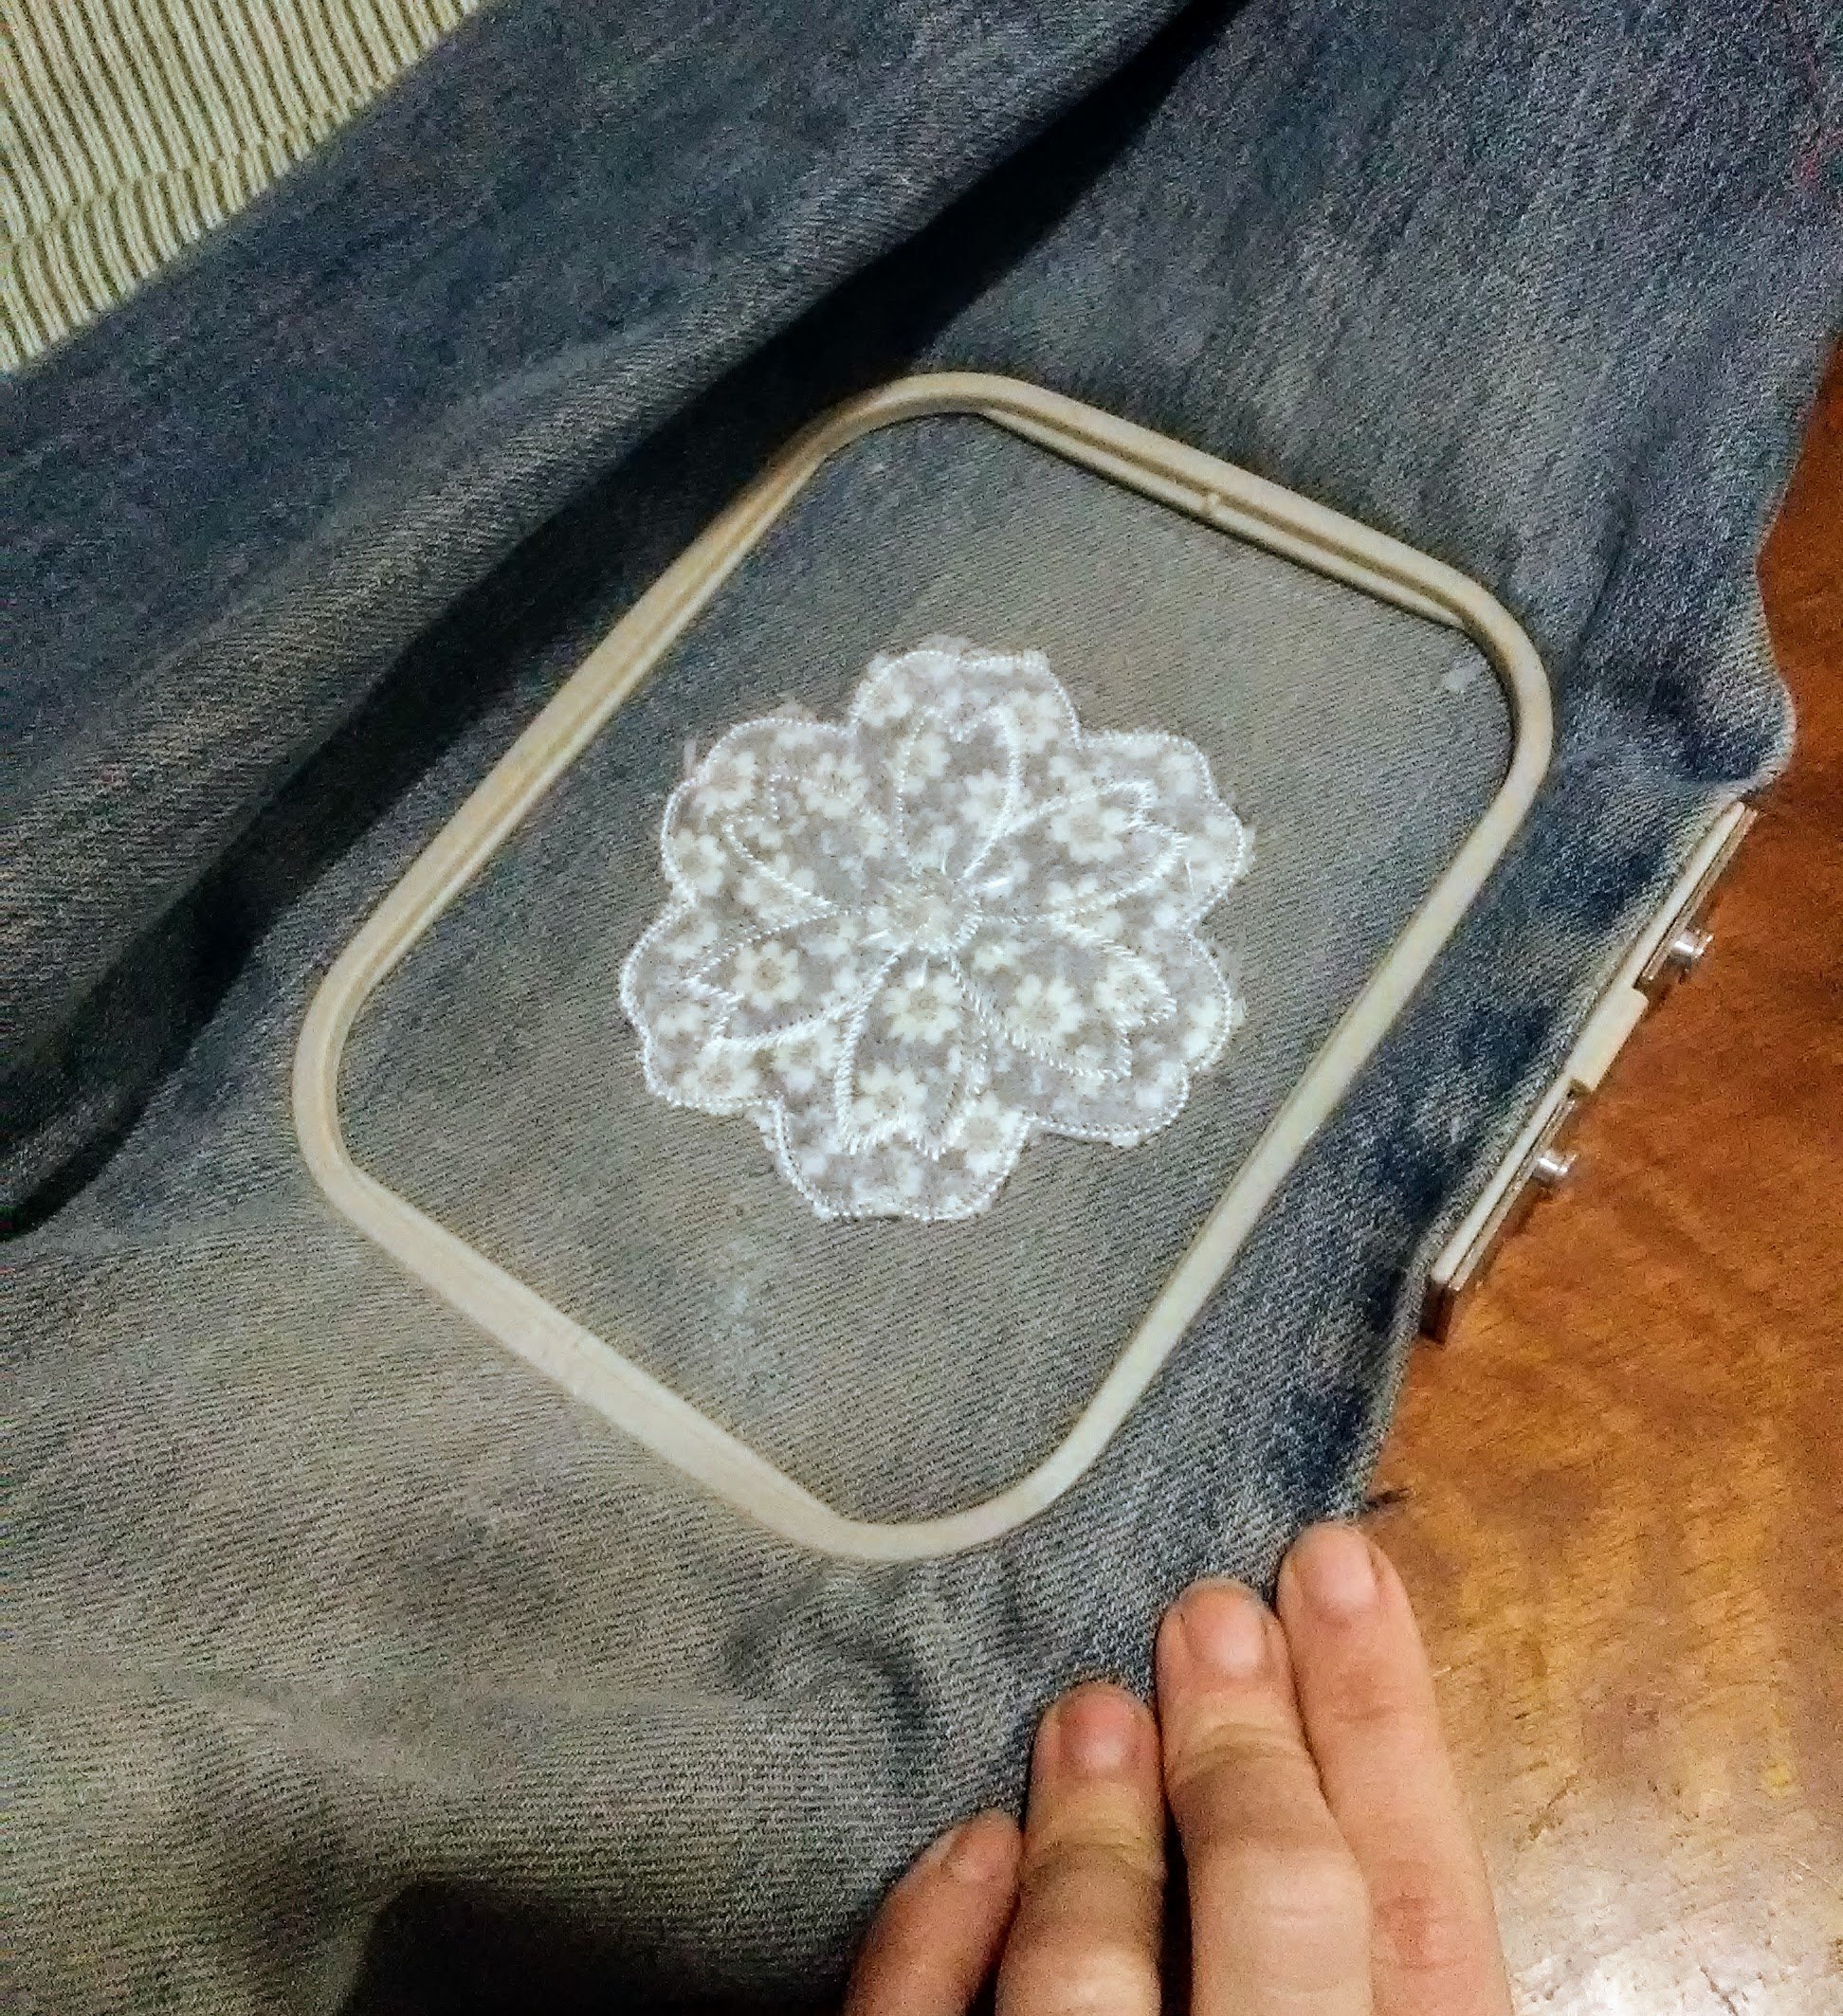
I tend to float projects and only hoop the stabilizer whenever possible. This project seemed like it would work better tightly anchored in the hoop. It took a few tries to center the rip in my hoop so that all edges would be covered by my design. My machine has a 4 in x 4 in embroidery field, so the rip just barely fit. Smaller tears will be easier to fit in my small hoop.

Hooped denim
First attempt. Once I put it in my machine and had it circle the embroidery field, I saw it needed re-positioning.

Step 4: Embroidering the patch.

Once it’s properly hooped, it’s time to sew. On my machine, the first color stop said “Applique Material”. I haven’t done much machine applique, but the ones I am used to usually follow the sequence: placement stitch, tack down the applique (then trim excess), sew the final applique stitching. So, confused I just put the applique fabric and a water soluble stabilizer (optional) on top of the rip and pushed start.

stitching denim patch

What my machine was telling me to do was to just hoop the applique fabric so I could remove it from the hoop and cut it neatly. The second color stop was the positioning stitch. That would be stitched on my jeans and then my neatly trimmed applique could be placed in position and the stitching completed. Since I did everything at once, my applique isn’t as tidy as it could be. I will definitely listen to my machine next time.

Finished sewing, but still has water soluble stabilizer on top.
Finished sewing.

Step 5: Remove from hoop and cut away excess stabilizer

I also steam pressed over the back of the patch to start softening the stabilizer.

Patch from the back.
Patch from the back with stabilizer trimmed.

Step 6: Sew the leg seam.

To repair the leg seam, I used a lock stitch setting on my machine. You could also sew the seam twice to reinforce it or just use really heavy thread. I then serged the raw edge. If you don’t have a serger, an overedge stitch or zig-zag stitch would also work.

Finished!

Finished patching denim
Finished patch. Next time I will use heavier thread so the embroidery shows better.

Not bad. I wish I had used heavier thread so the embroidery would show up better. Listening to my machine and cutting the applique fabric to size before I sew it on to eliminate the raw edges peeking out is another improvement for the next time I’m patching denim.

If you’d like to use this applique design, you can download the file here. You can use the design on items you make to sell as well as for personal use, but please don’t sell the design file.

Floral knee patch applique
Floral knee patch applique design image.

Like this tutorial? To make sure you don’t miss out on future tutorial posts, sign up for my newsletter.