Laundry detergents have always been problematic for me. Certain brands irritate my skin, and I’ve never been able to pinpoint what ingredient is the problem. Even if I knew, most laundry detergents don’t exactly provide a list of ingredients I could check. Luckily, laundry detergent is easy to make. Doing it yourself not only allows you to control what ingredients are in your detergent, it also saves a ton of money.
My recipe uses four basic ingredients stocked by many supermarkets now, and one optional ingredient.
Ingredients:
- 2 parts Borax
- 2 parts Washing Soda
- 1 part Grated Bar Soap
- 0.25 part Baking Soda
- Optional Fragrance Oil or Essential Oil
Prep:
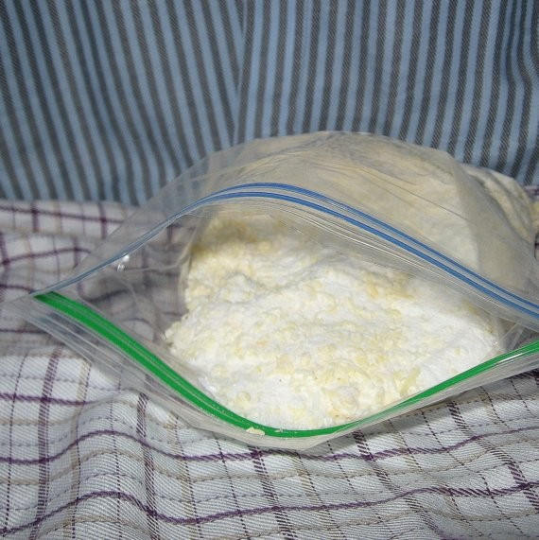
You’ll want a clean, dry, lidded container or bag to store your homemade laundry detergent. If the container isn’t air-tight, the detergent may clump from moisture in the air. Usually it’s easy to break it up, so this isn’t a big problem. If you don’t do laundry very often, though, you probably want to store it in something with a good seal.
The soap can be anything. Most people start out using a laundry soap like Fels Naptha. Once I started making my own soap, I switched to using whatever basic recipe soap I had on hand. You can grate it by hand with a cheese grater or with a shredding disk on a food processor.
Make it:
Combine the first four ingredients in a large mixing bowl. If you’re not familiar with the “parts” measurement, it’s a simple way of making a recipe fit whatever amount you need by giving the amounts as a ratio instead of a specific measurement. You could substitute “cup” for “parts” if that makes it easier.
Options:
Leave it unscented, use a scented bar of soap, or add your choice of fragrance or essential oil to the combined ingredients and stir to combine. I usually use about half an ounce of fragrance oil per batch. With essential oils, I usually start with 15 drops or so and see how it smells before adding any more. I’ve heard you could use your favorite cologne or perfume, but I haven’t personally tried it.
Use it:
I use about two tablespoons per load in my top loading machine. You can use one tablespoon for lightly soiled loads, but with my family, every load is a two tablespoon load.


Soap, Bath and Fragrance
SubEarthan Cottage offers unique, gift-ready handmade soaps, essential oil rollers, bath salts and other bath and beauty products. All of my bath and body products are sodium laurel sulfate-free and phthalate-free. I welcome custom orders, so feel free to contact me if you don’t see what you need.