The end of the school year and summer are crazypants in my household, so here’s an older post with some upcycling inspiration for you.
Last Christmas we received a new set of bath towels. Many of our old ones had worn through in places and were ready to be retired. I hate to throw out something that still has some life left in it, so here’s what I did:
I cut the towels to salvage the most usable material possible. Then, I serged the edge with my serger. You could also use a wide zig-zag, fold and hem, or use bias binding to finish the edges and prevent fraying.
The white towels were cut down to about half-size. This makes them perfect for wiping up big spills or as a bath mat. The green towels on the right are smaller sized for kitchen and cleaning towels. The stack of squares in the middle can be used in place of disposable cotton squares for toner, make-up remover, etc.
The small squares are also handy for DIY dryer sheets. I keep a few in a small tub on the dryer soaking in diluted white vinegar and lavender essential oil. I wring one out slightly and toss it into the dryer to add a fresh, lavender scent to our laundry.
Hi! There’s a free ebook today in my Freebooksy email that I thought might interest my readers. I haven’t read it yet, but I wanted to share before it’s no longer free. The title is Medicinal Herbs: The Essential Guide to Growing and Using Plants to Promote Healing and Physical Well-Being by Halle Malin. You can get it here: https://amzn.to/3RX2qBj (Note: If you use that link and then make a purchase, I will get a small commission. This is at no extra cost to you and helps me to maintain this blog. Thanks!)
Be sure to grab it ASAP. I’m not sure how long it will be free. If you read it, let me know what you think in the comments.
Growing up, I was Belle from the Disney version of Beauty and the Beast. I always had at least one book with me at all times. Most of the time, I was actively reading one of them, regardless of what else I was doing. Surprisingly, I am no more clumsy with my nose in a book than I am fully paying attention to what I’m doing, which is to say, I’m always very clumsy.
Anyway, one of the things I love about technology is that I can bring a library’s worth of books with me everywhere in my pocket. Or purse, really, since women’s clothing doesn’t have real pockets. Don’t get me wrong. I still love my hold-in-your-hand print books with their special book smell and feel. Knowing that I will always have a book or hundred at hand to read anywhere, though, is the best for a nerd like me.
The other cool thing about ebooks is that it is easy to get a whole library for free or cheap. Here are a few of my favorite resources.
Libraries
Did you know that most libraries now have a collection of ebooks and magazines to check out. My local library uses OverDrive to check out ebooks. All you need is a library card. I usually choose Kindle format, since I have an ancient Paperwhite and I use the Kindle app on my phone.
If you’re looking for a specific book or new releases, this is your best bet. You may have to wait a bit because there’s a limited number of digital copies to check out, just like books in a library.
Yes, you can get free ebooks on Amazon. You’ll need a basic (free) Amazon account and the Kindle app, or you can read on a pc. The link above will take you to the Kindle ebook store where I’ve searched for free ebooks. That gives you about a bajillion results to weed through. You can narrow down your search to, something like, “free kindle classic books literature” or “free kindle Sherlock Holmes books” or “free kindle sewing books” and have fewer results to sort through.
If you happen to have a Prime account, there’s some ebook perks with Prime Reading and First Reads, so make sure you check those out, too.
Quick note: I am an Amazon Associate, so if you click on an Amazon link on my blog and then make a purchase on Amazon, I will receive a tiny commission. The price for you is the same either way, so if you are going to be shopping on Amazon anyway, I would appreciate it.
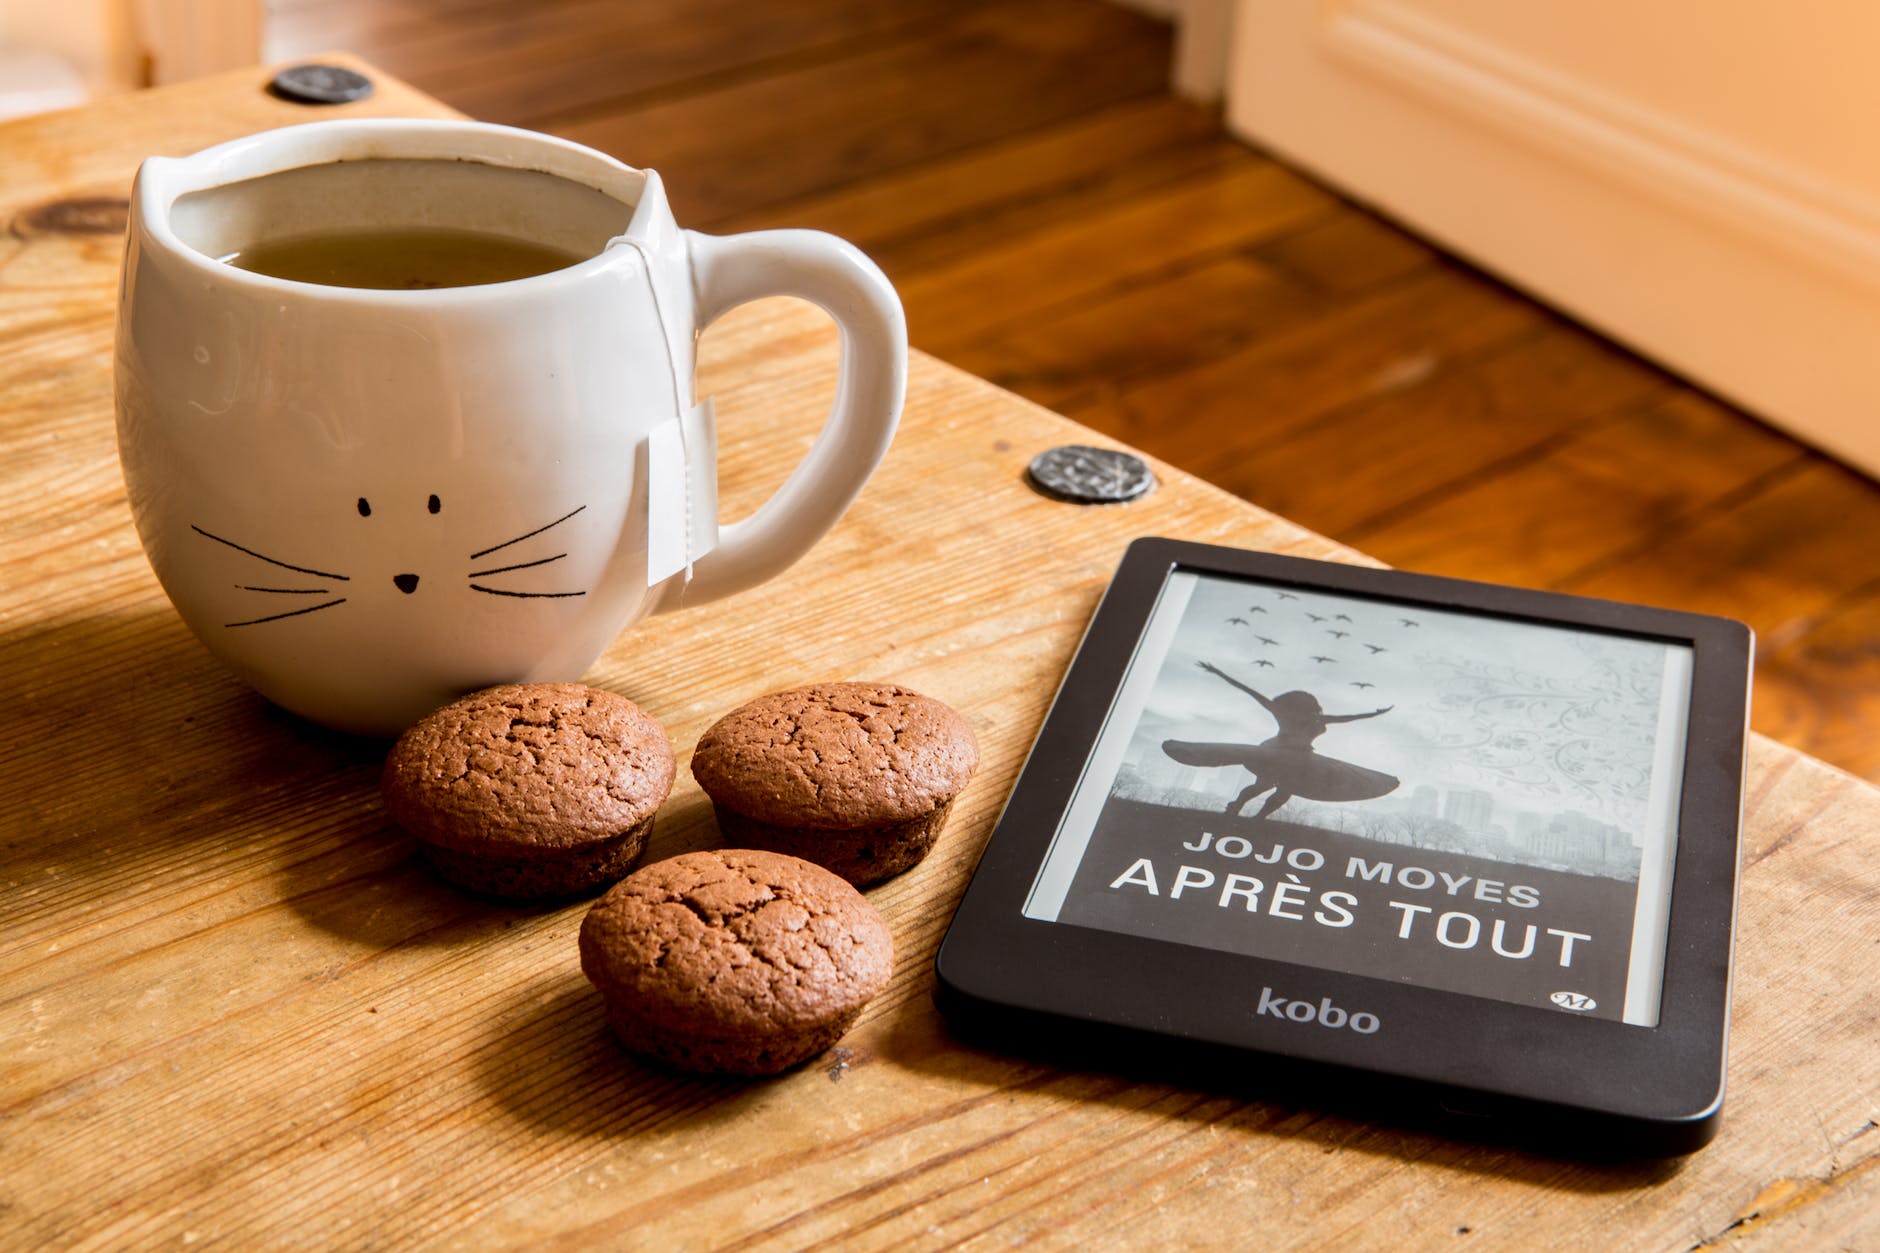
My Paperwhite ebook reader is this old. Photo by Caio on Pexels.com
Free Booksy
Free Booksy basically lets you know about free books in your chosen genres in a daily email. They’re books that are free for a limited time, so not the same things you would find in a free Amazon search. Most days there’s at least one book I want in the email. Right now, I tend to read more nonfiction, however if you like reading fiction series, Free Booksy often has the first in a new series for free, so it’s a great way to discover new authors. Sign up here. I’m not an affiliate, I just love the free books.
eBook Bundles
Occasionally you’ll find free or cheap ebook bundles online based on a theme, such as crafting or health and wellness. Ultimate Bundles is one site that offers them regularly. I’ve purchased bundles from them in the past that were very useful. Usually it’s something like $27 for hundreds of dollars worth of ebooks, courses, printables, etc. When I purchase one, I always make sure that there are at least three ebooks/resources included that I would purchase on their own, no question, AND they would cost me more than the total price of the bundle if purchased separately.
It doesn’t currently look like they’re promoting a bundle right now, but you can check out the website and see if what types of bundles they offer are of interest to you.
These are all resources I’ve personally used for free ebooks. I’m sure there’s plenty more out there. If you know of any, please share them in the comments. 🙂
To make sure you don’t miss any posts, sign up for my newsletter.
I love candles and wax melts, but I hate it when there’s a little left in the bottom of a jar or the wax has lost it’s scent. I don’t want to just throw the wax away. If it’s a jar candle, I won’t throw it a way, so it ends up taking up space waiting for me to find a new use for it.
I’ve always been interested in candle making, but I honestly don’t know much about the correct way to do it. This is just my, for me, kind of chaotic, fun way of using up the leftover wax scraps and jars. If you try to join in my chaos, always take care with the melting, pouring and burning, make sure everything you use is safe for this usage and never leave anything burning or melting unattended.
My solution is to melt down the wax and make my own candles in the old jars. I bought this wick set for the wicks. I start by picking the jar I want to use and then putting in the same number of wicks that were originally in the jar.
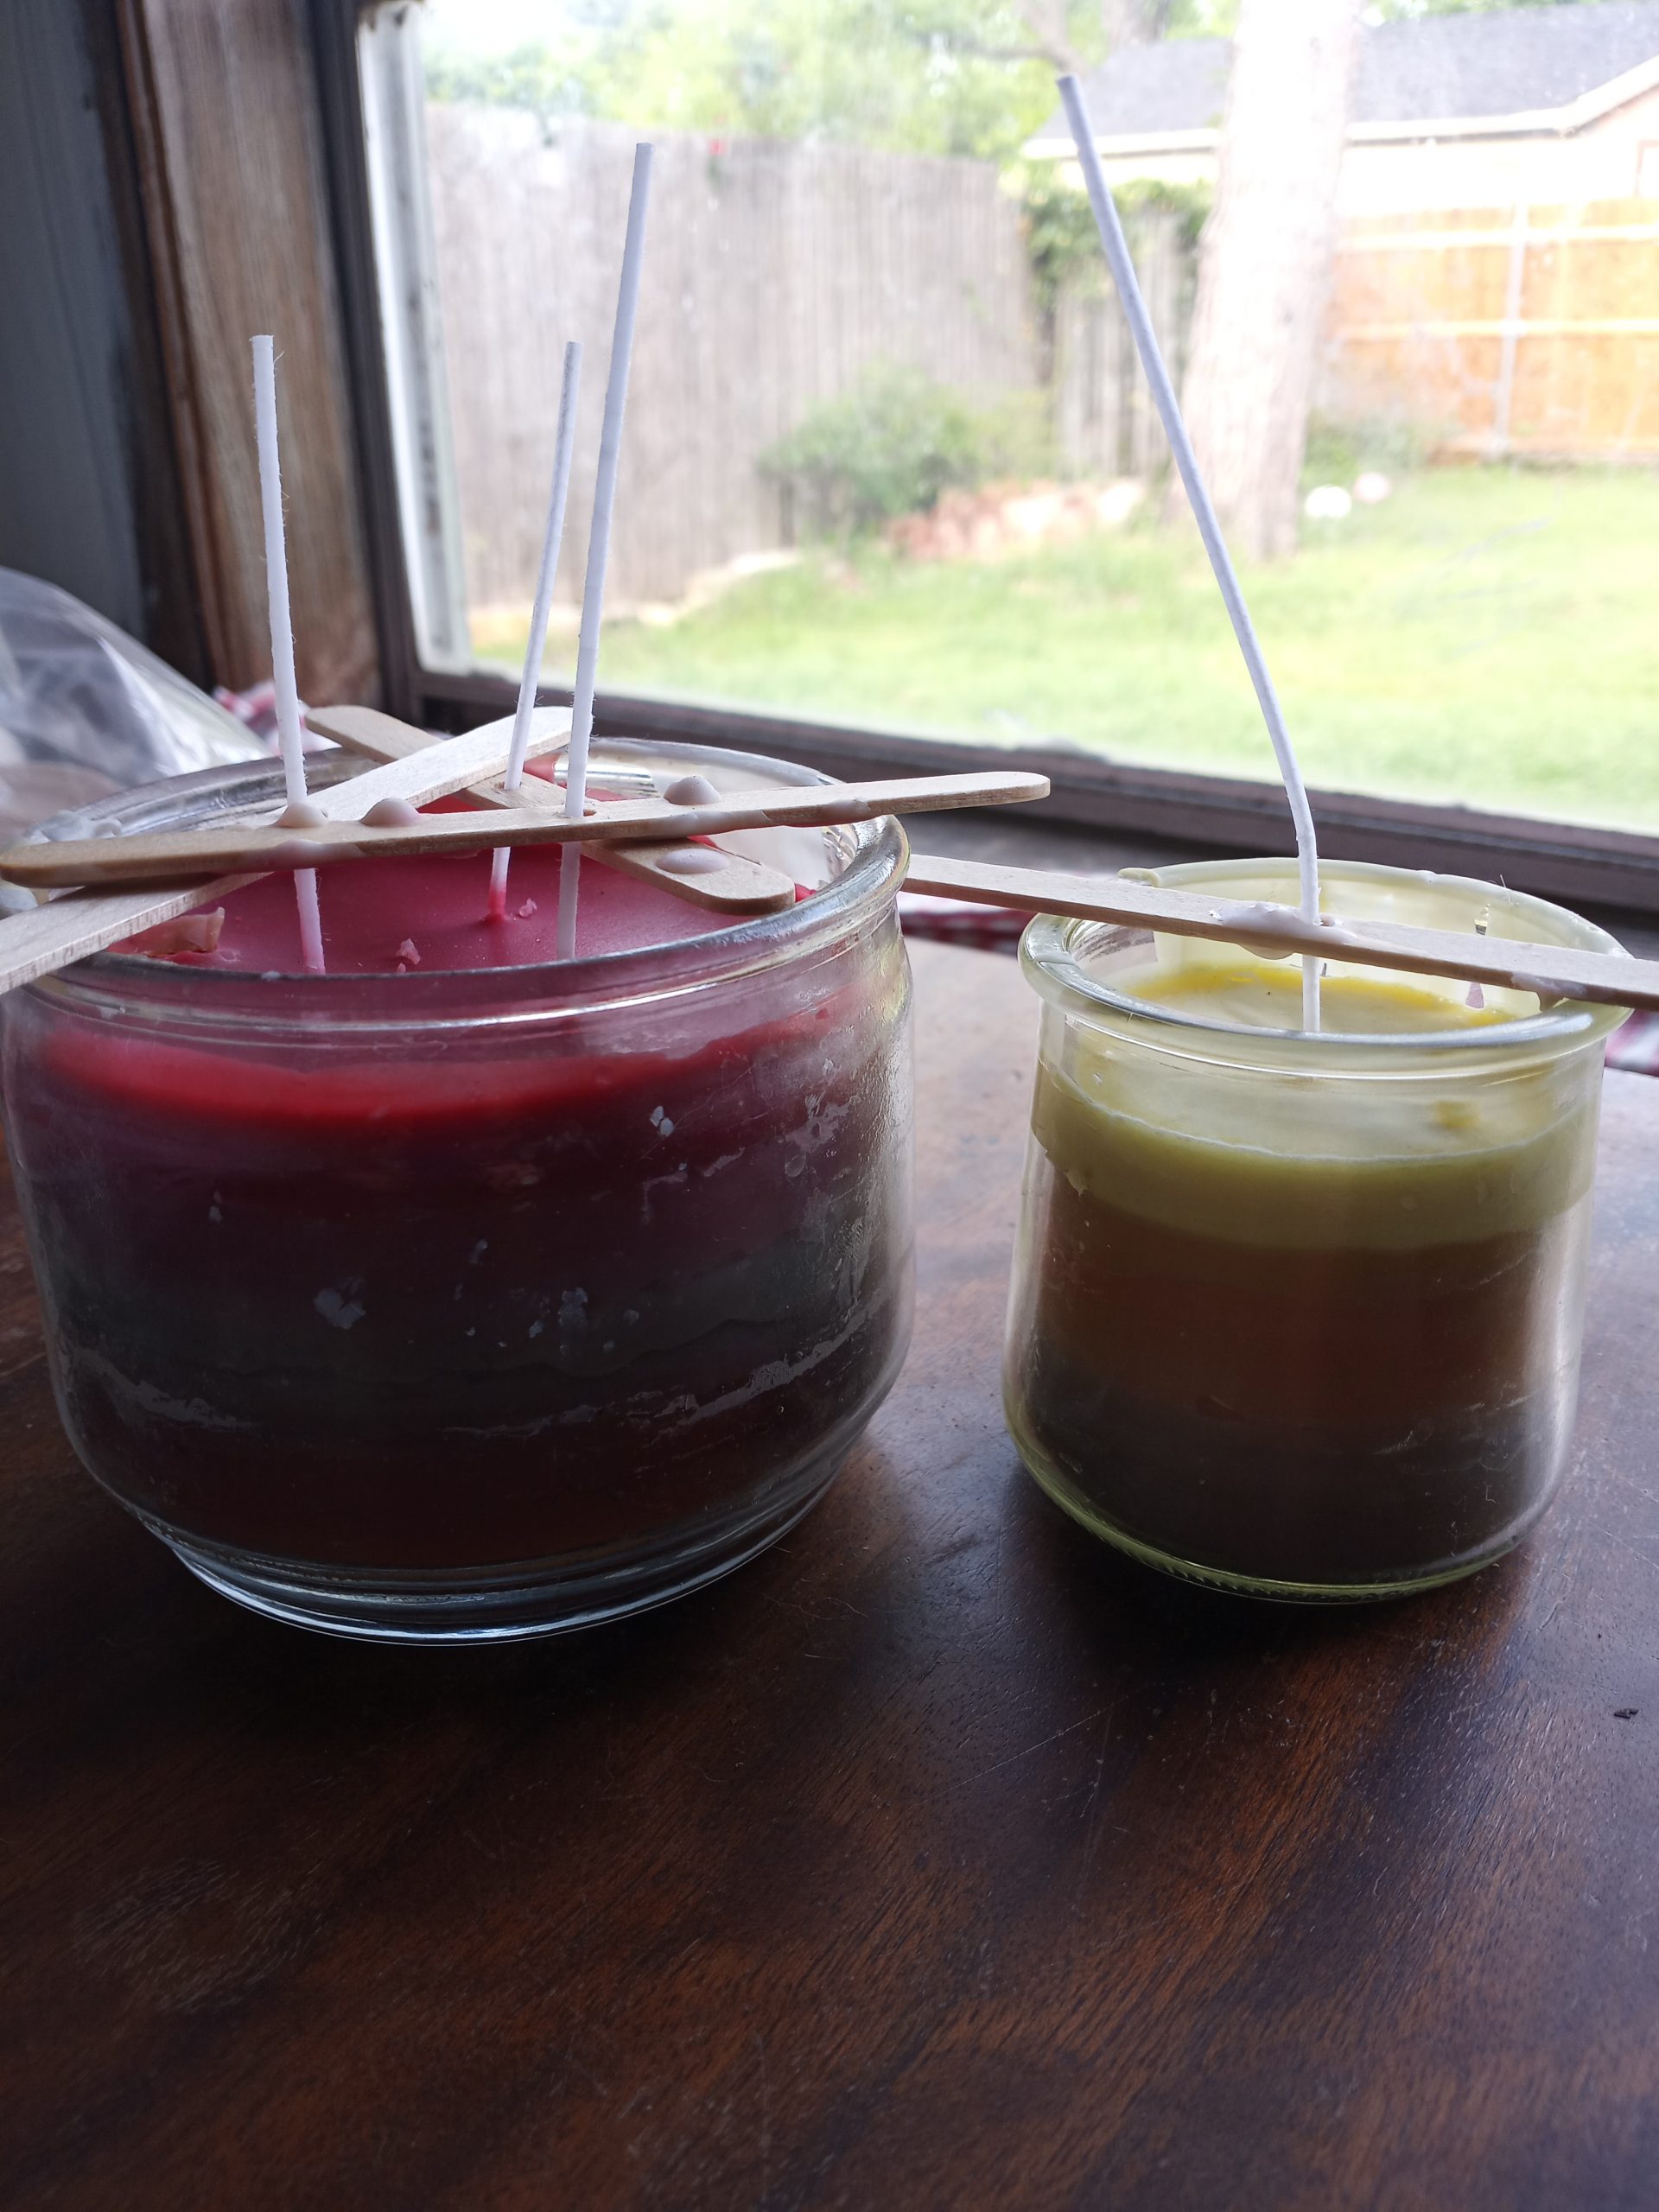
My candles still need a haircut. 😀
For the candles in the above photo, the one on the left was originally a three wick candle, so it got three wicks. The one on the right was a yogurt jar, so I just guessed and went with one wick.
After the wicks are in place, I melt down any scrap wax I have and pour it in. Usually, I do this a little at a time as I finish other candles, rather than all at once. That gives it the cool sand art layered look.
With jar candles, to get the last bit of wax out, if I don’t pour it while it’s still melted from the last time I burned the candle, I set the jar on my coffee warmer (do not leave it unattended!). Wax melts just get melted as usual and poured into the jar.
Coffee warmer- Not just for coffee.
I do try to keep the candles mostly the same type of wax. In the photo, the big candle on the left is made from candle wax ends. The yogurt jar candle is made of soy wax melts with a little of the tea light wax remnants added.
My one tea light warmer.
For scent, most of the candles I burn are in the same spicy or vanilla scent family. Since the leftover candle wax usually has a good bit of scent left, I don’t worry about adding my own. With the wax melts, I either just leave them as they are and have a mild to unscented candle, or I add a drop or two of an essential or fragrance oil to each layer as I pour it.
I don’t know if my chaos candle making method will help anyone else, but I have fun with it, and the resulting candles are pretty. It’s also a way to reduce waste and save money.
This post does contain an Amazon affiliate link. If you click on the link and make a purchase, I will receive a small commission at no additional cost to you.
To make sure you never miss a post, please sign up for my newsletter.
This was originally posted in 2017. I’ve been using my electric pressure cooker a lot lately to have easy, healthy meals. It’s been a while since I’ve shared, so I thought it was a good time to revisit it.
Last Christmas my lovely parents bought us an 8 qt. GoWise Pressure cooker that I have used almost daily ever since. This is the exact one I have:
With all the sales happening, and the Instant Pot craze still going strong, I know lots of people will be getting an electric pressure cooker and then wondering what to do with it. At least that’s what I did. Now that I’ve used mine for a while, I have some favorite uses for it to share with newbies. I have never used an official Instant Pot, so I can’t say how they compare. They should work about the same, though, so if you have an Instant Pot or other similar electric pressure cooker you should be able to enjoy all this awesomeness, too.
10 Reasons I Love My Electric Pressure Cooker (Instant Pot)
Easy Instant Pot Boiled eggs:
Boiled eggs on the stovetop are easy, unless you’re getting ready for work or school or have young children or are otherwise easily distracted. Then you either burn them or undercook them. Peeling them also is hit or miss. Sometimes the shell comes off easily, other times it takes half the egg white with it.
In the electric pressure cooker, I can put a dozen eggs in the steamer basket with a little water, push the button for eggs (mine has 1,3, and 5 minute settings for soft, medium and hard), and forget about it. The end result is perfectly cooked eggs that peel so easily my two year old can do it.
Potatoes:
Even in the microwave, I have a hard time getting potatoes and sweet potatoes to cook properly. It seems like I always have to restart it a few times to finally get them done. With the pressure cooker, I set it for 15-17 minutes depending on how soft I want them, and they are always done. I’m trying to quit using my microwave all together, too, so the pressure cooker is definitely the faster option compares to the oven.
Slow cooker recipes:
Anything you’d make in a crockpot can be cooked in the pressure cooker. You can either use the slow cooker setting, or, if you forgot about cooking dinner until after lunch, you can cook it under pressure and have it done in an hour or less.
Not only that, but, unlike with a slow cooker, you can use the sauté setting to brown meats or anything that needs browning first. That means more flavor with fewer dirty dishes.
Beans:
If I forget to presoak dry beans, I’ll put them in my pressure cooker for five minutes to do a quick presoak, drain, and add back to the pot along with the seasonings and broth or cooking water, then cook using the bean setting. It’s possible to skip the presoak entirely and go straight to cooking, if I’m short on time, but I prefer to presoak when I can.
If I get them cooking early enough in the day, I’ll switch to the slow cooker setting after they’ve cooked with pressure. That gives them the super yummy, second day flavor on day one.
Stews, soups and curries:
Browning meats and onions in the pot add flavor, and you can use the pressure then slow cook trick to further develop the flavor.
Smaller meats like chicken breasts, vegetables and rice can be put into separate heat-proof containers and steam cooked at the same time. I usually cook too much at once to do that, but when it works out, it is handy and doesn’t heat up the kitchen like using the oven. Easy All in One Electric Pressure Cooker Meal
Rice:
It cooks rice even better than my little rice cooker, and I don’t risk burning it like I do on the stovetop. (There’s lots of distractions here, people.) I don’t use it much for rice, though, since I usually cook curries and things I serve with rice in the pressure cooker. Whenever my rice cooker dies, though, I’m seriously considering a second, smaller pressure cooker as a replacement.
Yogurt:
I haven’t quite perfected yogurt with any method yet, but so far, the best I’ve made is in jars on the trivet in the pressure cooker. It is still a little runny, but it works well for smoothies.
Baking in an Instant Pot:
I’ve only done this once, but thought I’d mention it. You can bake cakes and breads in it by setting the bread or cake pan on the trivet and adding water to the pot for steam. This helps keep the bread or cake moist, which is especially handy for baking with gluten or grain-free flours.
Like this article? To make sure you don’t miss out on future posts, sign up for my newsletter.
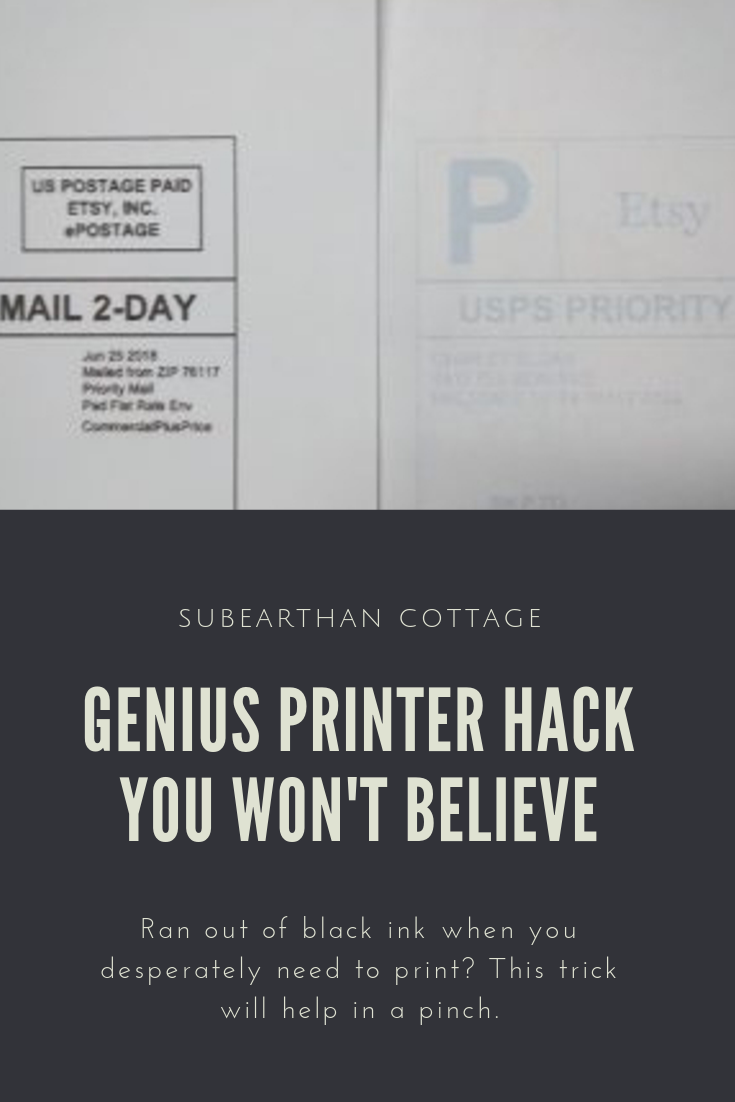
Have you ever had to print a paper or mailing label NOW and realized your black ink cartridge is out of ink? As much as I try to keep an extra on hand, sometimes I run out without a backup. Something I’ve found that works in a pinch is to simply remove the black ink cartridge. This forces the printer to use the color cartridge to print the document instead.
With and without the empty black ink cartridge removed.
The label on the right was my first attempt at printing a mailing label before realizing that I was overdue for a new black cartridge. The label on the right was printed with the black cartridge removed.
My printer will usually print one or two jobs this way without complaining, then I may have to put the old cartridge back in for a bit then remove it again if I need to print something else. Usually by that time I have been able to get a replacement cartridge.
It’s always better to be prepared, but in a pinch this trick works like magic. It has certainly saved me a rushed trip to buy ink on more than one occasion.
Even if you love sewing, there’s some parts that can be a chore. Ignoring those tasks or leaving them for later can result in wasted sewing time and money. Here’s a list of chores I try to tackle when I have a few minutes so that my real sewing time is spent actually sewing.
Bobbin winding
If you have a Side Winder, bobbin thread running out mid-project might not be a big hassle. If you rely on your machine to wind bobbins, though, running out means stopping your work, re-threading your machine to wind a bobbin and then setting it back up to sew. To prevent this headache, when you have a few spare moments, wind a few bobbins in your most commonly used colors. If you have a project in mind, wind a couple of bobbins in the needed colors. Keep extra bobbins on hand and wind at least one for every different thread color you have.
Pre-winding extra bobbins makes this notice less annoying.
Clean your machine
Lint, threads and dust build up over time and can cause poor stitch quality or even damage your machine. It’s a good idea to make a habit of brushing the debris out at the end of each project, or during projects with linty fabrics.
If the inside of your machine looks like this, you should probably clean it more often.
Periodically you’ll want to vacuum out your machine to really clean it. Vacuum attachments made for cleaning computers work well for this. Some people use canned air, but that’s not recommended. It pushes some of the debris deeper into your machine.
Oil your machine
Once your machine is thoroughly clean, take a moment to oil it according to your manual. This will keep it running smoothly and reduce the need for costly repairs. If you don’t have the manual, you can usually find one online.
After oiling, always sew a few rows on scrap fabric to soak up excess oil. That way, you won’t risk ruining a project with oil spots.
Tidy up
The best practice is to put away tools and excess fabric as you go. It’s easy to get distracted and forget, though. Taking a moment here and there to run through your sewing area to tidy up when you aren’t working on a project can save sewing time later.
Keep a shopping list
Nothing is more annoying than having to stop work because you ran out of a necessary supply. Make note of supplies that are low or that have run out on a notepad to take on your next shopping trip.
Prewash fabric
Unless you know your final project will never be washed, you should always prewash your fabric. One way to make sure this happens is to wash it as soon as you bring it home from the store. You could also work it into your usual laundry schedule. Having a prewashing routine prevents delaying a project or worse, giving in to the temptation to make something and have your final product ruined in the wash.
These are the chores that, for me, are the biggest sewing time-wasters when neglected. Please share your dreaded sewing chores and tips to keep them from becoming time-wasters in the comments.
I, Charity Sloan, am a participant in the Amazon Services LLC Associates Program, an affiliate advertising program designed to provide a means for sites to earn advertising fees by advertising and linking to Amazon.com. Any purchases through those links will result in my receiving a small percentage in commission.
This only refers to Amazon links found in/on my blog pages. All products in my shop are 100% mine and not linked to Amazon.
Prices are the same whether you click an affiliate link or a non-affiliate link, so you will not be charged more. Thank you for your support!