Posted on 3 Comments

How I Patched My Denim Jeans And Added an Embroidery Embellishment

Another way to patch denim jeans

My mom gave me several pairs of worn out denim jeans for me to play with several months ago.  A few just happened to be my favorite style from Old Navy and in my size. Rather than cut them up for other projects, I decided to make them cute with patches and a little embroidery. Here’s the method I used for patching denim jeans.

Another way to patch denim jeans
First, the knees.

Patching the knees

Prepping the denim jeans

In order to sew at the knees, you have to carefully rip out the stitches along one leg seam. You don’t have to rip out the entire seam, but you need to give yourself plenty of room above and below the knee to work. One seam is usually top-stitched. To make it easier all around, do NOT rip out the top-stitched seam.

After ripping out the seam, press the denim as smooth as possible with an iron.

Prepping the fabric

To patch the denim jeans, I chose to go underneath the rips and leave the torn edges visible. For the patches, I used cotton quilting material left over from sewing masks . I cut the fabric into squares a few inches bigger than I needed to patch. In the future, I will probably interface the fabric at this time. I knew I planned to interface everything at a later step, though, so I didn’t.

I pinned the fabric to the inside of the denim jeans.

Sewing the patches

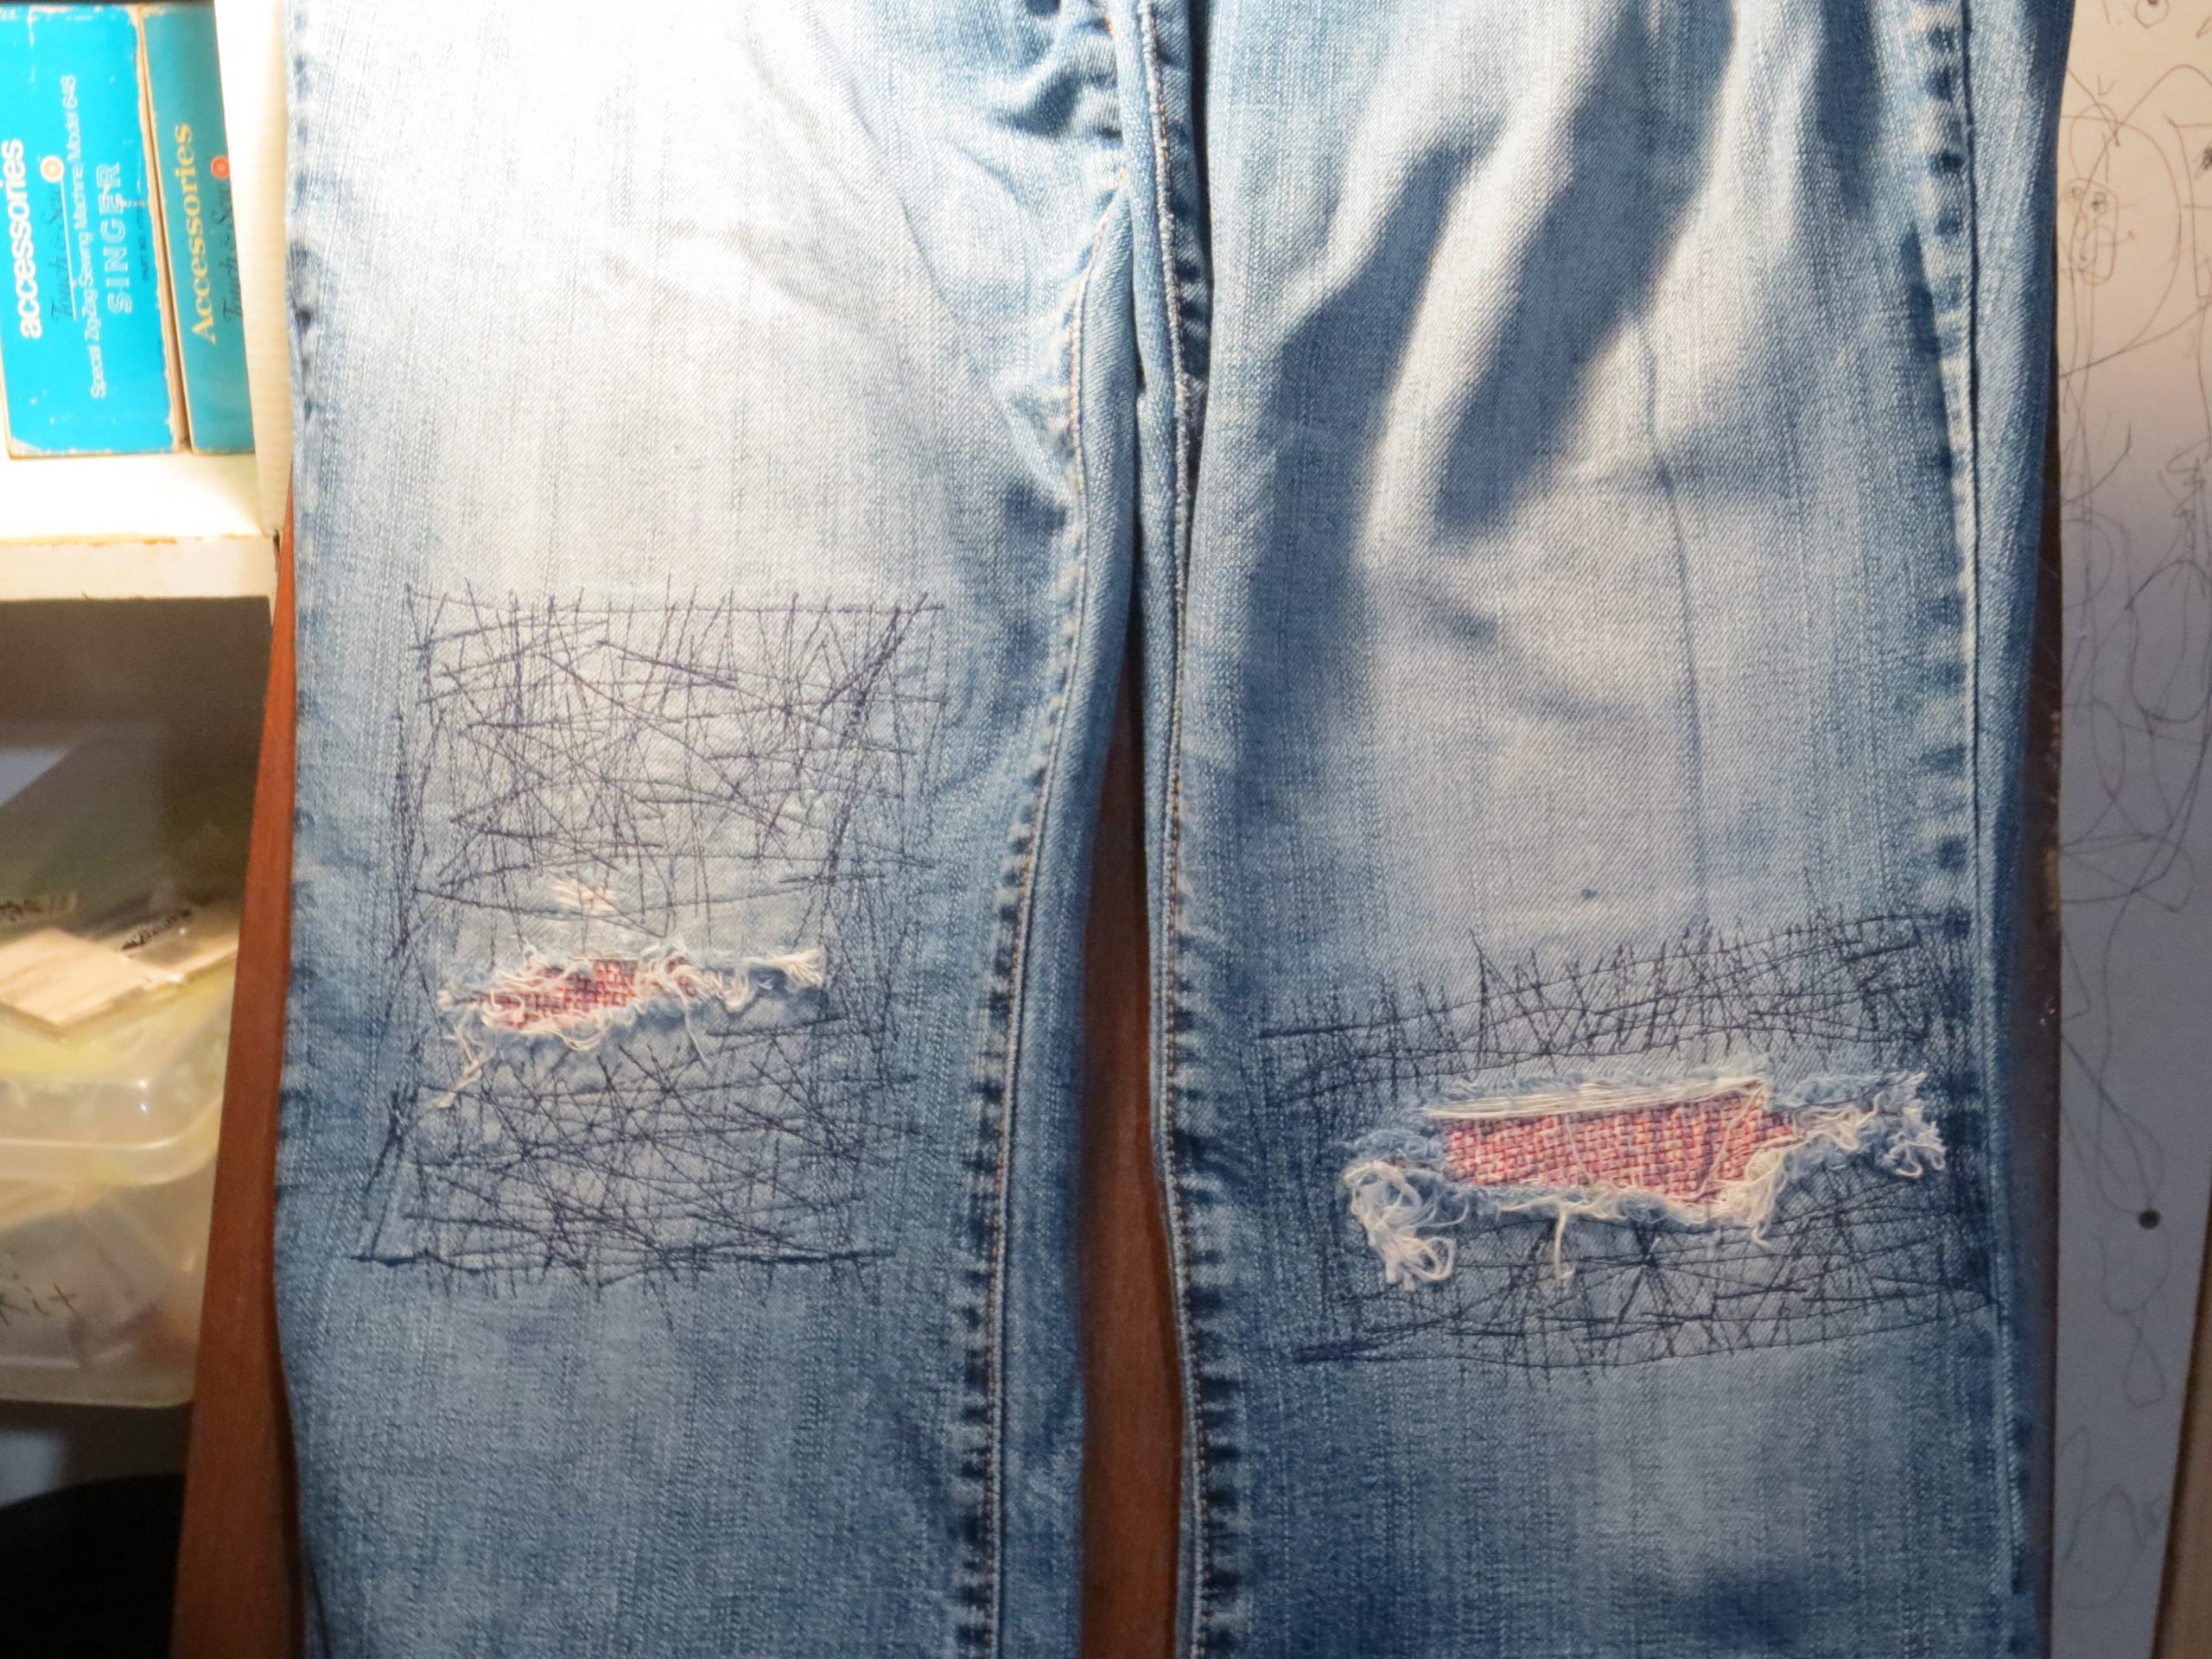
Before sewing the crazy stitches shown in the photos, I sewed a single line of stitching all around the patch about a quarter of an inch inside the edge of the quilting fabric. This kept it in place while I did the crazy reinforcing stitches. After it was secure, I stitched in all different directions between the edge of the tear and slightly overlapping the first single line of stitching.

This side was more worn out, so it got more reinforcement stitching.

When jeans rip, usually the material around the tear is worn thin as well. In the past, I often left too much of the worn area without reinforcement. This results in new rips soon after the first repair. This time I reinforced at least an inch and a half around the tears.

Reinforcing the patched denim jeans with interfacing

After I was done stitching, I ironed interfacing to the inside. I did the interfacing last to act as a soft layer between my knees and the stitching. In retrospect, I probably should have interfaced the quilting cotton first, and then interfaced again at this step if I felt it was necessary. So far my jeans are holding up with the way I did it, though.

Sew it up

With the patches done, all that’s left is resewing the side seams. I just pinned it closed and sewed it back along the original stitching line. For the overcasting to finish the raw edges, I was lazy and used the overedge stitch on my sewing machine instead of switching to my serger. Zig-zag stitching along the edge to finish it would also work.

Embroidering the pocket

To embroider the pocket, I first removed the pocket from my jeans. Since it’s too small to hoop, I hooped tear away stabilizer alone and secured the pocket to the stabilizer with a glue stick. I used my Damask Rose embroidery pattern for the embellishment.

After the embroidery machine was done working its magic, I removed the stabilizer and replaced the pocket on my jeans using a heavy denim thread in a close shade to the original thread.

Simple, right? Actually, I tried to do that, messed up the hook timing on my Kenmore sewing machine AGAIN within the first few stitches and had to move to my backup vintage Montgomery Ward Signature machine. It took a few minutes of fiddling with the settings, but once I got it set up correctly it sewed through the heavy denim layers like butter.

In all fairness to my Kenmore, I did probably deserve it this time, between the crazy reinforcement stitches and then trying to sew through multiple layers of denim with thick thread. At least this time it let me reset the hook timing without much fuss.

Have you gotten more acquainted with your sewing machine lately? I’d love to see your projects in the comments.

Like this post? To make sure you never miss a future post, please sign up for my newsletter.

Posted on Leave a comment

Upcycling Fabric Scraps

Fabric-Scrap-Upcycle

This isn’t going to be a full tutorial because I didn’t do a great job of documenting the process. If you’d like a full tutorial, please let me know. I will link to the page I learned it from here.

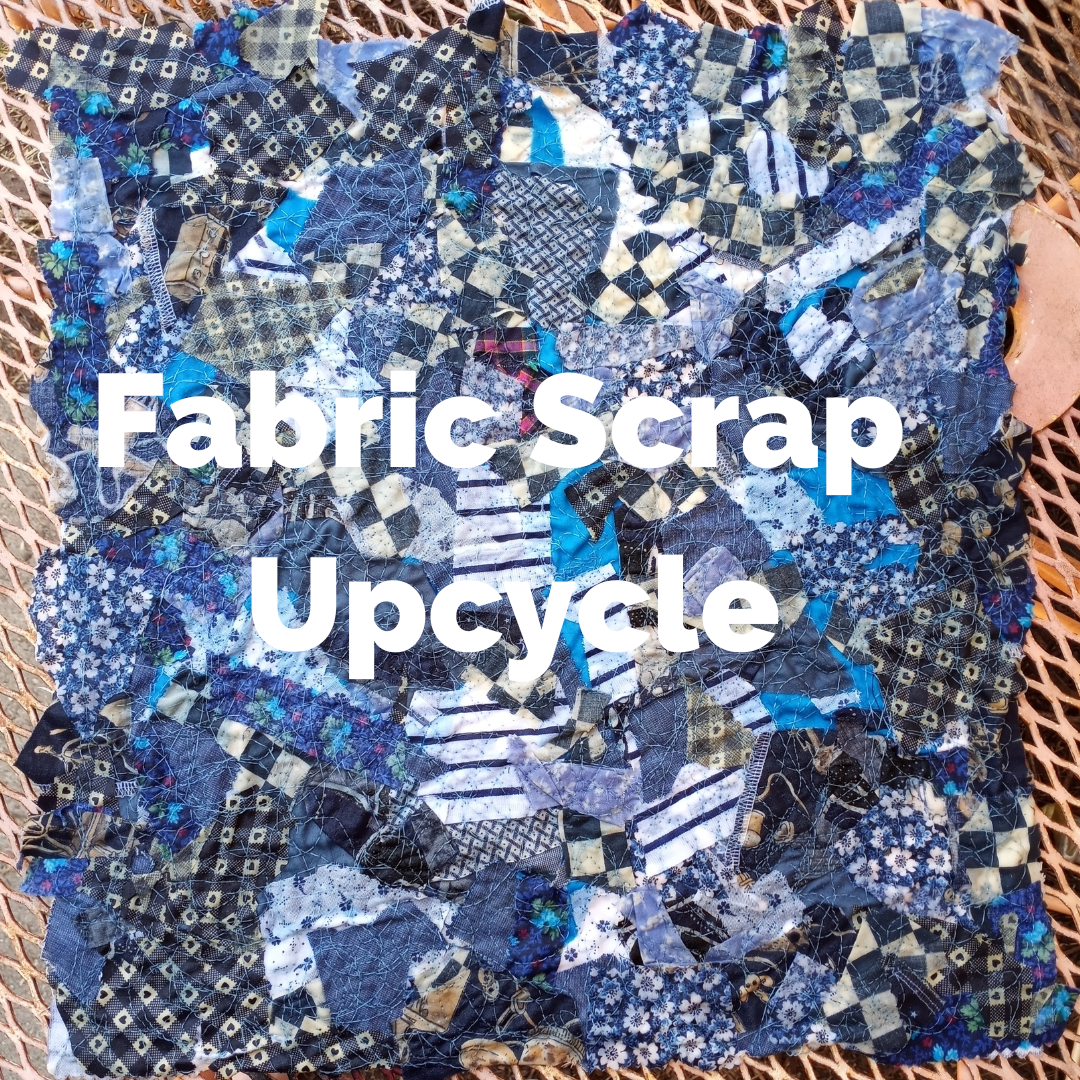
I saw this really cool way to make a bunch of fabric scraps into new, usable fabric that is really textured and cool. First, you need a backing piece of fabric. I used an upholstery sample square that I hadn’t found a use for yet. Then, you cover it in fabric scraps. I went with all pieces from my “blue” sorter bin and let them fall all over randomly. I did try to keep it all in one or two layers and moved pieces around to cover all the empty spots. I left some upside down to add more variety in the colors, and I didn’t worry about ironing the pieces first. 

Once I had everything in place, I pressed it with my iron to smooth it down. Then I pinned water soluble stabilizer on top to help hold everything in place for the sewing machine. To sew, I lowered the feed dogs on my machine and crazy free motion quilted everything together. You can see that in the first video below.


@subearthancottage

Trying a new technique to make usable fabric from my fabric scraps. #upcycling #zerowaste #asmr #sewing #quilting

♬ original sound – Charity

After I had everything thoroughly stitched down, I rinsed out the stabilizer, shown here.

@subearthancottage

Rinsing out the water soluble stabilizer. It’s so cool to finally see the colors pop out as the stabilizer dissolves. #upcycling #sewing #quilting

♬ Lofi Vibes – Gentle State

That’s it. Now I have this really cool piece of fabric. I can’t decide what to do with it. It almost looks like it could hang on the wall like that as art. I also thought about making a couple of zipper pouches or sets of coasters out of it. It would also be fun to use as patches for clothing. 

What would you make with it? Leave your suggestions below. 🙂

Posted on Leave a comment

Dress to Tunic Refashion

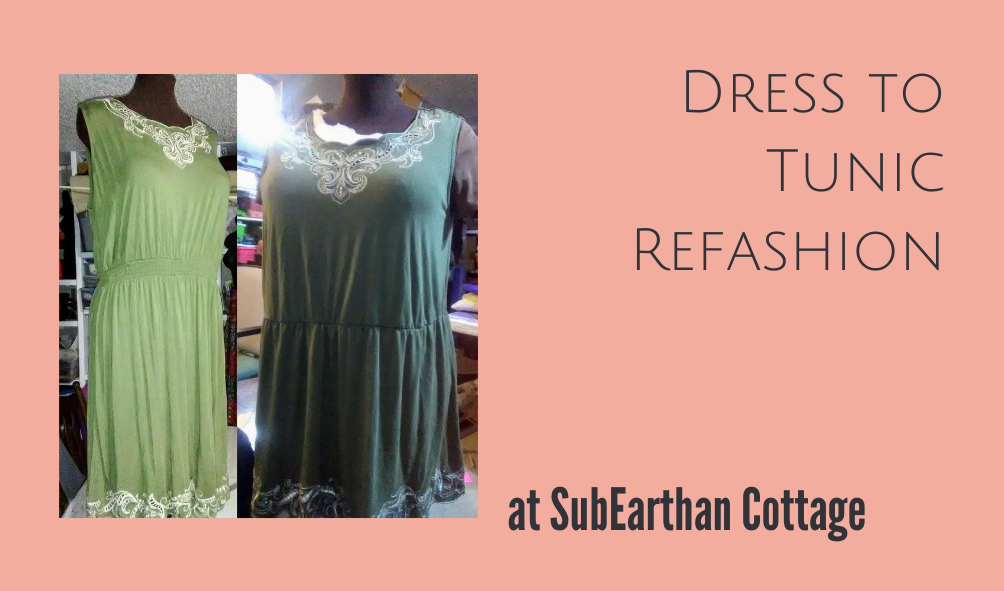
I finally got around to refashioning the green knit dress that I found at Goodwill over a year ago.

Green Knit Dress
Green knit dress

What I did to the dress

I decided to shorten it to mid-thigh and take in the top for a better fit. In order to keep the pretty stitching at the bottom, I took the excess length from the middle.

I took the top in a little at the sides, but not enough to make it too fitted. It’s hot, so loose and breezy isn’t a bad thing.

To join the two parts, I added elastic to the waist of the skirt and then reattached it to the top.

Refashioned green knit dress.

End result

Here’s the result. In retrospect, I wish I had made the elastic fit a bit tighter. Right now, it just hangs fairly straight. I may go back and redo that some other time.

As it is, it’s comfortable to wear over leggings, so perfect for hanging out at home with the kiddos.

A note for homeschoolers

I’ve been cleaning the office and getting our homeschooling supplies ready for our official start to the school year. If you’re new to homeschooling, or just looking for new ideas, I’ll post photos of our setup, as well as other homeschooling tips next week.

Like this post? To make sure you never miss a future post, please sign up for my newsletter.

Posted on Leave a comment

Cloth Gift Bags are Available Now

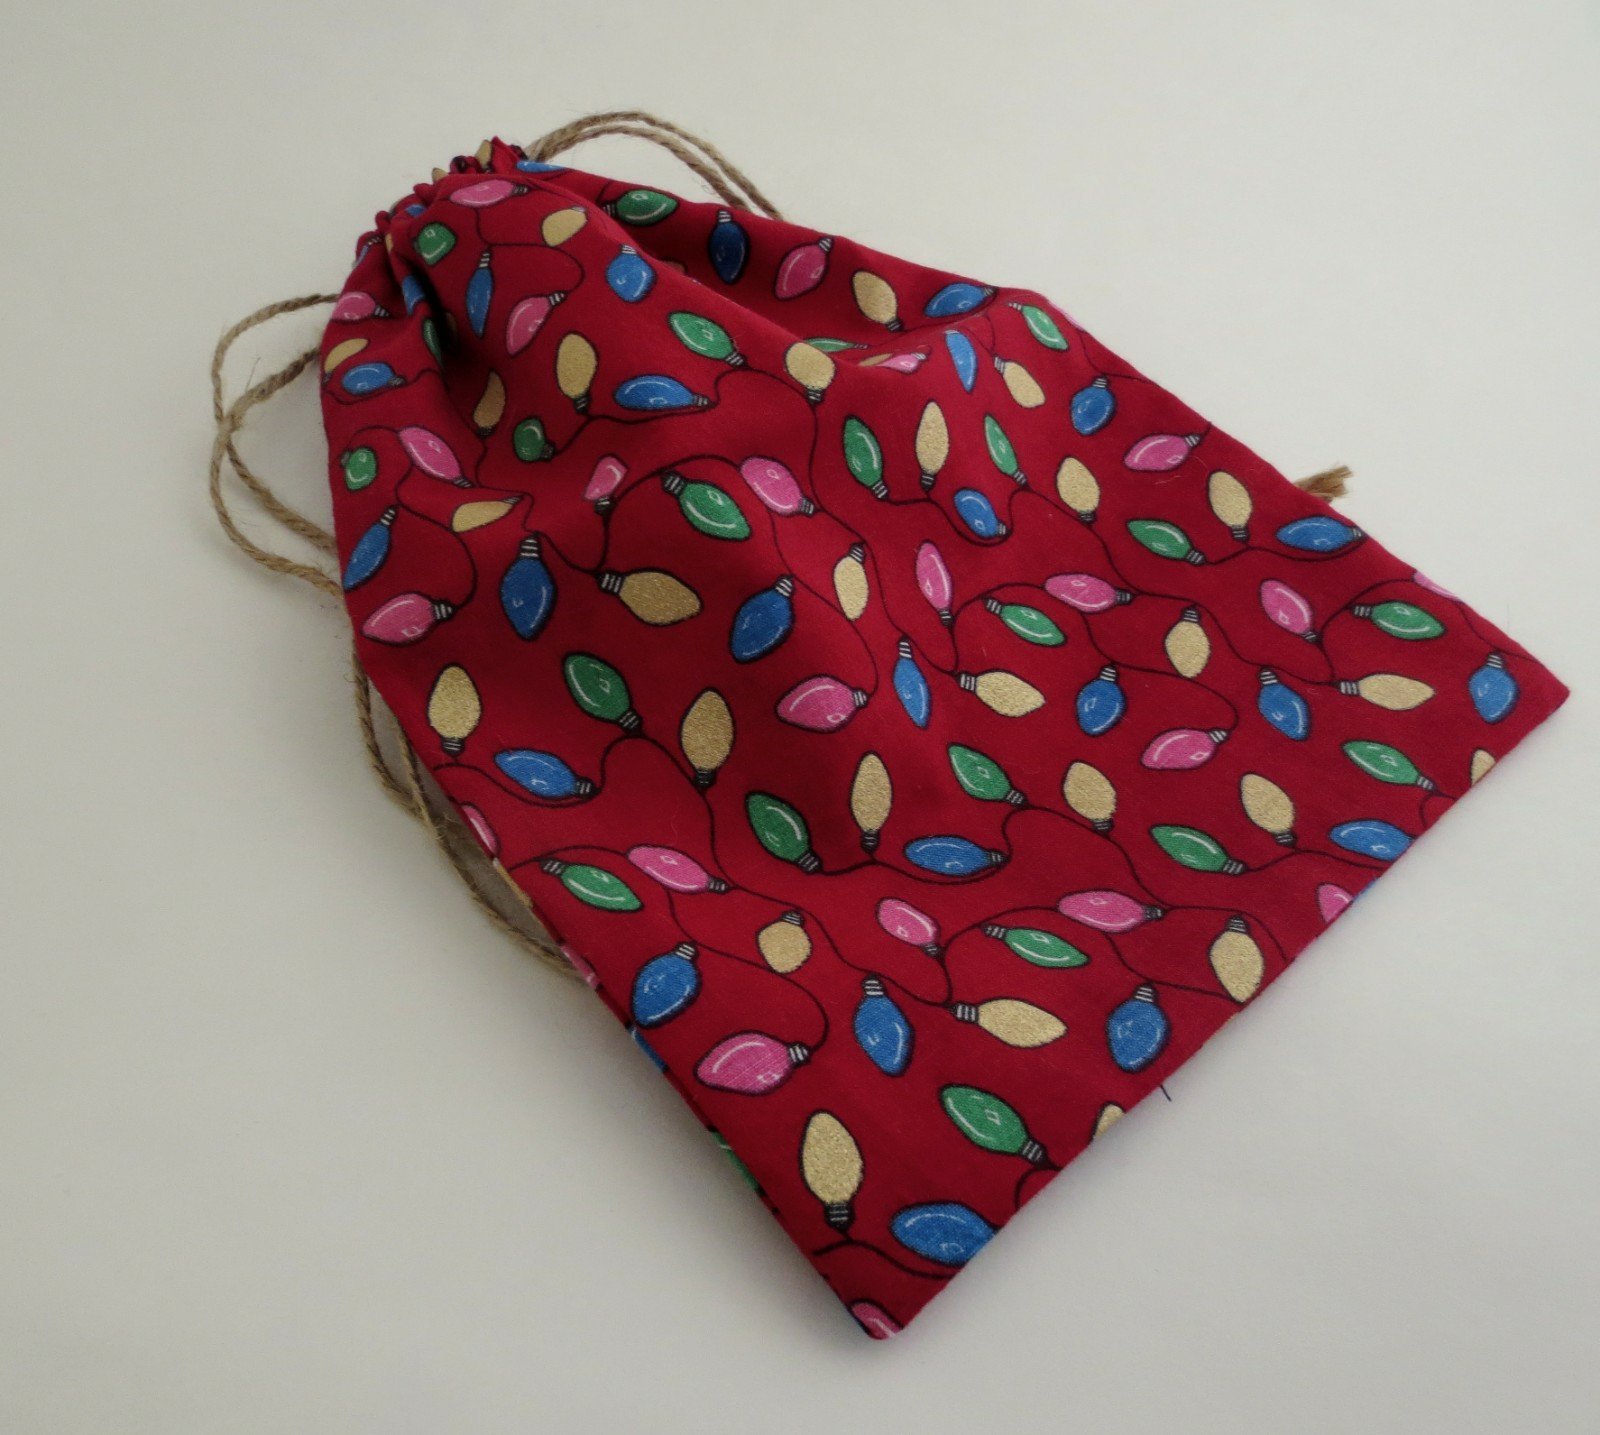
There’s a new batch of Christmas gift bags at the SubEarthan Cottage Shop. This year, you can choose between jute twine like I use for wrapping my soaps, or white satin ribbon for the drawstrings. 

You can find all the Christmas gift bags here: https://subearthancottage.com/product-category/holidays

That is all the fabric I have in those prints, so if you like them, get them quickly before they sell out. Right now, coupon code “NewSiteSale” is good for 30% off your entire regular-priced order.