I have quite a bit of finished wood furniture that I love, except when it comes to polishing. There’s always some sticky fingerprints or a glob of something unidentifiable (thank you, Thaddeus). Most commercial polishes do okay on relatively clean surfaces, but don’t do a great job on the really messy stuff. Sometimes I’d spray some polish right on the spots, polish the rest and hope the globs loosened up enough to wipe away. Once in a while it worked. Other times it resulted in a ring around the spot while the sticky may or may not have loosened at all.
I finally did a little research on homemade furniture polish recipes. Here’s the one I use.
DIY Natural Furniture Polish
Ingredients:
3 parts olive oil 1 part vinegar Splash lemon juice (optional)
Combine everything in a spray bottle and shake to mix. Some recommend storing it in the refrigerator or only making what you’ll use in a day. I make about 1-2 cups worth at a time and keep it at room temperature. So far I haven’t had problems with it spoiling.
For light polishing, I spray the rag and wipe. For heavier cleaning, I spray directly where needed. I have never had it leave a ring, and it buffs nicely without leaving a residue. It works equally well on furniture with a matte stain and pieces with a high gloss varnish.
I love that this recipe uses things I have around the house and costs less than even the cheap commercial polishes. I also like knowing that it is completely nontoxic. I can let Thadd help without worrying that it might hurt him if he sprays it in his face. Or my face. Seriously, you never know with this kid.
You could probably customize it with a few drops of essential oils, too. I think something citrus-y would be nice. Also, if you don’t have olive oil, you could try swapping it with whatever you have on hand.
Give it a try and tell me what you think. If you’d like more “green” cleaning options check out my recipe for soft scrub and my all purpose cleaner recipe.
For my handmade home and laundry products, click the link below.
Home and Laundry
SubEarthan Cottage offers handmade laundry products, scented wax tart melts and reusable products for your home to reduce waste and synthetic chemical exposures in your home.
‘This is a breast cancer and treatment post. If you don’t want to read about medical stuff, check out some of my DIYs and recipes.
I actually started this post about a week and a half ago on my last chemotherapy day. Then, I got tired, then sick a few days later and got to stress over whether I needed to go to the hospital. Luckily, all I needed was rest, antibiotics and my mom for a few days.
Today is my last chemotherapy treatment. I had an MRI done a week ago that shows all the previously affected lymph nodes to look completely normal. As for the three tumors in my breast, all that remains is wispy asymmetry in a benign pattern. “Wispy asymmetry” almost makes it sound pretty. Almost.
I’m still having a double mastectomy in June. The cancer was so diffuse and since I’m young, we’re not taking chances. It’s kind of funny how relative age is. When I was pregnant at thirty five, I was of “advanced maternal age” and it was considered a “geriatric” pregnancy. Get breast cancer at forty one and I’m young again, lol.
The chemo has made it so I won’t lose as many lymph nodes, so that is great news. Fewer lymph nodes removed means less chance of lymphedema.
Pathology from the surgery will determine if radiation is needed and if I will continue on the Herceptin and Perjeta or switch to a different targeted therapy. I’d really like to avoid radiation, if possible. For some reason, I’m more worried about radiation than chemo and surgery.
I am looking forward to having hair again. It will be nice not having to wash my hair while recovering from surgery, and being bald in summer isn’t terrible. I’m over tying scarves or wearing my wig, though, and as it gets hotter, both are uncomfortable. I need some hair to keep my scalp from getting sunburned.
I did make myself a couple of bucket hats that are easy to throw on. They turned out nicely, so I made a couple more to put in my shop. Right now, this is the only print, and I only have two available.
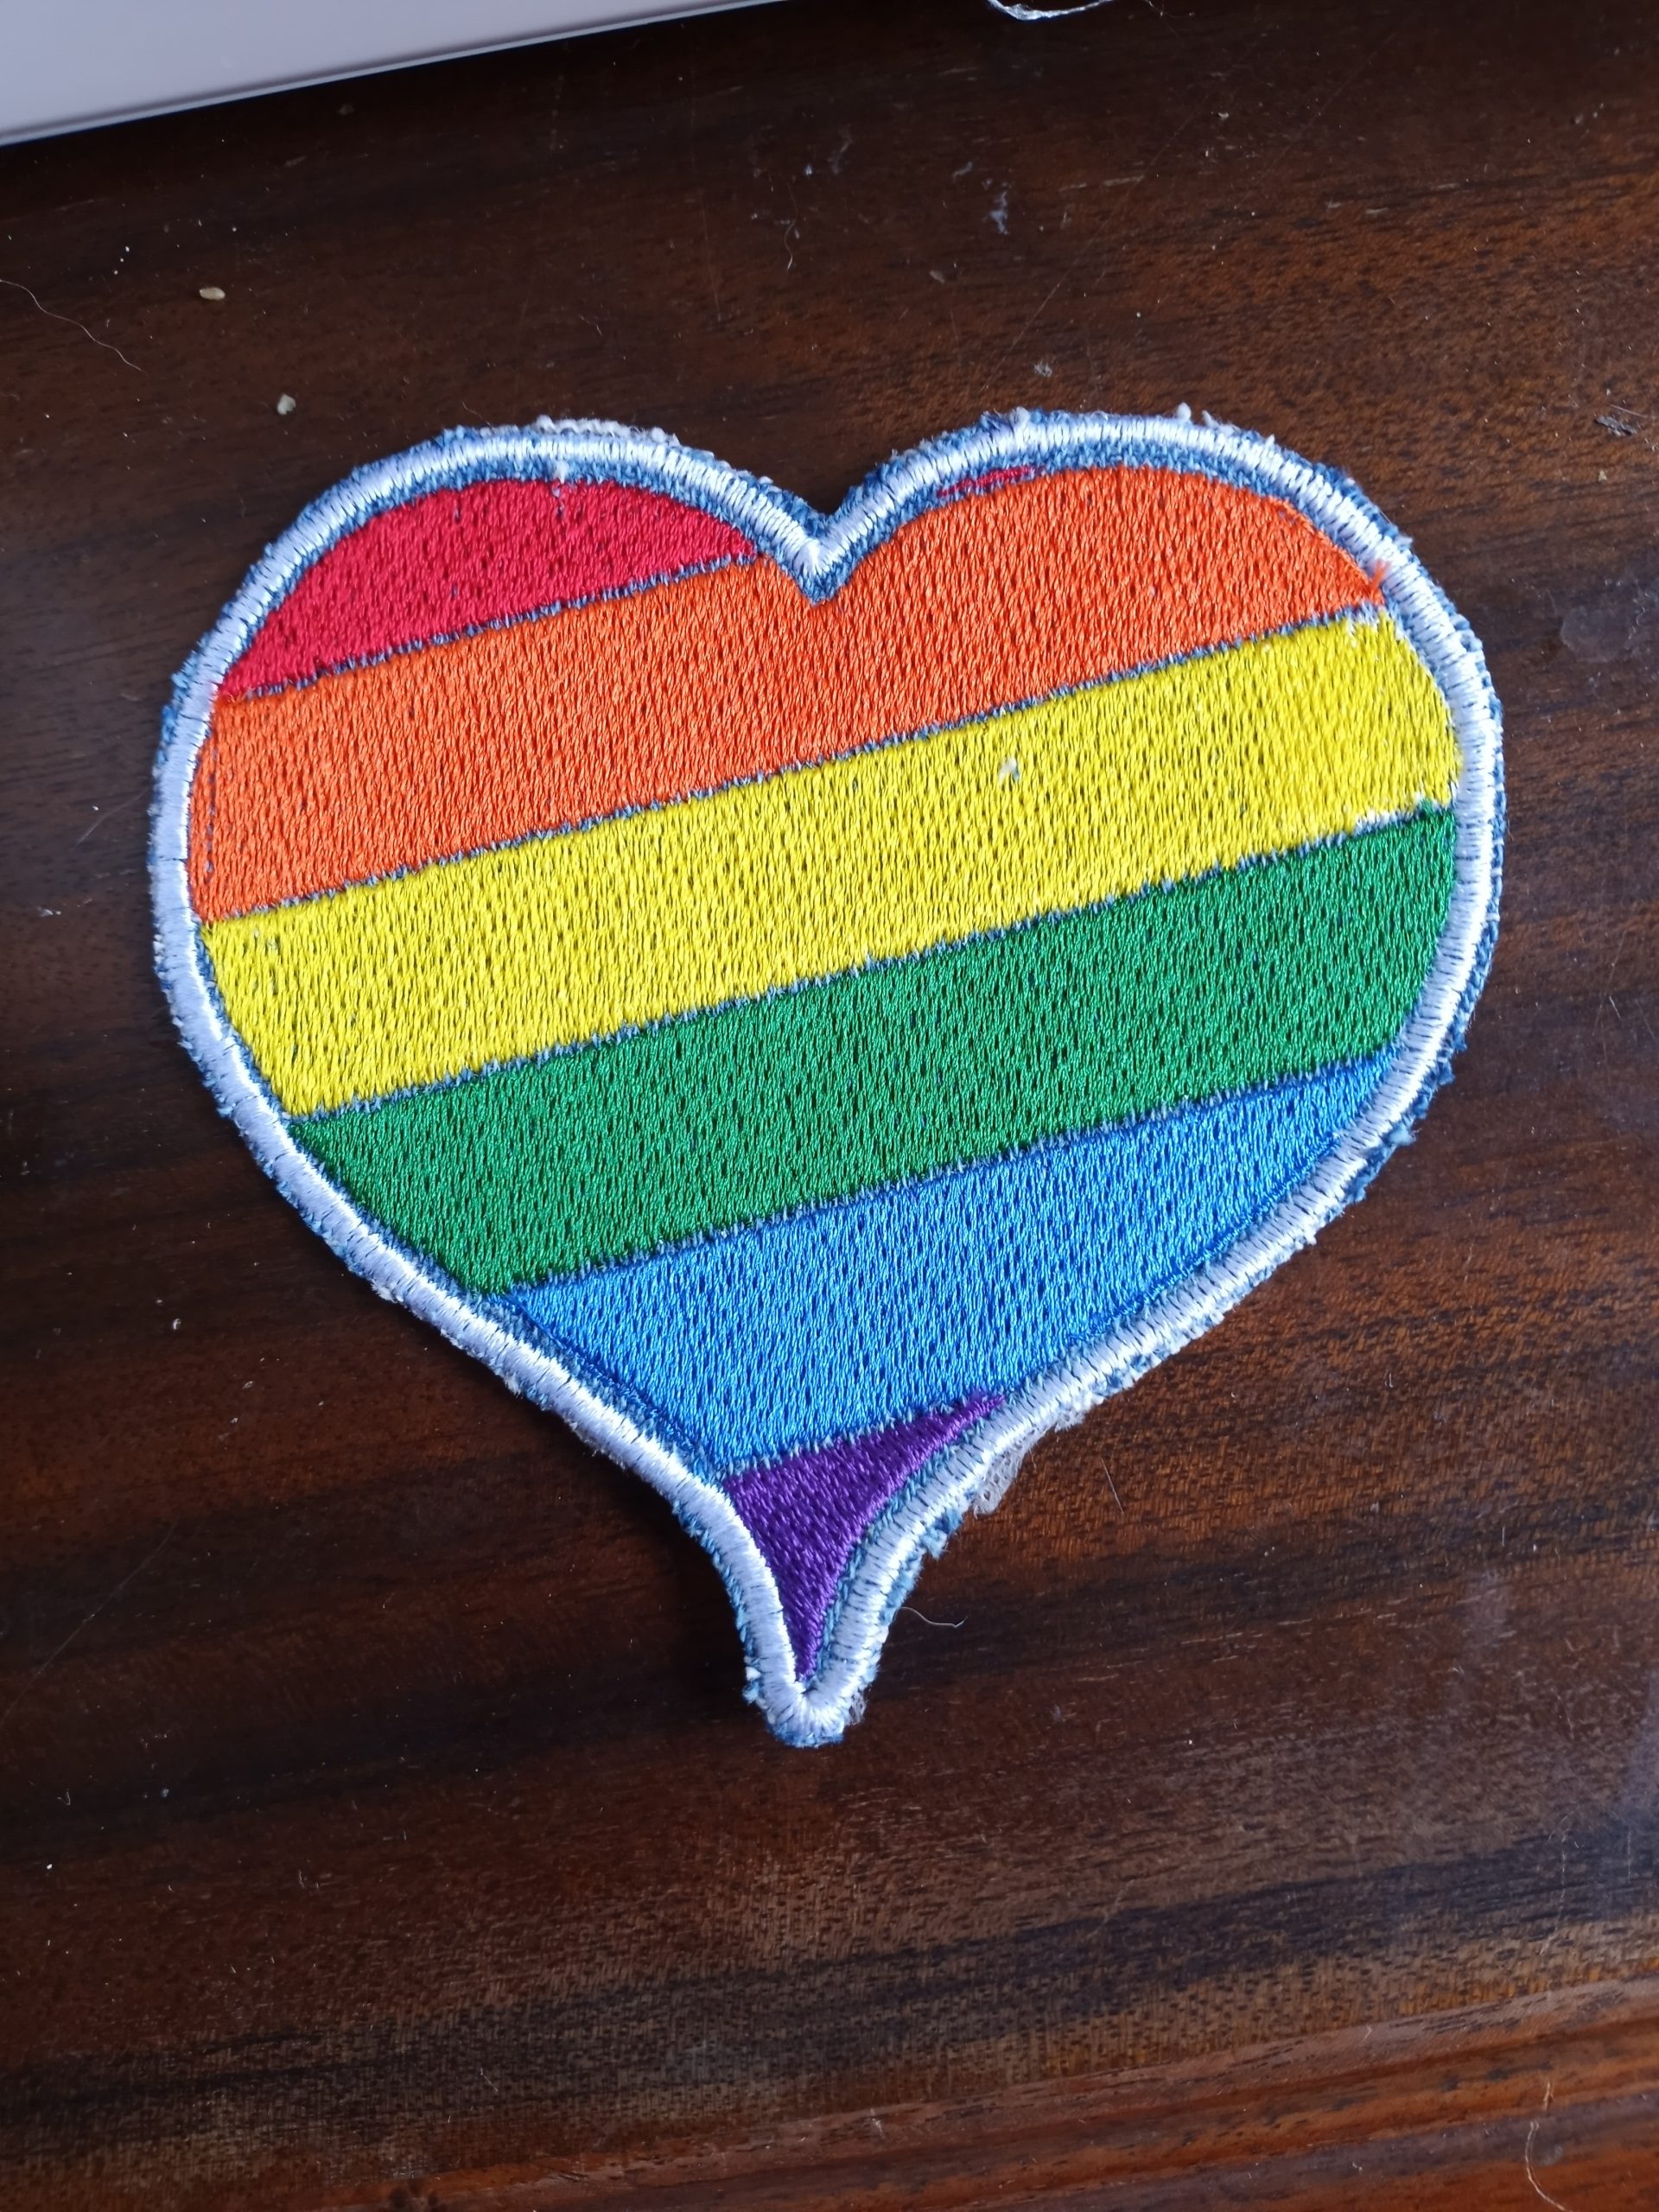
I love upcycling in my crafting. I love that it saves money and keeps things out of the landfill. One of my latest ways to upcycle is using denim as a base for machine embroidery patches. Just about everyone has a pair of worn out jeans. Denim is the perfect weight for patches, so I take usable fabric from old jeans and stitch my patch designs on that. Give it a shot!
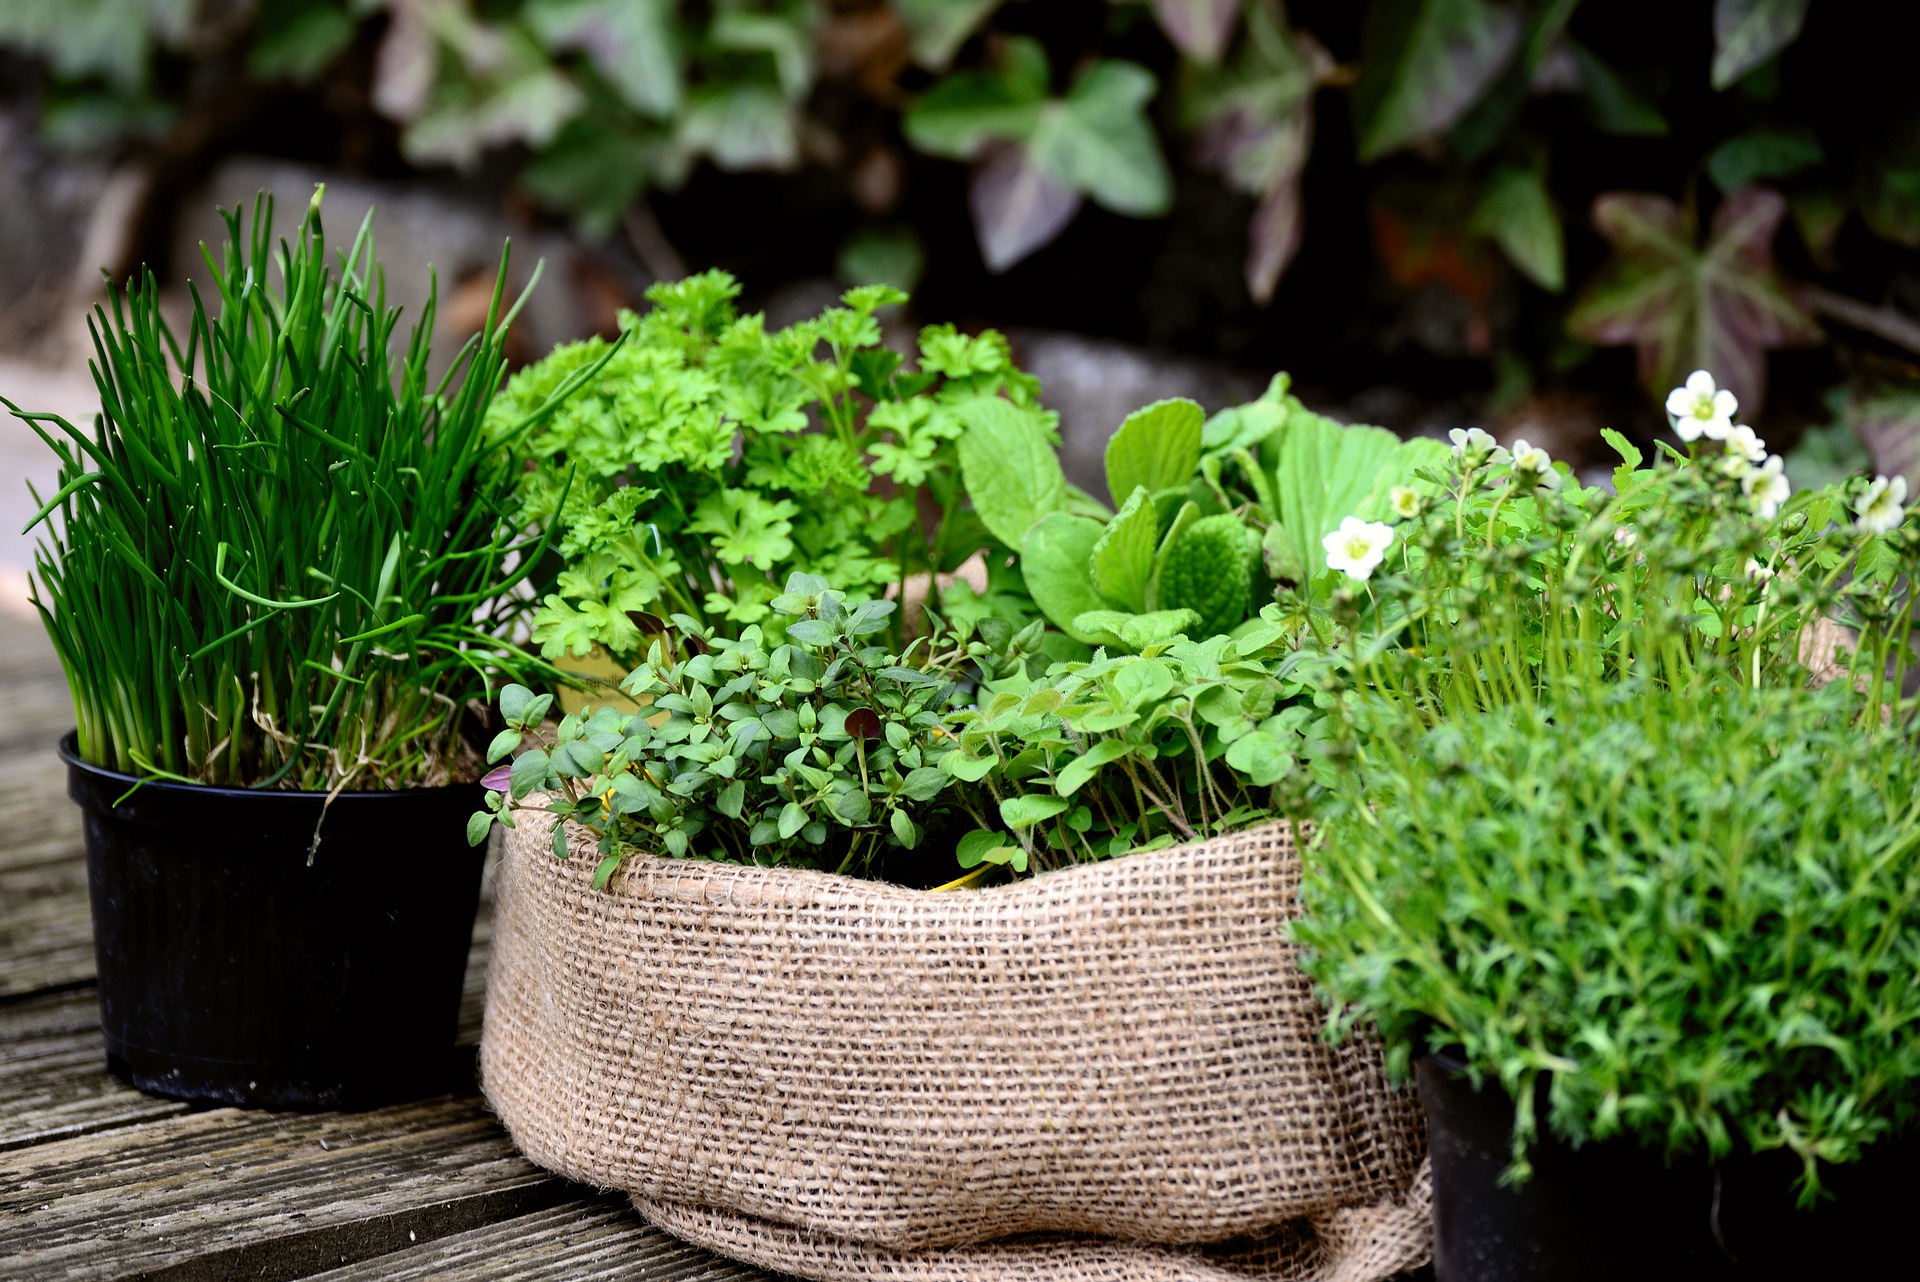
With the cost of everything going up, many people are turning to gardening as a way to save money on food. Depending on your location or gardening experience or abilities, a fruit or vegetable garden may seem daunting or just not possible. One way to get started that doesn’t require a huge amount of space is planting an herb garden. Dried herbs from the store are pricey, so growing your own still can help your budget while giving your food loads of fresh flavor.
Starting Your Herb Garden
Choosing Your Herbs
First you’ll want to choose the herbs that you’ll plant. You might have a hard time doing this because of the huge scope of herbs available. The most practical way to choose is to do what I did; look at what you have in your kitchen. By planting your own collection of the herbs you already use, you know you’ll get the most use from your garden. Some of the herbs you might start with include rosemary, sage, basil, dill, mint, chives, and parsley.
Don’t feel that you have to only start with these, though. If there’s an herb you’re curious about, give it a try. If plant medicine is something that interests you, research and plant a few basics like lavender, catnip or lemon balm.
Location
When choosing an area to put your herb garden, you should remember that the soil should have extremely good drainage. If the dirt gets watered and stays completely saturated, you have no chance of ever growing a healthy plant.
One way to fix the drainage problem is to dig a foot deep in the soil, and put a layer of crushed rocks down before replacing all the soil. This will allow all that water to escape, thus saving your plants.
Another way is to build a raised bed. This allows you to fill the bed with a suitable soil mix without having to dig down deep into your existing soil. Raised beds can be made from timbers, bricks or any suitable material you have available.
If you are incredibly limited on space or don’t have a yard at all, herbs are perfect for container gardens.
Getting your plants
When you are ready to begin planting herbs, you might be tempted to buy the more expensive plants from the store. However, with herbs it is much easier to grow them from seed than it is with other plants. Therefore you can save a bundle of money by sticking with seed packets. If you’re a little impatient (like me), a selectively chosen plant or two is nice for some greenery to tend while you wait for the seeds to sprout.
I personally haven’t had much luck with starting lavender or rosemary from seed, so I would choose those to get as a small plant. Plants in the mint family and basils do really well from seed, so save your money on those.
Once mints start growing, they can get out of control. The best way to prevent this problem is to plant the more aggressive plants in pots (with holes in the bottom to allow drainage, of course).
Harvesting from Your Herb Garden
When it comes time to harvest the herbs you have labored so hard over, it can be fatal to your plant to take off too much. If your plant isn’t well established, it isn’t healthy to take any leaves at all, even if it looks like it isn’t using them. You should wait until your plant has been well established for at least a few months before taking off any leaves. This wait will definitely be worth it, because by growing unabated your plant will produce healthily for years to come.
It’s a good idea to harvest from the ends of the plants as needed throughout the growing season to keep the shape and encourage new growth. The end of the season is when you’ll want to harvest and dry more of the plant for storage. Do check recommendations for the specific herbs in your garden as not all are the same.
Storing Your Herbs
Once you’ve harvested your delicious home grown herbs, you’ll want to use them year round. The easiest way to store them is drying. If you have a safe place to hang them to air dry that isn’t overly humid, that is the simplest. I also think this way preserves the most color and flavor.
You could also use a food dehydrator on the recommended settings. If not, don’t worry. You can dry them in the oven. This is easily achieved by placing them on a cookie sheet and baking them on the lowest setting, usually around 150 degrees Fahrenheit for 2 to 4 hours. After they’re sufficiently dried, store them in an airtight container such as a Ziploc bag or glass jar. I think they look beautiful in glass jars, so save any you get to upcycle as herb storage.
During the first few days of storage, you should regularly check the container and see if any moisture has accumulated. If it has, you must remove all the herbs and re-dry them. If moisture is left from the first drying process, it will encourage mildew.
Herbs are a fun, easy and useful way to get into gardening no matter what your space. I encourage you to give it a try.
Like this post? To make sure you don’t miss out on future posts, sign up for my newsletter.
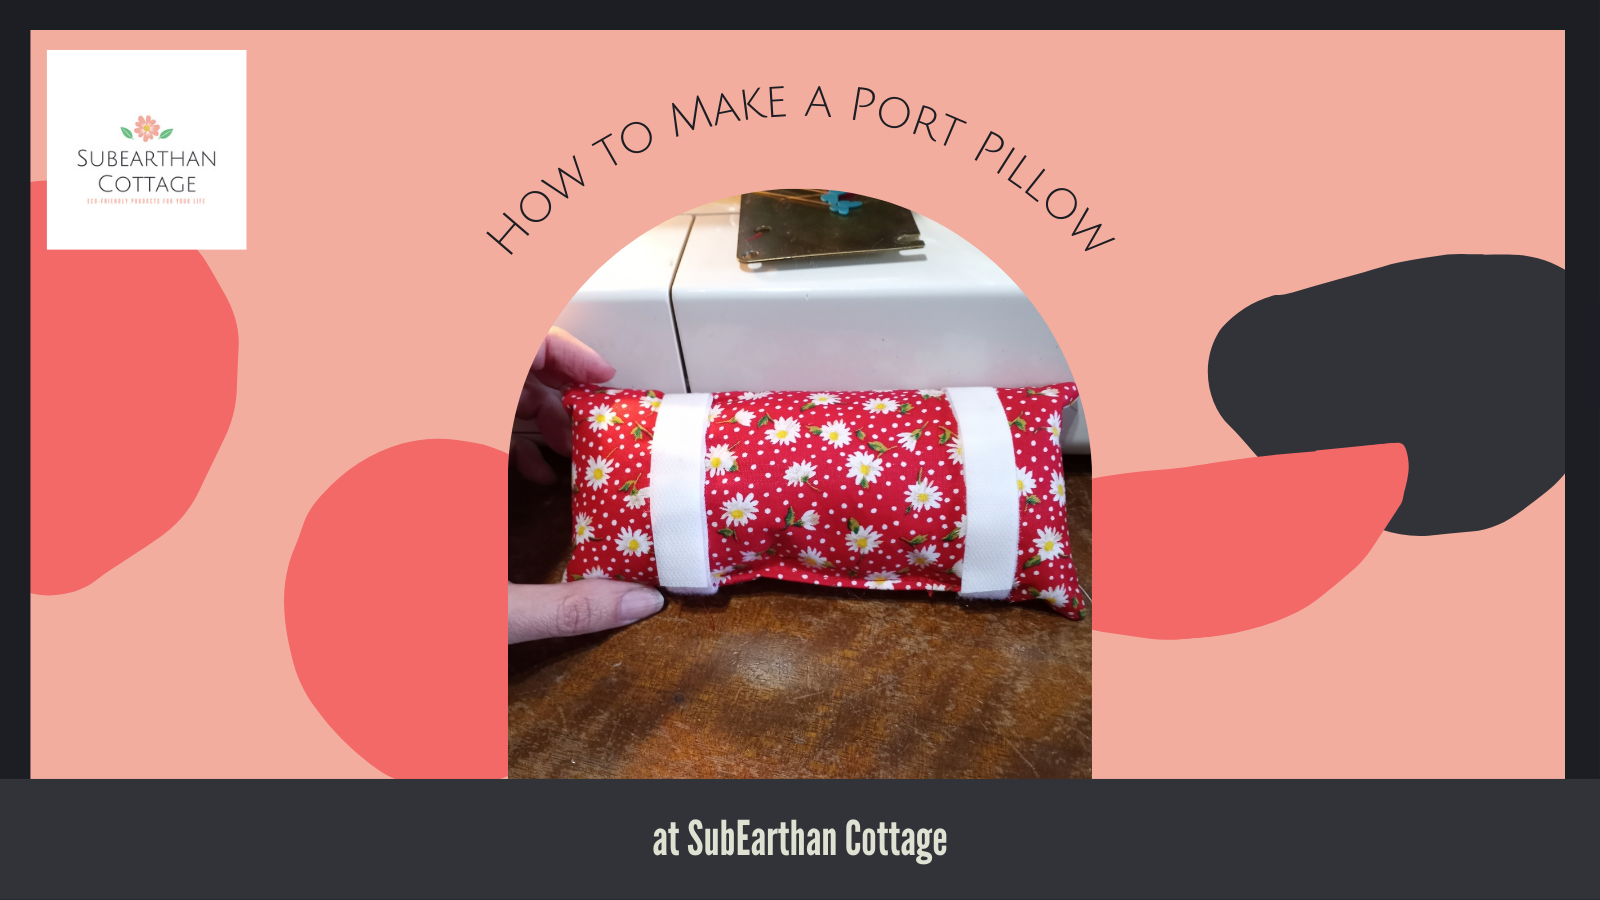
Something that I have found very useful since getting my chemo port put in is a port pillow. Port pillows are small pillows that attach to seatbelts to prevent the seatbelt from irritating the port. Luckily, they are super easy to make with very little materials needed. There are many organizations that accept them as donations to give to cancer patients, so that’s something to consider if you are looking for a charitable way to use up your stash.
Materials for a port pillow.
Materials needed for One Port Pillow
2 rectangles of soft fabric, approximately 4 inches by 7 inches. I like using quilting cotton. There is enough fabric in my soap’s wrapping to make one pillow, so upcycle if you have it.
2 pieces of hook and loop tape (Velcro) measuring 3.5 inches each.
Polyfil or other stuffing.
Thread
Step one: Baste the Velcro
Separate the Velcro pieces and baste them in place on one piece of the fabric close to the edges. I just eyeball the placement at about halfway between the middle and short edge of the rectangle for each Velcro piece. I like to make the softer piece face up, but it doesn’t really matter. You could also use pins to hold it in place instead of basting, but I find machine basting easier.
Step Two: Sew the pillow
Sew the fabric rectangles wrong sides together as shown in the photo below. Be sure to leave an opening for turning. I left the opening on a long side for this one, but it’s easier to sew closed if you leave it on a short side.
Leave the opening on the end next time.
Step Three: Turn and Stuff
Clip the corners, being careful not to cut the thread, turn the pillow right side out and stuff. I like to press the empty pillow before stuffing for a crisper look. Just be careful not to melt the Velcro if you do this too.
Turned and pressed.Stuffing. Needs a little more to be semi-firm.
Step Four: Sew it Closed
If you want the seam hidden, you can sew it closed by hand. I don’t mind the seam, so I use my machine to make it quick. This is much easier when the opening is on the end as evidenced by the number of pins I used to hold it closed. I hate using pins.
I can usually manage without pins when the opening is on the end.
Done
The end result should look something like this.
This is one of those projects that I’ve done so often I may have overlooked something in trying to tell someone else how to do it. If anything is confusing, please ask in the comments. I will clarify it ASAP.
Like this post? To make sure you don’t miss out on future posts, sign up for my newsletter.
The title says it all, so if you want to skip the breast cancer talk and get back to the fun stuff, now’s your chance.
On November 1 of last year I had my first ever mammogram at age 41. The next day I found out I needed further testing and two weeks later I had a follow-up ultrasound and biopsy of two of three tumors and one of a few suspicious lymph nodes. From the appearance on the ultrasound, I was told they were about 95% likely to be cancer. On Monday of the following week (aka Thanksgiving week) it was official.
Type of Breast Cancer
Breast cancer is classified both on location and whether it has receptors for estrogen(ER+ or -), progesterone (PR+ or -), and/or HER2 growth hormone (HER2+ or -). If it’s negative for all three hormone receptors, it’s called triple negative breast cancer. I have two types: invasive ductal carcinoma that is ER+ and HER2+ and invasive lobular carcinoma that is ER+ and HER2-. All are PR-. It is also stage 2, and grade 2. Stage describes the extent and is what most people are familiar hearing. Grade is how slow or fast it’s likely to spread. Grade 2 is not as slow as 1 but slower than 3.
Genetic Testing
Because I have a family history of breast cancer, I had genetic testing. I do not have any known genes for breast cancer, such as BRCA1 or BRCA2. It did show I have two variants. That just means that those genes are still being looked at for contributing to breast cancer. Most of the time variants get moved to the harmless category, so for now having them makes no impact on treatment or advice for other family members.
Treatment
Because I’m complicated (ha!), it took some time and more test results for my oncologist to determine the best course of treatment. It also uncovered some weird activity in my left femur on a PET scan. Thankfully a bone biopsy came back negative for cancer, although we will still need to keep an eye on it. I also get to say I had someone drill into my bone while I was awake, which my weird self thinks is kind of cool. Not that I want to ever have to do it again, but since it happened I’m embracing the cool but slightly gross factor.
We knew that the best course was chemo followed by surgery, probably radiation and definitely a year of a targeted HER2 therapy called Herceptin. Which type of chemo was the question. Eventually, she decided on six rounds of TCHP for the chemotherapy, which is two chemotherapy drugs, Taxotere and Carboplatin, and two HER2 targeted therapies, the Herceptin I will continue and Perjeta.
Chemo Port
For the chemo and Herceptin infusions, I have a port. That link gives more details on what that is. When I first heard that I would need one I was definitely grossed out by the thought of it, but now that I’ve seen how much easier it makes the infusions, I’m very glad to have it. I just can’t think about it too hard because it still makes me a little squeamish.
How I’m Feeling
I receive chemo once every three weeks. So far I’ve had four rounds, so I’m over halfway done. Yes, I’m bald now, but it is about to be summer in Texas, so the timing isn’t too bad. As far as other symptoms, I mostly feel tired achy, like I have the flu for the first week, more easily tired the second week and almost normal the third week before it starts all over again.
I’ve actually been pleasantly surprised at how much easier it’s been than I was expecting. Part of that is probably the almost half a dozen anti-nausea meds they’ve given me. Between the two or three preemptive meds chemo week and the two as needed at home, my nausea is so well controlled I think I’ve managed to put on a few pounds.
Chemo day selfies from the four rounds I’ve had so far.
Annoying Side Effects
I do have a few other side effects that are more a nuisance than anything. Heartburn is way worse than usual, and I occasionally get hot flashes. The most annoying thing is chemo mouth. Basically everything tastes weird at best, like I drank nail polish remover at worst. It does make it a little hard to drink water or find things to eat when it’s bad and so far I haven’t found one thing that consistently helps. It also seems like the things that taste the best then are some of the least healthy. Like Sonic Cheddar Peppers, for example. Probably explains the few extra pounds, tbh. I also can’t stomach coffee for about a week and a half after a treatment. I should probably cut it out the whole time, but no. Just no. (Currently sipping my second cup.)
I have another round coming up next week, my last one the first week of May and then surgery the second week of June. I’ll share more on the other parts of my treatment as they happen.
Like this post? To make sure you don’t miss out on future posts, sign up for my newsletter.
I, Charity Sloan, am a participant in the Amazon Services LLC Associates Program, an affiliate advertising program designed to provide a means for sites to earn advertising fees by advertising and linking to Amazon.com. Any purchases through those links will result in my receiving a small percentage in commission.
This only refers to Amazon links found in/on my blog pages. All products in my shop are 100% mine and not linked to Amazon.
Prices are the same whether you click an affiliate link or a non-affiliate link, so you will not be charged more. Thank you for your support!