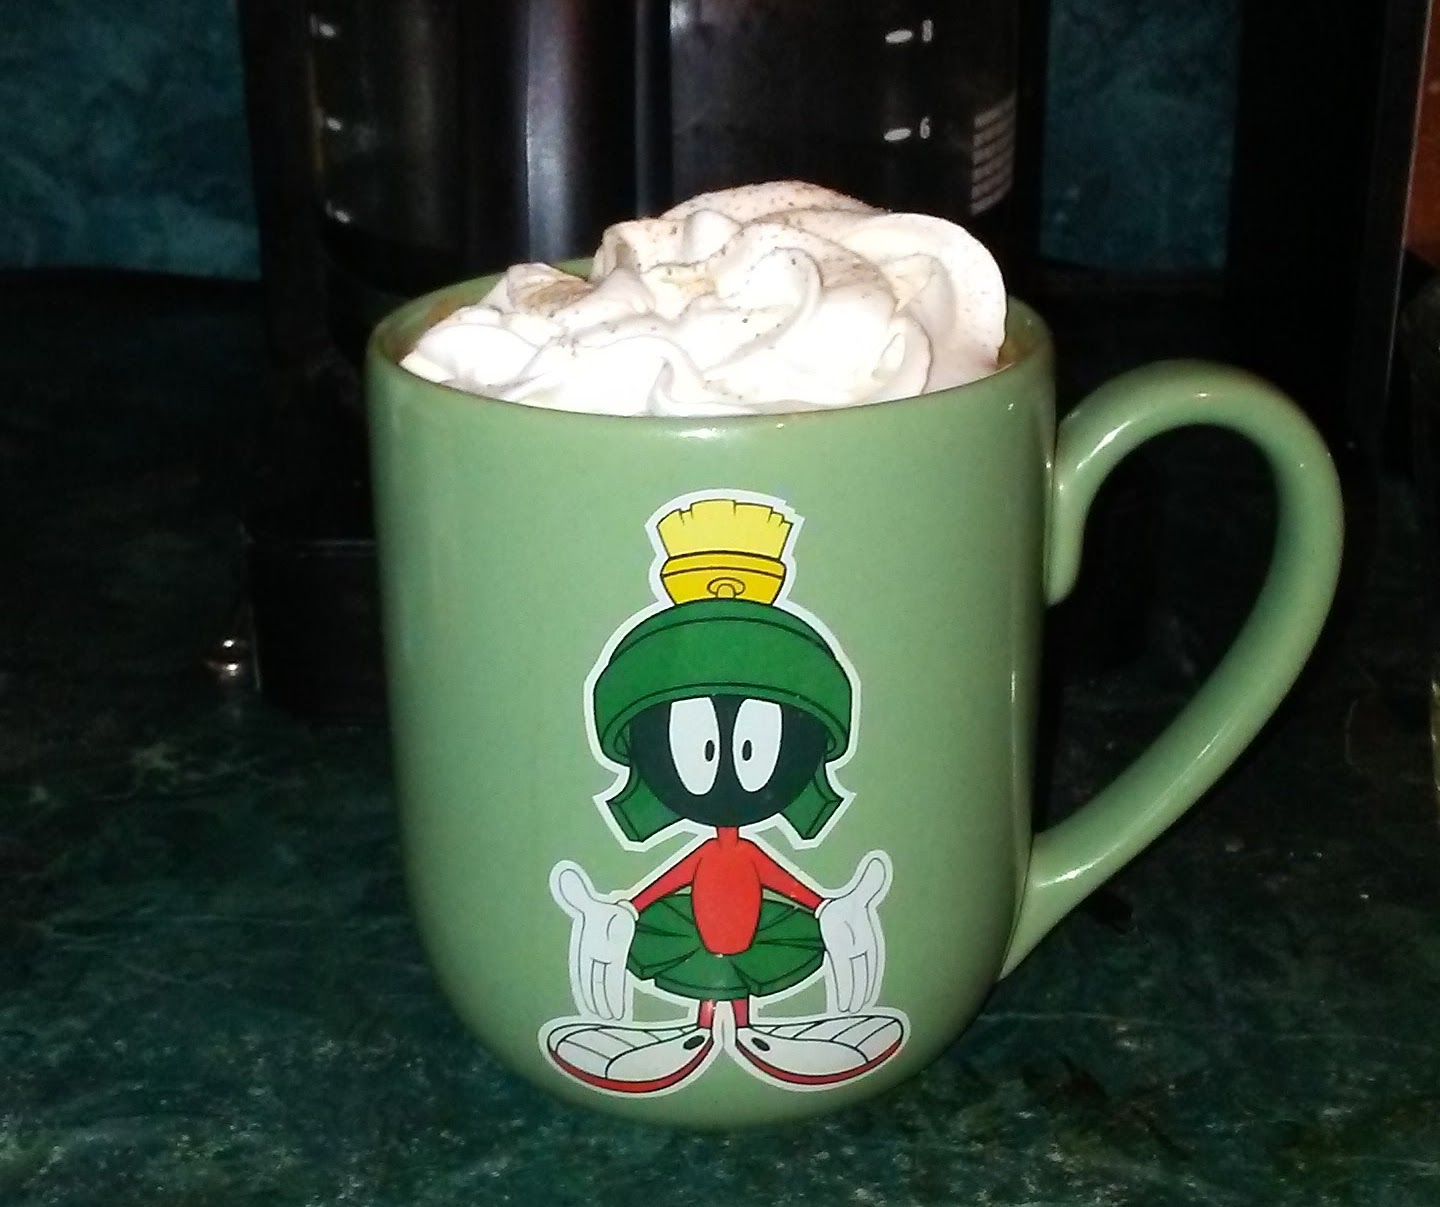
I know it’s still about a million degrees outside. I don’t care. I’m ready for cool breezes, for crunchy leaves, flannel shirts and all things pumpkin. As someone who runs off copious amounts of caffeine, my favorite way to enjoy pumpkin is a hot Pumpkin Spice Latte. Here’s my favorite recipe to make a pumpkin spice latte myself when a store-bought latte is too much of a splurge, or I just don’t want to leave the house. You can make it with tea, coffee or turn it into a smoothie for a healthy, frugal way to enjoy pumpkin spice at home.
2-3 tablespoons of milk (original recipe called for coconut. I usually use almond milk. You can use whole milk, too.)
1/3-1/2 teaspoon cinnamon
1/8 teaspoon cloves
¼ teaspoon ginger
1/8 teaspoon allspice
1/8 teaspoon nutmeg
Optional: a dash to 1/8 teaspoon of turmeric
Maple syrup, sugar or honey to taste. I like maple syrup.
To make:
Blend all ingredients together. Top with whipped cream and a dash of nutmeg. Enjoy. Repeat. 🙂
I’ve also used this basic recipe to make a pumpkin spice smoothie. All you do is swap out the coffee for the milk of your choice and add a frozen banana or a fresh banana and some ice. While it’s healthy as is, I also like to add an extra spoonful of pumpkin to up the vitamin content, as well as some chia or flax seeds. You could easily leave those out, though.
With just a few simple ingredients, you can make a yummy pumpkin spice latte inexpensively at home. I've included variations for a chai latte and smoothie, too! The recipe serves one or two, depending on how much coffee you drink. 😉
2-3Tablespoons Milk of choice.I usually use almond milk.
1/3-1/5Teaspoonground cinnamon
1/4Teaspoonground ginger
1/8Teaspoonground cloves
1/8Teaspoon ground allspice
1/8Teaspoonground nutmeg
1/8Teaspoonground tumeric (optional)
Maple syrup, sugar or honey to taste.
Whipped Cream (optional)
Instructions
Blend all ingredients together.
Top with whipped cream and a dash of nutmeg. I like the non-dairy Reddi-Wip
Enjoy.
Notes
I’ve also used this basic recipe to make a pumpkin spice smoothie. Just swap the coffee or tea for the milk of your choice and add a frozen banana or fresh banana and ice. Blend thoroughly. While it’s healthy as-is, I like to add an extra spoonful of pumpkin to up the vitamin content, as well as some chia or flax seeds. You can easily leave those out, though.
What’s your favorite way to enjoy pumpkin spice? If pumpkin spice isn’t your thing, what’s your preferred fall drink or scent? Please share it in the comments.
Like this post? To make sure you never miss a future post, please sign up for my newsletter.
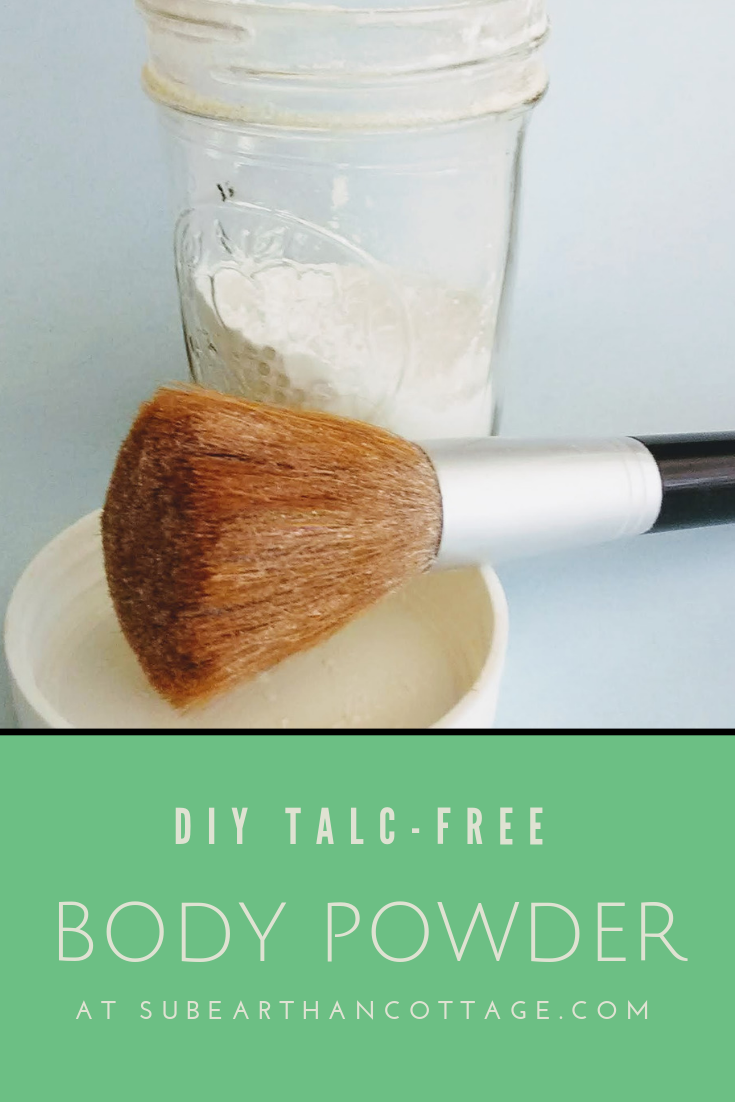
It’s hot outside. Like really sticky, sweaty hot. If you’re looking for a talc-free body powder to help you through it, I’ve got a recipe for you.
While you can purchase talc-free powder, making it yourself is simple, allows you to customize it, and is super inexpensive. Better yet, you probably already have everything you need.
Body Powder Recipe
Ingredients:
3/4 cup of Cornstarch
1/4 cup of Baking Soda
10-ish Drops of essential oil (optional)
Make it:
Combine the cornstarch and baking soda in a bowl or jar. Give it a stir or shake to mix. If you’re using an essential oil, add it now, then stir or shake some more to distribute.
Use it:
I keep mine in a jar and use a fluffy makeup brush to dust it where I need it. It works great as an all-over dusting powder, deodorant and shoe deodorizer. You can also dust a little in your hair in place of dry shampoo. For that, I like to put it in my hair at night and then brush it out in the morning.
Customize it:
The basic recipe is 3 parts cornstarch to 1 part baking soda, so you can use that 3:1 ratio to make as much or as little as you need.
Add more or less essential oil based on your preference. You can also use your favorite perfume to make a coordinating dusting powder.
If you find this formula too drying, reduce the amount of baking soda, or omit it all together.
Not a fan of cornstarch? Try using arrowroot. I personally haven’t tried it, so if you do, let me know how it works.
For babies, I recommend just plain cornstarch as baking soda might be too harsh. If you want to scent it, add a couple of drops of lavender essential oil. Essential oils aren’t generally recommended for babies under six months, so take that into consideration.
If you like using this as a dry shampoo and have dark hair, you can add a little bit of cocoa powder to the mix to make it less noticeable if you don’t get it brushed out completely.
Re-purpose a shaker jar, such as a spice or Parmesan cheese jar, rather than using a brush or puff to dispense.
It’s my birthday on Saturday (yes, April Fool’s, I know, lol). If you use coupon code April2023 you’ll get 20% off your entire order at SubEarthan Cottage. Valid on regular and sale-priced items through April 3, 2023.
And, since birthday’s are weird without cake, here’s my favorite allergen-friendly chocolate cake recipe.
This is a simple chocolate cake recipe that is super easy. It is dairy-free, egg-free, and if you swap the wheat flour for a gluten-free flour blend, it's gluten-free, too! To make it gluten free, I like Bob's Red Mill 1 to 1 gluten free blend because it already contains xanthan gum. If you use a different gluten-free flour without xanthan gum, I would add about 1-1.5 teaspoons of xanthan gum.To top, make a simple buttercream (with shortening and non-dairy milk to keep it non-dairy) or use your favorite store bought frosting. You could also sprinkle the warm cake with dairy-free chocolate chips, let them melt a little, then spread across the top for a rich, chocolaty treat.
Prep Time10 minutesmins
Cook Time35 minutesmins
Course: Dessert
Keyword: 9 x 13, cake, chocolate, dairy free, easy, egg free, gluten free, one bowl, simple
Servings: 292×2 inch servings
Equipment
9 x 13 rectangle pan
Ingredients
3CupsFlour see recipe summary for gluten-free adjustment
1teaspoonsalt
2teaspoonsbaking soda
2cups sugar
6tablespoonscocoa powder
2tablespoonsvinegarwhite or apple cider vinegar
1cup vegetable oilany light flavored liquid vegetable oil is fine
2cups cold water
2teaspoonsvanilla
Instructions
Preheat the oven to 375 degrees Fahrenheit
Grease the 9 x 13 inch pan, either with shortening, butter, or cooking spray
Combine the first five (dry) ingredients in a large mixing bowl and mix until evenly blended. Alternatively, sift them together into the bowl.
Add the remaining (wet) ingredients and mix until thoroughly blended. You can use a spoon or an electric mixer.
Pour the batter into the greased 9 x 13 inch pan.
Bake at 375 degrees Fahrenheit for 35 minutes or until a toothpick inserted near the middle comes out clean.
Notes
I frosted this cake with buttercream tinted blue, then used gel food coloring to paint the faces. I then piped buttercream for the eyes, facial features, outlines, writing and trim. I clearly am not a trained cake decorator, so I can’t really say which tips I used or any other details.
Like this post? To make sure you never miss a future post, please sign up for my newsletter.
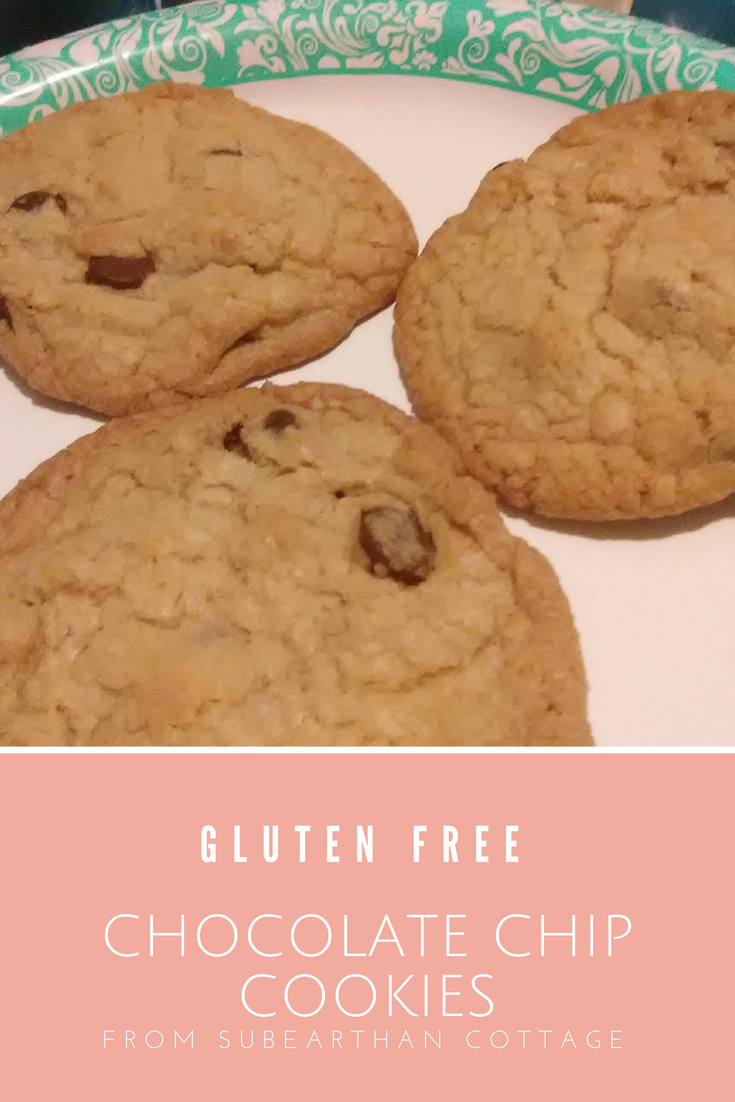
At least from what I’ve tasted, most store bought gluten free chocolate chip cookies are very dry and either too sweet or lacking in flavor. Chocolate chip cookies are practically a staple food, so I hacked my grandma’s cookies recipe. The results are definitely not dry, lacking in flavor or too sweet.
The biggest change I made, of course, is using gluten free flour. My preferred flour is Bob’s Red Mill 1 to 1 gluten free flour. Others will work, but if it’s not one that is blended to be a direct substitute for wheat flour, you will probably want to add about one half teaspoon of xanthan gum.
Even with the 1 to 1 blends, sometimes the cookies spread more than I like. The original recipe calls for one cup and two tablespoons of flour. If I have it on hand, I’ll replace the two tablespoons of flour with a generous one tablespoon of coconut flour. That prevents them from spreading too much. Chilling the dough for a few hours or overnight helps, too, but who has time for that? Besides, the sooner they go in the oven, the less cookie dough I’ll eat.
The original recipe calls for shortening. I would much rather use butter, but one of my boys is lactose intolerant. Straight coconut oil adds to the spreading problem, so I compromise and use half shortening and half coconut oil. The small amount of milk in most chocolate chips isn’t a problem for my son, but using for dairy-free chips would make these completely dairy-free, too! If dairy isn’t a problem, feel free to swap all the fats with butter.
The final change happened after staying up late watching Martha Stewart bake cookies. She mentioned that brown sugar helps make the cookies be moist. The original recipe calls for more white sugar than brown. I tried a few different ratios before settling on using equal amounts of brown and white sugars.
The final result is a yummy, gluten free cookie that isn’t dry and crumbly.
Gluten free chocolate chip cookies
1/2 cup shortening
1/2 cup coconut oil
3/4 cup granulated sugar
3/4 cup brown sugar
1 teaspoon vanilla
2 well beaten eggs
2 cups 1 to 1 gluten free flour plus 2 generous tablespoons of coconut flour (or 2 cups plus 4 tablespoons 1 to 1 gluten free flour)
1 teaspoon baking soda
1 teaspoon salt
1 generous cup of chocolate chips
Preheat the oven to 375° F.
Cream together the shortening, coconut oil, sugars and vanilla. I usually use a mixer for everything, but you can do it by hand, too.
Fold in the eggs and mix well.
In another bowl, sift (or just mix really well) the dry ingredients.
Add the dry ingredients a little at a time to the wet ingredients and mix well.
Stir in the chocolate chips. If you are patient, chill the dough for a few hours or overnight.
Otherwise, grease your cookie sheets or line with parchment paper or silicone liners. Greasing is what the original recipe calls for, but I prefer the results from lining the sheets.
Form your cookies (I use a 2 tablespoon sized scoop, but you can make them bigger or smaller) and place them two inches apart on the sheets.
Bake for about 8-10 minutes, keeping a close eye on them during the last few minutes. You want them to be golden and not doughy in the middle.
Cool for a few minutes on the sheets before removing them.
A few notes on the recipe: My recipe is actually double the original. I almost never made a single batch because it’s not really any more effort. If you want, you can save some of the dough in the fridge for a few days.
I also don’t have an accurate cookie count, mainly because cookie dough is delicious. I think I can usually get about 36 cookies with my 2 tablespoon scoop, but that is a a very rough guess.
2tbspcoconut flourOr 4 more tablespoons gluten free flour
1tspbaking soda
1tspsalt
1cupchocolate chipsMake sure these are gluten and dairy free!
Instructions
Preheat the oven to 375° F.
Cream together the shortening, coconut oil, sugars and vanilla. I usually use a mixer for everything, but you can do it by hand, too.
Fold in the eggs and mix well.
In another bowl, sift (or just mix really well) the dry ingredients.
Add the dry ingredients a little at a time to the wet ingredients and mix well.
Stir in the chocolate chips. If you are patient, chill the dough for a few hours or overnight. This helps prevent spreading. I am not patient, lol.
To bake, grease your cookie sheets or line with parchment paper or silicone liners. Greasing is what the original recipe calls for, but I prefer the results from lining the sheets.
Form your cookies (I use a 2 tablespoon sized scoop, but you can make them bigger or smaller) and place them two inches apart on the sheets.
Bake for about 8-10 minutes, keeping a close eye on them during the last few minutes. You want them to be golden and not doughy in the middle.
Cool for a few minutes on the sheets before removing them.
Notes
A few notes on the recipe: My recipe is actually double the original. I almost never made a single batch because it’s not really any more effort. If you want, you can save some of the dough in the fridge for a few days.You can use all shortening instead of half shortening and half coconut oil, or use all butter or butter substitute. I also don’t have an accurate cookie count, mainly because cookie dough is delicious. I think I can usually get about 36 cookies with my 2 tablespoon scoop, but that is a a very rough guess.
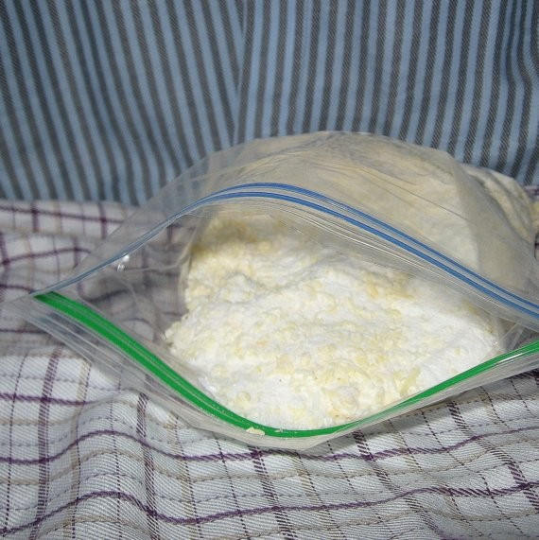
Laundry detergents have always been problematic for me. Certain brands irritate my skin, and I’ve never been able to pinpoint what ingredient is the problem. Even if I knew, most laundry detergents don’t exactly provide a list of ingredients I could check. Luckily, laundry detergent is easy to make. Doing it yourself not only allows you to control what ingredients are in your detergent, it also saves a ton of money.
My recipe uses four basic ingredients stocked by many supermarkets now, and one optional ingredient.
Ingredients:
2 parts Borax
2 parts Washing Soda
1 part Grated Bar Soap
0.25 part Baking Soda
Optional Fragrance Oil or Essential Oil
Prep:
You’ll want a clean, dry, lidded container or bag to store your homemade laundry detergent. If the container isn’t air-tight, the detergent may clump from moisture in the air. Usually it’s easy to break it up, so this isn’t a big problem. If you don’t do laundry very often, though, you probably want to store it in something with a good seal.
The soap can be anything. Most people start out using a laundry soap like Fels Naptha. Once I started making my own soap, I switched to using whatever basic recipe soap I had on hand. You can grate it by hand with a cheese grater or with a shredding disk on a food processor.
Make it:
Combine the first four ingredients in a large mixing bowl. If you’re not familiar with the “parts” measurement, it’s a simple way of making a recipe fit whatever amount you need by giving the amounts as a ratio instead of a specific measurement. You could substitute “cup” for “parts” if that makes it easier.
Options:
Leave it unscented, use a scented bar of soap, or add your choice of fragrance or essential oil to the combined ingredients and stir to combine. I usually use about half an ounce of fragrance oil per batch. With essential oils, I usually start with 15 drops or so and see how it smells before adding any more. I’ve heard you could use your favorite cologne or perfume, but I haven’t personally tried it.
Use it:
I use about two tablespoons per load in my top loading machine. You can use one tablespoon for lightly soiled loads, but with my family, every load is a two tablespoon load.
DIY Powdered Laundry Detergent
Soap, Bath and Fragrance
SubEarthan Cottage offers unique, gift-ready handmade soaps, essential oil rollers, bath salts and other bath and beauty products. All of my bath and body products are sodium laurel sulfate-free and phthalate-free. I welcome custom orders, so feel free to contact me if you don’t see what you need.
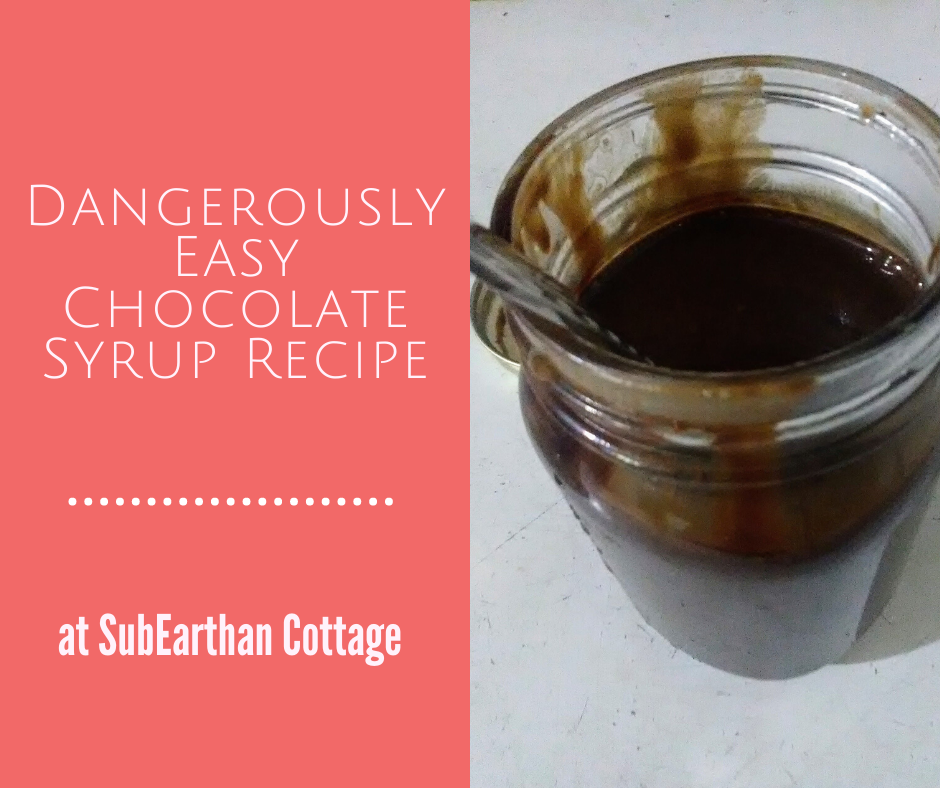
Chocolate syrup is deliciously versatile. Stir it in hot or cold milk or coffee for a treat or pour over ice cream to make it even more decadent. Then there’s old fashioned sodas and baked goods made with chocolate syrup. With this chocolate syrup recipe, you can make delicious chocolate syrup with just a few basic pantry staples whenever you need it.
Sure, it’s easy to pick up a bottle from the supermarket, but with this easy chocolate syrup recipe, you can make it for a fraction of the cost and without a trip to the store. By making it, you also have control over the ingredients. Use your favorite cocoa powder, experiment with the type and amount of sugar or swap out the vanilla extract for something a little more creative to make it your own. I can totally see using peppermint extract to mimic the flavor of Andes mints. Or, if you’re a fan of Terry’s Chocolate Orange chocolates, add orange extract.
Like most of my recipes, this chocolate syrup is gluten free and dairy free.
This chocolate syrup recipe is so easy and delicious. With only a few pantry-staple ingredients needed, you'll never have an excuse not to make it. Should be good for at least a month when stored properly. I usually find plenty of ways to use it up before then.
Prep Time2 minutesmins
Cook Time5 minutesmins
Course: Dessert
Ingredients
1cup cocoa powder
1 cup sugar
1 cupwater
1/2teaspoonsaltor to taste
1teaspoon vanilla extractor to taste
Instructions
Mix the sugar and cocoa together in a saucepan until thoroughly combined.
Add the water and half of the salt (1/4 teaspoon). Bring to a boil over medium heat, stirring constantly.
Continue to boil while constantly stirring until the mixture thickens a little. (It will thicken more as it cools) This should take around 3 or 4 minutes.
Carefully taste and add the rest of the salt, if desired.
Remove from heat and add vanilla extract.
Cool and store in an airtight container in the refrigerator. I like using a glass jar.
Notes
The vanilla extract and salt amount can be adjusted according to taste. I can also see swapping out the vanilla for peppermint or orange extract.
While I try to write recipes as clearly as possible, it’s easy to miss a step or make assumptions. If anything is confusing, please don’t hesitate to comment with your questions. If you make this recipe, please let me know what you think.
Like this post? To make sure you never miss a future post, please sign up for my newsletter.
This post contains affiliate links. If you click through any of the Amazon links and make a purchase, I will receive a small commission. There is no added cost to you.
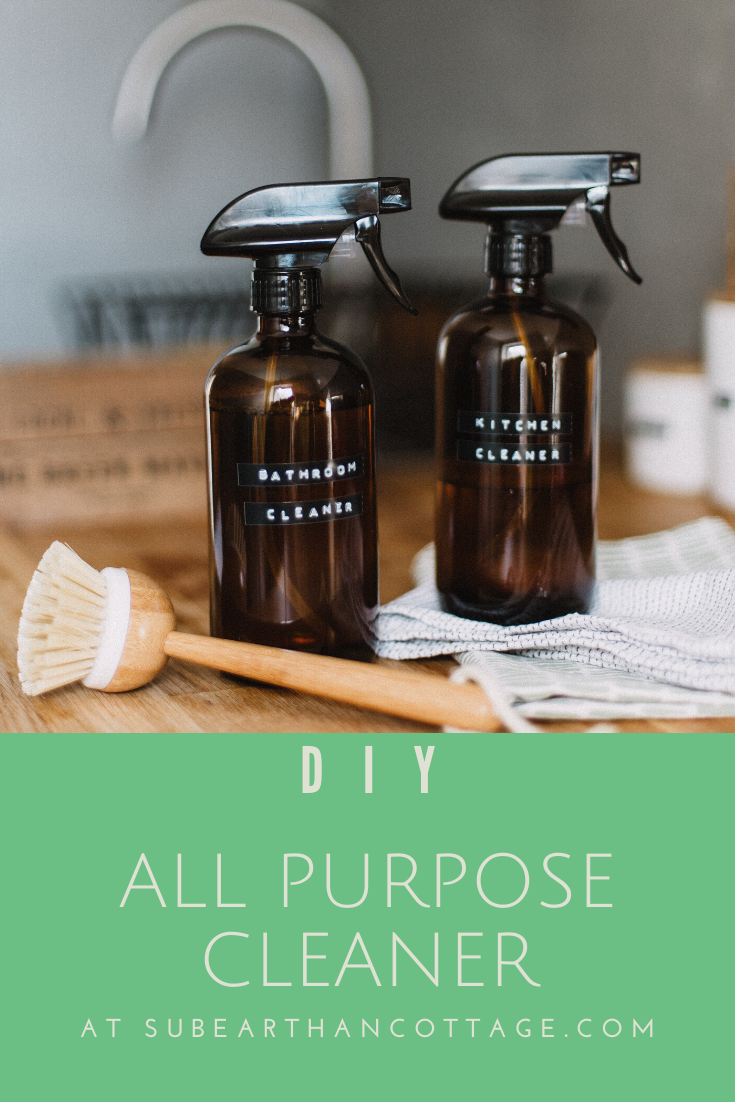
We are all becoming more aware of the types of products we use everyday. Whether it’s a concern for the environmental impact, the effect they have on our health or the safety for our pets and children, we want to know we aren’t inadvertently introducing harmful things into our homes. Something I do to feel confident in the safety of cleaning products I use around my family is to make my own where possible. One such product is a simple all purpose cleaner I use for cleaning hard surfaces, such as kitchen and bathroom counters and walls. It only uses a few ingredients, all of which you probably already have on hand.
Photo by Daiga Ellaby on Unsplash
All Purpose Cleaner Recipe
Ingredients:
Liquid soap, either dish soap or something like Dr. Bronner’s castile soap
Distilled white vinegar
Water
Optional: Essential oil of your choice
Supplies:
Clean, empty spray bottle
Liquid measuring supplies if you aren’t comfortable just eyeballing it
Optional: A funnel might make it easier to fill the bottle.
How to make it:
Measure about 2 tablespoons of soap, one cup of vinegar and one cup of water into the spray bottle. It doesn’t have to be exact. I usually just eyeball it. If you would like to use an essential oil, add 3-5 drops as well. Do be aware of safety guidelines regarding any essential oils you use, especially around pregnant women, children and pets. Tea tree oil or lavender are nice for cleaning and generally safe for most people. If the soap you use is scented or if you or your family members are sensitive to scents, you may want to skip the essential oil.
Swirl the bottle to mix everything without making the soap foam up too much.
That’s it. Now you have an all purpose cleaner that works as well as any other I’ve tried, with the added benefit of being safe enough that kiddos can help with the cleaning.
If you like this cleaning recipe, you’ll also like my DIY soft scrub for tougher cleaning jobs. To make sure you don’t miss out on future posts, sign up for my newsletter.
I, Charity Sloan, am a participant in the Amazon Services LLC Associates Program, an affiliate advertising program designed to provide a means for sites to earn advertising fees by advertising and linking to Amazon.com. Any purchases through those links will result in my receiving a small percentage in commission.
This only refers to Amazon links found in/on my blog pages. All products in my shop are 100% mine and not linked to Amazon.
Prices are the same whether you click an affiliate link or a non-affiliate link, so you will not be charged more. Thank you for your support!