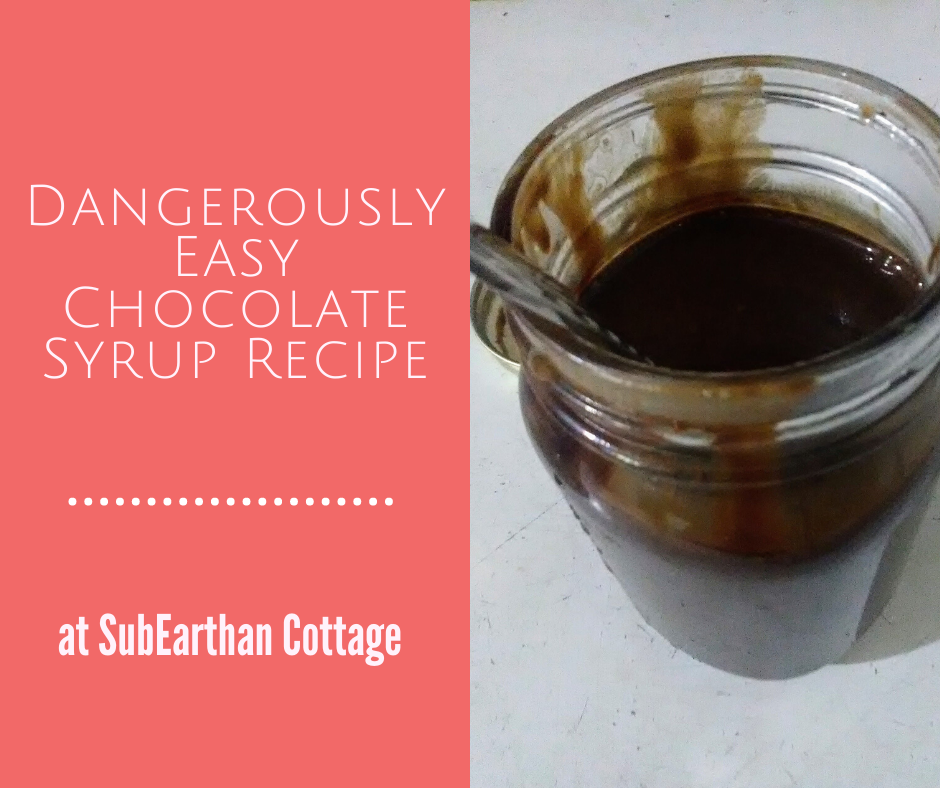
Chocolate syrup is deliciously versatile. Stir it in hot or cold milk or coffee for a treat or pour over ice cream to make it even more decadent. Then there’s old fashioned sodas and baked goods made with chocolate syrup. With this chocolate syrup recipe, you can make delicious chocolate syrup with just a few basic pantry staples whenever you need it.
Sure, it’s easy to pick up a bottle from the supermarket, but with this easy chocolate syrup recipe, you can make it for a fraction of the cost and without a trip to the store. By making it, you also have control over the ingredients. Use your favorite cocoa powder, experiment with the type and amount of sugar or swap out the vanilla extract for something a little more creative to make it your own. I can totally see using peppermint extract to mimic the flavor of Andes mints. Or, if you’re a fan of Terry’s Chocolate Orange chocolates, add orange extract.
Like most of my recipes, this chocolate syrup is gluten free and dairy free.
This chocolate syrup recipe is so easy and delicious. With only a few pantry-staple ingredients needed, you'll never have an excuse not to make it. Should be good for at least a month when stored properly. I usually find plenty of ways to use it up before then.
Prep Time2 minutesmins
Cook Time5 minutesmins
Course: Dessert
Ingredients
1cup cocoa powder
1 cup sugar
1 cupwater
1/2teaspoonsaltor to taste
1teaspoon vanilla extractor to taste
Instructions
Mix the sugar and cocoa together in a saucepan until thoroughly combined.
Add the water and half of the salt (1/4 teaspoon). Bring to a boil over medium heat, stirring constantly.
Continue to boil while constantly stirring until the mixture thickens a little. (It will thicken more as it cools) This should take around 3 or 4 minutes.
Carefully taste and add the rest of the salt, if desired.
Remove from heat and add vanilla extract.
Cool and store in an airtight container in the refrigerator. I like using a glass jar.
Notes
The vanilla extract and salt amount can be adjusted according to taste. I can also see swapping out the vanilla for peppermint or orange extract.
While I try to write recipes as clearly as possible, it’s easy to miss a step or make assumptions. If anything is confusing, please don’t hesitate to comment with your questions. If you make this recipe, please let me know what you think.
Like this post? To make sure you never miss a future post, please sign up for my newsletter.
This post contains affiliate links. If you click through any of the Amazon links and make a purchase, I will receive a small commission. There is no added cost to you.
Denim jeans don’t have to be tossed or cut up for crafts when they start to wear out. With a little effort, you can easily get some more wear out of your favorite jeans. For this tutorial, I’m using a pair of denim blue jeans that are still in good shape except for where my thighs touch. There they are really worn on one side and there is a hole on the other. Because of where the hole was located, I wasn’t comfortable even wearing them around the house, so I decided to try a simple fix.
Interfacing for support
First, I ironed lightweight fusible interfacing on the inside of the worn areas, making sure to completely cover all the worn out spots with the interfacing.
Reinforce with stitching
Once it fused and cooled down, I turned them right side out. Using a narrow zig-zag, I stitched back and forth over the hole and worn areas. This serves to secure the interfacing and add strength.
If you can, drop or cover the feed dogs on your sewing machine so you can move the jeans freely under the needle. The machine I used doesn’t have a way to drop them and I don’t have the special foot plate to cover them. Instead, I used a combination of repositioning and forward and reverse stitching to make it work.
Depending on the location, you could use contrasting thread and decorative stitches to turn the repair into an embellishment.
Lengthening a slightly short pair of jeans
I also have a pair of jeans I love, but they needed a button sewn back on. They were also a little short, so I replaced the button and let out the hem while watching TV one evening. These heavy denim jeans are now ready for the coming colder months.
Buttons!
These have an obvious line where the hem was. They’re really cute so I don’t care.
Like this tutorial? To make sure you don’t miss out on future tutorial posts, sign up for my newsletter.
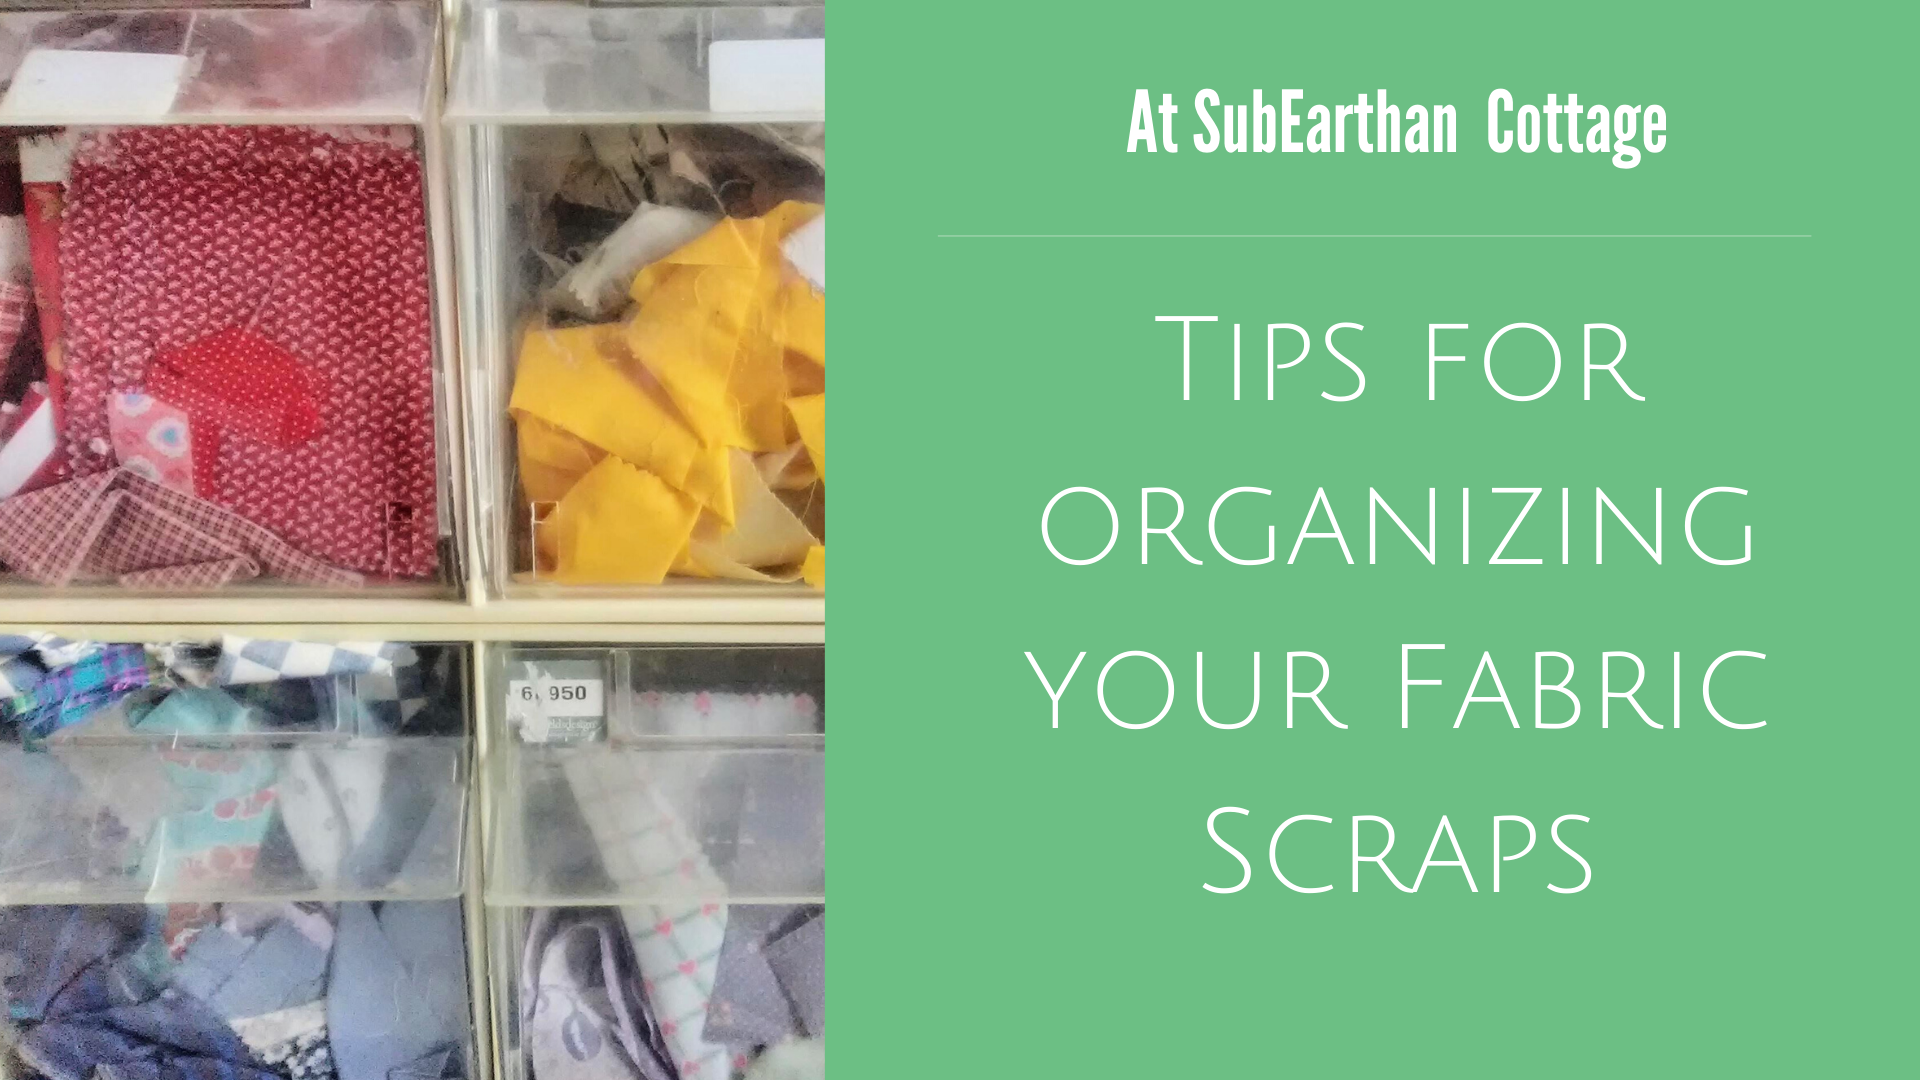
If you sew, you have a stash of fabric scraps. No matter how carefully you plan and lay out your patterns, there is almost always going to be some little extra bit. With some creativity, even the smallest scraps are useful in other projects. In order for that to happen, though, you need to be able to know what you have and find what you need. Here’s some simple suggestions to make the most of your fabric scraps.
Decide what makes sense.
I sort my scrap stash primarily by color. Most of it consists of quilting cottons, so sorting by color makes sense. For other types of fabric, I sort by fabric type more than color. For example, all flannel scraps go together.
Think about how you craft or how you naturally group things to find what will work best for you. If you focus more on prints than color family, then try group by prints. If you use a large variety of fabric weights and textures, use that to determine your groupings.
Out of sight, out of mind.
For me, being able to see what I have is the most important. I have a clear plastic sorter bin, similar to what you’d find at a hardware store, that I keep near my cutting table. I put scraps that aren’t really big enough to fold practically into the bins, sorted by color family. The front of the bins are clear, so it’s easy for me to see colors and prints at a glance.
Plastic shoe bins or similar containers would also work. You could upcycle shoe boxes or shipping boxes, but you lose the visibility with something that isn’t clear. In that case I would clearly label the outside with the color family.
This garage sale find keeps my scraps organized and visible.
Don’t forget the tiniest scraps.
Even the tiniest scraps can be used for stuffing, to strengthen handmade paper or in textile art. I keep a small bin next to my sewing machines and sergers to collect threads, clipped corners, trimmed seam allowances, etc.
Have a plan for other types of scraps.
Little bits of lace, trim and buttons from refashioned clothing get stored in glass jars. I find the variety of colors and shapes pretty, so I like having them sit on a shelf where I can see them. If I need a button or bit of embellishment I know what I have. In the meantime, it’s art.
Stabilizer scraps go into a drawer under my embroidery machine. If I’m embroidering something that needs a little extra support in an area, I use a suitable scrap instead of a whole new piece. Stabilizer scraps can also be used to reinforce buttons and button holes.
I store most of my interfacing in a shoebox. Small scraps go back into the box to use similarly to how I use stabilizer scraps.
Don’t get overwhelmed.
If you find that your scrap stash is growing larger than what you can use, sort through and pull out anything you don’t love or just don’t see yourself using and donate them. Schools, libraries, scouting groups and similar organizations will often take fabric scraps and other craft materials to use for art projects. You can also list them for free on craigslist or Facebook. As a little girl, I used scraps from my grandma to fashion clothes for my Barbies and My Little Ponies. If you have know of anyone with children, they might like the scraps to play with, too. By donating them, they still get put to use and you’re better able to see and use what you still have.
Put those scraps to use!
Once you know what scraps you have, make it a goal to use them up. If you’re stuck for ideas, Pinterest is a great place to turn for ideas. I have a board dedicated to scrap busting projects that I add to frequently. You can find it here.
I’ll be posting creative ways to use fabric scraps soon. To make sure you don’t miss it, sign up for my newsletter here. When you sign up, be sure to check your spam folder for the confirmation if it doesn’t go straight to your inbox.
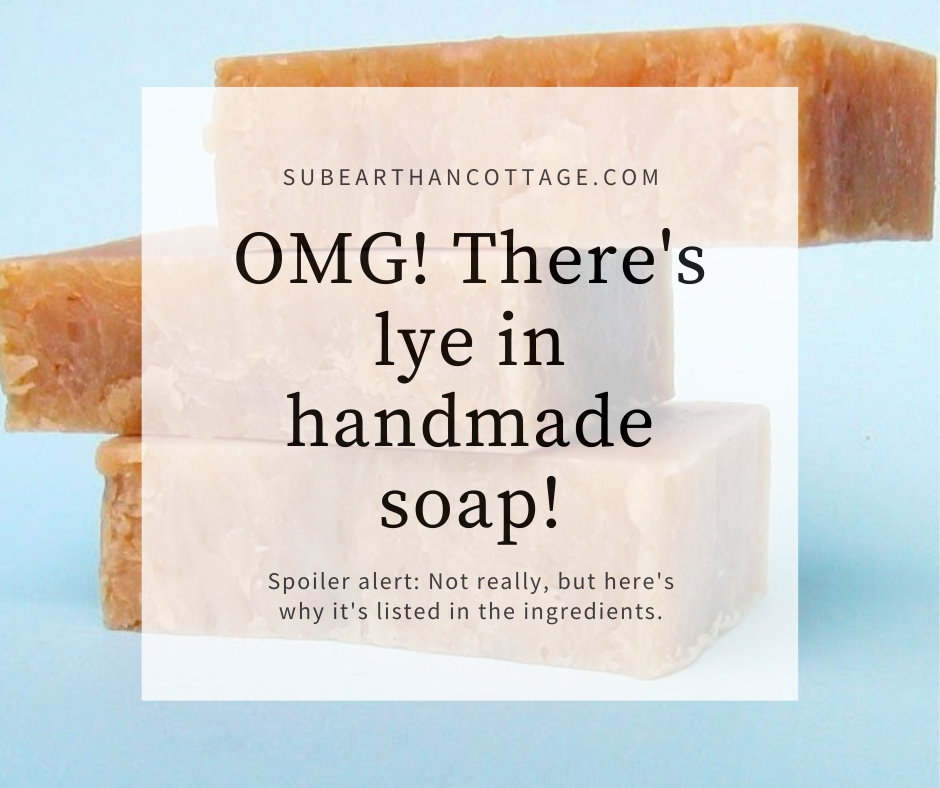
For those unfamiliar with making soap, seeing lye, aka sodium hydroxide or potassium hydroxide as an ingredient in handmade soap can be a little scary. Today I thought I’d share why it’s in there and why it’s nothing to scare you away from handmade soap.
The basic soapmaking process involves adding a solution of lye and water or some other liquid to oils. The lye reacts with the oils to make soap (saponification). Lye is necessary for saponification to occur and is therefore used in making all soap. In other words, if there wasn’t sodium hydroxide (potassium hydroxide for liquid soap) , aka. lye involved in making a product, it’s not soap.
Is there lye in the finished soap?
Short answer: No, absolutely not. Assuming the maker’s calculations are correct, all of the lye reacts with the oil, thus leaving no trace of the lye in the final product. Because of this, you will often see terms such as “Saponified Coconut Oil” or “Sodium Cocoate”. Both terms refer to coconut oil that has reacted with lye to saponify.
Many soap makers, including myself, also take a small discount in the amount of lye used. This adds a cushion to further ensure that there are no traces of lye in the final product. It also produces a milder bar without sacrificing the cleaning properties of the soap.
A word about labeling
When labeling soap, you can either list the starting ingredients or list the end products. So, some soapmakers’ labels will list things like “lye (or sodium hydroxide), olive oil, coconut oil,” etc. Some will list “saponified coconut oil, saponified olive oil,” etc. Others choose to list ingredients as “Sodium Olivate, Sodium Cocoate,” etc. All mean the same thing.
Personally, I find listing the starting ingredients simpler and more easily understandable. It does mean that my labels list lye or sodium hydroxide, which might seem scary if you don’t know that there are no longer traces of it in the finished product.
Like this post? To make sure you never miss a future post, please sign up for my newsletter.
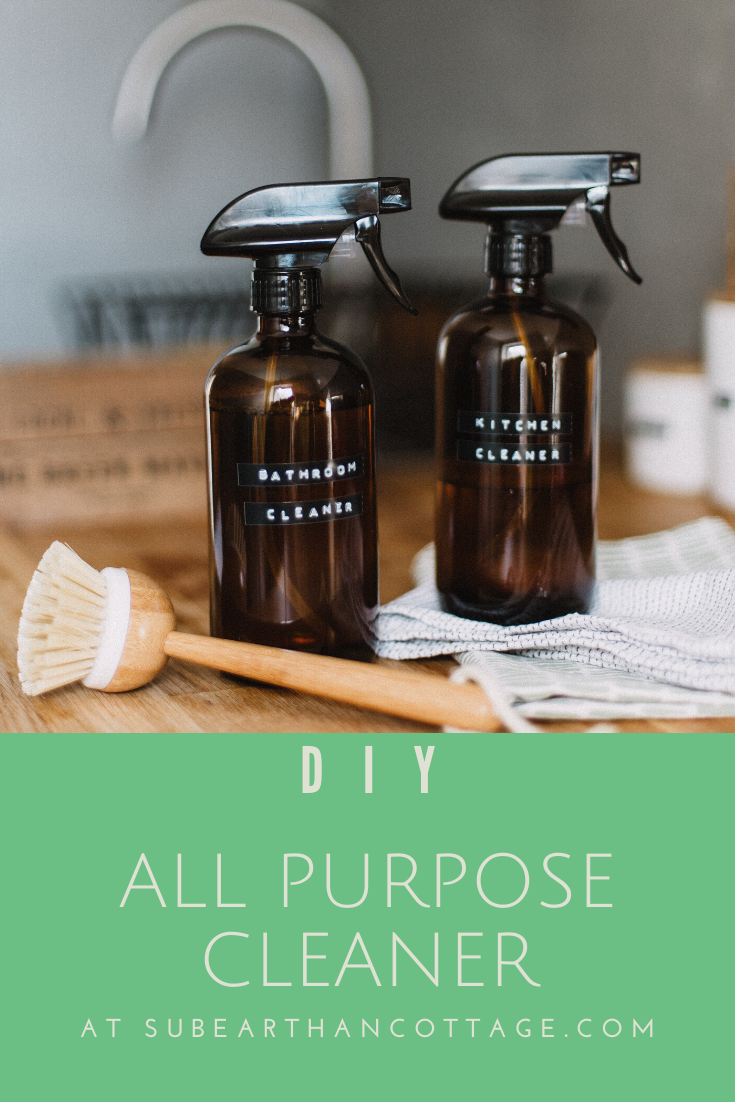
We are all becoming more aware of the types of products we use everyday. Whether it’s a concern for the environmental impact, the effect they have on our health or the safety for our pets and children, we want to know we aren’t inadvertently introducing harmful things into our homes. Something I do to feel confident in the safety of cleaning products I use around my family is to make my own where possible. One such product is a simple all purpose cleaner I use for cleaning hard surfaces, such as kitchen and bathroom counters and walls. It only uses a few ingredients, all of which you probably already have on hand.
Photo by Daiga Ellaby on Unsplash
All Purpose Cleaner Recipe
Ingredients:
Liquid soap, either dish soap or something like Dr. Bronner’s castile soap
Distilled white vinegar
Water
Optional: Essential oil of your choice
Supplies:
Clean, empty spray bottle
Liquid measuring supplies if you aren’t comfortable just eyeballing it
Optional: A funnel might make it easier to fill the bottle.
How to make it:
Measure about 2 tablespoons of soap, one cup of vinegar and one cup of water into the spray bottle. It doesn’t have to be exact. I usually just eyeball it. If you would like to use an essential oil, add 3-5 drops as well. Do be aware of safety guidelines regarding any essential oils you use, especially around pregnant women, children and pets. Tea tree oil or lavender are nice for cleaning and generally safe for most people. If the soap you use is scented or if you or your family members are sensitive to scents, you may want to skip the essential oil.
Swirl the bottle to mix everything without making the soap foam up too much.
That’s it. Now you have an all purpose cleaner that works as well as any other I’ve tried, with the added benefit of being safe enough that kiddos can help with the cleaning.
If you like this cleaning recipe, you’ll also like my DIY soft scrub for tougher cleaning jobs. To make sure you don’t miss out on future posts, sign up for my newsletter.
Meal planning takes away the daily stress of deciding what’s for dinner. I’ve never done well with creating weekly menus by day, though. With a set schedule, I sometimes felt like I had to make what’s on the menu, rather than finish up the leftovers first. Silly, I know. Then there were the days that ended up busier than expected and I either didn’t have time to make the planned meal or I was too tired by the time dinner rolled around and needed something simpler.
The solution I’ve found to traditional menu-style meal planning is making meal lists. Not only does it offer day by day flexibility, it makes it easier to work in sale items, saving money at the grocery store.
For us, breakfast and lunch are usually either made from the same basic staples or leftovers, so I only use my lists for dinner. You can easily use the same method for all meals, if you like.
Meal Planning Lists
Step 1: Make a Master List
Start by writing down all your favorite meals to make. This isn’t the time to pull out cookbooks or look for recipes online. You want this to be a brain dump of your go-to meals. I would aim for at least 10-14, but a bigger list gives you more variety. If you don’t have that many to start, don’t worry. You can always add to this list later.
You can leave your master list as-is, or sort it into categories such as grouping it by the type of protein, ease of prep, cook time or type of appliance used if you have lots of Instant Pot or slow cooker meals. My list is just one big list.
You could also make note of what sides you like to serve with each dish, but I usually add them later.
Step 2: Decide what types of meals you need for the week
For this step, consider things like what you have on hand that you need to use up, what’s on sale and how busy you’ll be during the week. If you know you’ll be eating out any days, make note of that, too. I don’t usually make a list for this step, but if it’s a busy week you might want to make some notes.
Step 3: Make your meal list for the week
Consider the things from step 2 and pick 5-7 meals for the week from your master list. I like to cook things like big pots of soup or chili at least once a week, so I know leftovers will take care of one or two days, so I usually make a list of five. If your meals won’t include leftovers, you’ll want to list seven, or as many days as you’ll be eating at home.
This is where I consider sides and make note of them alongside the meals I plan to make.
If you’re looking to expand your master list or just want to try something new, you can add a new recipe as one of your meals and make note of the cookbook or other source. Once you’ve tried it, if you like it, add it to your master list.
That’s my meal list for this week.
While I don’t add these to my list, I like to keep staples for one or two really quick backup meals on hand at all times. You can read more about this here. If this is new to you, you’ll want to consider picking a backup meal or two before moving on to the next step.
Step 4: Make your shopping list
Make a shopping list from your weekly meal list, including sides and staples for your backup meal, if you don’t already have one. From your list, shop your pantry then grocery shop for everything else you need.
Step 5: Using your list
If one meal relies on lots of fresh produce or other time-sensitive food, you’ll want to make it early in the week. Likewise, if one day is busy and you have one slow cooker or really simple meal on the list, you’ll want to save it for that day. Otherwise, you know you have everything to make all the meals on your weekly list, so pick whichever one you like for now and one for next. Picking your “next” gives you time to thaw out or presoak anything needed for that meal. Every day, think about what meal you want to be next and do the necessary prep. If that day’s meal has lots of leftovers, you can use them as your “next” and push the rest of the week’s meals down.
Each meal you make gets checked off the list. At the end of the week, if there’s anything not checked off, add that meal to next week’s list.
Customize Your Meal Planning Lists
Planning one week at a time works best for me because that’s about the longest we can go without needing to restock staples. If two weeks at a time works for you, make your list 10-14 meals instead of 5-7. Repeats are fine if you want or need.
If you want to be super organized, turn your master list into index cards with one meal and all the ingredients listed on each card. You can even make them full blown recipe cards, which is helpful if someone else does some of the meal prep or it’s a new recipe. Sort them into whatever categories work best for you, then pick out your 5-7 meal cards for the week. Now your grocery list is as simple as copying the ingredients from the cards.
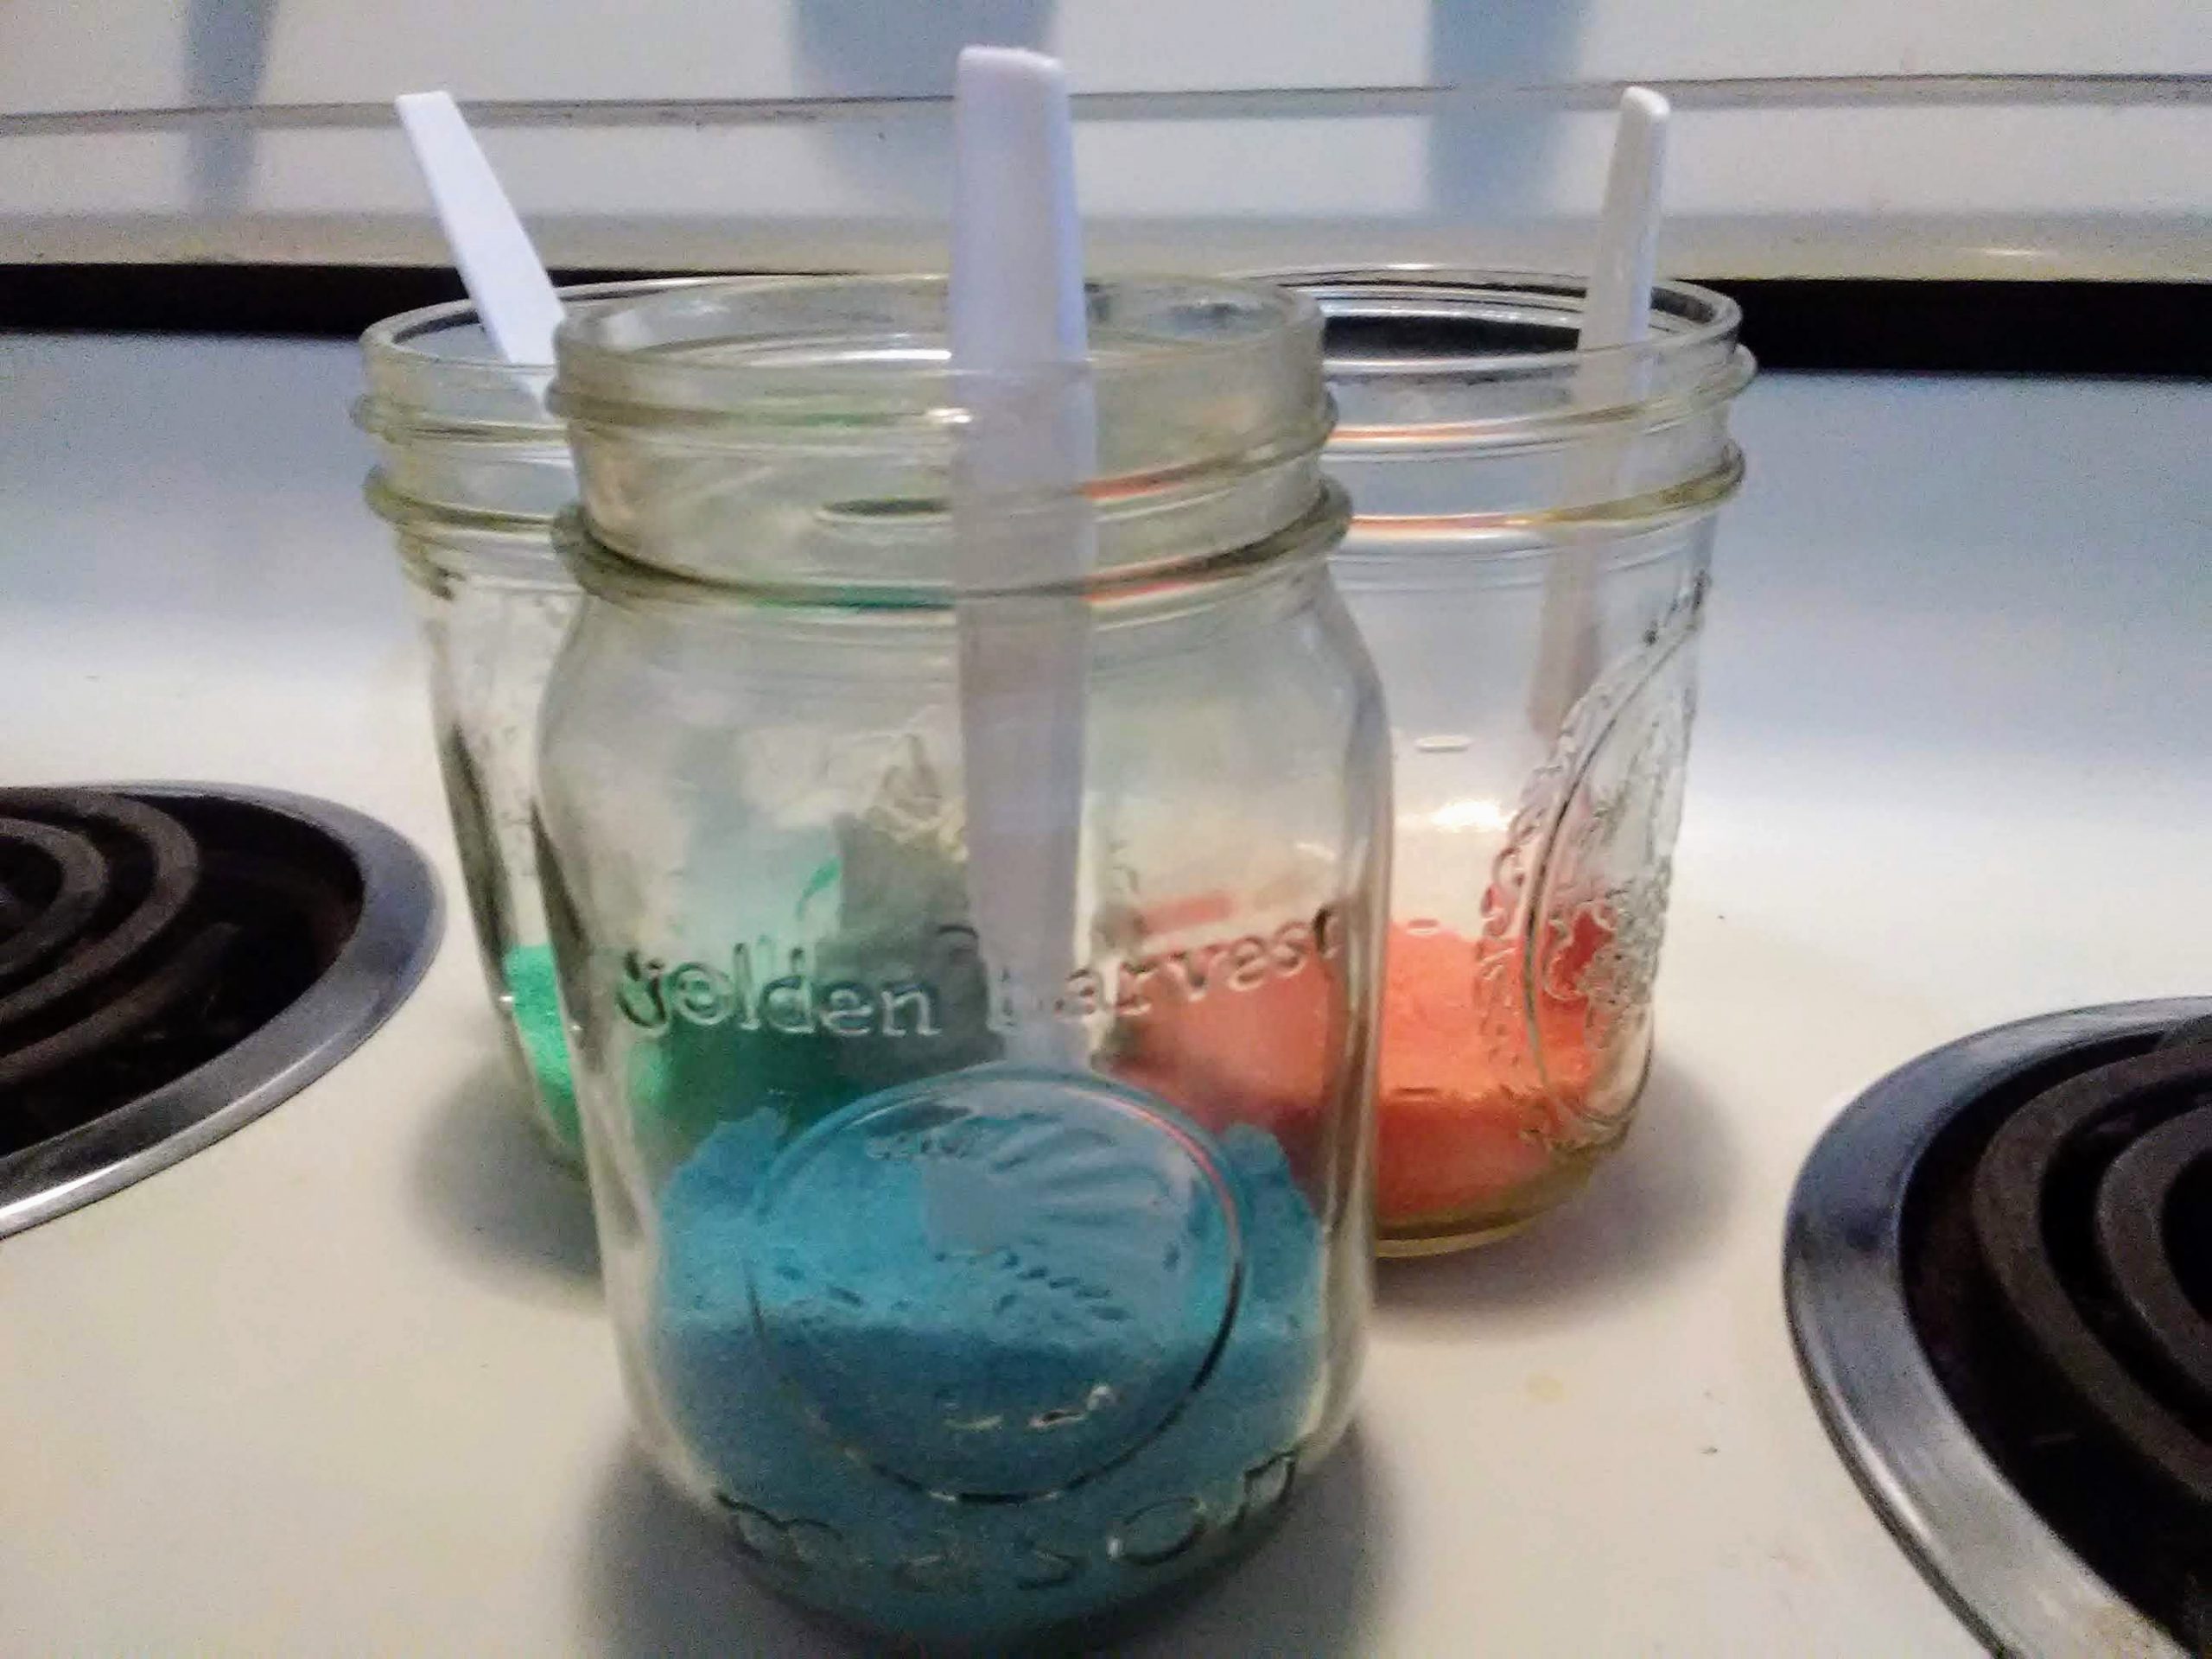
A few days ago, I thought it would be fun to make Christmas cookies. Then I remembered that my Christmas cookie cutters had disappeared, we were out of any sort of sprinkles for the cookies and I really didn’t want to make decorator frosting or go to the store for supplies. My solution? DIY sugar sprinkles!
Ingredients
Granulated sugar
Food coloring
Supplies
Jars, plastic containers or sandwich bags, one per color. (Ideally something with a shaker top, which I didn’t have)
Spoons or shakers
How to make the sugar sprinkles
Measure about 1/4 cup of sugar into each container.
Add 2-3 drops of food coloring to the sugar.
Shake or stir until the color is evenly distributed.
Let air dry. I just left the lids off the jars and set them on the stove while the cookies baked, stirring occasionally. If you use bags or plan to store it for a longer period of time, you may want to spread it on parchment or a cookie sheet to make sure it is super dry.
Mom tip: If your cookie decorating skills are not Pinterest-worthy, just let your kiddos do the decorating.
The recipe I used for the cookies was the sugar cookie cutout recipe from my trusty red and white Better Homes and Gardens cookbook. To make them gluten free, I substituted Bob’s Red Mill 1 to 1 gluten free flour. If you are new to gluten free baking, it is a great flour to start with. I have had lots of success making all my old recipes gluten free with just that simple substitution.
My solution for not having cookie cutters was to use a round glass to cut out “ornaments”. We dusted some of the cookies with the sprinkles prior to baking. For the rest, I made a simple icing that got dusted or caked with sprinkles, depending on who was doing the decorating.
I, Charity Sloan, am a participant in the Amazon Services LLC Associates Program, an affiliate advertising program designed to provide a means for sites to earn advertising fees by advertising and linking to Amazon.com. Any purchases through those links will result in my receiving a small percentage in commission.
This only refers to Amazon links found in/on my blog pages. All products in my shop are 100% mine and not linked to Amazon.
Prices are the same whether you click an affiliate link or a non-affiliate link, so you will not be charged more. Thank you for your support!