I love candles and wax melts, but I hate it when there’s a little left in the bottom of a jar or the wax has lost it’s scent. I don’t want to just throw the wax away. If it’s a jar candle, I won’t throw it a way, so it ends up taking up space waiting for me to find a new use for it.
I’ve always been interested in candle making, but I honestly don’t know much about the correct way to do it. This is just my, for me, kind of chaotic, fun way of using up the leftover wax scraps and jars. If you try to join in my chaos, always take care with the melting, pouring and burning, make sure everything you use is safe for this usage and never leave anything burning or melting unattended.
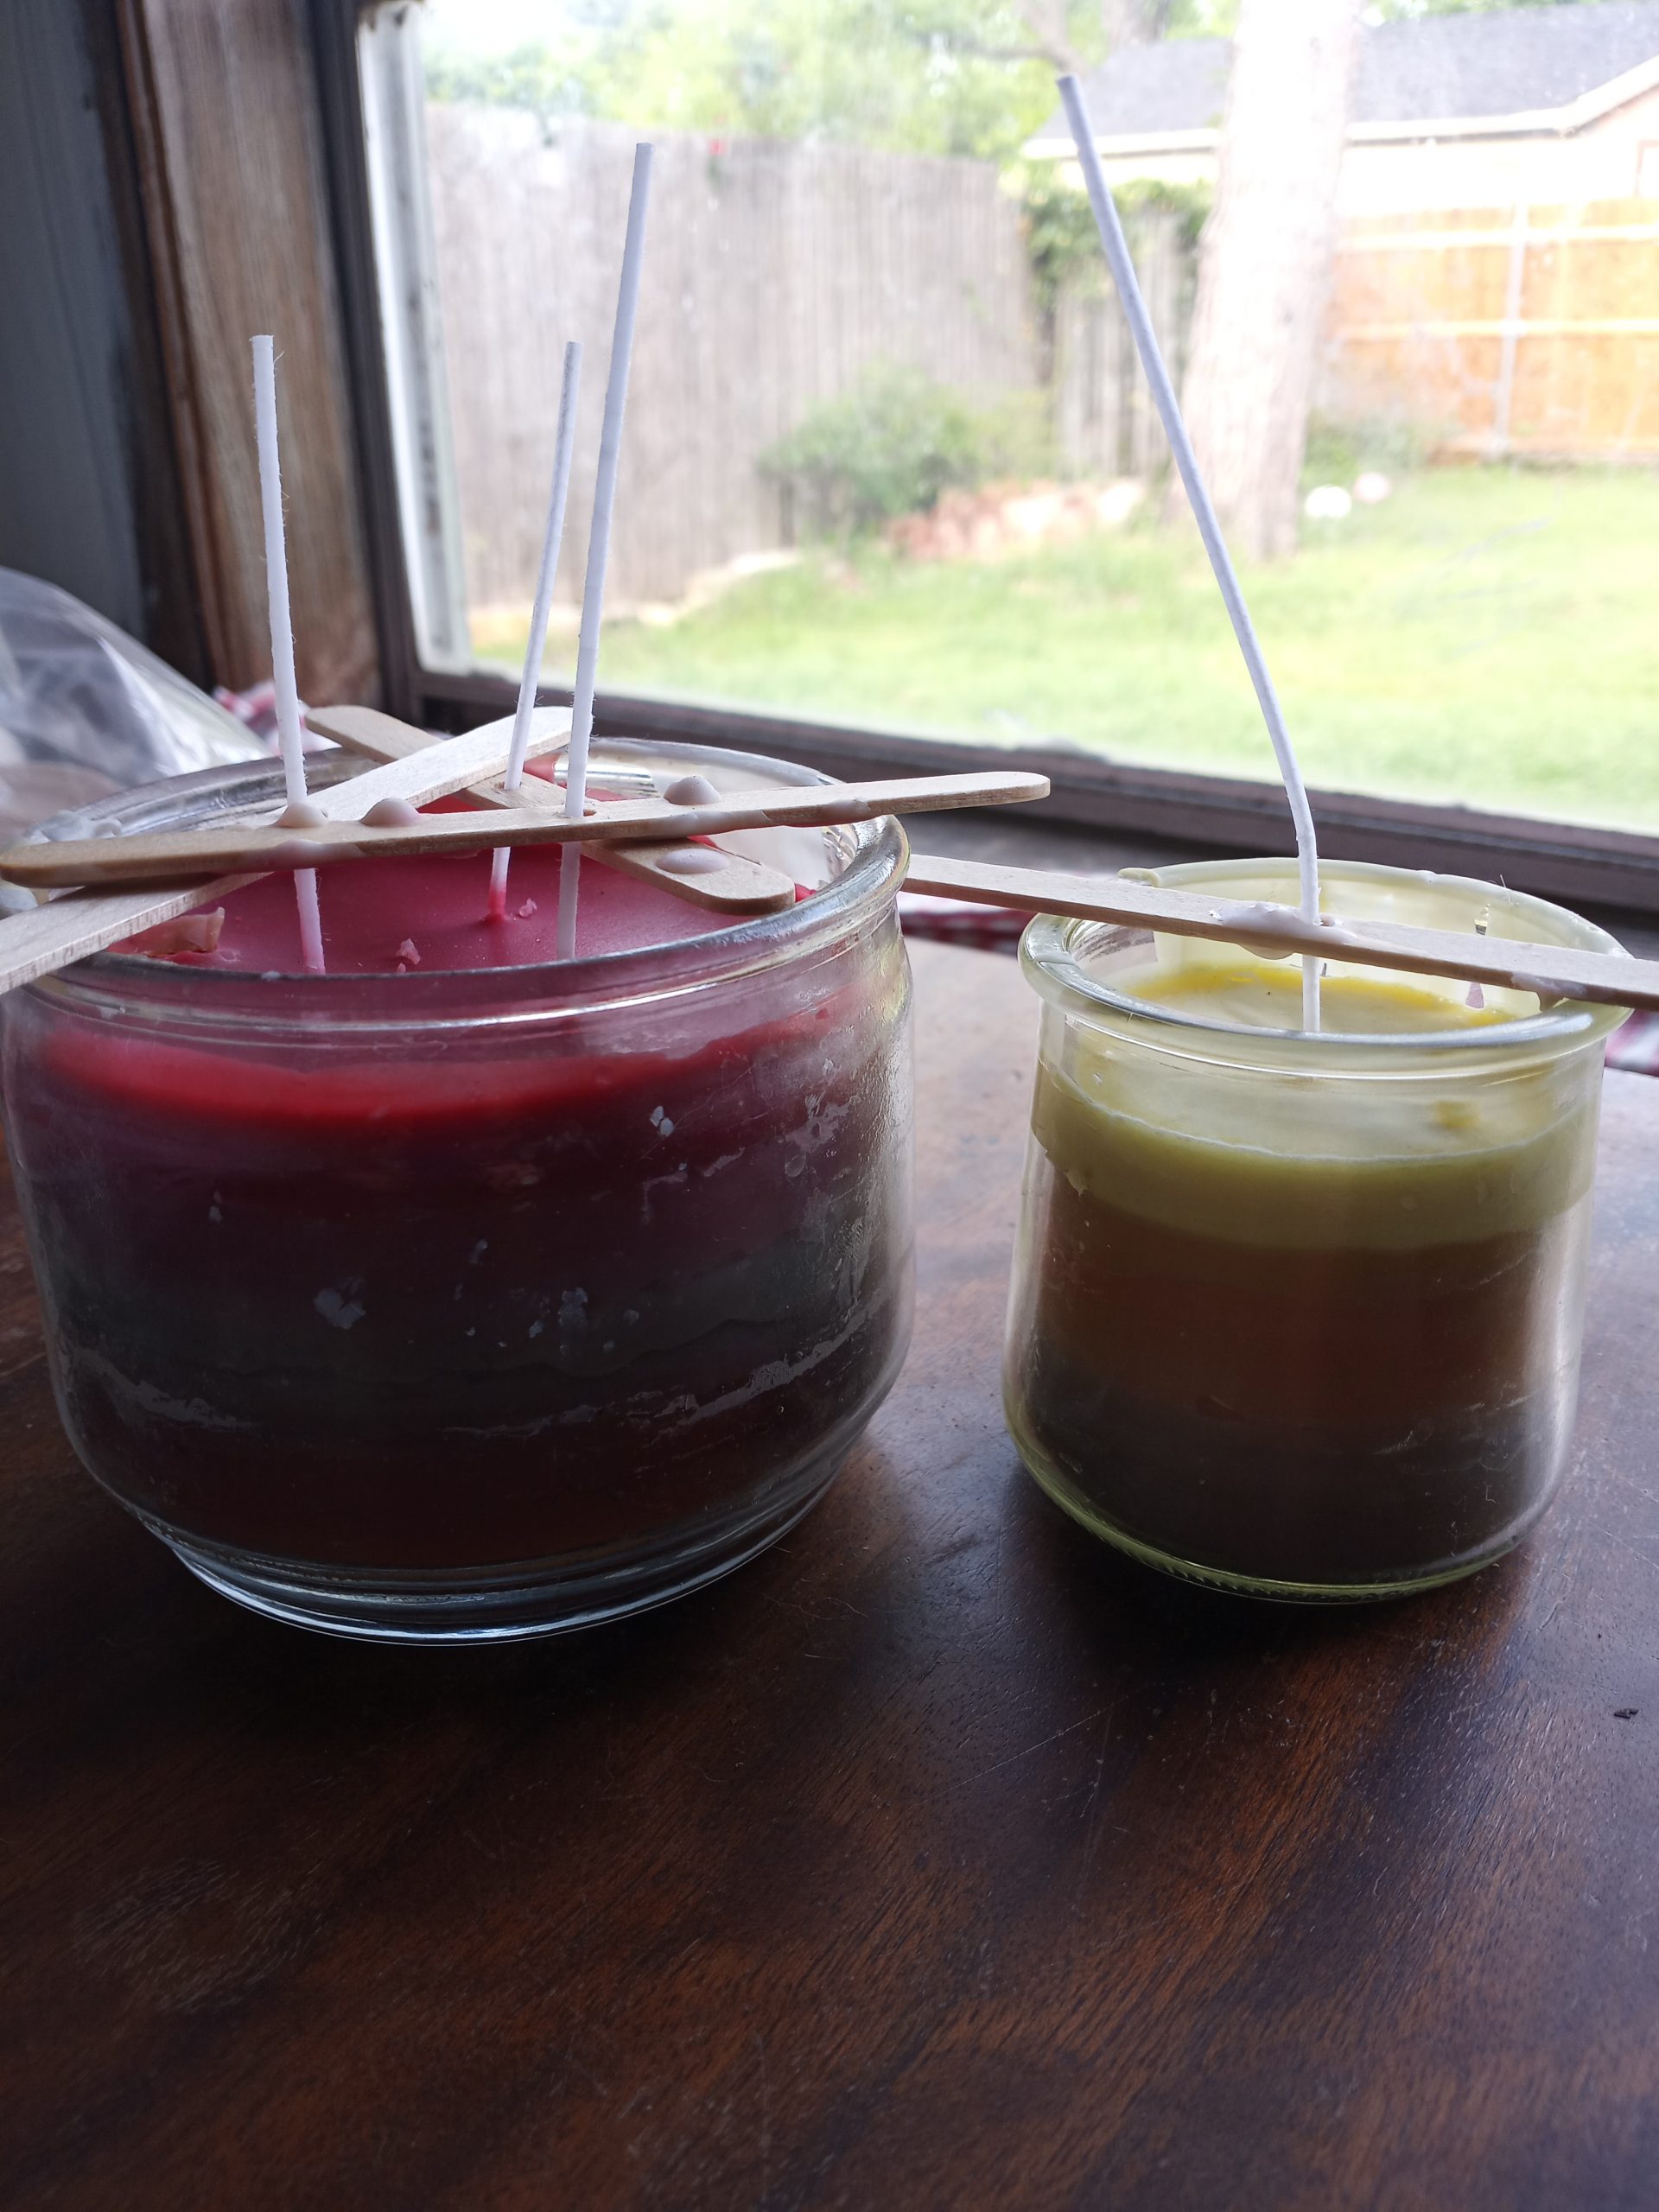
My solution is to melt down the wax and make my own candles in the old jars. I bought this wick set for the wicks. I start by picking the jar I want to use and then putting in the same number of wicks that were originally in the jar.
My candles still need a haircut. 😀
For the candles in the above photo, the one on the left was originally a three wick candle, so it got three wicks. The one on the right was a yogurt jar, so I just guessed and went with one wick.
After the wicks are in place, I melt down any scrap wax I have and pour it in. Usually, I do this a little at a time as I finish other candles, rather than all at once. That gives it the cool sand art layered look.
With jar candles, to get the last bit of wax out, if I don’t pour it while it’s still melted from the last time I burned the candle, I set the jar on my coffee warmer (do not leave it unattended!). Wax melts just get melted as usual and poured into the jar.
Coffee warmer- Not just for coffee.
I do try to keep the candles mostly the same type of wax. In the photo, the big candle on the left is made from candle wax ends. The yogurt jar candle is made of soy wax melts with a little of the tea light wax remnants added.
My one tea light warmer.
For scent, most of the candles I burn are in the same spicy or vanilla scent family. Since the leftover candle wax usually has a good bit of scent left, I don’t worry about adding my own. With the wax melts, I either just leave them as they are and have a mild to unscented candle, or I add a drop or two of an essential or fragrance oil to each layer as I pour it.
I don’t know if my chaos candle making method will help anyone else, but I have fun with it, and the resulting candles are pretty. It’s also a way to reduce waste and save money.
This post does contain an Amazon affiliate link. If you click on the link and make a purchase, I will receive a small commission at no additional cost to you.
To make sure you never miss a post, please sign up for my newsletter.
Aromatherapy provides a natural way to deal with insomnia, anxiety, and stress. The primary purpose of aromatherapy is to produce a scent that induces an effect on the human body. The smells from aromatherapy work on a subconscious level. Smell can affect the way that human beings react. Different smells can stimulate the brain and evoke feelings that are then associated with that smell. For example, if the smell of baking cookies reminds you of your grandma and makes you feel relaxed and safe, that is aromatherapy.
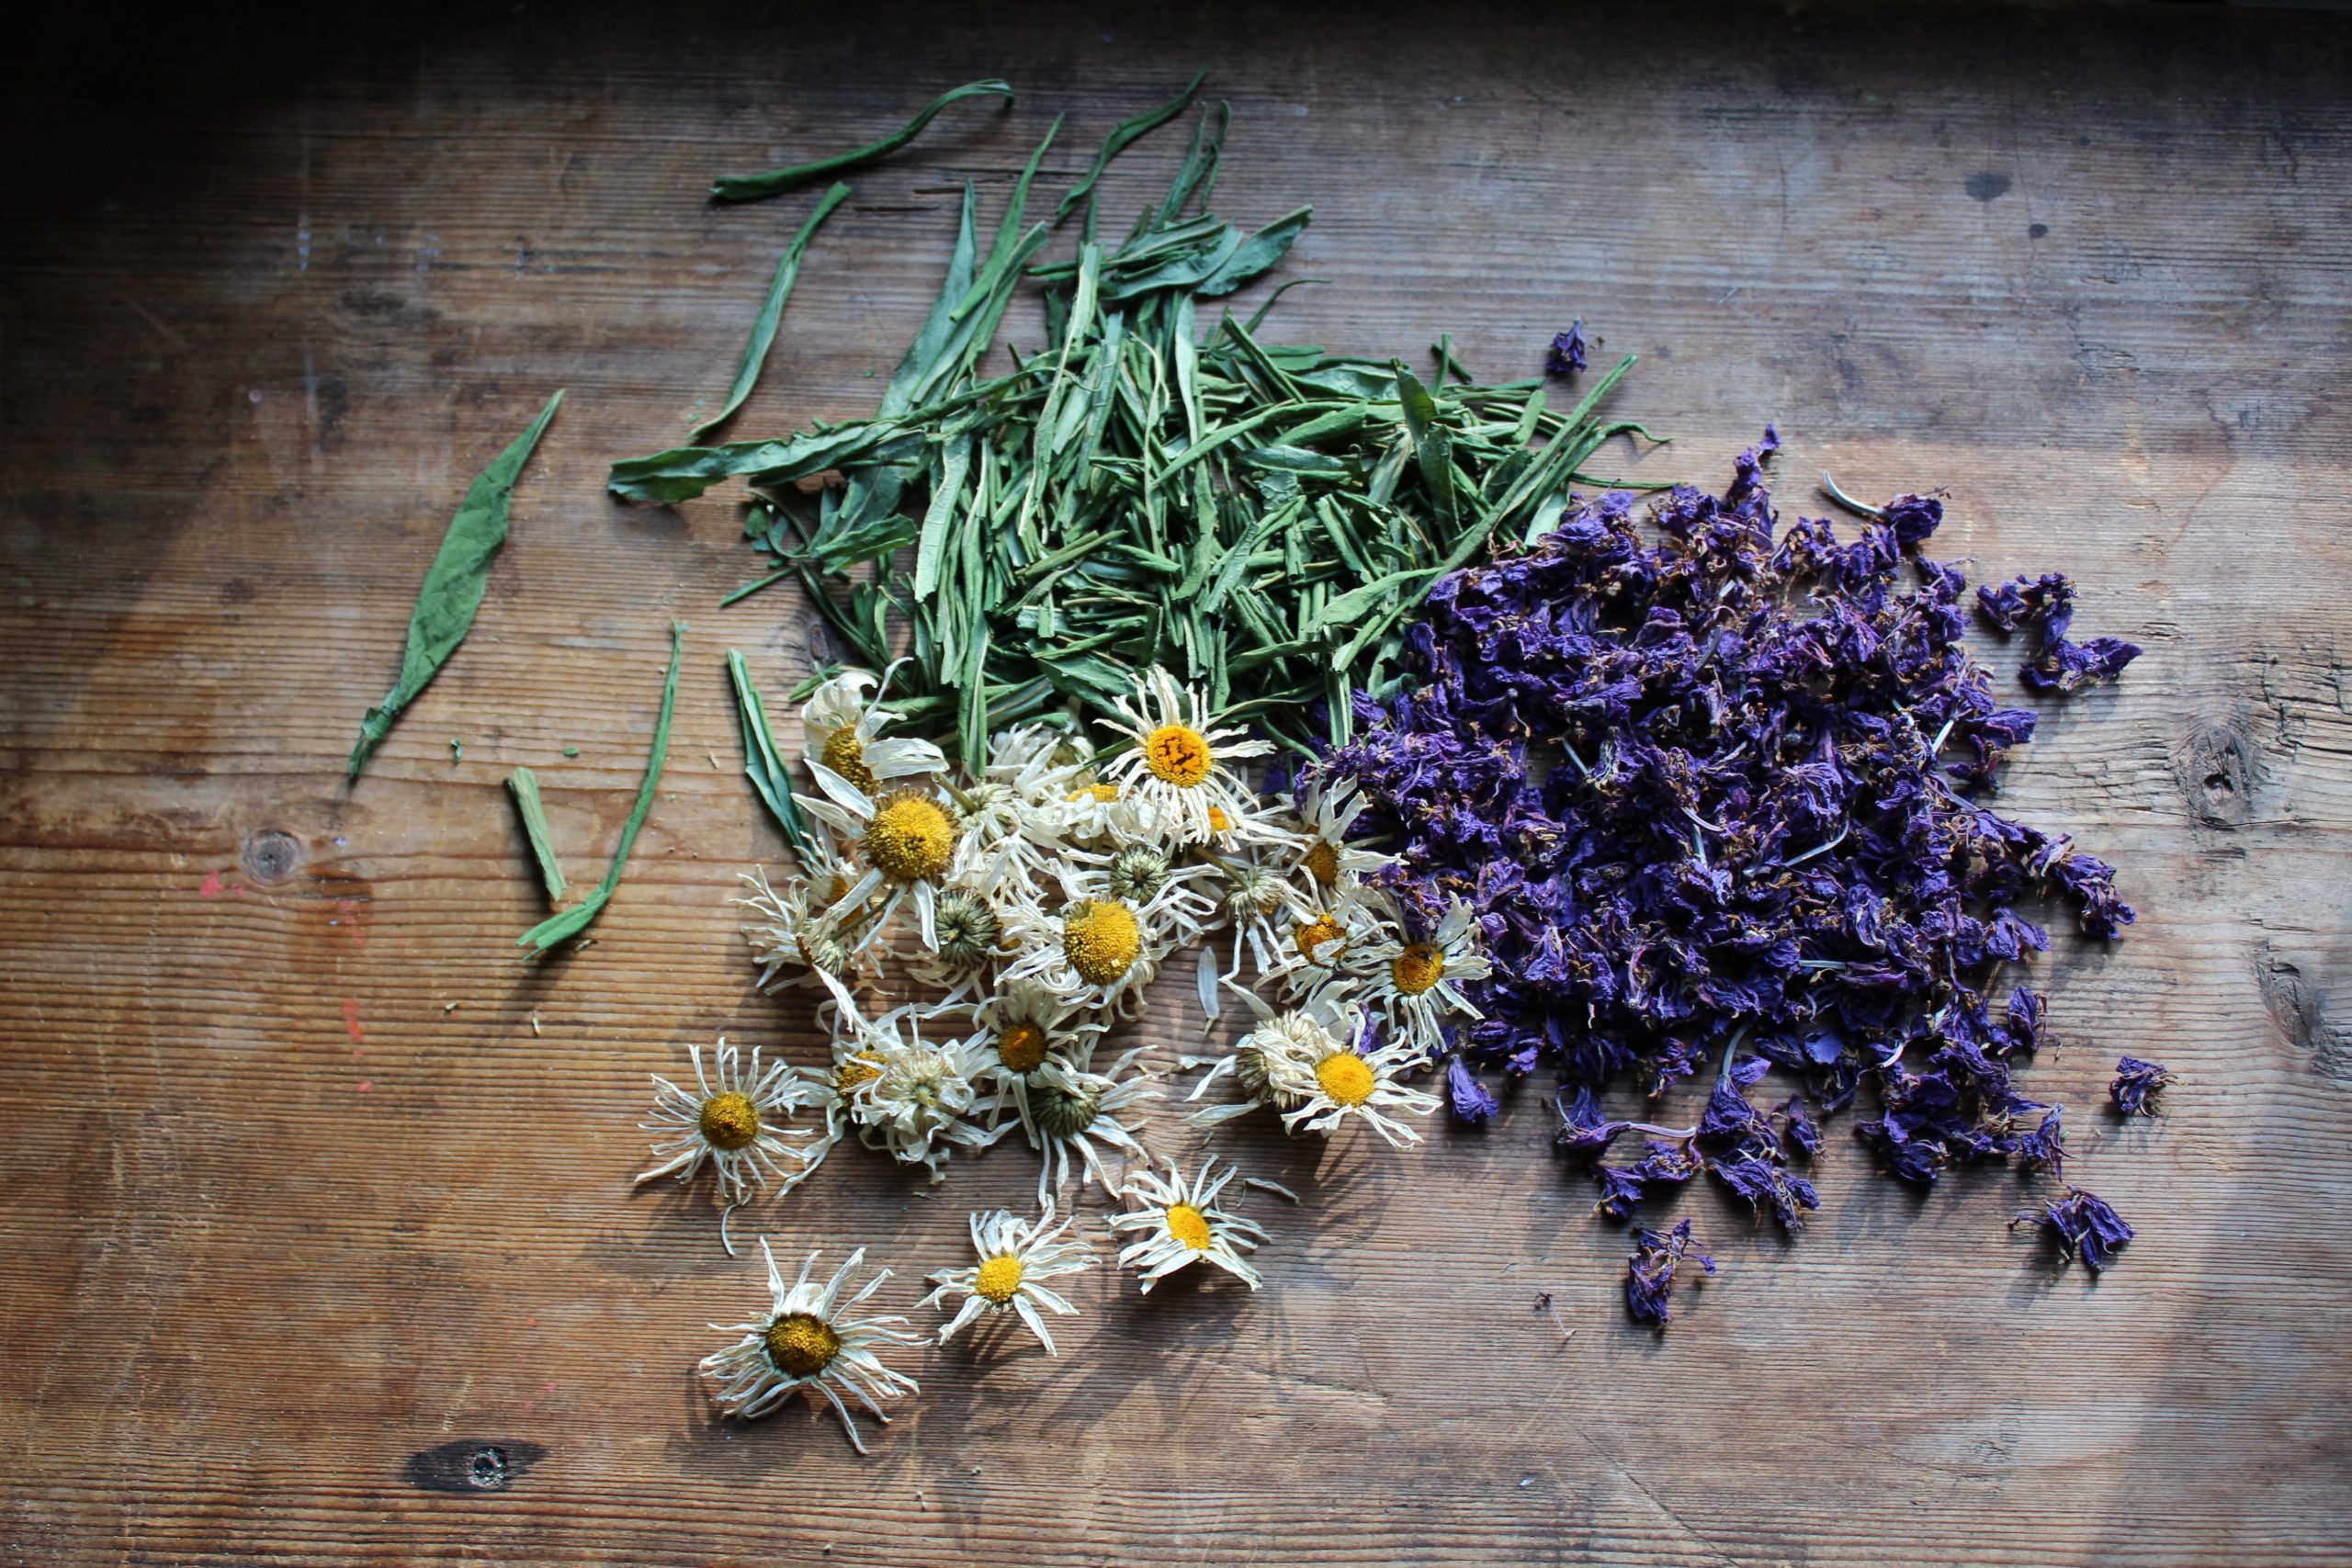
Aromatherapy is used for mental and emotional well being. The oils of aromatherapy are often used to stimulate or relax the person as needed. Some aromatherapy oils are lavender, frankincense, patchouli, chamomile, sandalwood, orange, and peppermint.
Aromatherapy to fight insomnia
There are a few different ways that you can enjoy the smells of aromatherapy. One way is to add scent to your bath water. You could blend essential oils with a carrier oil for a massage. You can even sprinkle a few drops on your pillow at night.
Using aromatic herbs for insomnia
We often think that aromatherapy equals essential oils, but that is not always the case. Herbs like chamomile, lavender and peppermint are a bit more versatile as you can drink it in the form of an herbal infusion (tea). Chamomile tea is well known to be relaxing and aid in sleep.
Essential oil blends
If you look into aromatherapy for the sole purpose of insomnia there will be actual recipes that you can make yourself that act very well for insomnia. One in particular is a mixture of two drops of jasmine essential oil and four drops of lavender essential oil. This can be used in a diffuser or you can place drops of it surrounding your bed. Frankincense and patchouli are also some of my favorites for relaxation and sleep. Just make sure that it is in a place where you will be able to smell it best. This mixture can also be added to a carrier oil and used for a massage.
Aromatherapy candles and wax melts are also available in the various scents that are mentioned above. The scent from candles and wax melts are not quite as strong in most cases as the essential oil. They are a great way to test out a new scent to see how it affects you. They are also a nice way to layer scents for aromatherapy.
Other tools to use alongside aromatherapy
Finally, in conjunction with aromatherapy, meditation and yoga work excellently for relaxation. They work as a way to free the negative energy from your body that is causing you to lose precious sleep. Besides helping with insomnia, it will lead you into a more healthy life in general.
The most popular aromatherapy oil used today is lavender. Lavender is very versatile and can even be grown in your own backyard. It also works great for digestive related issues and as a mild antidepressant. Further, it calms nerves, relaxes the body, and promotes sleep.
Sometimes the everyday stresses of life can build up and a combination of aromatherapy oils can be a seemingly magical tool in creating a harmonic balance, a sense of well being and relaxation, and promoting sleep.
To make sure you never miss a post, please sign up for my newsletter.
I originally published this last year. As we’re coming up on the weekend, I felt like this was the perfect time to revisit creating a self-care Sunday. Have a great weekend!
Self-care has transformed a lot over the last few years. It began as a way to encourage people to do more for themselves, which is amazing. But somewhere along the way, it became something people felt like they were forced to do.
If you are feeling a little overwhelmed with this idea of the perfect self-care routine, it’s time to take a step back. Instead of focusing on having to fit it into your daily life, why not just start one day a week?
Why do Self-Care on Sunday?
Sunday is actually the perfect day to dedicate to yourself, since it is often already a day of rest for many people. You are winding down after a fun weekend, and likely getting ready for a new week to begin. For me, Saturdays are usually the day that I take care of leftover chores from the week and grocery shopping, so Sunday is freed from those tasks as well. Take advantage of the downtime by adding some self-care activities to your routine.
1. Setting Up Your Weekly Self-Care Routine
First thing’s first – figure out what your routine is going to be before Sunday. Taking a few minutes to plan ahead of time makes it more likely to happen! Don’t forget that self-care doesn’t have to be done alone, so if you have a busy house on Sundays, you can still do this!
What you want to do is focus on your self-care on Sundays, whether that means an hour during the day, or changing the entire routine for the day.
Think of Sundays like a reset day. When you not only get your planning done for the week, but you give yourself some time to relax and unwind, reset your body and your mind for another busy week.
How is it Different from Daily Self-Care?
To put it simply, it’s not. You still want to choose activities that help you to relax, are good for your body and mind, and overall wellness. But you might have a little more free time on Sundays, so you won’t feel as pressured to fit it all in before or after work, or during your bedtime routine.
Sundays opens new possibilities for self-care, whether you do it alone or with family.
Think About Your Current Sunday Routine
In order to turn Sunday into your weekly self-care day, you need to consider what you tend to do on Sundays. This self-reflection helps you determine if these are things that can only be done on Sundays or can be moved to another day to give you more time for yourself.
Make a list of things you do every Sunday first. Then look at your list, and cross off anything that isn’t necessary or might no longer be serving you. With what is left, determine if any of those activities can be moved to Saturday.
For example, if you do a lot of cleaning and chores on Sundays, could they be moved to other days during the week, freeing up a bit more self-care time for you?
2. Ideas for Sunday Self-Care Activities
The good news is that self-care on Sunday is pretty much the same as what you would do any other day of the week. It is more about dedicating a day to yourself each week, especially if you don’t have much time during the week to really focus on you.
Here are some activities that can be great to do on Sundays:
Let yourself sleep in – If you don’t get to sleep in during the rest of the week, at the very least give yourself this time on Sundays! Your body (and mind) needs the rest.
Go to brunch with friends – Self-care can also mean doing something you enjoy with other people. Grab a group of friends on Sunday to go to brunch.
Head to a park or the beach with your kids – You can also enjoy more time with your kids without cell phones and TV. Go outside to enjoy the fresh air and exercise. Ride bicycles around your neighborhood, have a beach day, or do a picnic at the park.
Have an hour of pampering – You might not be able to dedicate the entire day just to self-care, but at least fit in some pampering time. Spending quiet time soaking in the bath or giving yourself a facial are a couple ideas.
Catch up on your reading or creative projects – This is the perfect time to pick activities you enjoy, but rarely have time for. Maybe there is a book you have been wanting to finish or a creative project you would love to do.
Get ready for the week – Self-care can also mean just giving yourself time to really reset and prepare for the week ahead.
3. Self-Care for Introverts and Extroverts
Something to keep in mind is that what you consider self-care might change depending on if you are more of an introverted or extroverted person.
Self-Care for Introverts
If you are an introvert, you probably find that you are the most relaxed when you are alone. This doesn’t mean you want to be or should be alone all the time, but that you often need a little bit of time to yourself each day to recharge and gain your composure.
Have Quiet Solitude on Sunday – Self-care for an introvert can be as simple as just making sure you have some alone, quiet time on Sundays. You need this time to yourself to regroup and relax. It can be hard when you go all day around other people and never give yourself this time.
Find Nature-Inspired Activities – If you’re an introvert that enjoys time outdoors, try to find some solo outdoor activities to encourage you to spend more time outside. Hiking, gardening, visiting a quiet park or creating a niche in your own yard to sit and read or meditate are all peaceful ways to get outside.
Embrace Your Creative Side – An amazing way to practice self-care as an introvert is to do something creative. Learn how to sew, crochet, write a poem or short story, color in an adult coloring book, or start painting.
Self-Care for Extroverts
Extroverts are more social creatures, getting their energy from being around other people. If you consider yourself an extrovert, you probably enjoy time with others more than time alone. But what does that mean for your self-care routine? Here are some tips for practicing self-care when you are an extrovert.
Enjoy Social Time with Friends – What might be a little more up your alley is scheduling in time with friends. What better way to practice self-care than spend time with those you love the most?
Volunteer Your Time – Looking for something more meaningful and fulfilling? You might like to volunteer somewhere as your self-care. Look into local community centers or animal shelters that are open on Sunday and see if they need any help.
Join a Local Club – Another social activity that helps with your self-care is joining a local club, like a book club. Not only will you be encouraged to read more, but you can get together once a week with your book club to chat and talk about the book.
4. Tips for Your Sunday Self-Care Routine
Here are a few more tips for making sure you have a good Sunday self-care routine, and really understand what self-care means and how to avoid the common mistakes.
It Encompasses Emotional, Mental, and Physical Health
Self-care does not fulfill just one need in your life. Different activities provoke different benefits in your life, including helping with your emotional, mental, and physical health.
What works best for you is going to be something that helps you feel relaxed, de-stressed, improves your mood, and is something you absolutely love to do.
Your Self-Care Needs Can Change Regularly
Just because you have committed to writing in your journal and meditating every morning for an hour as your self-care routine, doesn’t mean you have to do this forever. Sometimes, what you choose as your self-care activity changes, or you need to adjust based on your schedule.
Revisit what you are doing for self-care often. As your life and the seasons change, so will your self-care and what is going to benefit you the most.
A Common Mistake is Forcing Your Self-Care
This can’t be said enough – your self-care routine should not make you more stressed! This is a sign that you are forcing yourself to do something you don’t want to do and that is doing nothing for you.
It might be because your friend is participating in this form of self-care, or you read that it is a good idea. But remember everyone is different and everyone is going to benefit from different things.
Likewise, everyone’s schedule is different, and Sunday might not be the day that works best for you. Figure out what works with your schedule and apply these tips to your best day for self-care.
Like this post? To make sure you don’t miss out on future posts, sign up for my newsletter.
I realized a few days ago that my favorite pair of denim jeans were wearing through at the inner thigh, so I set them aside to reinforce before they were beyond the point of easy repair.
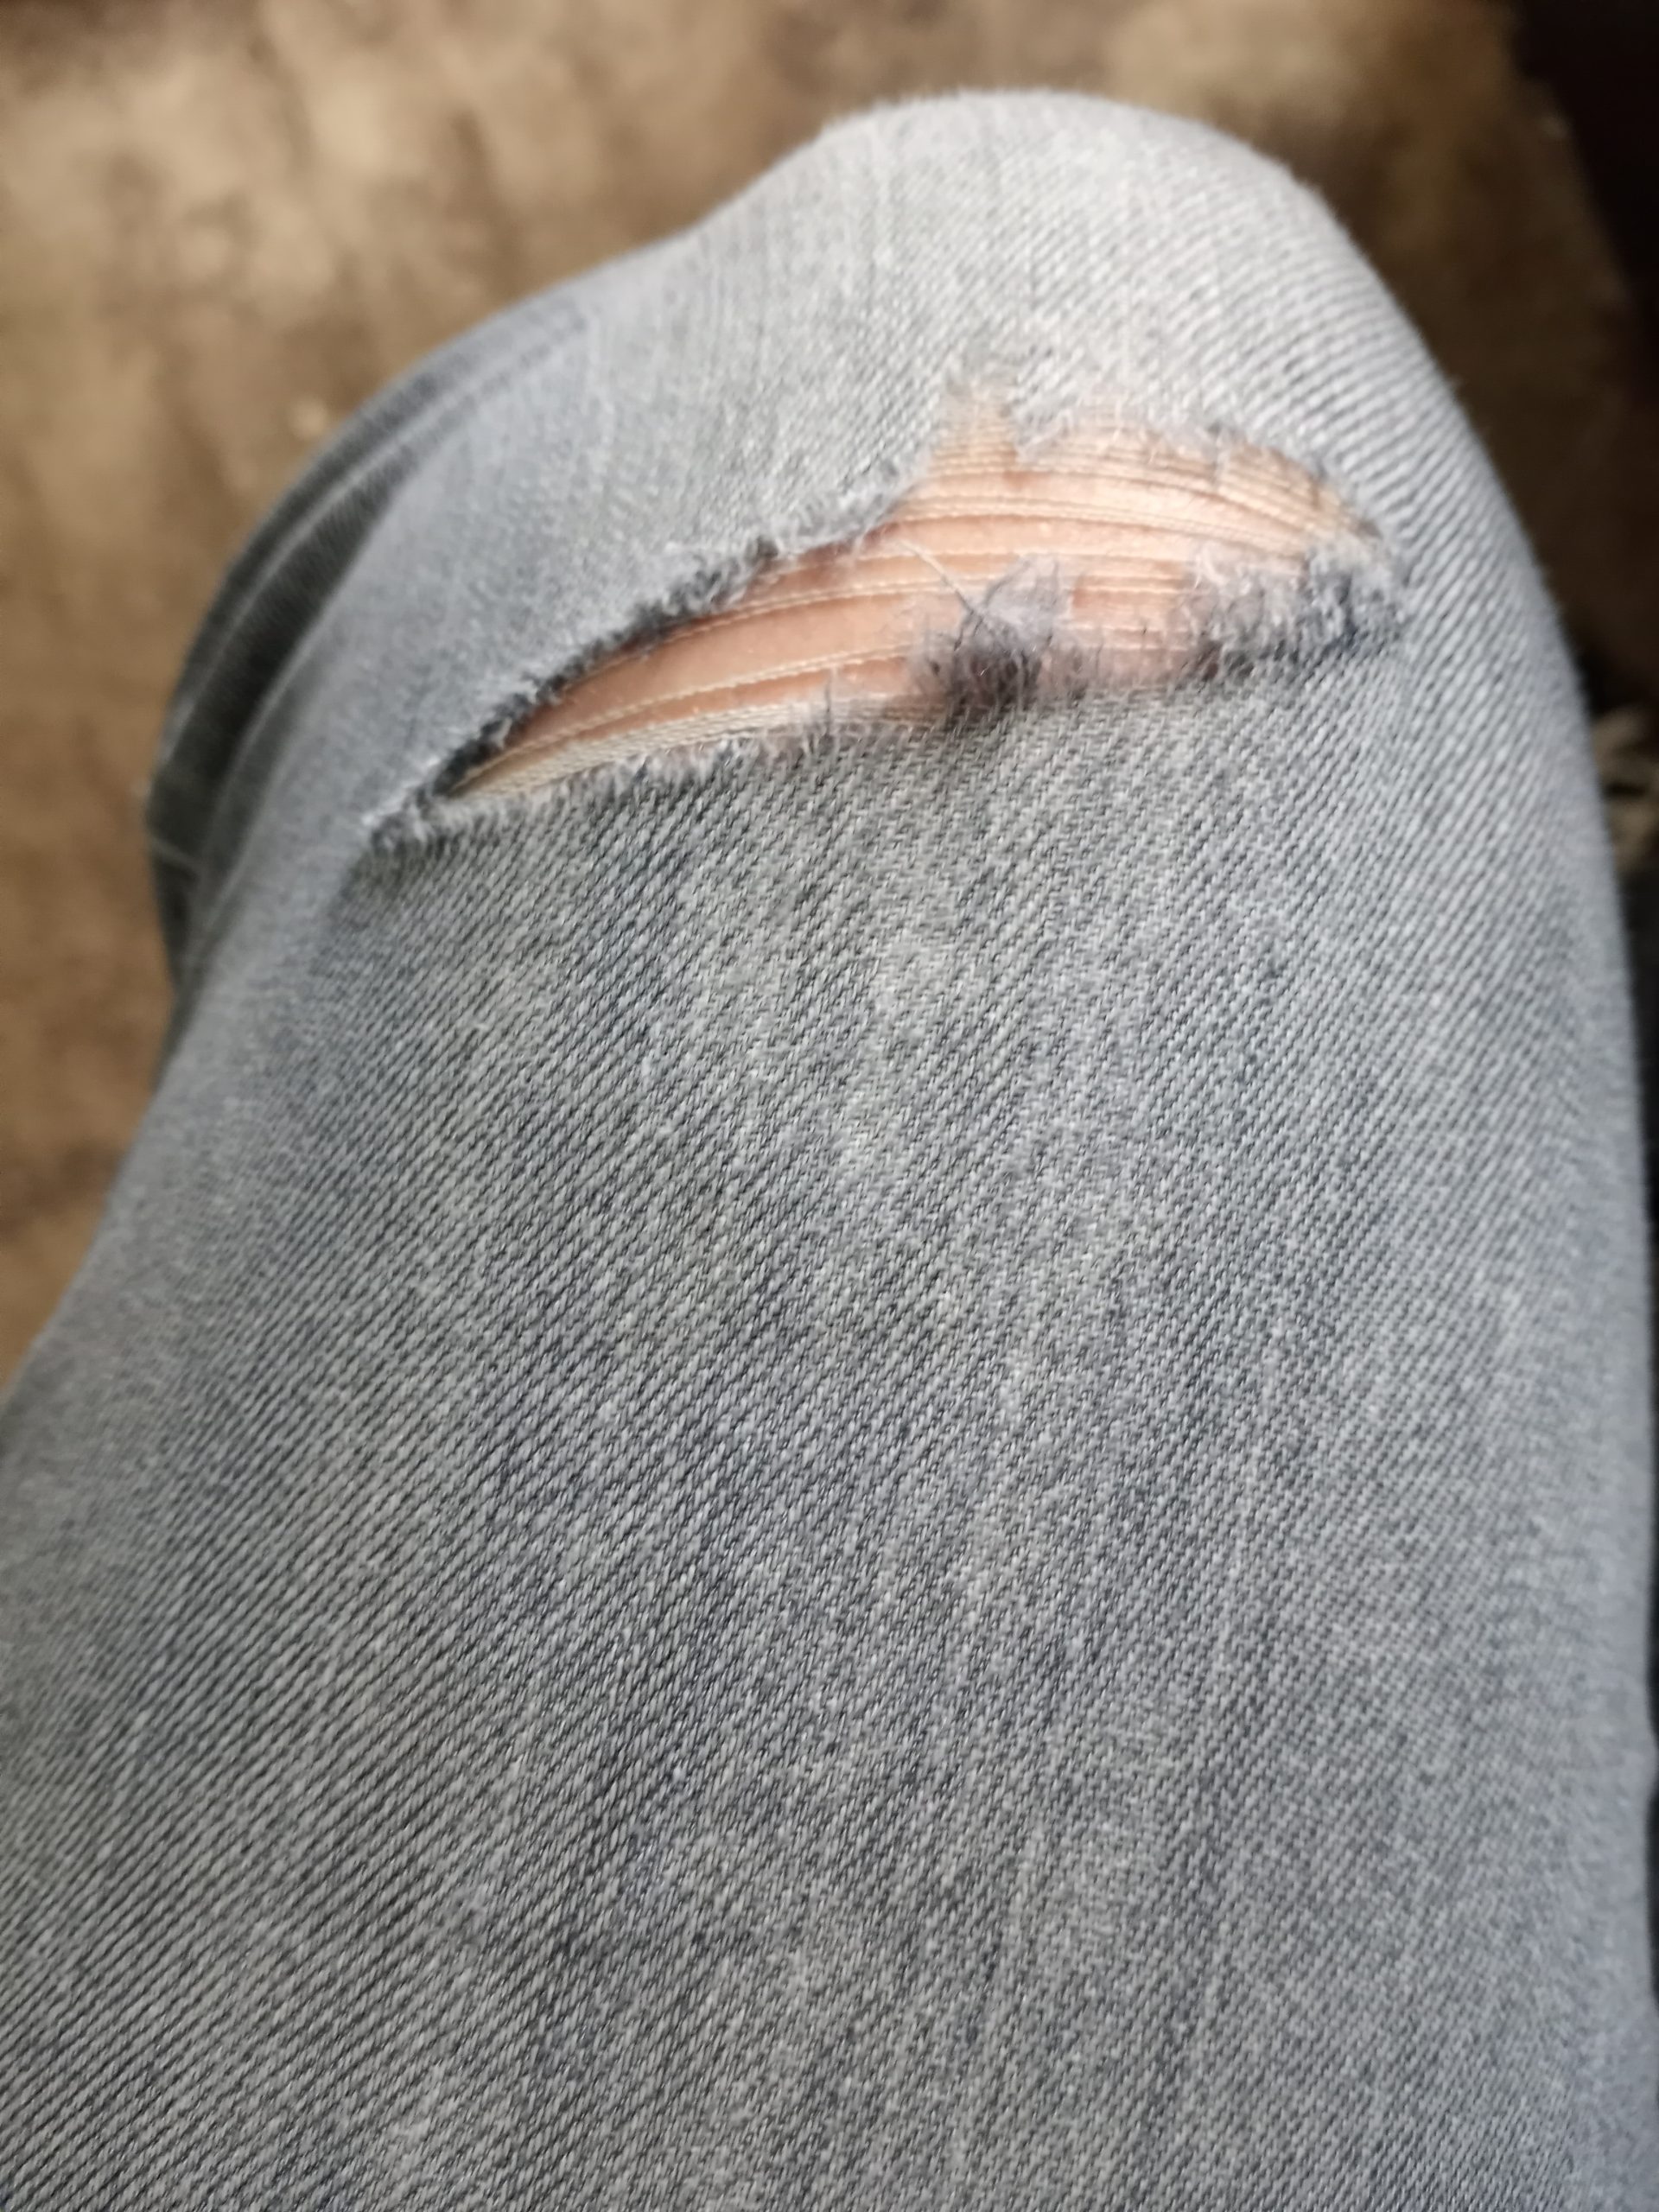
This morning, I planned to mend them and then tackle adding patches to an older denim skirt refashion. I got all those repairs done and was planning my next project when I ripped the knee out of the jeans I’m wearing.
These are honestly worn pretty thin and they’re not my preferred cut, so I’m not sure if I will mend these or add them to the repurpose pile.
If you’d like to learn my method for reinforcing worn spots in denim, check out this blog post. It’s actually really simple and works well, if you don’t procrastinate. If you procrastinate, then all your jeans wear out at once and you think, “Maybe I should just go get a pair of the ones I like from Old Navy,” but then you discover that they have discontinued that particular style and now you think you’ll never find comfortable jeans again, which is sad because you really like wearing jeans. Or something.
Many people eat gluten free (g-free, gf), either by choice or need. For those with celiac, eliminating gluten is an absolute necessity. Others find that, for one reason or another, they feel better when they avoid it. In my case, I kind of accidentally discovered that joint pain in my hands and feet go away and I’m less brain foggy when I avoid gluten. Other family members suffer from breakouts and rashes that flare whenever they eat something with gluten. I strongly believe that if you feel bad after eating something, you should probably stop eating it, so we do our best to avoid gluten all together.
Eliminating something that is such a big part of your diet is daunting at first, but there are a few things that can make the transition easier and less expensive. These tips focus on gluten, but many will also help if you need to eliminate other foods.
1. Start with real foods
Processed foods often have hidden fillers and ingredients, and specialty gluten free foods are expensive. In contrast, fruits, vegetables, meat, nuts, beans, eggs and dairy are naturally gluten free in their pure forms. Rice is a grain that does not contain gluten. Starting from scratch with real food ingredients that you know naturally don’t have gluten is often easier and definitely cheaper than scrutinizing food labels and buying special gluten free versions of normally wheat based foods.
For the most part, single herbs and spices are gluten free. Certain spice blends may have gluten, though. Making your own blends is the safest bet, but if you have a spice blend you love, most manufacturer websites list whether their products contain gluten.
While not technically an herb or spice, most soy sauce contains gluten. La Choy is a major brand that is made without gluten. Bragg’s liquid aminos are another form of g-free soy sauce.
Most vinegar is g-free. Malt vinegar is not. You’ll also want to check the label on flavored vinegar to be sure.
Cooking oils don’t have gluten unless seasoned with something containing gluten.
3. Find your current gluten free staples
Look at the foods that currently stock your pantry. What things that you buy are already gluten free? For us, we usually keep a box or two of cereal around for snacking or a quick breakfast. Most cereals are made with wheat and therefore have gluten, but some that we already bought, like Honey Nut Cheerios, Lucky Charms and Rice Chex are gluten free. Knowing that, I can continue to keep a box or two of cereal we already liked on hand.
Likewise, we keep tortilla chips on hand for snacking or nachos. Most tortilla chips don’t have gluten and inexpensive. Since gluten free crackers are both hard to find and usually expensive, tortilla chips are an easy cracker substitute as well.
4. Look for the easy substitute
Like substituting tortilla chips for crackers, there are other easy swaps. Corn tortillas usually don’t have gluten and can be substituted for flour tortillas. Rice is often a good substitute for pasta, or substitute rice noodles. If you have an Asian grocery nearby, you can usually find rice noodles there for cheaper than a mainstream supermarket, as well as leafy greens and spices for cheap.
5. Make it yourself
It’s fairly easy to find gluten-free flour now, so making your own gluten free cookies, pizza crusts, pancakes, breads, etc. is a good option. I love Bob’s Red Mill 1 to 1 gluten free flour. With it, I can continue to make my favorite deserts just by substituting it for wheat flour. There are other good gluten free flours on the market, too. The most important thing is to know if it is blended to be an exact 1 to 1 substitute or if you need to add something like xanthan gum to give it the stretchiness and rise that you usually get from gluten. For example, Bob’s Red Mill has an All Purpose Gluten Free Flour that is not the 1 to 1 blend. It is a little denser and does not have xanthan gum already blended. I like blending it with tapioca flour, which adds some stretchiness. That works well for things like gluten free flour tortillas. For things that need to rise, though, like cakes or breads, I also add xanthan gum if I’m using the all purpose and not the 1 to 1 blend.
6. When buying gluten free, shop around
Sometimes you really just want to get some gluten free penne pasta or a g-free bagel. More and more grocery stores regularly stock g-free pastas, breads and desserts, but they can be pricey. If you find them on sale, stock up and freeze the extras. Alternative grocery stores sometimes offer better prices, too. Aldi has a decent selection of g-free breads, pastas, and baking mixes at a lower price than most other stores. I even found some gluten free donuts there recently.
Locally, we have a surplus/discount/closeout grocery store called Town Talk. They frequently have udi’s bread in the range of two loaves for $3.00. I periodically stop in and stock up when I can.
To make sure you never miss a post, please sign up for my newsletter.
If you click through any of the Amazon links and make a purchase, I will receive a small commission. There is no added cost to you.
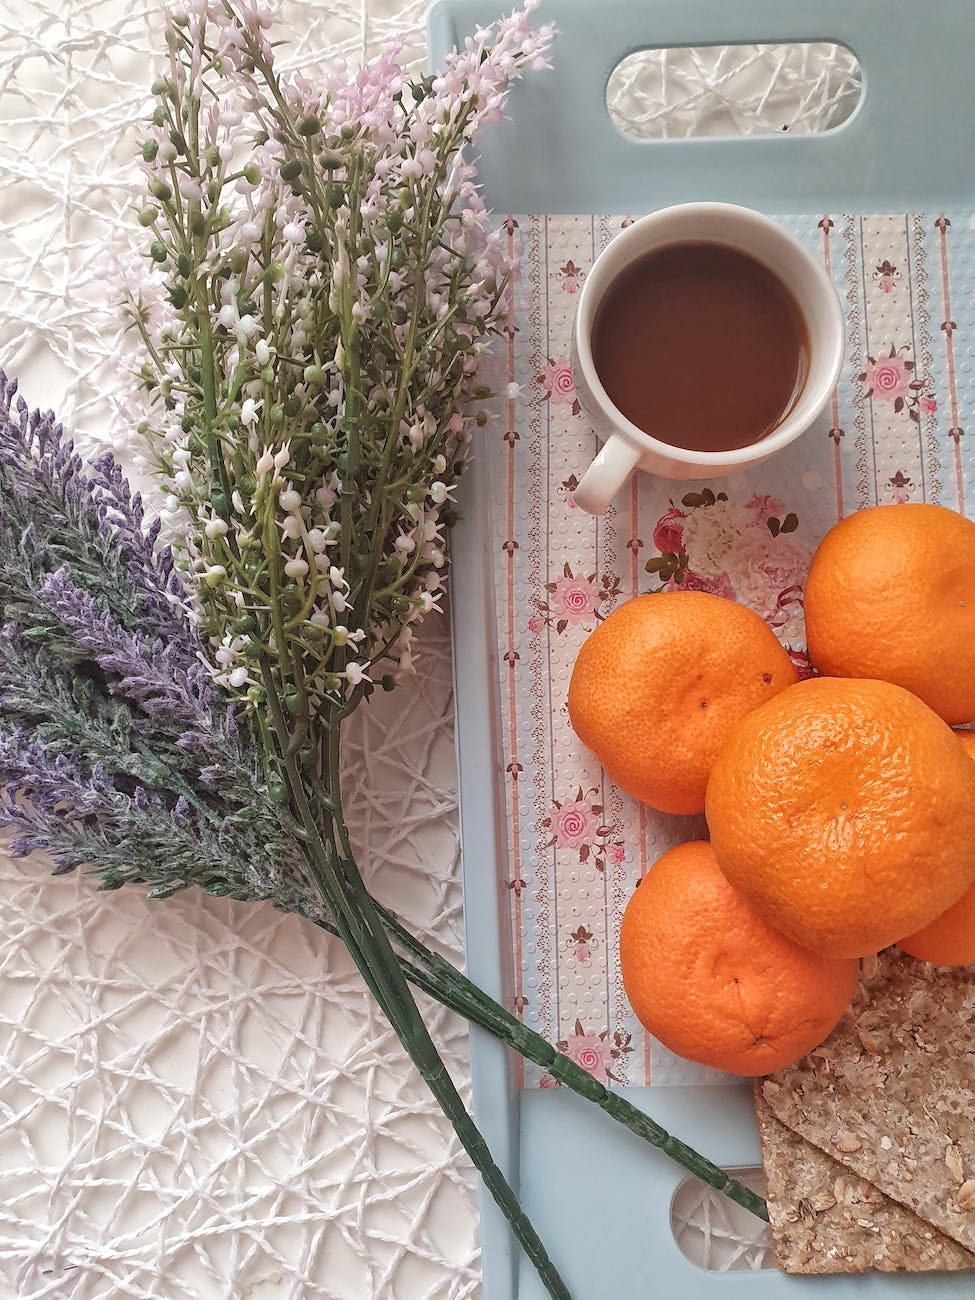
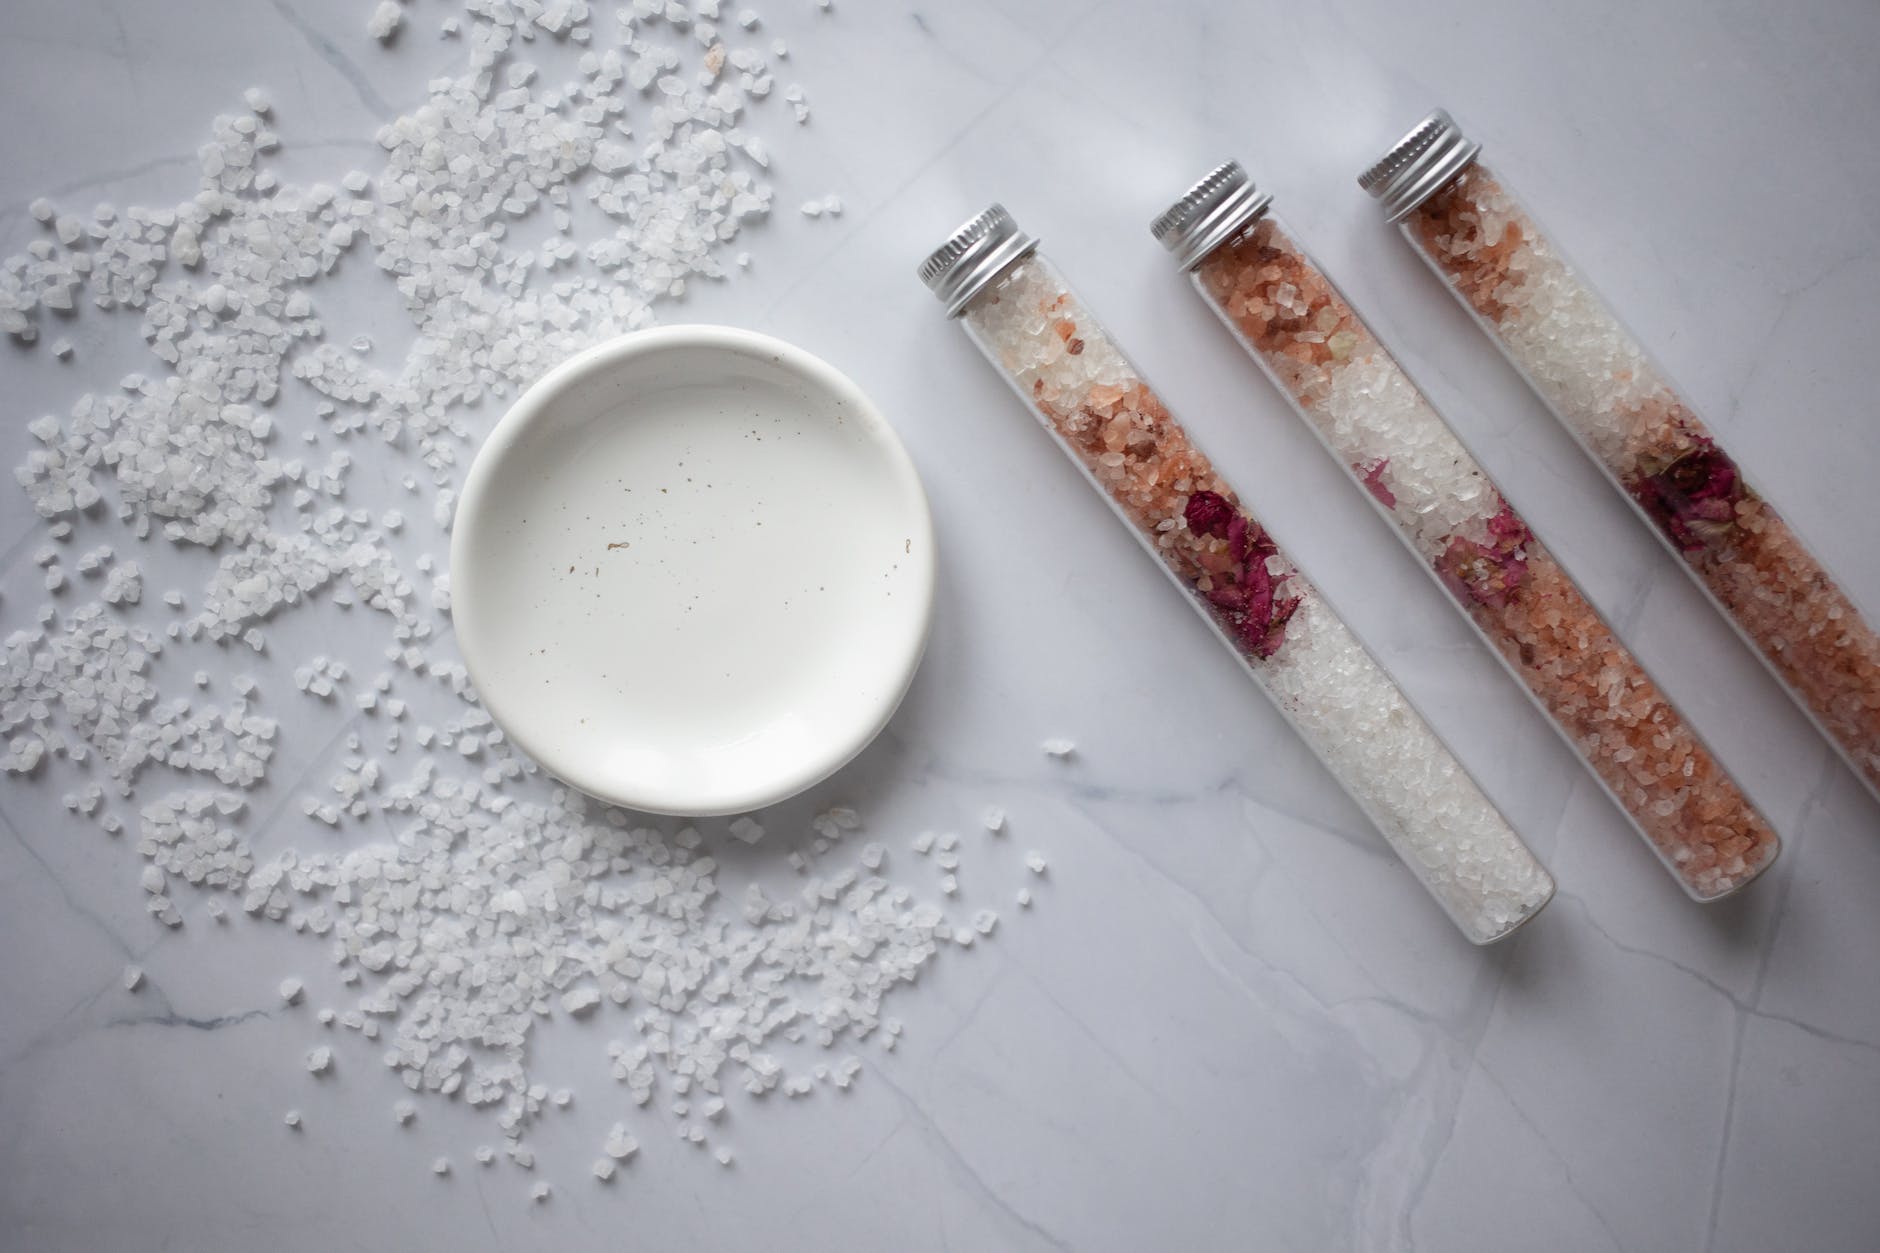
Creating your own aromatherapy bath salts is a terrific way to enjoy aromatherapy at home. Surprisingly, bath salts are very affordable to make and require no harsh ingredients. In fact, the main ingredients in bath salts include baking soda, table salt and epsom salt. Each of these are commonly found in a local grocery or retail store and are safe to use. The advantage to creating your own bath salts is that you can tailor the recipe to your needs and preferences. This way, you also know that the ingredients are going into your product safe for you to use.
Basic Aromatherapy Bath Salt Recipe
First, you’ll need a large mixing bowl and spoon reserved for this type of project. Essential oils are not easily washed out, especially if you use plastic, so keep this bowl separate from your food prep bowls. The next step is to add 3 cups of epsom salt, 2 cups of baking soda and 1 cup of table salt into the mixing bowl. You can also add pink Himalayan salt or sea salt instead of table salt. Once each of the ingredients are added, begin mixing them with your hand or the spoon.
Coloring your Aromatherapy bath salts
If you’d like to color your bath salts, food coloring is a great option. If I’m coloring my bath salts, I try to match the color to the intended purpose of the bath salts. For example, if I’m making lavender bath salts for relaxation, I would choose a calming color like blue or purple.
Once mixing is complete, slowly add the food coloring to the mixture. Adding more drops will darken the color and adding fewer will make it softer. If you’re blending colors, such as blue and red to make purple, mix them before adding to the bath salts. Otherwise, you will end up with splotches of red and blue, not an even purple.
The final step is to add essential oils until the desired scent is achieved. While I have made lavender bath salts by adding the lavender essential oil directly to the salt mixture, it is best to dilute the essential oils in a carrier oil. This is especially important with things like peppermint essential oil that could be very uncomfortable in a bath if not diluted properly (essential oils do not dilute in water!)
I like to use 1-2 tablespoons of carrier oil and add the essential oils until I get the scent level I’m needing. Ten drops of essential oil per cup of bath salts is a good guideline to start. I then add the diluted essential oils to the salt mixture and blend well.
Essential oil alternatives
If you’d prefer not to use essential oils, you can use skin safe fragrance oils or a bit of your favorite perfume. Just be absolutely sure anything you add is made to use on skin. I would use the same method for adding the fragrance as for essential oils.
Storing your Aromatherapy bath Salts
For the best results, store your bath salts in an airtight container. I like using glass canning jars because they are reusable, the essential oils don’t get embedded into the glass, and they are pretty. If you choose to use glass too, just be careful not to drop them in the tub.
I, Charity Sloan, am a participant in the Amazon Services LLC Associates Program, an affiliate advertising program designed to provide a means for sites to earn advertising fees by advertising and linking to Amazon.com. Any purchases through those links will result in my receiving a small percentage in commission.
This only refers to Amazon links found in/on my blog pages. All products in my shop are 100% mine and not linked to Amazon.
Prices are the same whether you click an affiliate link or a non-affiliate link, so you will not be charged more. Thank you for your support!