Sometimes you need cookies. Or maybe that’s just me. Chocolate chip cookies are my favorite, but sometimes those aren’t fast enough, or somebody has eaten all of the chocolate chips. You know who you are. Peanut butter cookies are a close second, and this three ingredient recipe is dangerously fast and easy.
Because it is a flourless recipe, it is perfect for people following a gluten-free diet.
I’ve only made this recipe with peanut butter, but it should work with other nut butters or nut butter substitutes. Typing that, I got the strong urge to try it with Nutella. Maybe some other time.
Fast, easy peanut butter cookies. Great for anytime you need a little something sweet. The recipe calls for three basic ingredients. Because it doesn't call for flour, this is a great gluten free recipe. I usually add a bit of salt and vanilla just because, but they are totally optional.
Prep Time10 minutesmins
Cook Time6 minutesmins
Total Time16 minutesmins
Course: Dessert
Keyword: dairy free, easy, gluten free, one bowl, simple
Servings: 25cookies
Equipment
Baking sheets either lined with parchment or silpat mats or greased.
Ingredients
1cupsugar
1cup peanut butterI usually use smooth because that's what I have on hand. Crunchy would work, too.
1largeegg
1tspvanilla extractTotally optional
1 dashsaltTotally optional
Instructions
Preheat the oven to 350 degrees.
Combine all of the ingredients in a large bowl and mix until smooth.
Drop by spoonfuls on the prepared baking sheet.
Bake for 6-8 minutes. You want them to just start turning golden at the edges.
Let cool to fully set before eating.
I don’t have a photo of the finished cookies because we tend to devour them. I just drop by spoonfuls on the prepared baking sheets, but you can do the crisscross pressing with a fork for a traditional peanut butter cookie look.
To make sure you never miss a post, please sign up for my newsletter.
If you click through any of the Amazon links and make a purchase, I will receive a small commission. There is no added cost to you.
For busy weeknights, there’s nothing better than an all in one meal that practically cooks itself. Prepare everything the night before and keep it in the refrigerator until it’s time to cook for even more time in the evening. You could even prep the vegetables and meat and store in the freezer for last minute meals.
The basics
This is more of a how-to than a recipe. You can really use however much of the ingredients based on how much food you need and your pressure cooker’s size. For my family of five with two little appetites, I used about four chicken breasts, three cups of rice and water, one jar of sauce and all the broccoli I could squeeze in and around everything.
You can easily swap out the protein for whatever you prefer. Ideally, it should be cut into small, bite sized pieces prior to cooking. With the chicken breasts, I’ve been able to cook them from frozen first and cut them later, but it’s not ideal.
This time, I used broccoli, but it was a little overdone for my liking. Root vegetables cut into bite sized pieces or frozen peas or green beans are probably better for all in one meals like this.
The sauce
To make it super easy, I started with a jar of Korma simmer sauce from Aldi. You could easily substitute any store bought or homemade sauce. Canned soup, salsa, tomato sauce or even just broth are all options. Tailor it to your family’s tastes.
Assemble the ingredients
I used an old rice cooker pot for the rice. Any heatproof container that is big enough to hold the rice and cooking liquid but small enough to fit in your pressure cooker’s cooking pot would work.
I put the chicken and broccoli under and around the rice pot. Then I filled the rice pot with appropriate amounts of rice, water and salt.
The Korma went on top of the broccoli and chicken, and I added about half a cup of water just to make sure there was plenty of liquid. If you use broth or a thinner, liquid sauce, the water isn’t necessary.
Cooking
Finally, I set the whole thing in my pressure cooker and cooked it with the “Rice” setting. My electric pressure cooker is a GoWISE USA brand. Recipes for the Instant Pot brand usually work as written for mine, so I assume that setting would work for the Instant Pot and other similar pressure cookers.
Here is a terrible picture of the end result. I promise it tasted better than it looks. A homemade sauce would have been healthier, I’m sure. When you are strapped for time or having to make do without a fully functioning kitchen, though, it’s lots better than having to rely on fast food.
Like this recipe? Sign up for my newsletter to never miss future tips, tutorials and recipes.
A few days ago, I learned that my local Kroger is closing. Luckily there is another one not too far. Still, I’m used to the layout at my local store, and I’ve gone there for so long that many of the employees know me.
Since the announcement, I’ve seen many conversations about that store and Kroger in general on Facebook. One thing that I’m constantly hearing is that Kroger is overpriced and Walmart is much cheaper. There’s even a Walmart commercial running on TV right now that compares a basket full of similar items from each store with Walmart’s basket coming out to be cheaper. While the commercial doesn’t surprise me, I am a little surprised every time I hear an individual say Walmart is cheaper. For me, I’ve always thought Kroger is cheaper on most groceries I buy. With everyone saying the opposite, I decided to do a little price comparison shopping.
Kroger vs. Walmart: The Plan
For the comparison, I created a grocery pickup list for each store based around some of my most common purchases. As much as possible, I matched brands at each store or chose the store brand at both. I used the normal price rather than the sale price where applicable. Due to eating gluten and dairy free, things like bread and milk that most people regularly purchase won’t be on my list.
The Food and Price Comparison
Coffee: Kroger Select Blend Medium Roast, 30.5 oz, $4.99. Walmart Great Value Classic Roast Medium Ground Coffee, 30.5 oz. $4.93. Winner: Walmart
Frozen Mixed Vegetables: Kroger Store Brand, 32 oz, $1.99. Walmart Great Value Brand, 32 oz, $1.94. Winner: Walmart
Bath Tissue: Kroger 1000 Sheets per Roll Bath Tissue, 12 rolls, $6.79, $0.57 per roll. Walmart Great Value 1000 Bath Tissue Rolls, 16 rolls, $9.12, $0.57 per roll. Winner: Tie
Cascade Complete Gel Dishwasher Detergent, 75 oz: Kroger $7.59. Walmart $5.97. Winner: Walmart. Honestly, this one wasn’t a surprise to me because I do find Walmart better on a lot of non-food items.
Kroger vs. Walmart Price Comparison: Overall winner
Kroger, by a whopping $1. At Kroger, the almond milk is currently on sale for $3.99 and the ground beef is on sale for $8.97. With those discounts, my Kroger total would have been $3.50 less than my Walmart total.
My Take
For the kinds of things I normally buy, Kroger is generally the cheaper store overall. I’m not a big coupon user, but I do check the Kroger app frequently and load any coupons that I think I may use to my Kroger card. After that, I shop like normal and any coupons I qualify for get applied automatically. Between that and sales, Kroger is almost guaranteed to be consistently cheaper for me.
I also generally like the produce and canned goods at Kroger better than Walmart. I usually can find what I need at both places, but if I need to buy lots of fresh fruits and vegetables, I avoid Walmart.
Having said that, there are things, like dishwasher detergent, that are definitely cheaper at Walmart. I wouldn’t say it’s worth it to make a special trip, but if I’m at Walmart anyway, it’s worth stocking up on.
Like I said earlier, my shopping list may look nothing like your shopping list. With more and more stores offering online shopping for pickup or delivery, it’s worth it to periodically do a price comparison between your local stores. It’s so easy to do online, and you may learn ways to adjust your shopping habits and save money.
If you click through any of the Amazon links and make a purchase, I will receive a small commission. There is no added cost to you.
Another kitchen gadget I find myself using almost daily is my air fryer. Like my electric pressure cooker, my air fryer was a Christmas gift from my parents. This is the Gourmia model I own. It has a six quart basket and eight preset functions, or I can manually set the timing and temperature.
Unlike with my pressure cooker, I honestly wasn’t sure what to do with the air fryer at first. I don’t fry a lot of things, mainly because it’s messy. I also have the added challenge of making gluten free breading. Even before going gluten-free, I found it hard to get the breading to stick on things like chicken and have it cook all the way through without burning the outside. After some experimenting, though, I’ve found that the air fryer makes frying easier. I’ve also found that the air fryer does so much more than frying.
Ways I use my air fryer
Potatoes Whether it’s fresh home fries or frozen tater tots, the air fryer browns them all nicely. My air fryer has a french fry preset, so I just add the potatoes and start it. Every once in a while during the cooking, I give the basket a shake to keep them from clumping. This is especially important if the basket is fairly full. You can cook them completely without oil, but I do like to toss them lightly with a little olive oil. This seems most important with french fries. They’re okay without it, but I like the flavor better with it.
Sausage and bacon Both turn out beautifully in the air fryer. All the excess grease drains under the basket, leaving the bacon crisp and the sausage not greasy. I use the bacon setting on mine for both, but I reduce the time to nine minutes for sausage.
Reheating leftovers We got rid of our microwave a few years ago. We really only used it to reheat leftovers, which never tasted as good as if I heated them on the stove or in the oven, and it took up a lot of counter space. While I still use our stove and oven to reheat things for the whole family, if I’m just heating a plate of food or other small amount, I’ll use the air fryer. It’s quicker than the oven, and the food heats more evenly than it did in the microwave. The texture is better, too.
Frying I still don’t do this much, but I finally got gluten-free fried chicken to work, so that may change. I did cheat a little by quickly frying it on the stove first, just to lightly brown and set the breading. Then I added it all into the air fryer basket and let it finish it with the chicken preset function. While it’s not as low fat that way, the chicken turned out crisp and juicy but not at all greasy. That also freed up my skillet to make gravy while the chicken finished cooking so it was all hot and perfectly done at the same time.
Baking It is essentially a counter top convection oven, so it bakes as well as an oven. I don’t use this function as much, because, with a family of five, the oven is usually more convenient. If I’m only making a few cookies, though, it works really well. I’ve also baked cheesecake in it using the recipe that came with my air fryer. It turned out delicious and was super easy to make.
What are your tips?
I’m still learning new things to try in my air fryer. With just those five things, I already use it almost every day. I would love to hear more creative ways to use an air fryer. If you have one, please share your favorite tips and recipes in the comments.
To make sure you never miss a post, please sign up for our newsletter. Once you sign up, you’ll get a confirmation email. Sometimes it gets sent to the spam box. Please look for it, because you won’t be signed up until confirmation is complete.
If you click through any of the Amazon links and make a purchase, I will receive a small commission. There is no added cost to you.
I have never been a huge fan of corn tortillas. They’re good for some things, like street tacos, but overall I love the soft, slightly chewy texture of flour tortillas. While there are flour gluten free tortillas on the market, they are pricey and hard to find. Which means that since eliminating gluten from our diets, I’ve had to stick to corn. Which is fine, because it’s better than no more tacos, but , I still miss flour.
After much searching, I finally found a recipe that mimics the soft, chewy texture of flour tortillas. They require no real prep work, so it’s easy to make them last minute, if needed. Basically, if you can make a pancake, you can make these gluten free tortillas.
You can also adjust the thickness to be more like a flatbread. I can see pairing them with curries or stews, or cut into chips , toast and serve with hummus.
Soft, chewy gluten free flour tortillas so easy you can make them last minute.
Prep Time5 minutesmins
Cook Time1 minutemin
Course: Side Dish
Ingredients
1Cup Chickpea based gluten free flourCan be straight chickpea flour, or a blend with a high amount of chickpea flour, such as Bob's Red Mill GF flour. (NOT the 1 to 1 flour)
0.5cupTapioca flour
1tspsalt
1cup water
1tspcoconut or other oilIf you use a non-stick skillet or griddle you may not need the oil.
Instructions
Mix the dry ingredients in a large bowl.
Add the water and stir until blended.
Oil a skillet or griddle as needed and heat to medium high.
Pour about 1/4 cup of the batter onto your prepared skillet or griddle.
Cook for 1-2 minutes over medium high heat.
Flip like a pancake and cook for another 1-2 minutes.
Repeat the cooking and flipping for the rest of the batter.
Notes
This recipe is very versatile. For thinner tortillas, add a little more water. For more of a flatbread, reduce the water to about 3/4 of a cup.
Sometimes after binge watching baking shows, you just have to bake cupcakes.
I substituted a 1 to 1 gluten free flour blend for the flour in the yellow cake recipe out of my favorite Better Homes cookbook. The cupcakes turned out a little dense, but not bad. Most gluten free cakes are a little dense, so I’m not sure there’s a good solution.
My favorite part of any cake is the butter cream frosting. A slightly dense cupcake doesn’t bother me, as long as the frosting is good. My frosting recipe also came from my Better Homes cookbook. Some of my family can’t have dairy, so I substituted shortening for the butter and almond milk for the milk.
My Sunbeam Mixmaster worked beautifully for both the cake batter and butter cream frosting. I’ve had it for over a year and a half now, and the only problem I’ve had was with the beaters.Those were cheap and easy to replace, and it’s been going strong ever since.
This weekend, we visited a local Goodwill store. Unlike the other Goodwill’s in our area, this one has everything in big bins and they charge a flat, by-the-pound fee. Thrift stores always have unique items, but this one seems to have some really good finds, if you’re willing to dig.
In addition to a few household odds and ends, I found a couple of dresses and a shirt that need a little bit of refashioning, and a pair of skinny boyfriend cut jeans that are like new and fit perfectly. I also found a pretty floral vintage bed sheet. Vintage linens are somewhat in demand among crafters, and I rarely have luck finding them, so it was a nice surprise.
Vintage Pink and Purple Floral Bed Sheet
Green Dress
The first dress is a casual, green knit dress with interesting cutwork and stitching at the neckline and hem.
Green knit dress
Pros: It’s comfortable, easy to wear and chase after kiddos, and I like the color and detailing. Cons: It’s a size or two too big. This makes the underarms gappy and the waistline droopy. It’s too short to be a maxi dress, but not short enough to not be frumpy. I could wear it as is around the house, but I think I can make it into something better.
My plan: Separate it at the waist into the bodice and skirt. Tighten the bodice at the side seams. Reattach the skirt to the bodice after removing a few inches from the top of the skirt to make it somewhere between tunic and knee length. Add new, tighter elastic at the waist.
Long, Floral Shirtdress
The pretty blue and floral pattern is what caught my attention with this dress.
Blue, long floral shirtdress
Pros: The print is very pretty, and there is a lot of fabric to work with. Cons: The fabric is a stiff, non-breathing 100% polyester. It’s a size too small through the middle.
My plan: I have a few ideas for this one. The top (bodice) fits pretty well. The only fit issue is right through the middle. I could separate the bodice from the skirt, raise the skirt so that a wider section that fits me better is at the waist and reattach. Factoring in the button placket might make it tricky, but not that difficult.
I’m not sure I would wear it enough to go through that trouble, though. Option two is to use the skirt portion to make a slip-style nightgown by shaping a neckline and cutouts for armholes, then adding bias tape trim and snaps. I would probably use it more this way, but I still worry about the feel of the fabric. I usually avoid things without at least some natural fiber content. Texas is hot and I need my clothes to breathe.
My final idea is to salvage the buttons and use the fabric for things like bag linings, makeup pouches or other accessories. I will probably try one of my first two ideas before this one. I can always use option three if one or two don’t work out.
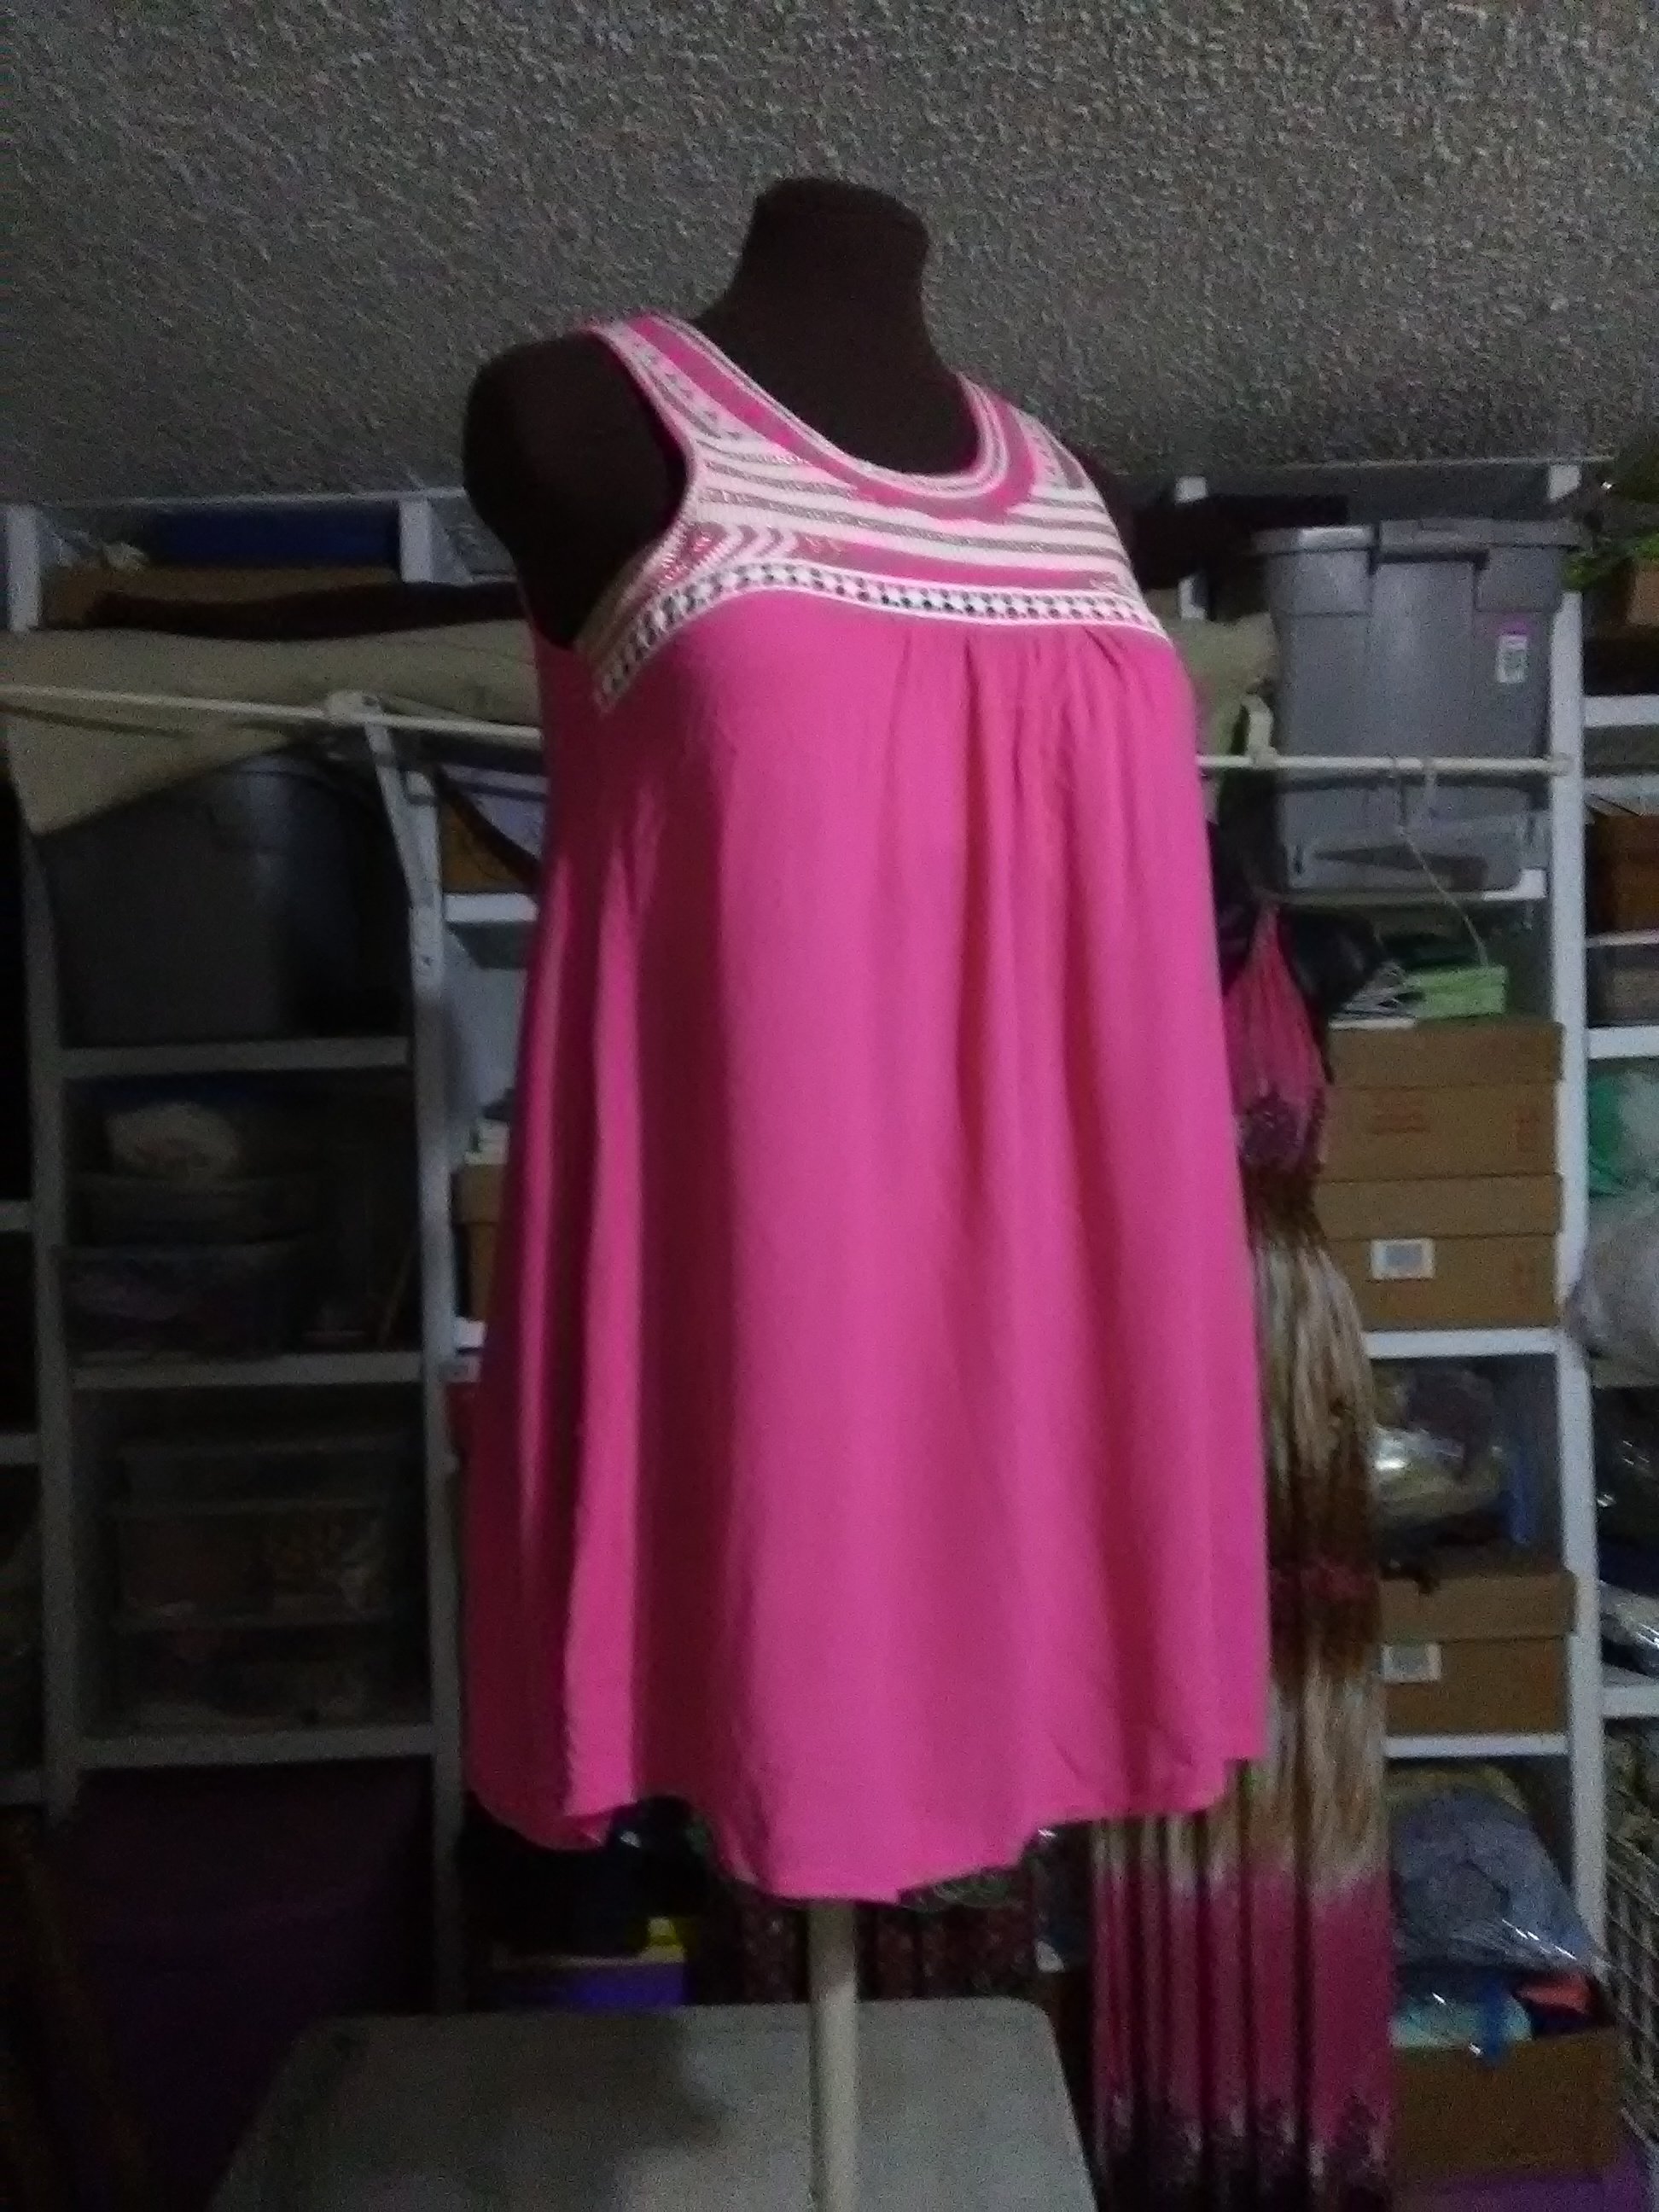
Pink Tunic Shirt
I think the flowiness of the outer layer and the stitching around the neckline is what made me grab this tunic shirt from the bin.
Flowy Pink Tunic Shirt
Pros: Flowy, comfortable fit. Detailing at the neckline keeps it from being too plain. Nice, bright color. Cons: The top layer seems to have shrunk, exposing the lining layer. The lining is 100% polyester knit, which is stretchy and comfortable, but doesn’t breathe.
My plan: This one was so simple, I actually did it in about five minutes this morning. I thought about shortening the lining by a few inches. The top, gauzy layer didn’t really have to have a lining, though, so I decided to remove the lining altogether by simply cutting it out. This made it super easy, and now the tunic is lighter and more suitable to Texas summers.
Pink tunic after removing the lining.
It’s not the most dramatic refashion, but it fixed a problem and made it so much more comfortable to wear. I wore it Sunday over my new-to-me Goodwill blue jeans to The Modern art museum and then to Central Market with the family for a treat and playtime on their playground. Without the lining, the tunic was lightweight, and the drapiness of the fabric kept it from feeling frumpy. I totally see it becoming one of my new favorites.
Speaking of The Modern, if you’re on Instagram, I’ve shared a video to @subearthancottage of Thadd and Beckett having fun with the crazy acoustics inside the Vortex sculpture out front. It was so much fun to watch them play, as well as just about anyone walking by. Few people passed without stepping inside to stomp their feet or shout.
I, Charity Sloan, am a participant in the Amazon Services LLC Associates Program, an affiliate advertising program designed to provide a means for sites to earn advertising fees by advertising and linking to Amazon.com. Any purchases through those links will result in my receiving a small percentage in commission.
This only refers to Amazon links found in/on my blog pages. All products in my shop are 100% mine and not linked to Amazon.
Prices are the same whether you click an affiliate link or a non-affiliate link, so you will not be charged more. Thank you for your support!