I have tons of clothes waiting for me to refashion them into something more wearable, but haven’t had much inspiration. Recently, though, I came across CreoleSha on Etsy. I love her flowy designs. Luckily, she offers classes on Teachable, so I took her free course on upcycling a sweatshirt or t-shirt into a tunic.
Almost forgot to take a before photo.
My refashion notes
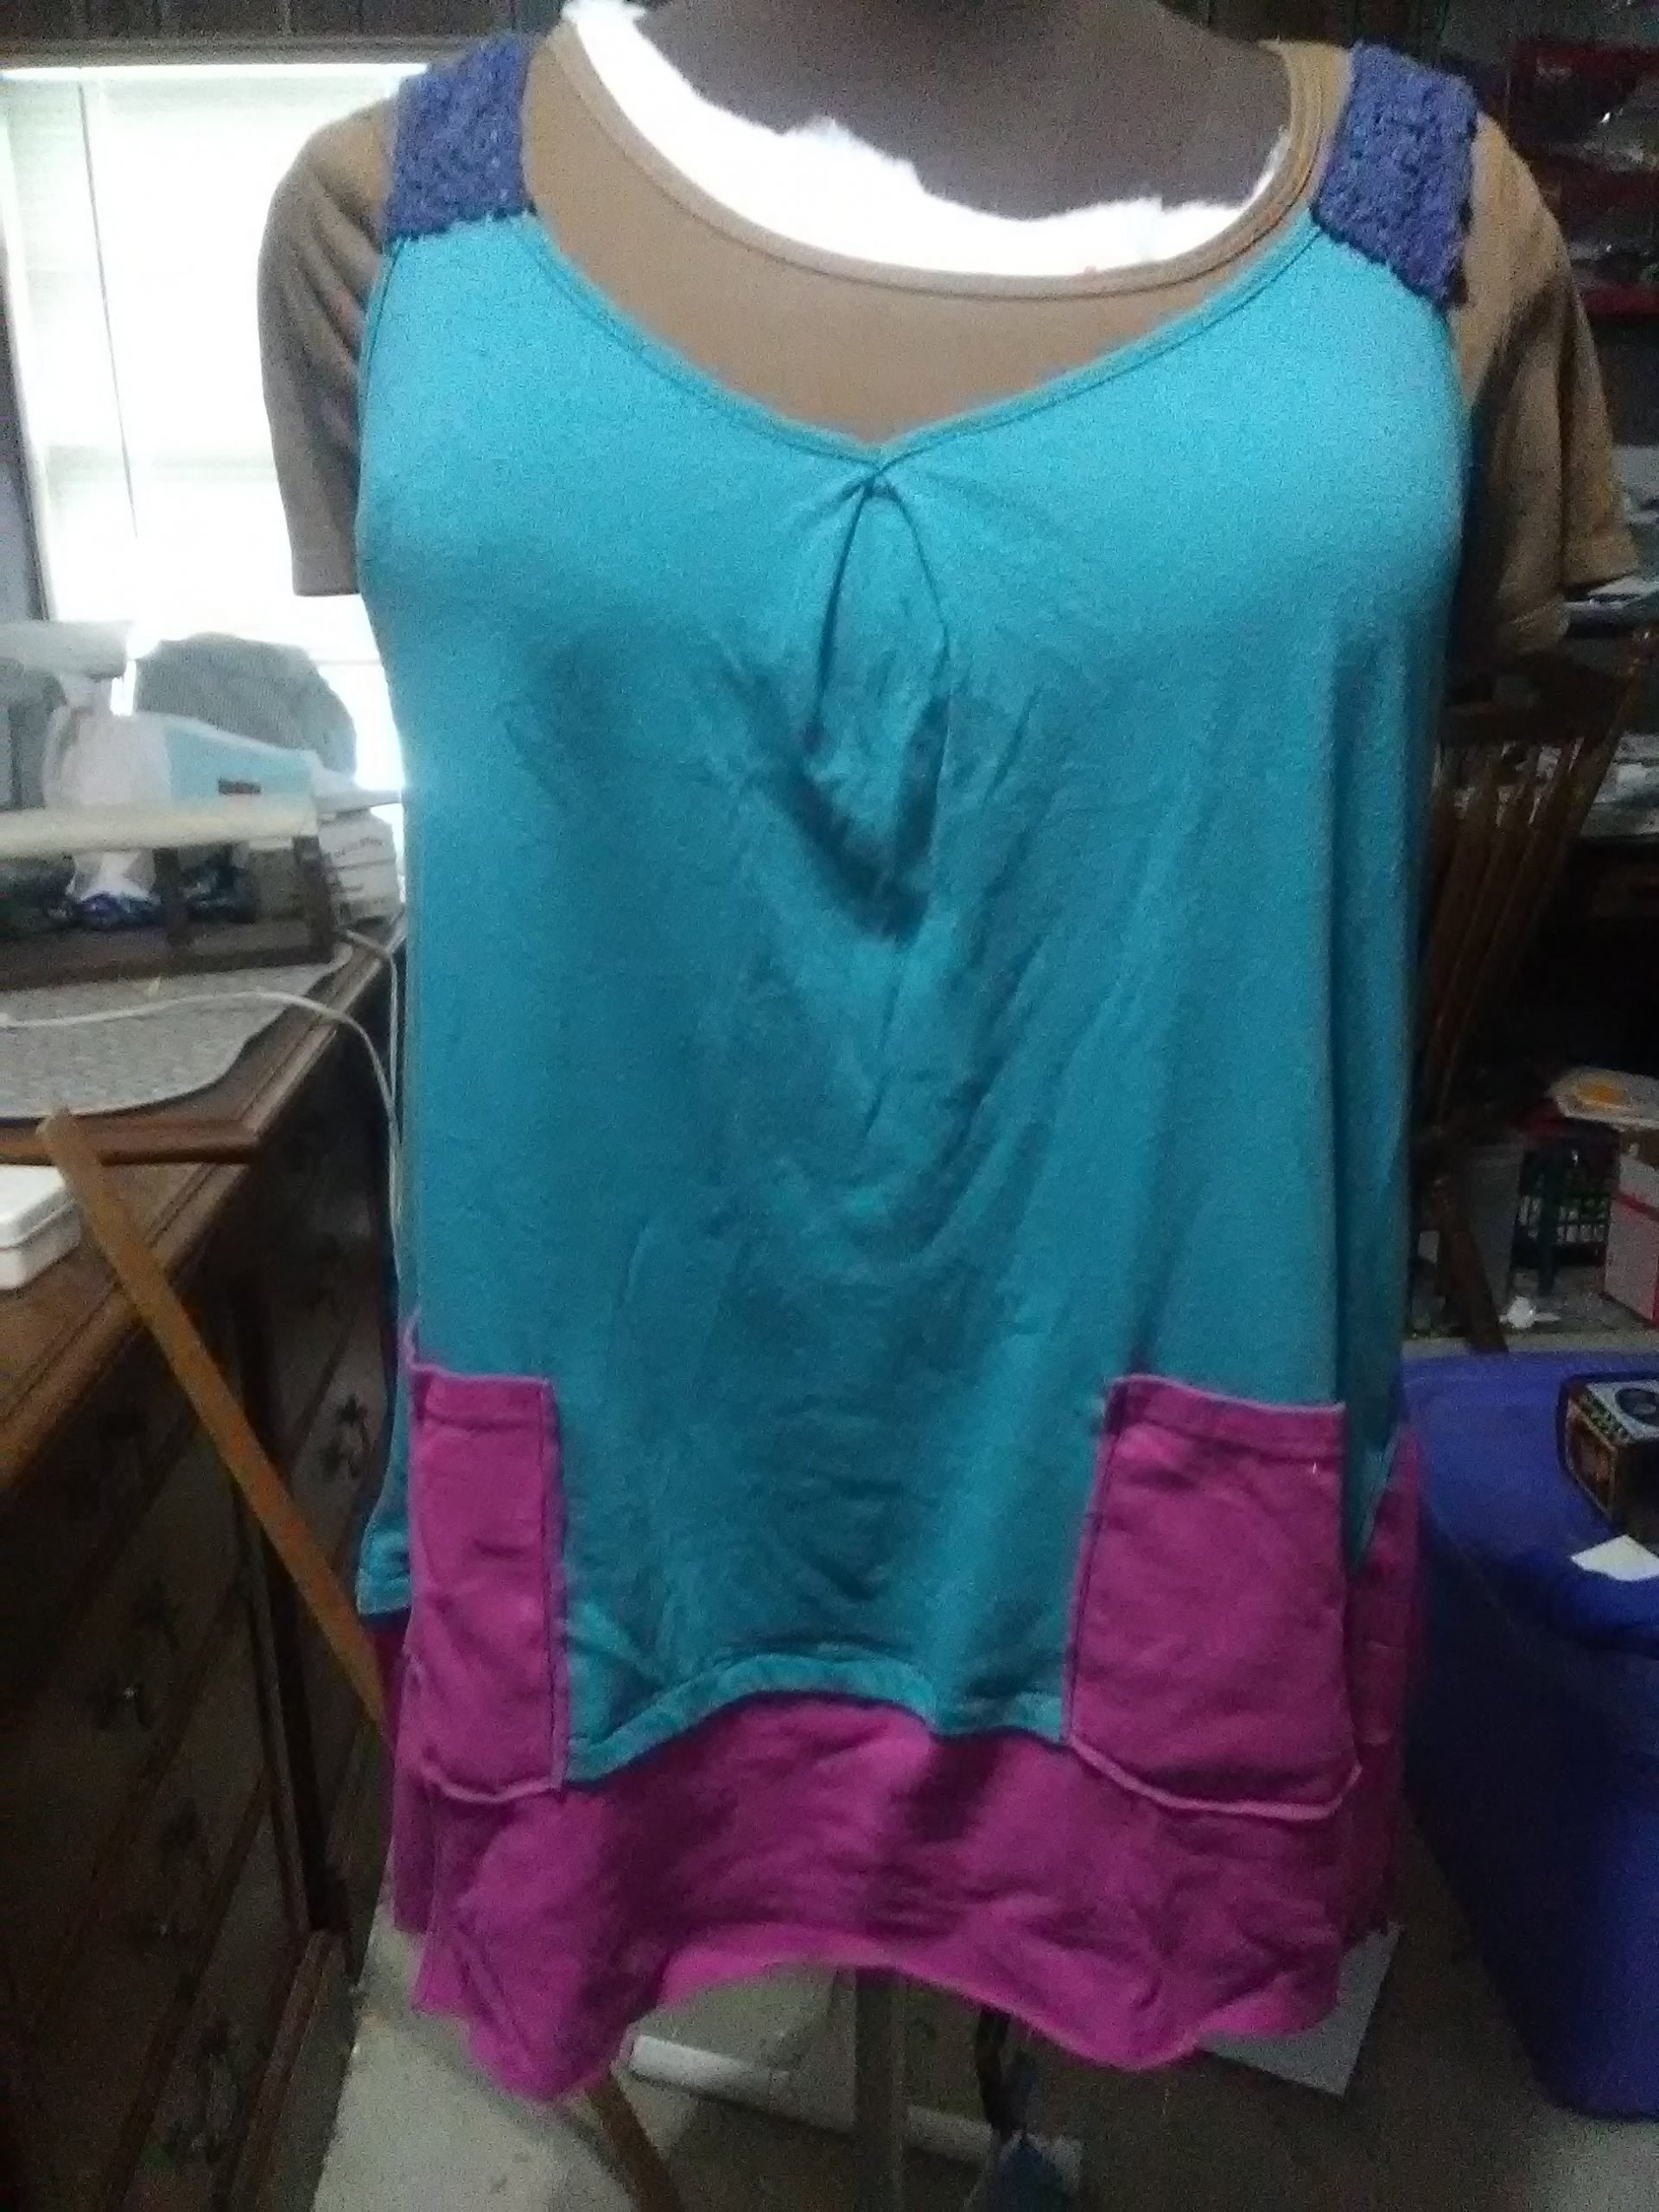
It’s summer, so rather than use a sweatshirt, I started with a camisole tank that I didn’t wear much. I liked the color, but the fit was too loose to use for layering, and the skinny straps made it difficult to wear with a bra. By adapting the techniques in CreoleSha’s class, I turned it into a longer, flowing tank and then added a bit of cotton lace salvaged from an older refashion project to widen the straps.
The added material came from a t-shirt with a large logo on the front. I liked the color, but not the logo, so it was perfect and added some nice contrast.
Of course, pockets are always handy, so I added some patch pockets on the front.
Final result
It’s not perfect, but it’s something I’m more comfortable wearing now. The shirts were wrinkled from storage to the point that the wrinkles came back even after ironing. Luckily they smoothed out with laundering, so I don’t look like I just rolled out of bed when I wear it. More importantly, trying something a little on the artsy side and just jumping in has me ready to tackle more refashions.
A note on my dress form
Before working on this, I took the time to add some batting to my dressform, Athena. She’s a little less padded in some areas than I am, so the batting makes it easier to use her as a fit guide when I don’t want to try things on over and over. The brown t-shirt helps hold it all together and provides something to pin into.
Like this post? To make sure you never miss a future post, please sign up for my newsletter.
If you or your kiddos wear leggings, you’ll love this easy leggings hack for summer. While you can use any leggings, it’s perfect for turning leggings that have worn out at the knees or ended up being a little too see-through into something usable, especially when the weather turns hot. This hack is so simple, I feel a bit silly making a post about it. It’s really one of those “Why didn’t I think of that?” things.
How to do it.
All you need is a pair of leggings you want to make shorter and some good scissors. Fold them in half so that the legs lay on top of each other. Make sure the fabric is smooth and the legs match up at the hem. Decide how much shorter you want them and cut them at that length, keeping the line parallel to the hem. My scissors cut through both legs easily, but you can always cut one and use it as a guide to cut the other.
Here’s what I cut off. I like leaving mine either just above or just below the knee.
Because knit doesn’t fray, you don’t have to hem the raw edge. When stretched, the edge will roll a tiny bit and hide the edge. You may want to seal the seam that you cut through with a little fabric glue or a few stitches. I have some I cut last summer without doing anything to the seams and they’ve held up through many wearings and washings without coming apart.
How I like to wear my shortened leggings
I like wearing dresses or skirts in the summer because Texas is hot, lol. With little kids, though, I’m constantly up and down or bending to pick things up off the floor. Cropped leggings underneath give me enough coverage to make dresses practical for everyday. Leggings under my dresses also prevents uncomfortable chafing from being a bit, um, curvy in the thighs. For this purpose, I really like using this hack for leggings that I wouldn’t feel comfortable wearing without a long tunic or dress. Instead of taking up space at the back of my closet, they get used and make my other clothes more wearable.
Ways to repurpose the cut off section
The cut off sections can be repurposed, too. A really simple thing to do is make hair bands by cutting them in one inch strips parallel to the hem. Be sure to keep the seam intact so they’re a circle.
You can also make a pocket for your leggings out of the cut off section. Decide how big you want your pocket to be and add a half inch or so seam allowance to each side and the bottom. Use the existing hem as the top of your pocket to save time. Fold the seam allowance under and stitch in place on your leggings where you want the pocket. You’ll want to use a narrow zig-zag or stretch stitch to prevent the thread from breaking. A ball point needle is ideal for sewing knits, so if you have one, use it.
Here’s one pocket I’ve added.
Like this post? To make sure you never miss a future post, please sign up for my newsletter.
I’m a bit of a sewing machine hoarder. If you don’t count the one that is Finn’s, I have four sewing machines. That includes my sewing and embroidery machine combo, but not my two sergers. Also not including the knitting machine, because it knits.
While I’m certainly not an expert, I do have my preferences. I would take a well-built, old metal machine over a new machine any day. Mainly because when they break, I tend to do this:
That is my first sewing machine. It is a Montgomery Ward’s Signature sewing machine from the 60s, I think. I got it from my mom who got it from my grandma. I can’t remember what was wrong with it that time, but it sews nicely now.
The Signatures at that time were made by a Japanese company that specialized in industrial machines, I think for sewing feed sacks. That translates to a heavy duty, domestic sewing machine that will sew through anything. It also has a set of cams. Cams are interchangeable disks that allow it to sew pretty embroidery stitches.
My next sewing machine is another, slightly older Montgomery Ward’s Signature. This one was rescued from a lot of machines that were destined for the junk heap.
I love the blue color! It reminds me of cars from that era.
Like the other Signature, it uses cams. You can see them in the little accessory box. I actually like this one a little better than the other. It sews the prettiest straight stitch out of all my machines and has a cam that stitches a row of teeny tiny hearts!
I’ve never actually made anything on it, though. Unlike the other, this one is in a portable case, which is hilarious. I lift my 40+ pound four year old all the time and lifting that machine is still a struggle. Since I don’t have a dedicated place for it, I don’t have the motivation to lug it out.
My workhorse is a 90s model Kenmore, made by Janome. The case is plastic, but all the internal workings are metal. I know, because I’ve had to open it up a few times now to fix the hook timing. (Posts on that here and here.)
That is the best photo I could find of it not undergoing repairs. I love that machine because it isn’t as quirky as the Signatures. It also tells me how to thread it right on the machine, and when it comes to sewing machines, threading is half the battle.
My final machine is the Brother SE400 embroidery combo. I keep it set up as an embroidery machine because I have three other sewing machines. Also, it scares me, so I want to risk messing it up as little as possible. I haven’t had it opened up beyond the bobbin area, but I’m guessing there’s some plastic, and I know there are scary electronic components. With the other machines, I am freer to play because I know that if something happens, it’s not likely to be catastrophic. With this, something like a timing issue would definitely mean a big repair bill.
But, it makes pretty embroidery, has loads of decorative and utility stitches as a sewing machine, and has the most awesome needle threader I have ever seen. Seriously. Finn’s machine has a needle threader that I will never use, because it is complicated and I stabbed myself with it one time. Brother’s needle threader is like magic. It is especially handy when embroidering with multiple colors. Color changes take mere seconds.
Just to show I’m not as much of a hoarder as I could be, here is a photo of the White machine I couldn’t get working and sold on craigslist.
Then, while I was waiting for the buyers to show up, I decided to play with it a bit and figured out what was wrong. I hope they love it, or at least open it up to look at from time to time. Sigh.
Like this post? To make sure you never miss a future post, please sign up for my newsletter.
Biscuits are one of the hardest things to make gluten free. Most of my gluten free biscuit attempts turn out flat, hard and dry. After much searching, I finally found a recipe that yielded something like the fluffy biscuits we’ve craved since eliminating gluten.
You can find the recipe at Mama Knows Gluten Free here. Audrey at Mama Knows Gluten Free suggests using Pilsbury gluten free flour. I haven’t found it nearby, so I used my preferred Bob’s Red Mill 1 to 1 flour. It does result in a wetter dough, so I use a little different technique for shaping the biscuits. She also gives some info on different gluten free flours and how to make ahead and freeze.
Recipe adjustments for gluten free biscuits
Single biscuit
Xanthan gum
In the original recipe, it says to only add xanthan gum if your flour doesn’t already have it. Bob’s Red Mill 1 to 1 flour does have xanthan gum. Lately, though, I’ve noticed that for fluffier types of breads, it doesn’t seem to be enough. I want light, fluffy biscuits, so I added the full amount of xanthan gum anyway.
Dairy free
The original recipe gives instructions on how to make it dairy free, so I didn’t have to make my own adjustments. I used unsweetened almond milk and vinegar in place of the buttermilk as suggested. For the butter, I used vegetable shortening. If you have a kitchen scale, one trick to making shortening easier to measure is to use weight instead of measuring and scraping out one tablespoon of shortening at a time. One tablespoon of shortening is equal to 0.42 ounces or 11.94 grams. Multiply that number by the number of tablespoons you need to get the weight amount.
Shaping the dough
In order to limit handling the dough and overworking it, I shaped my dough on the parchment paper. Since my dough was pretty wet, I generously dusted the paper and my hands with flour. Like the original directions state, I patted and folded rather than rolled out the dough.
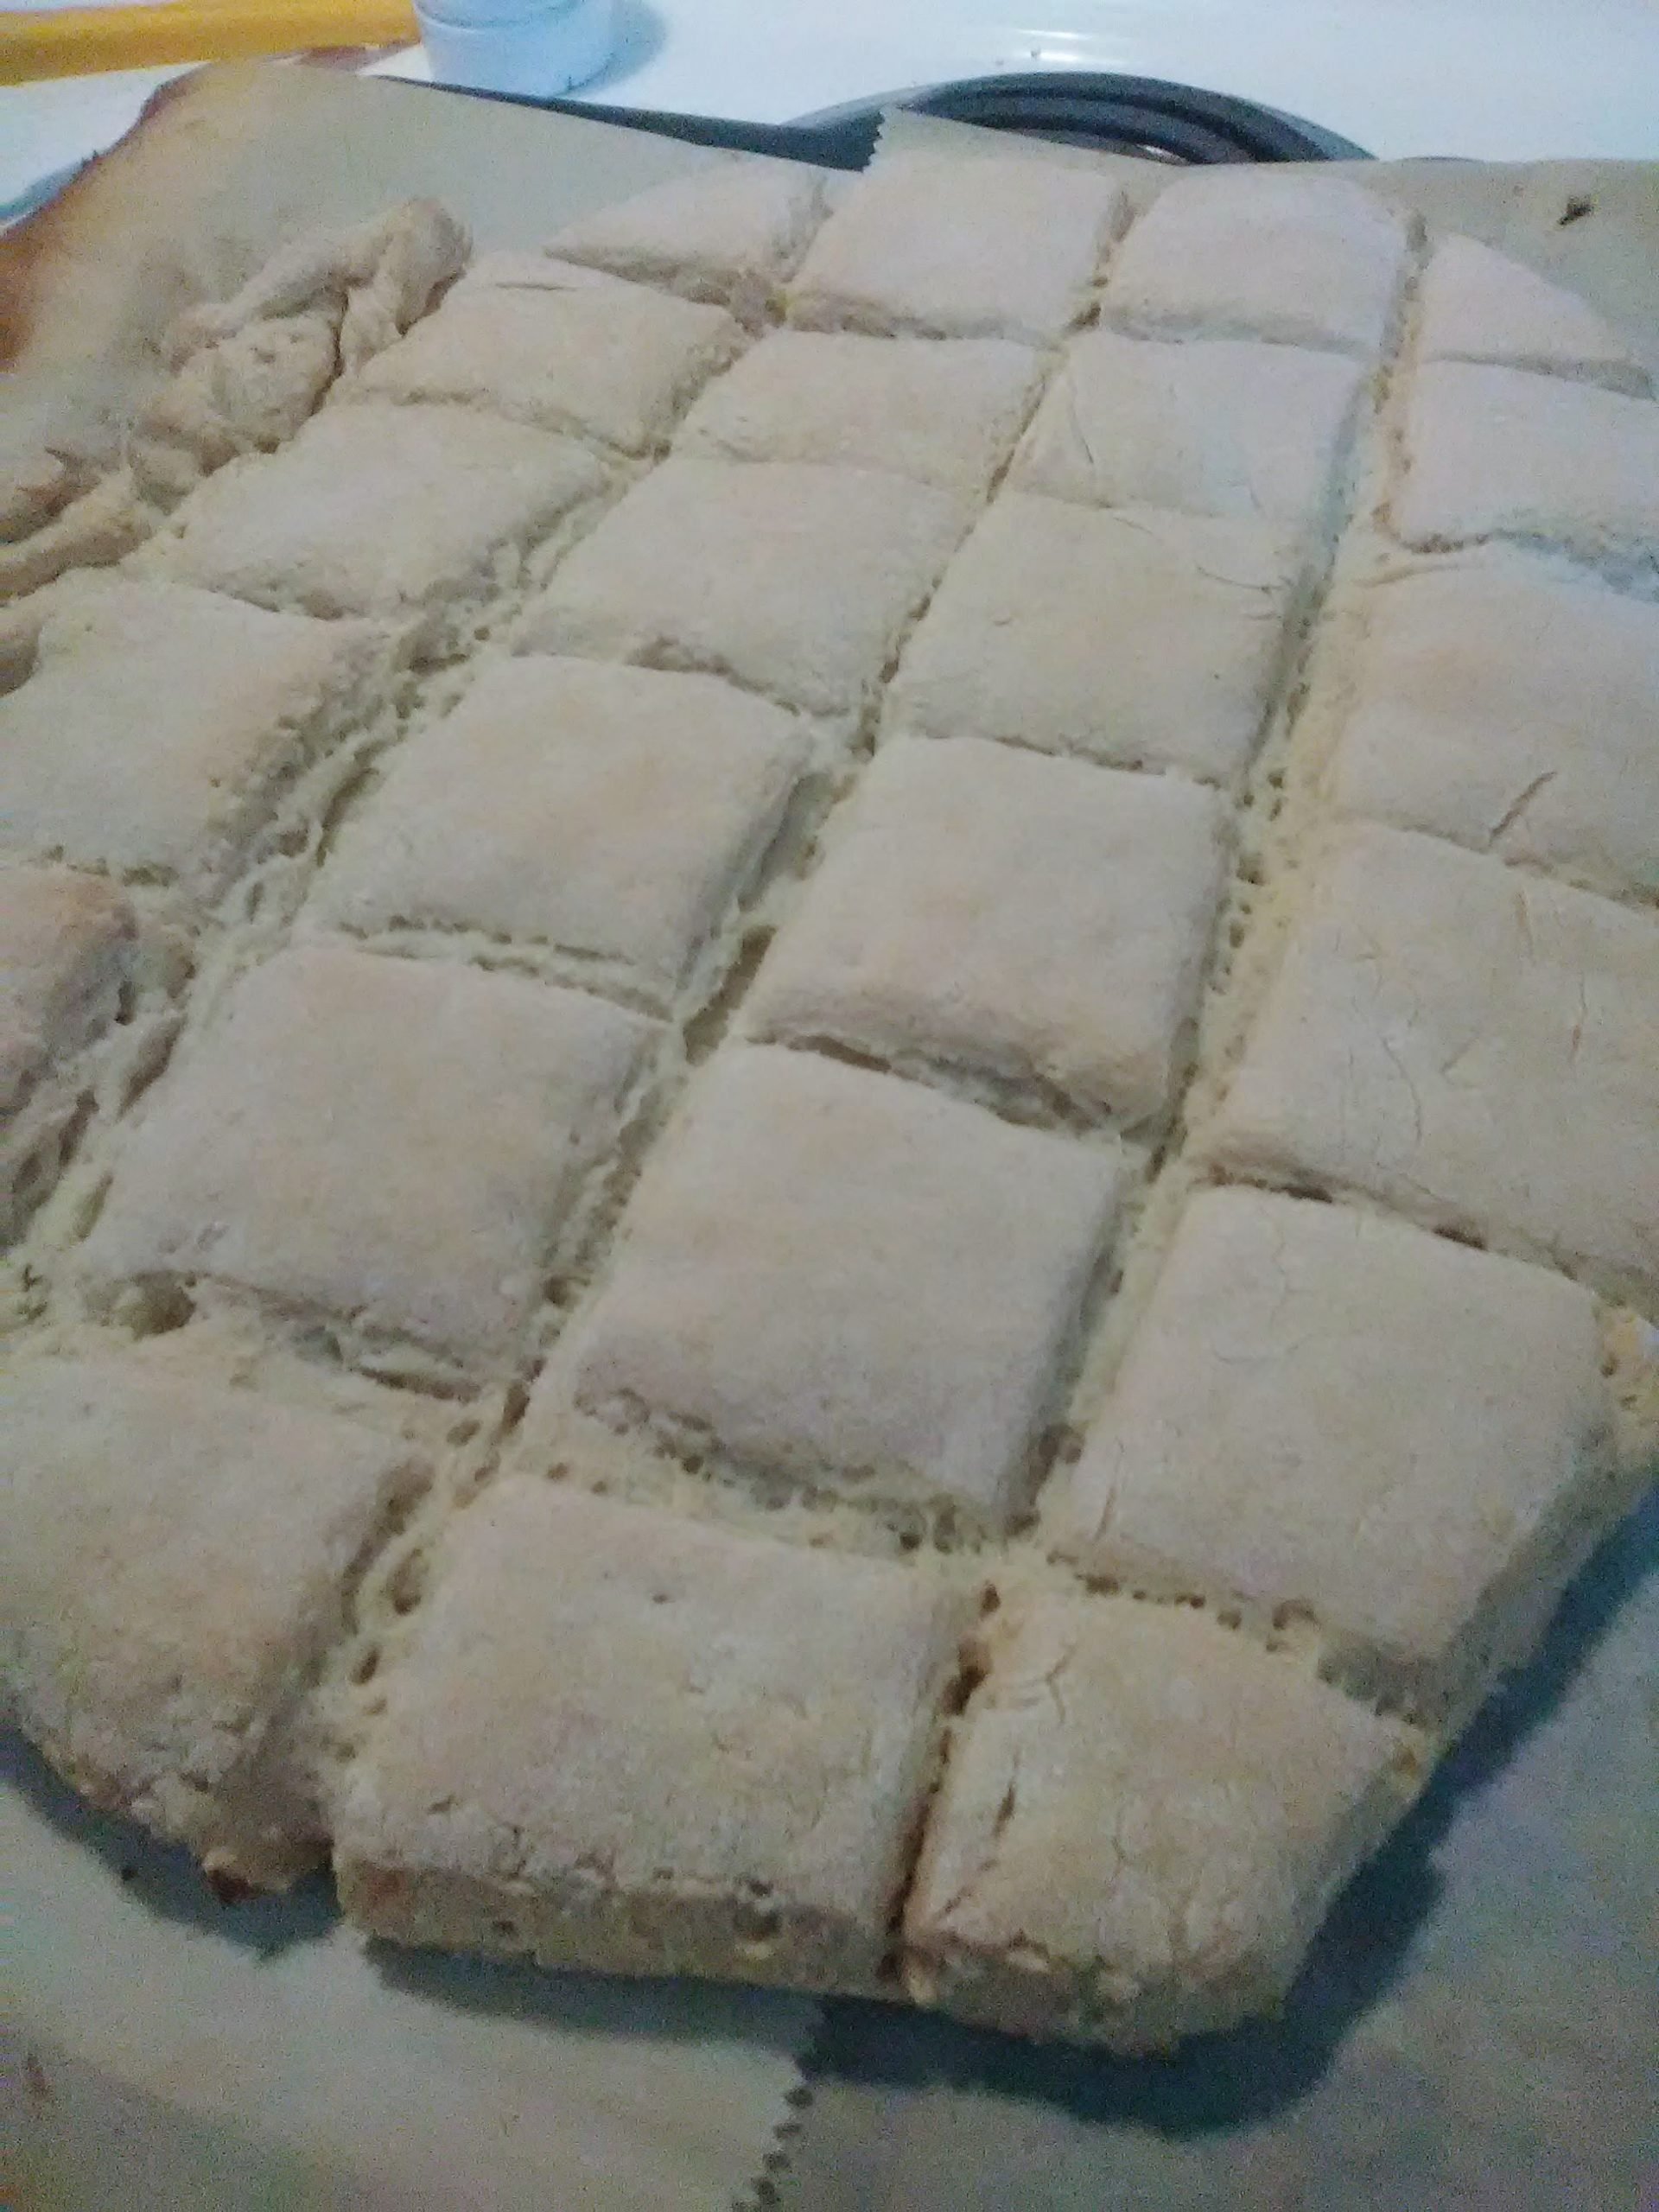
Instead of cutting with a biscuit cutter, I just cut straight lines with a sharp knife to form square biscuits. That way, I wouldn’t have to reshape the dough to cut more biscuits. Less handling is better. I also trimmed a tiny amount from the edges so that all the edges were cut like they would be with a biscuit cutter. This allows the biscuits to rise evenly. If you do it this way, the trick is to cut with a straight up and down motion, not a sliding motion. Sliding the knife would seal the edges and prevent them from rising.
Double batch of gluten free biscuits before I separated them.
Baking
Rather than move the biscuits by hand to a greased pan, I slid the whole parchment paper with the biscuits onto a baking sheet. The parchment provides a nonstick surface. If you’ve cut through the dough completely, they will bake perfectly like that. I had a little healper this morning, so I can tell that we didn’t quite cut all the way through in some areas and the biscuits stayed a little doughier in those areas. To help with that, I separated them when they were almost done and baked them for a few minutes longer.
My biscuits did take a about 25 minutes to bake, so just a bit longer than the original. I’m not sure if that is because of how close together they were or just my oven. I usually set my oven a notch lower than the suggested temperature because it bakes hotter than it says. Sometimes I overcompensate, though.
All in all, these biscuits satisfy our biscuit cravings and are good enough to serve to my non-gluten free friends and family. Give it a try and let me know what you think.
Like this post? To make sure you never miss a future post, please sign up for my newsletter.
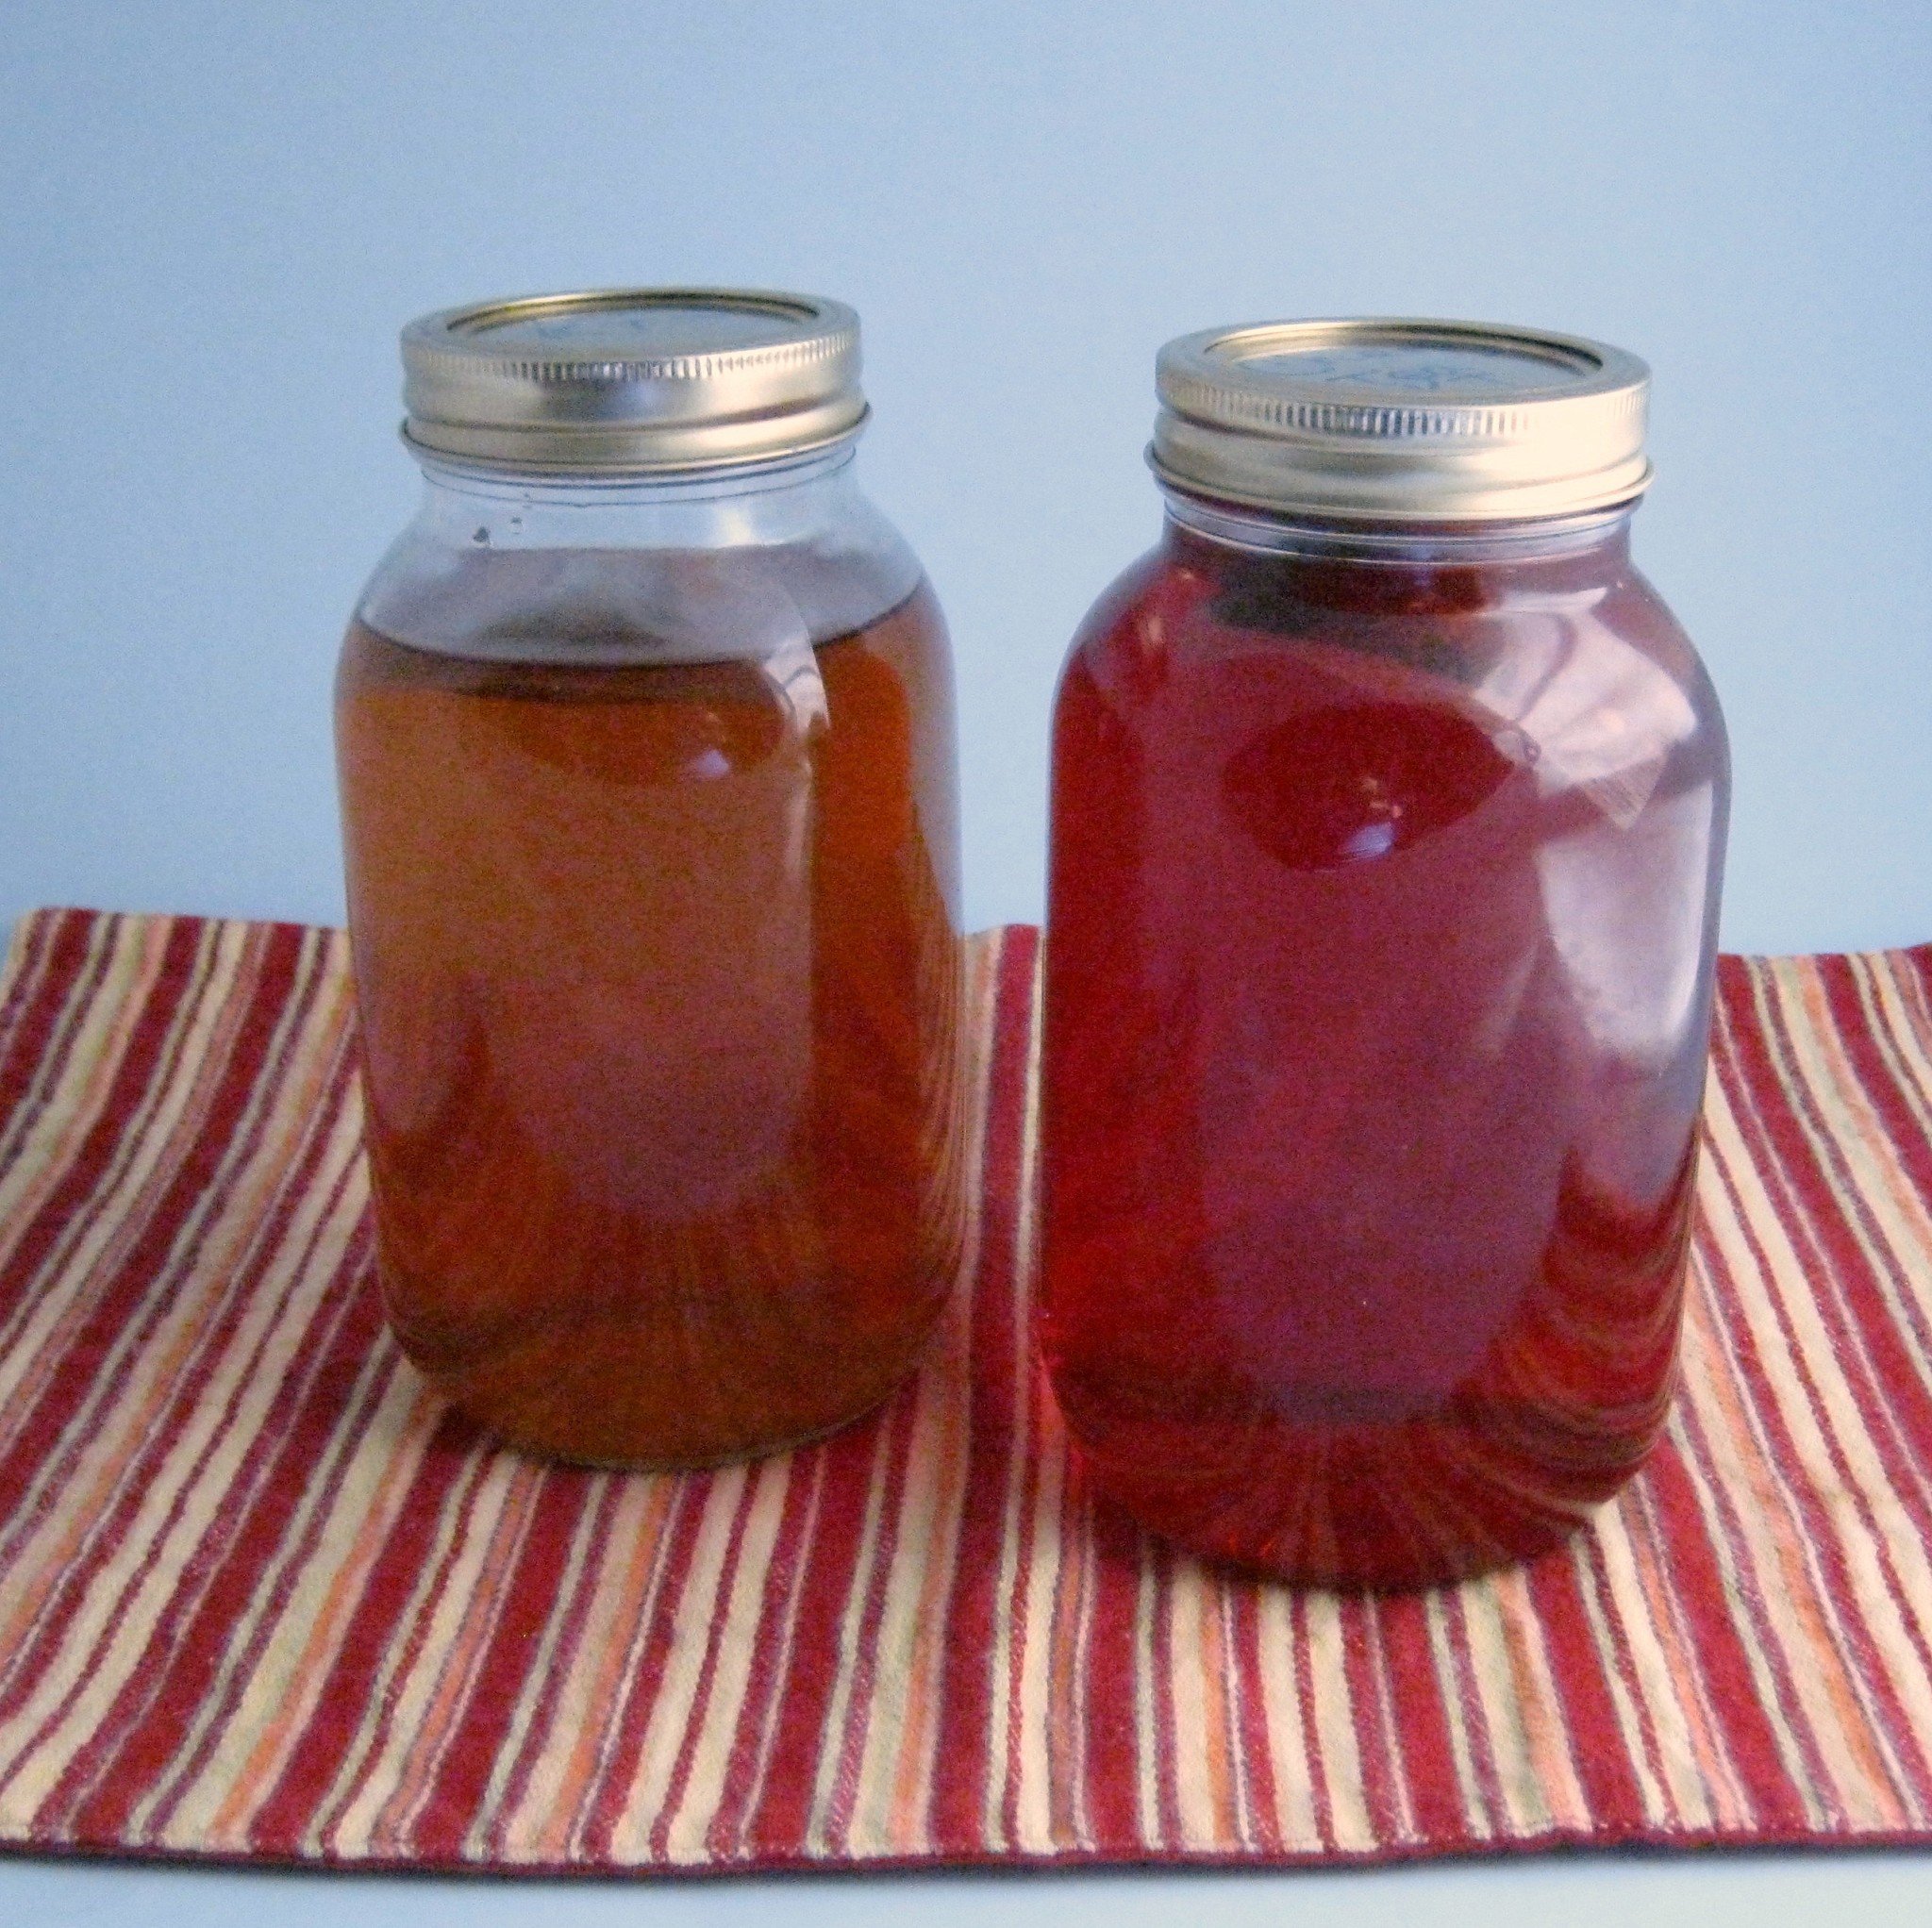
Here’s a few common questions about Kombucha. I’ve answered them based on my research and personal experience.
How much should I drink?
If you’ve never had Kombucha before, you’ll want to start slowly. Kombucha can have a detoxifying effect that can be unpleasant if you rush it. It is recommended to start with about an ounce per day at first and gradually increase until you reach a comfortable level for you. If you notice any ill effects cut back or stop for a few days to let your body catch up. Drinking lots of water can help, too.
Of course, you should always listen to your body. If you feel like you can’t tolerate kombucha don’t push it. There are plenty of other ways to get probiotics. Also, I’m not a doctor, and the above might not apply to everyone depending on your personal health. If you have any concerns, definitely consult your doctor.
Can I use metal utensils when making Kombucha?
Metal tea kettles for boiling the water are fine. It’s fine to stir the tea and sugar together with a metal spoon before adding the SCOBY. What you want to avoid is the SCOBY coming into contact with metal as that can damage the SCOBY. Even then, I have heard very brief contact is ok, such as when cutting up a giant SCOBY. I prefer to peel apart the layers and avoid metal touching my SCOBYs, though.
Can I use honey/stevia/coconut sugar/some other sweetener?
The sugar is food for the SCOBY and plain white sugar is recommended because it is easy for the SCOBY to digest. I have heard of some people having success with other sugars, but I haven’t tried it myself. If you want to try another form of sugar, I would start with a small batch and keep another SCOBY in a tea/white sugar brew as backup.
Stevia or other zero calorie sweeteners will not work because they don’t provide food for the SCOBY.
Can I use flavored teas?
Not for the main brew. You can use flavored teas to add flavor in a second ferment.
Can I use decaf teas?
This is another one where I’ve heard conflicting information. Most say not to use decaf tea. If you want to try decaf, as with different sugars, I would start with a small batch and keep another SCOBY in a regular tea/white sugar brew as backup.
My SCOBY looks funny. Is it bad?
Most SCOBYs look funny. They can be smooth and creamy colored or have air pockets and brown spots. The bottoms usually have brown stringy tentacle things hanging down. New SCOBYs grow on top of older ones until they look like a stack of slimy pancakes. (Eww.) All of this is normal, and there’s probably a million variations I haven’t described.
There are two main things to watch for: mold and black. If your SCOBY molds, it will look like blue-green dusty mold, just like what grows on bread. If you get mold, throw it all out and start over.
Black means the SCOBY is dead or dying. Toss it.
My Kombucha tastes like vinegar. What happened?
Kombucha is supposed to taste vinegary, but if it’s too strong you can always mix it with something like juice to make it more palatable. You can also use super-vinegary Kombucha in place of apple cider vinegar in recipes. If it’s straight vinegar with no sugariness left, you could use it as a hair rinse or for household cleaning where you would use ACV.
To make future batches less vinegary, there’s a couple of things to try.
1. Kombucha brews faster in warmer weather. If it’s been hot, try a shorter brew time and/or increasing the amount of sugar in the brew.
2. If your SCOBY is getting super thick, split off some layers. More SCOBY = shorter brew time.
My Kombucha is too sweet. What happened?
The easiest fix is to let it brew longer. If it’s cold, moving your jar to a warmer location may help. I think the ideal range is somewhere around 70-80 degrees Fahrenheit.
You should also check the condition of your SCOBY. If it is turning black, you’ll want to replace it.
Should I store my SCOBYs in the refrigerator?
No. You want to avoid extreme temperatures because they can damage the SCOBYs. The best range is between 70-80 degrees Fahrenheit.
To store your extra SCOBYs, place them in a lidded jar with at least enough Kombucha for them to float and store in a cool-ish location, such as a pantry or shelf out of direct sunlight and away from heat sources.
We were running low on flour but wanted something for dessert. Luckily we have lots of eggs, so I thought I’d give angel food cake a try because it uses lots of egg whites and very little flour. I’ve never made angel food cake before, gluten free or otherwise. I think it turned out pretty well for a first attempt.
Recipes that call for beaten egg whites used to be intimidating to me. Seeing how easily my Sunbeam stand mixer handles the task took the fear out of it. It doesn’t have a whisk, only beater and bread hook attachments, so I wasn’t sure if it would work. It is possible to whip egg whites by hand or with an electric hand mixer, but a stand mixer makes it so. much. easier.
Since the egg whites provide most of the structure in an angel food cake, it makes it a good candidate to make gluten free. It was slightly denser than other angel food cakes I’ve eaten. I’m not sure if that’s due to using gluten free flour or if I over mixed it. Even so, it was still light and fluffy.
I don’t have a proper angel food tube pan, so I improvised with a bundt pan. That made it a little harder to get out, but not impossible. I’m always nervous any time a recipe calls for an ungreased pan. It’s important for angel food, though, otherwise you risk it falling as it cools.
To use the left over egg yolks, puddings are another dessert option. You could also try egg coffee or mix with whole eggs in scrambled eggs.
This Angel Food Cake recipe is adapted from my favorite vintage Better Homes and Gardens New Cookbook. This version uses gluten free 1 to 1 all purpose flour instead of regular wheat cake flour.
Prep Time20 minutesmins
Cook Time35 minutesmins
Course: Dessert
Keyword: cake, gluten free
Servings: 16servings
Equipment
Angel Food Tube Pan or Bundt Pan
Electric Mixer
Ingredients
0.88cups1 to 1 gluten free all purpose flour0.88 cups is equal to 1 cup minus 2 tablespoons. I like Bob's Red Mill or Krusteaz brand 1 to 1 gluten free flour.
1.5cups sugar, divided in half
12egg whites
1.5tspcream of tartar
0.25tspsalt
1.5tspvanilla
Instructions
Sift flour with 3/4 cup of sugar. Set aside.
Beat egg whites, cream of tartar, salt and vanilla until stiff enough to form soft peaks. I lift the beaters and look at the little mounds that form. For soft peaks, they should stand up with just the tops of the peaks folding over, kind of like the top of a soft-serve ice cream cone.
Add the remaining 3/4 cup of sugar a little at a time while continuing to beat until stiff peaks form. For stiff peaks, the peaks should be standing up completely.
Sift about 1/4 cup of the flour mixture over the egg whites and gently fold in. Repeat about four more times until all the flour mixture is added, folding in each addition gently.
Bake in a ungreased 10 inch tube pan (I don't have a tube pan, so I used a bundt pan) and bake at 375 degrees for 35 to 40 minutes.
Invert cake in pan to cool completely before removing the cake. Some angel food tube pans have feet that allow them to rest inverted (cake side down) without setting it directly on a plate. This prevents steam from forming and making the cake soggy. If your pan doesn't have the feet, invert it on a bottle with the neck of the bottle fitting in the center hole. You can also use four soup or similar cans or cups spaced so that the rim of the pan rests on the cans/cups.
Once it has cooled completely, remove from the pan by gently running a thin spatula or knife around the edge of the pan and around the tube, being careful not to cut the cake. Invert over a plate and it should come out. If you used a bundt pan like I did, it may take a few tries and possibly gently pulling the cake away from the sides of the pan.
Like this post? To make sure you never miss a future post, please sign up for my newsletter.
Embroidery freebies
Knowing that so many are stuck at home right now needing distractions, I’ve decided to make all of my machine embroidery design files free until April 30. That’s the day my area’s shelter in place order expires. If it is extended, I’ll extend the embroidery design freebies, too. If you make something with one of my designs, I would love to see it.
When you get your homebrew timing right, kombucha is pretty yummy on it’s own. Sometimes you want something a little different, though. Or maybe straight kombucha just isn’t your thing but you still want the probiotic benefits. Luckily you can easily change the taste of your kombucha to make it more palatable or fix a soda craving. Here’s my tips for flavoring your Kombucha tea.
Mixing with juice
The simplest way to flavor kombucha is to mix it with juice or another beverage. This is a great way to get started drinking kombucha. To start, add 1-2 ounces of kombucha to a glass of your favorite juice. As your body and tastes adjust to drinking kombucha you can increase the kombucha to juice ratio.
I like to dilute 3-4 ounces kombucha with sparkling or still water, add a splash of lemon or lime juice and a bit of stevia. This makes a refreshing summer drink when served over ice.
Kombucha is also nice as an add in for smoothies. It can be fizzy on it’s own, though, so make sure to account for that when adding it to blended drinks. Leaving a little extra headspace in the blender is a good idea. Or, stir it in after everything else is blended.
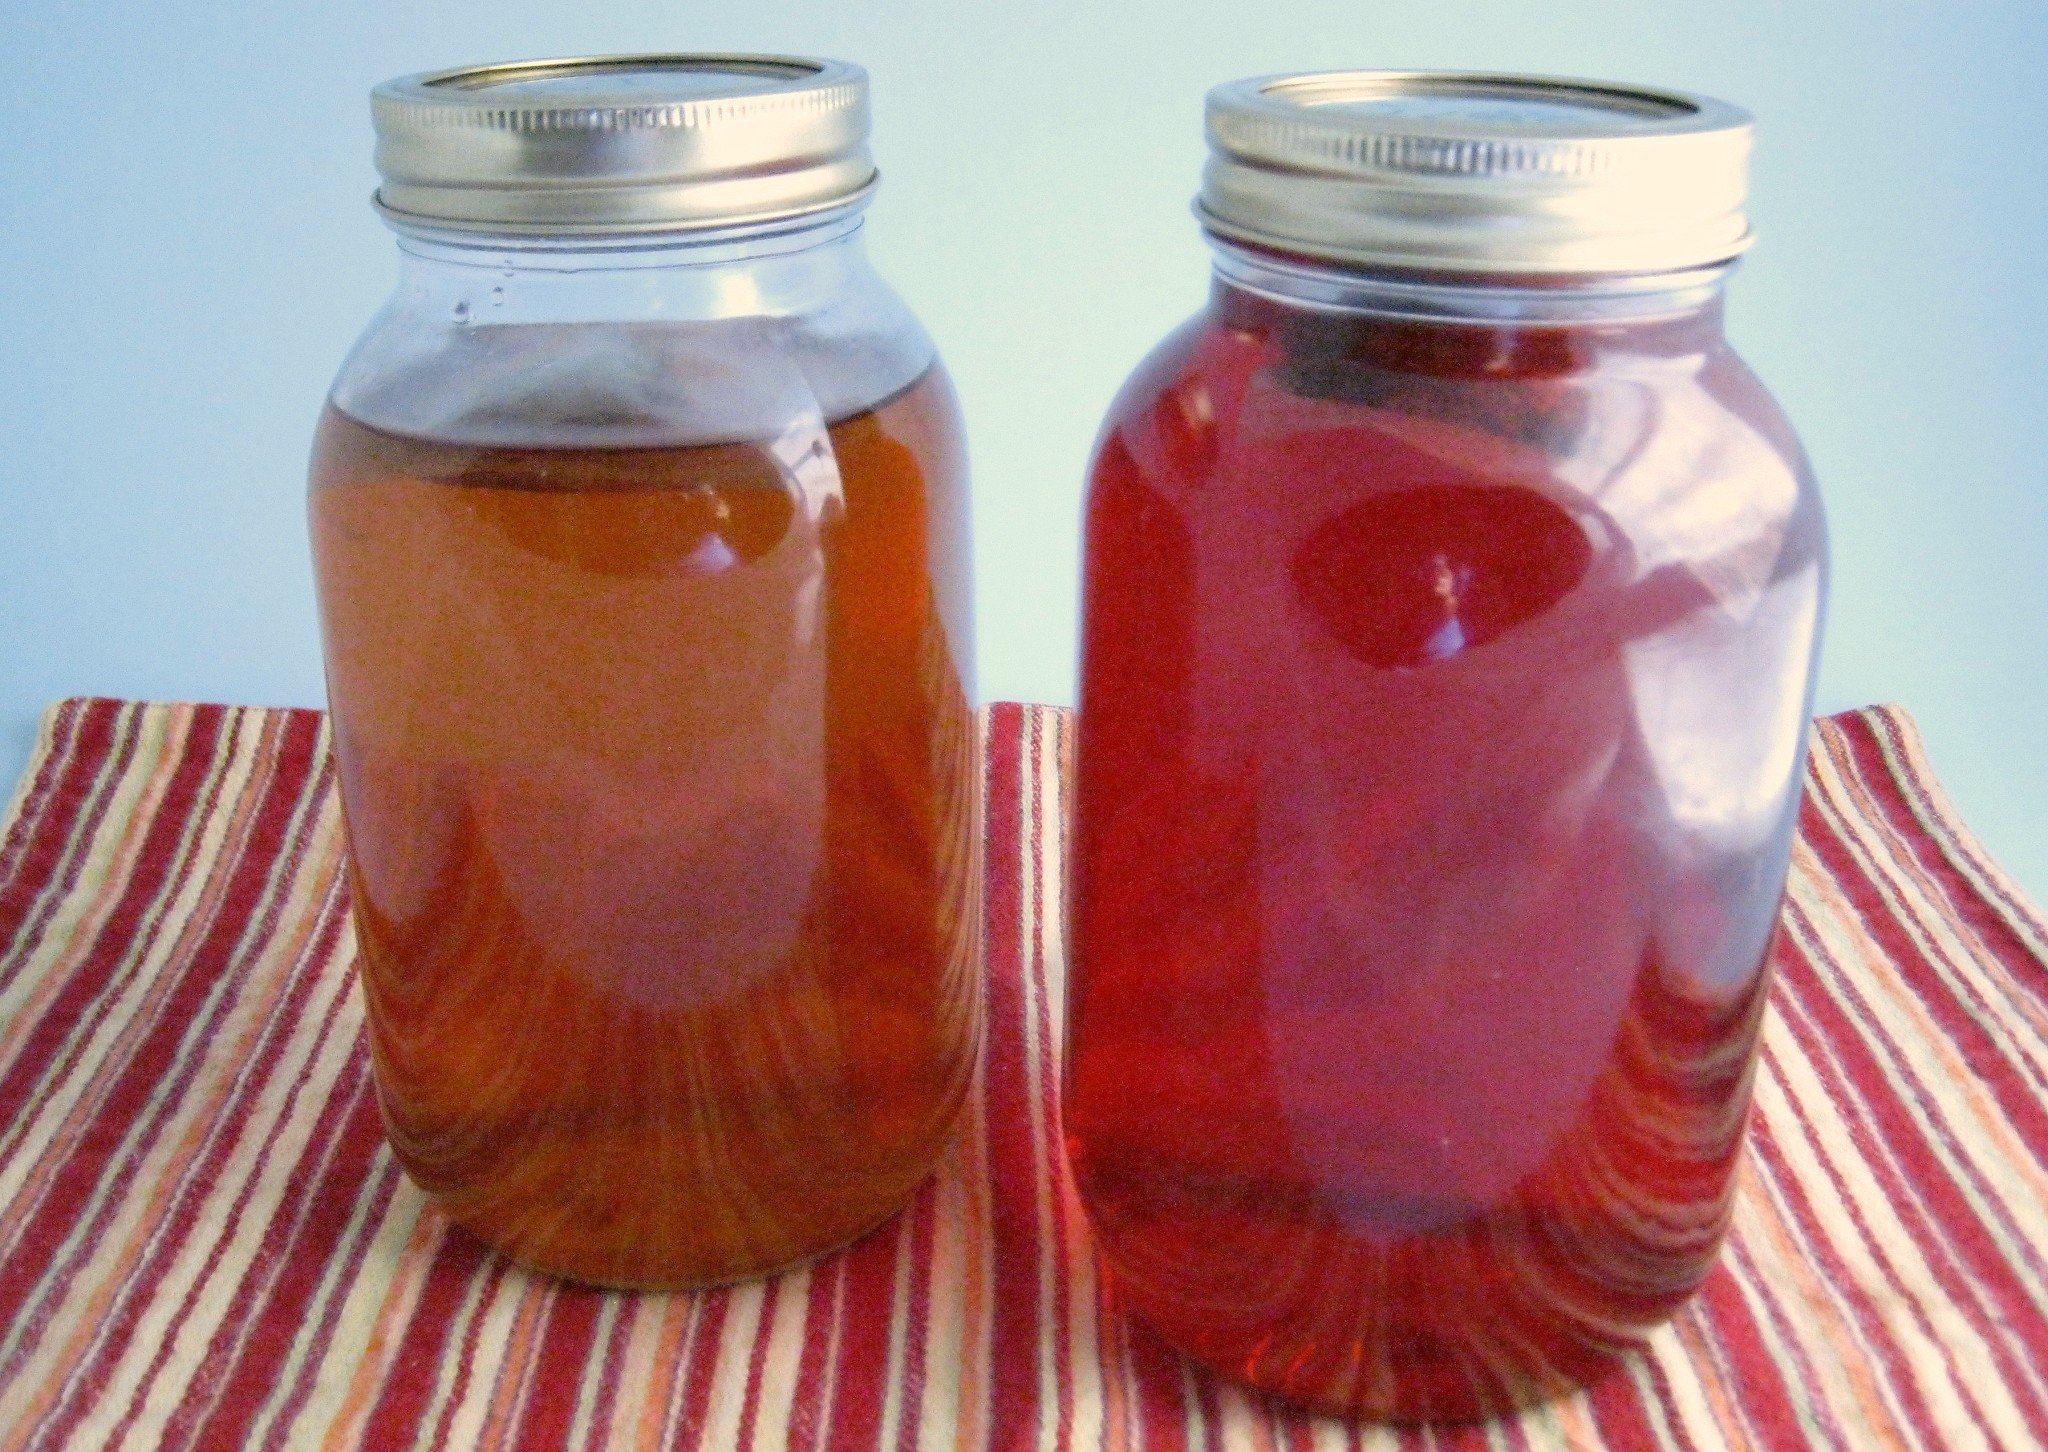
Flavored with peach and cherry teas in a second ferment.
Flavoring your Kombucha with a second ferment
You can also add flavoring in a second, shorter ferment. Basically you’ll put your flavorings in a bottle or jar (I like canning jars), fill almost to the top with your brewed kombucha and cap the jar. Leave at room temperature for 2-4 days and then refrigerate or drink.
The second ferment can increase the carbonation in your kombucha, so it’s a good idea to be cautious when opening and storing the jars. I’ve never had a jar break from the pressure, but I have had the metal disks on canning jar lids pop up in the middle. If I think too much pressure is building up, I “burp” the jars by opening them just enough to release some of the pressure and recap.
There’s a variety of things you can add for the second ferment. Really, any herbs, spices or fruits can be added. If you want to increase the carbonation, add a little bit of sugar, honey, raisins or a sweet fruit. My favorite thing to do is put enough orange peel to fill the jar halfway, add a teaspoon of sugar or honey, top with kombucha and let it sit for two days. It makes a kind of healthier orange soda and uses something that would normally have been tossed.
Orange peel and honey Kombucha
Other flavorings I’ve tried:
Lemons and limes cut into wedges, sliced or just the peels. You can also use a lemon or lime half after juicing it for another recipe.
Fresh sliced ginger, plain or with a dash of chai spice and squirt of honey.
Fruit flavored herbal teas, one bag per quart jar.
Blueberries.
If you brew your own Kombucha tea, I would love to hear your tips for flavoring your Kombucha. Please share them in the comments below.
Next week I plan to do a FAQ/kombucha myths post. If you have any questions please share them in the comments and I’ll do my best to answer them.
Like this post? To make sure you never miss a future post, please sign up for my newsletter.
I, Charity Sloan, am a participant in the Amazon Services LLC Associates Program, an affiliate advertising program designed to provide a means for sites to earn advertising fees by advertising and linking to Amazon.com. Any purchases through those links will result in my receiving a small percentage in commission.
This only refers to Amazon links found in/on my blog pages. All products in my shop are 100% mine and not linked to Amazon.
Prices are the same whether you click an affiliate link or a non-affiliate link, so you will not be charged more. Thank you for your support!