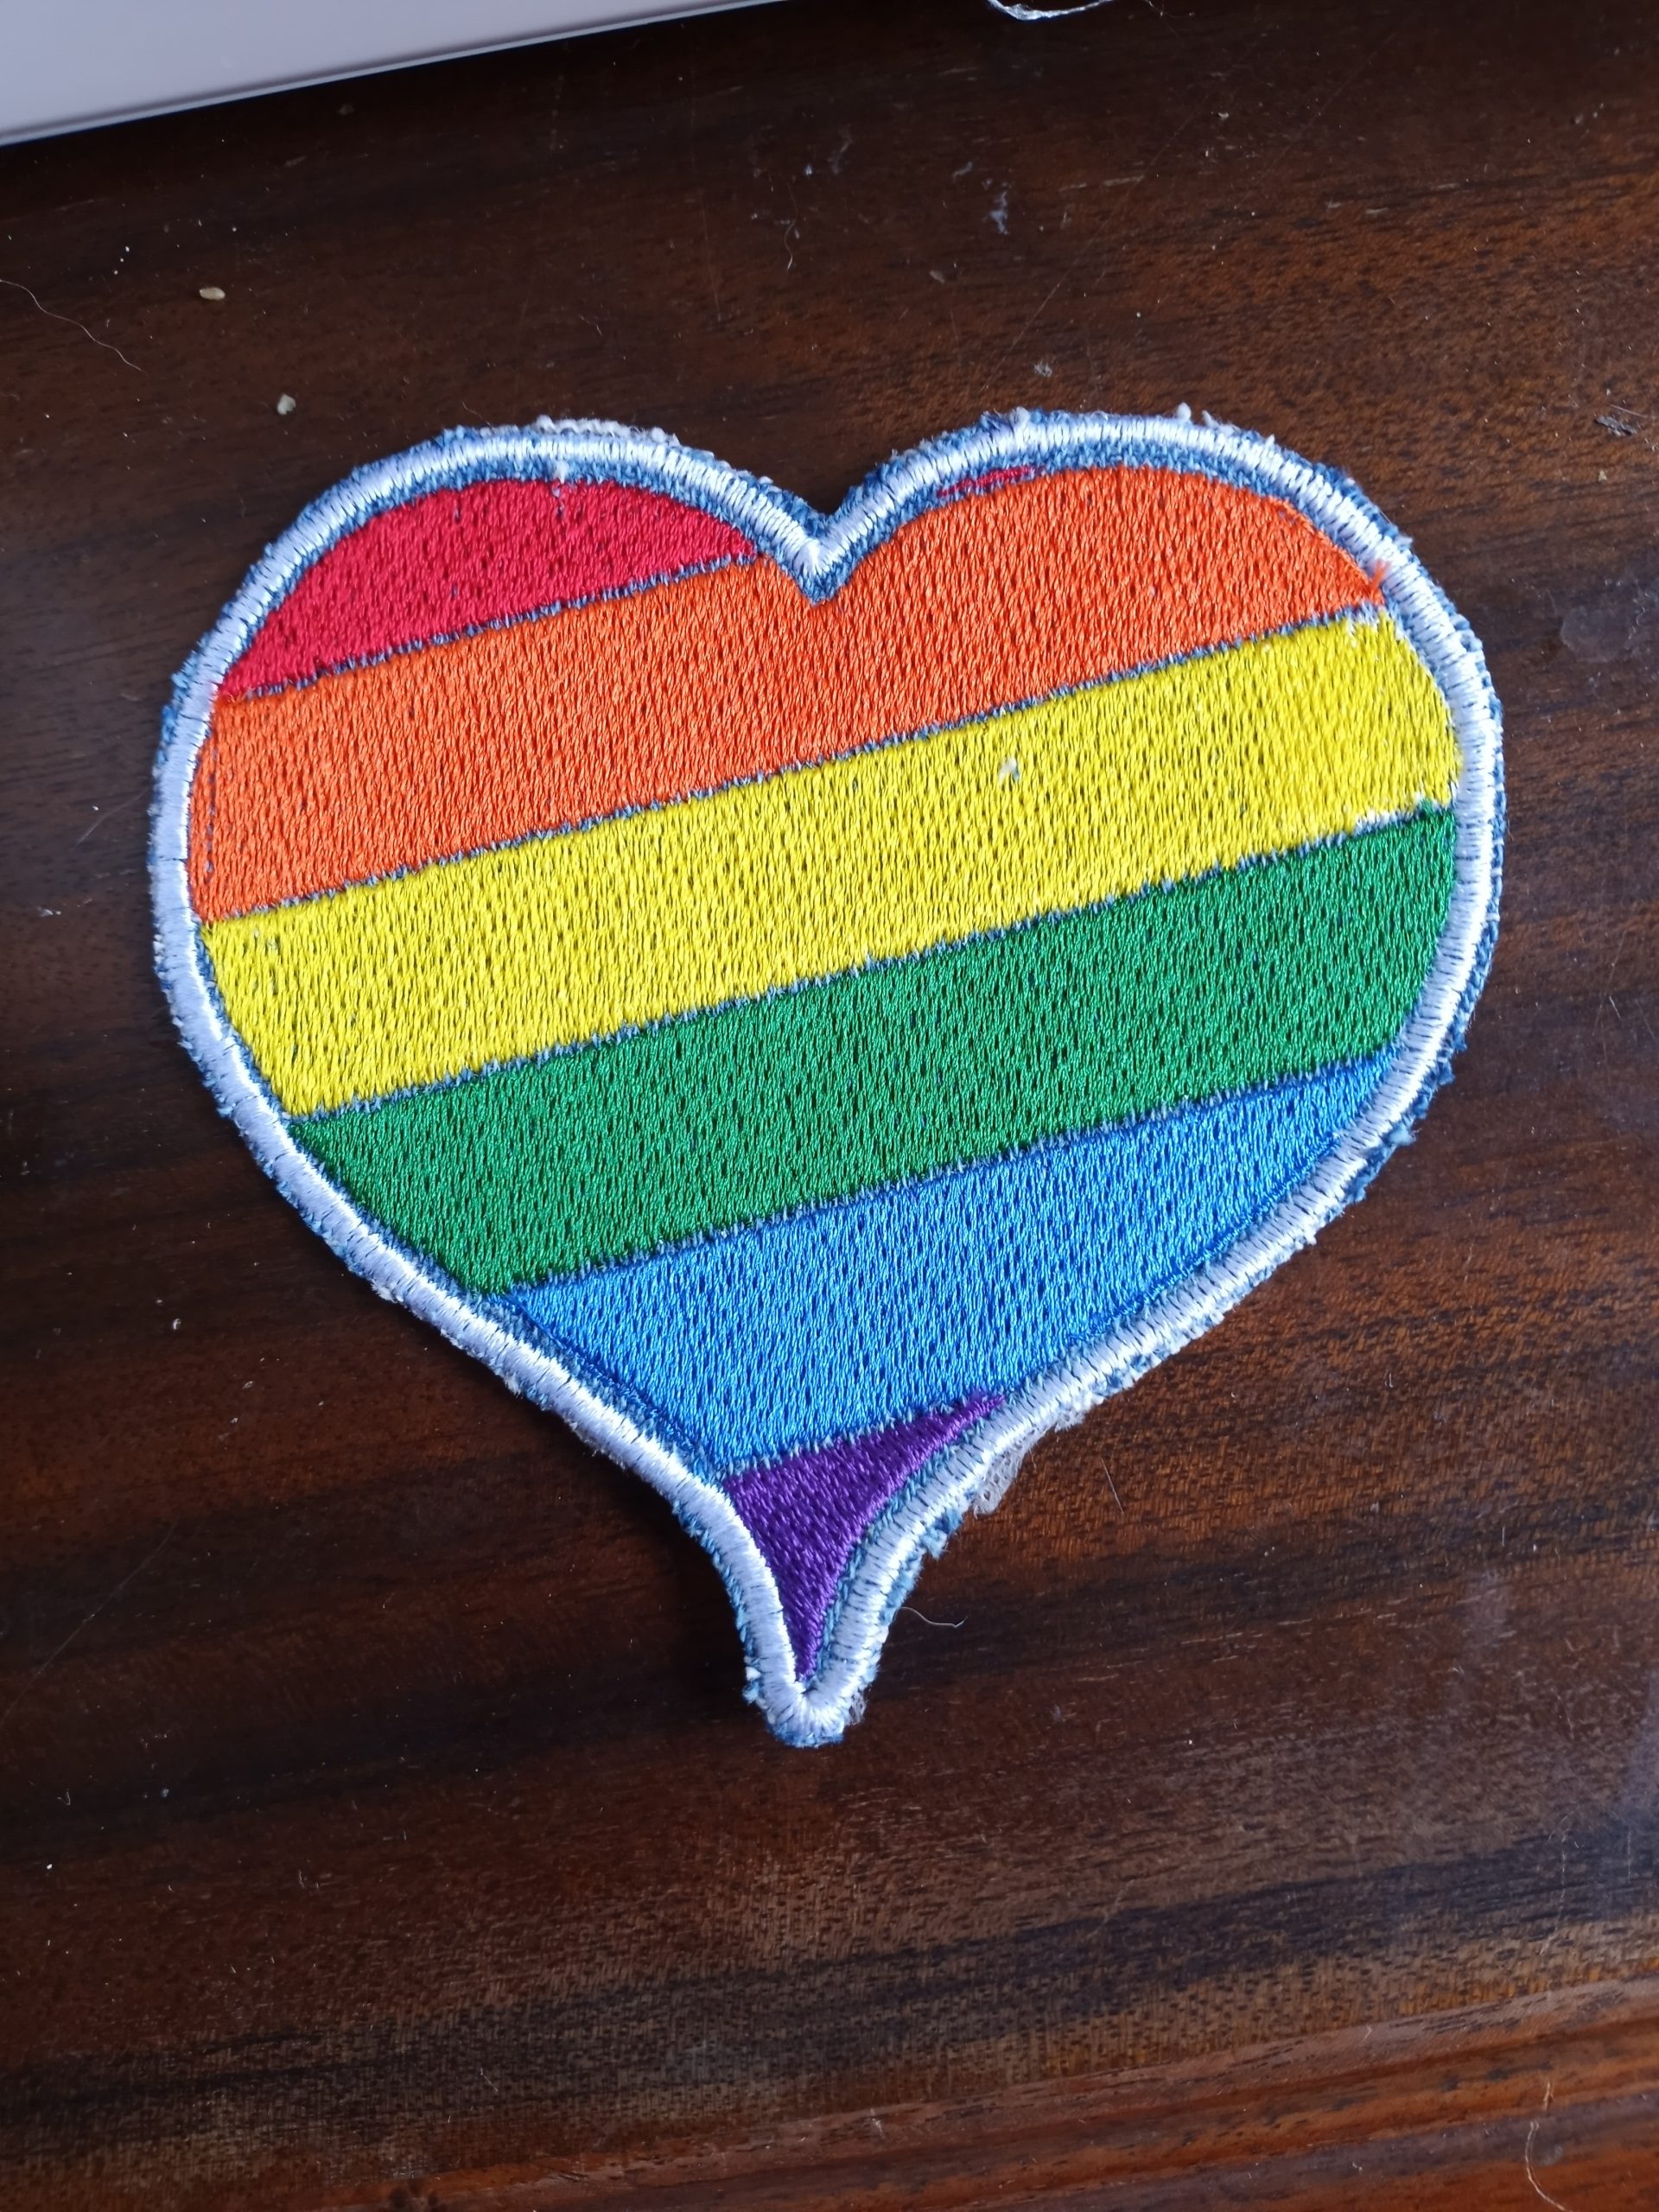
Hello lovelies! If you follow me on all the socials, you know I owe you a quick how-to on this:
But, I haven’t written it yet. I apologize.
I did want to let you know, though, that I added some new planners/journals to my shop. There’s a Meal Planner, a Reading Journal, and a Fitness Journal now, as well as a set of Literary Terms posters for my teacher friends. I may get some more added tomorrow, if the kiddos don’t keep me too busy to work on them tonight. They are all in PDF format, so you can either print the pages you want or use them with a digitally with something like Goodnotes.
Now for the SALE part: ALL digital products that are normally $5 are on sale for $0.99. That’s all the planners, journals, and all of my machine embroidery designs. I have also made a few more of my older embroidery designs FREEBIES!
Please, check them out. If they’re not for you, but you know someone who would like them, please share.
This sale only lasts through August 22, so don’t miss out!
I love upcycling in my crafting. I love that it saves money and keeps things out of the landfill. One of my latest ways to upcycle is using denim as a base for machine embroidery patches. Just about everyone has a pair of worn out jeans. Denim is the perfect weight for patches, so I take usable fabric from old jeans and stitch my patch designs on that. Give it a shot!
I love wearing denim blue jeans, but chasing my boys and taking care of my small zoo, they get lots of wear and tear. One of the worst things is having to scrap a favorite pair because of one too many rips. I’ve repaired rips in a utilitarian way in the past. This time I thought I’d try patching denim using my embroidery machine. I haven’t done much applique, so I learned some things along the way.
This tutorial makes use of an embroidery machine and serger. You could also adapt it to use a sewing machine or applique by hand and embellishing with hand embroidery.
Items needed
Denim jeans or other item to repair
Interfacing
Thread in colors of choice
Seam ripper or similar tool
Scrap of fabric at least 4 in x 4 inches
Stabilizers: Cut away or tear away, water soluble optional
Since I’m repairing a ripped knee, I needed to take out one of the side leg seams on my jeans. Using a seam ripper made this easy, but you could use small scissors, too. I left the seam intact at the hip and ankle, only removing what was necessary to lay the ripped area flat in the hoop without risking sewing it to the back. Leaving a little intact makes it easier to resew the seam at the end.
Step 2: Prepare the rip.
Iron the area around the rip so it’s smooth and flat. If there’s a lot of loose threads around the rip, trim them. I caught this rip before it frayed too badly, so no trimming was needed.
Side seam removed and jeans ironed flat.
I wanted the embroidered area to be solid, so I applied some interfacing to the back of the rip. I used some medium weight interfacing, but any should work, since it’s job is just to hold it together while the jeans are embroidered. This is a perfect project for using whatever scraps are handy.
Back of rip with interfacing applied.
Step 3: Hooping.
For denim, tear away or cutaway stabilizer is best. I chose cutaway for the most stability. It’s stiff, but it should soften in the wash. If not, I’ll switch to tear away next time.
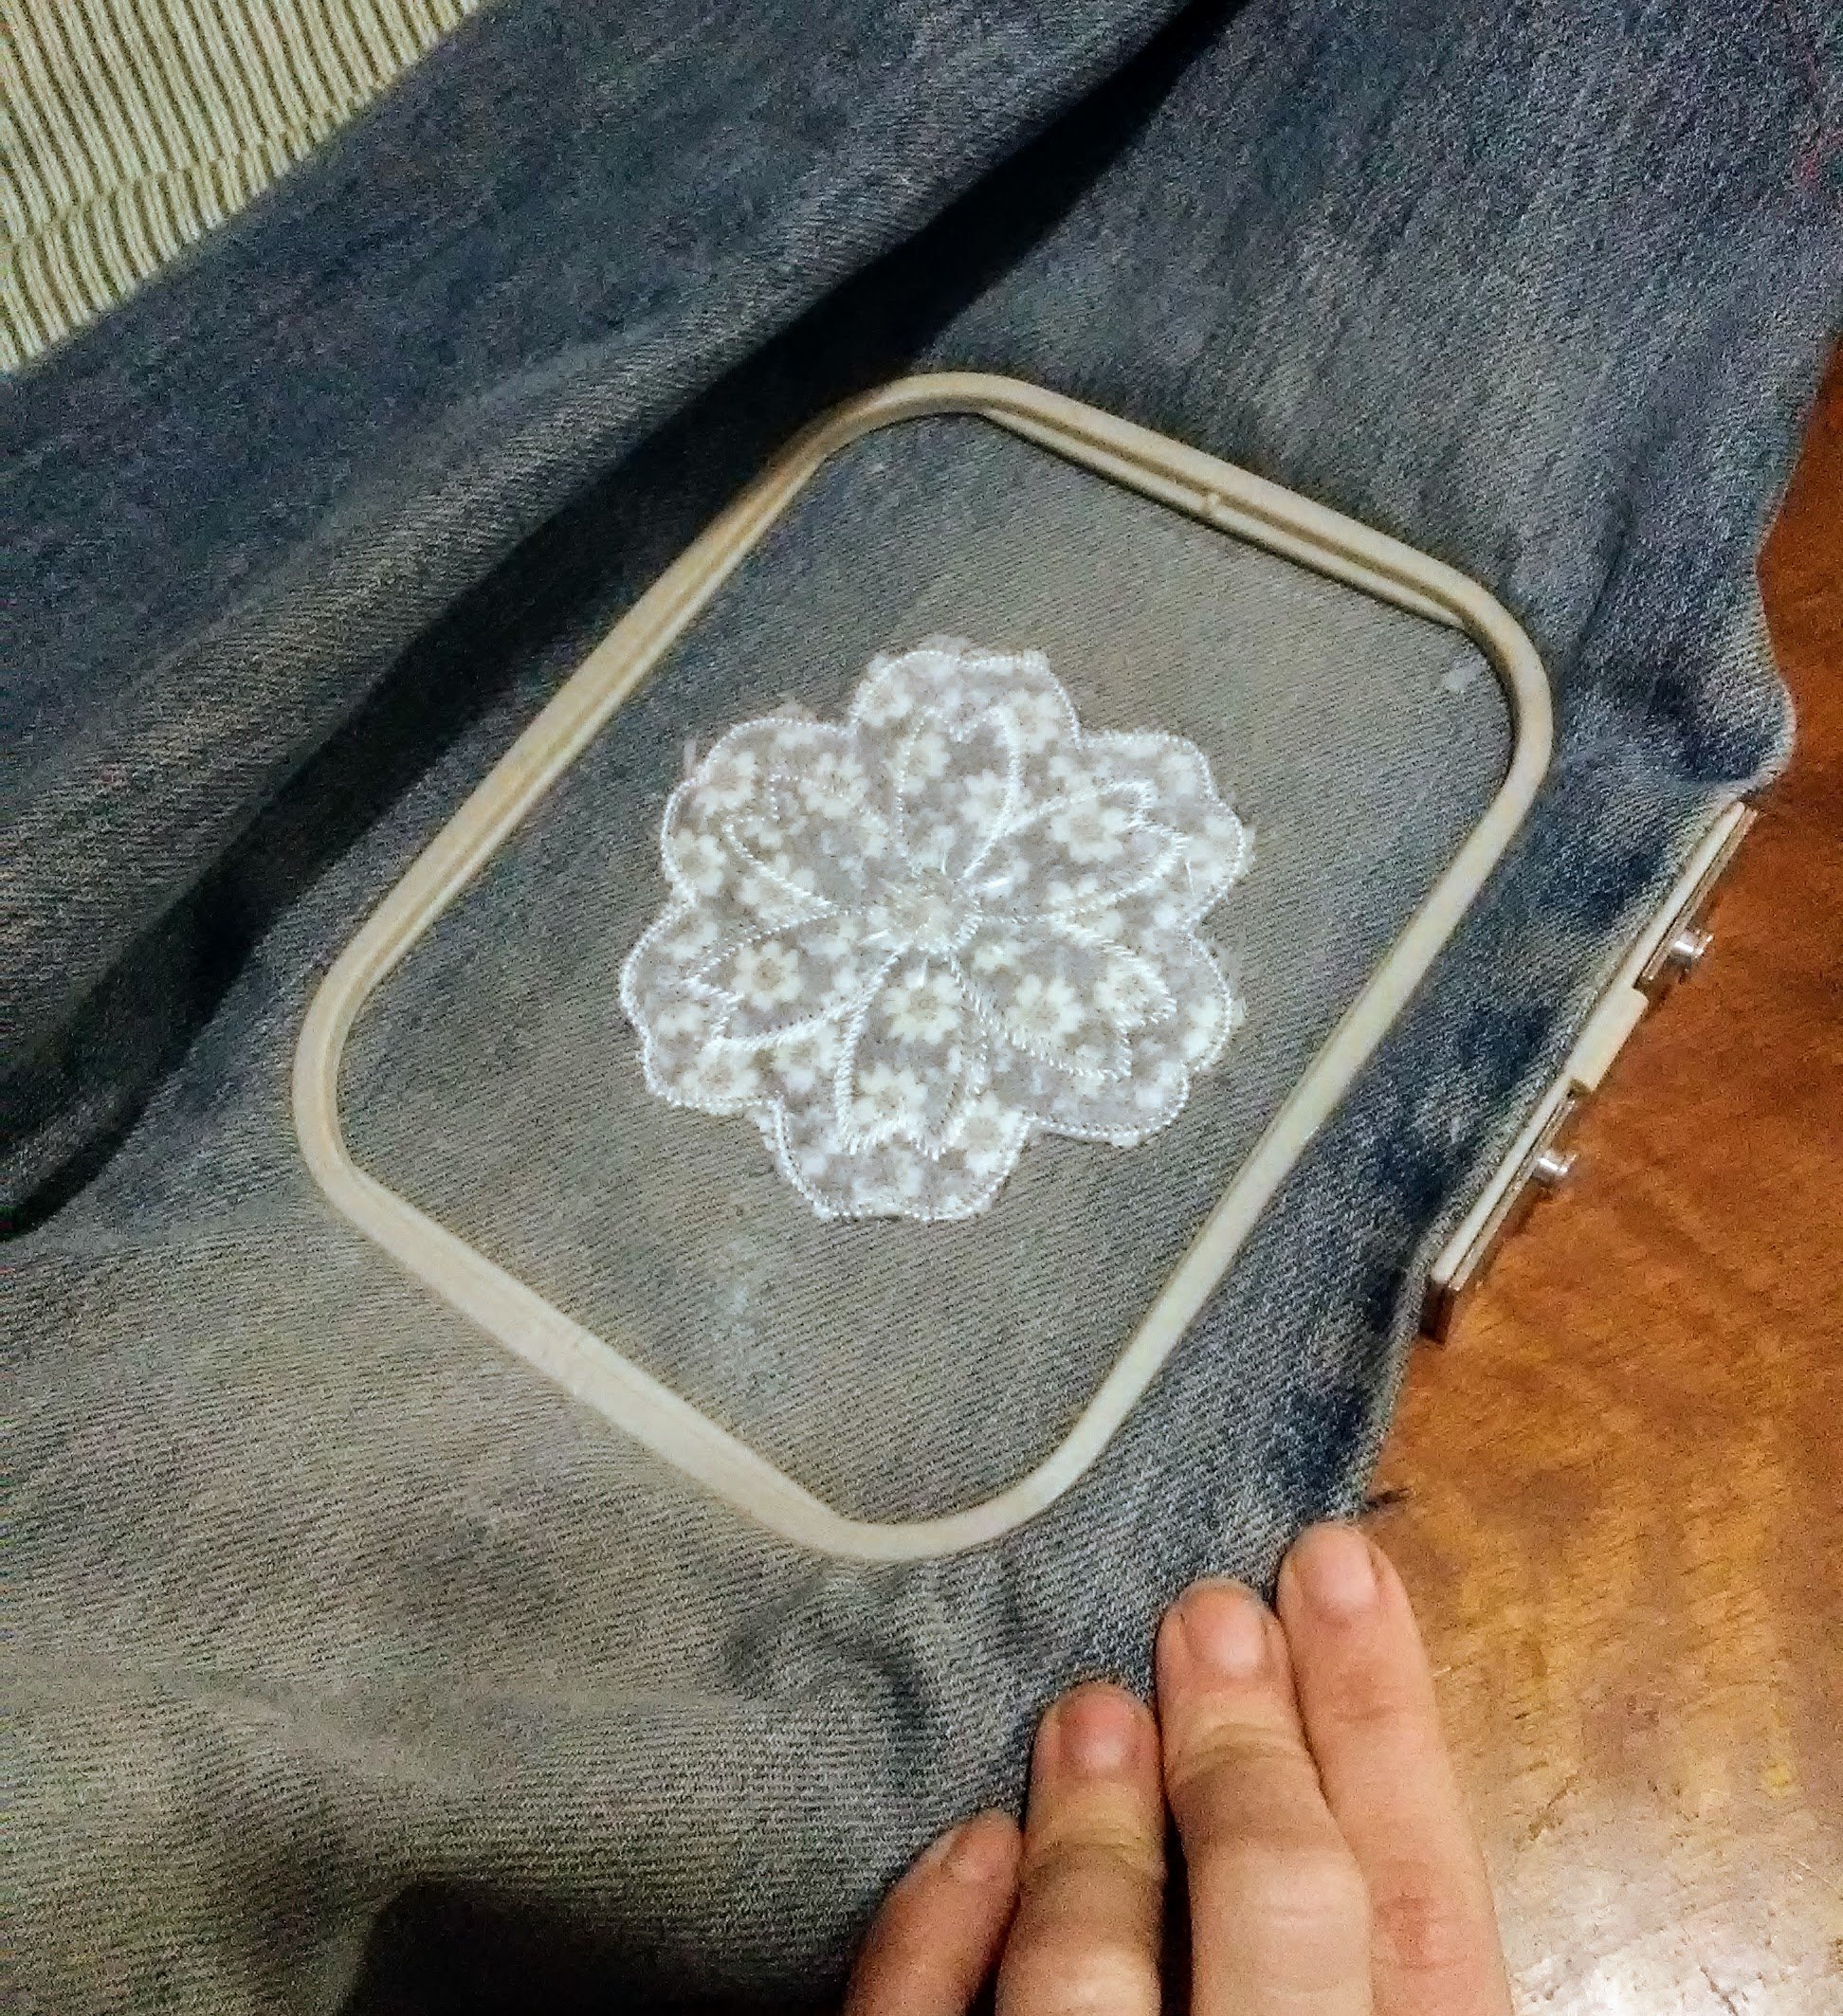
I tend to float projects and only hoop the stabilizer whenever possible. This project seemed like it would work better tightly anchored in the hoop. It took a few tries to center the rip in my hoop so that all edges would be covered by my design. My machine has a 4 in x 4 in embroidery field, so the rip just barely fit. Smaller tears will be easier to fit in my small hoop.
First attempt. Once I put it in my machine and had it circle the embroidery field, I saw it needed re-positioning.
Step 4: Embroidering the patch.
Once it’s properly hooped, it’s time to sew. On my machine, the first color stop said “Applique Material”. I haven’t done much machine applique, but the ones I am used to usually follow the sequence: placement stitch, tack down the applique (then trim excess), sew the final applique stitching. So, confused I just put the applique fabric and a water soluble stabilizer (optional) on top of the rip and pushed start.
What my machine was telling me to do was to just hoop the applique fabric so I could remove it from the hoop and cut it neatly. The second color stop was the positioning stitch. That would be stitched on my jeans and then my neatly trimmed applique could be placed in position and the stitching completed. Since I did everything at once, my applique isn’t as tidy as it could be. I will definitely listen to my machine next time.
Finished sewing.
Step 5: Remove from hoop and cut away excess stabilizer
I also steam pressed over the back of the patch to start softening the stabilizer.
Patch from the back with stabilizer trimmed.
Step 6: Sew the leg seam.
To repair the leg seam, I used a lock stitch setting on my machine. You could also sew the seam twice to reinforce it or just use really heavy thread. I then serged the raw edge. If you don’t have a serger, an overedge stitch or zig-zag stitch would also work.
Finished!
Finished patch. Next time I will use heavier thread so the embroidery shows better.
Not bad. I wish I had used heavier thread so the embroidery would show up better. Listening to my machine and cutting the applique fabric to size before I sew it on to eliminate the raw edges peeking out is another improvement for the next time I’m patching denim.
If you’d like to use this applique design, you can download the file here. You can use the design on items you make to sell as well as for personal use, but please don’t sell the design file.
Floral knee patch applique design image.
Like this tutorial? To make sure you don’t miss out on future tutorial posts, sign up for my newsletter.
Embroidery Files and Freebies
Embroidery design files and freebies from SubEarthan Cottage. All designs are scaled to fit 4×4 hoops common on home embroidery machines.
I love in the hoop embroidery projects. They, more than anything, are what make me wish my embroidery machine had a bigger stitch area than just 4 inches by 4 inches. Even with such a small hoop size, there’s still plenty of in the hoop projects available.
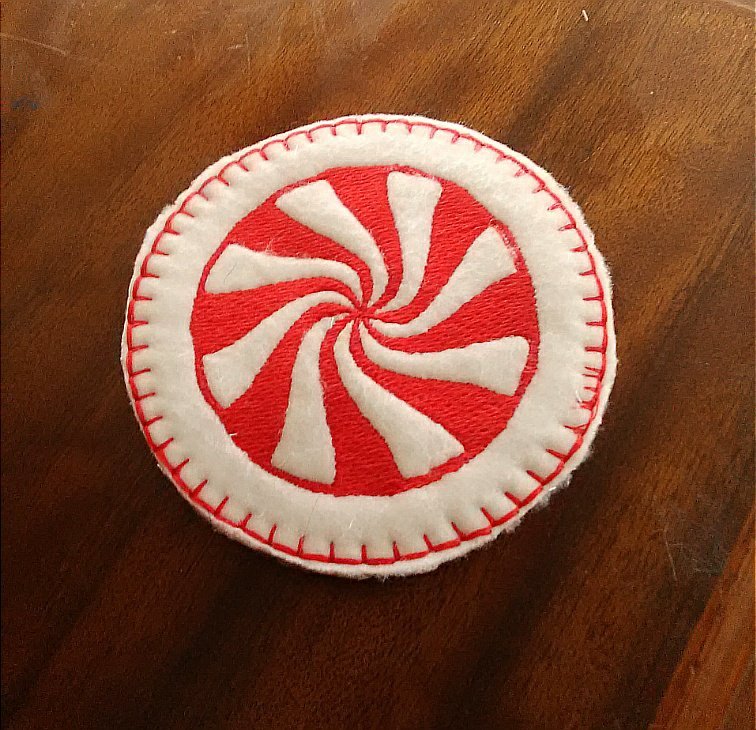
One of the easiest ITH (in the hoop) items to make are coasters. To make these peppermint coasters, all you need is fleece, one or two thread colors, stabilizer, the design file and, of course an embroidery machine. Once you see how they are made, you can easily swap out the design and colors to suit your needs. They are so simple to make, they are perfect for last minute gifts or as decor to match a party’s theme. You could also make a themed set for each month, season or holiday to decorate your home.
In the hoop peppermint coasters
Supplies to make one coaster
Two pieces of fleece cut to your machine’s hoop size
Place one piece of fleece on top of the stabilizer in the hoop. For small projects I sometimes just carefully hold it smooth while my machine stitches. You can also use a glue stick outside the stitching area to glue the fabric to the stabilizer, or pin the fabric to the stabilizer at the top and bottom, outside of the stitching area. I made the mistake of having a pin at the side, and even though it was clear of the design, it caught on my machine’s presser foot. Luckily I caught it quickly, but I will probably use a glue stick whenever possible to prevent that from happening again.
Decision Time: If you want the peppermint to show on both sides, place the other piece of the fabric under your hoop while placing it onto your machine. The bottom fabric usually stays in place on its own, but you could use a glue stick as I mentioned in the previous step. To only have the peppermint show on one side, skip to “Preparing your machine”.
Preparing your machine
If you want the peppermint on both sides, make sure the top and bobbin thread match. For a single-sided design, red or white in the bobbin is fine.
Place your hoop in your machine.
Upload the design file according to your machine’s instructions. The following steps are based on the Brother SE 400, so they may differ depending on your machine.
Resize your design, as desired. I wanted the peppermint as big as possible, so I followed the instructions for my machine to maximize the size. Mine maxed out at 7, which resulted in an overall size of about 6.5 cm. If your machine has a bigger capacity, you’ll need to decide how big you want the design .
Because I used white fleece, I chose to skip the white stitching and only stitch it in red. Again, I followed the instructions to skip to color 2, labeled red. Whatever color you choose, if you’re only sewing one color, skip to color two, because it has the outline. If you want to stitch both colors, skip this step.
Optional: Since fleece has a high loft, placing water soluble stabilizer is recommended. I’ve tried this project both ways, and I don’t see a big difference. For this tutorial, you’ll see the water soluble stabilizer in most photos.
Stitching your in the hoop coaster
Begin stitching according to your machine’s instructions.
If you are stitching both colors and want the peppermint on both sides, be sure to change the bobbin thread to match the top thread after color 1, white, is complete.
Continue stitching until the peppermint design is complete.
Stitching the border.
I like the border to match on top and bottom, so for this step I put red in the bobbin and for the top thread.
If you’re making a single-sided coaster like I did for this tutorial, now is when you add the second piece of fleece. Place it under your hoop as in the last step of “Preparing your hoop”.
On your machine, navigate to frames and select a circle frame.
Select the stitch type. I chose an over edge, blanket-type stitch.
Adjust the frame size. The frame size will determine the final size of your coaster. Make sure it is bigger than your design. Mine maxed out at 9 cm.
Stitch the border. I like a thicker look to the border, so once the border is done, I stitch it again. As long as you haven’t moved the fabric in the hoop, it will stitch directly on top of the first frame.
Finishing the coaster
Remove the project from the hoop.
Carefully remove any pins.
Trim thread tails.
Tear away the tear away stabilizer.
If you used water soluble stabilizer, cut away excess.
Cut fleece as close to the outside edge of the frame stitching as possible without cutting the stitching.
To remove remaining water soluble stabilizer, gently dab with a damp cloth or, swish it in a bowl of lukewarm water until stabilizer is gone and allow coaster to air dry flat.
Done!
I know that looks like a lot, but it’s really simple. I tried to be as detailed as possible, but if anything is confusing, please don’t hesitate to ask for clarification in the comments or through email.
If you notice, in the photo of the finished coaster, there’s a flaw in the border stitching on the left. That is where a pin caught the presser foot. Luckily that was the only damage. In the future, if I use pins, I will only pin at the very top and the very bottom. I really do prefer using washable glue sticks and keeping the glue well outside any stitching. That way my needle and machine don’t get gunked up, and I don’t risk hitting pins.
Finished Peppermint Coaster
Embroidery Files and Freebies
Embroidery design files and freebies from SubEarthan Cottage. All designs are scaled to fit 4×4 hoops common on home embroidery machines.
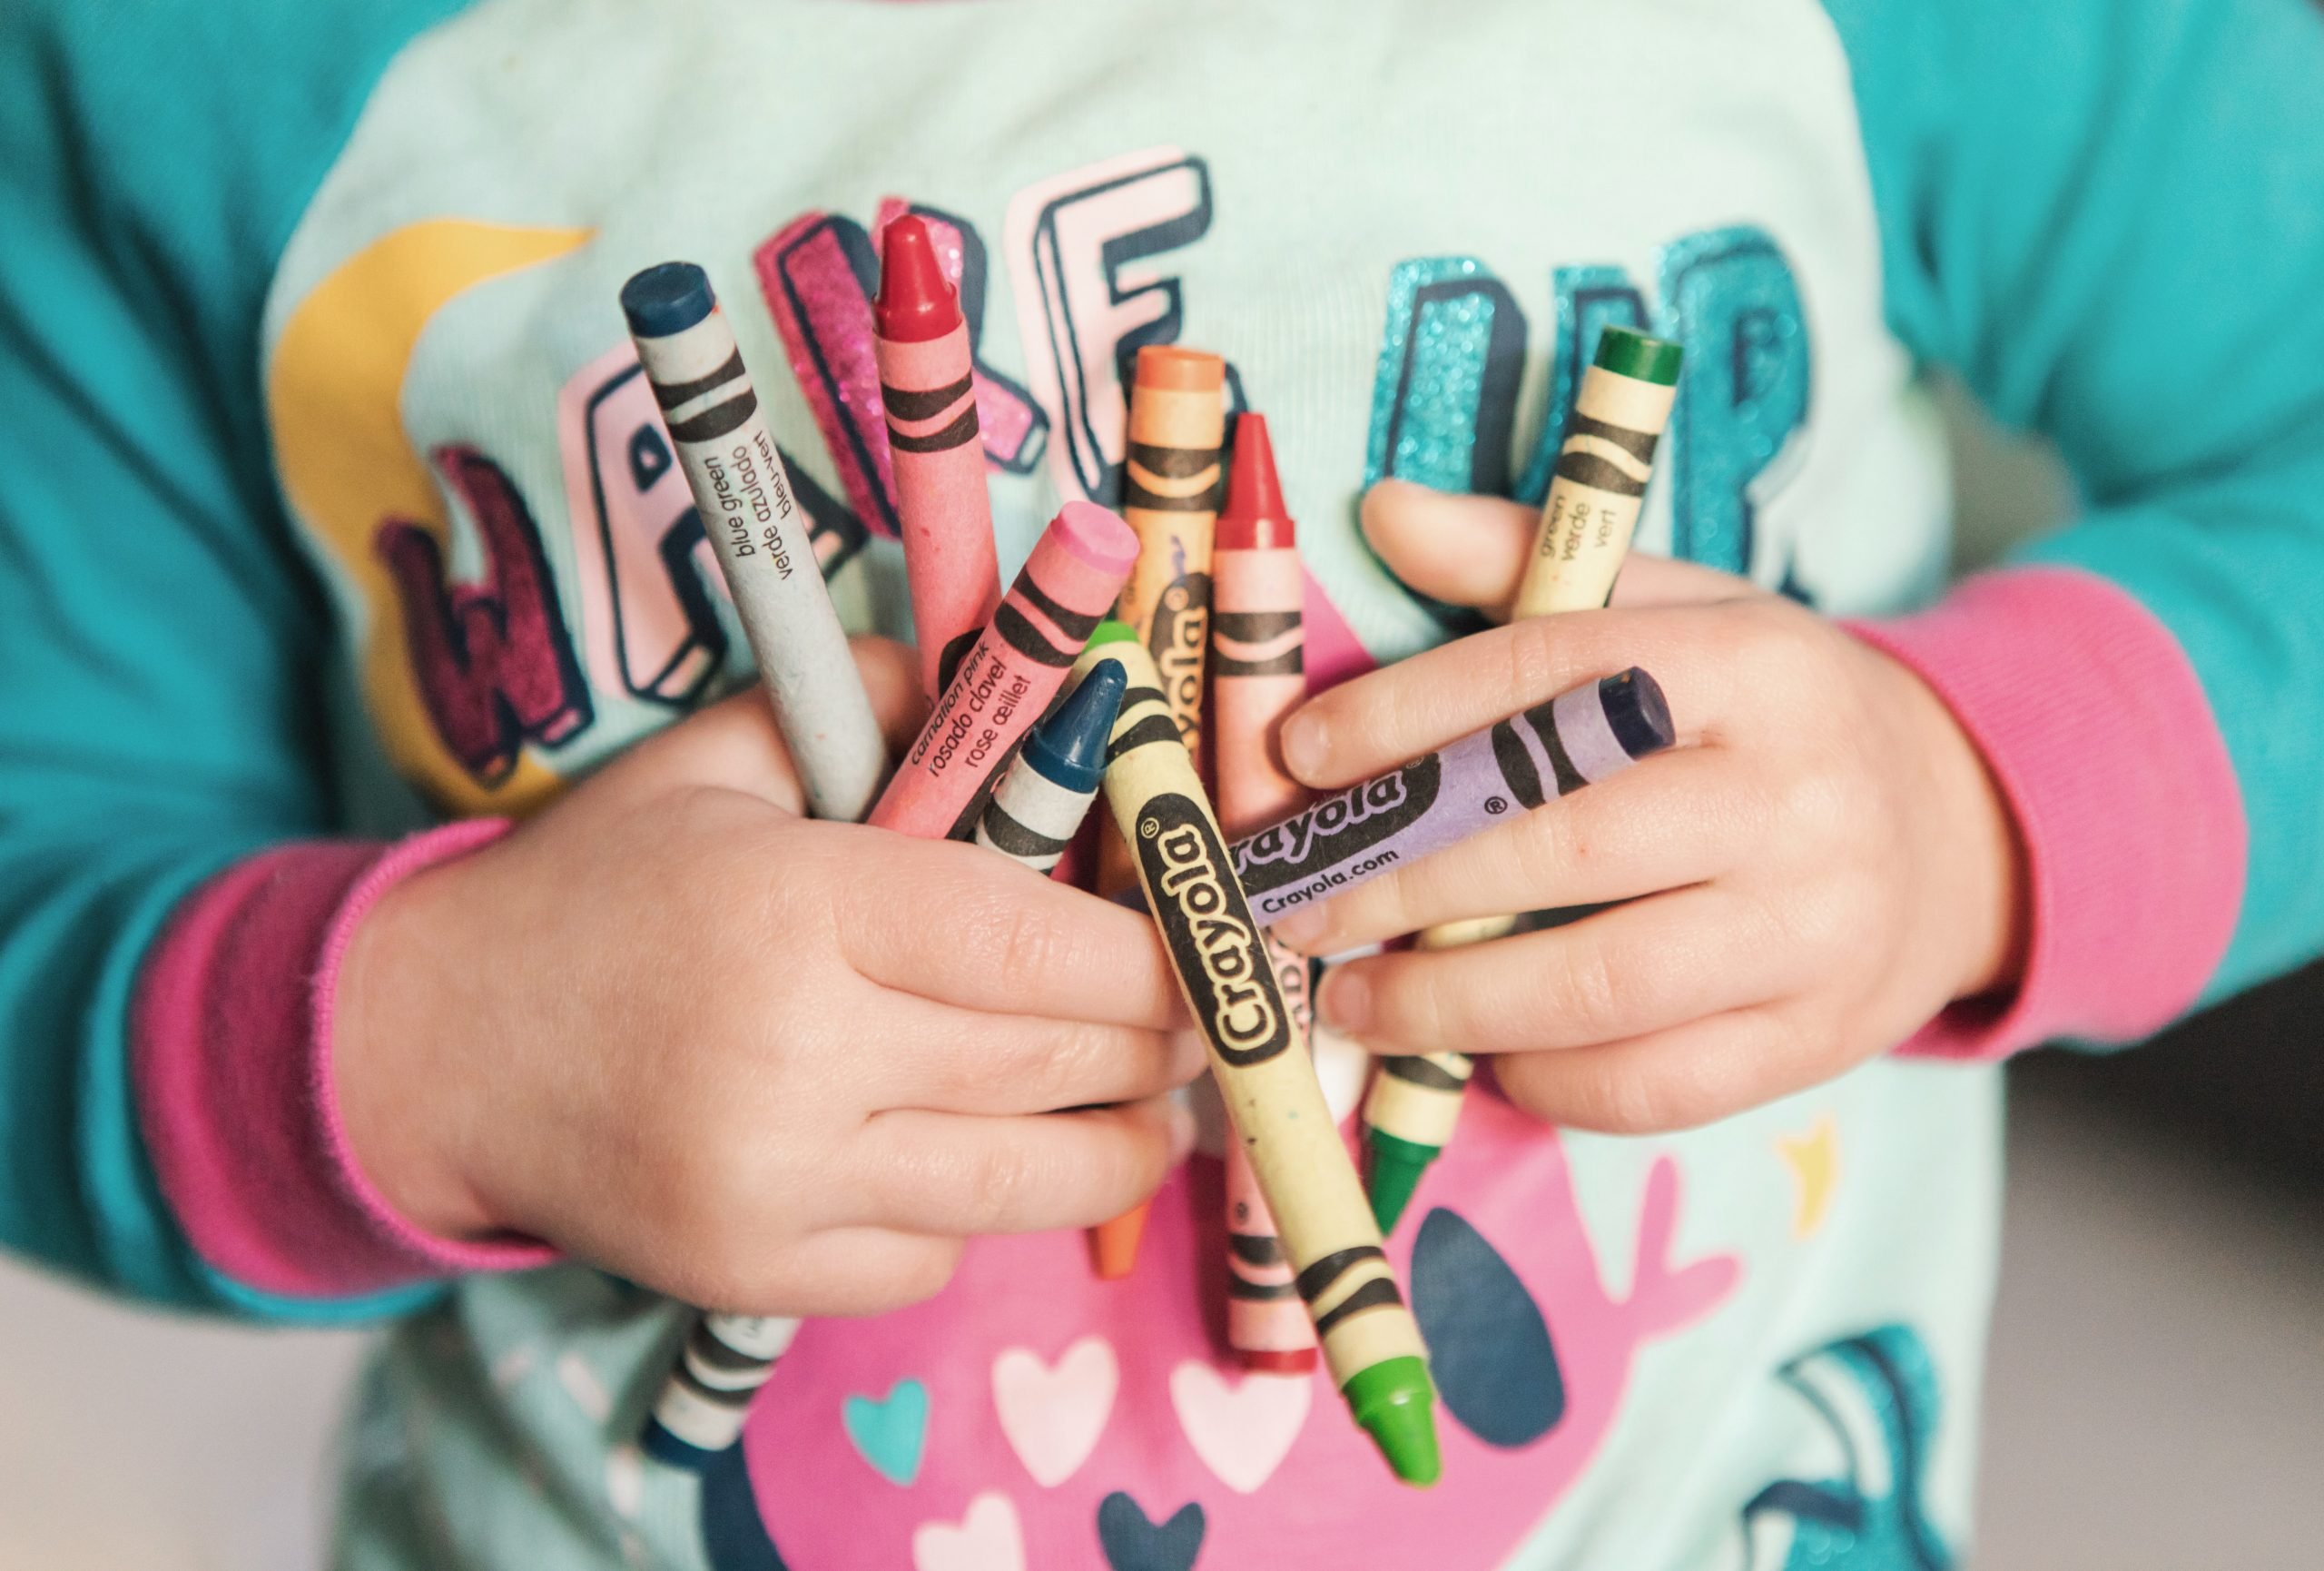
I originally shared this tutorial for rainbow cupcake crayons almost ten years ago when Finn was my little preschooler and I made rainbow cupcake crayons for him using all of our broken crayons. It’s easy, and you can get little ones to help with peeling the paper off of the broken crayons, and they get fun new crayons to play with once they have cooled.
Unfortunately my photos of our project got lost, but a quick Etsy search shows lots of examples of similar multicolored crayons in fun shapes. If you like the idea but don’t have tons of broken crayons around, consider supporting one of the shops on Etsy by purchasing from them.
Photo by Kristin Brown on Unsplash
DIY Rainbow Cupcake Crayons Tutorial
Line a muffin pan with foil or a double thickness of cupcake liners. (Note: The wax will likely melt through, so you probably want to use a pan that you reserve for non-food projects.)
Remove all the paper from your crayons.
Break into smaller pieces if needed. I just broke them as small as I could with my fingers. Most pieces were about an inch long or smaller.
Sort the pieces into the lined cups. I sorted by color, but you could also mix for super swirly crayons.
Fill the cups to the top but don’t overfill.
Melt in the oven at about 200-250 degrees F. I recommend setting a baking sheet under the muffin pan. You really don’t want to have to scrape melted crayon off your oven.
Check about every 10-15 minutes. I let them cook until there were just a few solid chunks in the middle. Then I gently swirled them with toothpicks to sink the chunks and blend the colors.
When they are sufficiently melted, turn off the oven. You can carefully remove them at this point or let them cool in the oven. I didn’t need my oven, so I let them cool in there overnight.
Once they’ve cooled completely you can remove the papers and color away.
Mask Update
I made a few of the fitted masks I mentioned in Wednesday’s post. Overall, I think they fit well, but they are a little tedious to make, particularly if you have lots of interruptions.
Awkward photo of me modeling a fitted mask.
I looked into it a little more and found that it seems more hospitals are asking for a more simplified mask, so I’m switching to ones made by this tutorial. With batch cutting and then sewing two or three assembly line style, I can make 3-4 in a hour, even with interruptions.
Shop update: Freebies and a sale
Knowing that so many are stuck at home right now needing distractions, I’ve decided to make all of my machine embroidery design files free until April 7. That’s the day my area’s shelter in place order expires. If it is extended, I’ll extend the embroidery design freebies, too. If you make something with one of my designs, I would love to see it.
My full shop is still open, and will be as long as everyone in my household is healthy. I’m using extra care with handwashing and using hand sanitizer before coming into contact with products and packaging as well.
All of my handmade soaps are currently on sale for 20% off. You can find them here.
Like this post? To make sure you never miss a future post, please sign up for my newsletter.
While I love my Brother SE400, it didn’t take long for me to get bored with the built in embroidery designs. I found many cute designs online to buy. That helped, but even that was somewhat limiting as my machine only has a 4×4 hoop capability. Besides, I’m a diy, hands-on person. Of course, that all led to learning how to digitize designs myself.
The digitizing process is fun but time consuming. When I spend that much time on something, I want to share it with others. So, I am offering my embroidery designs in my shop under Embroidery Files and Freebies. Each design is scaled to fit in a 4×4 hoop and come with the .CSD, .DST, .EXP, .HUS .JEF, .PCS, .PES .SHV, .VIP, or .XXX file types to work on most embroidery machines. New designs are listed for free for a limited time.
Peppermint Candy
Floral Sugar Skull Embroidery Design File
Single Color Sugar Skull
Candy Cane
Christmas Tree 1 Embroidery Design File
Christmas Tree 1
Wreath with Red Bow Embroidery File
Gingerbread Boy Embroidery Design
You can find all of the above designs in my shop under Embroidery Files and Freebies. I would love to see what you create with the embroidery designs. If you’d like, share them here in the comments or on our social media channels. I also appreciate any feedback, especially if you have a different machine.
Tomorrow I should have a tutorial posted for using my Peppermint Candy design to create cute, in the hoop coasters. They’re an easy beginner project and make great gifts. You could also use a similar technique to create Christmas ornaments, or swap out the design in the middle to make them less seasonal.
Sneak Peak of a Peppermint Candy Coaster in progress
If you’re not familiar with the term “in the hoop” it refers to an item that is completely or almost completely made by the embroidery machine in the hoop. I like in the hoop designs for things I’m making in sets because it’s easy to get nearly identical results.
Embroidery Files and Freebies
Embroidery design files and freebies from SubEarthan Cottage. All designs are scaled to fit 4×4 hoops common on home embroidery machines.
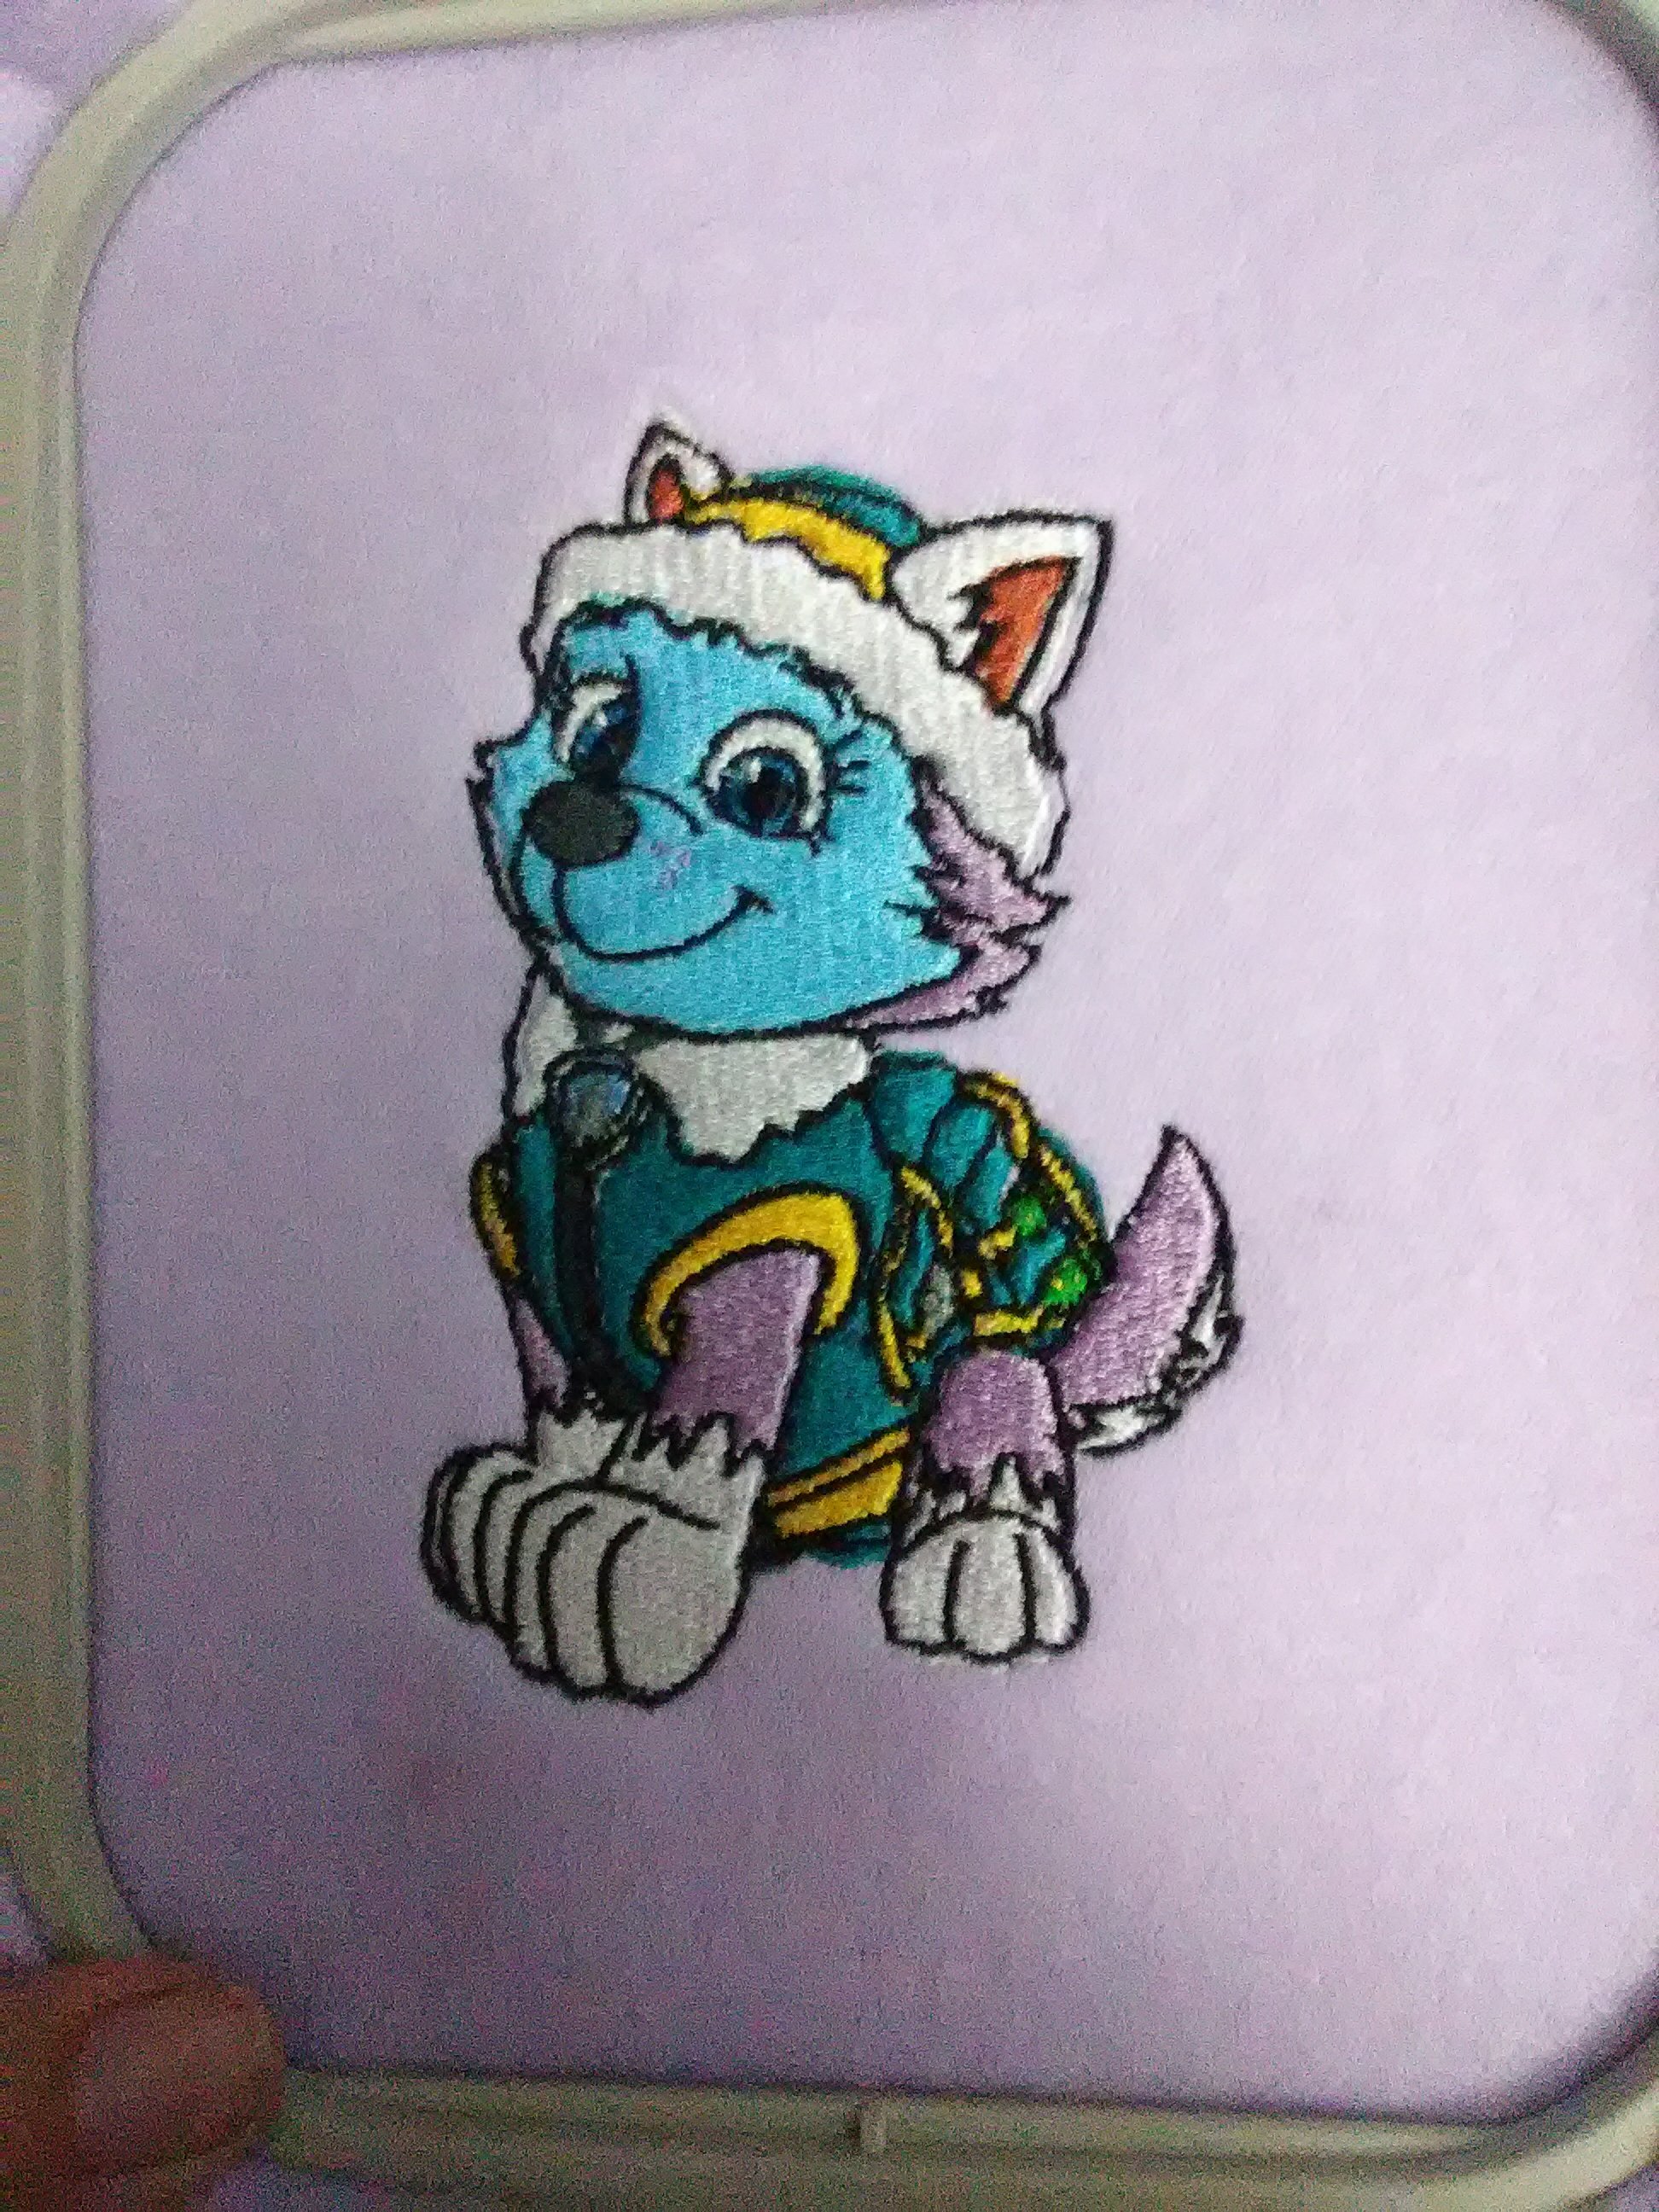
Thaddeus turns three next week! When asked what he wants for his birthday, he exclaims, “Paw Patrol stuuuuuufff!” He is also constantly asking me to sew basically the entire cast of Paw Patrol for him. I may be crafty, but that is a bit beyond my skill set. So, since I have a lovely embroidery machine that doesn’t get used nearly enough, I thought I’d purchase a Paw Patrol design set for my machine.
The set came from Etsy seller OhMyArtDesigns. It comes with all the main pups, Rider, Robo Dog, and the Paw Patrol Logo. They also come in a few different sizes and file types to accommodate different brands and machines. So far, I love the designs. The stitch density is great, and they have a lot of detail. The only problems I’ve had fall completely in the “user error” category.
Embroidery Color Charts Matter
My first mistake was using the thread colors displayed on the machine and my manual chart to choose my threads.
The thread colors and names used by different machine brands varies, so if a design is drafted using different colors than yours, the color suggestions can seem a bit off. I was in a hurry and didn’t pay attention to the color chart provided by the designer, so some of my color choices weren’t quite right.
Everest would be less blue if I had used the appropriate chart. Lesson learned. This also highlights the need to test run any new patterns before stitching them on your final product. Embroidery machine stitching is so dense that it’s almost impossible to remove without ruining the fabric.
Hoop Tightly
The other problem I encountered is also easily fixed. I just need to learn how to hoop my fabric properly. If you look closely, you can see the black outline on both Everest and Rider strays from the edge of the design on one side. I still have trouble getting the fabric and stabilizer drum-taut, so by the time the outline is stitched, the design stitches puckered the fabric in places. I have a magnetic hoop set on my wish list to see if that would help, but honestly it’s probably a case of needing more practice. Considering how many pups I have left to stitch, I may be an expert at hooping by the end of the week!
It is so fun to watch the designs being sewn. It’s like putting together a puzzle.
I, Charity Sloan, am a participant in the Amazon Services LLC Associates Program, an affiliate advertising program designed to provide a means for sites to earn advertising fees by advertising and linking to Amazon.com. Any purchases through those links will result in my receiving a small percentage in commission.
This only refers to Amazon links found in/on my blog pages. All products in my shop are 100% mine and not linked to Amazon.
Prices are the same whether you click an affiliate link or a non-affiliate link, so you will not be charged more. Thank you for your support!