I’ve been working on some summer sewing and refashions lately. Here’s a quick video showing a few of them. The first is a backless halter top made with quilting cotton and ribbon. The second refashion is a halter tube top with a matching loose kimono/beach coverup. They were made from an old maxi dress that wasn’t getting much love. The beach coverup is my favorite. I love how it turned out, especially the print.
I hope you find these inspiring for your own projects. If you like these kinds of videos, follow me on TikTok. I also post on Instagram and YouTube. I tend to prefer the length options on TikTok, so that’s where most of my complete videos are located.
Like this post? To make sure you never miss a future post, please sign up for my newsletter.
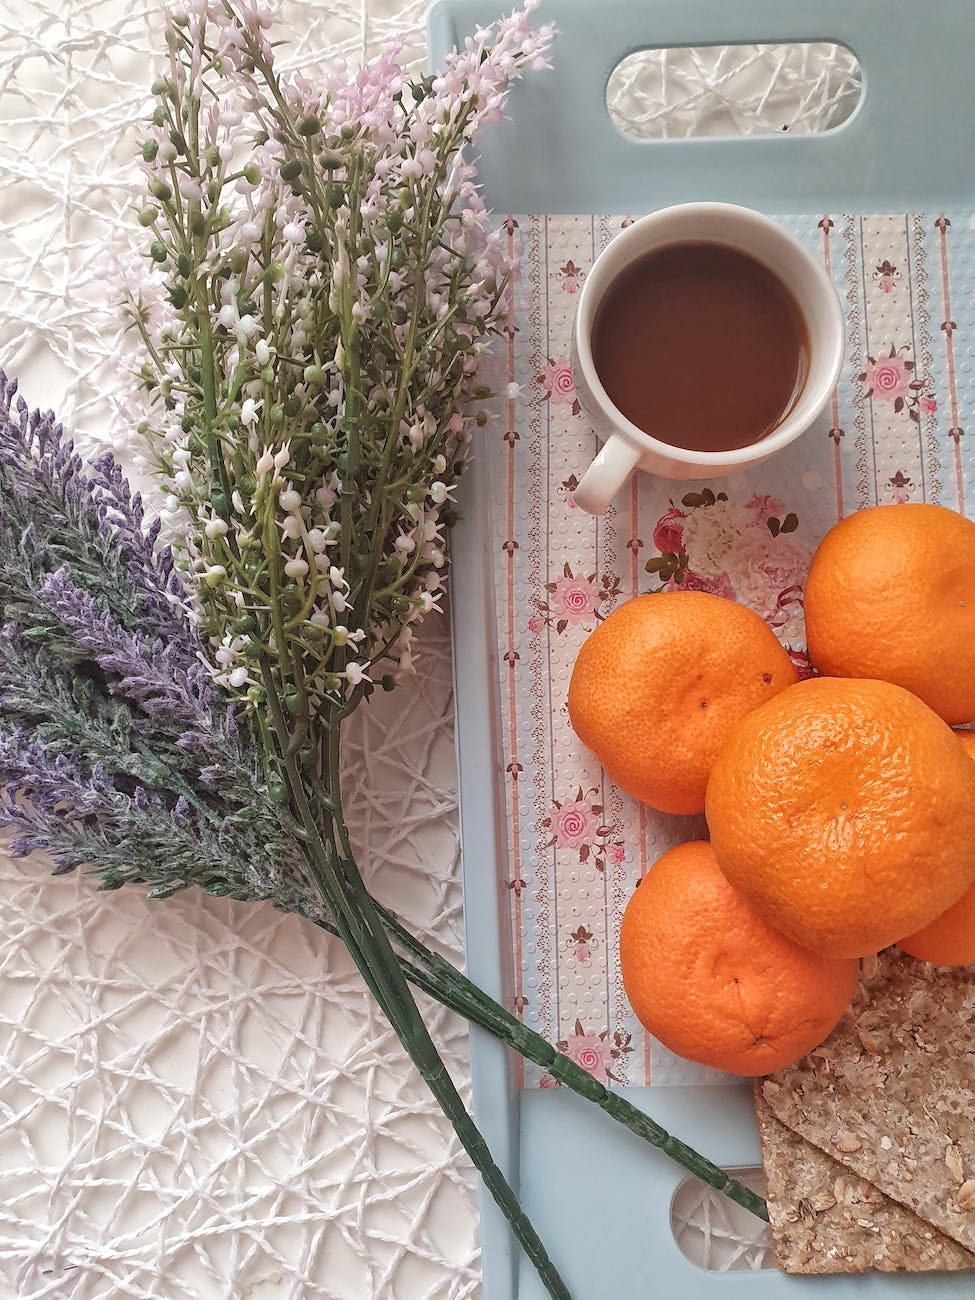
It’s my birthday on Saturday (yes, April Fool’s, I know, lol). If you use coupon code April2023 you’ll get 20% off your entire order at SubEarthan Cottage. Valid on regular and sale-priced items through April 3, 2023.
And, since birthday’s are weird without cake, here’s my favorite allergen-friendly chocolate cake recipe.
This is a simple chocolate cake recipe that is super easy. It is dairy-free, egg-free, and if you swap the wheat flour for a gluten-free flour blend, it's gluten-free, too! To make it gluten free, I like Bob's Red Mill 1 to 1 gluten free blend because it already contains xanthan gum. If you use a different gluten-free flour without xanthan gum, I would add about 1-1.5 teaspoons of xanthan gum.To top, make a simple buttercream (with shortening and non-dairy milk to keep it non-dairy) or use your favorite store bought frosting. You could also sprinkle the warm cake with dairy-free chocolate chips, let them melt a little, then spread across the top for a rich, chocolaty treat.
Prep Time10 minutesmins
Cook Time35 minutesmins
Course: Dessert
Keyword: 9 x 13, cake, chocolate, dairy free, easy, egg free, gluten free, one bowl, simple
Servings: 292×2 inch servings
Equipment
9 x 13 rectangle pan
Ingredients
3CupsFlour see recipe summary for gluten-free adjustment
1teaspoonsalt
2teaspoonsbaking soda
2cups sugar
6tablespoonscocoa powder
2tablespoonsvinegarwhite or apple cider vinegar
1cup vegetable oilany light flavored liquid vegetable oil is fine
2cups cold water
2teaspoonsvanilla
Instructions
Preheat the oven to 375 degrees Fahrenheit
Grease the 9 x 13 inch pan, either with shortening, butter, or cooking spray
Combine the first five (dry) ingredients in a large mixing bowl and mix until evenly blended. Alternatively, sift them together into the bowl.
Add the remaining (wet) ingredients and mix until thoroughly blended. You can use a spoon or an electric mixer.
Pour the batter into the greased 9 x 13 inch pan.
Bake at 375 degrees Fahrenheit for 35 minutes or until a toothpick inserted near the middle comes out clean.
Notes
I frosted this cake with buttercream tinted blue, then used gel food coloring to paint the faces. I then piped buttercream for the eyes, facial features, outlines, writing and trim. I clearly am not a trained cake decorator, so I can’t really say which tips I used or any other details.
Like this post? To make sure you never miss a future post, please sign up for my newsletter.
I generally try to avoid anything that seems gimmicky. The whole Black Friday, Shop Small Saturday, Cyber Monday all seem crafted to make people feel like they must buy all the things NOW. Being a small business owner, though, I wanted to address the “Shop Small” thing.
All those cute memes you see about small business owners doing a happy dance with every purchase, the care that goes into creating and packaging a product just for you, and the direct impact your purchase has on an individual or family? They’re all true, for me at least, and for the other small business owners I know. I celebrate each and every sale. I make sure to package every order with care and a handwritten thank-you. Every sale goes towards helping my family directly.
That’s not to say that big business are bad or don’t help their employees or don’t appreciate our business. Not at all. I’d be lying if I said the big blue Amazon truck never stopped at my house or I never shop at Walmart. They absolutely have their place, too. But, if today or any other day throughout the year you are able to make a purchase from a small business, know that we thank you for your support and are celebrating. Probably with a happy dance, although I refuse to post video evidence.
If you’re not in a position to make a purchase from a small business or what they offer just doesn’t fit your needs, there are other ways to offer support. Sharing their information with others that might like what they have to offer is one way. Letting them know what you like about their products is another.
Spread the Love
If you are a small business owner or know of an awesome one, please leave a comment with the shop’s info so that I and my readers can check them out, whether it’s Shop Small Saturday or some random Tuesday. Artists and authors are welcome, too. I would love to have a list of small business to refer to and to share with my friends and family.
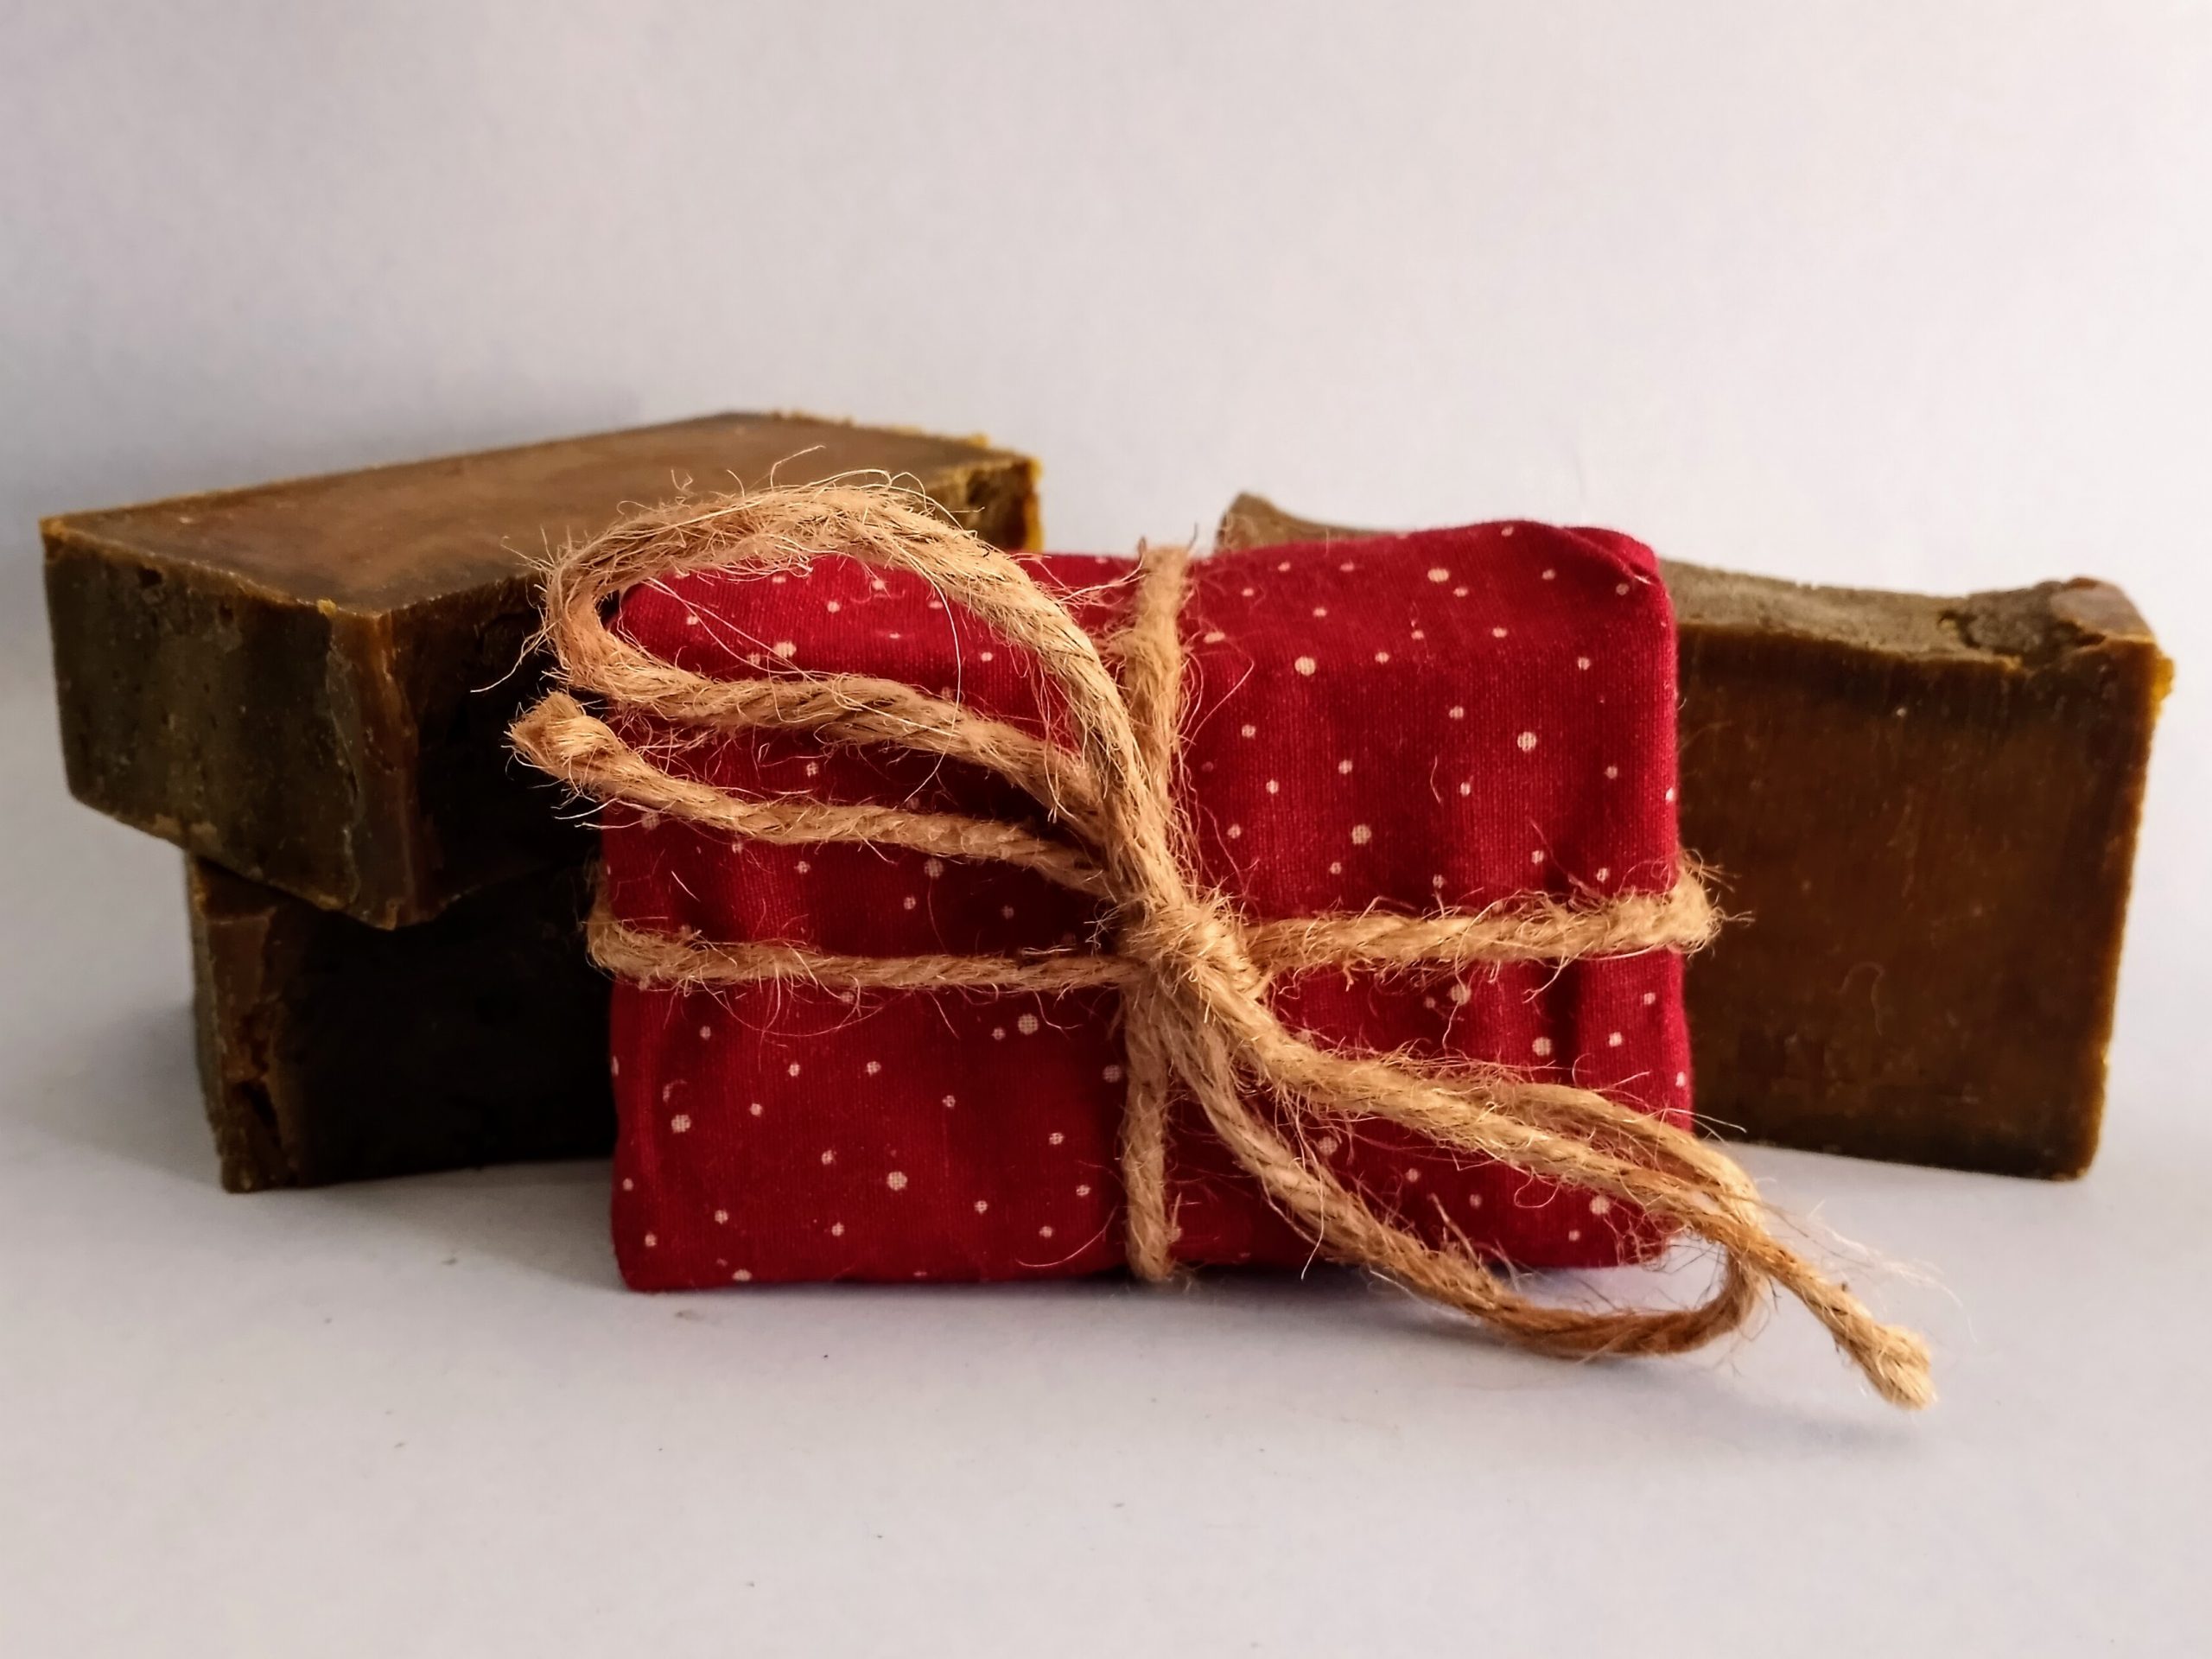
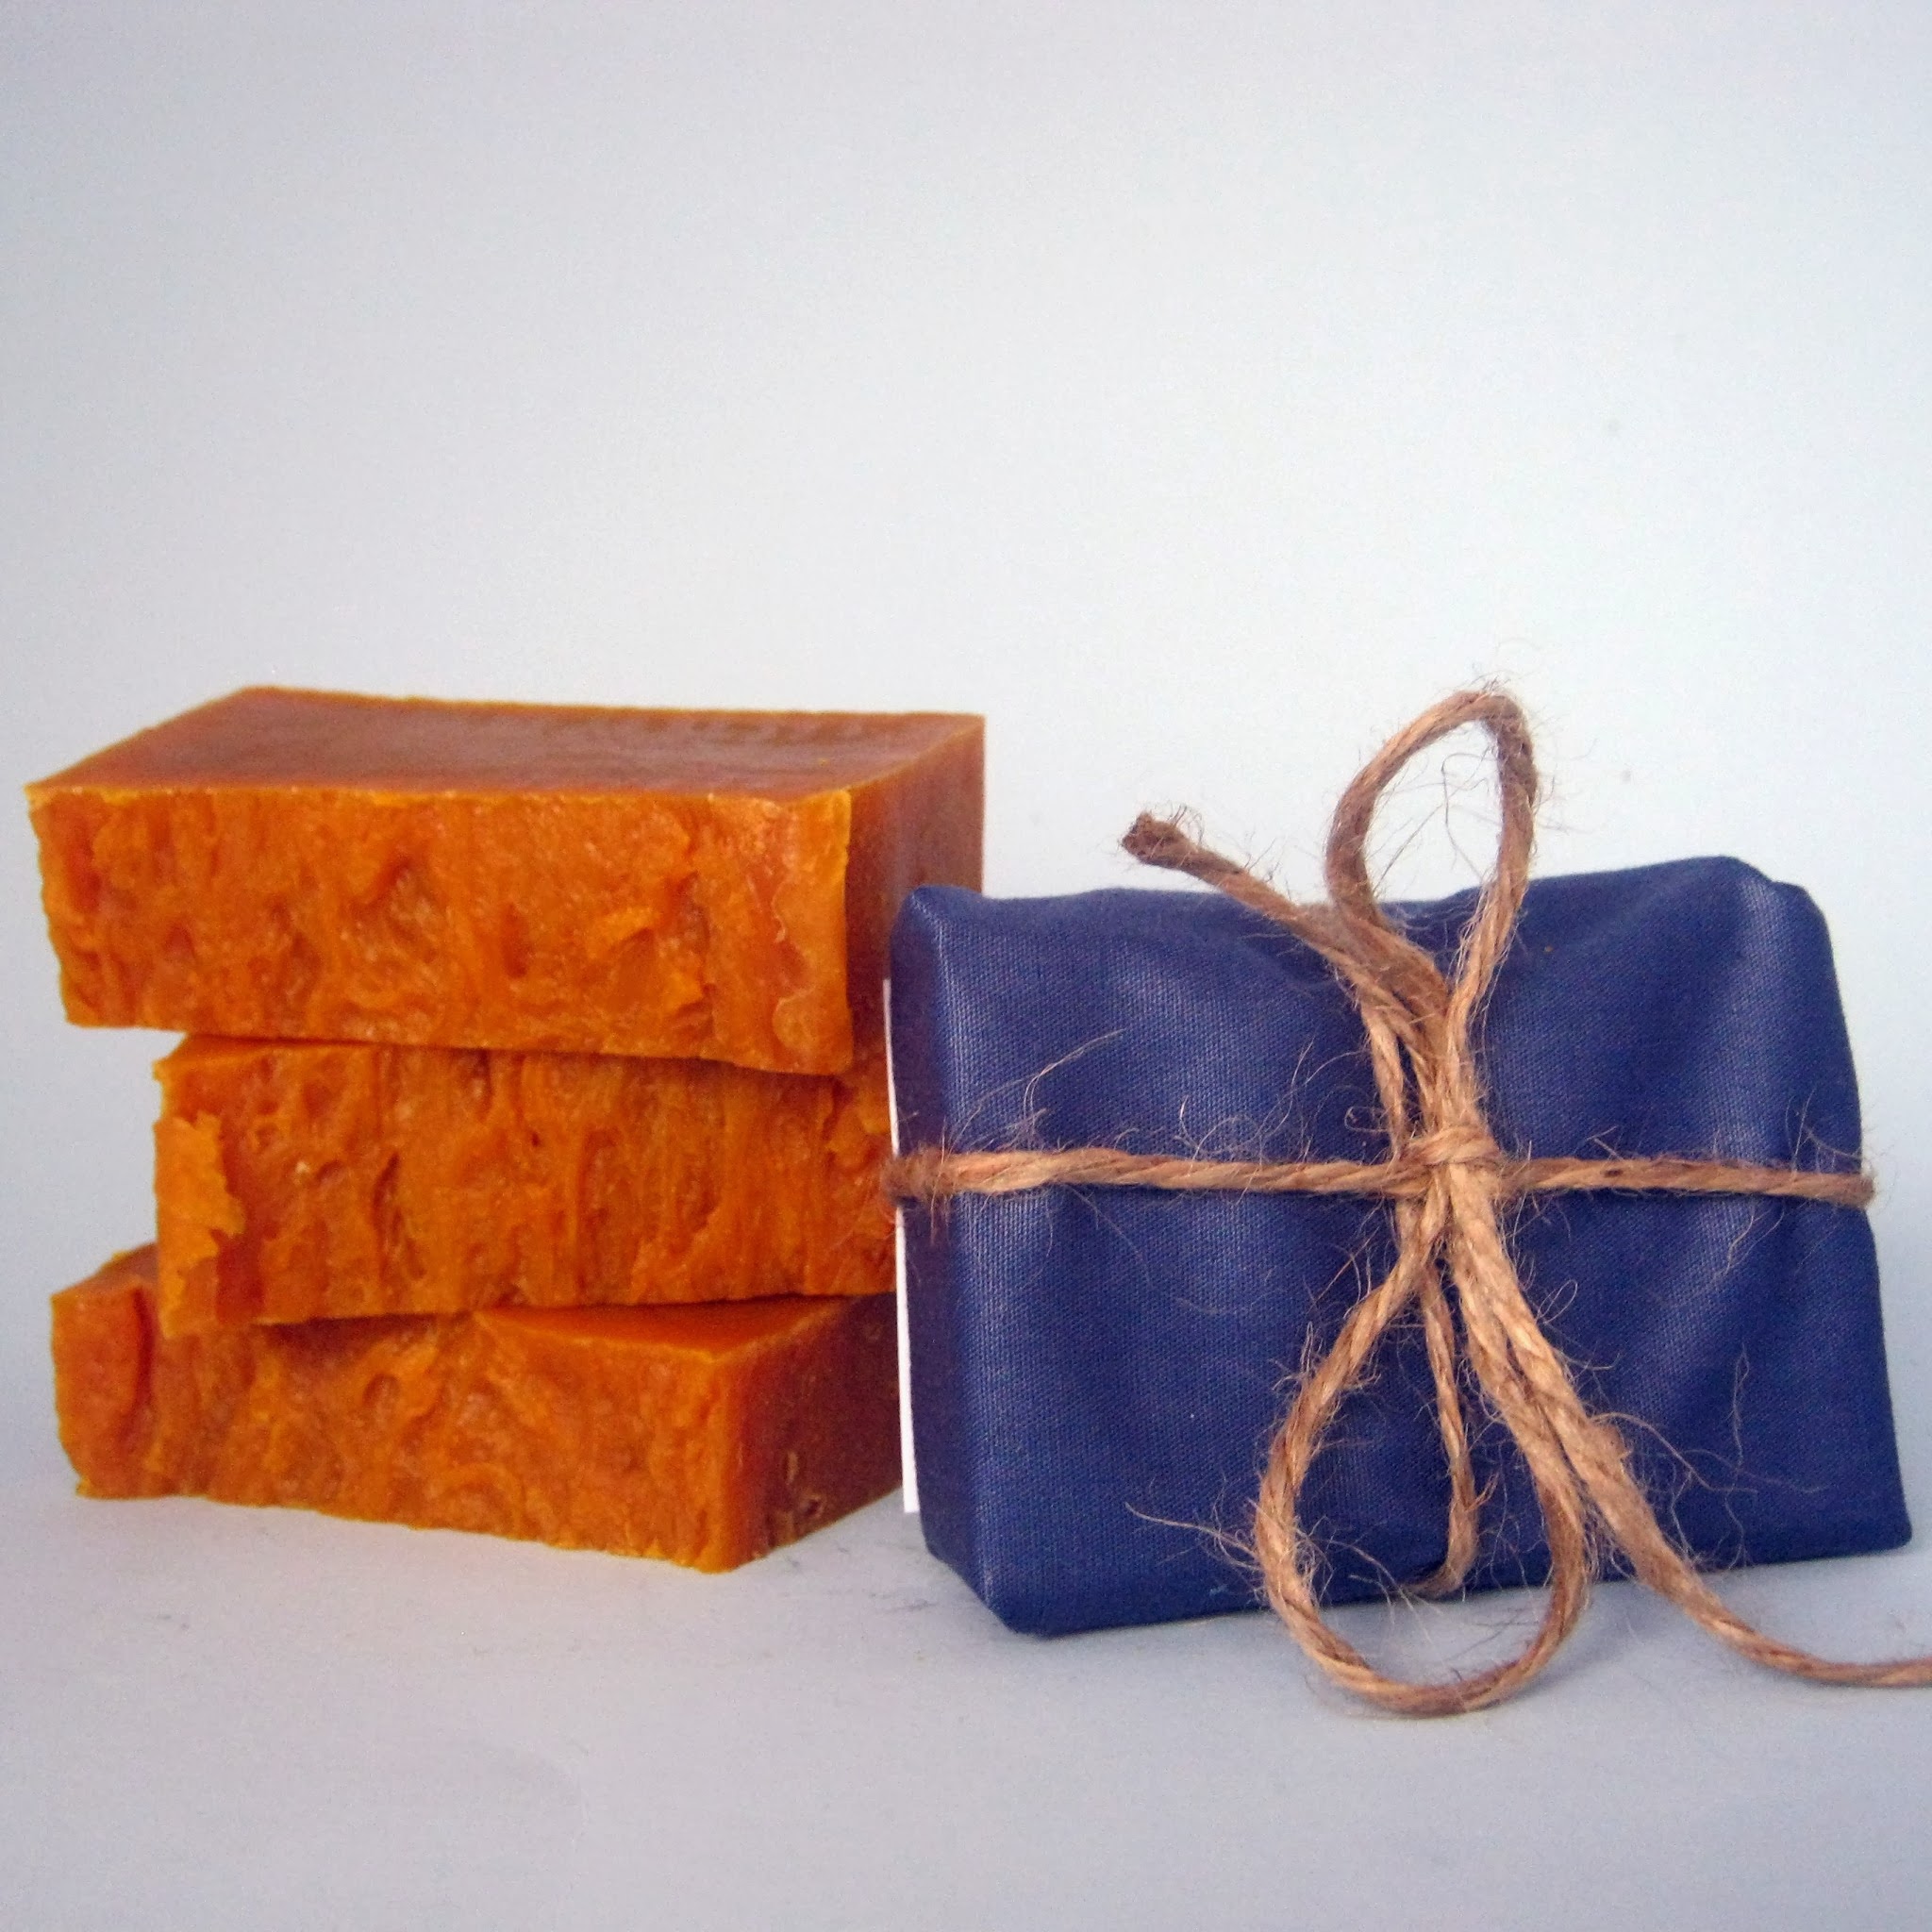
Just wanted to give you a quick update. The Hot Chocolate Soap I mentioned in my last post is now available in my shop. It’s a limited edition, seasonal soap, so get it while you can. 🙂
Hot Chocolate Soap
Also, if you want this Halloween Sugar Skull Bunting, it will only be available until the end of the weekend. If it doesn’t sell, I’m claiming it for my own décor.
The Hot Chocolate has a rich, chocolaty scent with just a bit of espresso to cut the sweetness. It’s still curing, so look for it to be listed on Tuesday, September 27, 2022. I may list it this weekend and allow pre-orders. If you want to be notified when it’s available, join the mailing list or contact me at csloan@subearthancottage.com.
Both new soaps are seasonal, small batch limited editions, so get them while you can.
I, Charity Sloan, am a participant in the Amazon Services LLC Associates Program, an affiliate advertising program designed to provide a means for sites to earn advertising fees by advertising and linking to Amazon.com. Any purchases through those links will result in my receiving a small percentage in commission.
This only refers to Amazon links found in/on my blog pages. All products in my shop are 100% mine and not linked to Amazon.
Prices are the same whether you click an affiliate link or a non-affiliate link, so you will not be charged more. Thank you for your support!