Posted on 1 Comment

How to Prewash Your Fabric for Beautiful Sewing

pile of cloth

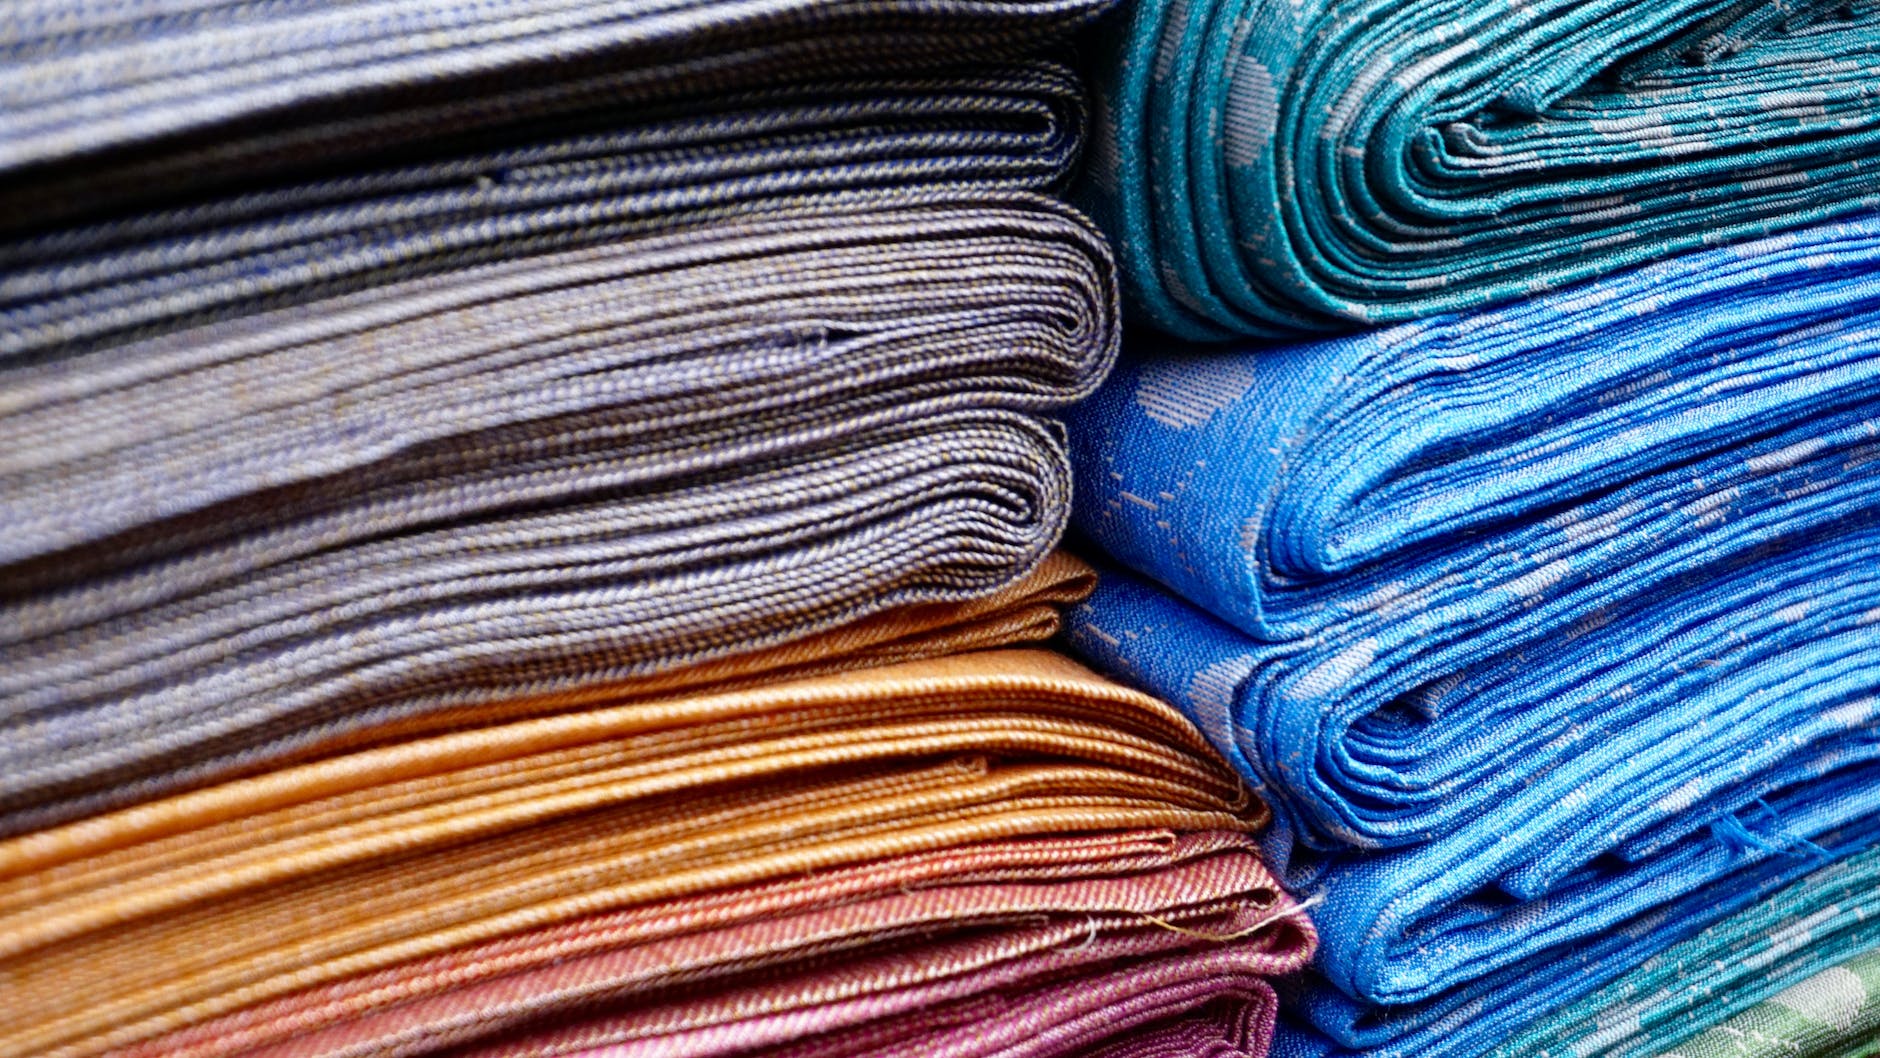
In order to have high quality finished products, it’s best to prewash your fabric. Without this step, your finished product can shrink and look uneven or lumpy when it is eventually washed. It’s not a good idea to just toss your fabric into the wash, though, as it comes out a stringy, tangled mess. Luckily, there’s a few different ways to make prewashing your fabric painless.

Overlock the cut edges

If you have a serger or overlock machine, serge the cut edges before washing. You shouldn’t have to worry about the selvedges as they won’t unravel. This is my favorite method. I usually just leave the thread tails long and they don’t unravel enough to be annoying.

close up photo of sewing machine
Photo by cottonbro studio on Pexels.com

Use your Sewing Machine

With a sewing machine, you can sew a quick zig-zag or similar stitch along the cut edges to prevent fraying. Even a straight stitch would probably work, although I haven’t tried it. You will probably need to back-tack or knot the ends to keep it secure through the wash.

Pink the edges for a painless prewash

If you have pinking shears, cut the fabric with the pinking shears along the cut edges. The edges will still get fuzzy, but shouldn’t unravel.

pile of cloth for prewash
Photo by Digital Buggu on Pexels.com

One bonus of using one of these methods is it’s easy to know at a glance which fabric from my stash was prewashed.

I know probably 90% of the people reading this are thinking “Duh!” because it’s such an obvious fix. The other 10% are wondering why they didn’t think of that, much like myself when I first learned the trick.

To make sure you never miss a post, please sign up for my newsletter.

Posted on Leave a comment

Never Ending Upcycled Chaos Candle Making

I love candles and wax melts, but I hate it when there’s a little left in the bottom of a jar or the wax has lost it’s scent. I don’t want to just throw the wax away. If it’s a jar candle, I won’t throw it a way, so it ends up taking up space waiting for me to find a new use for it. 

I’ve always been interested in candle making, but I honestly don’t know much about the correct way to do it. This is just my, for me, kind of chaotic, fun way of using up the leftover wax scraps and jars. If you try to join in my chaos, always take care with the melting, pouring and burning, make sure everything you use is safe for this usage and never leave anything burning or melting unattended.

My solution is to melt down the wax and make my own candles in the old jars. I bought this wick set for the wicks. I start by picking the jar I want to use and then putting in the same number of wicks that were originally in the jar.

Chaos layered perpetual never-ending upcycled candles candle making
My candles still need a haircut. 😀

For the candles in the above photo, the one on the left was originally a three wick candle, so it got three wicks. The one on the right was a yogurt jar, so I just guessed and went with one wick.

After the wicks are in place, I melt down any scrap wax I have and pour it in. Usually, I do this a little at a time as I finish other candles, rather than all at once. That gives it the cool sand art layered look.

With jar candles, to get the last bit of wax out, if I don’t pour it while it’s still melted from the last time I burned the candle, I set the jar on my coffee warmer (do not leave it unattended!). Wax melts just get melted as usual and poured into the jar.

Coffee warmer
Coffee warmer- Not just for coffee.

I do try to keep the candles mostly the same type of wax. In the photo, the big candle on the left is made from candle wax ends. The yogurt jar candle is made of soy wax melts with a little of the tea light wax remnants added.

Tea light candle wax warmer
My one tea light warmer.

For scent, most of the candles I burn are in the same spicy or vanilla scent family. Since the leftover candle wax usually has a good bit of scent left, I don’t worry about adding my own. With the wax melts, I either just leave them as they are and have a mild to unscented candle, or I add a drop or two of an essential or fragrance oil to each layer as I pour it.

I don’t know if my chaos candle making method will help anyone else, but I have fun with it, and the resulting candles are pretty. It’s also a way to reduce waste and save money.

This post does contain an Amazon affiliate link. If you click on the link and make a purchase, I will receive a small commission at no additional cost to you.

To make sure you never miss a post, please sign up for my newsletter.

Posted on 1 Comment

Simple Way to Patch the Back Pocket of Denim Jeans

The back pockets of denim jeans are prone to wearing out at the top corners with use. If that’s where you carry your phone or wallet, you’ll almost certainly develop holes at those stress points long before the rest of the jeans are worn out. Luckily, repairing a back pocket is a pretty simple fix.

Pocket with hole

These are my husband’s work jeans. You can see the inside corner of the right pocket has a small hole and another one is forming on the inside corner of the left pocket. These are the steps I used to repair and reinforce the pockets.

Choosing your patch material

The first thing you’ll want to do is add material to patch the hole. The material should extend past the edges of the hole, overlapping onto the good fabric by about a centimeter or so. I like to use the iron-on denim patches, but fusible webbing or strong interfacing works, too. This product is similar to the one I used. You can also just use a scrap of fabric a bit larger than the hole, but I prefer the added strength of an iron-on product. An iron-on product is also easier in that it won’t shift while you sew it in.

Iron-on patch
denim iron-on patch for pocket repair
Wrong side of iron-on patch

Securing the patch to the pocket

If you’re using an iron-on product, iron it on to cover the hole from the inside according to the manufacturer’s instructions. For sewn-in patches, baste in patch to keep it from shifting.

Ironed on patches
Patches ironed in place on the inside of the jeans.

Reinforce the patch

Regardless of whether you chose an iron-on or sew-in patch, you need to reinforce the patch by sewing a strong row of stitches around the edges. For a less visible patch, I like to sew a square of stitching around the hole, making sure to include the corner of the pocket in the square. I sew over the square a few times to reinforce. Choosing a thread that matches the denim or is slightly darker makes the patch less noticeable.

Reinforcement stitching from the inside.

For the actual hole, I like to sew back and forth over the hole in a matching thread. This secures the area to the patch, hides the frayed edges and prevents further ripping.

For a more visible patch, you can get creative with the patch material and choose a contrasting thread. You can also crazy stitch over the area, similar to what I did here.

Preventing the problem

Whenever I patch one pocket rip, I take the time to reinforce all the corners with iron-on patches and a square of reinforced stitching. It doesn’t take much extra time, and keeps the rest of the corners from needing repair in the near future. You could even do this to new jeans as a preventative measure if you have this problem frequently.

Final result

Here’s the finished patches. I’m pretty satisfied with the results. The work isn’t that noticeable and matches the variations in blue on the rest of the jeans. It’s definitely better than holes that will continue to rip in a revealing location.

Like this post? To make sure you never miss a future post, please sign up for my newsletter.

Shop sales!

For the entire month of September, all of my handmade soaps are 20% off. Shop handmade soaps here.

My machine embroidery files are also on sale all month for just $1 each! Be sure to check out my latest Halloween designs. Shop embroidery designs here.

Posted on 2 Comments

Eat More Greens the Cheap and Easy Way

My local Kroger frequently has bags of kale, spinach and other greens on sale because it’s nearing its “best by” date. I love picking up a few whenever I see them. If I don’t plan to use them right away, I either toss the whole bag into the freezer (this works best with sturdy greens like kale or collard greens) or I dehydrate them for future use. 

To dehydrate the greens without a dehydrator, I set my oven to it’s lowest setting (150-200 degrees Fahrenheit) , spread the greens on a baking sheet, and bake until they are dry. I check them about every 10-15 minutes to prevent them from burning.

Once they are done, I crumble them to the consistency of a dried herb and store in a canning jar. The dried greens are great to add to sauces, soups, stews or smoothies. Add a little if you need to hide the taste or a lot to really boost the nutrients.

It’s quick, easy and doesn’t result in a gross bag of kale forgotten in the back of the fridge. Plus, it may help picky eaters get a little more nutrition.

Like this post? Sign up for our newsletter to get post notifications and updates.

Posted on Leave a comment

Scrapbusting Project for Creative Block

https://youtube.com/shorts/-a4LSQ-R4sQ?feature=share

Sometimes when I’m stuck and don’t know what to make, I dig through my scraps and just start piecing them together.

Sometimes I use them for mug rugs or accents in other pieces. They would make a cool patch or add on pocket.

It usually helps get through the creative block, and it makes use of small scraps that might otherwise get thrown away.

Like this post? Sign up for our newsletter to get post notifications and updates.

Posted on Leave a comment

Genius printer hack you won’t believe

Have you ever had to print a paper or mailing label NOW and realized your black ink cartridge is out of ink? As much as I try to keep an extra on hand, sometimes I run out without a backup. Something I’ve found that works in a pinch is to simply remove the black ink cartridge. This forces the printer to use the color cartridge to print the document instead.

With and without the empty black ink cartridge removed.

The label on the right was my first attempt at printing a mailing label before realizing that I was overdue for a new black cartridge. The label on the right was printed with the black cartridge removed.

My printer will usually print one or two jobs this way without complaining, then I may have to put the old cartridge back in for a bit then remove it again if I need to print something else. Usually by that time I have been able to get a replacement cartridge.

It’s always better to be prepared, but in a pinch this trick works like magic. It has certainly saved me a rushed trip to buy ink on more than one occasion.


Posted on 3 Comments

Quick Drawstring Bag Tutorial or How to Reuse Your SubEarthan Cottage Soap Wrapping

I wrap my soaps in fabric because it looks nice, it allows the soap to breathe (read here for why), and because it feels better than plastic. I often wonder what happens to the wrapping. I’m sure there are some that toss it. I know of one person who collects the fabric for quilts. For those of you who, like me, don’t want to throw away something that could be useful but don’t know what to do with it, I have a tutorial for a drawstring pouch, just for you.

This is done with the wrapping from one of my soaps, but you could make it in any size you like.

Materials
Cloth wrapper from soap (roughly 8×11 inches)
Jute string from soap (about 29 inches)
Thread

Tools
Needle or Sewing machine
Safety pin or Bodkin
Scissors
Iron

First, iron your fabric flat. Then, fold down a long edge about 3/4 of an inch to one inch and press. This is for the casing. It doesn’t have to be super precise.

Sew a straight seam along the bottom of the flap to form the casing. All the sewing can be done by hand or machine. I have no time or patience, so I choose machine. Fold your material in half with right sides together like a book.

The fold is at the bottom of this photo.

Next, starting just below the casing seam, sew down the side and across the bottom. I use anywhere from a 1/4 to 1/2 inch seam allowance for this. Again, it doesn’t have to be precise.

With scissors, clip the bottom corners, being careful not to cut your stitching. You could probably skip this step, but it helps the corners look square and crisp. Turn your bag right side out.

Now it’s time to thread the string. Tie one end of the string to a safety pin, large paper clip, or attach a small bodkin. This makes it easier to work it through the casing. Thread it through the casing, safety pin first.

Once you get the string to the other side, remove your safety pin or other tool and adjust the string so that the ends are even.

Knot the ends together once or twice to keep it from coming out.

Ta-da! It’s done! Perfect for organizing your purse, storing jewelry or other small items, or as a small gift bag.

Or holding your favorite bar of soap.

Tutorials are always a little complicated to write because it’s easy to overlook small steps in things you do frequently. If something is unclear, please ask. 🙂

If you have any other creative uses for a SubEarthan Cottage soap wrapper, I would love to hear it!