In last week’s tutorial, the bottom hem was double stitched but otherwise left raw. Since knits don’t unravel, it is fine to leave it that way. I prefer to finish the raw edge, either with a serger or by enclosing the cut edge.
The top seam is finished by serging the raw edge. If you don’t have a serger/overlock machine, you can use a zig-zag or overcast stitch on a regular sewing machine.
The bottom seam is enclosed. Do do this, when following the first tutorial (found here) do NOT turn the shirt inside out when sewing the first bottom seam. Instead, sew it with the shirt right side out. Once it is sewn, trim any excess material from below the stitch line, leaving about 1/8-1/4 of an inch.
Now, turn the shirt inside out and smooth the bottom seam flat, like in this photo:
Pretend the bag is inside out this time.
Once it is all smooth (ironing helps) sew a seam at least 1/2 inch to 5/8 inch from the bottom. This stitch line encloses the raw edge. Since it is the bottom seam that will get the most stress, I still stitch it twice. Turn it right side out, and you’re done, unless you’d like to add a little shape to your bag.
Boxing the bottom
Boxing the bottom of the bag basically squares off the bottom, similar to a paper bag. I rarely do this with t shirt bags. They are too floppy for it to make much difference without adding a ton of interfacing for support. I also like these bags because they are easy to fold and stash in the car or my purse. Boxing the bottom complicates that a little. Even so, sometimes a boxed bottom can help things like cereal boxes or egg cartons fit neatly, so having one or two is nice.
Step 1
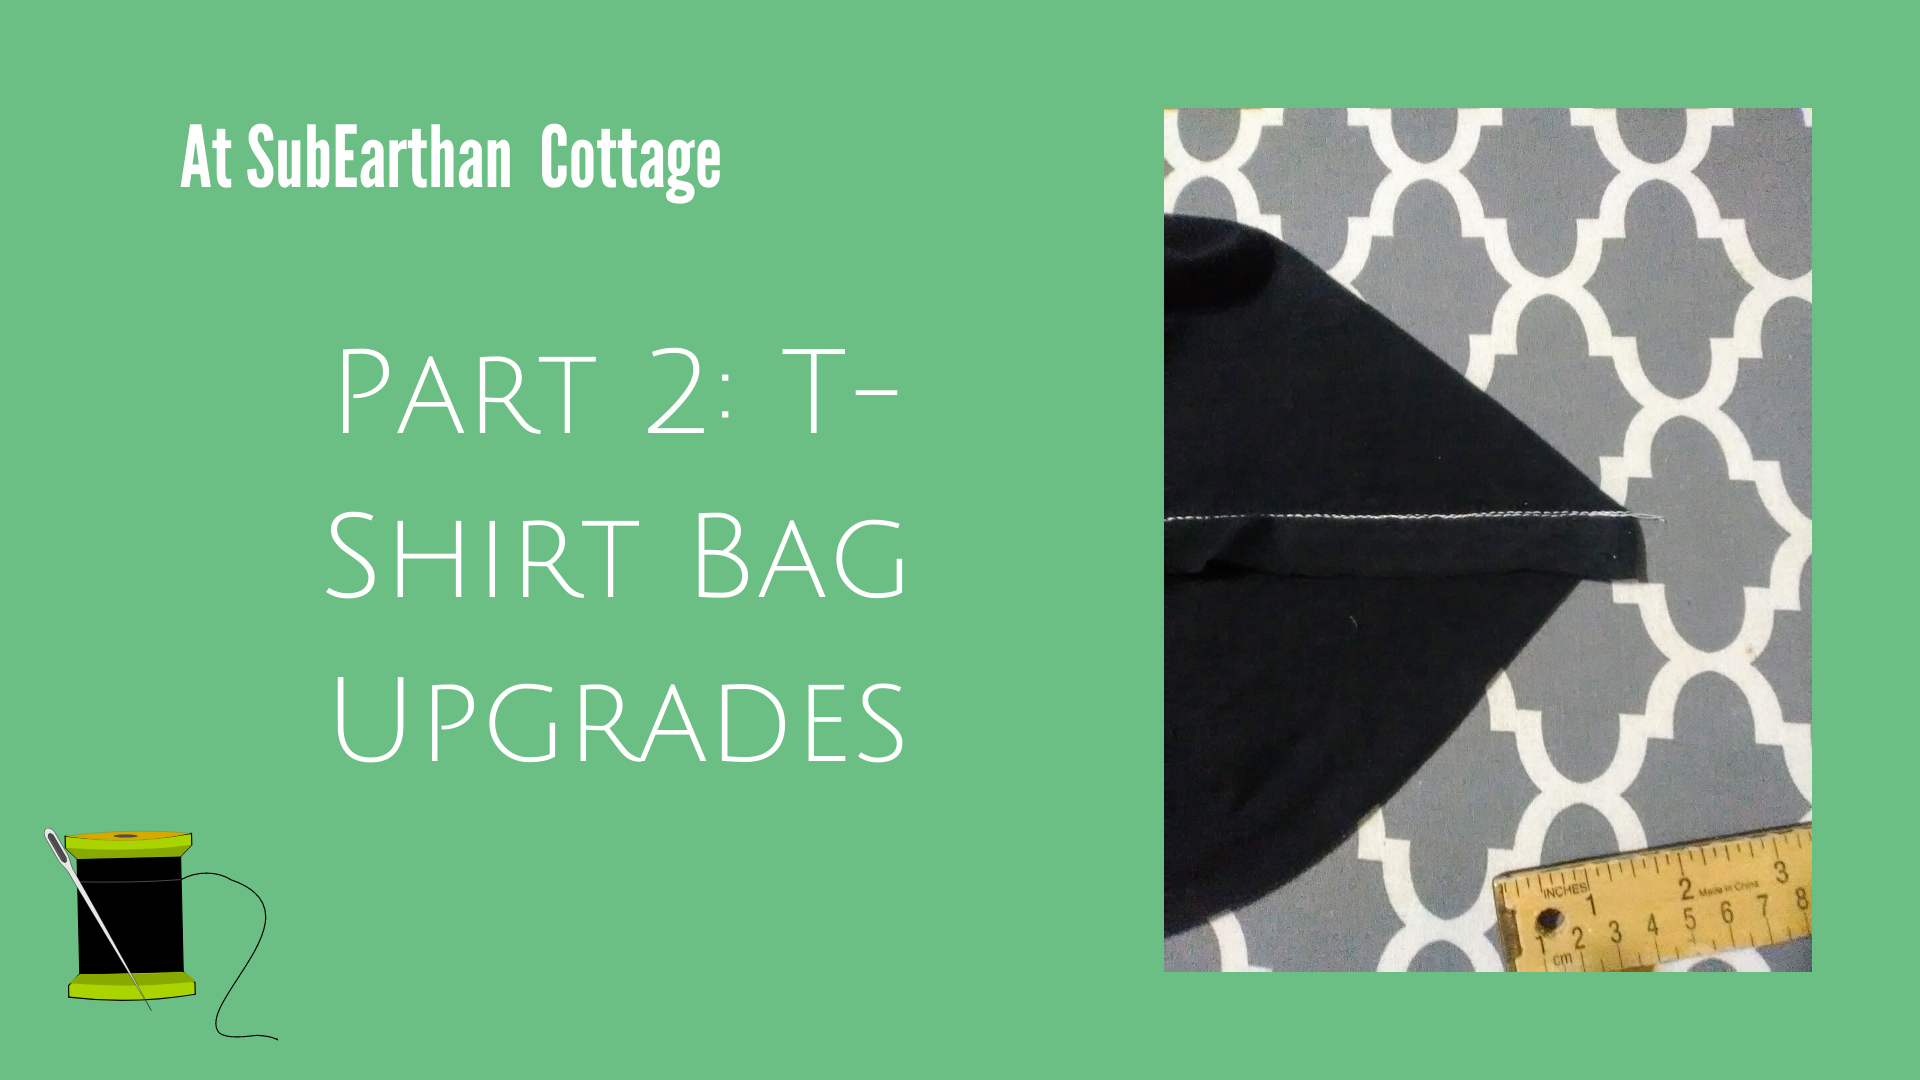
With your bag inside out, flatten the bottom seam so that it forms a triangle. That is a horrible description, so hopefully you can see what I mean from this photo:
The white stitching is the bottom hem of the bag. It should be in the middle, cutting the triangle in half.
Step 2
Measure about 3 inches down from the point of the triangle and draw a straight line perpendicular to the hem stitching.
Step 3
Sew along the line you drew twice to make it a strong seam. This photo shows my stitching in red and my chalk line.
Repeat steps 1-3 on the other side.
Step 4
To finish, you could cut the excess part of the triangles and leave them raw or overcast/zig-zag stitch the cut edges. If you want to add strength and more structure to the bag, leave the triangles intact. Fold them down flat into the bottom of the bag and either tack in place with a few stitches at the point or sew along the loose sides of the triangles.
Inside of the bag with one triangle sewn down. View from the outside of the bottom of the bag.
One of my lovely nieces is learning to sew with a sewing machine. To help, I thought I would do a series of beginning sewing project tutorials. Today’s tutorial turns an old t-shirt into a market bag. I’m keeping it simple today, but in the future I’ll do a post on how to make it with and enclosed bottom seam and how to box the bottom. It’s a great way to turn t-shirts that you no longer wear into something useful. If you don’t have a sewing machine, you could even sew it by hand.
Materials:
T-shirt
T-shirts with a high cotton content and no side seams work the best.
Thread in your choice of color.
Fabric scissors
Sewing machine set up with appropriate needle and bobbin threaded in your color choice.
Note: Ball point needles are generally the best for sewing with knits. This project does fine with an all-purpose needle, though, so use what you have.
Preparing the shirt:
Lay the shirt out flat and smooth out any wrinkles. Since this one is just to add to my Aldi bag stash, I didn’t worry too much about wrinkles.
T-shirt. I’m not sure where I got this one. Also, forgive the grainy photos. Lighting in my craft room wasn’t great that day.
Cut off the arms including the armhole seams.
Cut off the neck about 2-3 inches below the neckband. My shirt is pretty big, so I went three inches below the neckband. With smaller shirts you can do less.
I like to fold it in half before cutting to keep everything even. If your scissors aren’t sharp enough to go through all the layers, cut one side and then fold it in half to use as a template for the other side.
Cut straight across the bottom of the shirt to remove the hem. The hemline is often uneven on t-shirts, so focus on keeping the shoulder seams lined up, the shirt smooth and cutting a straight line that removes all of the hem.
Bottom hem removed.
At this point, you should basically have turned the t-shirt into a tank top. Now, decide if you want your bag to look like plastic grocery sacks that have the handles at the top sides (so, your tank top with the bottom sewn closed), or if you want the handles at the top middle, like a purse or market tote.
Looks like a tank top. For a grocery style bag, turn it inside out and lay it back
flat in this position.
For the grocery sack-style, turn your shirt inside out and lay it flat, just like a tank top again. For the purse/market tote, turn it inside out and match the shoulder seams and armholes together, then lay it flat. I’m making a market style tote, so you can see it in the photos.
For a purse/market tote turn it inside out and lay it flat with the shoulder seams at the top, as shown here. I find this style easier to carry on my shoulder.
Once everything is lined up, pin along the bottom to hold it in place.
Pinned hem.
Sewing the bag:
Many sewing machines have an assortment of stitches to use with knit fabric. They are useful for keeping the thread from breaking when the fabric stretches. On my machine, they are labeled “stretch” and shown in brown. Zig-zag stitches also work well on knits.
Normal stitches are in red. Stretch stitches are in brown.
You could use a stretch or zig-zag stitch for the bottom of the bag. Since it really shouldn’t be stretching much, I usually stick with a regular straight stitch set to a long-ish length of 3.
Straight stitch.
Length of 3.
Regardless of the type of stitch you choose, I recommend sewing across the bottom twice to make it nice and strong.
The seam allowance, or distance between the edge of the fabric and the stitches, doesn’t really matter that much as long as you keep it the same all the way across. For this bag, I used a 5/8 inch allowance, marked on the footplate of my machine. To keep a straight line, focus on keeping the fabric lined up with the guideline for the seam allowance rather than watching the needle.
Edge of fabric lined up on 5/8 mark.
At the start , sew about 2-3 stitches then backstitch to secure the stitching before continuing to sew to the end. At the end, backstitch another 2-3 stitches, then sew to the end and cut the threads. Repeat the seam as close to the original line of sewing as possible to make it nice and strong.
Back stitched first seam
Second line stitched for reinforcement.I tried to stay as close to the first line as possible.
Turn the bag right side out. Since knit doesn’t unravel, you could stop there and be done. I like to sew around the arm and neck holes to reinforce the t-shirts original shoulder seams and give it a more finished look.
Finishing around the t-shirt arm and neck hole handles:
I usually use a serger for this, but it’s not necessary. On a sewing machine, I do like to use either a zig-zag or stretch stitch since there is going to be more stretch on the handles so a straight stitch might break.
Zig-zag setting.
This time, I’m using a zig-zag stitch, keeping the stitch length set at 3 and using about a 1/2 inch seam allowance. If your sewing machine has a free-arm, it can make it easier to sew around the armholes if you use it. Sew around each arm hole and the neck hole separately.
Messy zig-zag backstitching.
To start and finish the zig-zag, I backstitched like normal. It looks a little messy that way. You could leave extra thread at the beginning and end, pull the threads to the back side and tie knots to secure them if you want a cleaner look.
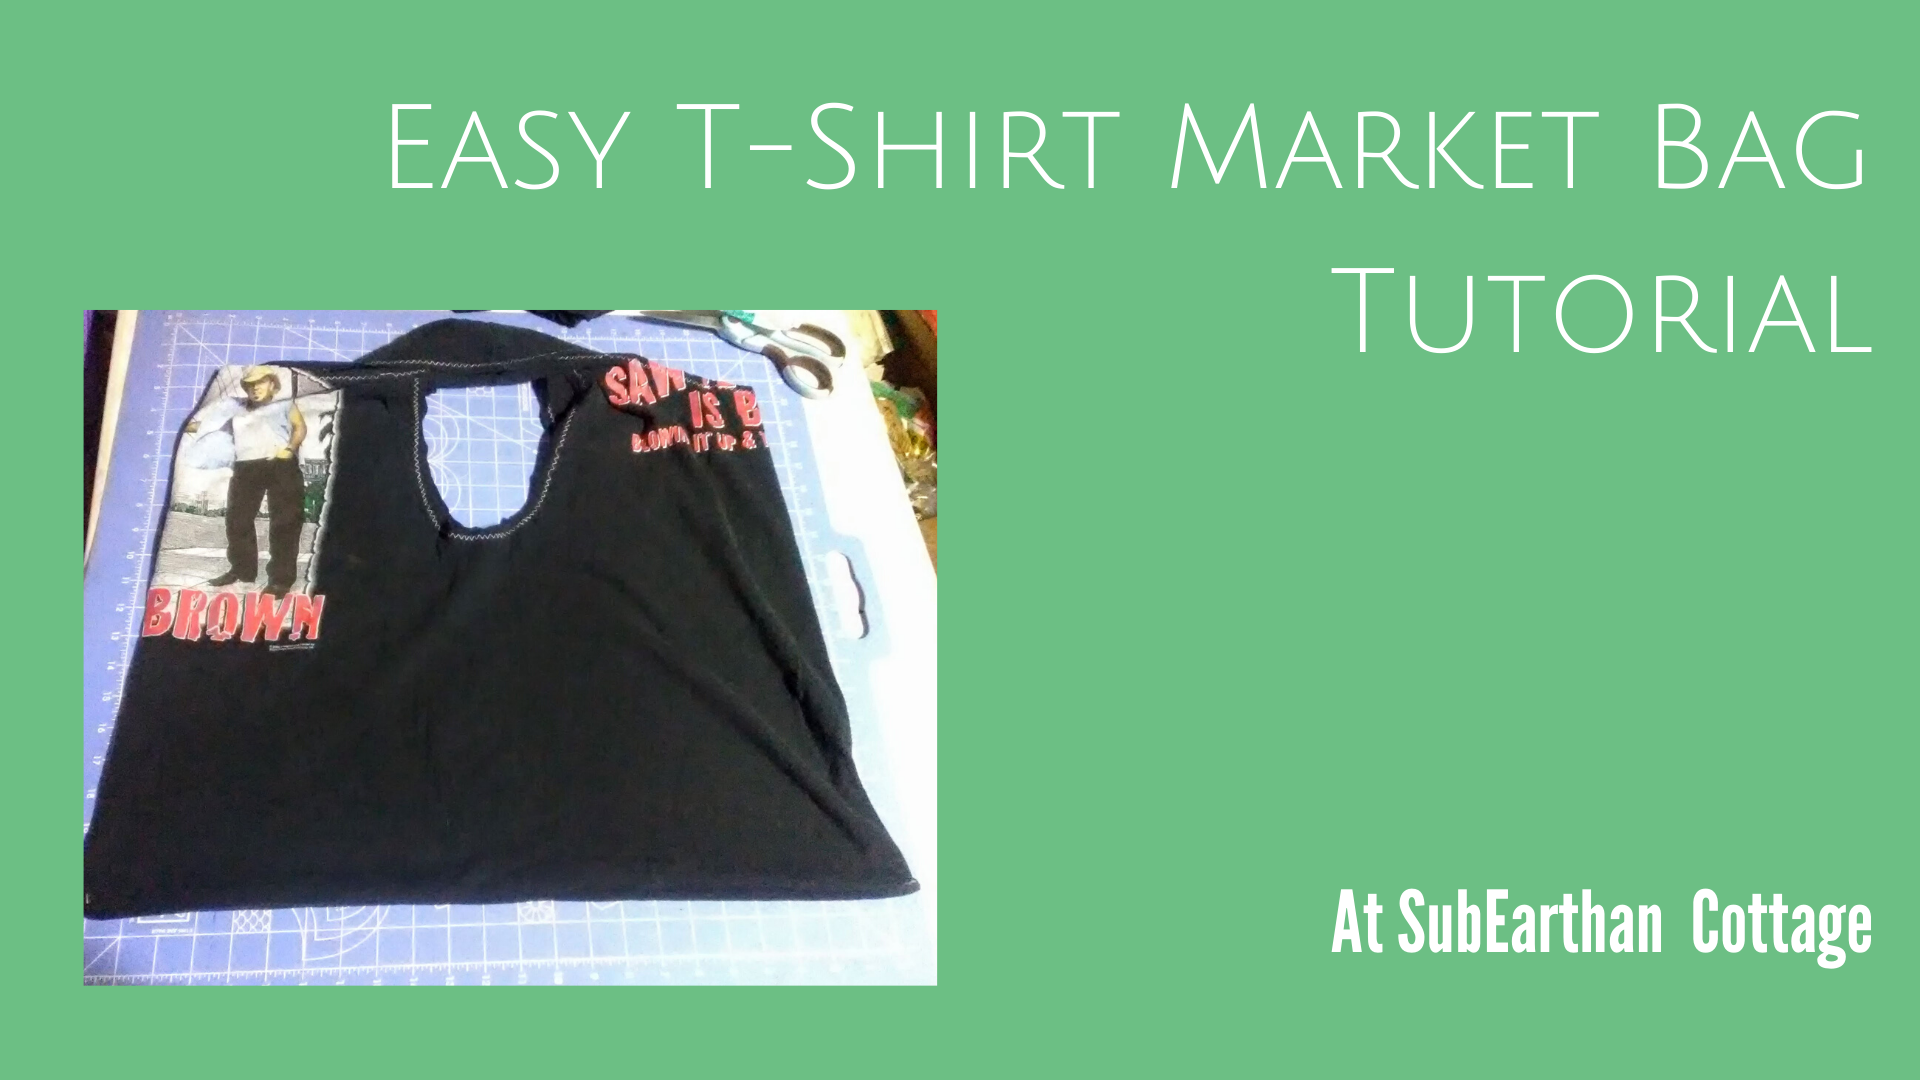
Finished t-shirt bag.
That’s it. You now have a purse or reusable bag from what used to be an old t-shirt. Don’t throw the t-shirt scraps away. I’ll post some creative uses for them soon!
To learn how to make this bag a little more polished, read my t-shirt bag upgrades post.
If you read through the tutorial and like the concept but don’t want to diy, I still have a few left in my shop on clearance here.
Like this tutorial? To make sure you don’t miss out on future tutorial posts, sign up for my newsletter.
This weekend, we visited a local Goodwill store. Unlike the other Goodwill’s in our area, this one has everything in big bins and they charge a flat, by-the-pound fee. Thrift stores always have unique items, but this one seems to have some really good finds, if you’re willing to dig.
In addition to a few household odds and ends, I found a couple of dresses and a shirt that need a little bit of refashioning, and a pair of skinny boyfriend cut jeans that are like new and fit perfectly. I also found a pretty floral vintage bed sheet. Vintage linens are somewhat in demand among crafters, and I rarely have luck finding them, so it was a nice surprise.
Vintage Pink and Purple Floral Bed Sheet
Green Dress
The first dress is a casual, green knit dress with interesting cutwork and stitching at the neckline and hem.
Green knit dress
Pros: It’s comfortable, easy to wear and chase after kiddos, and I like the color and detailing. Cons: It’s a size or two too big. This makes the underarms gappy and the waistline droopy. It’s too short to be a maxi dress, but not short enough to not be frumpy. I could wear it as is around the house, but I think I can make it into something better.
My plan: Separate it at the waist into the bodice and skirt. Tighten the bodice at the side seams. Reattach the skirt to the bodice after removing a few inches from the top of the skirt to make it somewhere between tunic and knee length. Add new, tighter elastic at the waist.
Long, Floral Shirtdress
The pretty blue and floral pattern is what caught my attention with this dress.
Blue, long floral shirtdress
Pros: The print is very pretty, and there is a lot of fabric to work with. Cons: The fabric is a stiff, non-breathing 100% polyester. It’s a size too small through the middle.
My plan: I have a few ideas for this one. The top (bodice) fits pretty well. The only fit issue is right through the middle. I could separate the bodice from the skirt, raise the skirt so that a wider section that fits me better is at the waist and reattach. Factoring in the button placket might make it tricky, but not that difficult.
I’m not sure I would wear it enough to go through that trouble, though. Option two is to use the skirt portion to make a slip-style nightgown by shaping a neckline and cutouts for armholes, then adding bias tape trim and snaps. I would probably use it more this way, but I still worry about the feel of the fabric. I usually avoid things without at least some natural fiber content. Texas is hot and I need my clothes to breathe.
My final idea is to salvage the buttons and use the fabric for things like bag linings, makeup pouches or other accessories. I will probably try one of my first two ideas before this one. I can always use option three if one or two don’t work out.
Pink Tunic Shirt
I think the flowiness of the outer layer and the stitching around the neckline is what made me grab this tunic shirt from the bin.
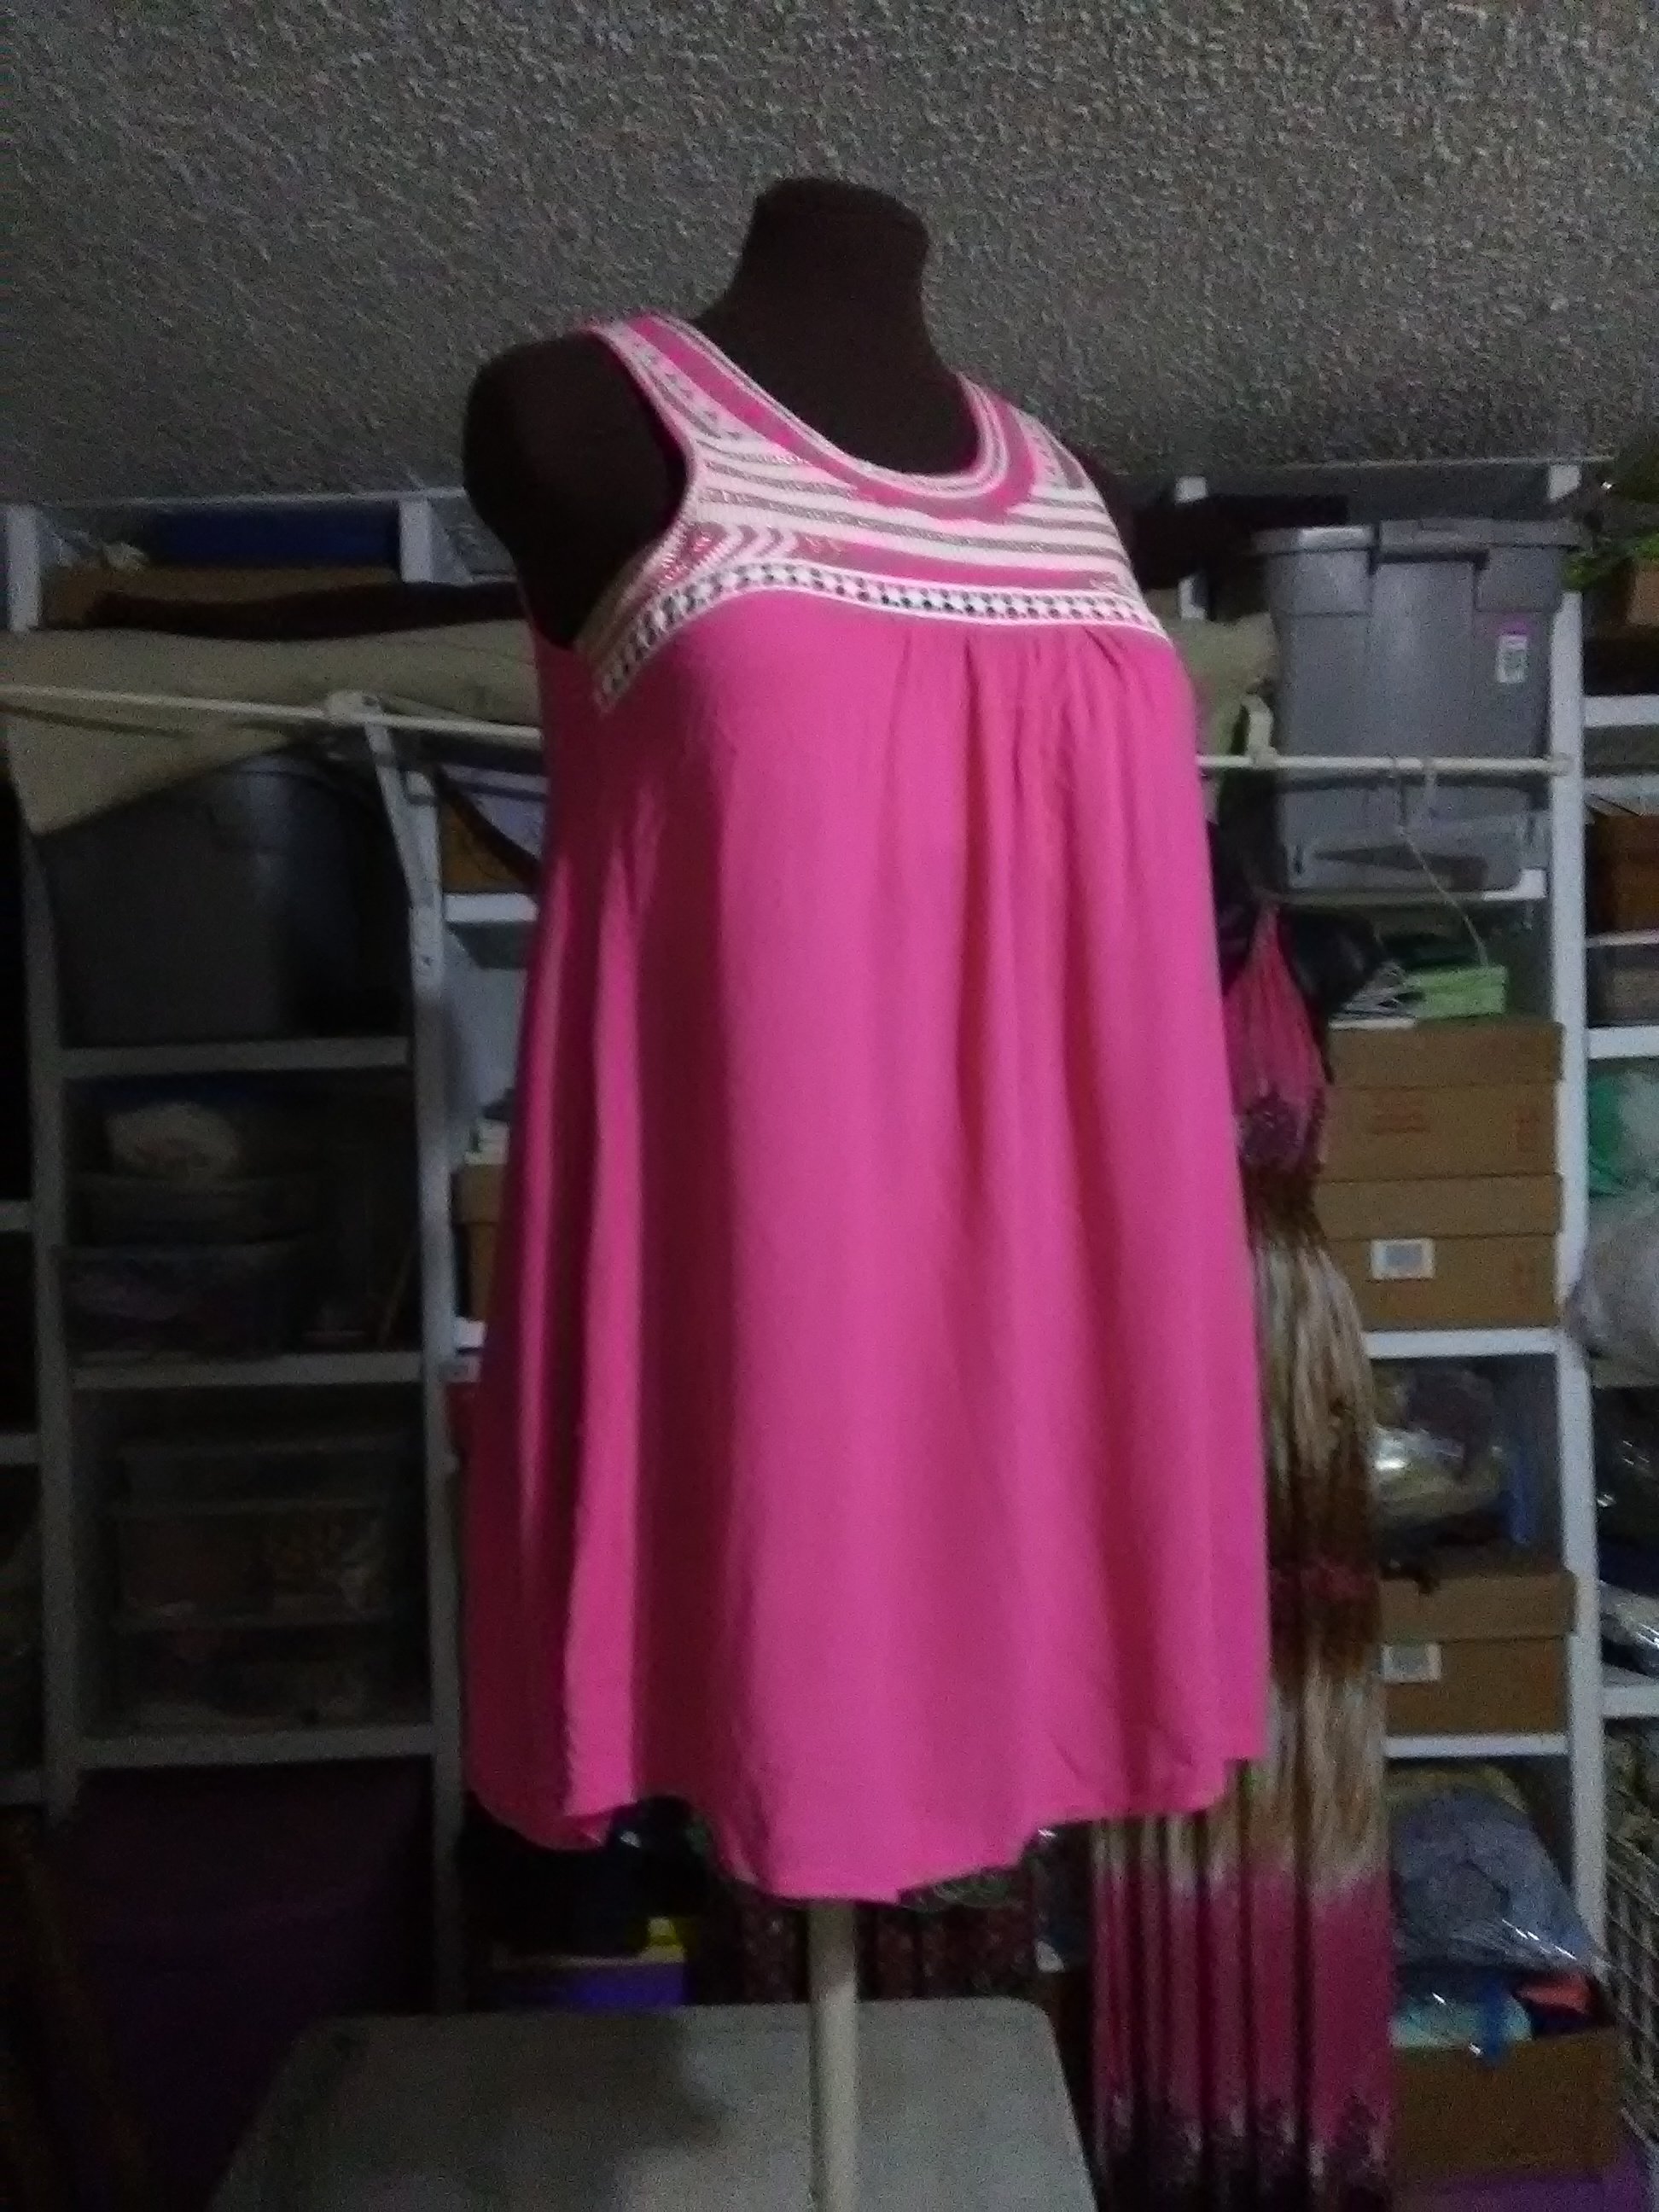
Flowy Pink Tunic Shirt
Pros: Flowy, comfortable fit. Detailing at the neckline keeps it from being too plain. Nice, bright color. Cons: The top layer seems to have shrunk, exposing the lining layer. The lining is 100% polyester knit, which is stretchy and comfortable, but doesn’t breathe.
My plan: This one was so simple, I actually did it in about five minutes this morning. I thought about shortening the lining by a few inches. The top, gauzy layer didn’t really have to have a lining, though, so I decided to remove the lining altogether by simply cutting it out. This made it super easy, and now the tunic is lighter and more suitable to Texas summers.
Pink tunic after removing the lining.
It’s not the most dramatic refashion, but it fixed a problem and made it so much more comfortable to wear. I wore it Sunday over my new-to-me Goodwill blue jeans to The Modern art museum and then to Central Market with the family for a treat and playtime on their playground. Without the lining, the tunic was lightweight, and the drapiness of the fabric kept it from feeling frumpy. I totally see it becoming one of my new favorites.
Speaking of The Modern, if you’re on Instagram, I’ve shared a video to @subearthancottage of Thadd and Beckett having fun with the crazy acoustics inside the Vortex sculpture out front. It was so much fun to watch them play, as well as just about anyone walking by. Few people passed without stepping inside to stomp their feet or shout.
In keeping with my desire to be more conscientious with my clothing, I shopped my closet for clothes that aren’t bad, but need a little refashioning to make me feel comfortable in them. I’ve had this gauzy tunic top hanging in my closet for a while. It felt nice and lightweight, but I just never felt like wearing it.
Originally it was a pale, pastel blue. I thought maybe a color change would help, since I’m not big on pastels. I added it to a black Rit dye batch a few weeks ago, turning it a nice, dark grey. When I put it on yesterday morning, though, it still wasn’t quite right.
Early morning=terrible lighting
The sleeves had weird cuffs sewn on that were an awkward length and oddly tight. I decided they had to go.
See the blue thread? That was the original shirt color.
Rather than ripping out the seam, I simply cut away the cuffs as close to the seam as possible. I could have folded and hemmed the sleeves, but I planned to wear the tunic that day, so I wanted a quicker way of finishing them.
Still too dark.
Instead of hemming, I used my serger to make a rolled overcast edge where I had removed the cuffs. Not only was this quick, it gave the sleeves a light, breezy feel that, in my opinion, fits better with the overall style of the shirt. With the new color and sleeves, I can see myself getting much more wear out of this tunic shirt.
Her tutorial is awesome, so I’m just going to share the minor change I made. Instead of making a fabric strap, I used some webbing I had on hand. Not only did that save time, but it allowed me to make the whole thing with two fat quarters. You could also use a thick ribbon, upcycle an old belt or an old purse strap for the handle.
I like using a light colored fabric for the lining in most bags I make. It makes it easier to find whatever is inside.
The fabric is from a fat quarter bundle I found at Tuesday Morning. I always find fun things in their sewing and craft section.
I, Charity Sloan, am a participant in the Amazon Services LLC Associates Program, an affiliate advertising program designed to provide a means for sites to earn advertising fees by advertising and linking to Amazon.com. Any purchases through those links will result in my receiving a small percentage in commission.
This only refers to Amazon links found in/on my blog pages. All products in my shop are 100% mine and not linked to Amazon.
Prices are the same whether you click an affiliate link or a non-affiliate link, so you will not be charged more. Thank you for your support!