Posted on 1 Comment

Price Comparison Kroger vs. Walmart

A few days ago, I learned that my local Kroger is closing. Luckily there is another one not too far. Still, I’m used to the layout at my local store, and I’ve gone there for so long that many of the employees know me. 

Since the announcement, I’ve seen many conversations about that store and Kroger in general on Facebook. One thing that I’m constantly hearing is that Kroger is overpriced and Walmart is much cheaper. There’s even a Walmart commercial running on TV right now that compares a basket full of similar items from each store with Walmart’s basket coming out to be cheaper. While the commercial doesn’t surprise me, I am a little surprised every time I hear an individual say Walmart is cheaper. For me, I’ve always thought Kroger is cheaper on most groceries I buy. With everyone saying the opposite, I decided to do a little price comparison shopping.

Kroger vs. Walmart: The Plan

For the comparison, I created a grocery pickup list for each store based around some of my most common purchases. As much as possible, I matched brands at each store or chose the store brand at both. I used the normal price rather than the sale price where applicable. Due to eating gluten and dairy free, things like bread and milk that most people regularly purchase won’t be on my list.

The Food and Price Comparison

  • Coffee: Kroger Select Blend Medium Roast, 30.5 oz, $4.99. Walmart Great Value Classic Roast Medium Ground Coffee, 30.5 oz. $4.93. Winner: Walmart
  • Frozen Mixed Vegetables: Kroger Store Brand, 32 oz, $1.99. Walmart Great Value Brand, 32 oz, $1.94. Winner: Walmart
  • Bath Tissue: Kroger 1000 Sheets per Roll Bath Tissue, 12 rolls, $6.79, $0.57 per roll. Walmart Great Value 1000 Bath Tissue Rolls, 16 rolls, $9.12, $0.57 per roll. Winner: Tie
  • Cascade Complete Gel Dishwasher Detergent, 75 oz: Kroger $7.59. Walmart $5.97. Winner: Walmart. Honestly, this one wasn’t a surprise to me because I do find Walmart better on a lot of non-food items.
  • Sugar, Store brands, 4 lbs: Kroger $1.59. Walmart $1.58. Winner: Walmart
  • Bananas: Kroger $0.49 per lb. Walmart $0.44 per lb. Winner: Walmart
  • Calidad Corn Chips, 12 oz: Kroger $1.88. Walmart: $1.94. Winner: Kroger
  • Boneless, Skinless Chicken Thighs: Kroger Heritage Farm, $2.99/lb. Walmart store brand, $2.52/lb. Winner: Walmart
  • Ground Beef, 3 lb 80% lean/20% fat, store brands: Kroger $10.47. Walmart $14.42. Winner: Kroger.
  • Honey Nut Cheerios, 10.8 oz: Kroger $3.29. Walmart $2.98. Winner: Walmart
  • Pinto Beans, 4 lb bag, Store Brands: Kroger $2.99. Walmart $3.44. Winner: Kroger.
  • Potatoes, Russet, 10 lb bag, Store Brands: Kroger $3.89. Walmart $3.94. Winner: Kroger.
  • Canned green beans, 14.5 oz, Store Brands: Kroger $2.19/4 pk, $0.55/can. Walmart $0.50/can. Winner:Walmart
  • Blue Diamond Almond Milk, 96 oz: Kroger $4.99. Walmart $3.82. Winner: Walmart.
  • Eggs, large, 12 count, store brand: Kroger $1.09. Walmart $1.37. Winner: Kroger

Overall Totals

Kroger: $49.36

Walmart: $50.36

Kroger vs. Walmart Price Comparison: Overall winner

Kroger, by a whopping $1. At Kroger, the almond milk is currently on sale for $3.99 and the ground beef is on sale for $8.97. With those discounts, my Kroger total would have been $3.50 less than my Walmart total.

My Take

For the kinds of things I normally buy, Kroger is generally the cheaper store overall. I’m not a big coupon user, but I do check the Kroger app frequently and load any coupons that I think I may use to my Kroger card. After that, I shop like normal and any coupons I qualify for get applied automatically. Between that and sales, Kroger is almost guaranteed to be consistently cheaper for me.

I also generally like the produce and canned goods at Kroger better than Walmart. I usually can find what I need at both places, but if I need to buy lots of fresh fruits and vegetables, I avoid Walmart.

Having said that, there are things, like dishwasher detergent, that are definitely cheaper at Walmart. I wouldn’t say it’s worth it to make a special trip, but if I’m at Walmart anyway, it’s worth stocking up on.

Like I said earlier, my shopping list may look nothing like your shopping list. With more and more stores offering online shopping for pickup or delivery, it’s worth it to periodically do a price comparison between your local stores. It’s so easy to do online, and you may learn ways to adjust your shopping habits and save money.

Kroger vs. Walmart Price comparison

If you click through any of the Amazon links and make a purchase, I will receive a small commissionThere is no added cost to you.

Posted on Leave a comment

Goodwill Finds and Refashion Ideas

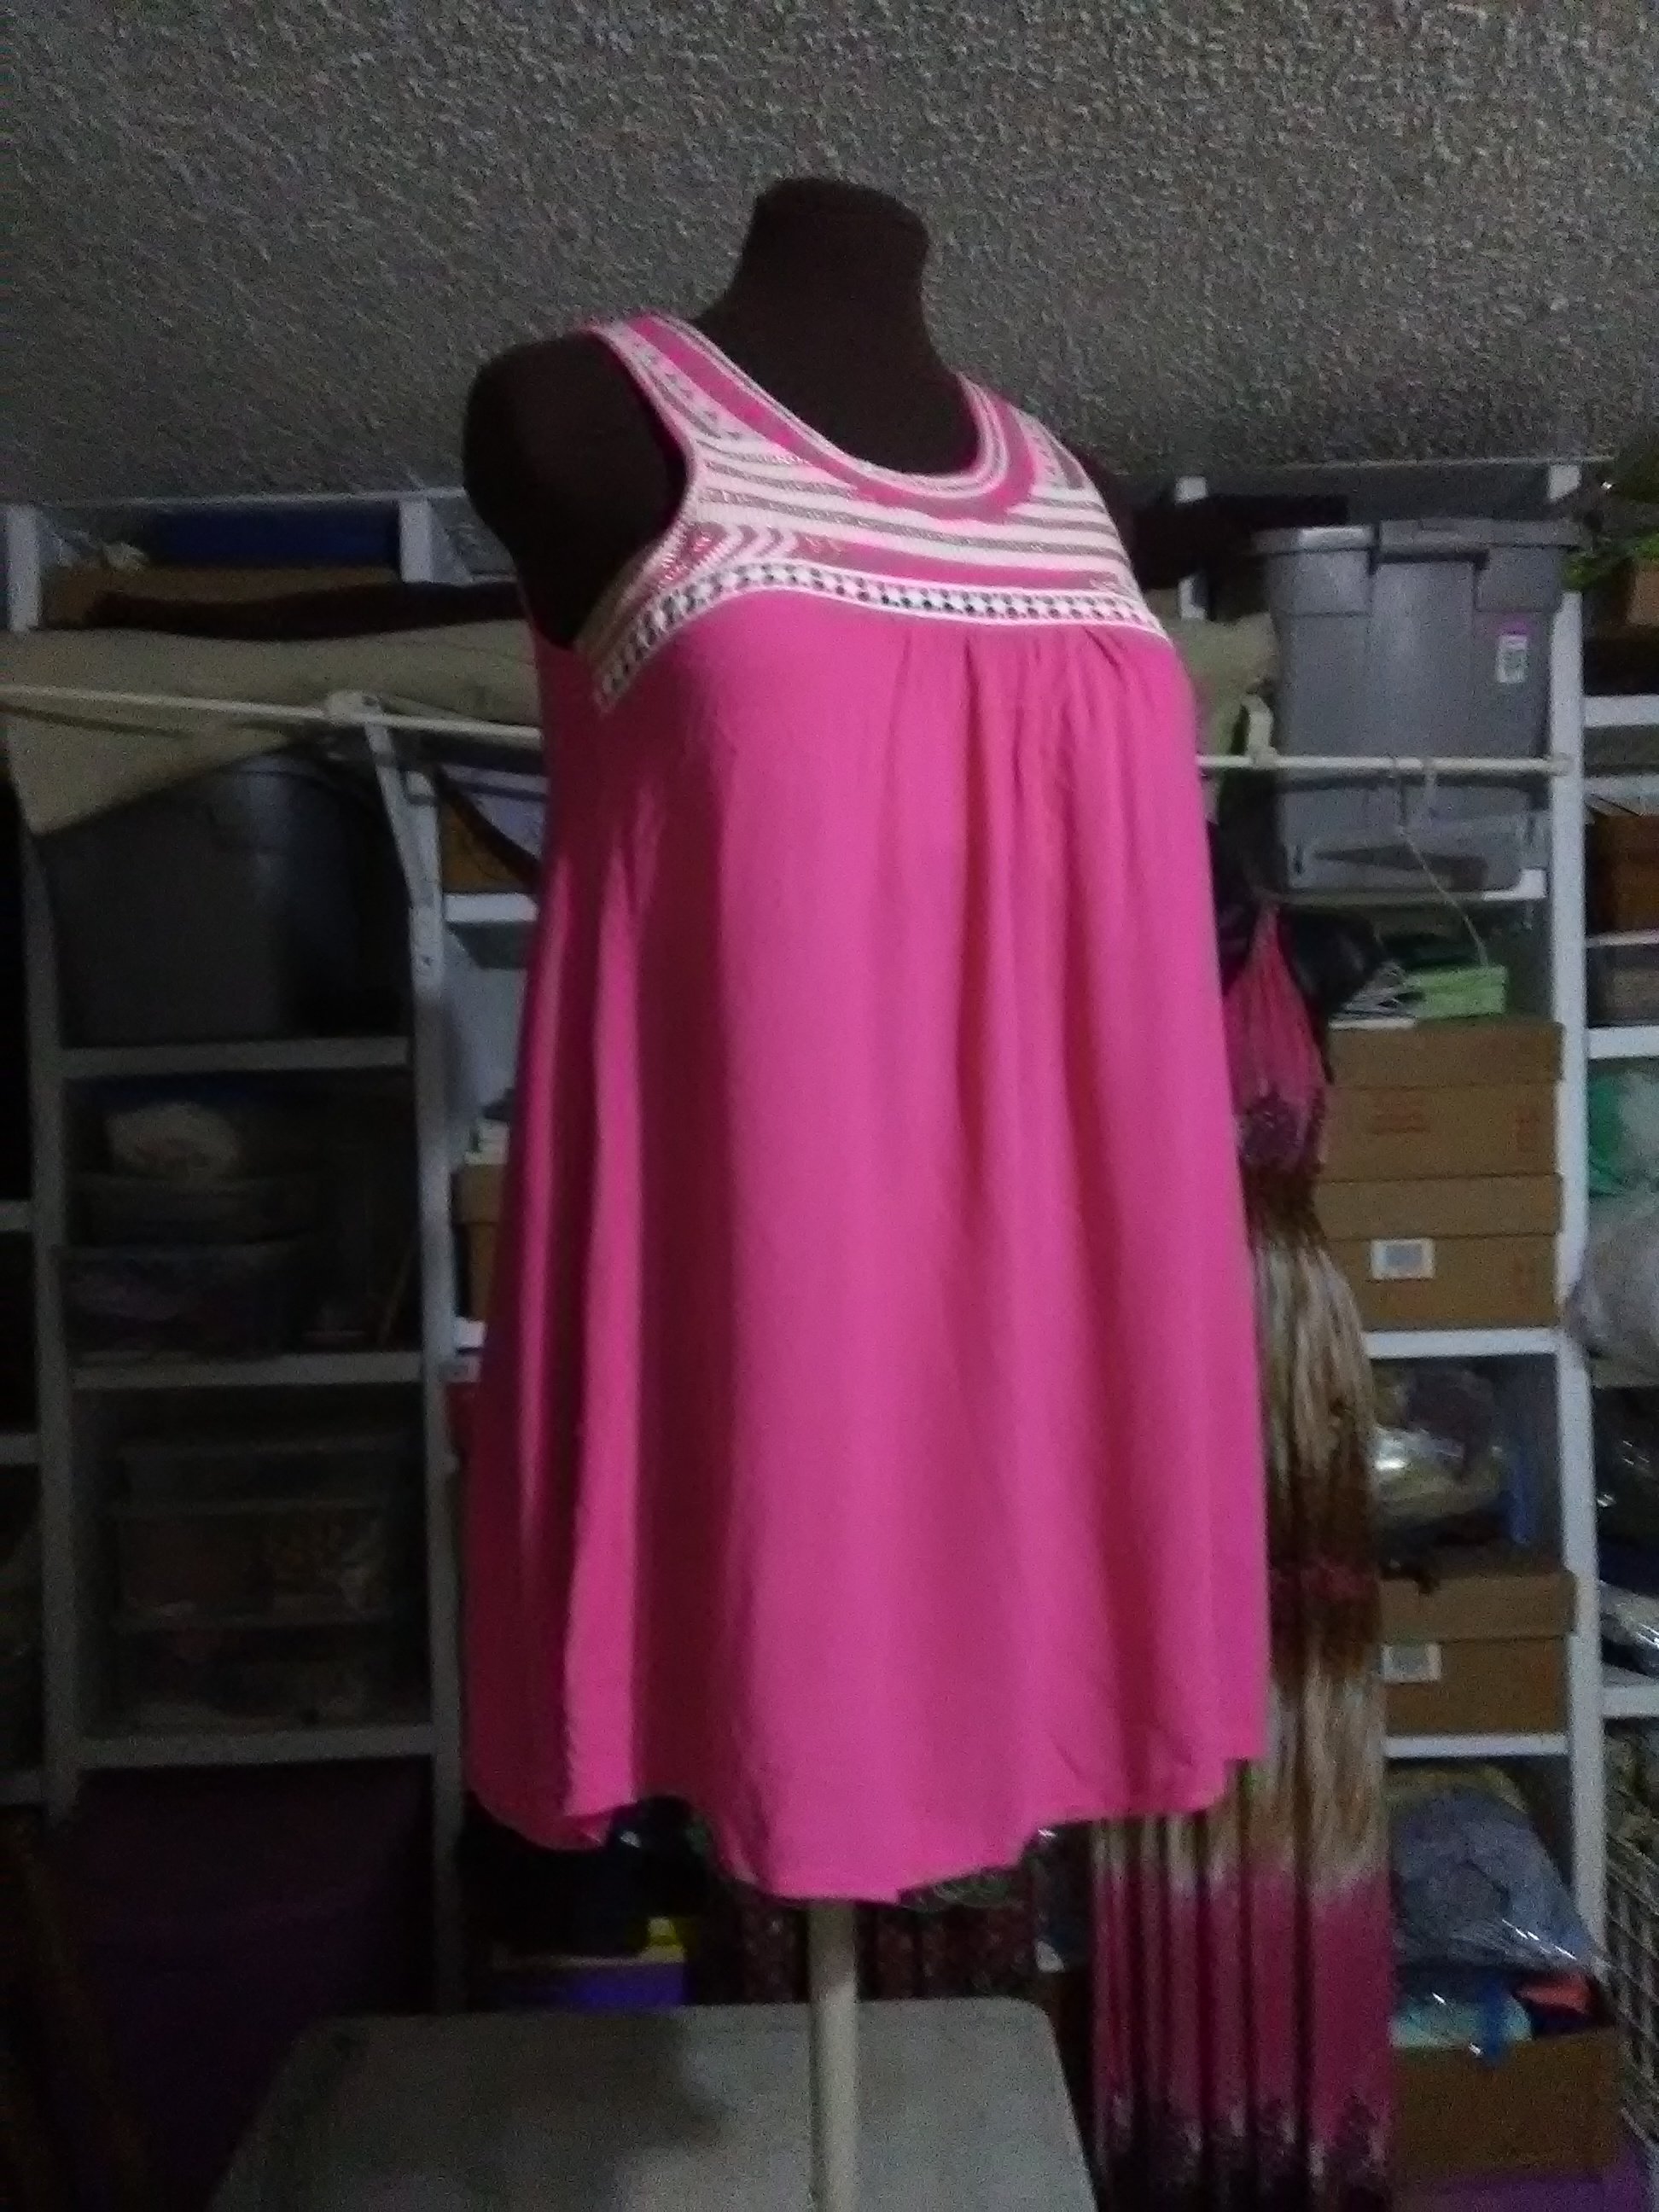
Pink tunic after removing the lining.

This weekend, we visited a local Goodwill store. Unlike the other Goodwill’s in our area, this one has everything in big bins and they charge a flat, by-the-pound fee. Thrift stores always have unique items, but this one seems to have some really good finds, if you’re willing to dig.

In addition to a few household odds and ends, I found a couple of dresses and a shirt that need a little bit of refashioning, and a pair of skinny boyfriend cut jeans that are like new and fit perfectly. I also found a pretty floral vintage bed sheet. Vintage linens are somewhat in demand among crafters, and I rarely have luck finding them, so it was a nice surprise. 


Vintage Pink and Purple Floral Bed Sheet

Green Dress

The first dress is a casual, green knit dress with interesting cutwork and stitching at the neckline and hem.

Green knit dress
Green knit dress

Pros: It’s comfortable, easy to wear and chase after kiddos, and I like the color and detailing. Cons: It’s a size or two too big. This makes the underarms gappy and the waistline droopy. It’s too short to be a maxi dress, but not short enough to not be frumpy. I could wear it as is around the house, but I think I can make it into something better.

My plan: Separate it at the waist into the bodice and skirt. Tighten the bodice at the side seams. Reattach the skirt to the bodice after removing a few inches from the top of the skirt to make it somewhere between tunic and knee length. Add new, tighter elastic at the waist.

Long, Floral Shirtdress

The pretty blue and floral pattern is what caught my attention with this dress.

Blue, long floral shirtdress

Pros: The print is very pretty, and there is a lot of fabric to work with. Cons: The fabric is a stiff, non-breathing 100% polyester. It’s a size too small through the middle.

My plan: I have a few ideas for this one. The top (bodice) fits pretty well. The only fit issue is right through the middle. I could separate the bodice from the skirt, raise the skirt so that a wider section that fits me better is at the waist and reattach. Factoring in the button placket might make it tricky, but not that difficult.

I’m not sure I would wear it enough to go through that trouble, though. Option two is to use the skirt portion to make a slip-style nightgown by shaping a neckline and cutouts for armholes, then adding bias tape trim and snaps. I would probably use it more this way, but I still worry about the feel of the fabric. I usually avoid things without at least some natural fiber content. Texas is hot and I need my clothes to breathe.

My final idea is to salvage the buttons and use the fabric for things like bag linings, makeup pouches or other accessories. I will probably try one of my first two ideas before this one. I can always use option three if one or two don’t work out.

Pink Tunic Shirt

I think the flowiness of the outer layer and the stitching around the neckline is what made me grab this tunic shirt from the bin.

Flowy Pink Tunic Shirt

Pros: Flowy, comfortable fit. Detailing at the neckline keeps it from being too plain. Nice, bright color. Cons: The top layer seems to have shrunk, exposing the lining layer. The lining is 100% polyester knit, which is stretchy and comfortable, but doesn’t breathe.

My plan: This one was so simple, I actually did it in about five minutes this morning. I thought about shortening the lining by a few inches. The top, gauzy layer didn’t really have to have a lining, though, so I decided to remove the lining altogether by simply cutting it out. This made it super easy, and now the tunic is lighter and more suitable to Texas summers.

Pink tunic after removing the lining.

It’s not the most dramatic refashion, but it fixed a problem and made it so much more comfortable to wear. I wore it Sunday over my new-to-me Goodwill blue jeans to The Modern art museum and then to Central Market with the family for a treat and playtime on their playground. Without the lining, the tunic was lightweight, and the drapiness of the fabric kept it from feeling frumpy. I totally see it becoming one of my new favorites.

Speaking of The Modern, if you’re on Instagram, I’ve shared a video to @subearthancottage of Thadd and Beckett having fun with the crazy acoustics inside the Vortex sculpture out front. It was so much fun to watch them play, as well as just about anyone walking by. Few people passed without stepping inside to stomp their feet or shout.

Posted on 1 Comment

Sunbeam Mixmaster Update

Last Thanksgiving I bought a Sunbeam Mixmaster to help with all the gluten free baking. This Thanksgiving, I broke my Sunbeam Mixmaster by sticking a plastic spatula between the beaters while it was mixing blueberry muffins. Broke as in pieces fell out of the machine and the beaters stopped spinning. It’s probably a good idea to turn off a mixer before scraping the bowl.

A quick internet search told me I probably broke the plastic drive gears, and the remedy for that was a dumpster burial. At that point, I figured it wasn’t going to get worse, so I had nothing to lose by taking it apart and seeing for myself if it was reparable.

When I finally figured out how to open it, everything looked fine. No sign of anything broken, and the plastic gear that turns everything had minimal wear. The part that latches the beaters in place looked fine. I couldn’t find anything that looked like it was missing the tiny broken pieces. Little pieces that, after thinking more about it, looked oddly like the little tabs on the beaters…

At that point I grabbed the the beaters and compared them to the rarely used dough hooks. Sure enough, the tabs were missing from the beaters but not the dough hooks. Yay! Replacing beaters is cheap and easy. The only problem was now my mixer looked like this:

Luckily I reassembled the mixer without breaking anything. I tested it with a loaf of banana bread mixed with the dough hooks, and it worked fine. Amazon had replacement beaters for about $10, so it should be fully functional in about a week.

My guess is that those tabs are designed to break under pressure if something gets caught in between. While the drive gear is plastic, it’s pretty thick. Even with my mistake and a year of using it almost weekly, it looks to be in good shape. It makes me wonder if some of the people who thought they stripped the drive gear actually just needed to replace the beaters.

In the long run, if money allows, a mixer with an all-metal drive would be better. From my year of use and seeing how little wear there is on the inside, I do think this Sunbeam Mixmaster is a good budget-priced stand mixer. It has mixed everything I’ve thrown at it, including a double batch of banana bread and a meatloaf (separately, of course) with no trouble. Everything, that is, except for spatulas.

Don’t forget: this holiday season, take 30% your SubEarthan Cottage order with coupon code “ShopSmall18”. Valid through December 10, 2018.


Posted on Leave a comment

Cloth Gift Bags are Available Now

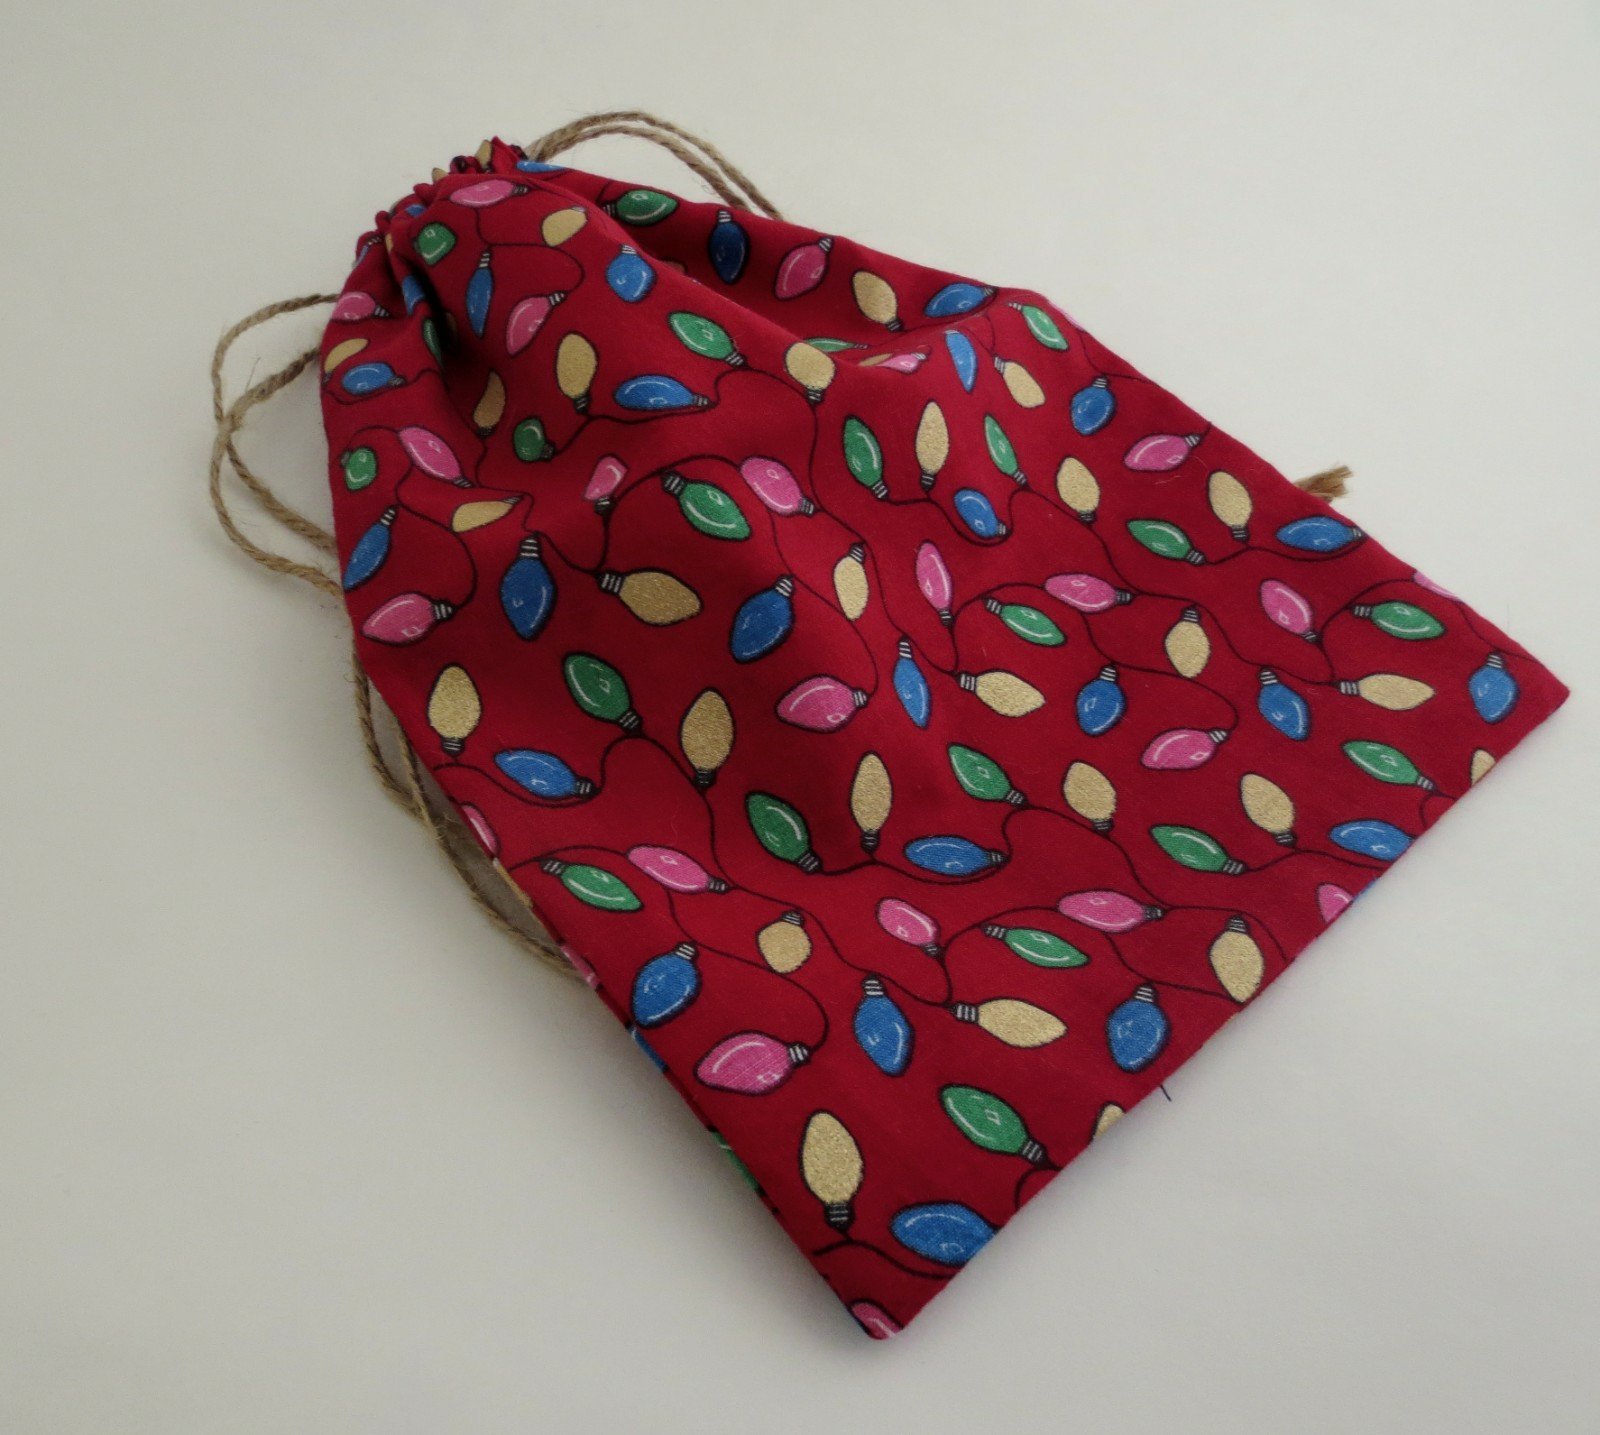
There’s a new batch of Christmas gift bags at the SubEarthan Cottage Shop. This year, you can choose between jute twine like I use for wrapping my soaps, or white satin ribbon for the drawstrings. 

You can find all the Christmas gift bags here: https://subearthancottage.com/product-category/holidays

That is all the fabric I have in those prints, so if you like them, get them quickly before they sell out. Right now, coupon code “NewSiteSale” is good for 30% off your entire regular-priced order.

Posted on Leave a comment

Fruit and Nuts

We have eleven pecan trees, so along with the leaves, pecans cover our yard this time of year. We already had about ten pounds collected just from our front yard, so this weekend we took them to the farmer’s market to have them cracked. Even though we still have to separate the shell from the meat, it’s so much faster than doing it all by hand that it is totally worth it.

Cracked pecans

While we were there, Thadd discovered a big box full of bruised apples for five dollars, so I bought those, too. Thanks to my apple peeler-slicer-corer contraption, I was able to quickly get them ready to freeze for later. Here’s a similar apple peeler to the one I use:

Johnny Apple Peeler by VICTORIO VKP1010, Cast Iron, Suction Base

Some of the apples went straight to the stove with cinnamon and sugar to have as a sweet side and baked oatmeal topping.

Apples!

I’m looking for more recipes to use the apples and pecans that aren’t overly sugary. So far, I’ve found a recipe for apple cider vinegar that makes use of the saved peels.

In the meantime, I made my favorite pecan dessert that is the opposite of not sugary: pecan pralines. (That’s puh-cahn prah-leans, y’all.) They are dangerously easy, especially when you have a ton of pecans on hand and the rest of the ingredients are kitchen staples.

Pecan Pralines
Still too hot…

Here’s the recipe I use:

Pecan Pralines

3/4 cup each of brown sugar and granulated sugar

1/2 cup of milk

1 cup of pecans

1 tablespoon of butter

1/4 teaspoon of vanilla extract

Combine the sugars and milk in a saucepan and bring to a boil. Lower the heat and cook until it reaches the soft ball stage. (That’s when you can put a drop in cold water and it holds together in a ball shape but flattens on your finger when you take it out of the water.) I stir it pretty constantly and check it when it starts to look a little thicker.

Once it is at the soft ball stage, remove it from the heat and stir in the butter, vanilla and pecans until it’s well mixed. Drop the mixture by the spoonful onto waxed paper. If it gets too hard to spoon out, warm it back up for a bit on the stove. It’s best to have the waxed paper ready and work quickly, though. That way you don’t risk burning it and the resulting sadness.

Resist the temptation to try the yumminess immediately and let it cool. Seriously, let it cool. Hot melty sugar burns! The pralines will be more frosty opaque than glossy and easy to peel off the waxed paper when they are ready.

I usually get about sixteen pralines from one batch, but it will vary depending on how big you make them.

Enjoy!

Posted on 2 Comments

Thrifty Knitting Machine – Singer Silver Reed LK-140

A couple of years ago, I really wanted a knitting machine. I like yarn and the thought of making pretty things with yarn has always appealed to me. I started teaching myself to knit and crochet while I was pregnant with Finn. He is eleven now, and it takes me two days of work to make a single dishcloth. So, a knitting machine seemed like a good compromise to speed things up a bit. They are kind of hard to come by, though, especially a well made machine. Besides, I knew nothing about how a knitting machine works, so I got my embroidery machine instead.

Fast forward to two Sundays ago. The family and I were having fun thrift shopping for some office furniture. (That could also read as, “Chris and I were dragging the kids around to thrift stores, with much protesting on their part.”) The first Goodwill store we went to didn’t have much in the way of office furniture. They did have lots of bins out full of miscellaneous stuff that I really wasn’t interested in digging through, until I happened to notice this long rectangular box poking up out of one bin.

That’s the one. It for is a Singer LK-140, made by Silver Reed. It is a plastic bed hobby machine, but a durable hobby machine. I’ve since learned that, except for having ten fewer needles, it is identical to the newer LK-150 knitting machine. That means parts are easy to come by.

The box was so well taped, and it had a good weight to it, so I decided not to even open it before buying it. I figured I probably wouldn’t even know what may have been missing. Also, let’s zoom in on the price tag:

Back when I was actively looking for a knitting machine, I would have thought getting one for $80 on eBay was a fairly good deal. At $5.49, it was worth it even if it was only good for parts.

When I finally opened it at home, I did notice a few parts were missing, but only the table clamps, manual and transfer tools. I found a free manual online, and the other two items are easily and inexpensively replaced. They also aren’t essential, so I have played with it a bit.

I did need to replace the sponge strip. That’s pretty standard for an older machine. Luckily on this machine, foam weatherstripping works great as an inexpensive replacement. I also needed to clean the needles, because they were covered with gunk from the old sponge strip. With that, I was able to set it up and play.

There is definitely a learning curve, but it is fun. I have noticed, though, that you can still tell it is my own handiwork.

See the dropped stitch. It’s like my signature. The best part, though, is it only took me a minute or two to make that swatch, as opposed to a day or two. A little more practice, and I might be able to make two or three dishcloths a day without dropped stitches, or a scarf with a few holes. Seriously, though, it is fun, and I look forward to coming up with new projects and products to make.

As for office furniture, I felt bad that I got a new toy but we hadn’t found the thing we really needed, so I did a quick craigslist search. There just happened to be a desk posted locally in the free section.

Excuse the mess. That photo was taken while everything was getting tossed around with moving in the desk. There is a trim piece that needs to be put in place on the top. Overall, it is in good shape. More importantly, it provides us with the two main things we needed for the office: more desk space and shelving. Best of all, it was free!

Like this thrift store finds? To make sure you don’t miss out on future posts, sign up for my newsletter.

LK-140 Knitting Machine

Posted on Leave a comment

Quick Ironing Board Cover

My ironing board cover has seen better days. It’s not worn, but it has a few scorch marks and B thought it was a good idea to stamp it a few times with my thank-you stamp. Since it is always visible in my craft room, I wanted something more pleasant to look at, so I decided to make it a shiny new cover.

Eww.

I went with supplies I had on hand and used the ironing board itself to measure, so I don’t have exact measurements. You should be able to adapt from what I did easily, though. Keep in mind that this is just a cover and not the padding. I put mine on right over the old one. If you want to replace everything, you’ll have to find a replacement for the pad, too. (Layers of quilt batting and topped with Insul-brite maybe?)

Supplies:

Enough fabric to go over the top of your ironing board with about a 3 inch overhang on all sides.

Extra-wide double fold bias tape or blanket binding (2-3 packages)

Thin elastic. The bias tape or binding serves as a casing for the elastic, so make sure to choose an elastic thin enough to be threaded through easily.  Mine is 1/4 inch elastic.

Thread.

How to:

Cut the fabric with a 3-ish inch overhang. The easiest way to do this is to put the fabric on the floor, then the ironing board upside down on top and cut around it, eyeballing the overhang.

For this tutorial the pointy curved end is the top, the short, straight end is the bottom and the long edges are the sides. There’s going to be a gap in the bias tape/binding at the bottom, so you will want to finish it some way. If you have a serger, just serge straight across the bottom. If not, you can either zig-zag stitch over that edge or fold over 1/4 inch twice and hem. It doesn’t have to be exact, just make sure when you cut initially that you account for the hem on that end if you go that route.

Find the middle point of the bottom edge. Measure about 1.5 inches on each side of the midpoint and mark. These are your starting and ending points for the casing.

Leaving the three inch space at the bottom open, sew the bias tape/ binding on being sure to enclose the edge of the fabric. Unless you have a really long strip of binding, you’ll probably need to piece the binding together. When you get a few inches from the end of one bias strip, stop sewing and join the new strip by opening the ends flat, overlapping and sewing across. Refold and continue sewing around the edge of the fabric. Stop when you reach the end point.

What happens when you don’t have enough blanket binding on hand? This. This is what happens.

Thread the elastic through the binding all the way around leaving several inches hanging loose at the beginning and end. This works best if you attach a safety pin securely to the leading end of the elastic to help guide it through.

Fit your new cover, pretty side up onto your board and pull the elastic snug.

Tie the elastic securely, trim the ends if necessary.

Admire your new cover.

Questions? Ask in the comments and help me expand on my clear-as-mud tutorial.