Posted on 1 Comment

How to Prewash Your Fabric for Beautiful Sewing

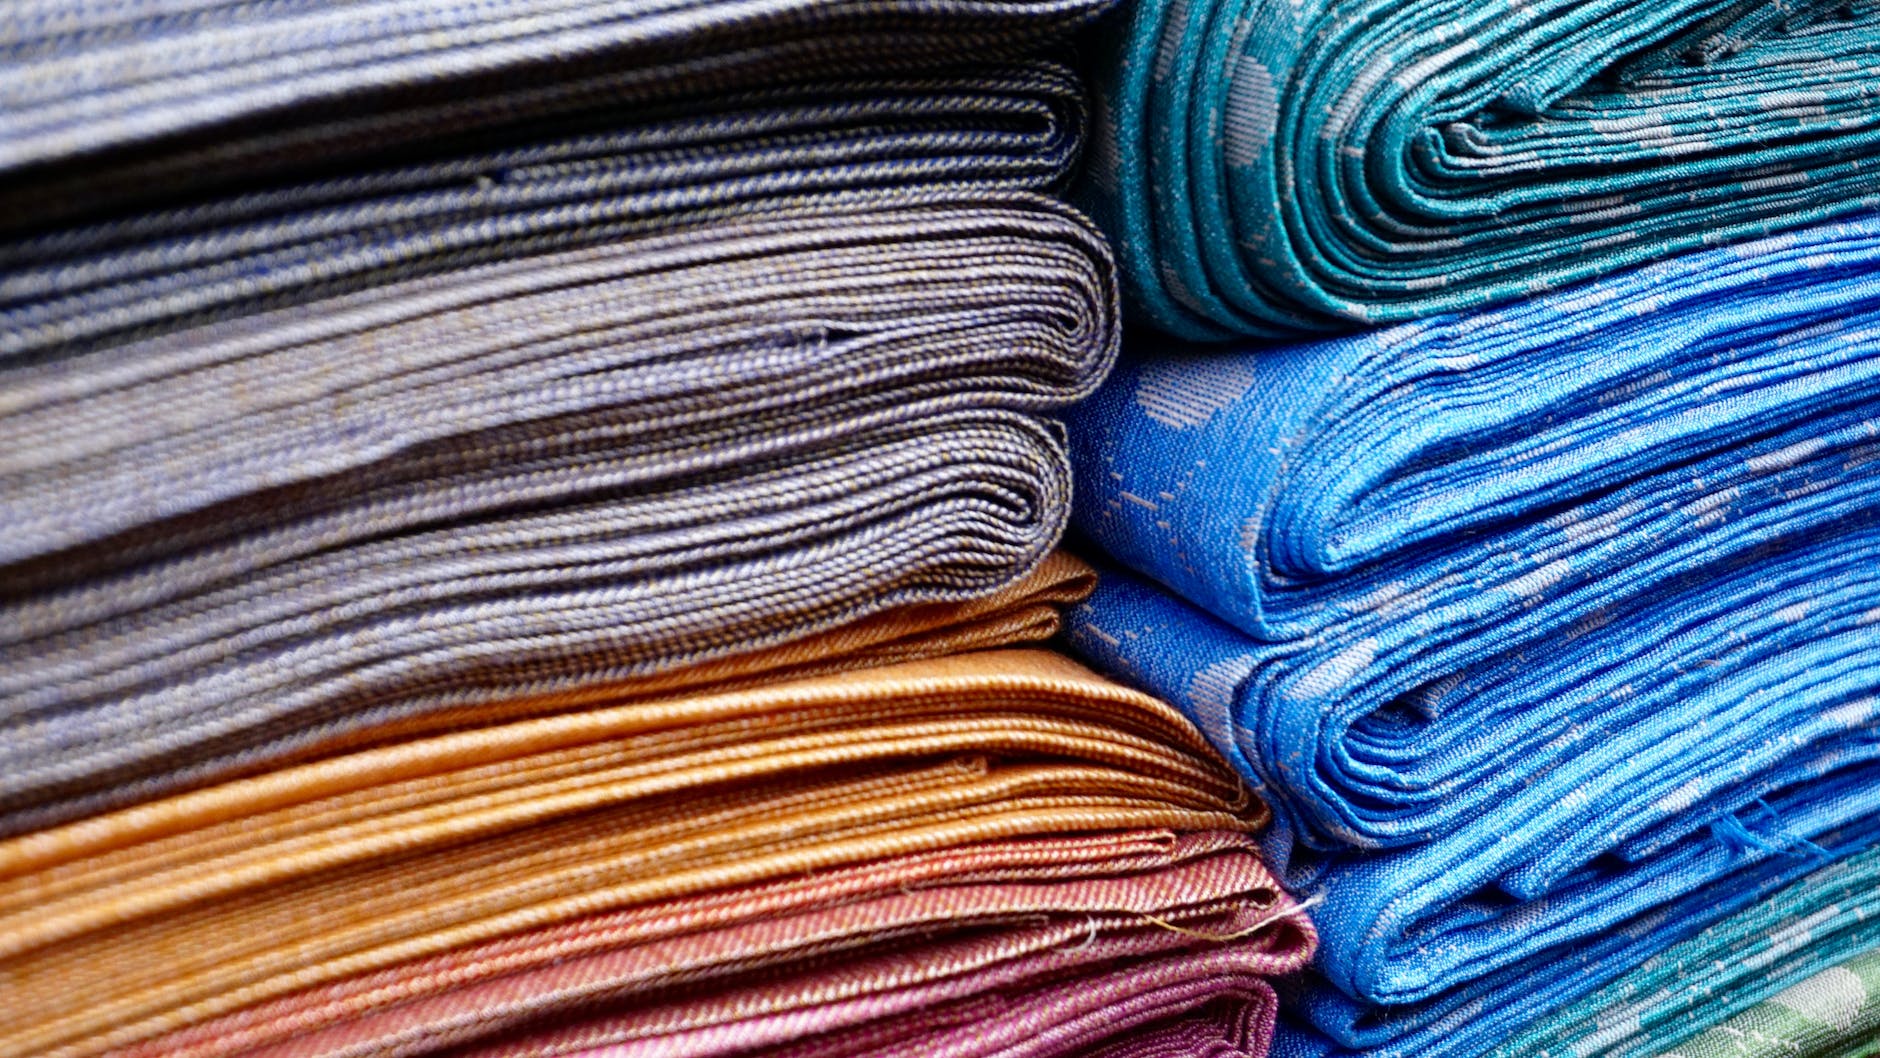
pile of cloth

In order to have high quality finished products, it’s best to prewash your fabric. Without this step, your finished product can shrink and look uneven or lumpy when it is eventually washed. It’s not a good idea to just toss your fabric into the wash, though, as it comes out a stringy, tangled mess. Luckily, there’s a few different ways to make prewashing your fabric painless.

Overlock the cut edges

If you have a serger or overlock machine, serge the cut edges before washing. You shouldn’t have to worry about the selvedges as they won’t unravel. This is my favorite method. I usually just leave the thread tails long and they don’t unravel enough to be annoying.

close up photo of sewing machine
Photo by cottonbro studio on Pexels.com

Use your Sewing Machine

With a sewing machine, you can sew a quick zig-zag or similar stitch along the cut edges to prevent fraying. Even a straight stitch would probably work, although I haven’t tried it. You will probably need to back-tack or knot the ends to keep it secure through the wash.

Pink the edges for a painless prewash

If you have pinking shears, cut the fabric with the pinking shears along the cut edges. The edges will still get fuzzy, but shouldn’t unravel.

pile of cloth for prewash
Photo by Digital Buggu on Pexels.com

One bonus of using one of these methods is it’s easy to know at a glance which fabric from my stash was prewashed.

I know probably 90% of the people reading this are thinking “Duh!” because it’s such an obvious fix. The other 10% are wondering why they didn’t think of that, much like myself when I first learned the trick.

To make sure you never miss a post, please sign up for my newsletter.

Posted on 1 Comment

Six Tips for Going Gluten Free on a Budget

Many people eat gluten free (g-free, gf), either by choice or need. For those with celiac, eliminating gluten is an absolute necessity. Others find that, for one reason or another, they feel better when they avoid it. In my case, I kind of accidentally discovered that joint pain in my hands and feet go away and I’m less brain foggy when I avoid gluten. Other family members suffer from breakouts and rashes that flare whenever they eat something with gluten. I strongly believe that if you feel bad after eating something, you should probably stop eating it, so we do our best to avoid gluten all together.

Eliminating something that is such a big part of your diet is daunting at first, but there are a few things that can make the transition easier and less expensive. These tips focus on gluten, but many will also help if you need to eliminate other foods.

1. Start with real foods

Processed foods often have hidden fillers and ingredients, and specialty gluten free foods are expensive. In contrast, fruits, vegetables, meat, nuts, beans, eggs and dairy are naturally gluten free in their pure forms. Rice is a grain that does not contain gluten. Starting from scratch with real food ingredients that you know naturally don’t have gluten is often easier and definitely cheaper than scrutinizing food labels and buying special gluten free versions of normally wheat based foods.

Image by skeeze from Pixabay

2. Go simple with seasonings

For the most part, single herbs and spices are gluten free. Certain spice blends may have gluten, though. Making your own blends is the safest bet, but if you have a spice blend you love, most manufacturer websites list whether their products contain gluten.

While not technically an herb or spice, most soy sauce contains gluten. La Choy is a major brand that is made without gluten. Bragg’s liquid aminos are another form of g-free soy sauce.

Most vinegar is g-free. Malt vinegar is not. You’ll also want to check the label on flavored vinegar to be sure.

Cooking oils don’t have gluten unless seasoned with something containing gluten.

3. Find your current gluten free staples

Look at the foods that currently stock your pantry. What things that you buy are already gluten free? For us, we usually keep a box or two of cereal around for snacking or a quick breakfast. Most cereals are made with wheat and therefore have gluten, but some that we already bought, like Honey Nut Cheerios, Lucky Charms and Rice Chex are gluten free. Knowing that, I can continue to keep a box or two of cereal we already liked on hand.

Likewise, we keep tortilla chips on hand for snacking or nachos. Most tortilla chips don’t have gluten and inexpensive. Since gluten free crackers are both hard to find and usually expensive, tortilla chips are an easy cracker substitute as well.

4. Look for the easy substitute

Like substituting tortilla chips for crackers, there are other easy swaps. Corn tortillas usually don’t have gluten and can be substituted for flour tortillas. Rice is often a good substitute for pasta, or substitute rice noodles. If you have an Asian grocery nearby, you can usually find rice noodles there for cheaper than a mainstream supermarket, as well as leafy greens and spices for cheap.

5. Make it yourself

It’s fairly easy to find gluten-free flour now, so making your own gluten free cookies, pizza crusts, pancakes, breads, etc. is a good option. I love Bob’s Red Mill 1 to 1 gluten free flour. With it, I can continue to make my favorite deserts just by substituting it for wheat flour. There are other good gluten free flours on the market, too. The most important thing is to know if it is blended to be an exact 1 to 1 substitute or if you need to add something like xanthan gum to give it the stretchiness and rise that you usually get from gluten. For example, Bob’s Red Mill has an All Purpose Gluten Free Flour that is not the 1 to 1 blend. It is a little denser and does not have xanthan gum already blended. I like blending it with tapioca flour, which adds some stretchiness. That works well for things like gluten free flour tortillas. For things that need to rise, though, like cakes or breads, I also add xanthan gum if I’m using the all purpose and not the 1 to 1 blend.

6. When buying gluten free, shop around

Sometimes you really just want to get some gluten free penne pasta or a g-free bagel. More and more grocery stores regularly stock g-free pastas, breads and desserts, but they can be pricey. If you find them on sale, stock up and freeze the extras. Alternative grocery stores sometimes offer better prices, too. Aldi has a decent selection of g-free breads, pastas, and baking mixes at a lower price than most other stores. I even found some gluten free donuts there recently.

Locally, we have a surplus/discount/closeout grocery store called Town Talk. They frequently have udi’s bread in the range of two loaves for $3.00. I periodically stop in and stock up when I can.

To make sure you never miss a post, please sign up for my newsletter.

Tips for going gluten free

If you click through any of the Amazon links and make a purchase, I will receive a small commissionThere is no added cost to you.

Posted on Leave a comment

Upcycling Fabric Scraps

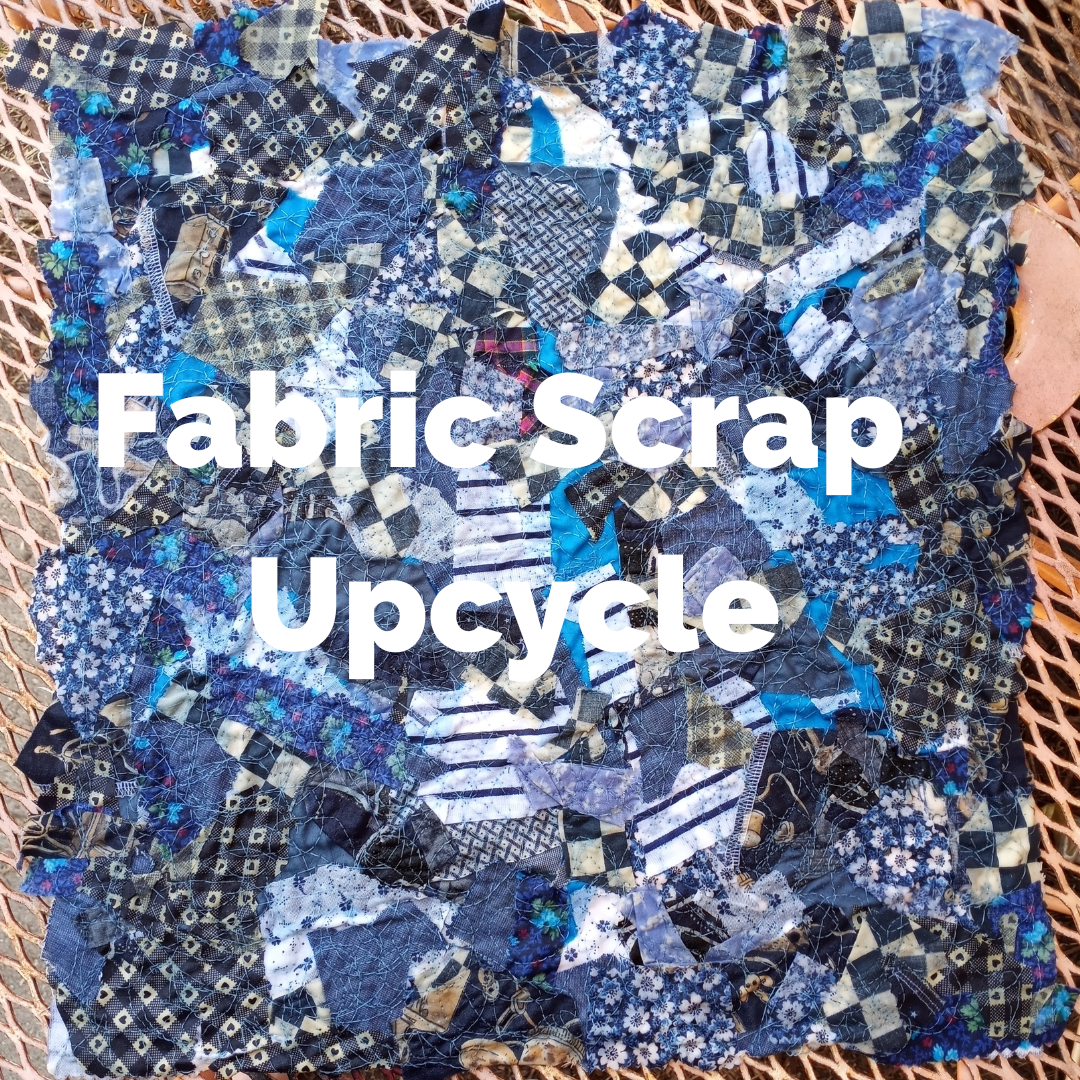
Fabric-Scrap-Upcycle

This isn’t going to be a full tutorial because I didn’t do a great job of documenting the process. If you’d like a full tutorial, please let me know. I will link to the page I learned it from here.

I saw this really cool way to make a bunch of fabric scraps into new, usable fabric that is really textured and cool. First, you need a backing piece of fabric. I used an upholstery sample square that I hadn’t found a use for yet. Then, you cover it in fabric scraps. I went with all pieces from my “blue” sorter bin and let them fall all over randomly. I did try to keep it all in one or two layers and moved pieces around to cover all the empty spots. I left some upside down to add more variety in the colors, and I didn’t worry about ironing the pieces first. 

Once I had everything in place, I pressed it with my iron to smooth it down. Then I pinned water soluble stabilizer on top to help hold everything in place for the sewing machine. To sew, I lowered the feed dogs on my machine and crazy free motion quilted everything together. You can see that in the first video below.


@subearthancottage

Trying a new technique to make usable fabric from my fabric scraps. #upcycling #zerowaste #asmr #sewing #quilting

♬ original sound – Charity

After I had everything thoroughly stitched down, I rinsed out the stabilizer, shown here.

@subearthancottage

Rinsing out the water soluble stabilizer. It’s so cool to finally see the colors pop out as the stabilizer dissolves. #upcycling #sewing #quilting

♬ Lofi Vibes – Gentle State

That’s it. Now I have this really cool piece of fabric. I can’t decide what to do with it. It almost looks like it could hang on the wall like that as art. I also thought about making a couple of zipper pouches or sets of coasters out of it. It would also be fun to use as patches for clothing. 

What would you make with it? Leave your suggestions below. 🙂

Posted on 1 Comment

Sewing Chores: Tips to maximize sewing time

Even if you love sewing, there’s some parts that can be a chore. Ignoring those tasks or leaving them for later can result in wasted sewing time and money. Here’s a list of chores I try to tackle when I have a few minutes so that my real sewing time is spent actually sewing.

Bobbin winding

If you have a Side Winder, bobbin thread running out mid-project might not be a big hassle. If you rely on your machine to wind bobbins, though, running out means stopping your work, re-threading your machine to wind a bobbin and then setting it back up to sew. To prevent this headache, when you have a few spare moments, wind a few bobbins in your most commonly used colors. If you have a project in mind, wind a couple of bobbins in the needed colors. Keep extra bobbins on hand and wind at least one for every different thread color you have. 

Pre-winding extra bobbins makes this notice less annoying.

Clean your machine

Lint, threads and dust build up over time and can cause poor stitch quality or even damage your machine. It’s a good idea to make a habit of brushing the debris out at the end of each project, or during projects with linty fabrics.

If the inside of your machine looks like this, you should probably clean it more often.

Periodically you’ll want to vacuum out your machine to really clean it. Vacuum attachments made for cleaning computers work well for this. Some people use canned air, but that’s not recommended. It pushes some of the debris deeper into your machine.

Oil your machine

Once your machine is thoroughly clean, take a moment to oil it according to your manual. This will keep it running smoothly and reduce the need for costly repairs. If you don’t have the manual, you can usually find one online. 

After oiling, always sew a few rows on scrap fabric to soak up excess oil. That way, you won’t risk ruining a project with oil spots. 

Tidy up

The best practice is to put away tools and excess fabric as you go. It’s easy to get distracted and forget, though. Taking a moment here and there to run through your sewing area to tidy up when you aren’t working on a project can save sewing time later.

Keep a shopping list

Nothing is more annoying than having to stop work because you ran out of a necessary supply. Make note of supplies that are low or that have run out on a notepad to take on your next shopping trip.

Prewash fabric

Unless you know your final project will never be washed, you should always prewash your fabric. One way to make sure this happens is to wash it as soon as you bring it home from the store. You could also work it into your usual laundry schedule. Having a prewashing routine prevents delaying a project or worse, giving in to the temptation to make something and have your final product ruined in the wash.

Tip: Serging or zig-zag stitching the cut edges will prevent excess fraying in the wash.https://subearthancottage.com/random-sewing-tip-painless-prewash

These are the chores that, for me, are the biggest sewing time-wasters when neglected. Please share your dreaded sewing chores and tips to keep them from becoming time-wasters in the comments.

Posted on Leave a comment

How to Make a Port Pillow

Something that I have found very useful since getting my chemo port put in is a port pillow. Port pillows are small pillows that attach to seatbelts to prevent the seatbelt from irritating the port. Luckily, they are super easy to make with very little materials needed. There are many organizations that accept them as donations to give to cancer patients, so that’s something to consider if you are looking for a charitable way to use up your stash.

Materials for a port pillow.

Materials needed for One Port Pillow

  • 2 rectangles of soft fabric, approximately 4 inches by 7 inches. I like using quilting cotton.  There is enough fabric in my soap’s wrapping to make one pillow, so upcycle if you have it. 
  • 2 pieces of hook and loop tape (Velcro) measuring 3.5 inches each. 
  • Polyfil or other stuffing.
  • Thread

Step one: Baste the Velcro

Separate the Velcro pieces and baste them in place on one piece of the fabric close to the edges. I just eyeball the placement at about halfway between the middle and short edge of the rectangle for each Velcro piece. I like to make the softer piece face up, but it doesn’t really matter. You could also use pins to hold it in place instead of basting, but I find machine basting easier. 

Step Two: Sew the pillow

Sew the fabric rectangles wrong sides together as shown in the photo below. Be sure to leave an opening for turning. I left the opening on a long side for this one, but it’s easier to sew closed if you leave it on a short side. 

Leave the opening on the end next time.

Step Three: Turn and Stuff

Clip the corners, being careful not to cut the thread, turn the pillow right side out and stuff. I like to press the empty pillow before stuffing for a crisper look. Just be careful not to melt the Velcro if you do this too. 


Turned and pressed.
Stuffing. Needs a little more to be semi-firm.

Step Four: Sew it Closed

If you want the seam hidden, you can sew it closed by hand. I don’t mind the seam, so I use my machine to make it quick. This is much easier when the opening is on the end as evidenced by the number of pins I used to hold it closed. I hate using pins. 

I can usually manage without pins when the opening is on the end.

Done

The end result should look something like this.


This is one of those projects that I’ve done so often I may have overlooked something in trying to tell someone else how to do it. If anything is confusing, please ask in the comments. I will clarify it ASAP.

Like this post? To make sure you don’t miss out on future posts, sign up for my newsletter.

Posted on 3 Comments

Quick Drawstring Bag Tutorial or How to Reuse Your SubEarthan Cottage Soap Wrapping

I wrap my soaps in fabric because it looks nice, it allows the soap to breathe (read here for why), and because it feels better than plastic. I often wonder what happens to the wrapping. I’m sure there are some that toss it. I know of one person who collects the fabric for quilts. For those of you who, like me, don’t want to throw away something that could be useful but don’t know what to do with it, I have a tutorial for a drawstring pouch, just for you.

This is done with the wrapping from one of my soaps, but you could make it in any size you like.

Materials
Cloth wrapper from soap (roughly 8×11 inches)
Jute string from soap (about 29 inches)
Thread

Tools
Needle or Sewing machine
Safety pin or Bodkin
Scissors
Iron

First, iron your fabric flat. Then, fold down a long edge about 3/4 of an inch to one inch and press. This is for the casing. It doesn’t have to be super precise.

Sew a straight seam along the bottom of the flap to form the casing. All the sewing can be done by hand or machine. I have no time or patience, so I choose machine. Fold your material in half with right sides together like a book.

The fold is at the bottom of this photo.

Next, starting just below the casing seam, sew down the side and across the bottom. I use anywhere from a 1/4 to 1/2 inch seam allowance for this. Again, it doesn’t have to be precise.

With scissors, clip the bottom corners, being careful not to cut your stitching. You could probably skip this step, but it helps the corners look square and crisp. Turn your bag right side out.

Now it’s time to thread the string. Tie one end of the string to a safety pin, large paper clip, or attach a small bodkin. This makes it easier to work it through the casing. Thread it through the casing, safety pin first.

Once you get the string to the other side, remove your safety pin or other tool and adjust the string so that the ends are even.

Knot the ends together once or twice to keep it from coming out.

Ta-da! It’s done! Perfect for organizing your purse, storing jewelry or other small items, or as a small gift bag.

Or holding your favorite bar of soap.

Tutorials are always a little complicated to write because it’s easy to overlook small steps in things you do frequently. If something is unclear, please ask. 🙂

If you have any other creative uses for a SubEarthan Cottage soap wrapper, I would love to hear it!

Posted on 3 Comments

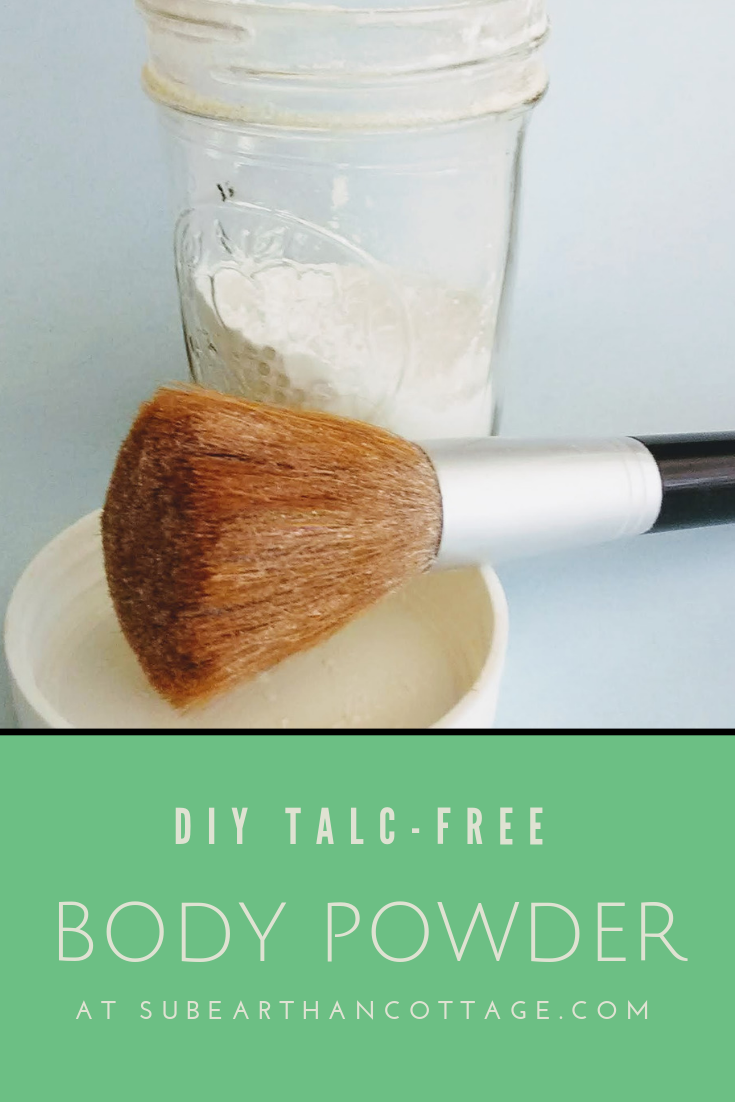
Easy DIY Talc-Free Body Powder

DIY Body Powder SubEarthan Cottage

With all the concerns in the news surrounding talcum powders again, many people are looking for a talc-free alternative to their favorite body powder. While you can purchase talc-free powder, making it yourself is simple, allows you to customize it, and is super inexpensive. Better yet, you probably already have everything you need.

Body Powder Recipe

Ingredients:

3/4 cup of Cornstarch

1/4 cup of Baking Soda

10-ish Drops of essential oil (optional)

Make it:

Combine the cornstarch and baking soda in a bowl or jar. Give it a stir or shake to mix. If you’re using an essential oil, add it now, then stir or shake some more to distribute.

Use it:

I keep mine in a jar and use a fluffy makeup brush to dust it where I need it. It works great as an all-over dusting powder, deodorant and shoe deodorizer. You can also dust a little in your hair in place of dry shampoo. For that, I like to put it in my hair at night and then brush it out in the morning.

Customize it:

The basic recipe is 3 parts cornstarch to 1 part baking soda, so you can use that 3:1 ratio to make as much or as little as you need. 

Add more or less essential oil based on your preference. You can also use your favorite perfume to make a coordinating dusting powder.

If you find this formula too drying, reduce the amount of baking soda, or omit it all together.

Not a fan of cornstarch? Try using arrowroot. I personally haven’t tried it, so if you do, let me know how it works.

For babies, I recommend just plain cornstarch as baking soda might be too harsh. If you want to scent it, add a couple of drops of lavender essential oil. Essential oils aren’t generally recommended for babies under six months, so take that into consideration. 

If you like using this as a dry shampoo and have dark hair, you can add a little bit of cocoa powder to the mix to make it less noticeable if you don’t get it brushed out completely.

Re-purpose a shaker jar, such as a spice or Parmesan cheese jar, rather than using a brush or puff to dispense.


Find more of my tutorials here: Tutorials.